Gaming How-To

How to Break Talos’s Shield in Castlevania: Belmont’s Curse (All Three Drones)

Where each of Talos's three shield drones sits, how to reach it with the Arcane Whip, and when to hit his core.

Where each of Talos’s three shield drones sits, how to reach it with the Arcane Whip, and when to hit his core.

Rose leaping at the glowing core in Talos's chest in Castlevania: Belmont's Curse

Once you reach Talos in the Clock Tower, his blue shield blocks your damage. The shield stays up as long as any of its drones are alive.

Quick answer: Three floating drones power the shield, one by each wall and one high above the central platforms. Whip onto each drone and strike it until it breaks. The shield then drops for about 40 seconds, so hit his orange core.


Why your hits on Talos do nothing

A pale blue shield covers Talos from head to toe. Beams of light connect him to three small drones floating around the hall. While any drone is still alive, your attacks make him flash and nothing else. That includes hits on his open core. The TALOS health bar at the bottom of the screen stays where it is.
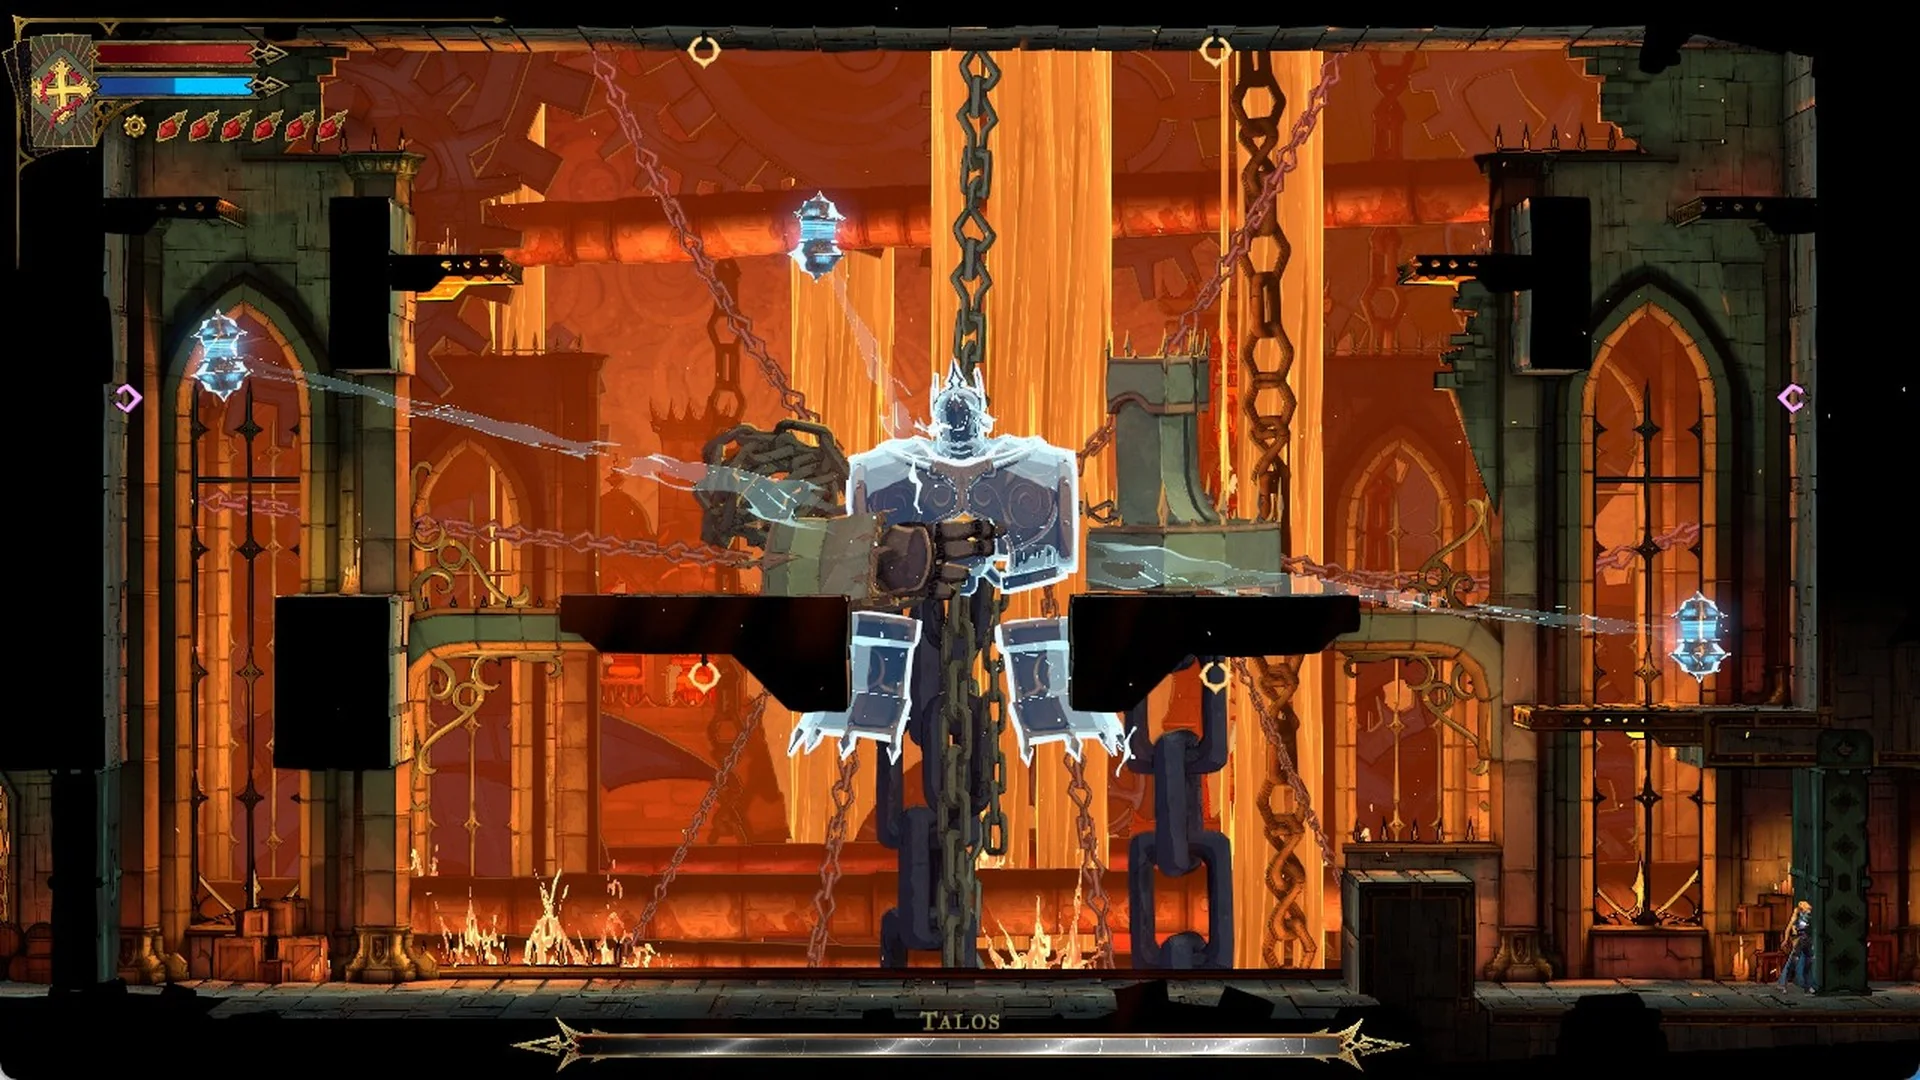
Talos covered by a blue shield, linked by beams to three floating drones in Castlevania: Belmont's Curse
Talos under his blue shield, with beams running to the three drones.

Regular jump attacks can’t reach the drones. Holy Light and spells aimed upward don’t affect them either. To take them down, you need the Arcane Whip, which treats the drones as enemies it can hook. Its unlock screen describes it like this:

“Arcane Whip. Aim with [right stick] then press [R2] to hook onto Luminous Anchors or Enemies and reach new areas.”

The steps below use these controls:

ActionControllerPC
JumpCrossSpace
AttackSquareLeft mouse button
Arcane WhipR2Right mouse button
Aim upUpW

The left drone

You can reach this drone from the floor. It floats beside the left wall and slowly bobs up and down.
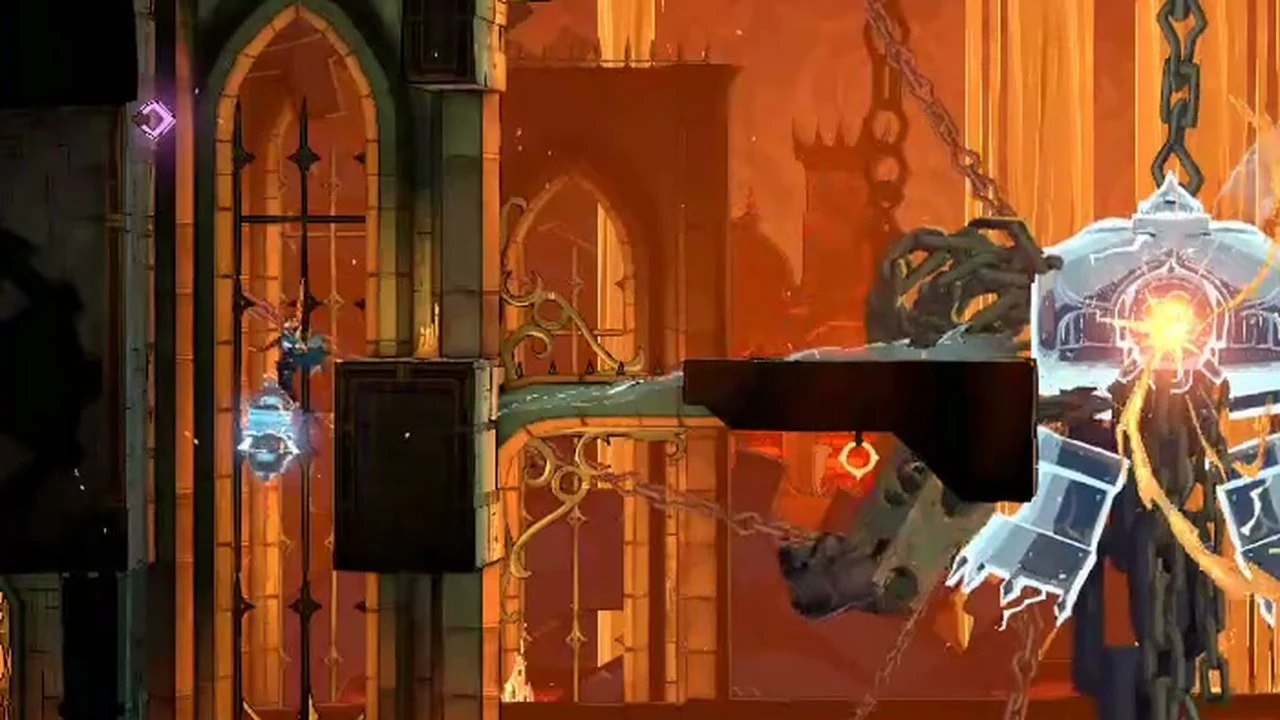
Stand on the floor directly below the drone. Wait for it to bob down toward you.
Leap while holding Up, then keep the whip button pressed. It catches the drone and draws you upward beside it.
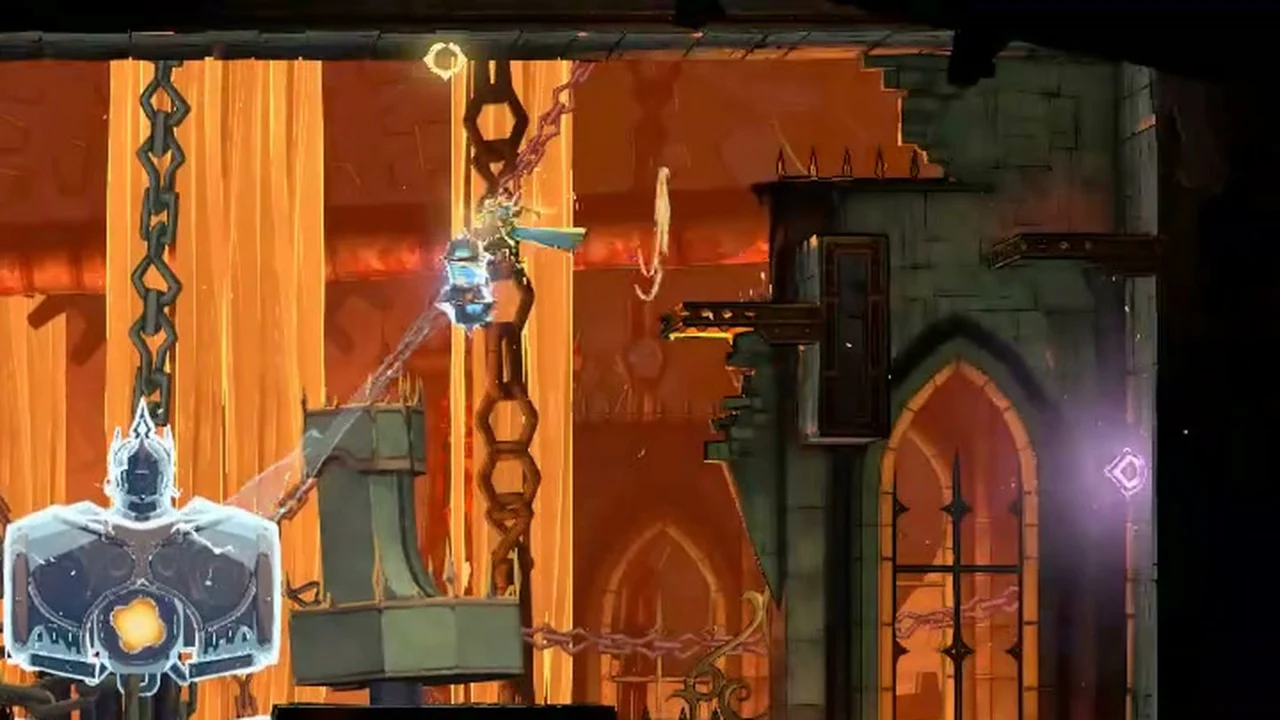
Rose whipped up beside the left shield drone near the left wall
Whipping up to the left drone from the floor below it.
Hit the drone with a few attacks while you’re beside it. You’ll fall back to the floor afterward.
Repeat the latch and strike. The drone takes a few rounds before it breaks.

The right drone

The drone on the right hovers above a small ledge attached to the right wall. Attack it from that ledge, not from the floor.
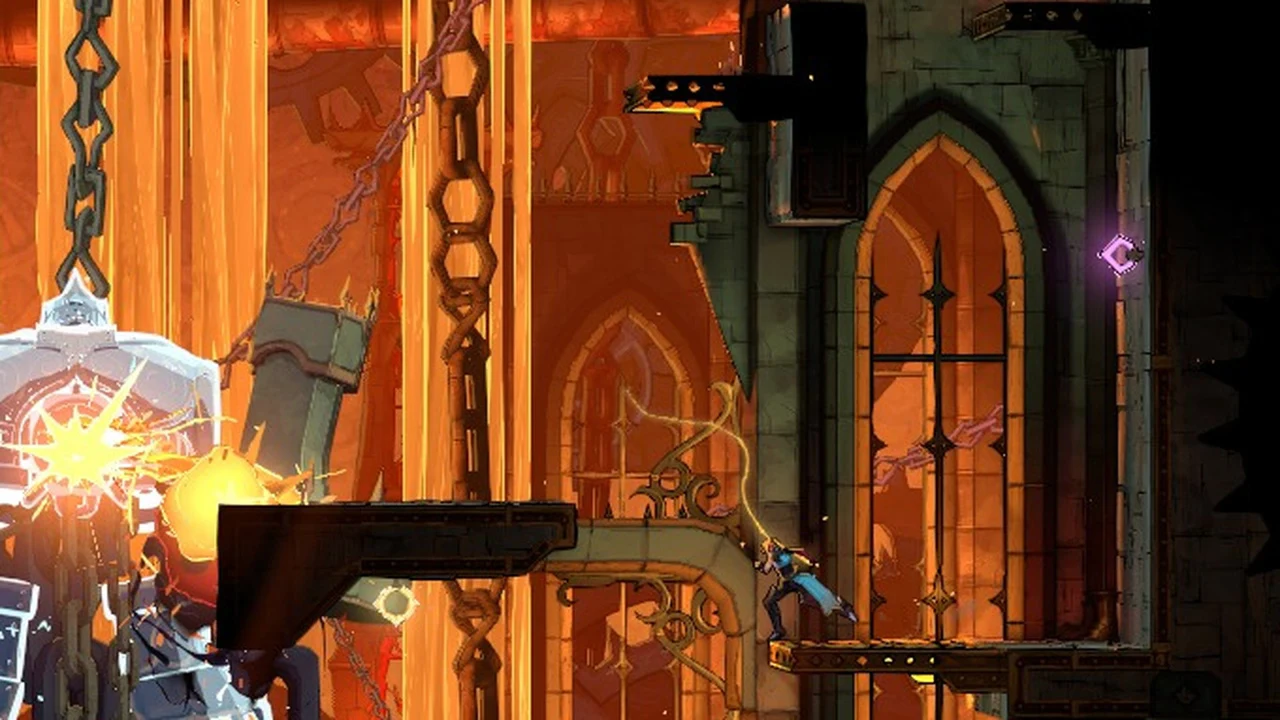
Wall-jump up the right wall and land on the ledge.
Let the drone dip lower. Then jump with Up held and keep the whip button down to catch it.
Rose on the right wall ledge swinging the whip upward
Whipping up at the right drone from the ledge on the right wall.
Strike the drone, drop back down, and repeat until it breaks.

The top drone

The target hangs above the two central platforms, moving gradually from one side to the other. Its height puts it out of whip range from the floor, both central platforms, and either wall ledge. Attack from the upper-right platform, positioned high on the hall’s right side.
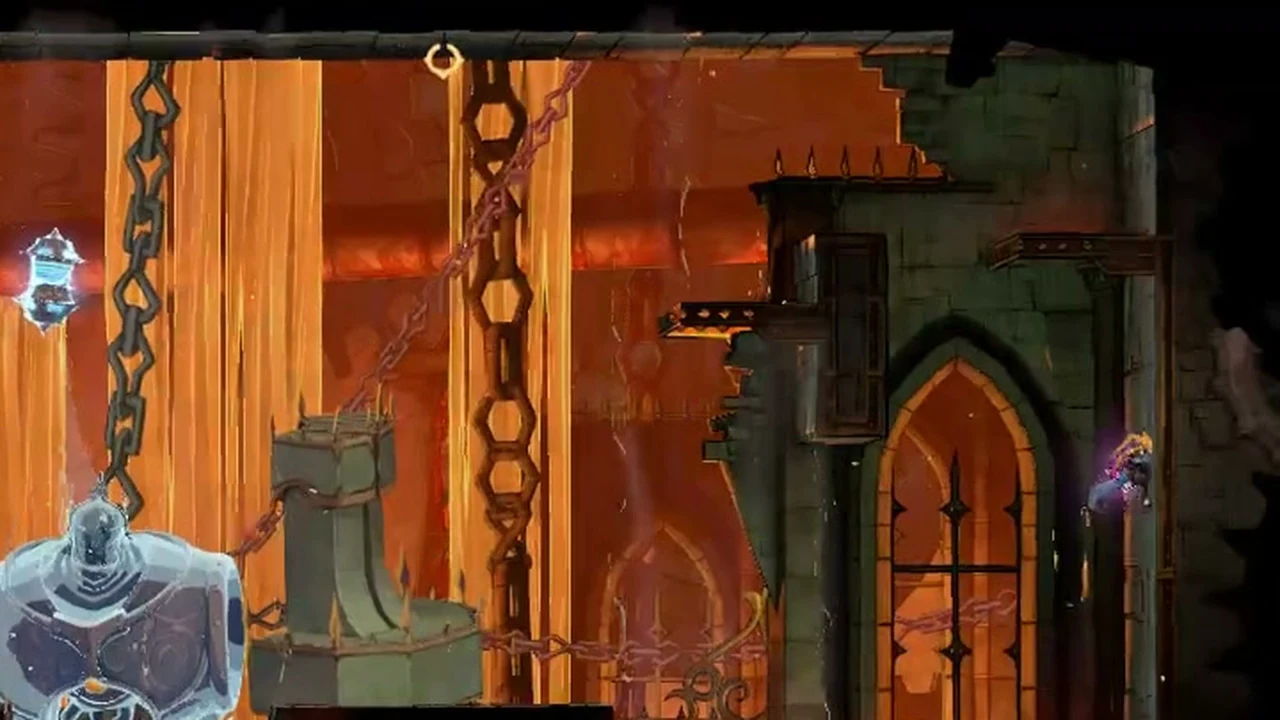
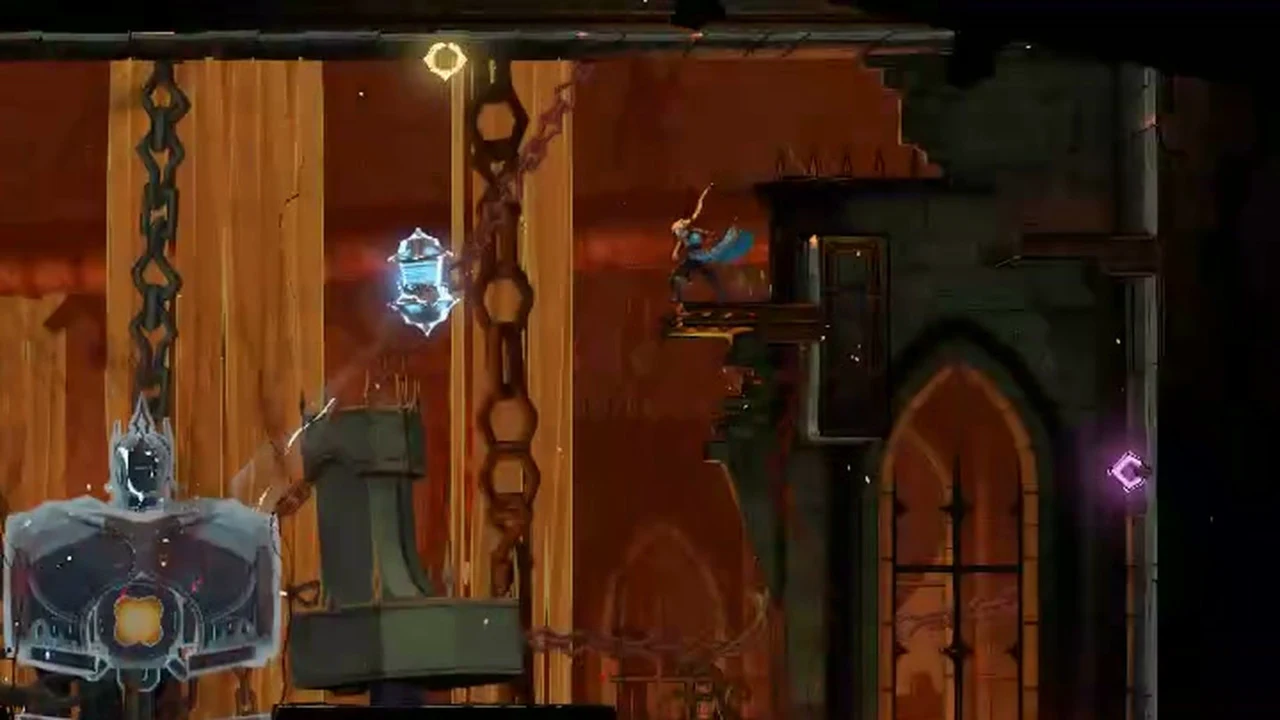
Reach the right-wall ledge by following the route used to get to the right drone.
Locate the small pink diamond set into the right wall above the ledge. Leap off the ledge, aim upward at the diamond, and hold the whip button. The whip catches the diamond and pulls you onto the wall.
Rose hooked onto the right wall by the pink diamond
The pink diamond pulls Rose onto the right wall.
Wall-jump from that spot up onto the upper-right platform.
Move to the left end of the platform and wait. The top drone will drift toward you.
Rose on the upper-right platform with the top drone close by
Waiting on the upper-right platform as the top drone drifts close.
As the drone nears, turn left and hold the whip button while aiming horizontally at it. Once the whip catches, strike the drone.
Character hanging beside the glowing top drone high in the orange-lit chamber
Latched onto the top drone above the central platforms.
Repeat the latch and strike until the drone breaks.

If an attack sends you off the platform, return by climbing via the ledge, then the pink diamond, and finally the wall-jump.


Hitting Talos’s core while the shield is down

Breaking the third drone makes the blue shield fracture and drop away from Talos.
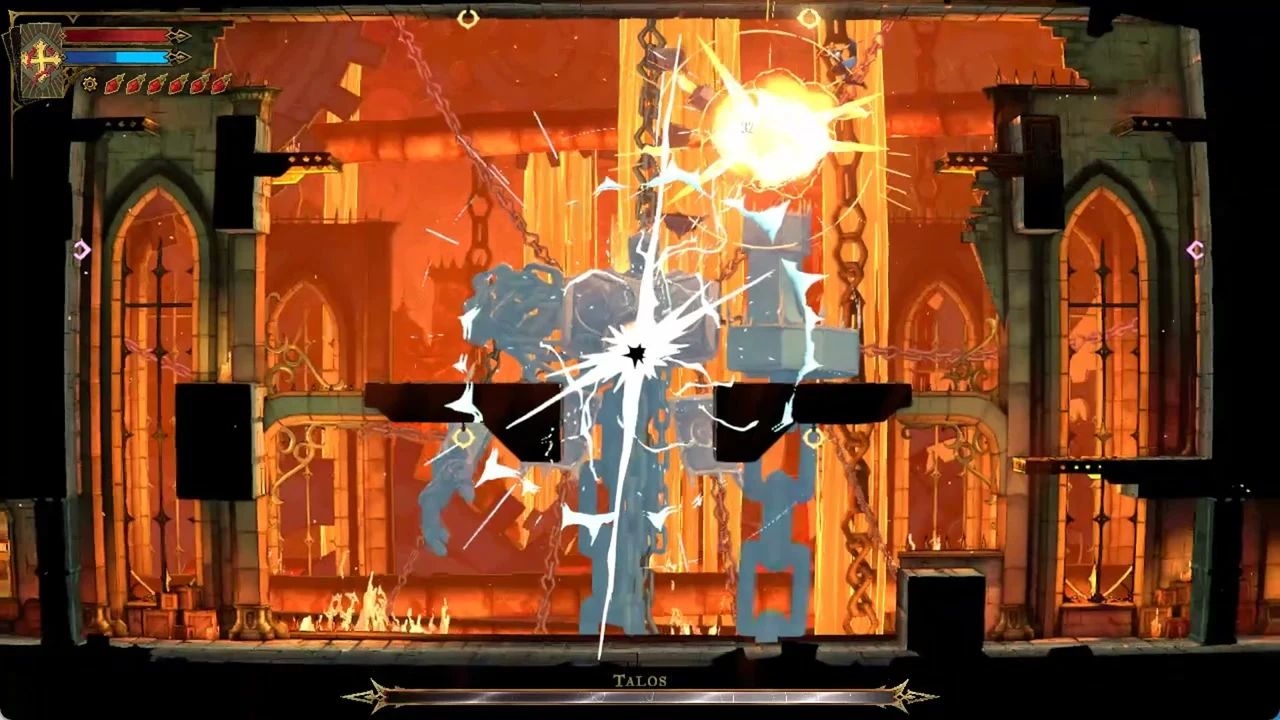
Bright impact effects across the fiery arena as Talos's blue shield breaks apart
The shield shatters once the third drone is destroyed.

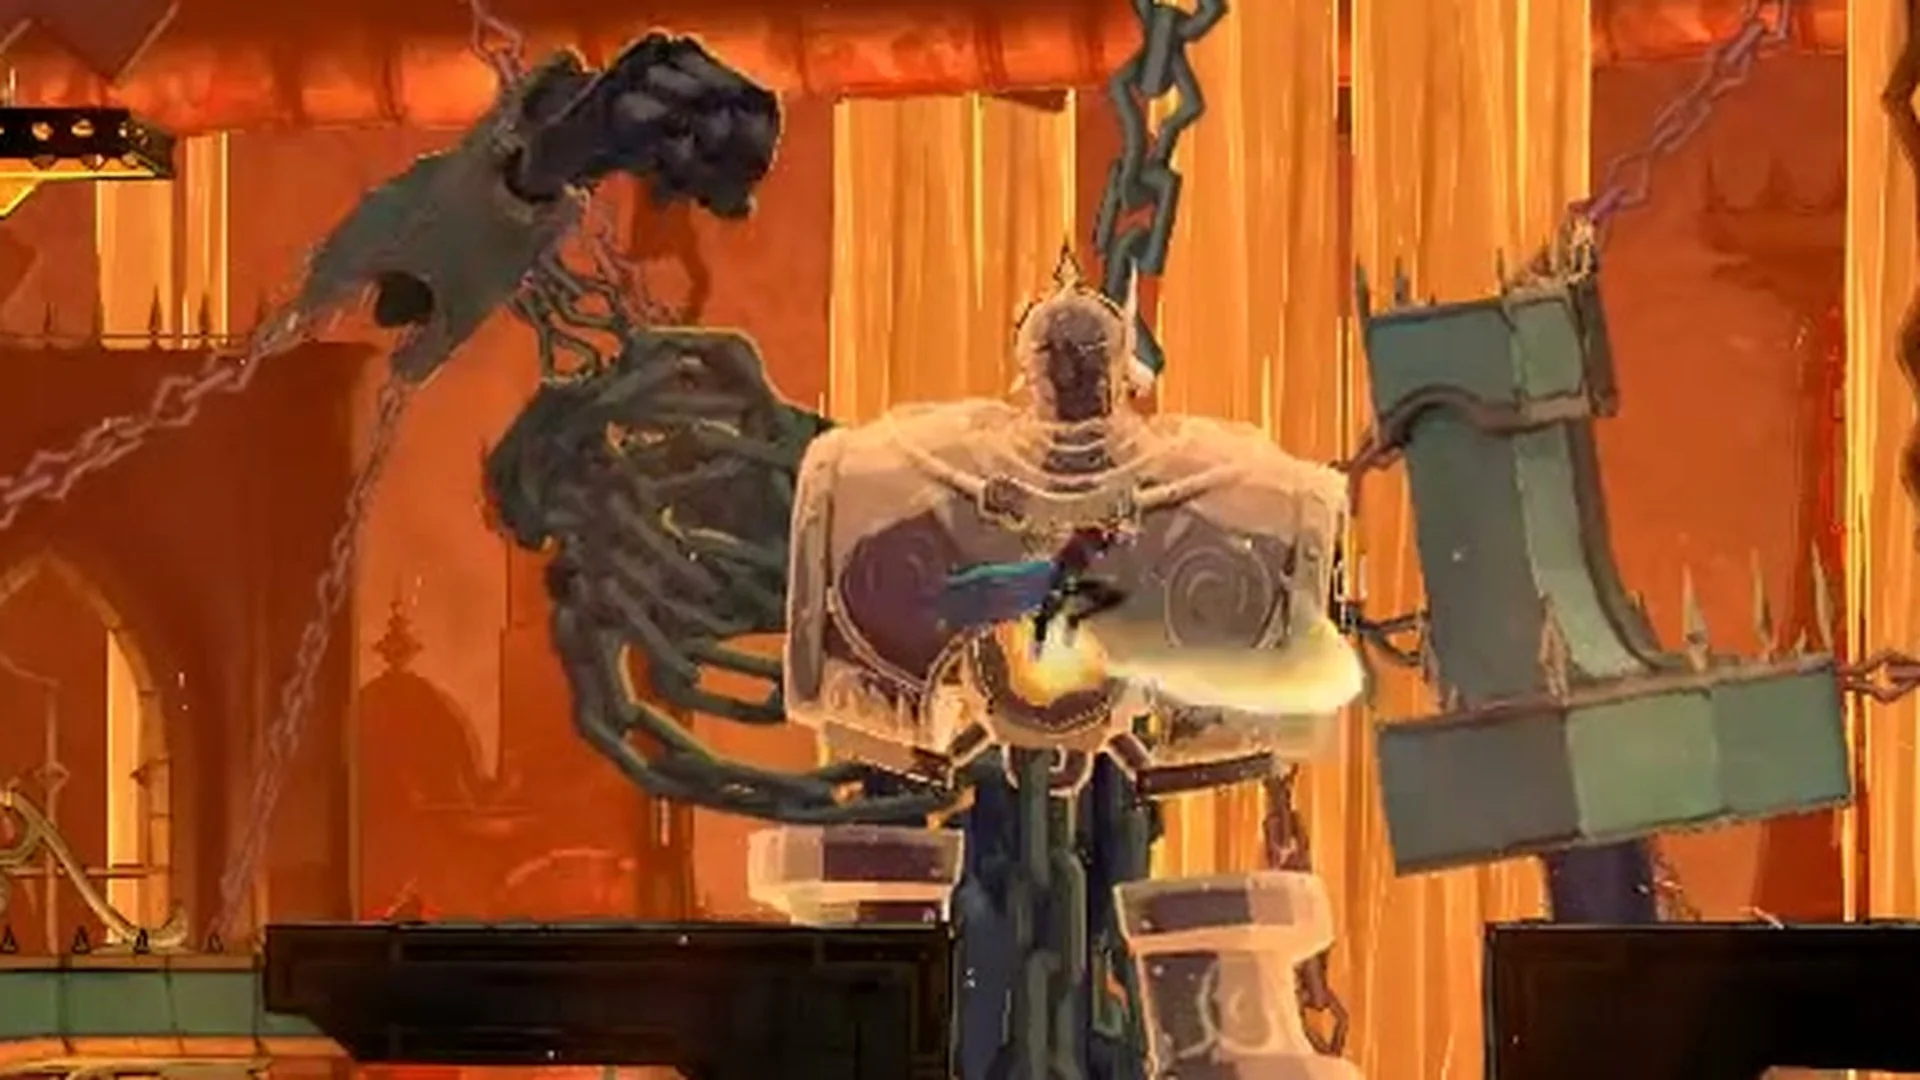
His armor loses its blue glow. For roughly 40 seconds, strikes to the core reduce his health bar. The core is the orange glow in his chest, located in the space between the two central platforms.
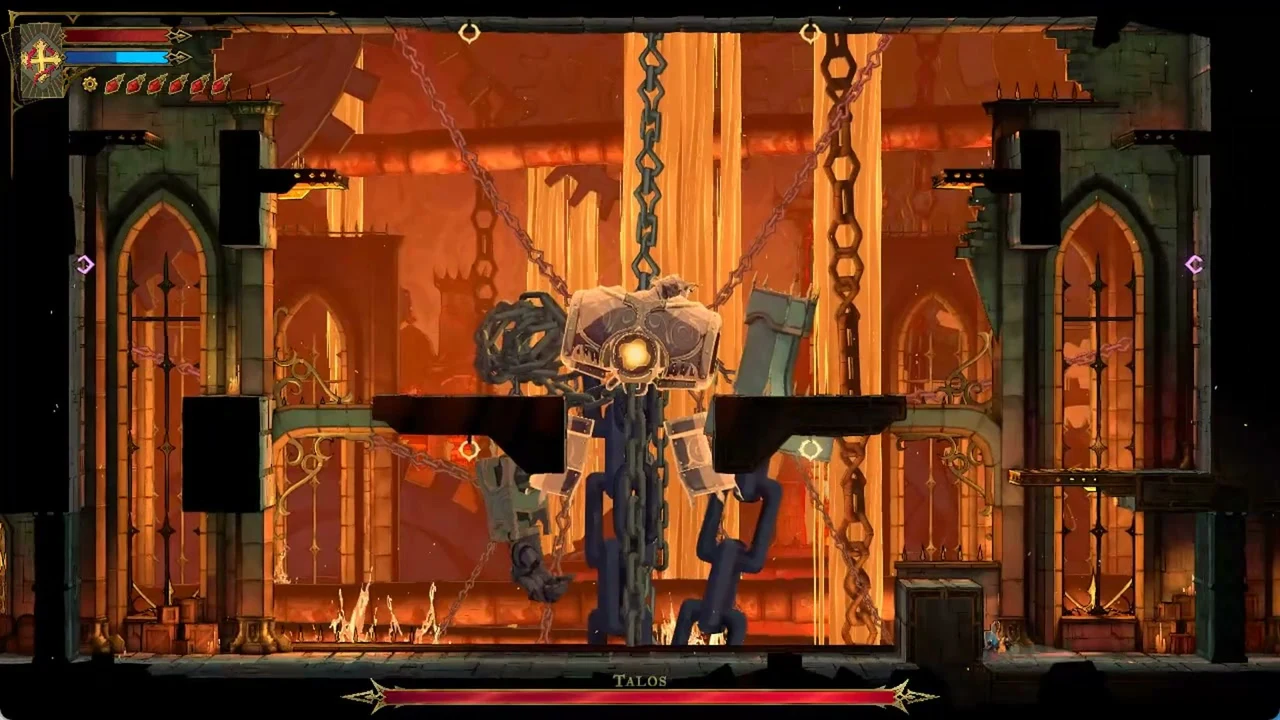
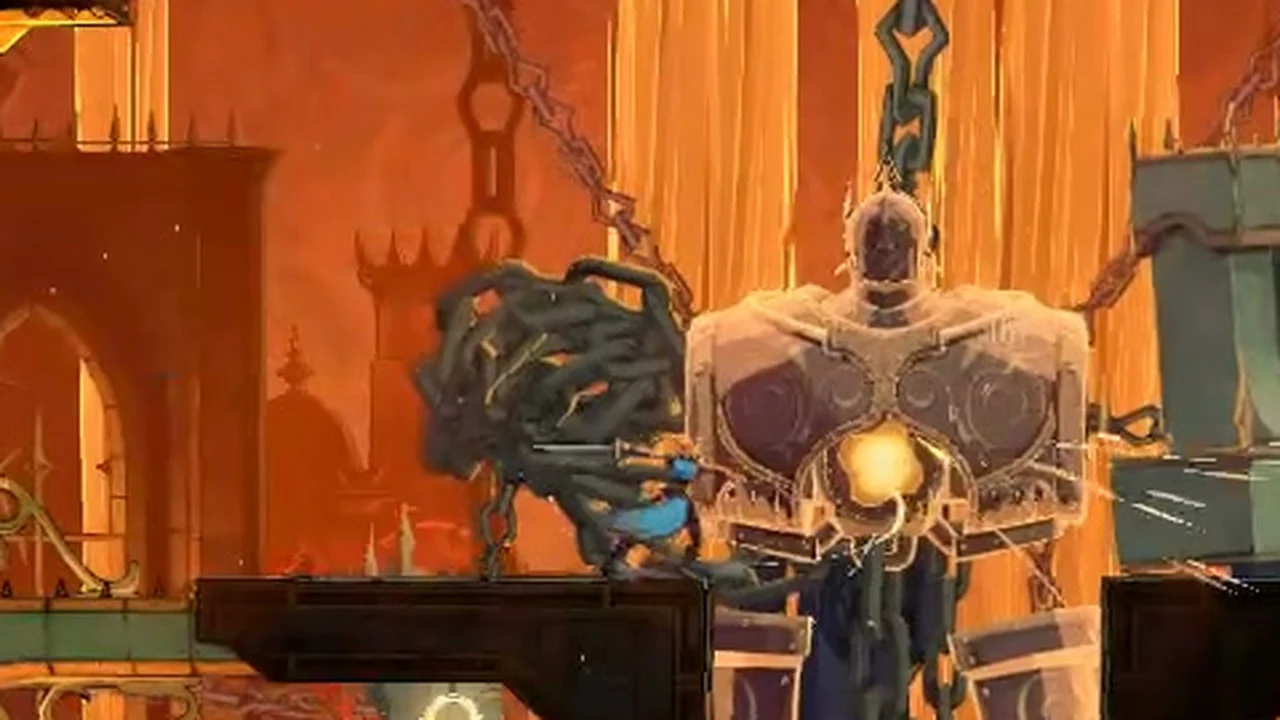
Talos without his shield, health bar on screen, with the character at the arena's right edge
Talos without his shield, the core glowing in his chest.
Head to the far-left end of the floor. Wall-jump upward through the gap between the left wall and the black block beside it.
Land on top of the black block. Then jump right onto the left central platform.
Stand at the right edge of that platform. Wait for the fireball fan from his open chest to finish.
Attack the core with a few swings. Then jump-attack into the gap.
Character striking the glowing orange core in the chest of the chained, armored Talos
Striking the exposed core from the left central platform.

His fire deluge sends flames across the entire hall, and his floating mines can also knock you off the block or platform. While these hazards are active, drop to the floor; climb back up once they end.


When the drones come back

Roughly 40 seconds later, another group of drones appears, and a flash of light restores the blue shield. Your attacks stop dealing damage after that.
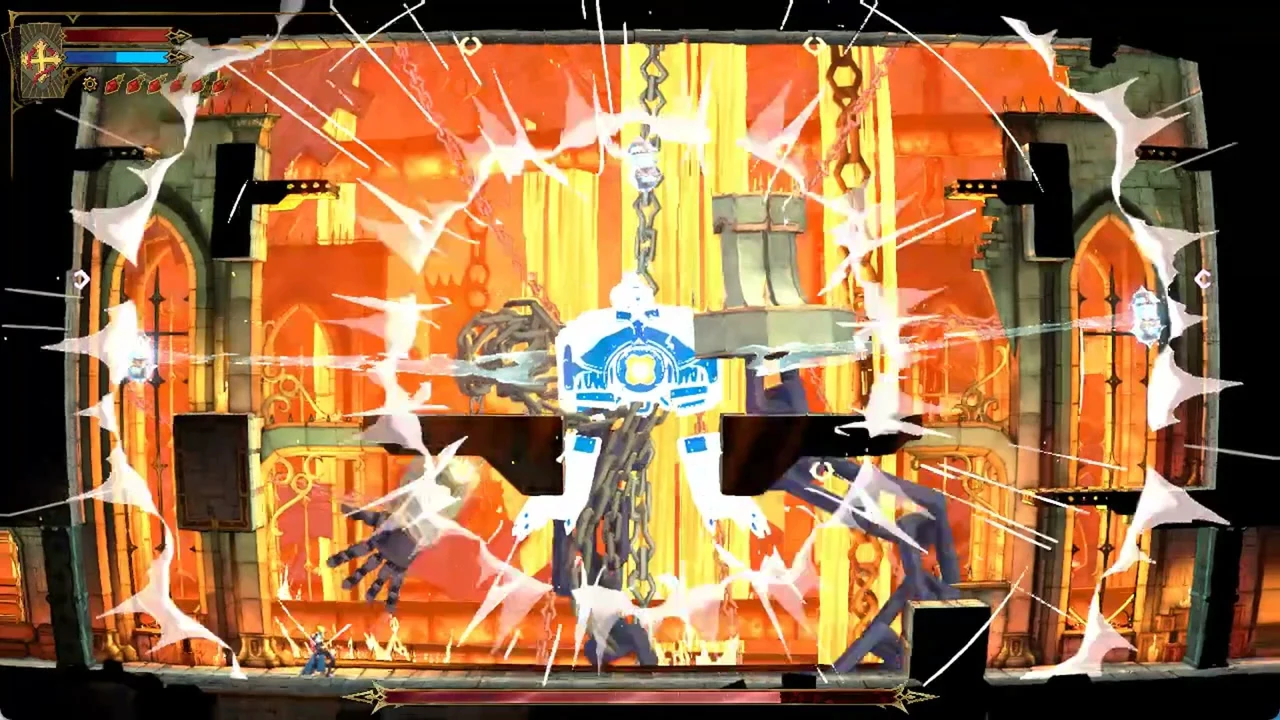
Character fighting the chained Talos in the fiery arena, health and mana bars shown at top left
The fight continues once new drones restore Talos’s shield.

Destroy the left, right, and top drones once more using the same method to trigger another damage window. The window follows the same pattern each time. Once his health is low enough, Talos drops away and the next part of the fight starts. The full fight, from his attacks to the escape run, is in our main Talos guide, and where to go after Talos picks up once he is down.