Enshrouded 1.0 hides a surprising number of shortcuts behind systems the game never explains well. You can stagger early enemies almost instantly, blow through puzzle doors, rest in the middle of nowhere, and turn a stack of stone into a fast-travel point. The 13 tricks below are grouped by what they save you: fights, trips, healing items, or real-world minutes.
Enshrouded combat tips: Kick, Merciless Attack and daggers
1. Chain Kick into Merciless Attack
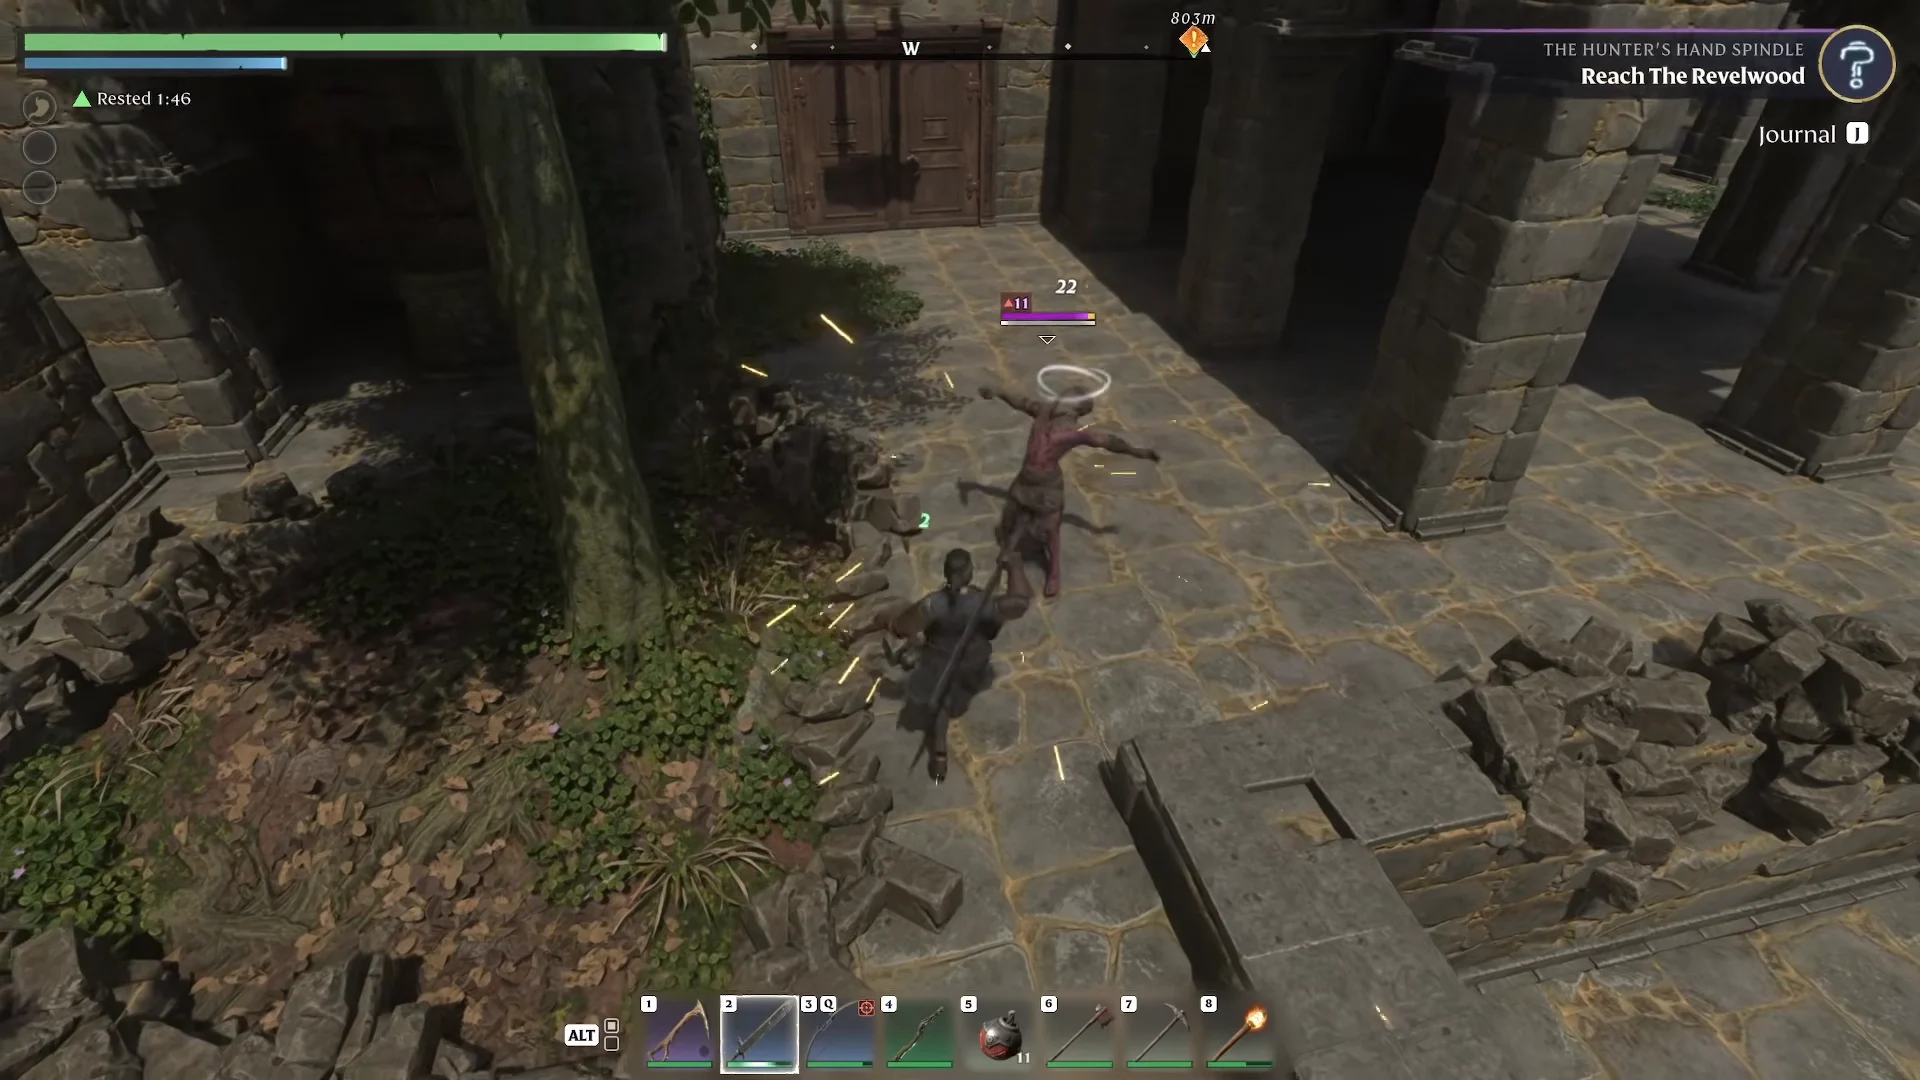
Unlock Kick and Merciless Attack early and most low-level enemies stop being a problem. You Kick by attacking while blocking with a melee weapon. It does very little damage, but it shoves the target back and dumps a large amount into its Stun Bar. Against enemies below level 10, a Kick fills that bar almost immediately.
When the bar reaches its limit, the enemy is overpowered and vulnerable to Merciless Attack. Press E on keyboard to land the finisher for +500% damage. Get behind the target first to add the backstab multiplier. Dexterity boosts Kick’s stun buildup, while the target’s size determines the stun’s duration.
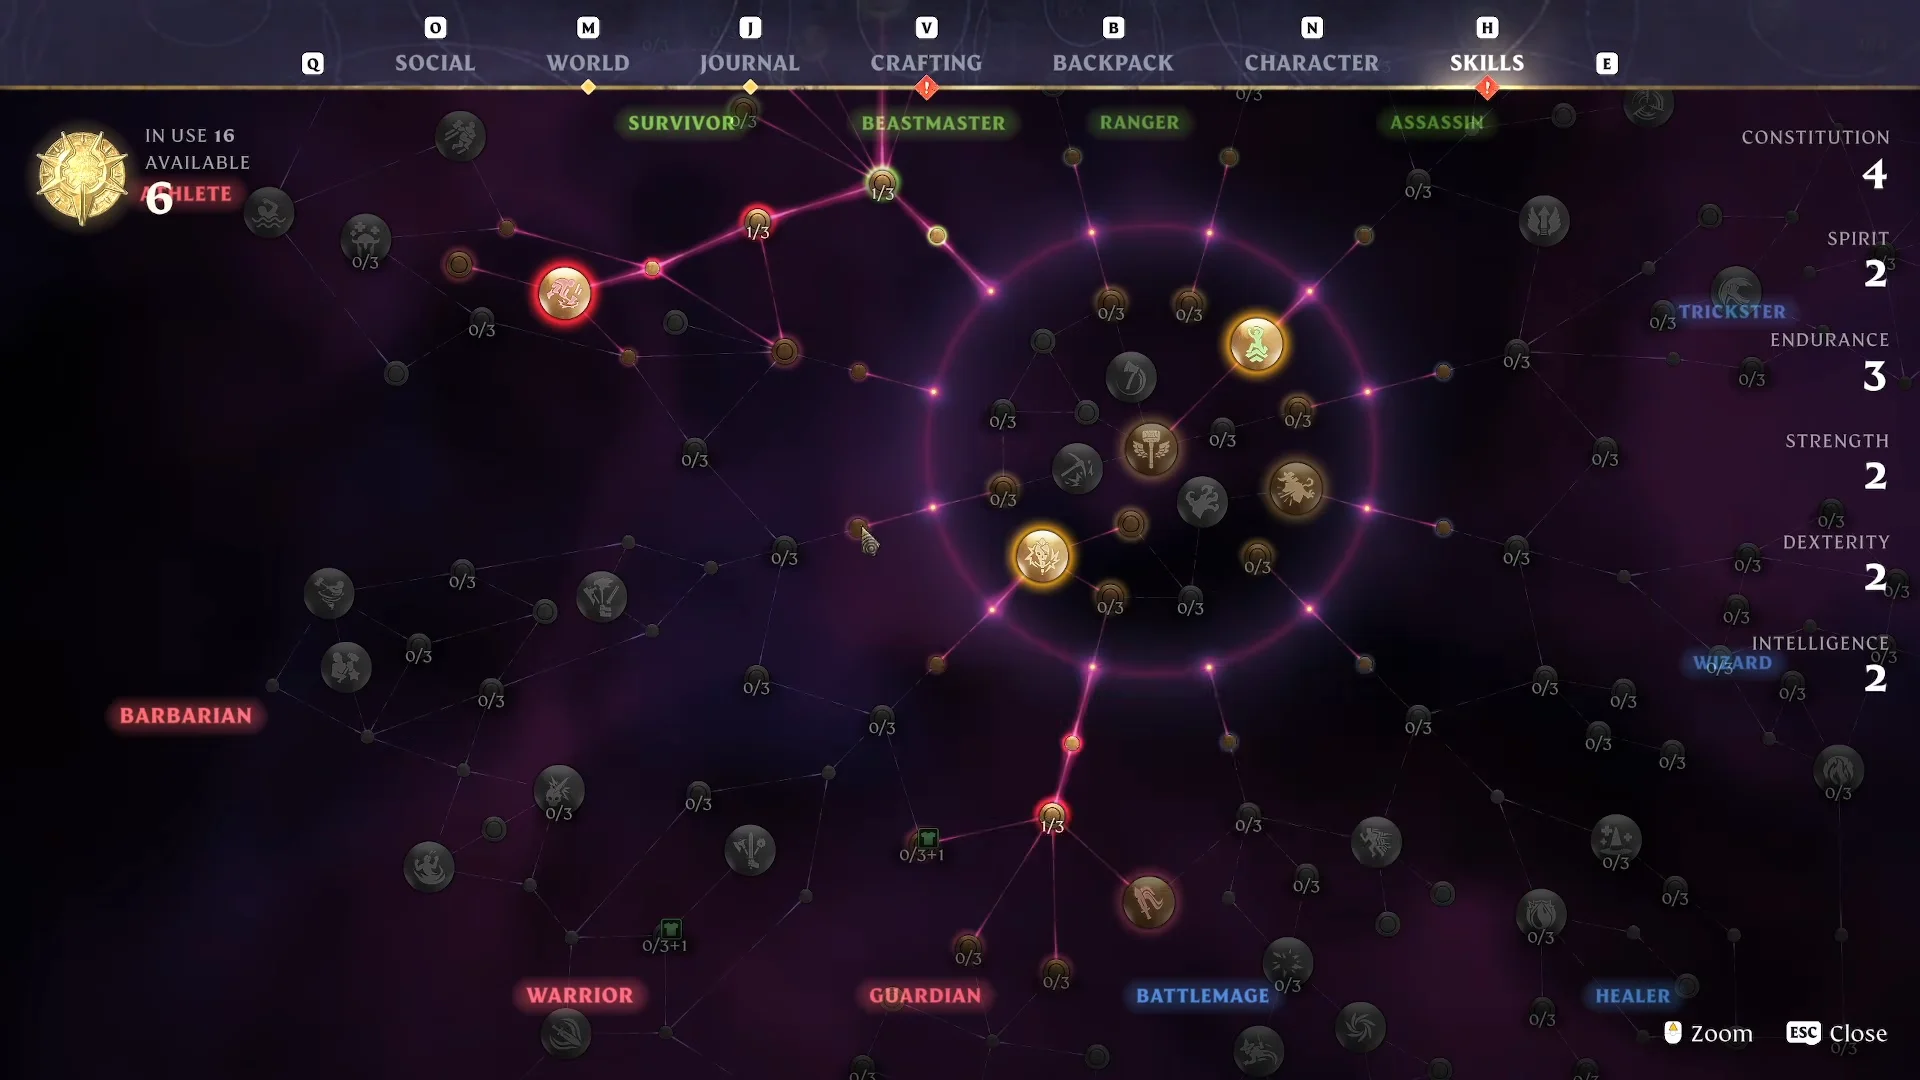
Kick is an active Ranger skill that costs 3 points.
Skill points are not locked in. You can reset your allocation at a Flame Altar by paying Runes, so testing a Kick build early costs you little.
2. Build daggers around both Dexterity and Strength
Daggers are a Ranger weapon, but they draw from two attributes. Dexterity adds 5% bow and dagger damage per point, and Strength adds 5% melee damage per point. That means red melee-tree passives work on them too. Veteran adds 2% Critical Strike chance to daggers alongside axes, clubs, hammers and swords, and Battle Heal sits on the same path.
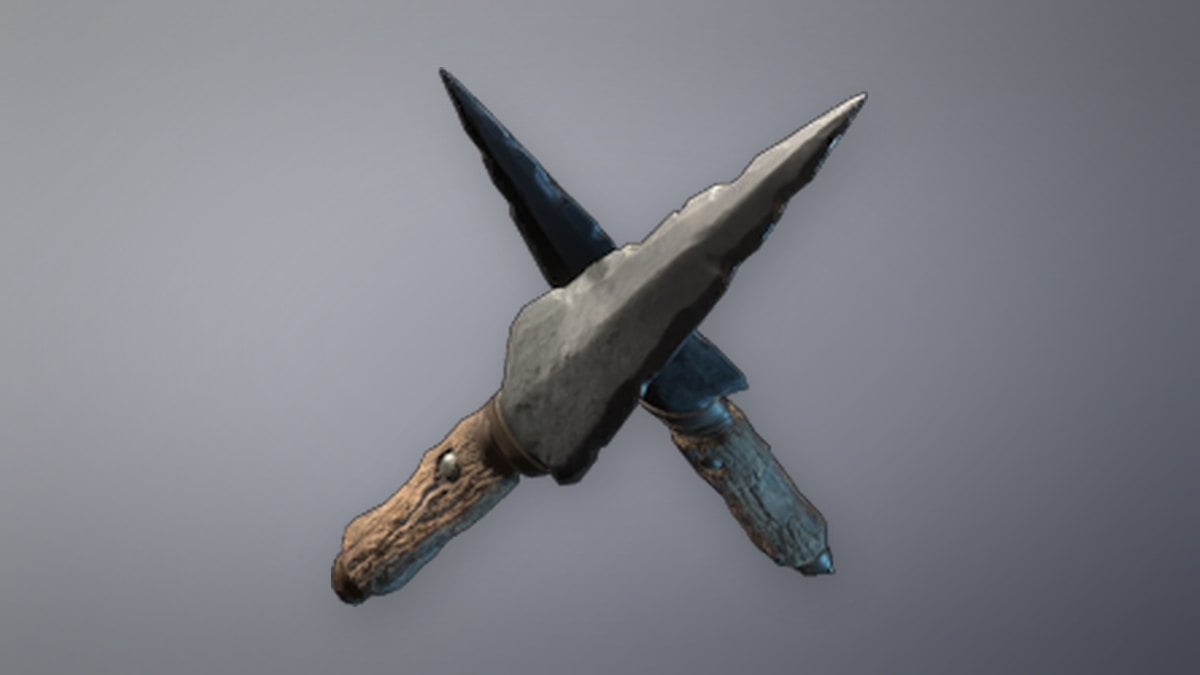
Basic Daggers are a common item level 3 weapon with 10 Piercing damage, a 0.4-second attack speed, and 1 Parry Power. They also have Riposte Kick, allowing you to Kick shortly after parrying; the move deals Stamina Damage and builds the enemy’s Stun Bar. That means the starter daggers already enable the combo from tip 1.
3. Equip your bow or staff instead of hotbarring it
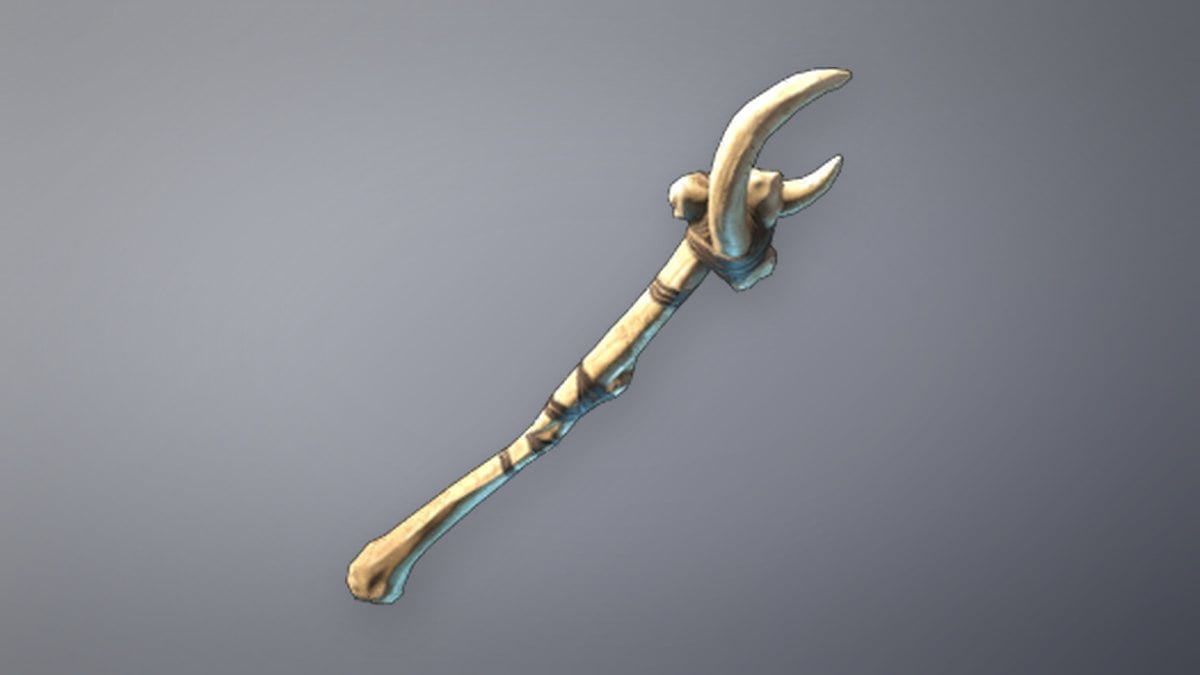
Put a bow or staff into its equipment slot from the inventory rather than onto the hotbar. Hold Q on PC or Left Trigger on a controller to draw it, and releasing the button drops you back to your main melee weapon. You get a ranged option at all times without losing a hotbar slot.
Dungeon and loot tips: bombs, containers and resin
4. Bomb the wall, skip the puzzle
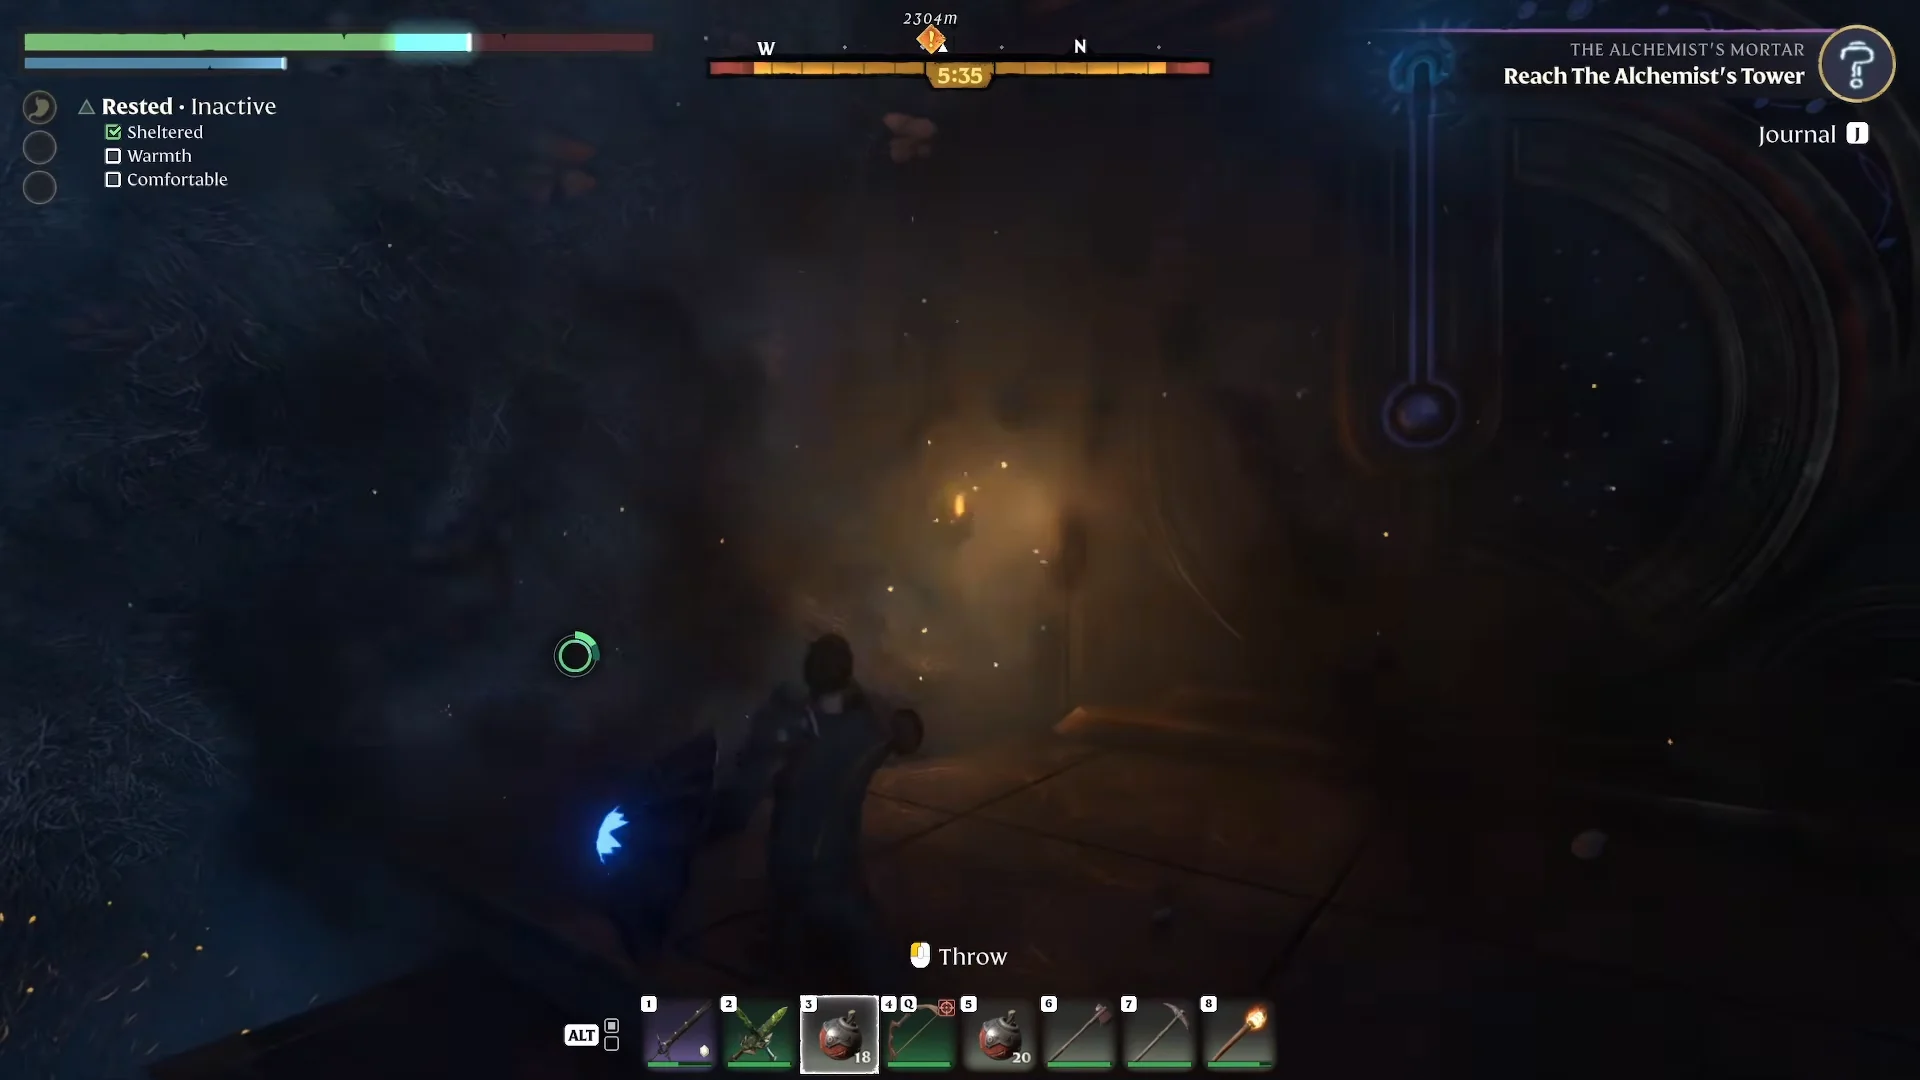
Some doors demand a puzzle solution, and some only open at night. Many of them sit inside destructible stone walls. Throw a bomb such as the Explosive Powder Ball at the wall next to the door and you can walk straight through the gap.
5. Smash every barrel, urn and cage
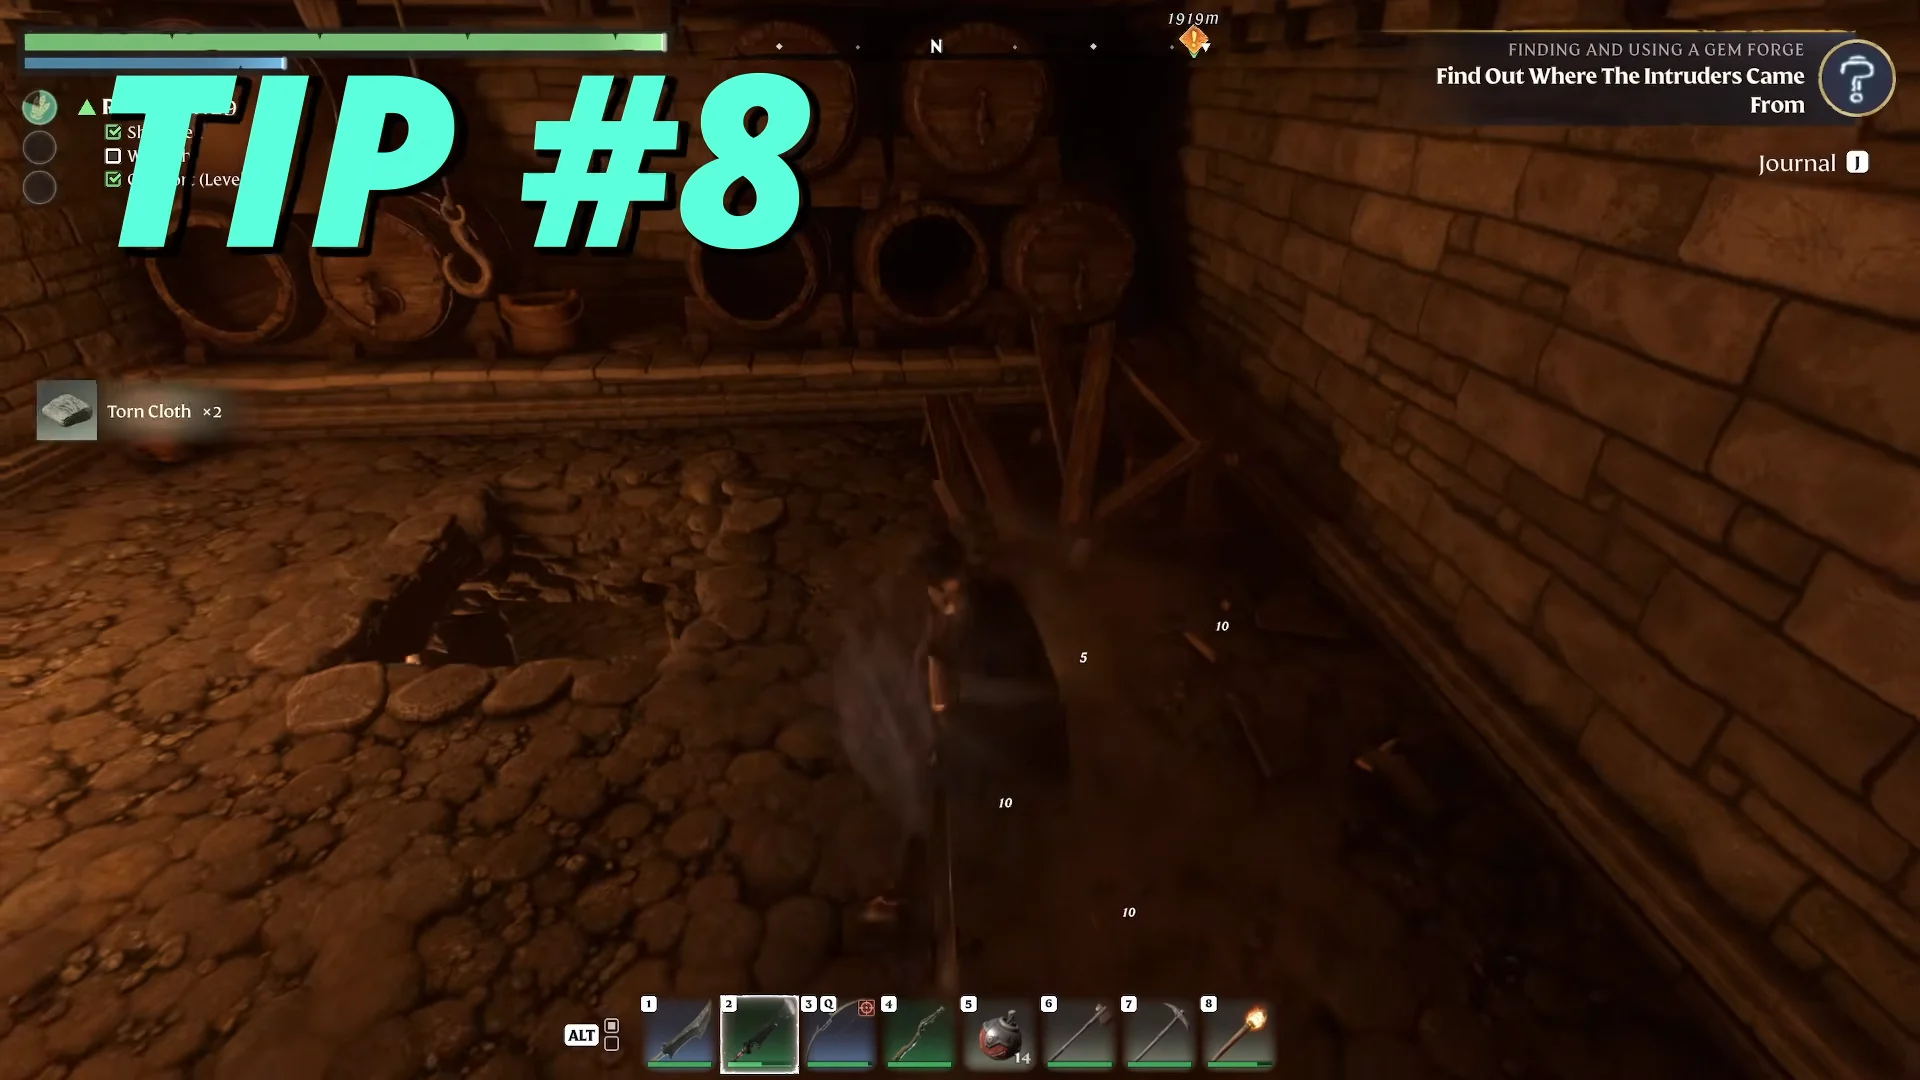
Barrels, crates, urns, sacks, pots and metal cages all break, and they drop cloth, nails, potions and Metal Scraps. That last one matters early. Picking up Metal Scraps teaches you the Lockpick recipe, a Blacksmith craft that stacks to 50. When a pile of drops lands around you, hold the interact key to pull everything nearby into your bag at once.
6. Chop decayed stumps for Fireball resin
The decayed tree stumps scattered around the starting grasslands give large amounts of Resin when you cut them down. Resin is what the Alchemist needs to craft Fireball spell charges, so a quick lap of stumps near the start sets up an early mage kit.
Fast travel tips: Shroud beacons and portable Flame Altars
7. Teleport out of the Shroud from a beacon
The Shroud prevents fast travel while you’re inside it. Return Beacons and checkpoints push the fog back within a small radius; step beside one, open the map, and teleport home. A nearby Return Beacon also restores your Shroud timer.
8. Carry stone for an emergency Flame Altar
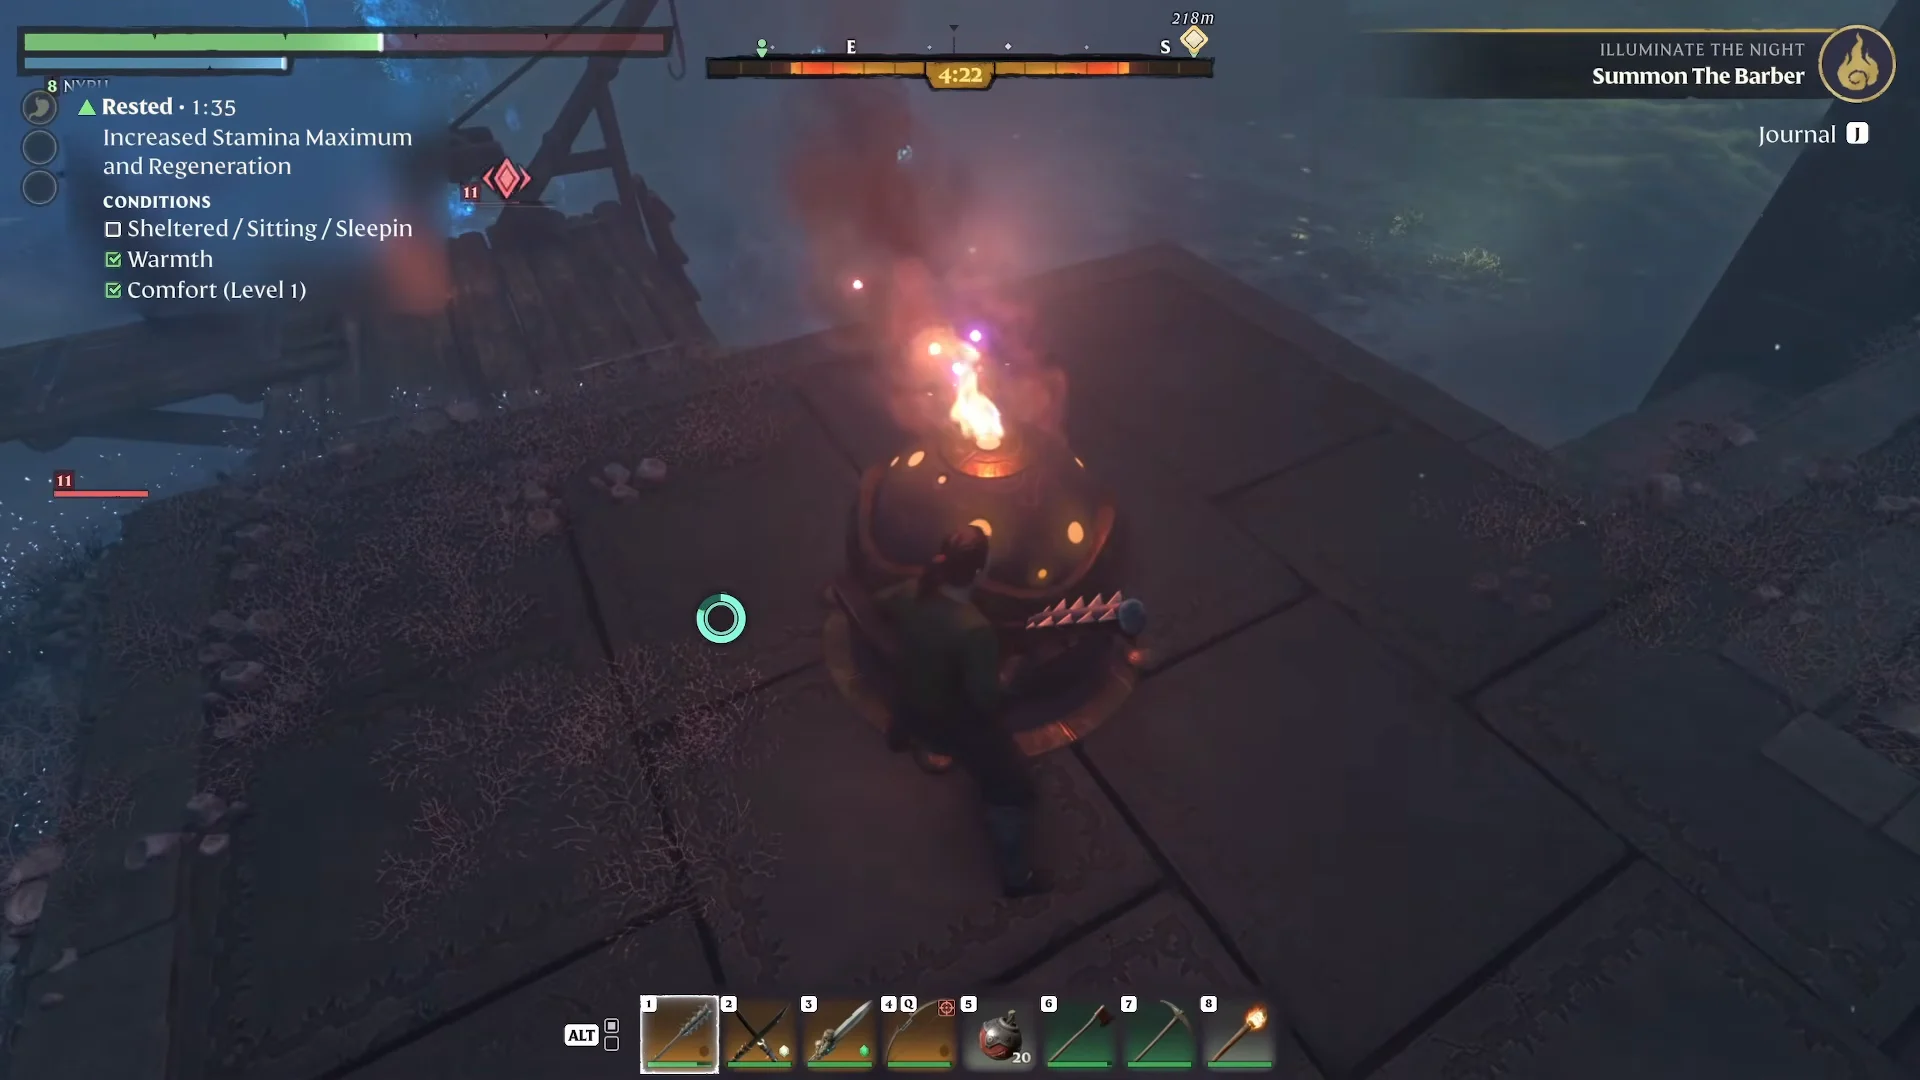
A Flame Altar costs 5 Stone, and placing one creates a fast-travel destination wherever the open world allows it. Drop one outside a dungeon or boss arena, fast travel home to restock, then warp straight back. Leapfrogging several altars across a region covers ground quickly, and you can take an altar down once you’re done with it. Strengthening the Flame raises how many altars you can keep at once.
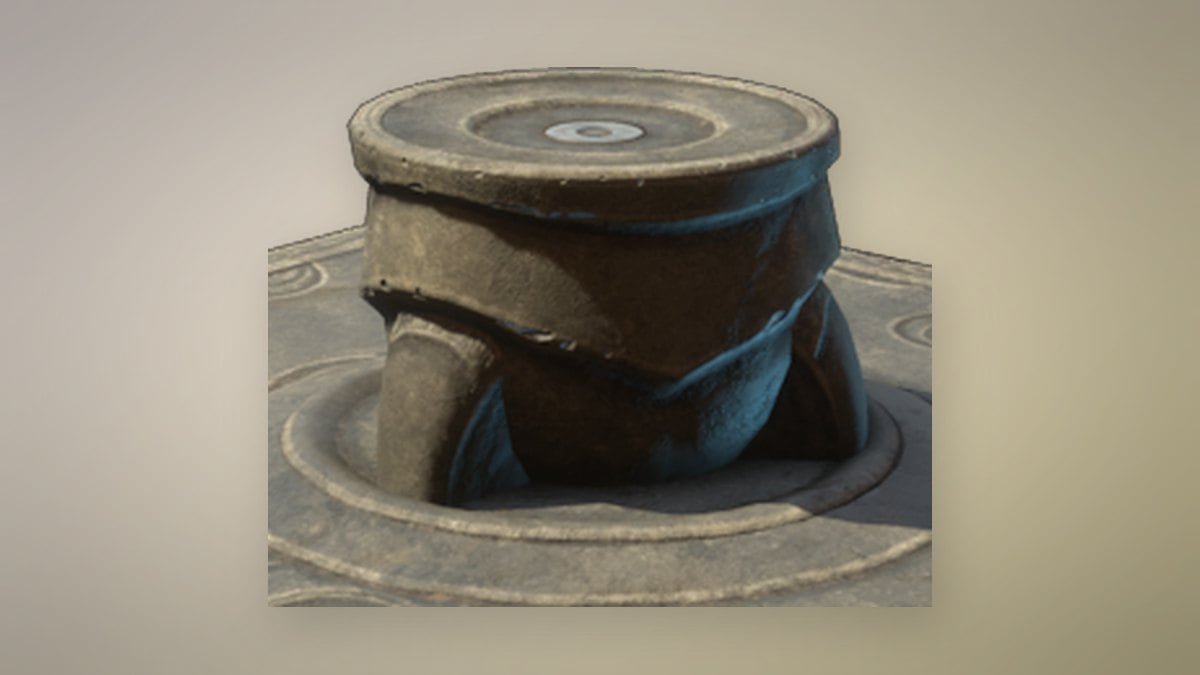
Rest, healing and night tips: Rested buff, beds and comfort
9. Get the Rested buff anywhere
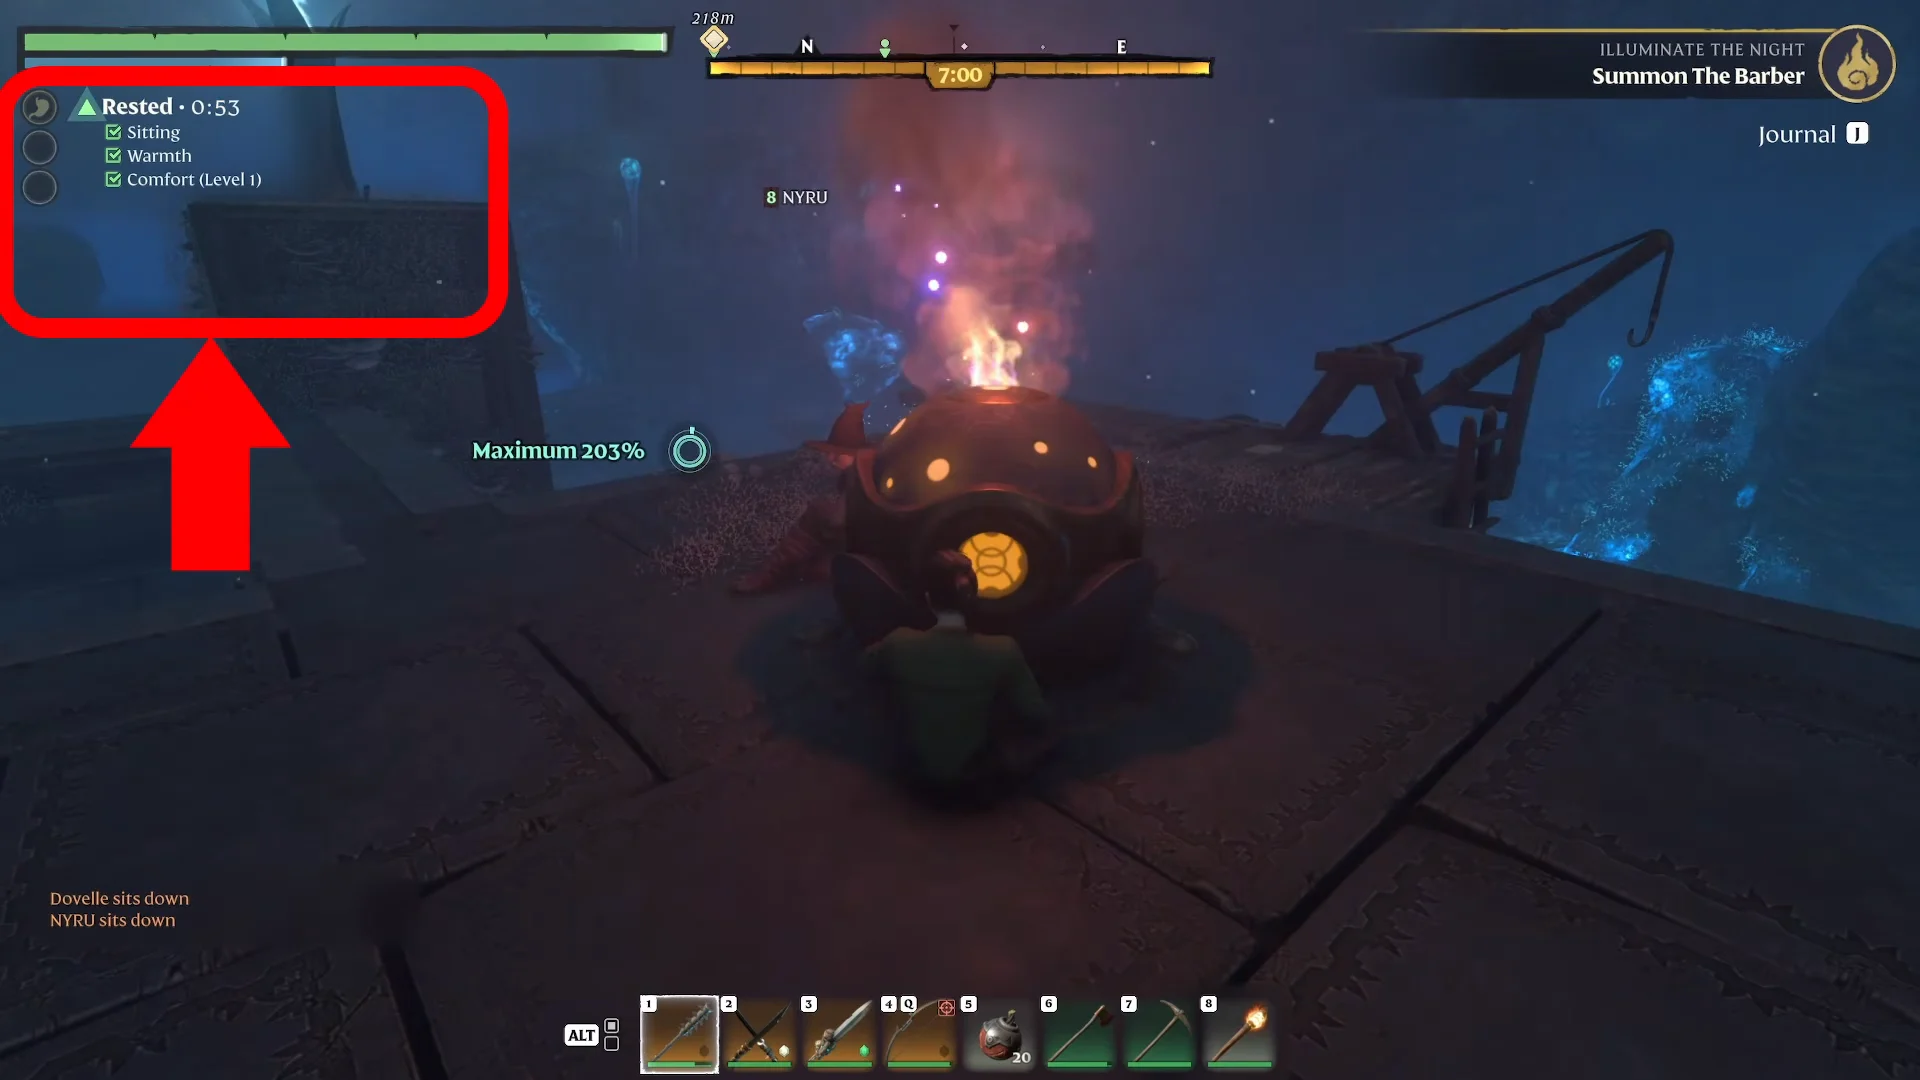
Rested raises maximum stamina and stamina regeneration, and it only needs two things: warmth, plus comfort or sitting. You don’t need to go home for it. These all work:
- Sit with the emote wheel (or the sit key, X by default on PC) beside a campfire.
- Sit near a Return Beacon or a standing torch.
- Sit next to a co-op partner who is holding a torch.
- While playing solo, use a pickaxe to carve a small recess in a dirt wall and gain the Sheltered status; then hold a torch and sit.
You’ll know it worked when the Rested status appears in your active effects.
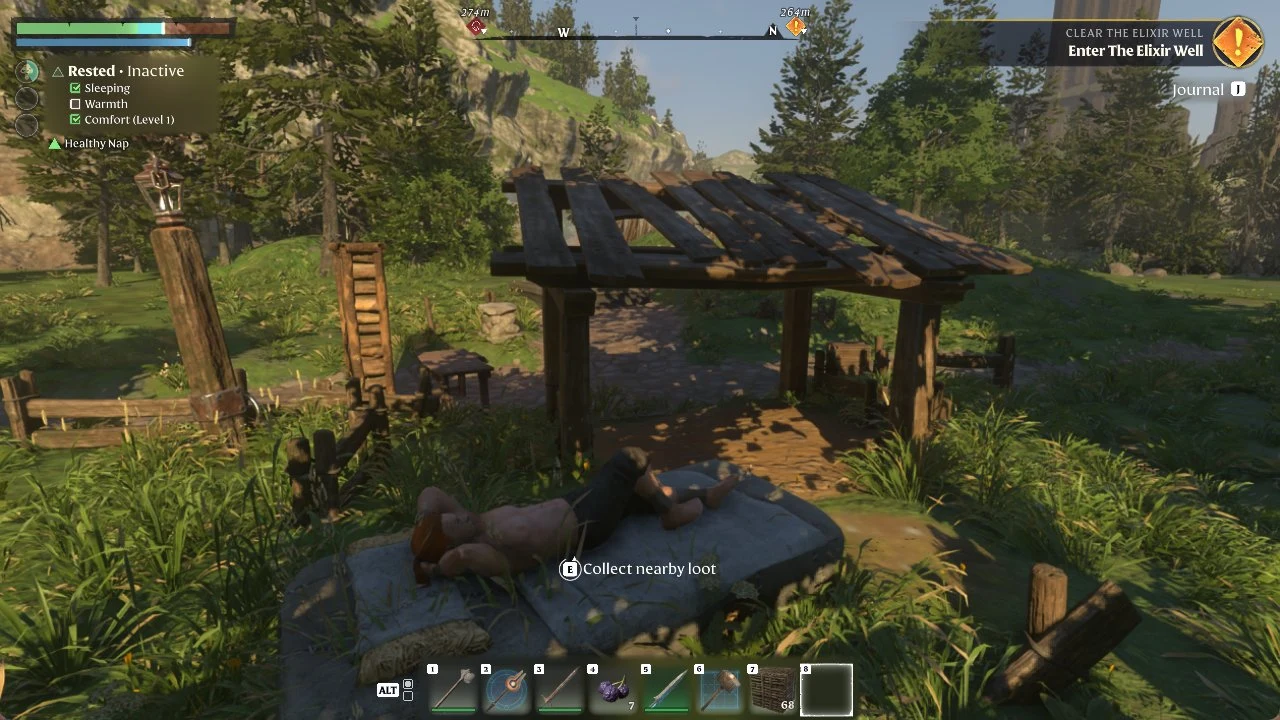
10. Sleep to heal instead of drinking potions
Any bed restores missing health over time, including wilderness bedrolls and the cots in bandit camps. Lie down in one after a rough fight and save your healing consumables for when you actually need them.
11. Skip the night by sleeping
Sleeping makes time pass 60 times faster until morning. On a multiplayer server that speed is divided by the number of active players, so a full lobby won’t fast-forward as hard as a solo game.
12. Stack different furniture categories for longer Rested
Your Comfort Level sets how long Rested lasts. It rises when you add furniture from different categories, like a bed, a bench or chair, bathroom pieces such as a Wooden Bathtub, Wooden Lavatory or Wooden Sink, and a fireplace. Duplicates in the same category don’t add up. Only the highest comfort value in each category counts, so one good bed beats three cheap ones. Most of this furniture comes from the Carpenter.
| Furniture | Category | Comfort | Unlocked by |
|---|---|---|---|
 Ancient Bed | Bed | 9 | Sparkling Dust |
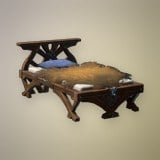 Boreal Wood Bed | Bed | 7 | Conifer Logs |
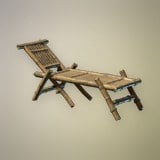 Bamboo Lounger | Bed | 6 | Bamboo Logs |
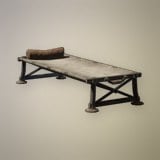 Camp Bed | Bed | 1 | Dried Fur |
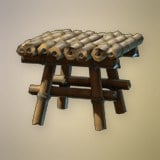 Bamboo Bedside Table | Table | 6 | Bamboo Logs |
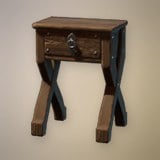 Boreal Wood Bedside Table | Table | 6 | Conifer Logs |
All six are Carpenter recipes. Every one except the Camp Bed also requires crafting under a roof. The Bamboo Lounger looks like seating but counts as a Bed, so it does nothing extra if you already own a better bed. The two bedside tables tie at 6 in the Table category.
Gear tip: swap armor sets with mannequins
13. Mannequins are crafted at the Decoration Workbench and hold a full armor set. Interact with one and pick Equip all as Armor to switch your whole loadout in one go. That makes it easy to swap between a tank set, a stealth set and farming clothes without digging through chests.
Enshrouded stun and Merciless Attack skill values
The Kick combo runs on the Overpower system. Filling an enemy’s Stun Bar by parrying or hitting it while it blocks leaves it overpowered and open to a Merciless Attack. These skills feed into that loop or pay off when it lands.

| Skill | Class | Cost | Effect |
|---|---|---|---|
 Kick | Ranger | 3 | Fills Stun Bar, pushes back |
 Shockwave | Warrior | 3 | Pushback on parry or overpower |
| Breach | Warrior | 3 | +100% melee physical damage, 3 s |
| Blood Warrior | Warrior | 3 | Health Orb on finisher kill |
| Heavy Handed | Warrior | 1 (3 levels) | +10% stun per level vs blockers |
| Opportunity | — | 1 (3 levels) | +40% Merciless multiplier per level |
| Power Parry | — | 1 (3 levels) | +10% Parry Power per level |
| Snap | — | 2 | Merciless Attack restores 20% Mana |
Breach applies its bonus to enemies that are overpowered. Shockwave’s stun buildup scales with Strength. Blood Warrior triggers on kills from a Sneak Attack or a Merciless Attack, and picking up the orb restores 10% health. For a Kick-first dagger character, Kick and Opportunity are the direct fit. The Warrior nodes matter more if you lean into the Strength side of dagger scaling.
Traversal tools and materials for early exploration
Bombed walls, beacon hops and altar leapfrogging all get easier with the Glider and Grappling Hook. Both are Workbench recipes, and both unlock as you pick up their ingredients.
| Tool | Rarity | Crafted at | Key stats |
|---|---|---|---|
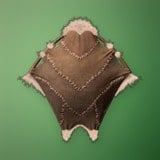 Glider | Uncommon | Workbench | Speed 10, 4 stamina/s |
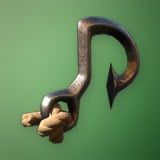 Grappling Hook | Uncommon | Workbench | Stamina Cost 40 |
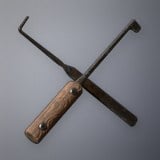 Lockpick | Common | Blacksmith | Stacks to 50 |
Both tools are learned from picking up Animal Fur, Shroud Spores, Shroud Wood and String, and the Glider also needs the Workbench itself. Glide time drains stamina every second, so a fresh Rested buff from tip 9 directly extends how far you can fly.
| Material | Where it comes from | Stack size |
|---|---|---|
 Shroud Spores | Take down Fell foes across Springlands and the Revelwood Shroud. | 250 |
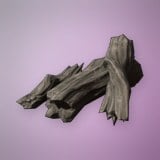 Shroud Wood | Dead trees in the Shroud | 250 |
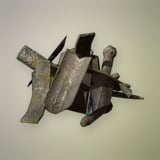 Metal Scraps | Smashed containers and cages | 250 |
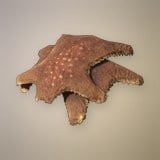 Animal Fur | Hunter recipe, learned from Fur Patch | 250 |
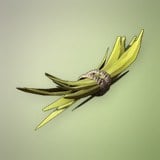 Plant Fiber | Gathered in the wild | 250 |
Since Shroud Spores and Shroud Wood both come from inside the fog, one well-timed Shroud run next to a Return Beacon can cover most of what both tools need. When the timer runs low, teleport out from the beacon instead of walking back.