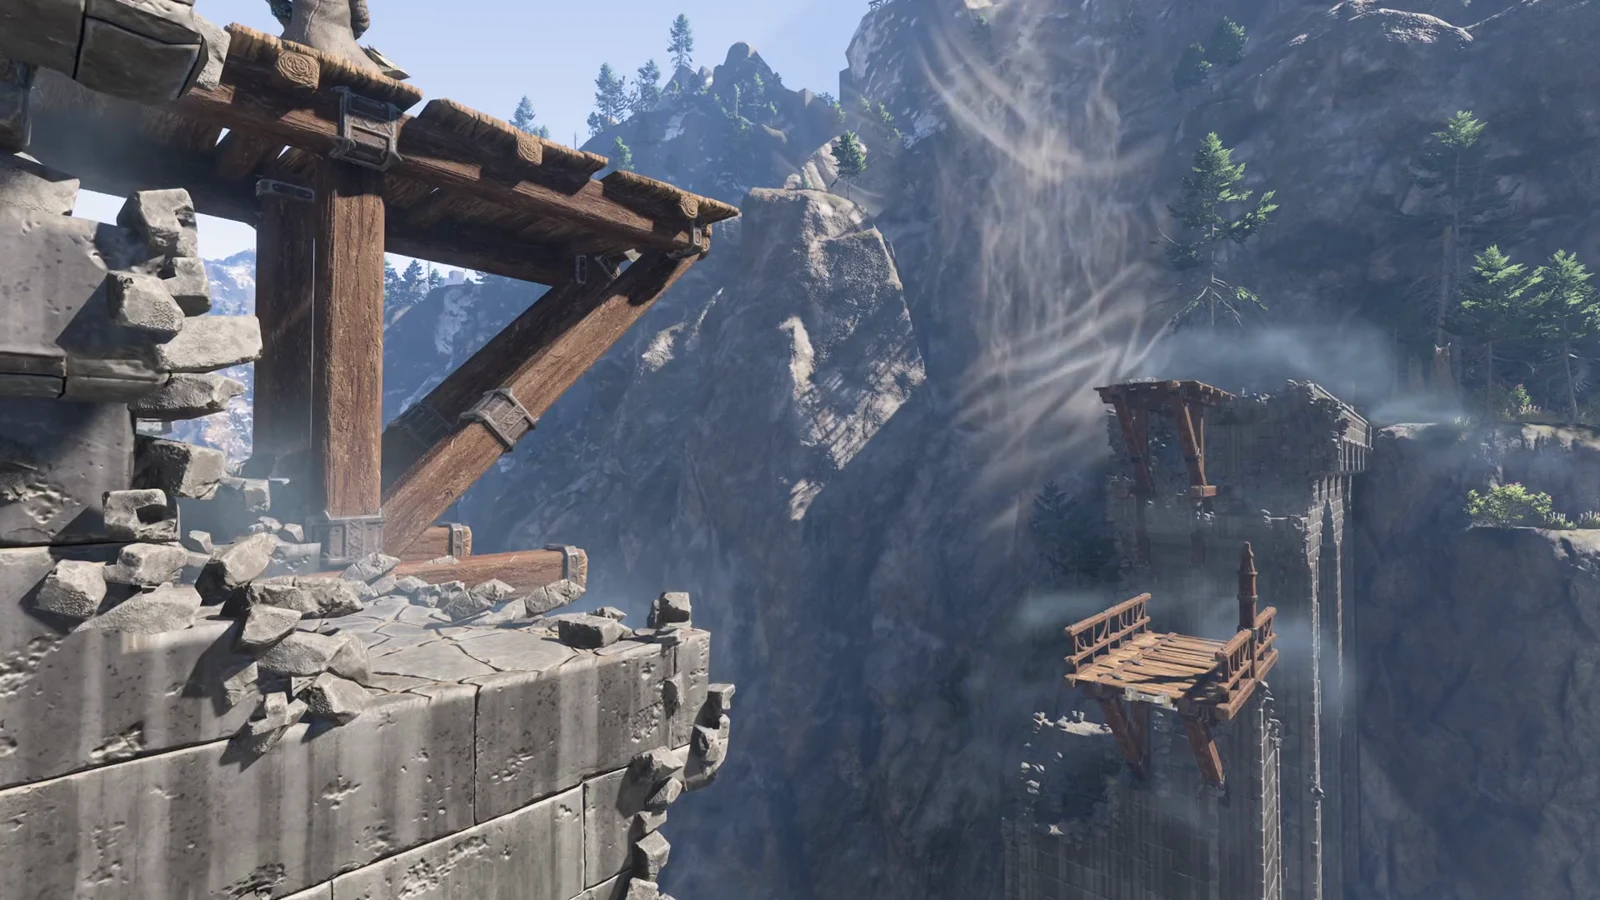
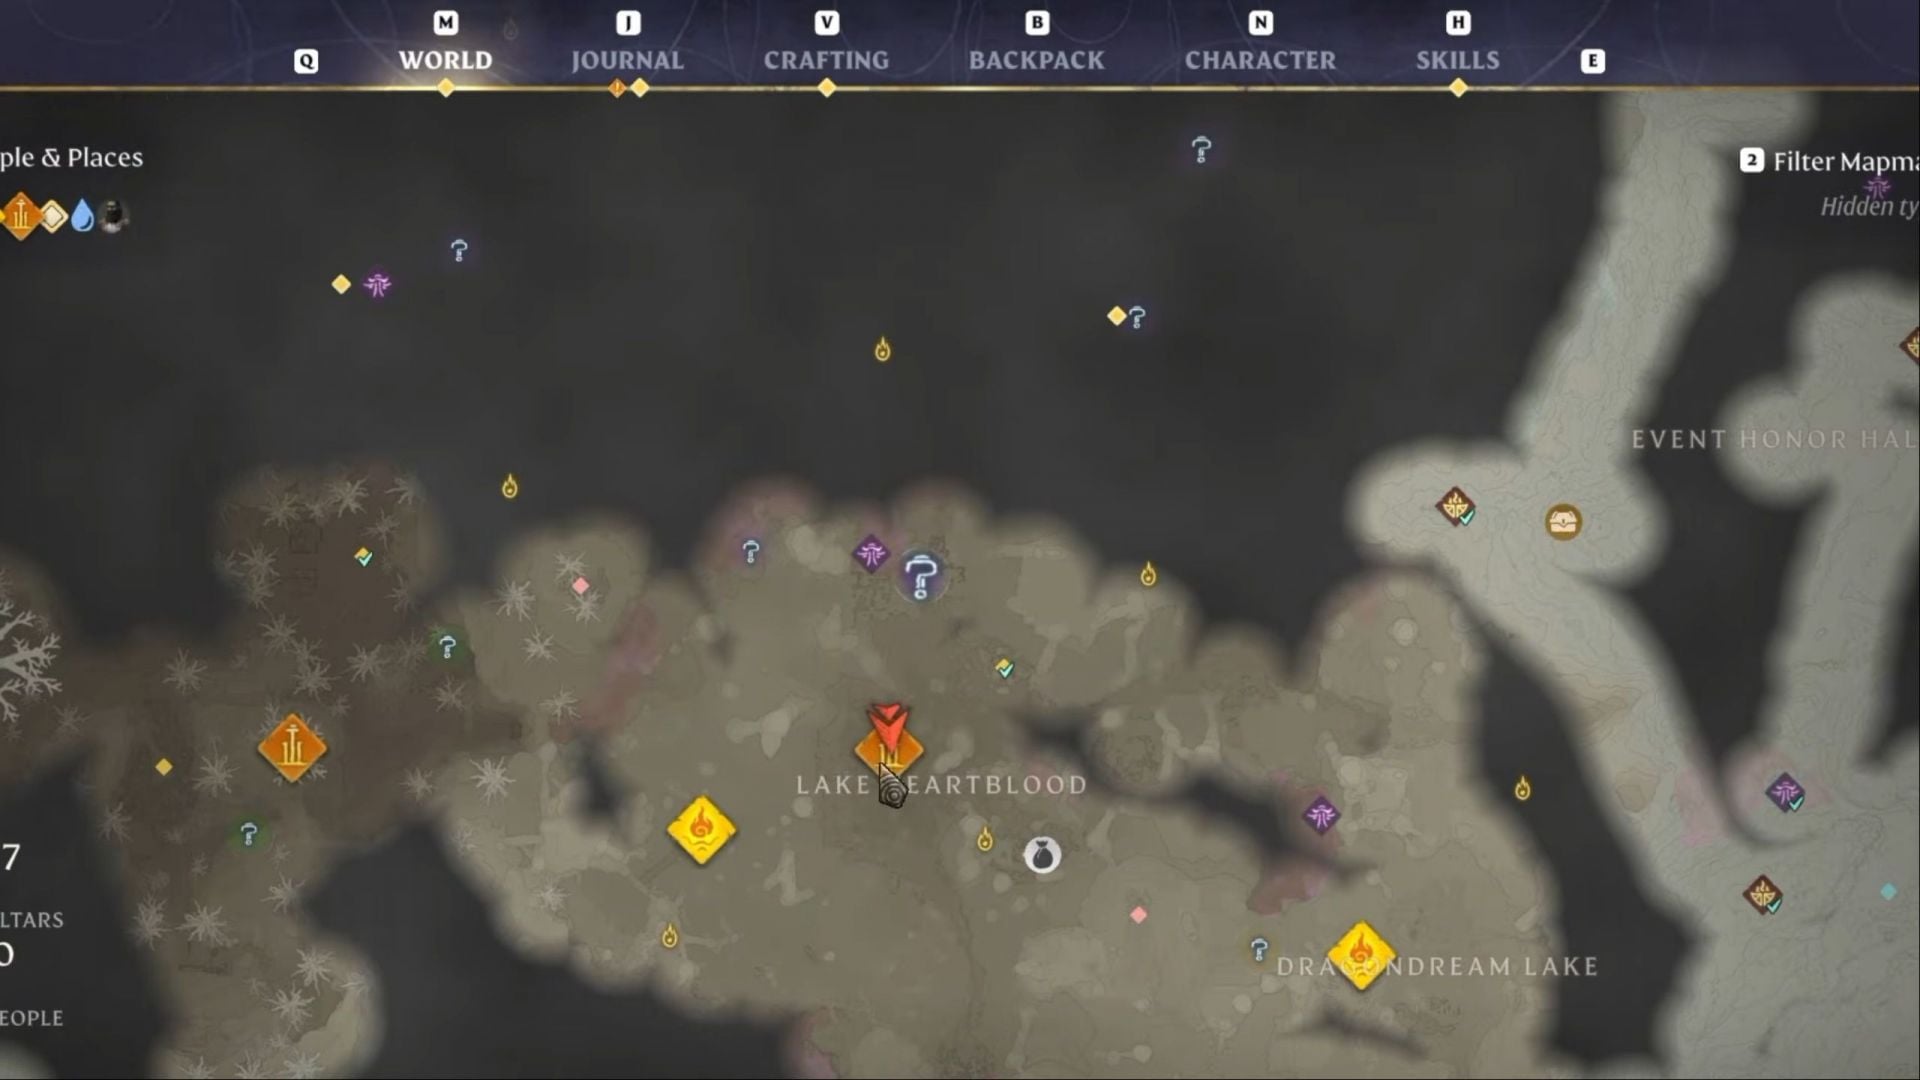
The Veilwater Basin Ancient Spire in Enshrouded sits in Lake Heartblood. It is mostly a trap gauntlet with four locks in the way: a six-lever door, a three-button door, a hidden switch you can only reach with an arrow, and a long underwater dive. Igniting the Flame at the top unlocks the spire’s Fast Travel point and charts the surrounding map.
Quick answer: Glide west from the Albaneve Summits Ancient Spire into Veilwater Basin, then head northwest past Dragondream Lake to Lake Heartblood. Bring a grappling hook, glider, and bow, then climb in from the spire’s west side.
Veilwater Basin Ancient Spire location
The spire stands in the water at Lake Heartblood, north of the Imperial Gardens and northwest of Dragondream Lake. The objective that points you there is Master The Ancient Veilwater Basin Spire, and it shows up as a yellow quest marker on your compass. The region is late-game content. Expect enemies in the level 35 to 45 range, and plan on being around level 35 with your Flame at level 8 before you set out.
How to get inside the spire
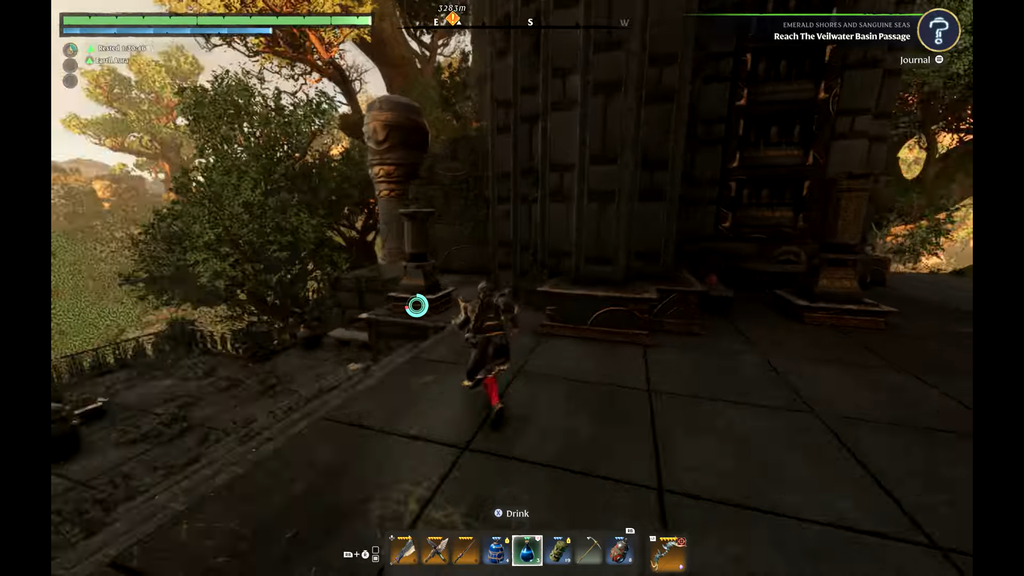
You can’t walk in through a front door at ground level. The dependable way in is the west side, which is the only face with wooden scaffolding. Land on the platforms and climb the ladders and grapple points up to the entrance. The left and right paths from the entrance both lead to the same starting chamber.
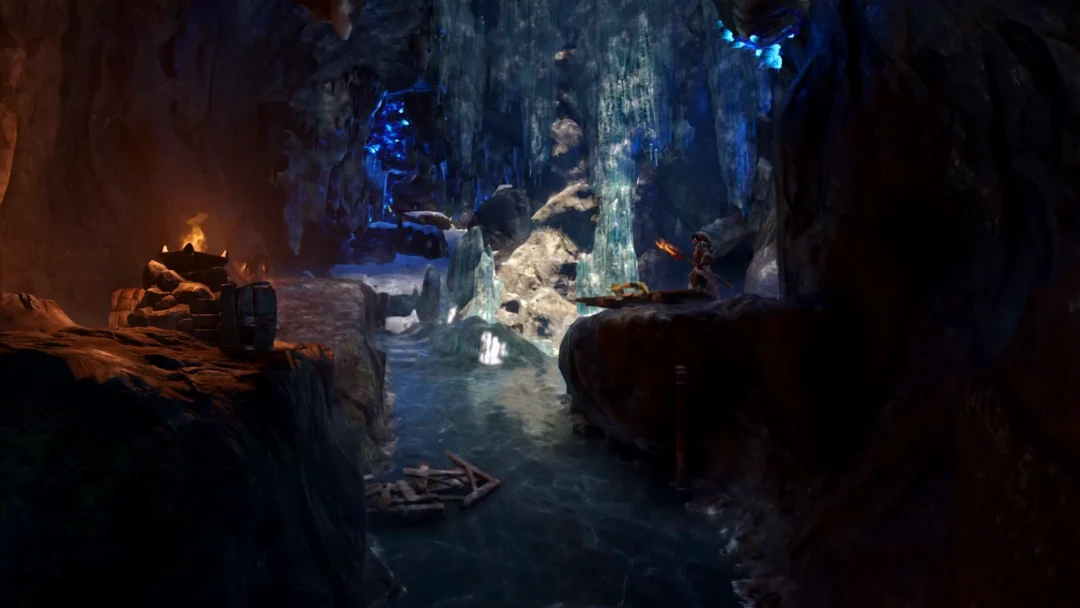
The base of the spire is also submerged and has openings under the water. If you dive from the lake surface, you’ll find a large doorway and, past it, a glowing teleporter that puts you inside on the first floor.
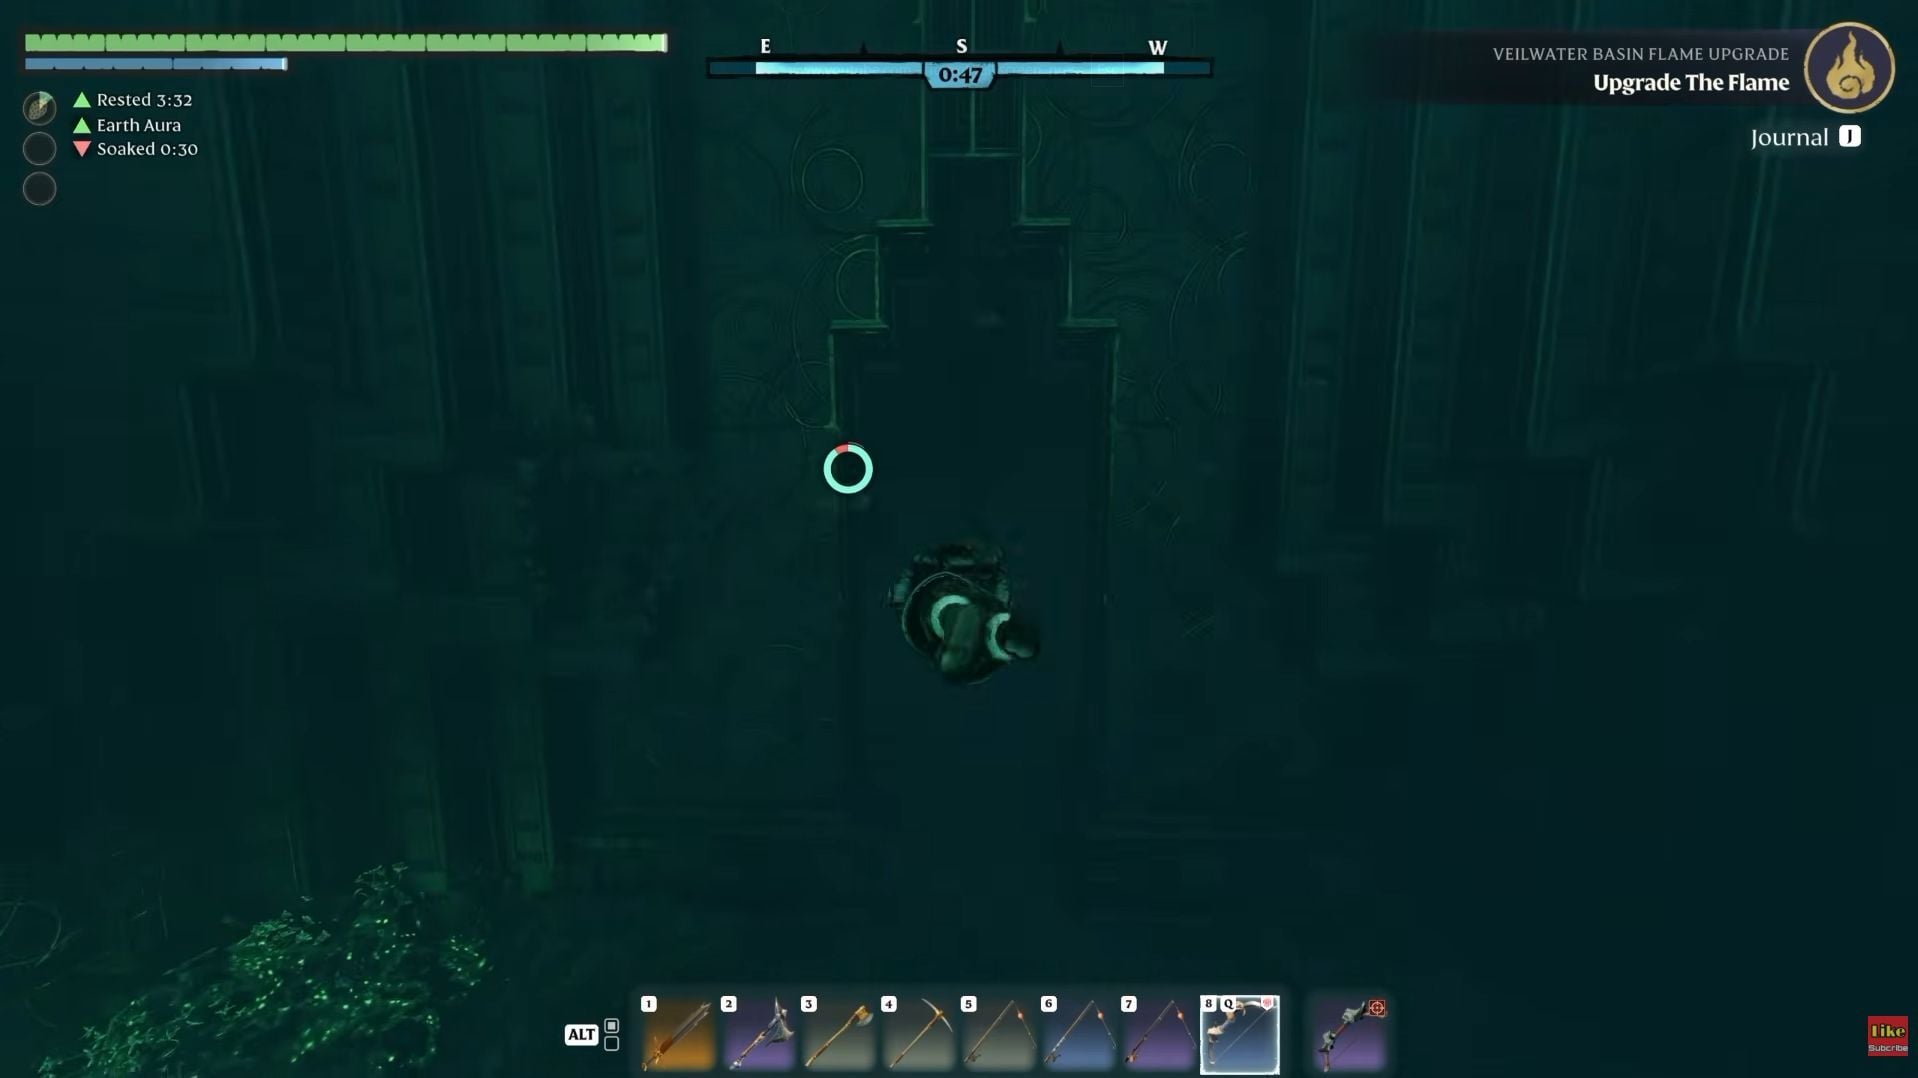
The vivid pink teleporter in the starting chamber sends you into the water underneath. Leave it alone unless you intend to exit.
What to bring
Two pieces of gear are mandatory. The rest makes the run easier.
- Grappling Hook and glider, both needed for the climbing and gap sections.
- A bow with a stack of arrows, needed for two switches that you can only shoot.
- Fish or other food that extends your breath, for the long dive near the top.
- Healing supplies, since enemies ambush you in narrow rooms full of traps.
| Item | What it does | Source |
|---|---|---|
 Steel Arrow | 27 Piercing damage | Hunter |
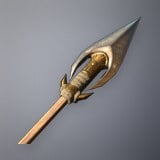 Golden Steel Arrow | 33 Piercing damage | Hunter |
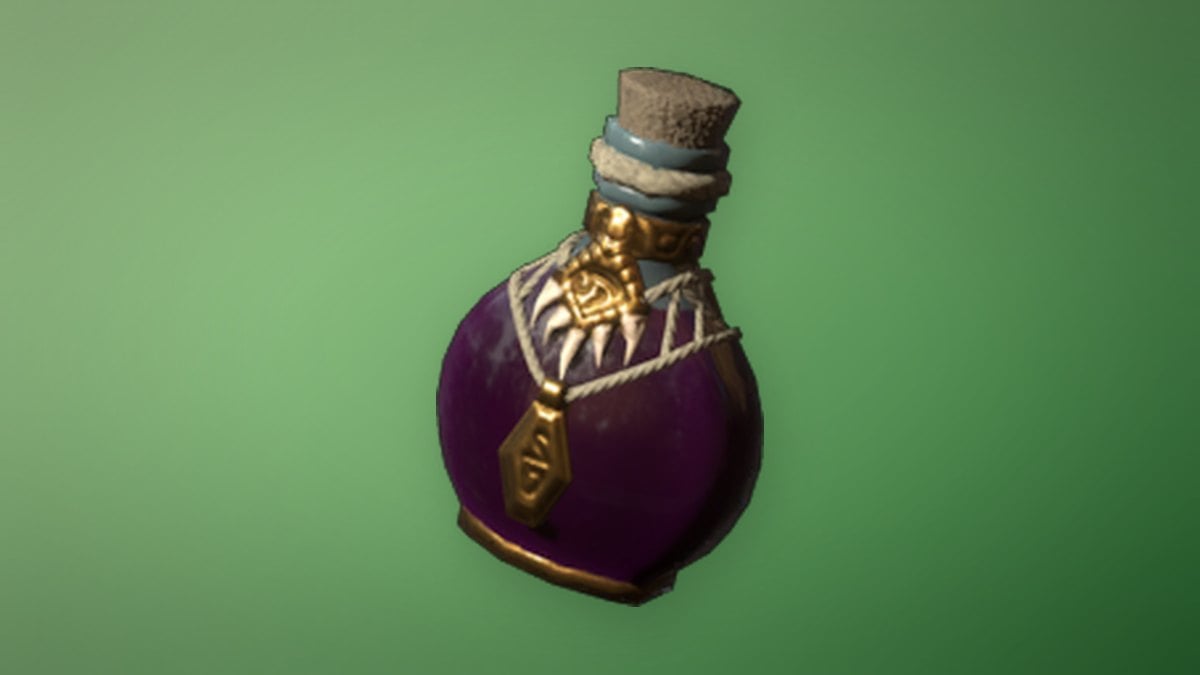
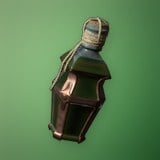 Diver’s Endurance Flask | Sprint swimming costs 20% less stamina. | Alchemist |
 Drak Soulward Flask | Reads Drakian writing, +10% damage against Drak | Alchemist |
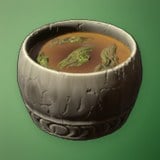 Herbal Mountain Tea | Mana 100, Stamina 50, lasts 3000 s | Kitchen |
| Silverback, Whiskerfin | Fish to eat before diving | Fishing |
Any arrow will hit the switches. Steel Arrows are cheap, which helps on the timed shot because you will probably miss a few times. The Hunter crafts them in batches of 50.
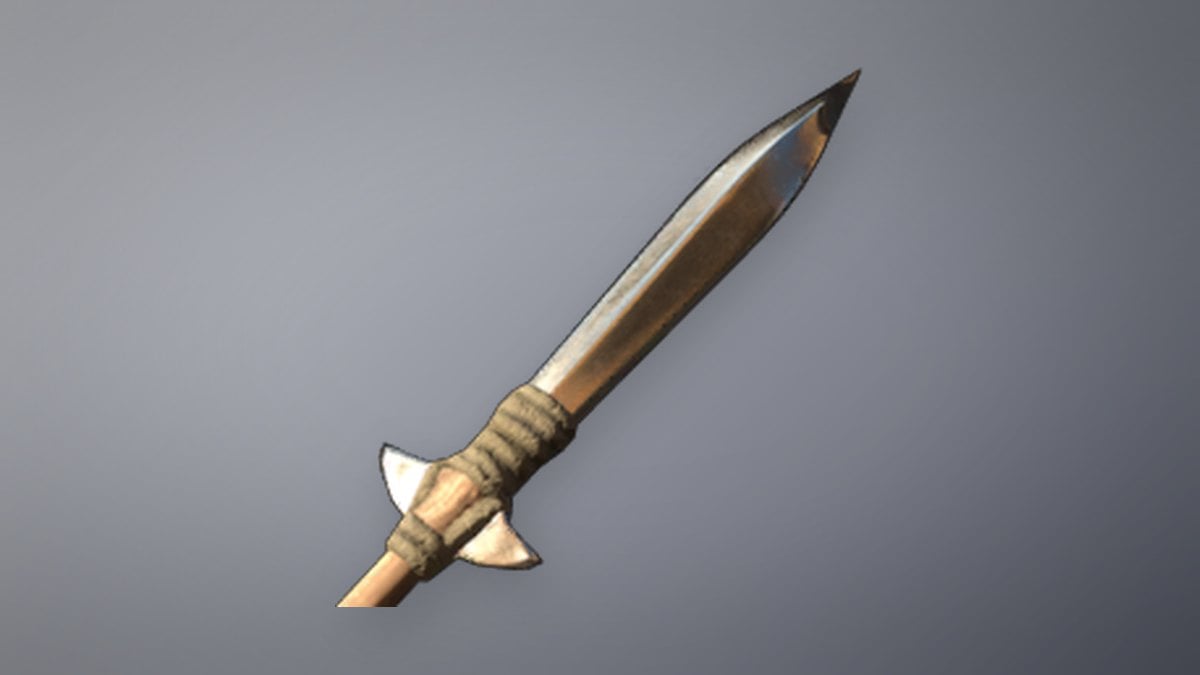
The Diver’s Endurance Flask provides no extra air; instead, it lowers stamina expenditure during fast swims and dives, letting you cross the flooded tunnel more quickly. The Alchemist makes it available after you obtain Mother-Of-Pearl.
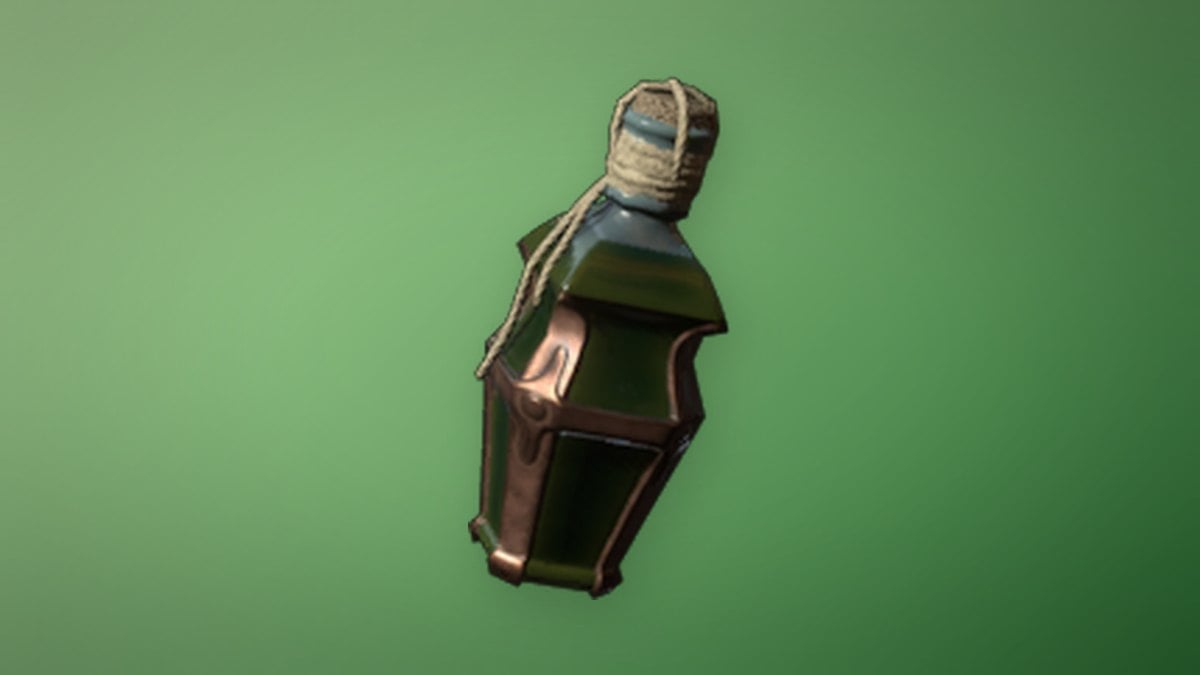
The Drak Soulward Flask is only needed if you want to read the Drakian lore object near the entrance. You don’t need it to finish the spire.
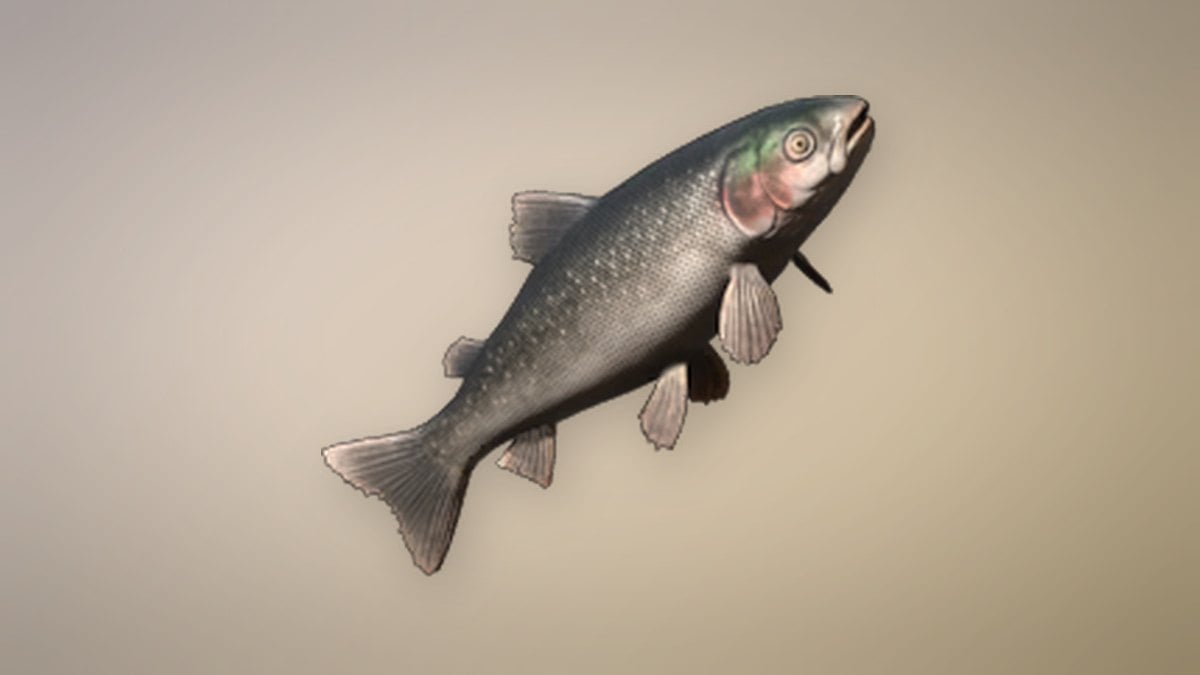
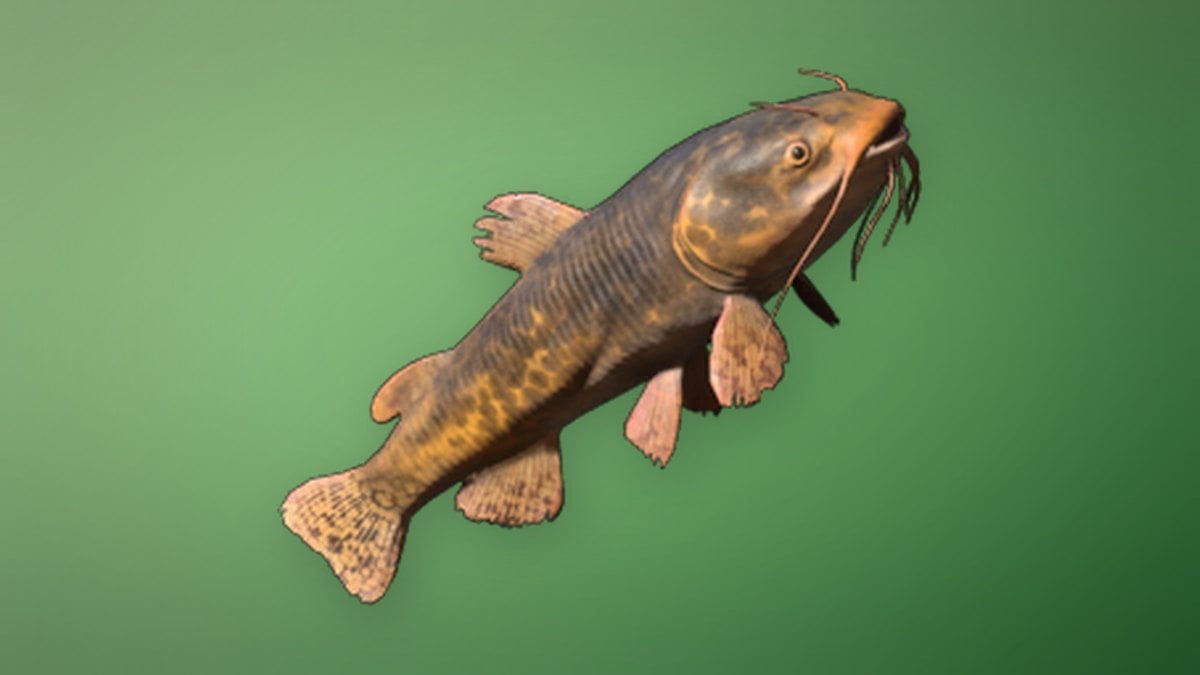
Silverback and Whiskerfin are both easy fish to eat before the dive.
Entrance floor: traps, no puzzle
The first stretch is a linear obstacle run. Weave through the lightning orbs, cross the spike floors when the spikes drop, and jump over the vases. You can fight the enemies here for loot, but you don’t have to. Some square puzzle icons on the walls are already lit and some aren’t. They don’t lock anything, so leave them alone. At the end of the run, climb the metal grid wall to reach the next section.
Six-lever door puzzle solution
Just past the grid wall is a fireball hallway. It fires down the center lane and the two outer lanes, so shift between the gaps as you go and double jump and glide over the last few meters. Behind it is a room with four enemies and six levers. Kill the healer in the corner first, then the melee enemies, so you can work the levers in peace.
Each lever switches the panel above it between a gold glow (on) and a dim blue light (off). Three levers sit under golden pillars, which have a smooth gold texture instead of the usual brick. The rule is simple. Every lever under a gold pillar must glow gold, and every other lever must stay dim.
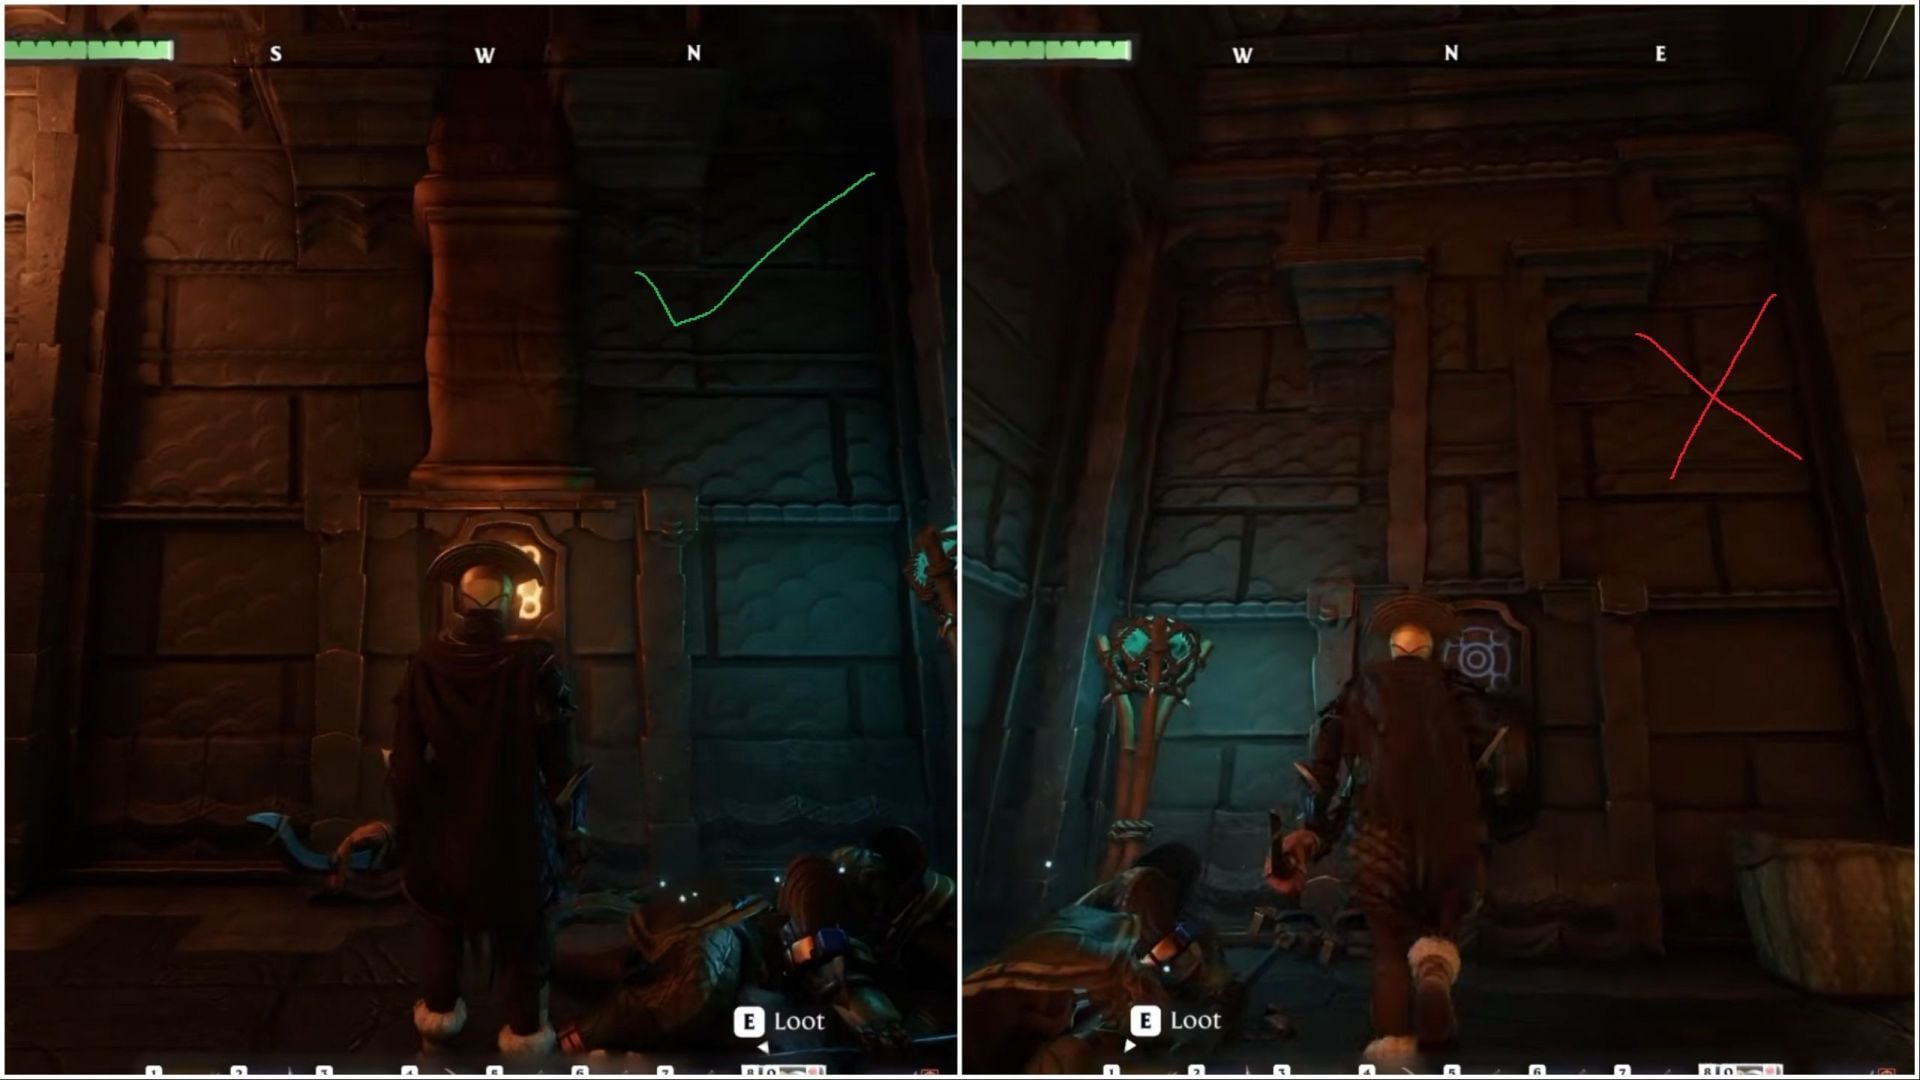
| Lever position | Where it is from the doorway | Set to |
|---|---|---|
| Southwest | Directly to your left | On (already lit, leave it) |
| Southernmost | To your right | On |
| Northwest | Opposite the door, on the left | On |
| Other three | Under plain brick pillars | Off |
When all six match their pillars, a “Door Unlocked” message appears and the door to the teleporter opens.
Three-button door puzzle solution
The teleporter takes you to a floor built around a spike hallway, a room full of lightning traps, and an upper route made of climbable grates, grapple points, and swinging axe platforms. Three wall buttons are spread across these areas, and all three have to be pressed before the exit door opens.
| Button | Where to find it |
|---|---|
| Spike hallway | Cross the spikes, wall on the left |
| Lightning trap room | Southwest corner of the room |
| Below the grapple gap | Seen from the upper walkway, drop down |
To reach the lightning room, go back to the spike hallway and take the doorway on the right. For the third button, climb the metal grate near the center spikes and follow the upper walkway. Before you grapple across the gap, look down and you’ll see a glowing button below. Glide down, press it, and climb back up.
With all three pressed, take the grapple across, hop between the platforms while timing the swinging axes, and land at the exit. The three lamps above the door light up when the lock is open. The teleporter to the next floor is inside.
Hidden switch: the arrow shot through the gap
On the next floor you need your bow.
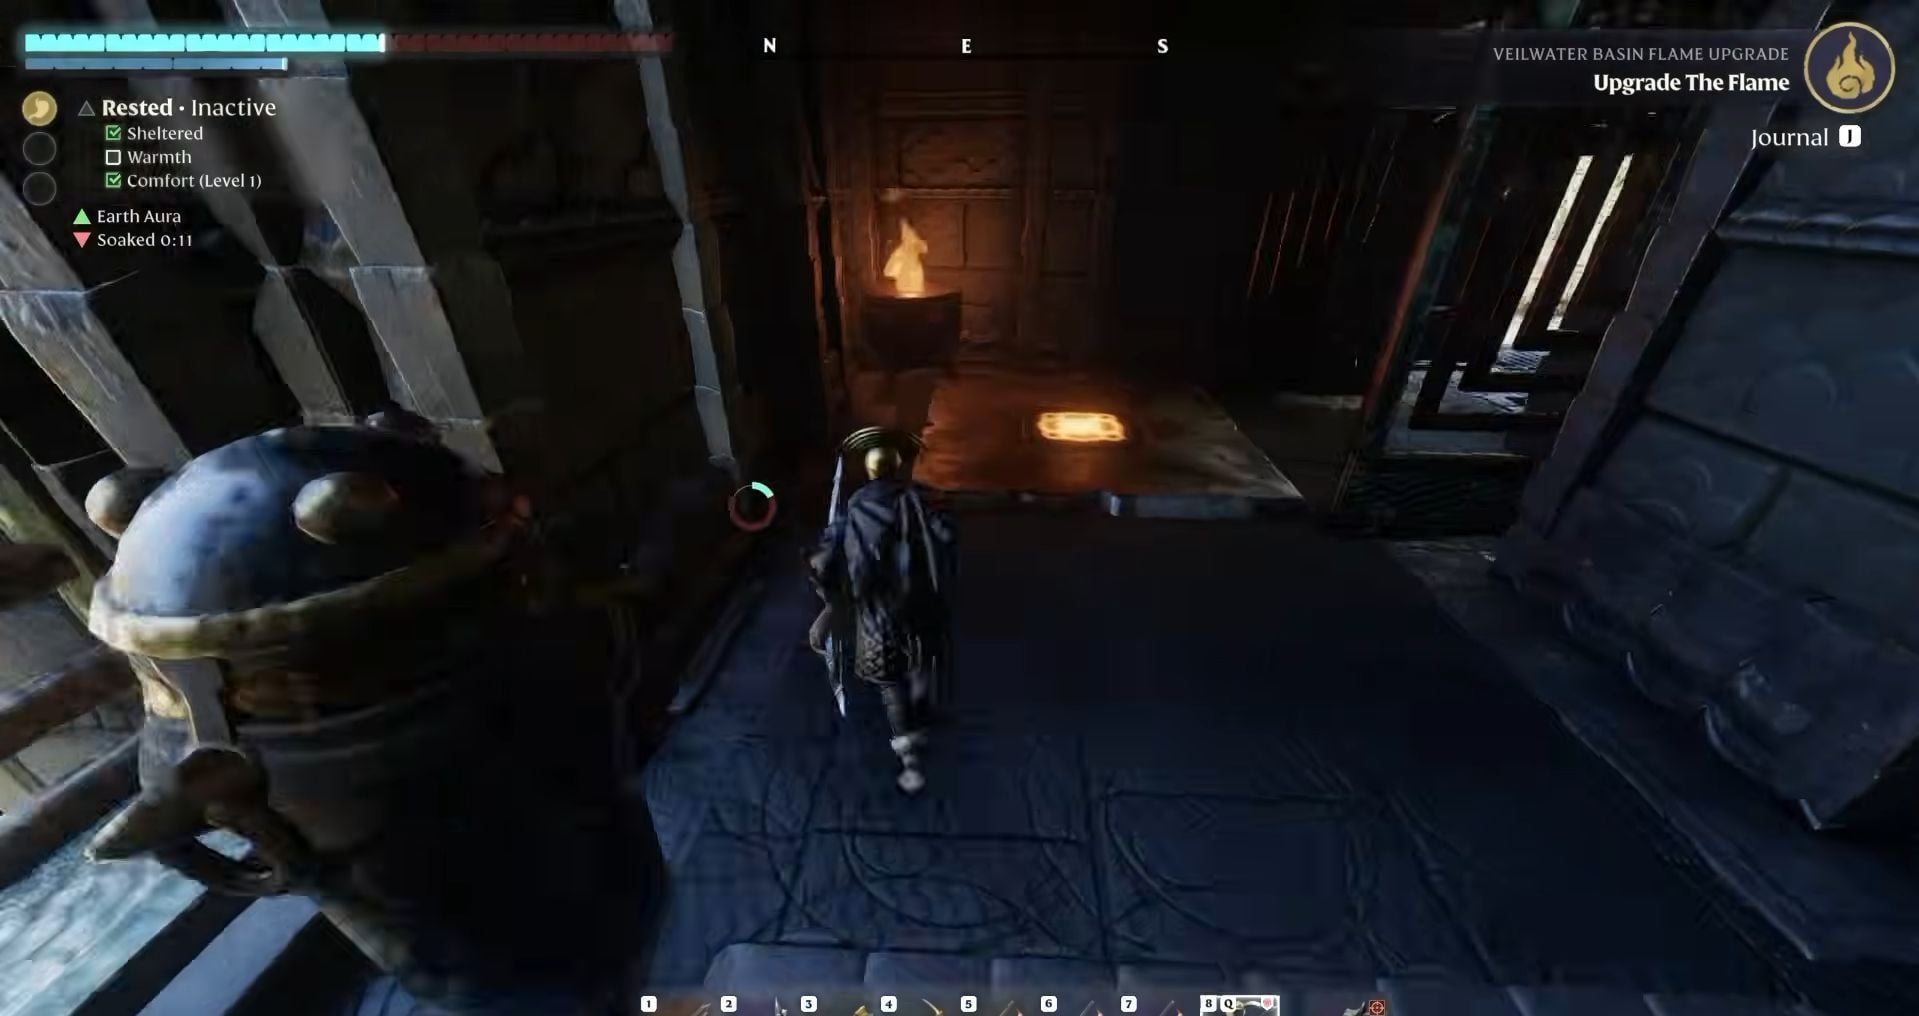
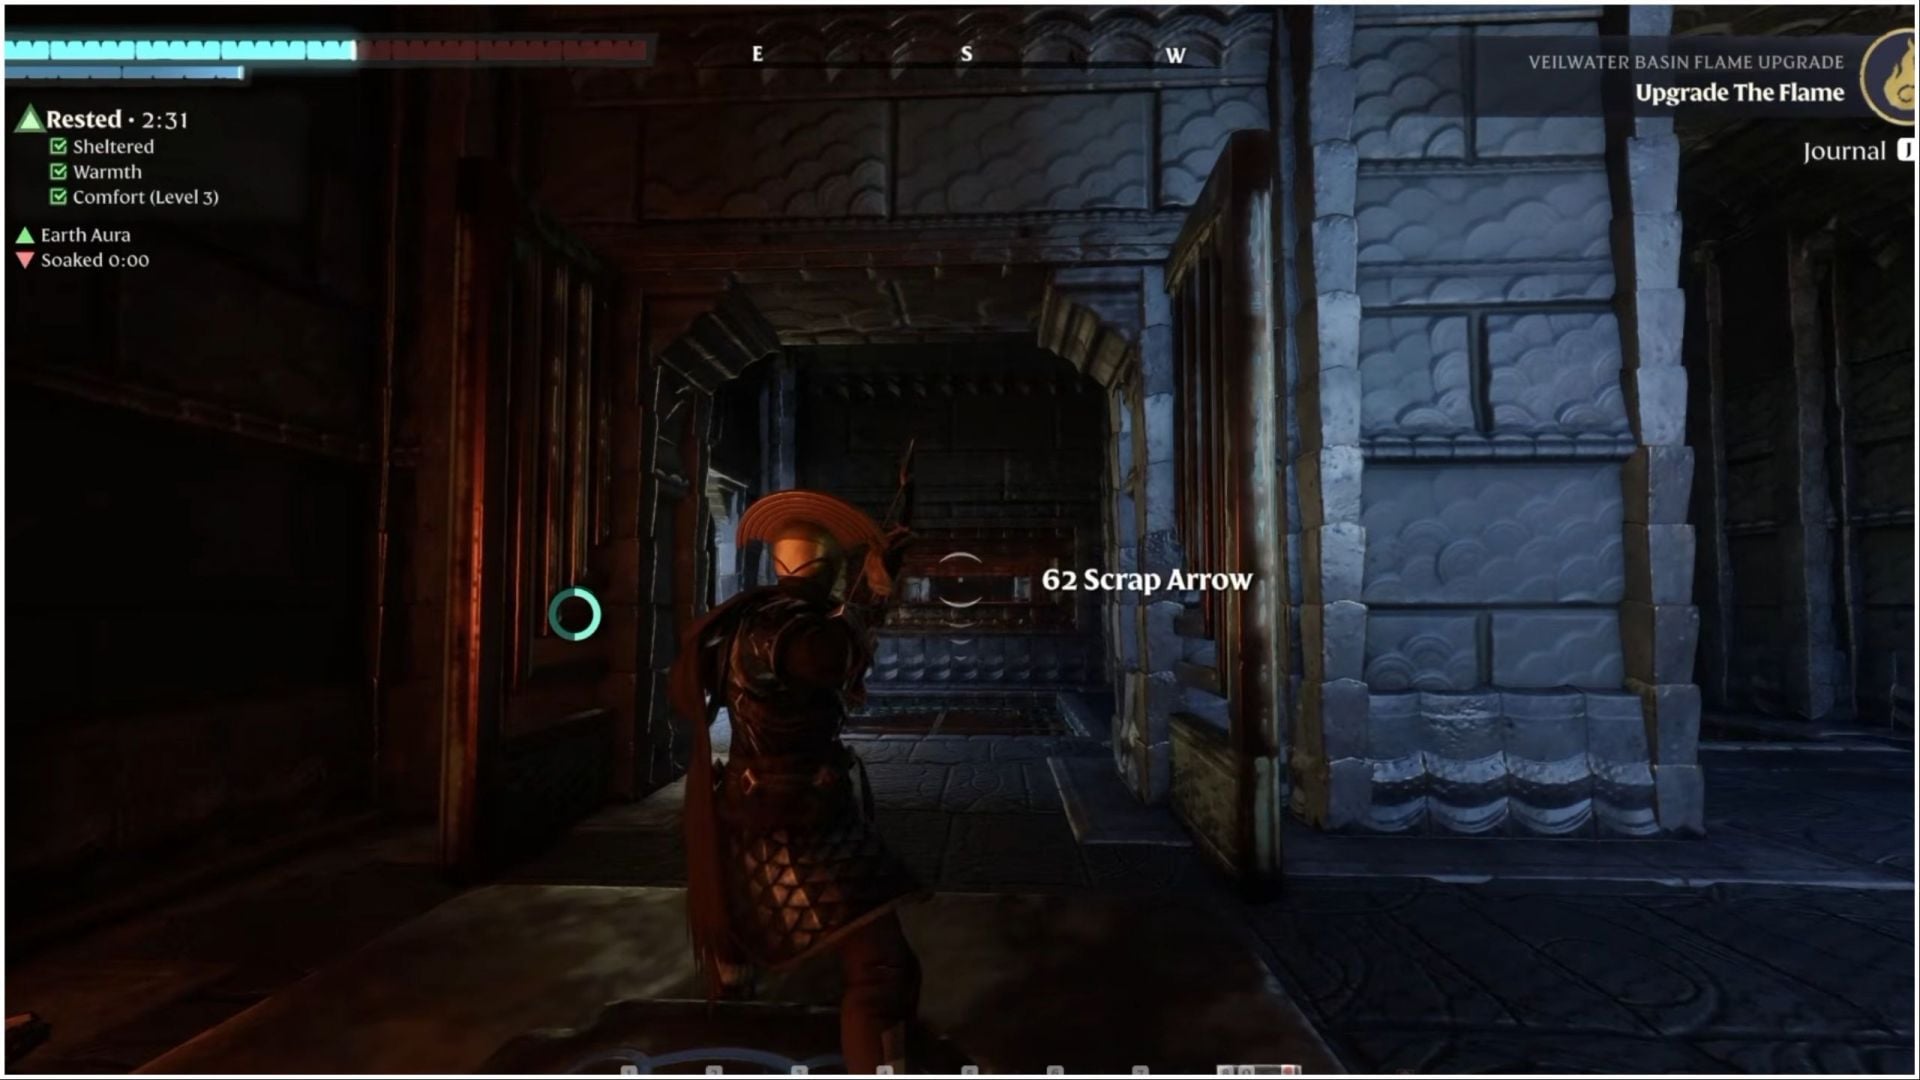
A hit turns off the hallway’s electric traps and opens the door at the top of the stairs. Climb up and follow the walkway to a set of locked doors with the final teleporter behind them.
Underwater switch: the final dive
To open those locked doors, press the switch at the base of the nearby floor pit filled with water. The tunnel is long enough that the descent takes more than your 30 seconds of breath, so eat your oxygen food first and begin with full stamina.
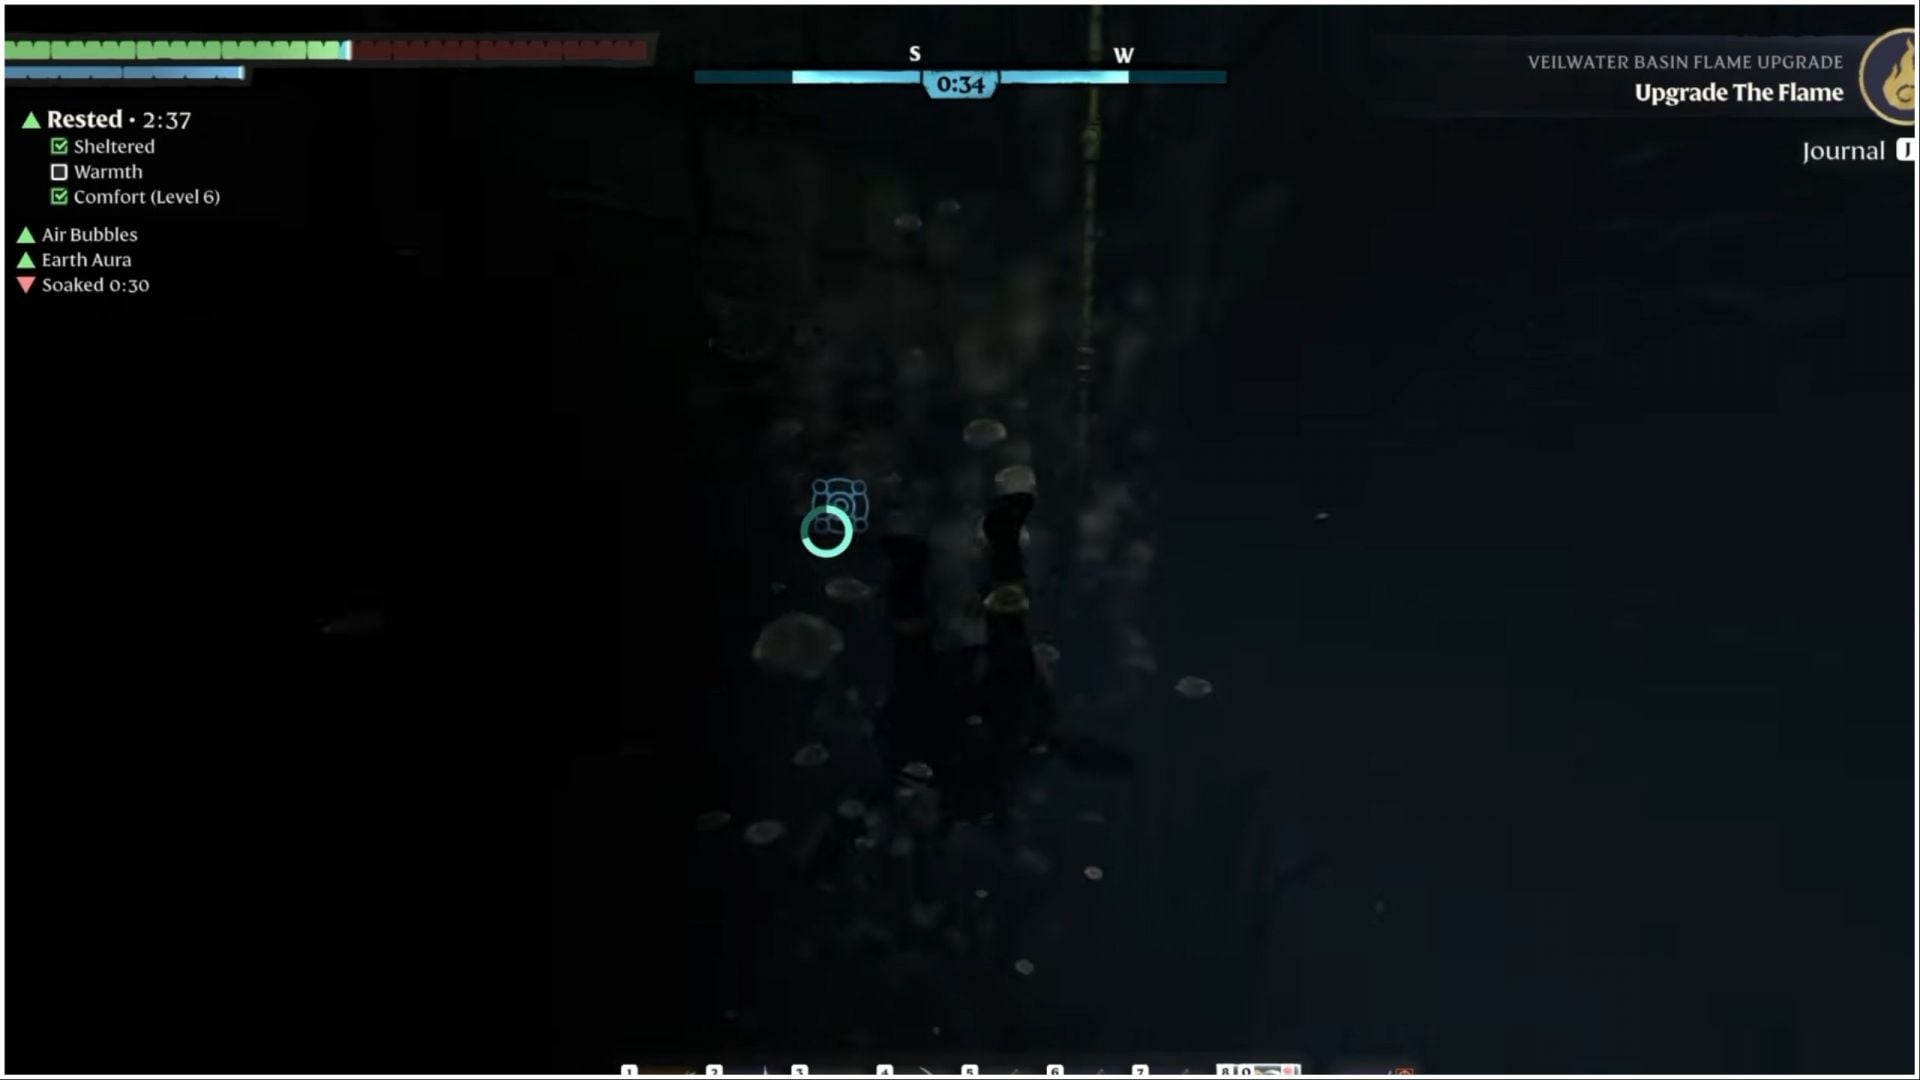
Dying on the way back costs you almost nothing. The switch stays activated, you respawn safely, and your backpack waits just outside the water tunnel. Changing the game setting that keeps your backpack on death avoids the pickup entirely.
Optional chests inside the spire
None of these chests block your route to the Flame, but each one is guarded by its own small lock.
| Chest | Where | How to open |
|---|---|---|
| Silver | Locked door beside the fireball hallway | Shoot the ceiling switch before the lever room |
| Silver | Off the lightning trap room | Shoot the hidden button through a floor gap |
| Golden | Secret door in the water tunnel | Wall button behind a new door off the lightning hallway |
After activating the underwater switch, you can claim the golden chest. Descend the first staircase again and turn left; a door has opened on the far side of the lightning hallway. Pressing the button on its wall gives no feedback, but it unlocks the underwater door you passed earlier. Dive in once more, get past the spikes, and find the chest at the end of that side tunnel.
Igniting the Flame and confirming completion
Once you’re out of the water, walk through the open doors and step on the last teleporter. It takes you to the open-air roof. A “New Location Charted! Veilwater Basin” banner appears when you arrive. Walk to the central altar and use the Commune with the Flame prompt.
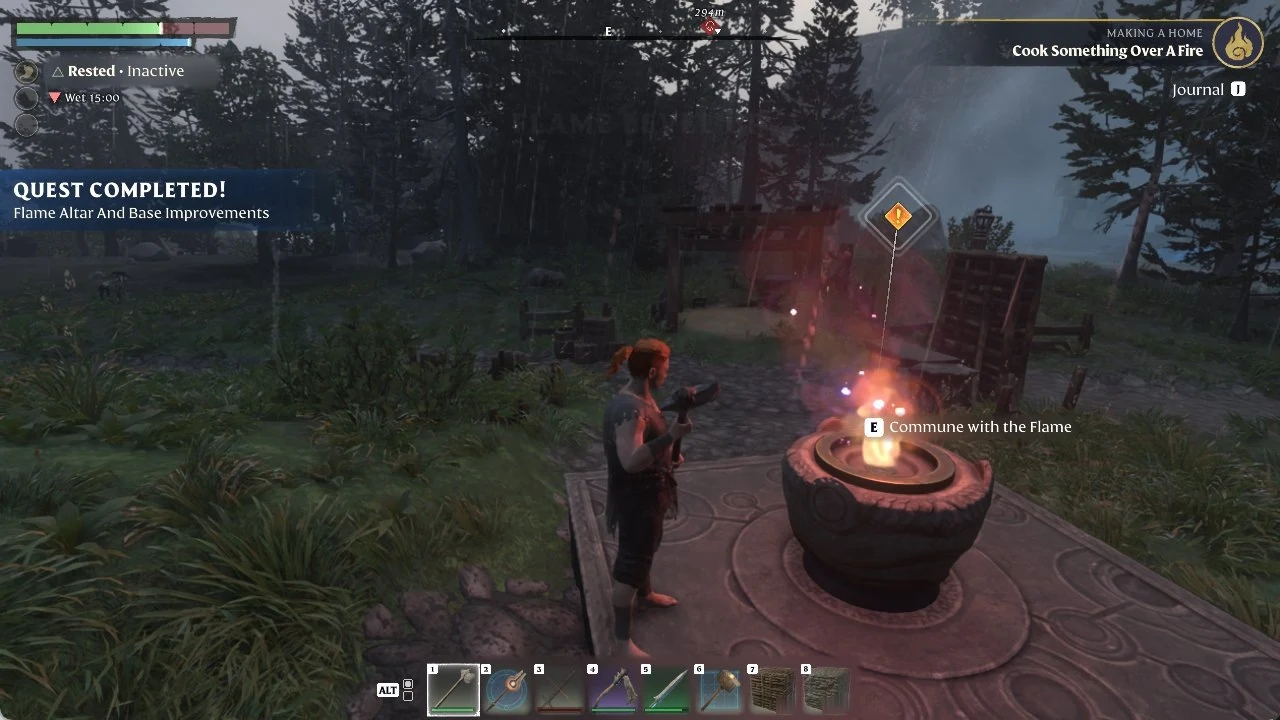
You know it worked when the “Quest Completed! A Lighthouse In Sunless Seas” banner appears and the world map shows a new Ancient Spire Veilwater Basin node over Lake Heartblood. Select that node on the map and you can fast travel back here anytime.