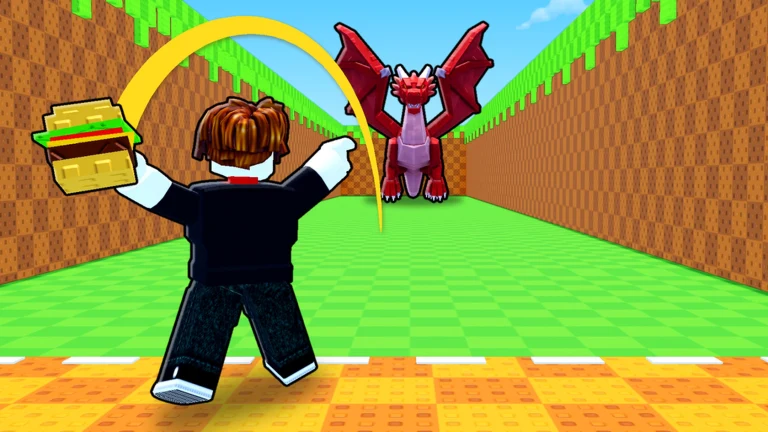
Every animal in Throw Food For Animals sits on your plot and pays you cash every second, even while you’re offline. Some of them pay hundreds of times more than others. Once your throws carry past the Mountains and into Taiga, you have to keep choosing which animals hold your limited plot slots and which go to the Sell stand. The ranking below sorts a late Taiga-stage plot by what each animal actually pays, then covers the training, food and upgrades you need to keep pulling better ones.
Quick answer: Keep the animals with the highest cash-per-second number on their card. A HUGE Caracal, a Gold Bear and a Big Jackalope out-earn a plain Bear, so sell plain low earners first when slots run out.
Each animal is ranked by the cash per second shown for that exact copy, with its size or Gold variant included. The ranking reflects the game as of November 2026.
Throw Food For Animals tier list at the Taiga stage
The tiers follow the income gaps between animals. Each step down roughly halves the income or worse, and the bottom tier earns in millions rather than billions.
| Tier | Animals |
|---|---|
| S | Caracal (HUGE) |
| A | Gold Bear, Jackalope (BIG) |
| B | Bear, Jackalope, GOLD Wolf |
| C | Wolf, Cockatrice |
| D | GOLD Thunderbird, Bull, Thunderbird, Capybara |
S tier: oversized earners
| Animal | Variant | Cash per second |
|---|---|---|
| Caracal | HUGE | $107B/s |
Caracal tops the plot only because of its HUGE size tag. It earns more than any Taiga catch in this bracket, including the Gold Bear. Never sell an animal with a size tag before checking its card, because the tag can lift a modest animal above everything else you own.
A tier: Gold and Big Taiga catches
| Animal | Variant | Cash per second |
|---|---|---|
| Gold Bear | Gold | $72B/s |
| Jackalope | BIG | $66.4B/s |
Gold Bear is the strongest regular Taiga catch here. It takes a plain Bear’s income and multiplies it, and the game flags it with a NEW BEST! banner when it beats your previous top animal.
Jackalope in its BIG form earns just over twice what a normal Jackalope pays. That puts it above a plain Bear, even though the plain Bear outranks the plain Jackalope.
B tier: plain Taiga animals
| Animal | Variant | Cash per second |
|---|---|---|
| Bear | None | $48B/s |
| Jackalope | None | $32B/s |
| GOLD Wolf | Gold | $30B/s |
Bear and Jackalope are the everyday results of a good Taiga throw. They make solid slot fillers, and they’re the first animals to replace once a Gold or Big copy shows up.
GOLD Wolf lands in the same band because its Gold boost almost closes the gap to a plain Jackalope. Keep it until you have a full plot of Taiga catches that pay more.
C tier: low-billion earners
| Animal | Variant | Cash per second |
|---|---|---|
| Wolf | None | $20B/s |
| Cockatrice | None | $8B/s |
Wolf earns less than half of a Bear. It still beats anything that pays in the low billions or below.
Cockatrice is a stopgap. Sell it as soon as another Bear or Jackalope comes in.
D tier: leftovers from earlier zones
| Animal | Variant | Cash per second |
|---|---|---|
| GOLD Thunderbird | Gold | $1.2B/s |
| Bull | None | $1.2B/s |
| Thunderbird | None | $800M/s |
| Capybara | None | $500M/s |
GOLD Thunderbird and Bull tie, and a single plain Bear out-earns both of them many times over. Their only job is to hold a slot until something better arrives.
Thunderbird and Capybara earn in millions, which makes almost no difference on a plot earning in the tens of billions. They should be the first two animals you sell.
How Gold and size variants reorder the tiers
The species name alone doesn’t decide an animal’s tier. Each pair on this plot shows the same pattern.
- Gold Bear pays 1.5 times a plain Bear ($72B/s against $48B/s).
- GOLD Wolf pays 1.5 times a plain Wolf ($30B/s against $20B/s).
- GOLD Thunderbird pays 1.5 times a plain Thunderbird ($1.2B/s against $800M/s).
- A BIG Jackalope pays a little over double a plain one ($66.4B/s against $32B/s).
In practice, the size boost moves an animal further than the Gold boost does. A BIG Jackalope passes a plain Bear, while a Gold copy of the same animal would not. Check the variant tag on every card in the Animals menu before deciding what to keep.
How to catch Taiga animals in Throw Food For Animals
Every animal in the upper tiers comes from the same loop. Train Throw Power on your pull-up bar, buy stronger food, throw it as far down the runway as you can, then solve the name puzzle to claim whatever shows up. The steps below follow that loop in order.
x2 button speeds up your reps for a short time. Press the red STOP button to step off the bar.
Upgraded to Frost Bar!.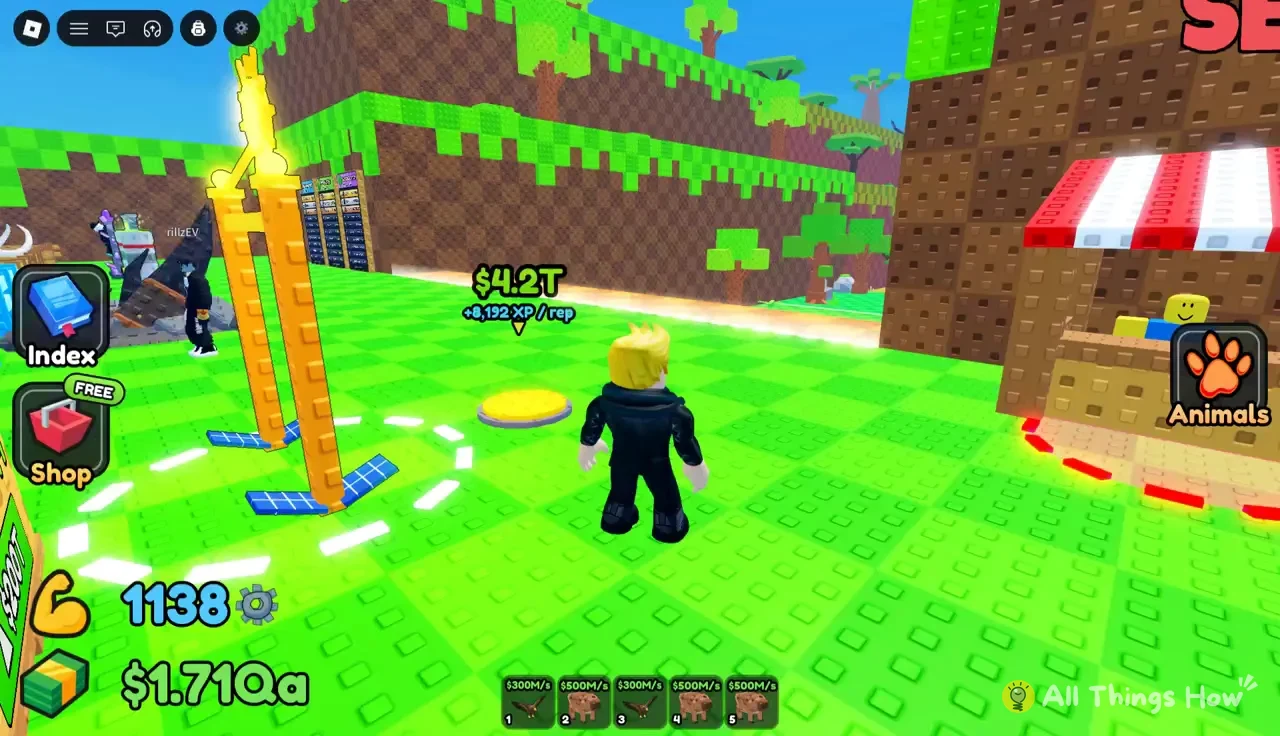
Training on the Frost Bar levels Throw Power quickly, because each rep lands thousands of XP at once.

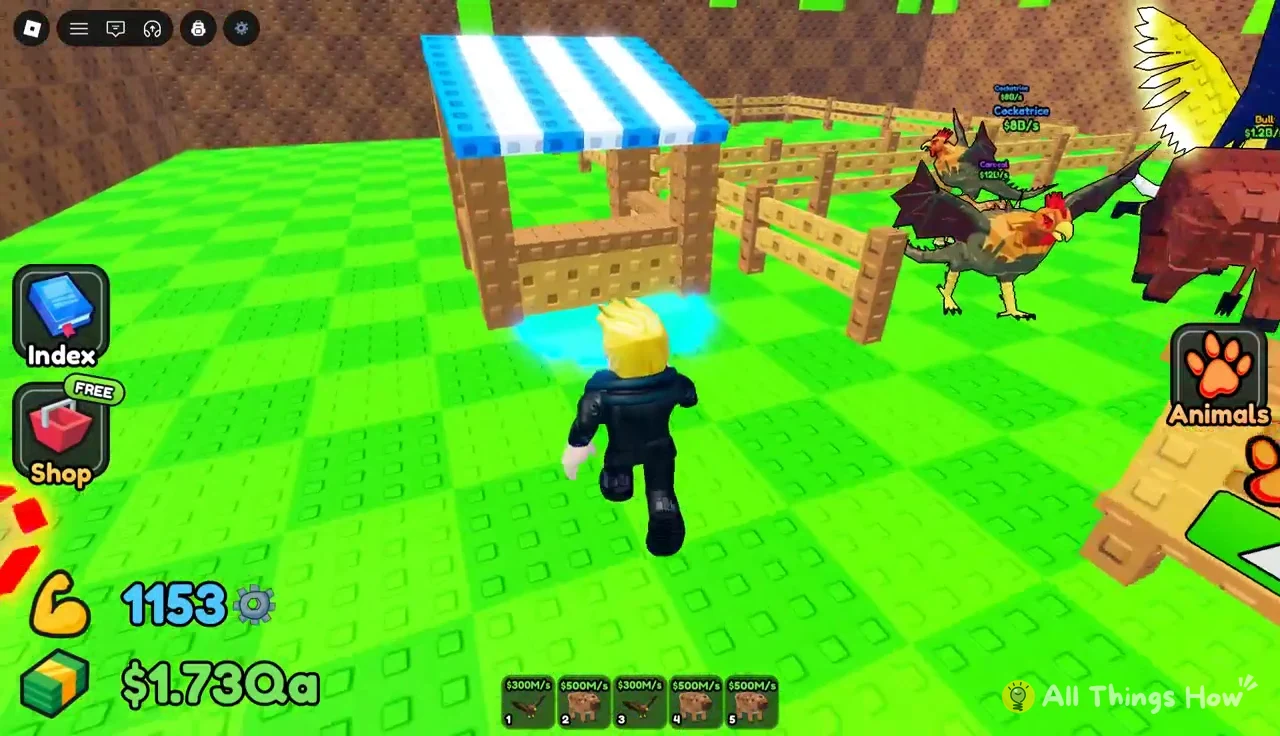
Bought Bacon! or Bought Burger! once the purchase goes through.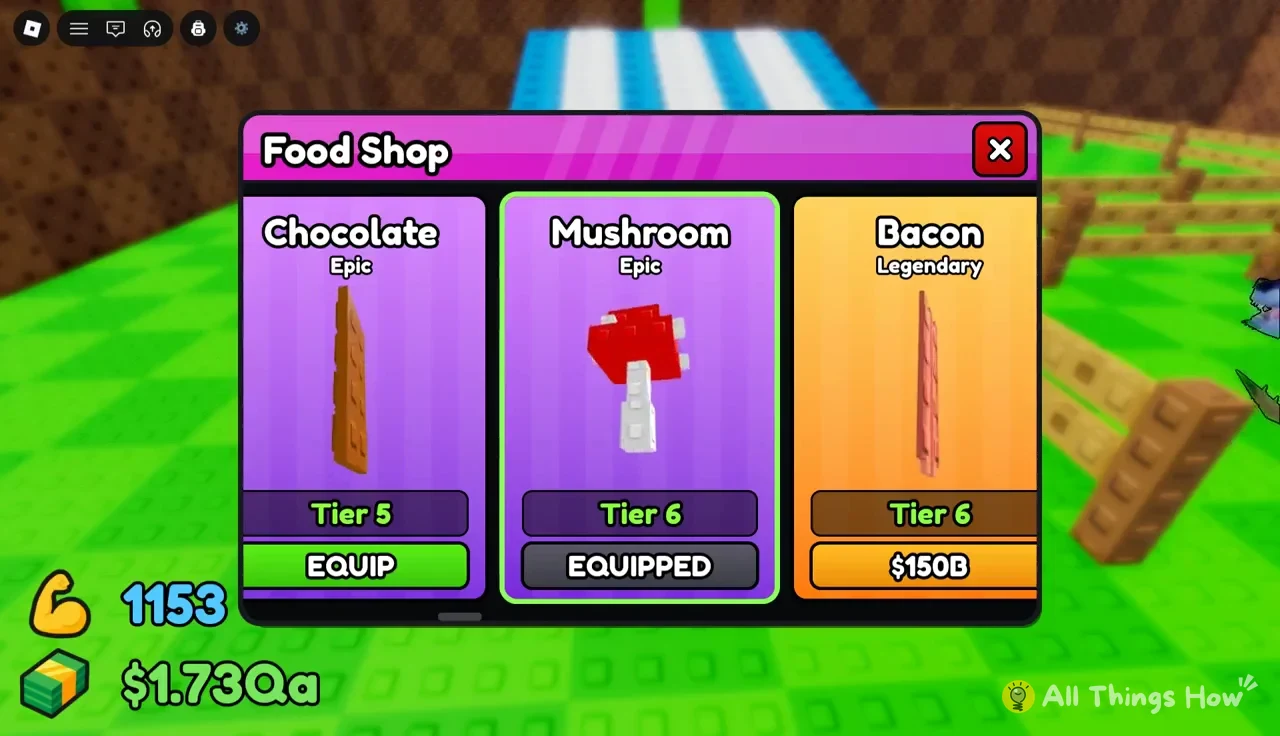
PERFECT! and adds +19 POWER to that throw.
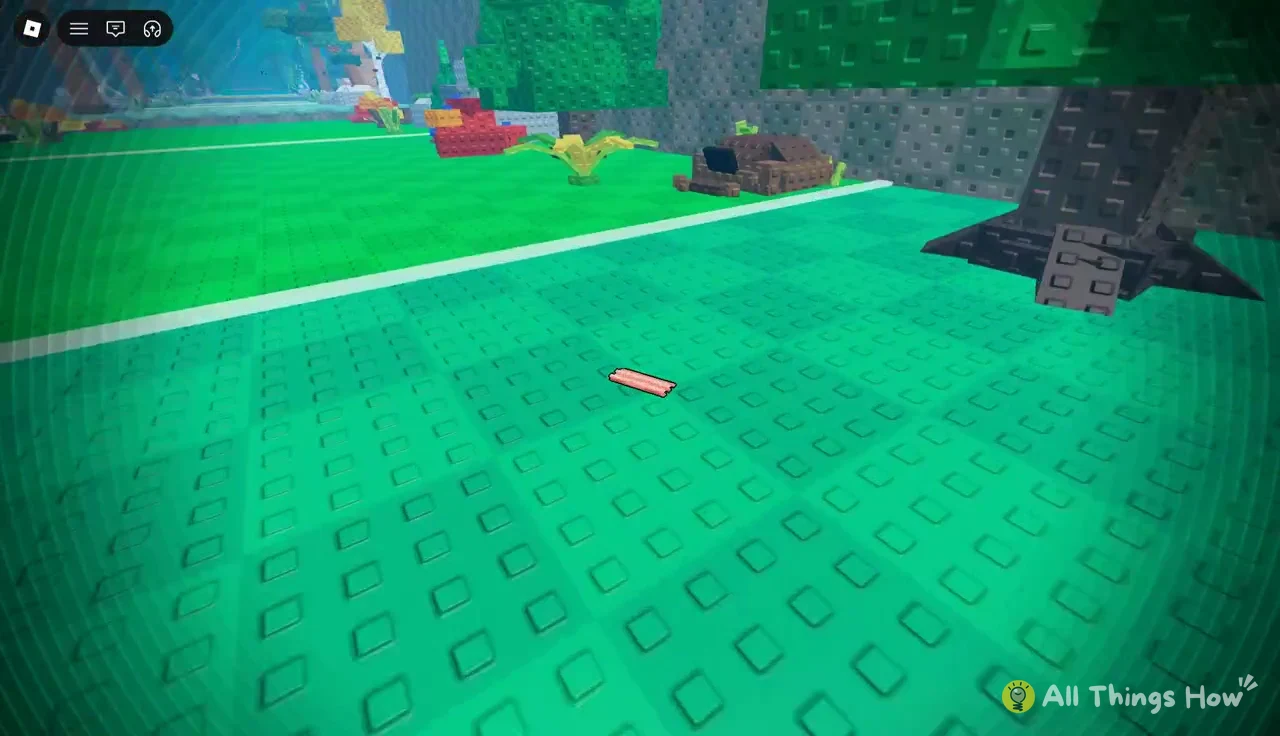
NEW! or NEW BEST! tag, and the animal goes into your inventory.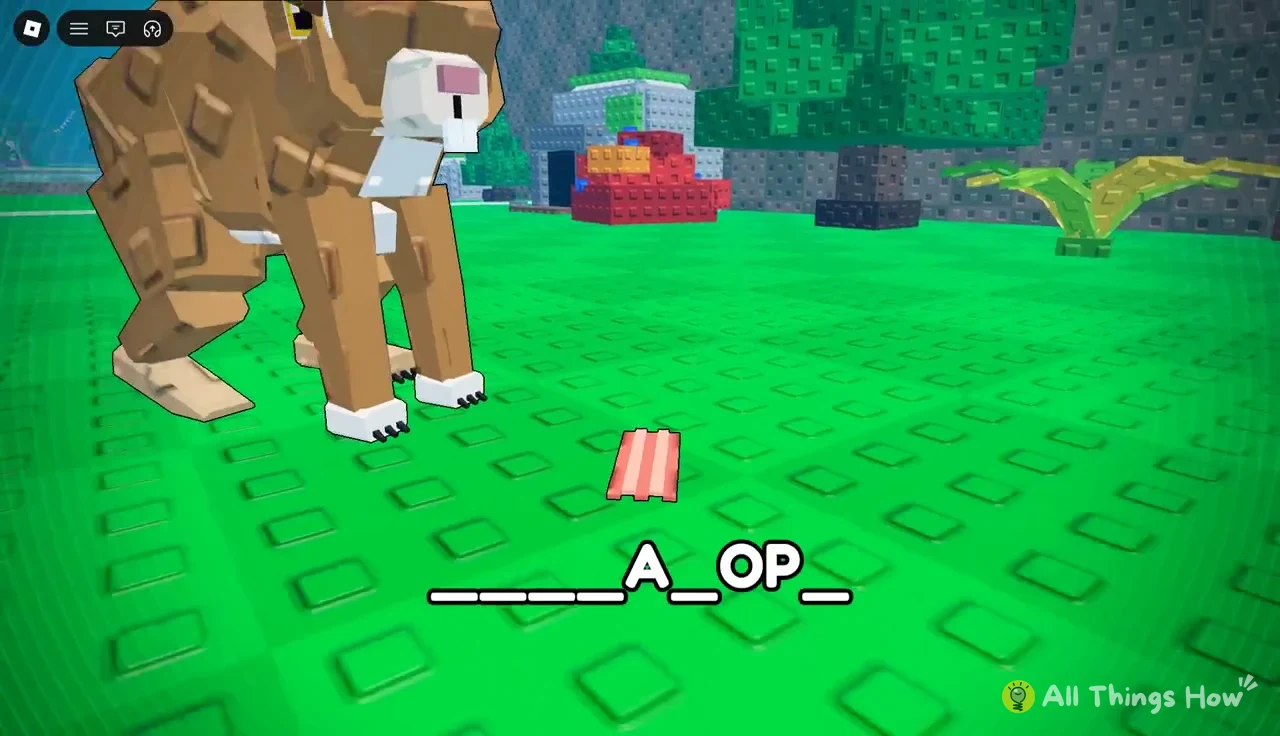
Runway zones and Luck multipliers
The runway passes through seven zones in a fixed order, and Luck rises the farther your food lands. Higher Throw Power pushes the multiplier up even inside a single zone. Within Taiga, rising Throw Power moved Luck from 20.87x to 21.49x.
| Zone | Luck range shown |
|---|---|
| Forest | First zone on the runway |
| Savanna | About 4.7x–5.0x |
| Desert | About 8.2x–8.5x |
| Jungle | About 11.7x–12.1x |
| Ocean | About 15.2x–15.7x |
| Mountains | About 18.3x–18.9x |
| Taiga | About 20.9x–21.5x |
With roughly 1,100 to 1,200 Throw Power, a perfect throw of Bacon or Burger flies over the Mountains and lands in Taiga.
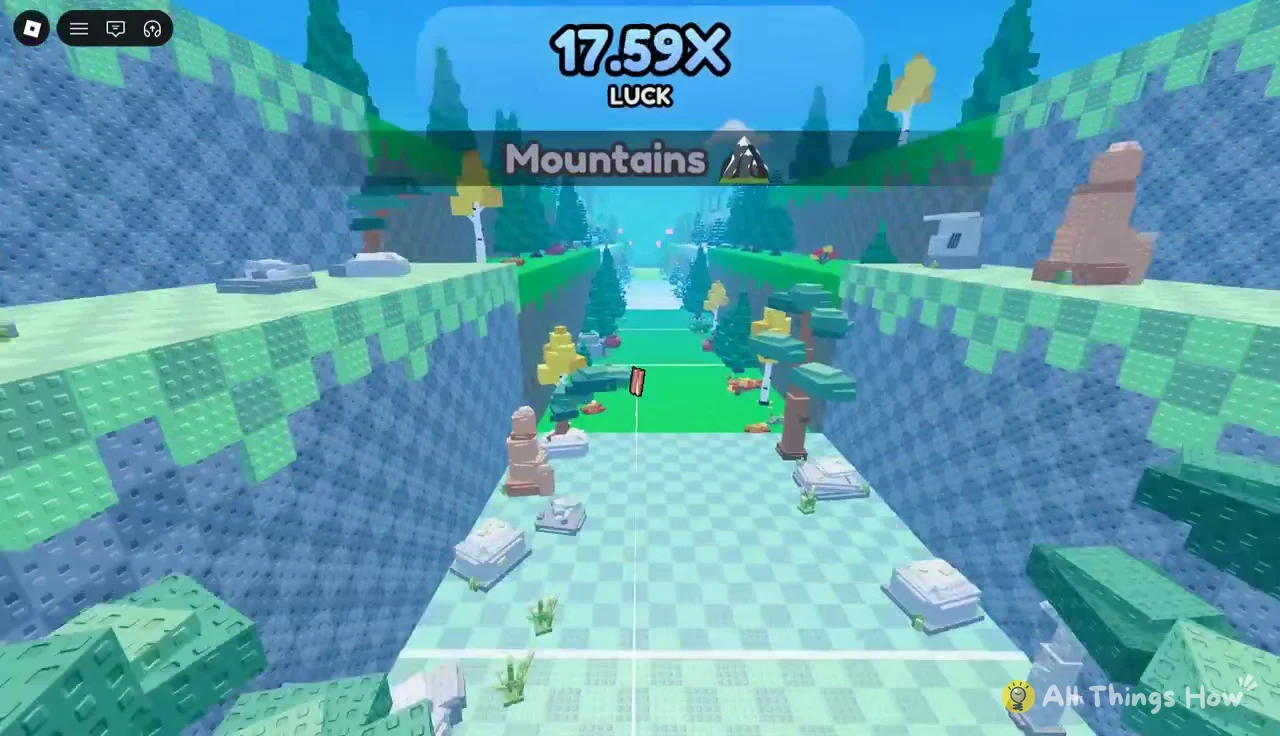
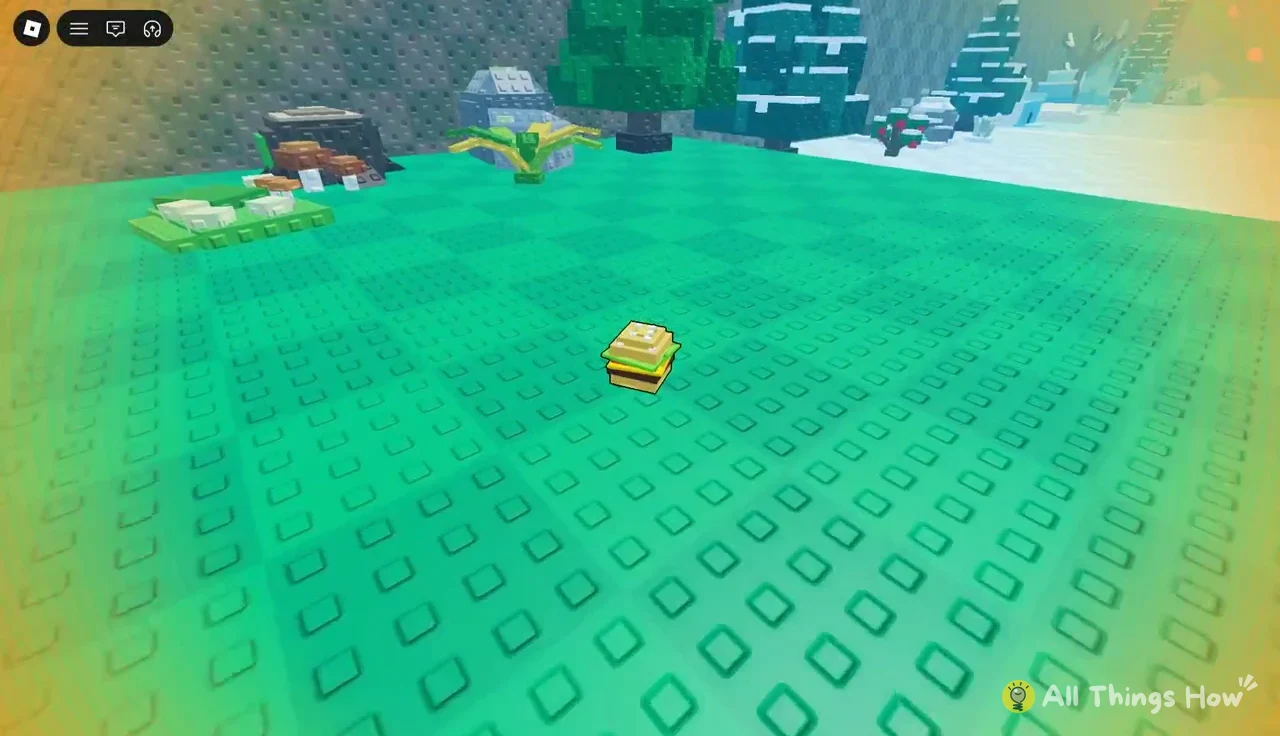
Every Bear and Jackalope variant in the A and B tiers came from Taiga landings. Burger landed in the same zone as Bacon, and the Gold Bear came from a Burger throw.


Upgrade costs for climbing the tiers
Moving up the tiers means paying for three things at once, which are a better bar, better food, and more plot room for the animals you catch.
| Upgrade | Cost | What you get |
|---|---|---|
| Bacon (Legendary, Tier 6) | $150B | Food that reaches Taiga |
| Burger (Legendary, Tier 7) | $1.3T | Next food tier |
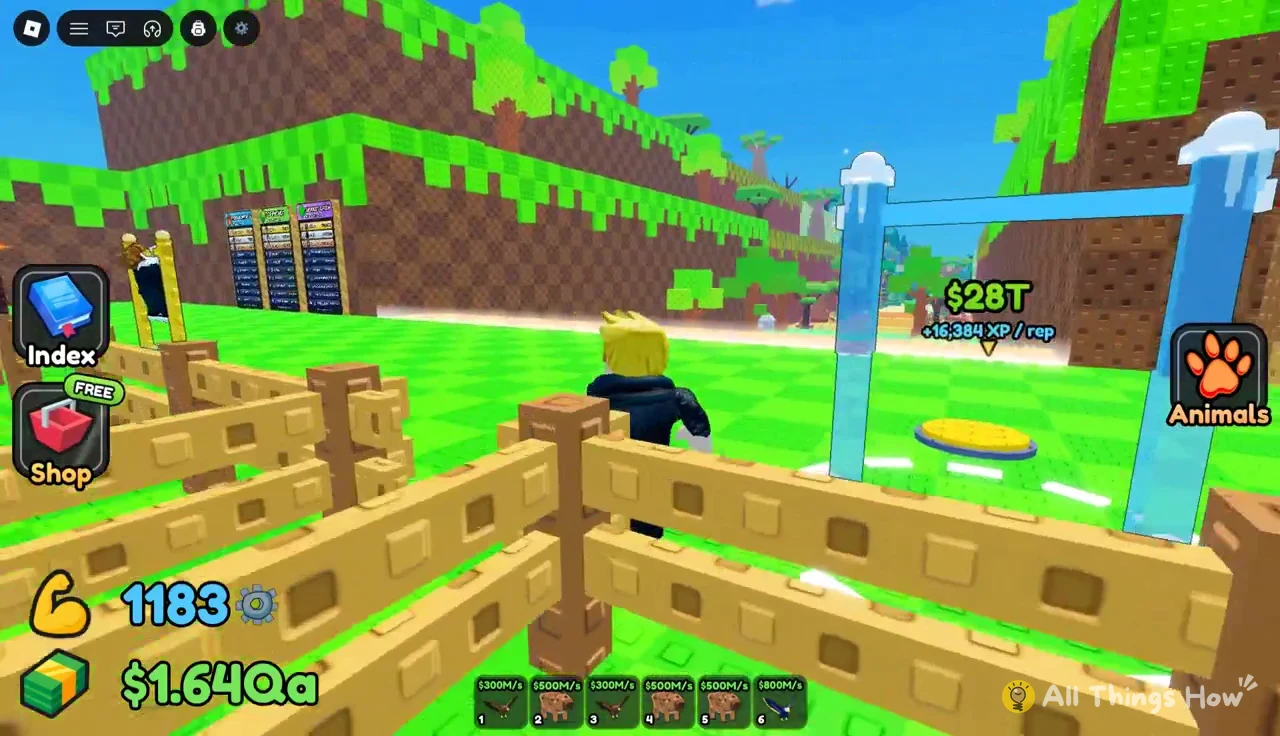
| Frost Bar | $4.2T | +8,192 XP / rep |
| Magenta Bar | $28T | +16,384 XP / rep |
| Plot 12 > 14 | $200T | Two more animal slots |
| Plot 14 > 16 | $50Qi | Two more animal slots |
Buying the Frost Bar triggers a NEW EQUIPMENT! notice that unlocks the Magenta Bar on its own yellow pad behind the blue gate. It doubles the XP per rep of the Frost Bar, so it’s the natural next purchase once you can pay $28T.
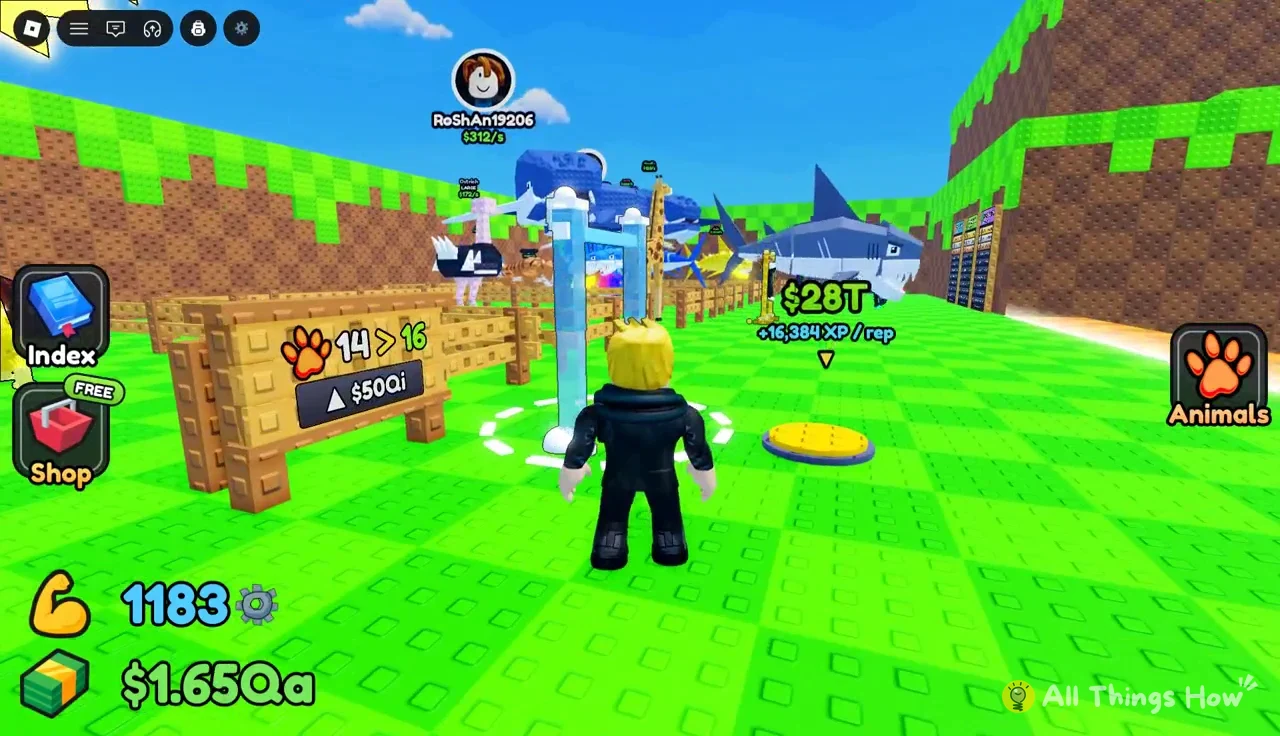
Plot expansion is what lets the tier list pay off. A larger plot holds more S- and A-tier animals at the same time. Once the expansion goes through, the game confirms it with Plot upgraded! It holds 14 animals now.
Selling low-tier animals at the Sell stand
When the plot is full, new catches go to your backpack. Take them to the Sell stand and open Sell Animals, which shows the total BACKPACK VALUE before you commit. SELL ALL clears everything in one go after a confirmation prompt. Selling six backpack animals returned $58B, which is less than a single second of income from a full Taiga plot. Treat the stand as a way to clear clutter, not as a source of cash.
Swap D- and C-tier animals out of your active slots for backpack Taiga catches before you press SELL ALL, so the weaker animals are the ones that get sold.
You can tell the plot is in good shape from the offline earnings message that appears when you return. A plot built around Taiga animals reported Your animals earn $650T offline!, which is enough to cover the next plot expansion or a Magenta Bar.