
Every animal you catch in Throw Food for Animals can carry two extra tags on its name card. One is a size, such as BIG or LARGE. The other is a variant, such as GOLD, DIAMOND or RAINBOW. Both change how much money the animal makes per second, and both become more likely as your Luck climbs. Luck depends on how far your food flies.
Quick answer: A size tag or variant tag raises an animal’s $/s on its own, and the two stack. Your odds improve with Luck, which rises in each biome your throw passes, up to about 25.50X in Prehistoric Forest.
Size and variant tags in Throw Food for Animals
Tags appear in two places. They show up on the catch card the moment an animal finishes eating, and again on the animal’s label once it sits on your plot. The size tag sits beside the animal’s name. The variant tag sits in front of it, so a single animal can read “RAINBOW Mammoth BIG.” An animal with no tags is the plain version of that species.
These are the tagged animals that turn up across the Winter and Prehistoric Forest zones and on a mid-game plot, with the income each one shows.
| Animal | Variant | Size | Income |
|---|---|---|---|
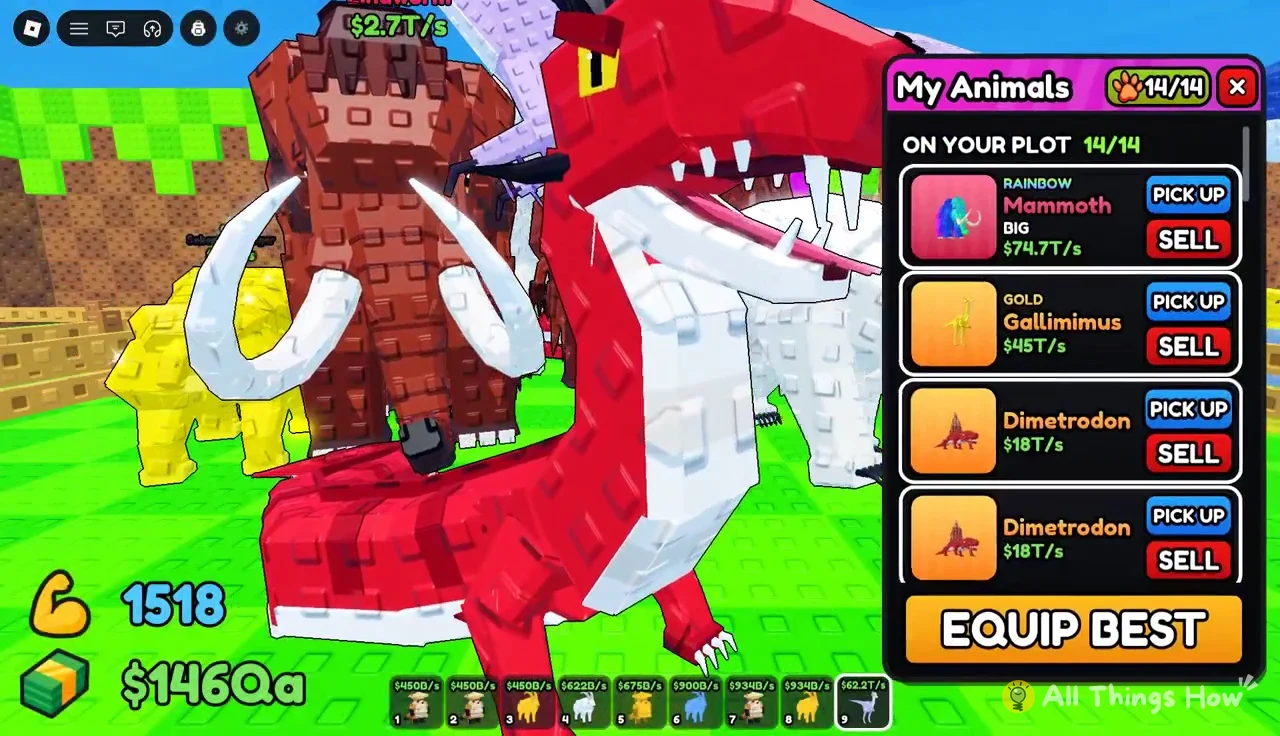
| Mammoth | RAINBOW | BIG | $74.7T/s |
| Gallimimus | None | BIG | $62.2T/s |
| Gallimimus | GOLD | None | $45T/s |
| Dimetrodon | None | None | $18T/s |
| Triceratops | None | None | $12T/s |
| Sabertooth Tiger | None | BIG | $7.88T/s |
| Polar Bear | DIAMOND | BIG | $7.47T/s |
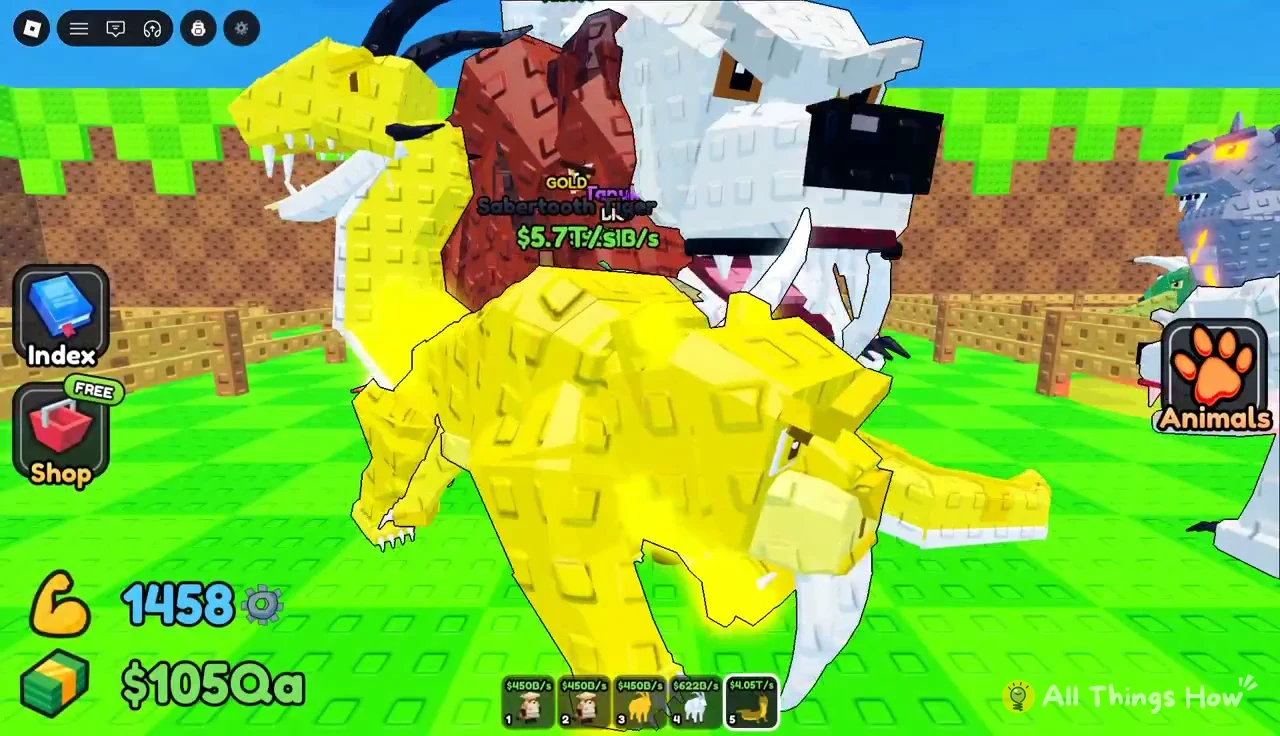
| Sabertooth Tiger | GOLD | None | $5.7T/s |
| Polar Bear | None | LARGE | $5.17T/s |
| Lindworm | None | None | $2.7T/s |
| Goat | GOLD | BIG | $934B/s |
| Tanuki | None | BIG | $934B/s |
The top of that list matters most. A Mammoth from an earlier zone, carrying both RAINBOW and BIG, out-earns every plain or single-tag dinosaur from Prehistoric Forest. Tags can matter more than where on the lane an animal came from.
BIG vs. GOLD: how the multipliers compare on the same animal
Comparing two versions of the same species gives the clearest read on the multipliers. Two species turned up with a BIG version and a separate GOLD version. In both cases, the BIG animal earns more.
| Species | GOLD version | BIG version |
|---|---|---|
| Gallimimus | $45T/s | $62.2T/s |
| Sabertooth Tiger | $5.7T/s | $7.88T/s |
The gap is about the same for both species. A BIG Gallimimus earns roughly 1.38 times what a GOLD one does, and the Sabertooth Tiger pair lands at almost the same ratio. That consistency tells you each tag applies a fixed multiplier to the species’ base rate, rather than adding a flat amount. It also means one BIG size-up outperforms the GOLD variant.
Tags also stack. The DIAMOND Polar Bear BIG at $7.47T/s comfortably beats the untagged-variant Polar Bear LARGE at $5.17T/s, even though LARGE sits one step above BIG on the size ladder. When an animal carries both a variant and a size, both multipliers apply to it.
Luck multiplier by biome
Your chance at a tagged animal is tied to Luck. Luck is shown as a multiplier while your food is in the air, and it climbs as the food crosses each biome on the lane. Where the food lands sets both the biome you catch from and the Luck that catch rolls with.
| Biome (in lane order) | Luck range |
|---|---|
| Forest | ~2.95X – 3.37X |
| Savanna | ~4.60X – 6.83X |
| Desert | ~7.32X – 9.46X |
| Jungle | ~10.88X – 12.47X |
| Ocean | ~13.16X – 15.97X |
| Mountains | ~16.92X – 18.07X |
| Taiga | ~19.38X – 21.69X |
| Winter | ~22.79X – 24.82X |
| Prehistoric Forest | ~25.27X – 25.50X |
Luck keeps rising within a biome as well as between them. A throw that lands deep in Winter rolls at close to 24.8X, while one that only just crosses the border sits nearer 22.8X. Even a few extra points of Throw Power improve your odds without reaching a new zone.
The throw screen also carries a 100x LUCK option with a DETAILS button beside it. Open DETAILS before you throw to check what that boost does for the throw you are about to make.
Raise Throw Power to reach higher-Luck biomes
Distance comes from Throw Power, and Throw Power comes from levels. Each rep on the pull-up bar grants XP. Every LEVEL UP! adds +5 Throw Power. Click prompts pop up on screen during training, and tapping them gives a temporary x2 training boost, so watch for them instead of idling.
Upgrading the bar raises the XP each rep is worth. Stand on the yellow upgrade pad next to the bar to buy the next tier. A purchase shows Upgraded to Emerald Bar! and a NEW EQUIPMENT! banner that unlocks the following bar.
| Bar | Cost | XP per rep |
|---|---|---|
| Emerald Bar | $1.2Qa | +65,536 |
| Sapphire Bar | $7Qa | +131K |

Food is the other lever. The Food Shop sells food by tier, and each step up is a separate purchase. Steak and Fillet are both Mythic Tier 8. Royal Steak is Mythic Tier 9 at $50Qa, and buying it shows Bought Royal Steak!. The next unlock in the shop is the Golden Apple at $120Qa. With Steak equipped at around level 281, throws landed in Winter. With Royal Steak at around level 290 and higher, every throw reached Prehistoric Forest.
Throw food and read the catch
The throw itself is a short timing game, and it decides how much bonus power you add on top of your level.


TAP TO THROW! when the meter lines up. A PERFECT! adds up to +20 Power. A slightly early or late tap still earns GREAT!, worth around +17 to +19.



NEW! or NEW BEST! label if it is a first catch or your top earner.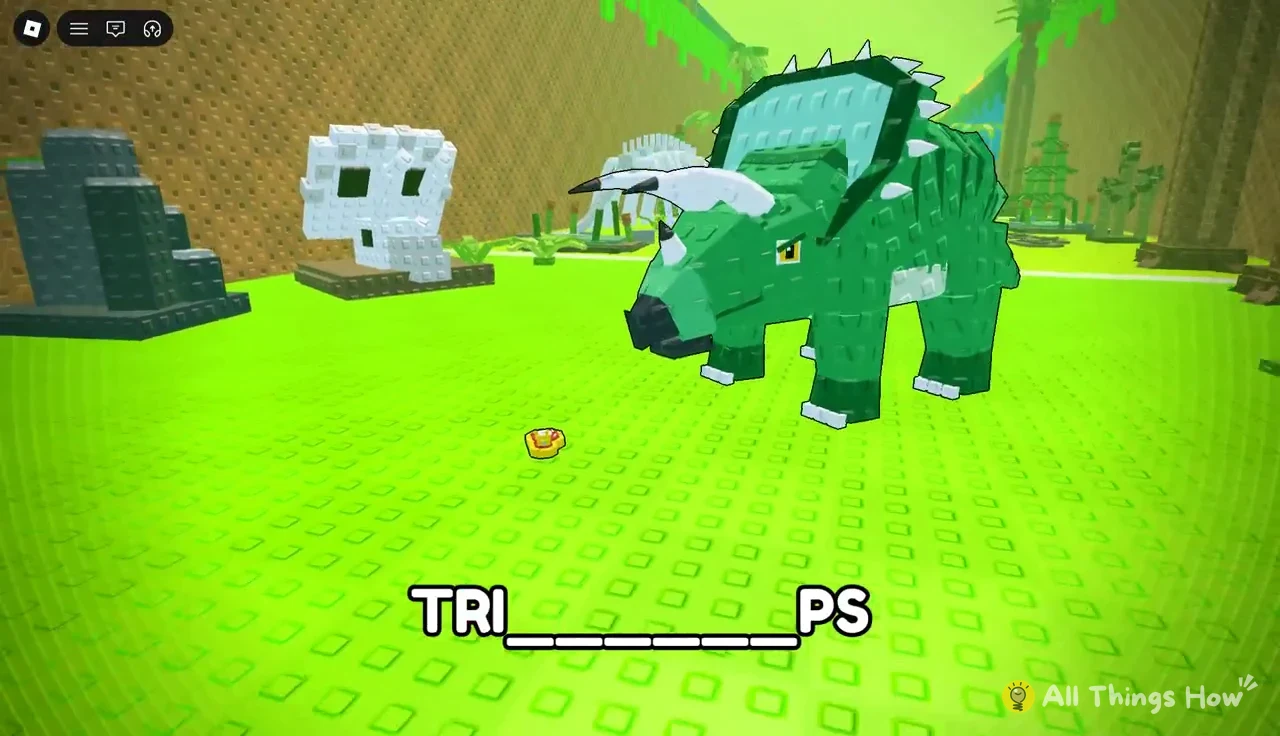
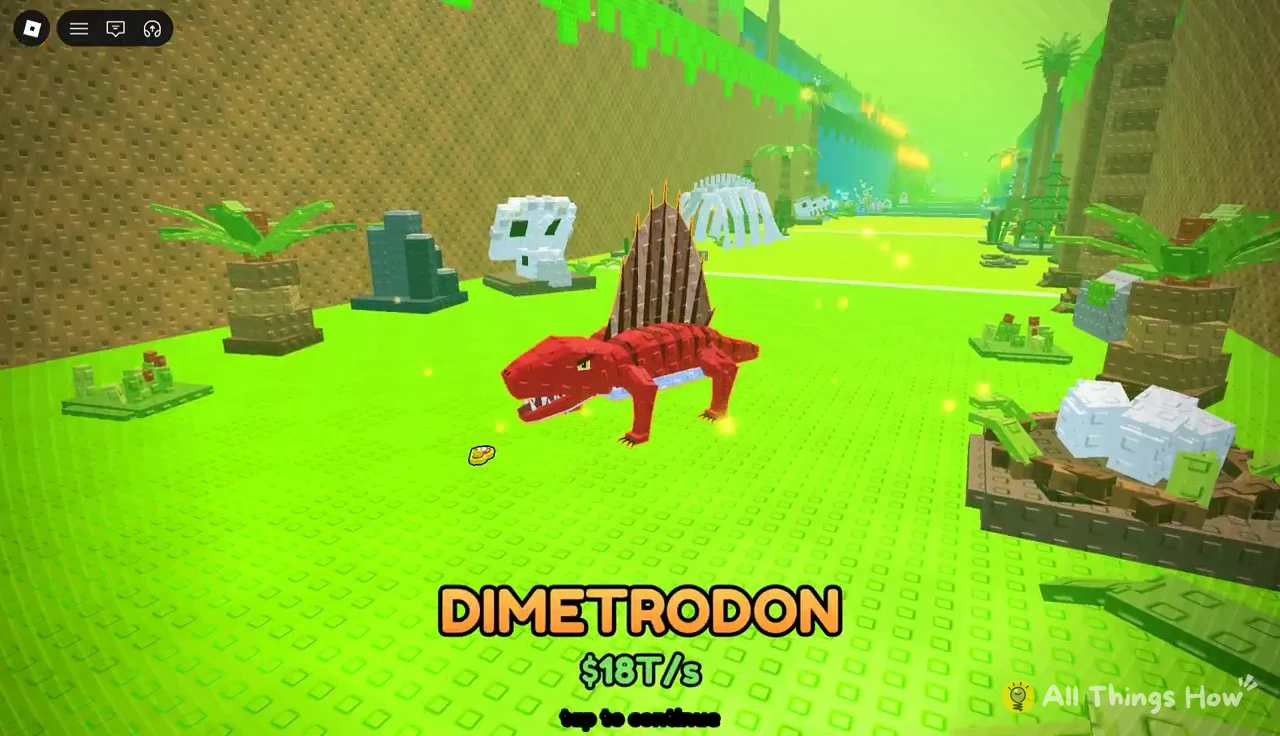
Expect plenty of untagged catches even at high Luck. Of the six Royal Steak throws into Prehistoric Forest, three produced a plain Dimetrodon and one a plain Triceratops. The tagged results were a Gold Gallimimus and a Big Gallimimus.
Keep tagged animals on your plot and sell the rest
A tagged animal only pays out if it is placed on your plot, and plot space is limited. The base plot holds 14 animals. Catching more than that sends extras to your backpack, and the game warns Your plot is full! (14 animals). The plot sign offers an expansion from 14 to 16 slots for $50Qi, and buying it without the cash returns Not enough money!.

NO ANIMALS IN BACKPACK.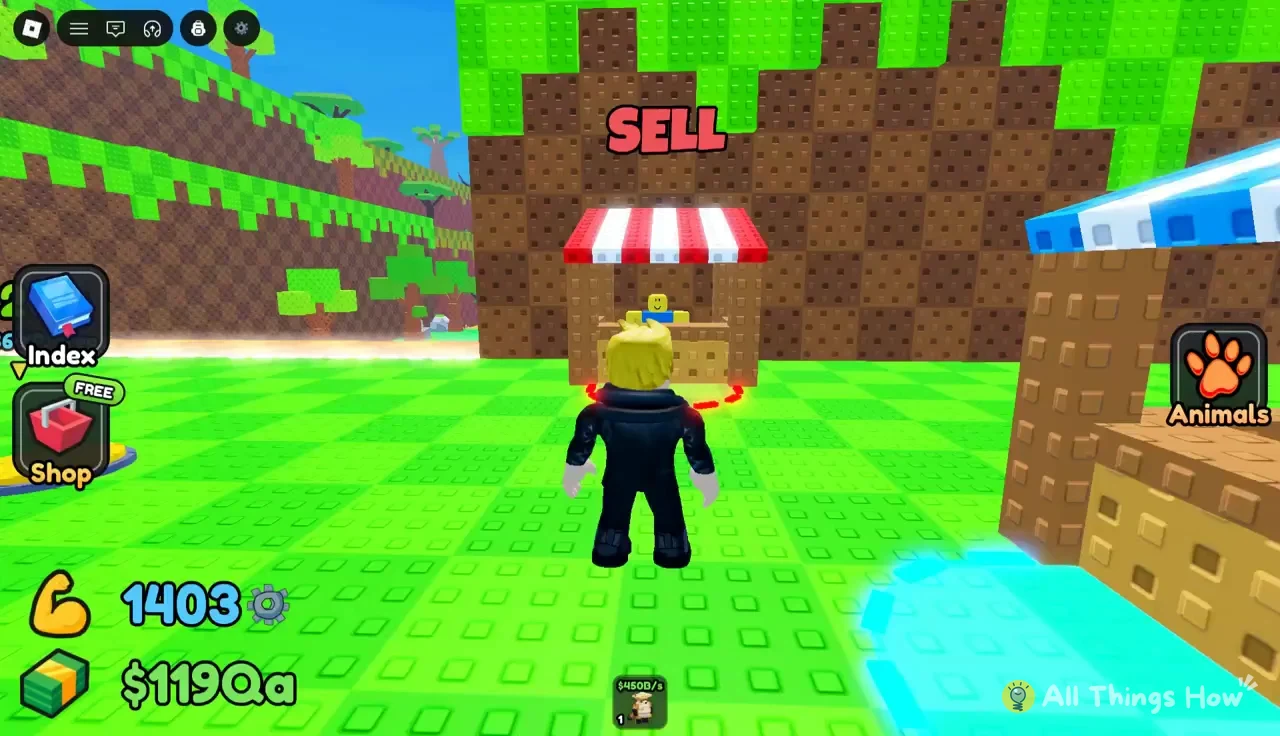
Run EQUIP BEST before every sale. SELL ALL only touches the backpack, so anything still sitting there when you confirm is gone, tags and all. Your plot keeps earning while you are away, too, and the game reports the total on return with a message such as Your animals earn $282Qa offline!. A plot full of tagged animals pays off even when you are not throwing.