Break and Steal an Egg arranges its map as one long road. It starts at the Safe Zone, where your base sits, and passes through a line of themed zones, each one harder than the last. Every zone shows a banner with a recommended Speed and a difficulty label. The eggs get rarer and tougher the farther out you go, and the walk back to your pen with a hatched pet gets more dangerous too.
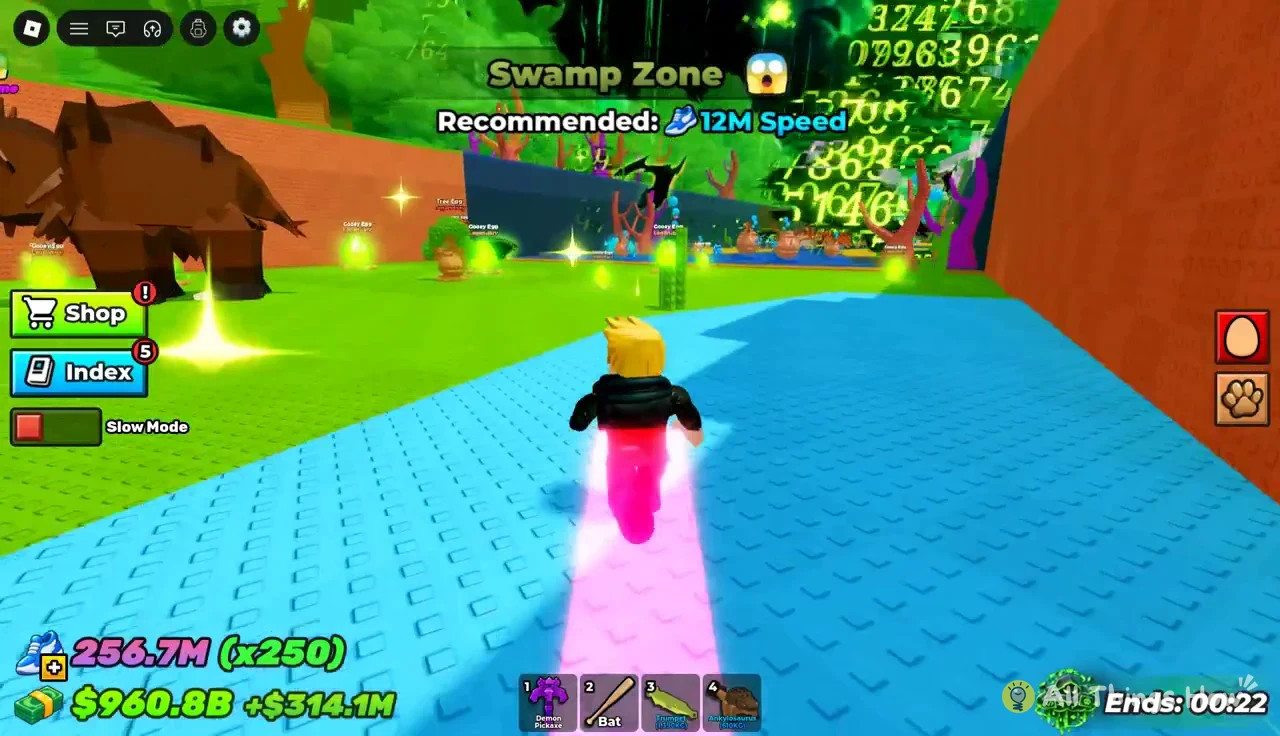
Quick answer: The zones run Forest (5 Speed), Desert (1K), Snowy (50K), Candy (750K), Swamp (12M), Ocean (150M), and Volcano (1B). Check your Speed against each banner before you go in.
Break and Steal an Egg zone Speed requirements and egg rarities
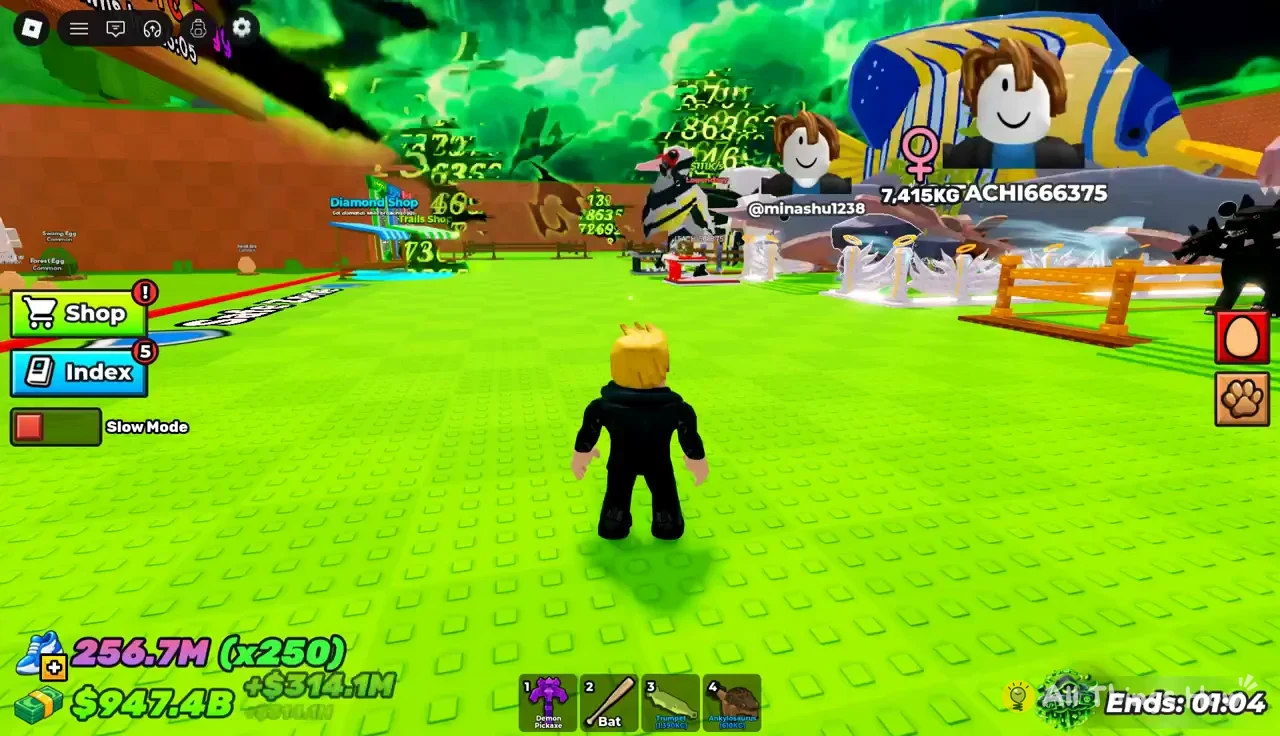
Every trip begins in the Safe Zone. Your pen, the treadmill, the Animal Merging station, and the Pickaxe, Gems, and Trails shops are all there. From the base, a single path leads outward. Striped lines on the road mark where one zone ends and the next begins.
| Zone | Recommended Speed | Difficulty | Eggs (rarity) |
|---|---|---|---|
| Forest Zone | 5 | Easy | Forest Egg, Swamp Egg (Common) |
| Desert Zone | 1K | Medium | Cactus, Bones, Scorpion (Uncommon) |
| Snowy Zone | 50K | Hard | Frosty, Frozen, Yeti (Rare) |
| Candy Zone | 750K | Extra Hard | Rainbow, Candy, Easter Bunny (Epic) |
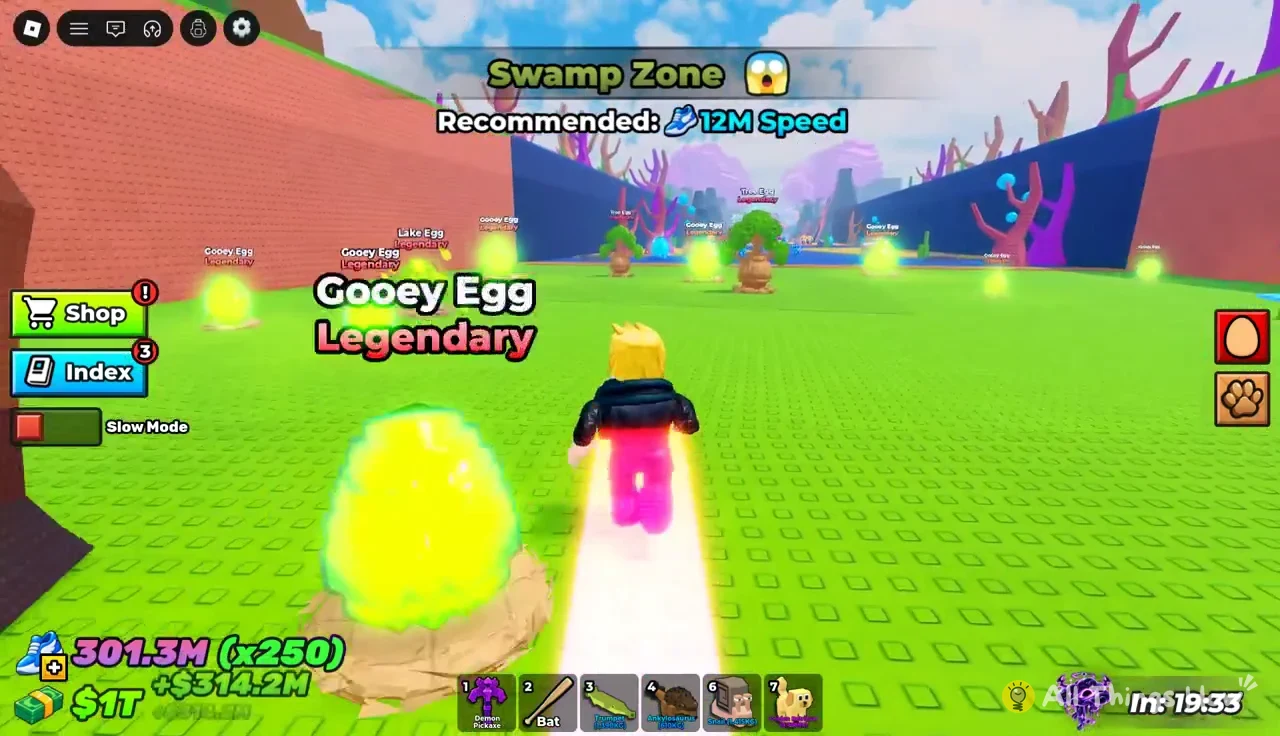
| Swamp Zone | 12M | Insane | Gooey, Lake, Tree (Legendary) |
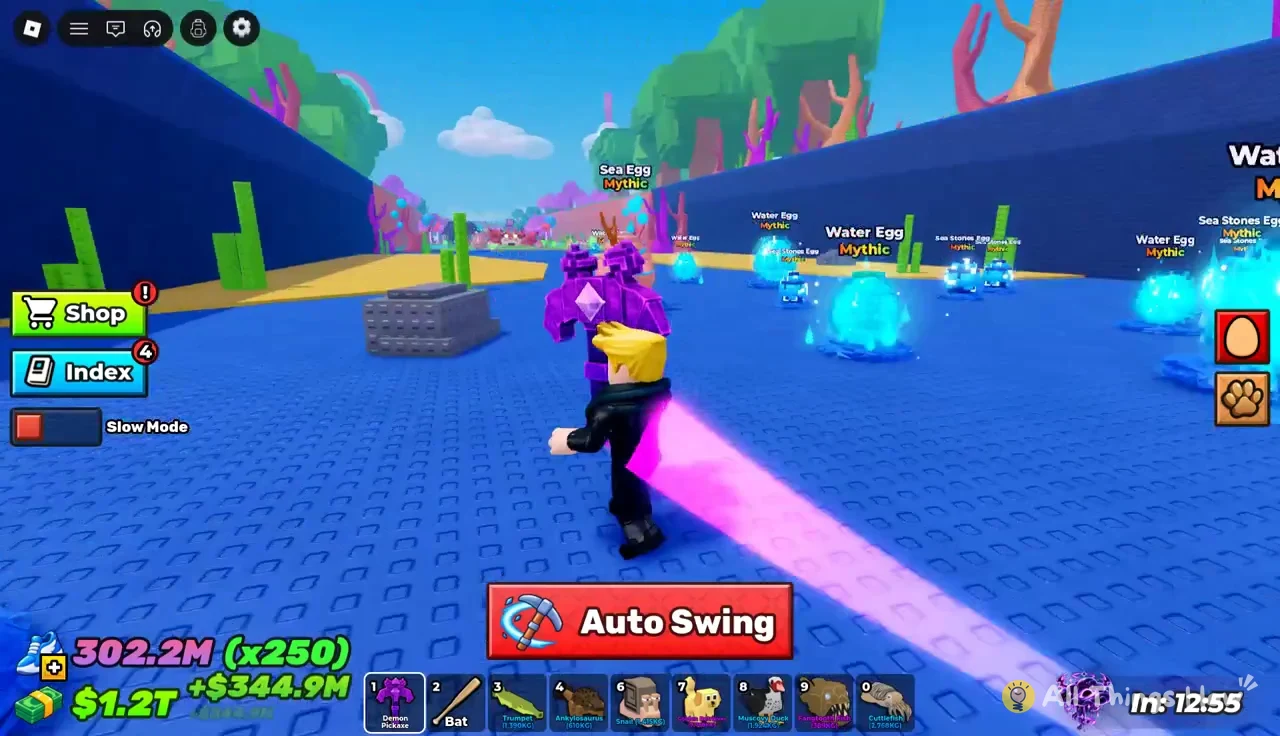
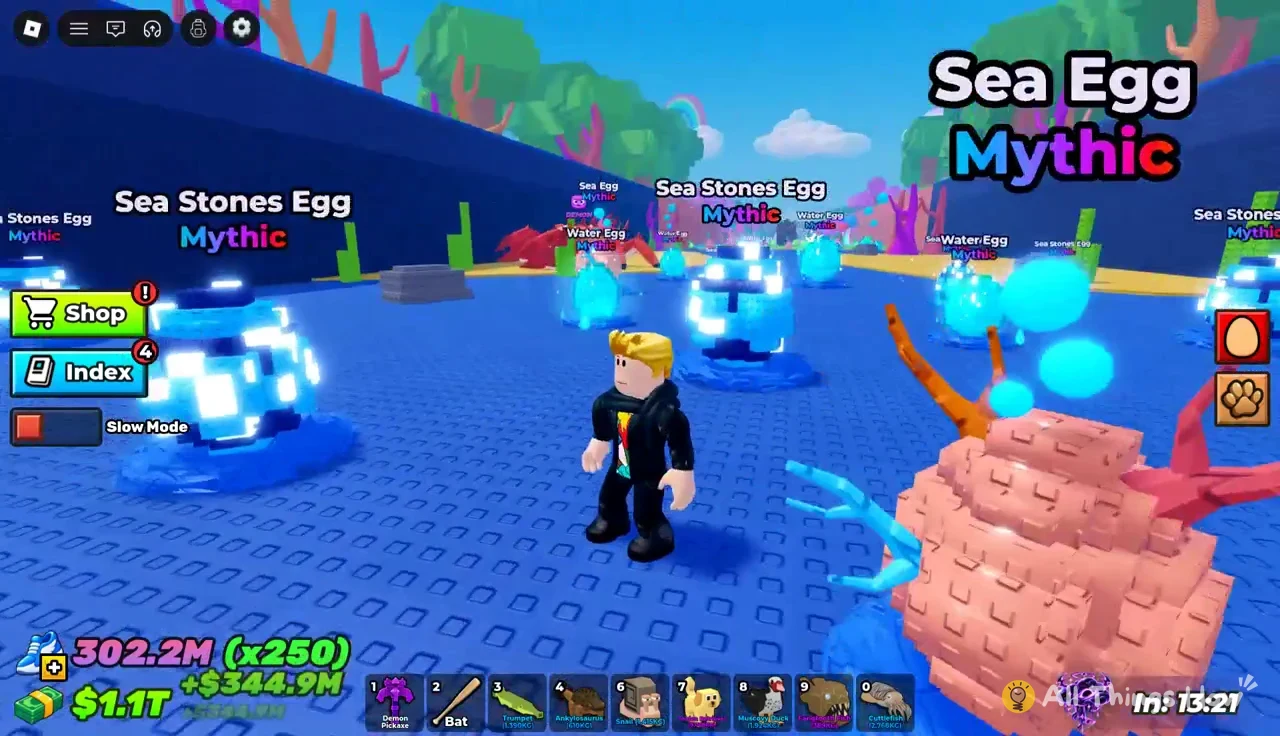
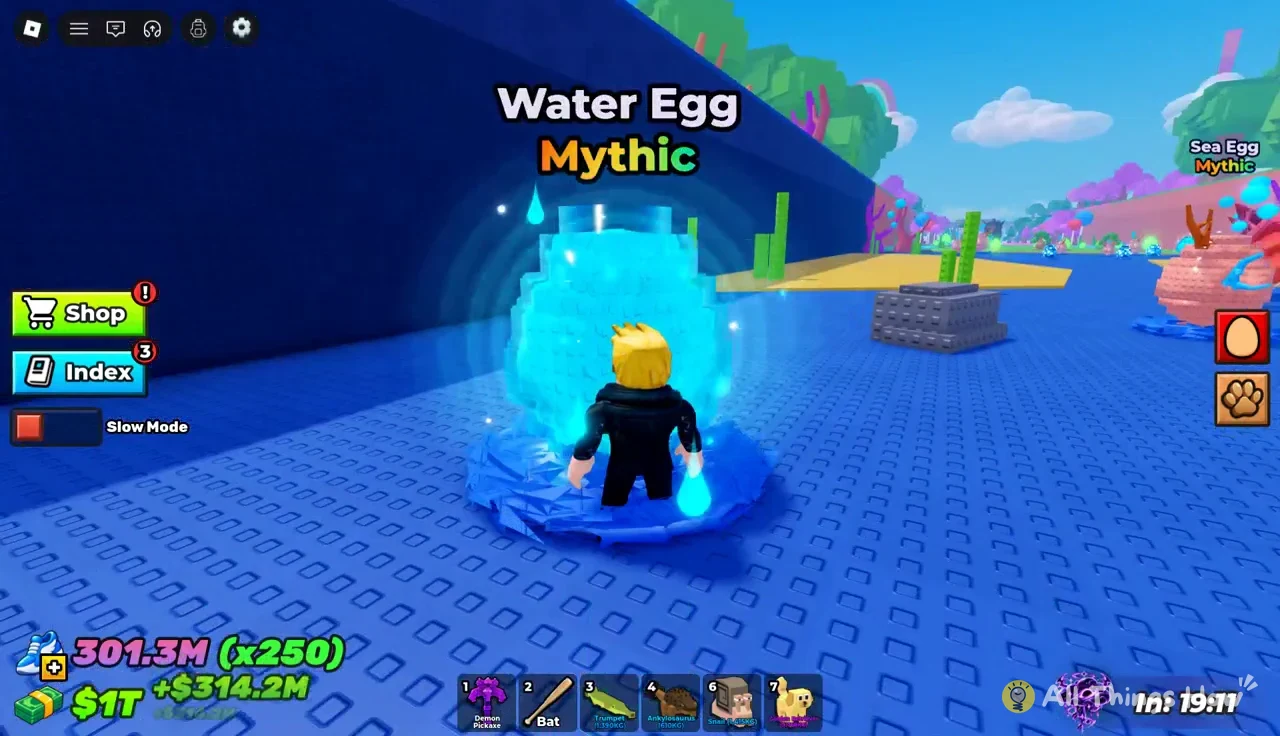
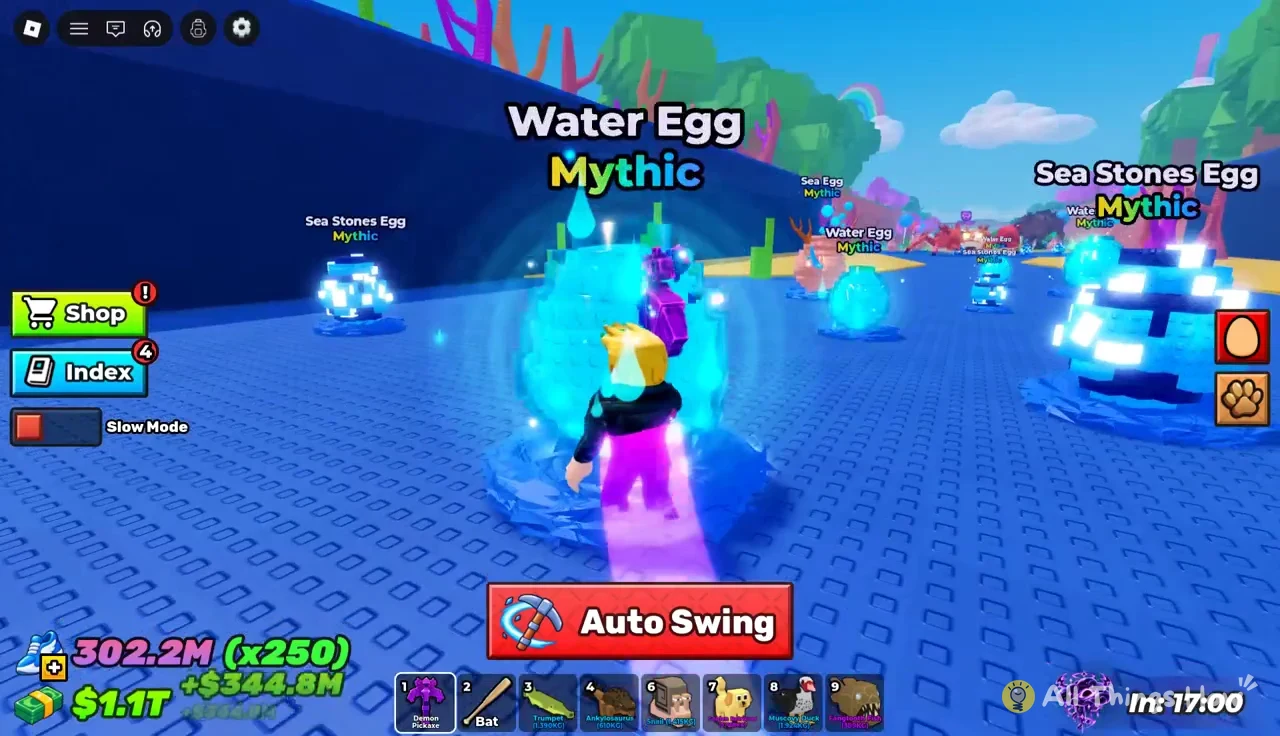
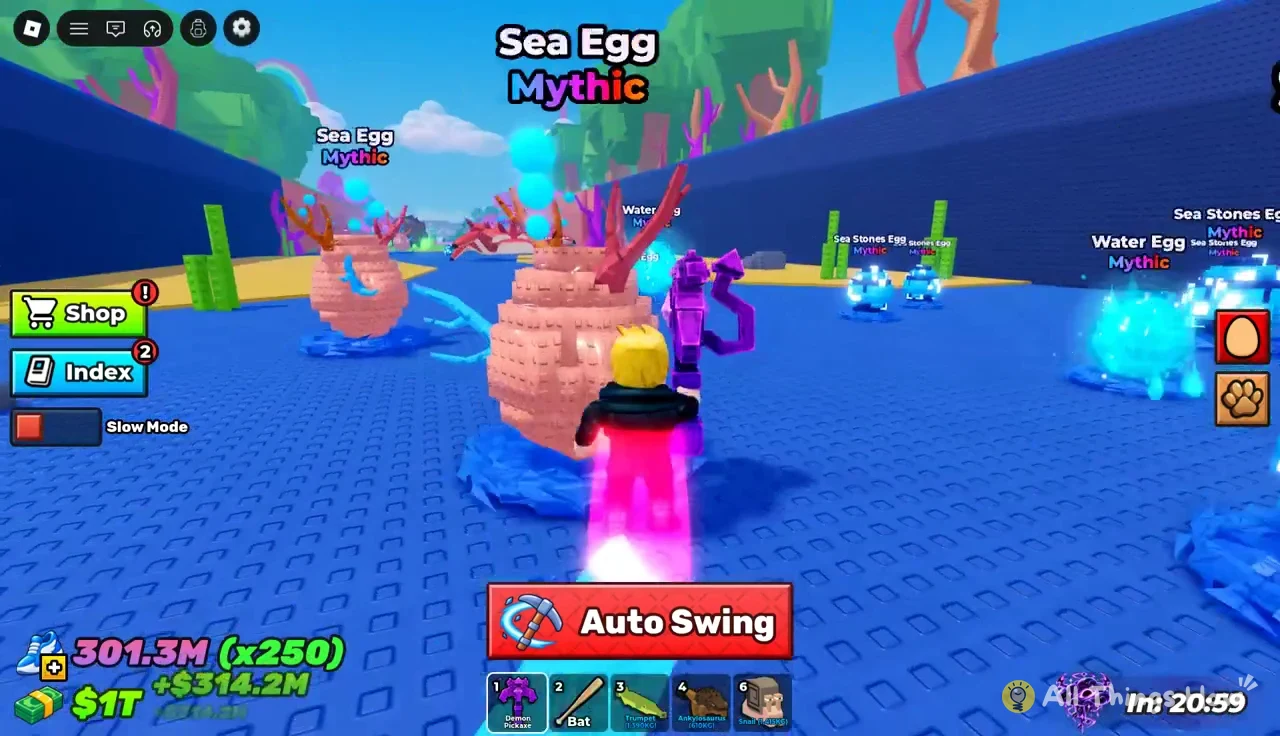
| Ocean Zone | 150M | Demon | Sea, Sea Stones, Water (Mythic) |
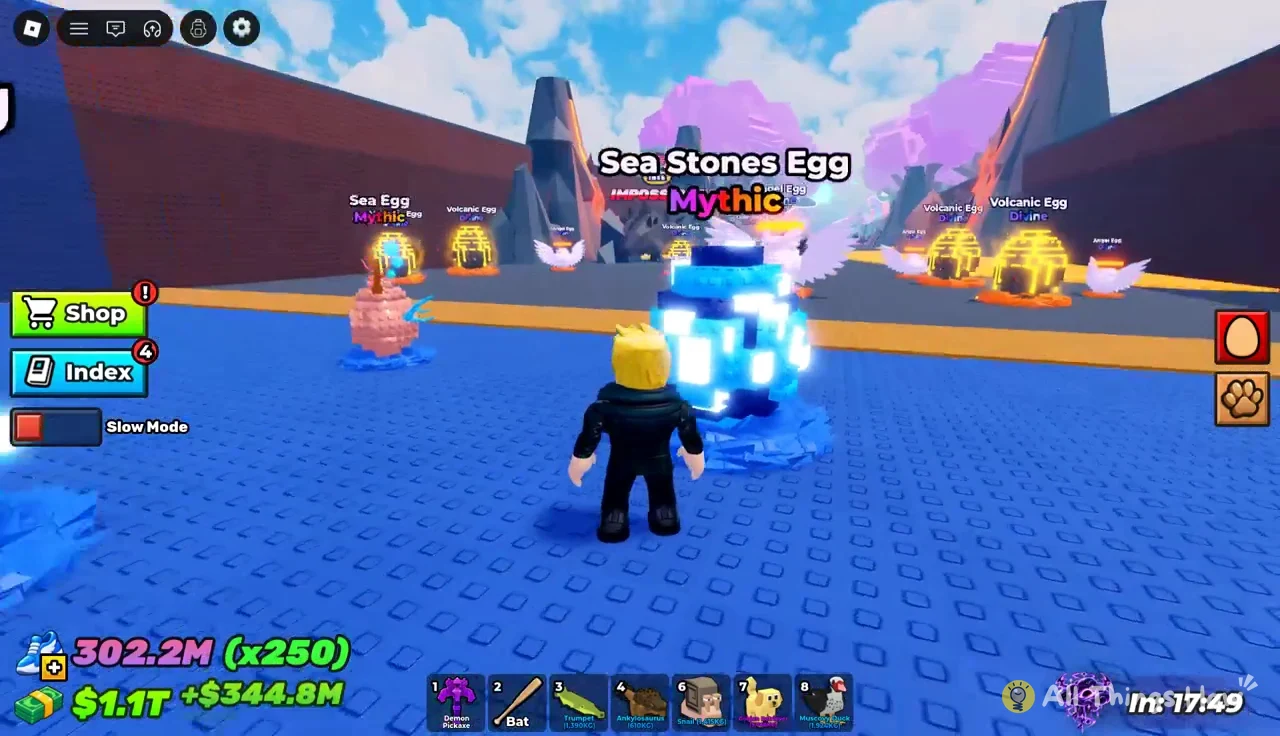
| Volcano Zone | 1B | IMPOSSIBLE | Angel, Fallen Angel, Volcanic (Divine) |
The game shortens big numbers. K is thousand, M is million, and B is billion, so Ocean Zone’s 150M means 150,000,000 Speed. The jumps between zones are steep. Desert asks for 200 times Forest’s number, and Volcano asks for nearly seven times Ocean’s.
The banners say “Recommended,” and that wording matters. The number tells you how much Speed you need to make the trip home safely with a pet. It does not lock the gate. Speed is what keeps you ahead of the guardians once you are carrying something, which is why the recommendation climbs along with the difficulty label.
Egg HP in Ocean Zone and Volcano Zone
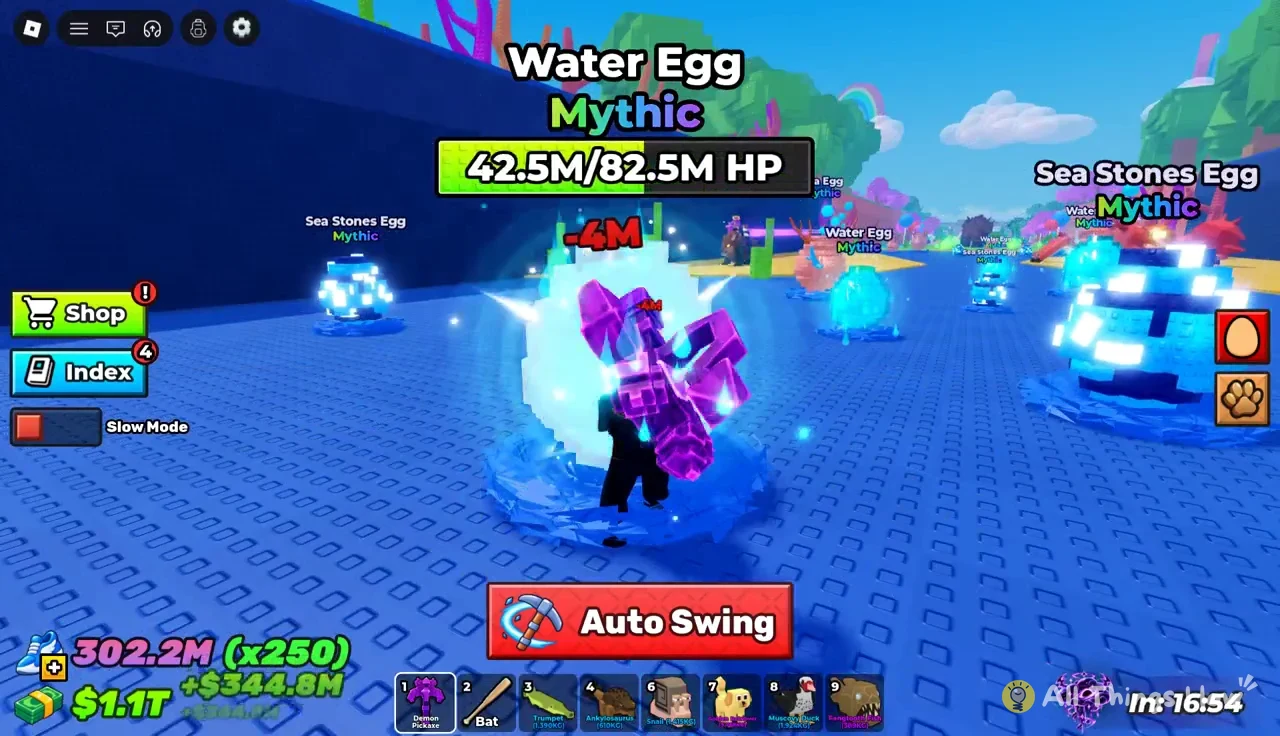
Each egg has a nameplate with its name, rarity, and a health bar, for example “12M/20M HP.” Health isn’t fixed for every copy of an egg. Two Water Eggs in the same zone can spawn with different HP. The later zones show the gap clearly.
| Egg | Zone | Rarity | HP range |
|---|---|---|---|
| Sea Stones Egg | Ocean | Mythic | 14.7M–20M |
| Sea Egg | Ocean | Mythic | 36.2M–38.5M |
| Water Egg | Ocean | Mythic | 82.5M–87.5M |
| Fallen Angel Egg | Volcano | Divine | 1.2B |
| Volcanic Egg | Volcano | Divine | 2.3B–2.7B |
Inside Ocean Zone, the three Mythic eggs differ by roughly a factor of five from the weakest to the strongest. Sea Stones Eggs break fastest and are the easiest way to farm the zone. Water Eggs take the longest, but they can hatch higher-value pets. The Volcano Zone eggs jump straight into the billions, which is where your pickaxe becomes the limiting factor.
Earlier zones follow the same pattern at smaller scale. In Swamp Zone, for example, the Legendary Gooey Egg sits right beside the path just past the 12M banner.
Pickaxe Power for breaking eggs in each zone
Speed gets you home. Pickaxe Power is what cracks the egg in the first place. The two stats are separate, and a strong pickaxe does nothing for the run back. The Pickaxe Shop in the Safe Zone sells every tier for Cash, and most tiers can also be bought with Robux.
| Pickaxe | Rarity | Power | Price (Cash / Robux) |
|---|---|---|---|
| Wooden Pickaxe | Common | 1 | Not shown |
| Stone Pickaxe | Common | 4 | Not shown |
| Iron Pickaxe | Uncommon | 15 | $800 / 10 |
| Golden Pickaxe | Uncommon | 60 | $20K / 19 |
| Diamond Pickaxe | Rare | 250 | Not shown |
| Strawberry Pickaxe | Rare | 1K | $1.2M / 39 |
| Cactus Pickaxe | Epic | 4K | Not shown |
| Lightning Pickaxe | Legendary | 15K | $40M / 79 |
| Candy Pickaxe | Mythic | 60K | Not shown |
| Rainbow Pickaxe | Mythic | 250K | $2.8B / 110 |
| Crystal Pickaxe | Divine | 1M | $20B / 130 |
| Demon Pickaxe | Divine | 4M | Not shown |
| Hacker Pickaxe | Cosmic | 15M | $1.2T / 190 |
| UFO Pickaxe | Cosmic | 60M | $12T / 260 |
| Secret Pickaxe | Secret | 250M | $80T |
Each step up the list roughly quadruples Power. The Demon Pickaxe at 4M Power clears Ocean Zone’s Mythic eggs comfortably and can grind down a 1.2B Fallen Angel Egg in Volcano Zone. A 2.3B Volcanic Egg is a much longer job with the same tool. When your Cash reaches the price of the next pickaxe, the game tells you with a notification such as “You can now afford the Hacker Pickaxe!”
Toggle the “Auto Swing” button at the bottom of the screen so your pickaxe keeps hitting the egg in front of you without repeated taps.

How to run a zone: break the egg, steal the pet, get home
Every zone uses the same loop. The only things that change are the egg HP, the distance home, and the guardians in the way. Before you leave the base, equip your best pickaxe and your fastest trail.
Volcano Zone: Divine eggs at 1B Speed
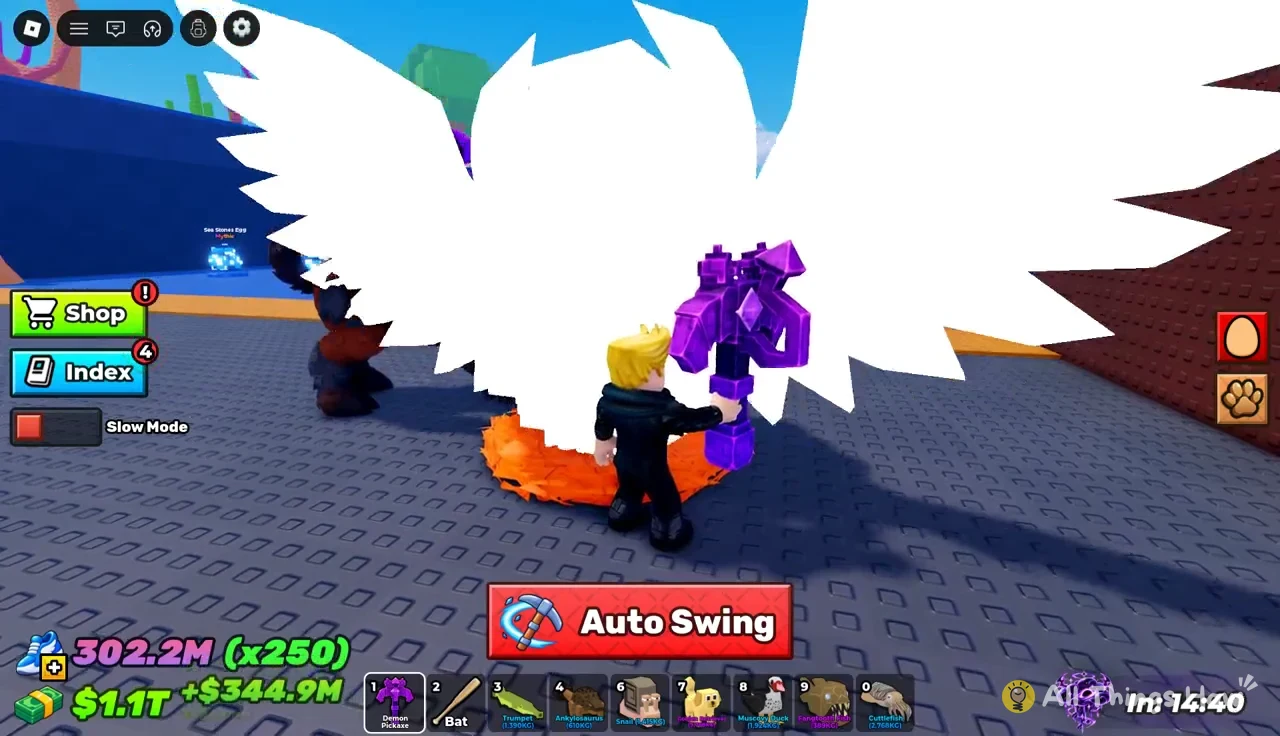
Volcano Zone is the farthest zone on the road from Forest, and its banner reads “IMPOSSIBLE.” All three eggs are Divine. The Angel Egg and the Fallen Angel Egg stand near the zone’s entrance, and the Volcanic Egg is the toughest of the group.
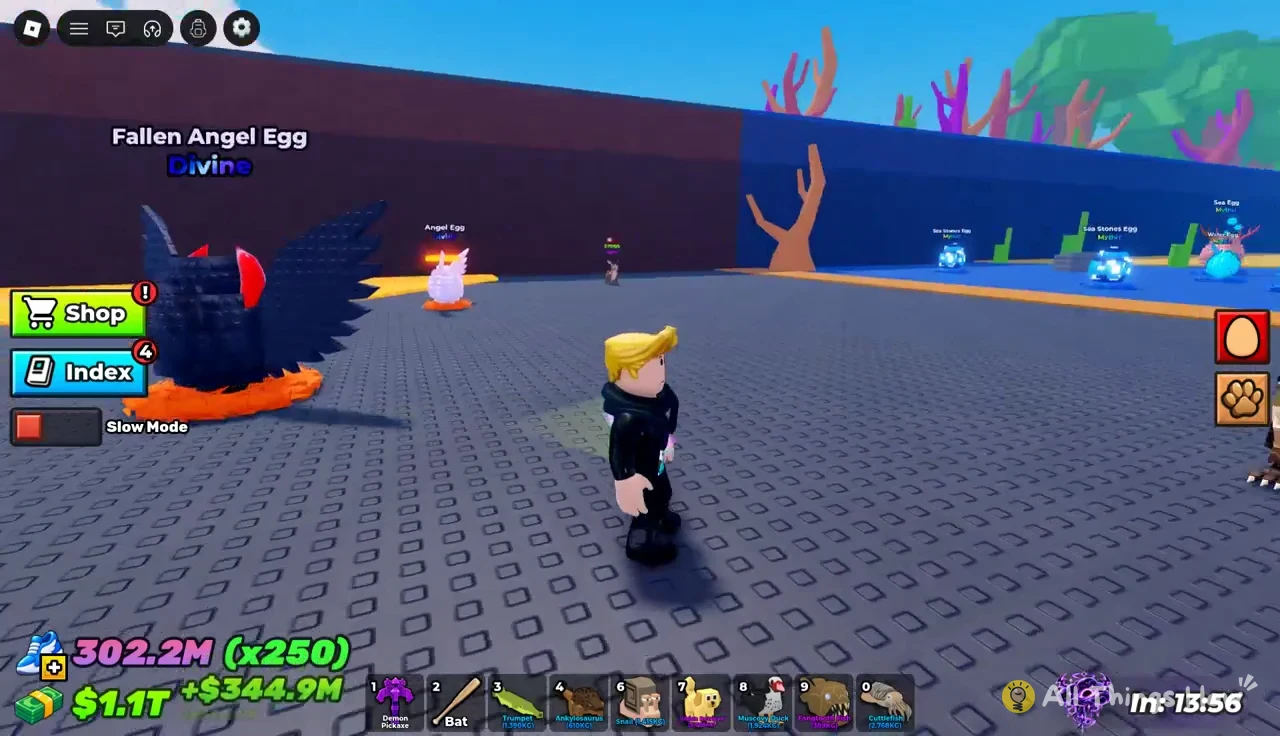
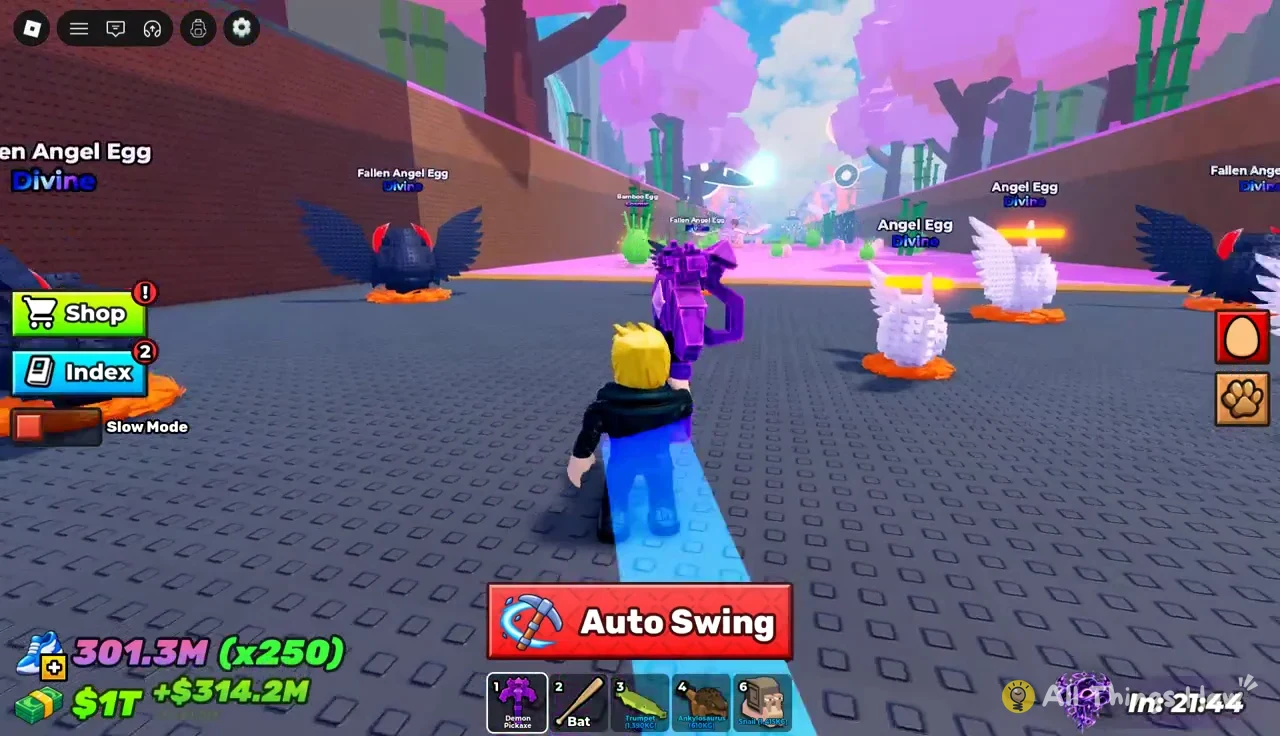
A 1.2B Fallen Angel Egg is a realistic target for a 4M Power pickaxe, though it takes a while. Every pass of Auto Swing chips away a small slice of the bar. Breaking one can hatch an Epic Jackalope, among other pets.
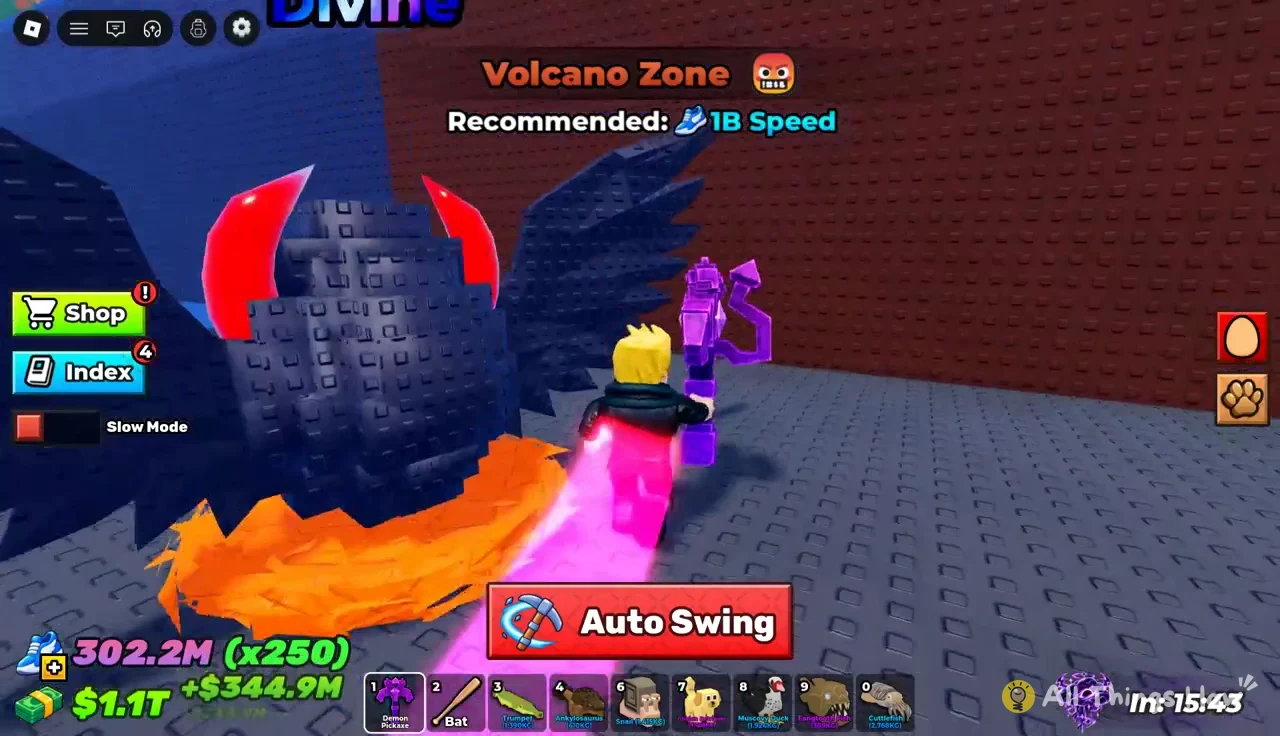
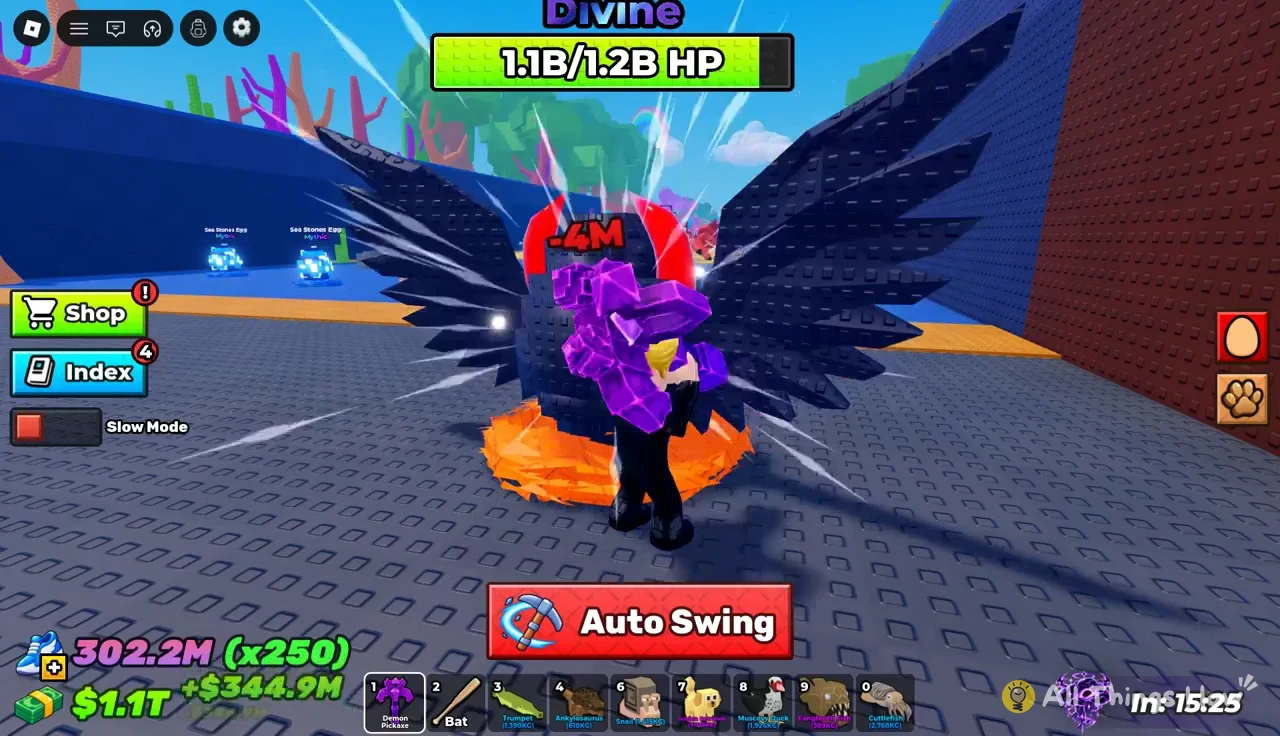
The Volcanic Egg’s 2.3B to 2.7B HP is roughly double a Fallen Angel Egg. With the Demon Pickaxe it is a slow grind, and that is the point where the Hacker Pickaxe’s 15M Power starts to pay off.
Guardians and dropped pets on the way back
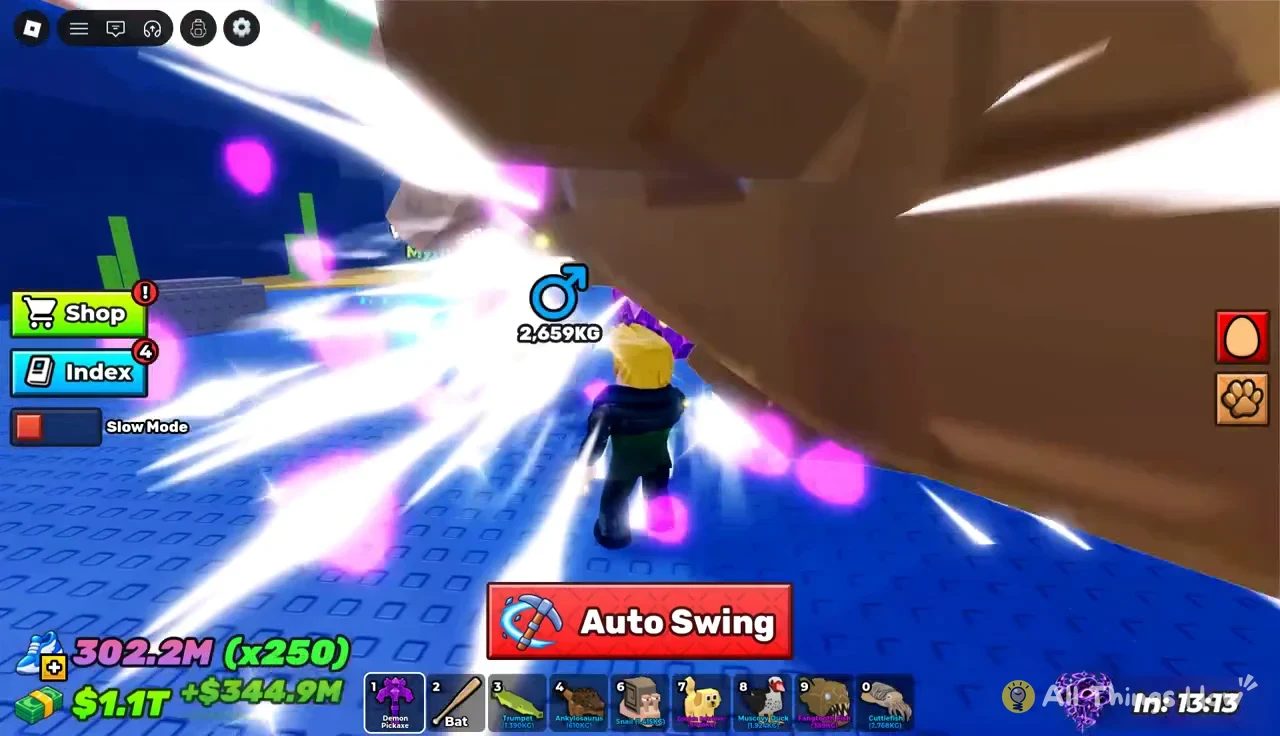
The trip home is where most runs fail. Guardian creatures roam the zones between you and the base, and glowing red and yellow rings beneath their feet show where they are. If one rams you, your character falls flat and drops whatever pet you were holding.
- Mammoth (Swamp Zone): patrols the Swamp road and can knock you down over and over on a single return run.
- Demon Crab (Ocean Zone): a giant crab guarding the Ocean Zone egg area.
- Dropped pets: stay on the ground where they fell, so you or another player can pick them up.
Since dropped pets stay on the ground, you can recover your own after a knockdown. The same rule lets you steal. Pets dropped by other players also lie in the zones, and in Ocean Zone that can include high-tier animals like a Jackalope, a Dimetrodon, or a Cosmic T-Rex. Grabbing one starts the same “RUN!” countdown and the same trip home. There is also a “Drop” button if you need to put a pet down on purpose.
Every zone between your target and the base is on the way home, so a Volcano Zone pet still has to get past the Ocean Zone crab and the Swamp Zone mammoth.
How to raise Speed for the next zone
Your base Speed grows in three ways. You can train on the treadmill, equip a trail that multiplies your Speed, or claim collection rewards in the Index menu.
Treadmill training
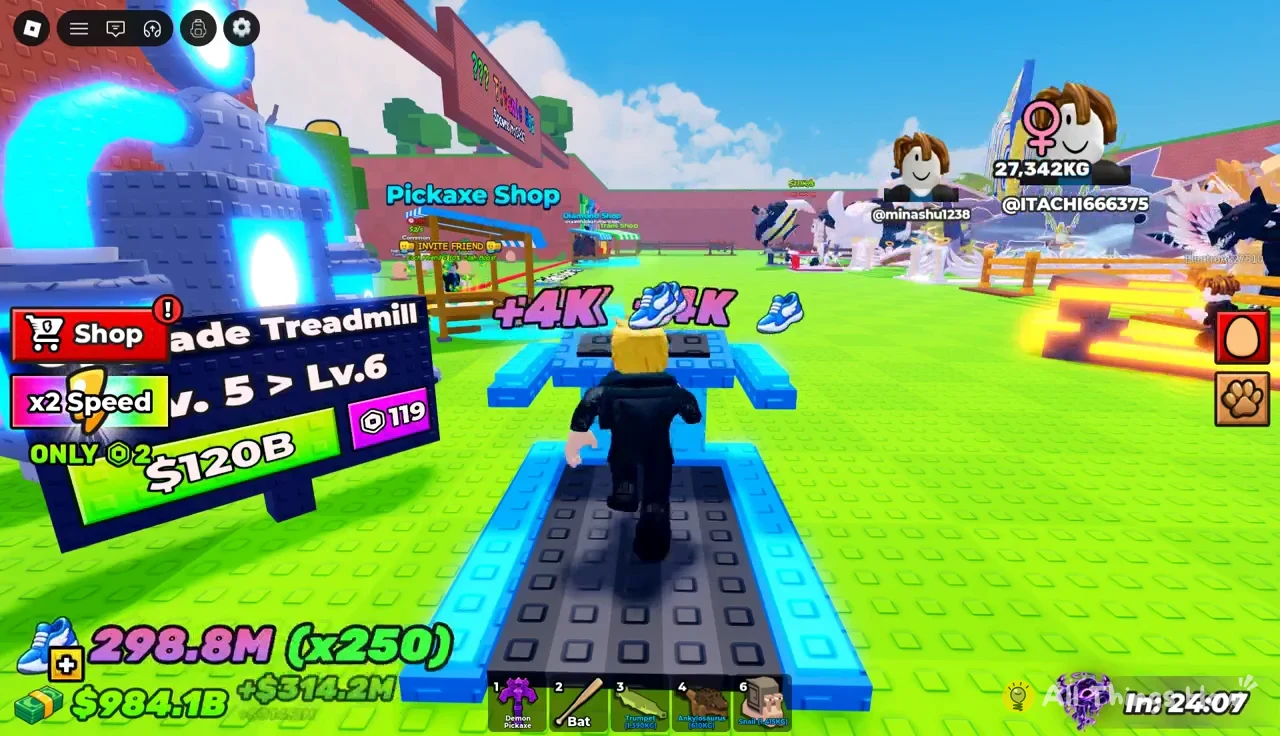
The treadmill sits in the Safe Zone. Every step on it adds Speed, and floating icons show the rate. At level 5 it gives +4K per step. Upgrading from Lv. 5 to Lv. 6 costs $120B or 119 Robux and raises the per-step gain. With enough time on the belt, your base Speed can pass 300M, which is double Ocean Zone’s recommendation.
Trails
The Trails Shop sells speed multipliers. A trail only counts while it is equipped, and the shop shows “Equip” or “Unequip” next to the ones you own. An equipped trail also leaves a visible glow behind you as you run.
| Trail | Rarity | Speed | Price (Cash / Robux) |
|---|---|---|---|
| White Trail | Common | x2 | Not shown |
| Blue Trail | Rare | x4 | $7.5K / 6 |
| Green Trail | Uncommon | x8 | $100K / 12 |
| Rainbow Trail | Mythic | x250 | Not shown |
| Galactic Trail | Cosmic | x600 | $45B / 120 |
| Secret Trail | Secret | x1.5K | $600B / 150 |
| Laser Trail | Celestial | x4K | $8T / 210 |
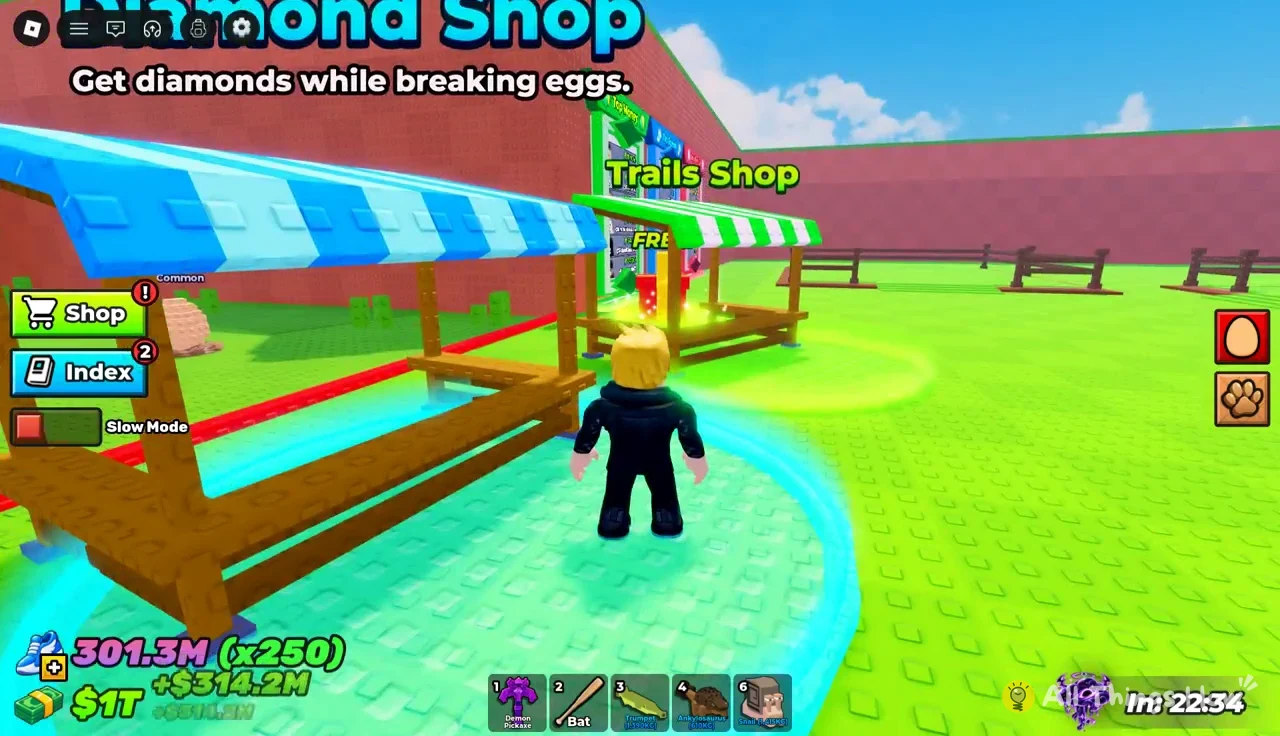
Next to the Trails Shop is the Diamond Shop, which runs on diamonds instead of Cash. Its prompt points you to the source, which is breaking eggs. Diamonds drop when an egg breaks, and the Gems Shop spends them on Mounted Eggs at 1K diamonds for one, 3K for three, or 8K for eight.
Index rewards
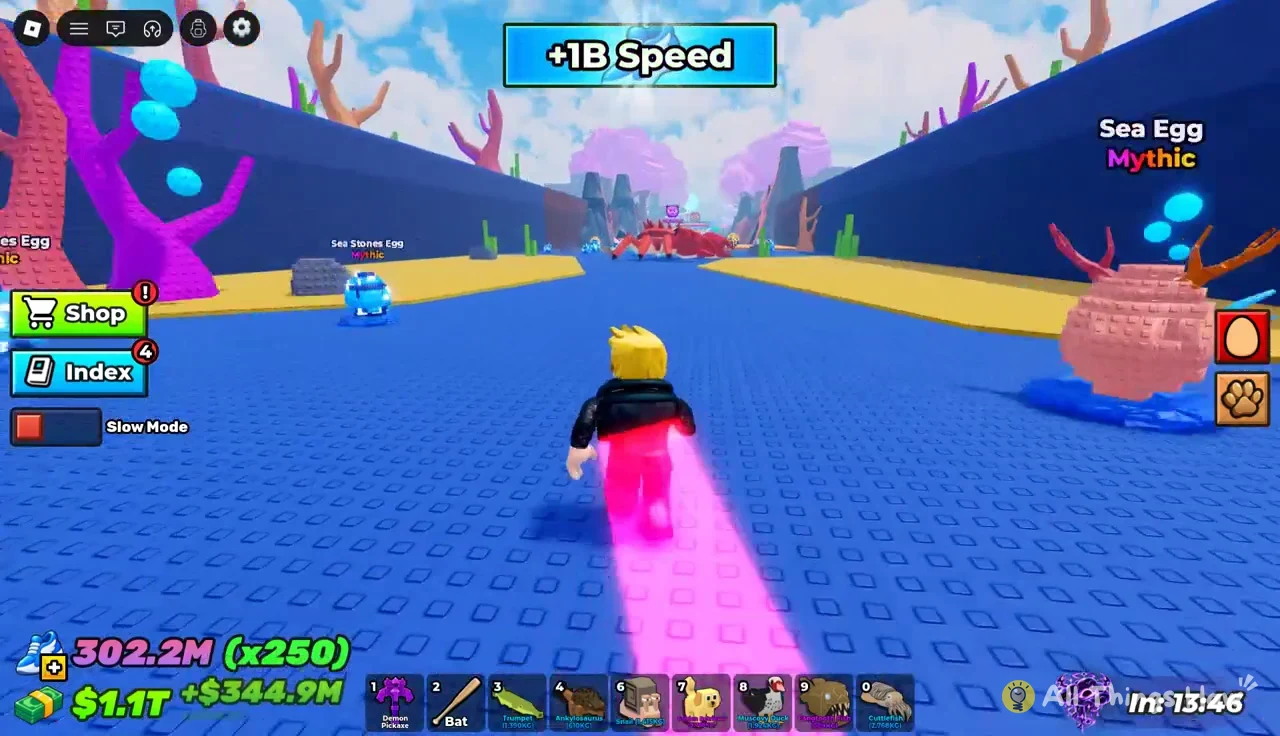
The Index button opens your collection. Each new pet you bank unlocks a reward you can claim, and those rewards include Speed. Large boosts appear as a banner across the screen, like “+1B Speed,” which by itself is enough Speed to match Volcano Zone’s recommendation.
Pen capacity, income, and merging pets
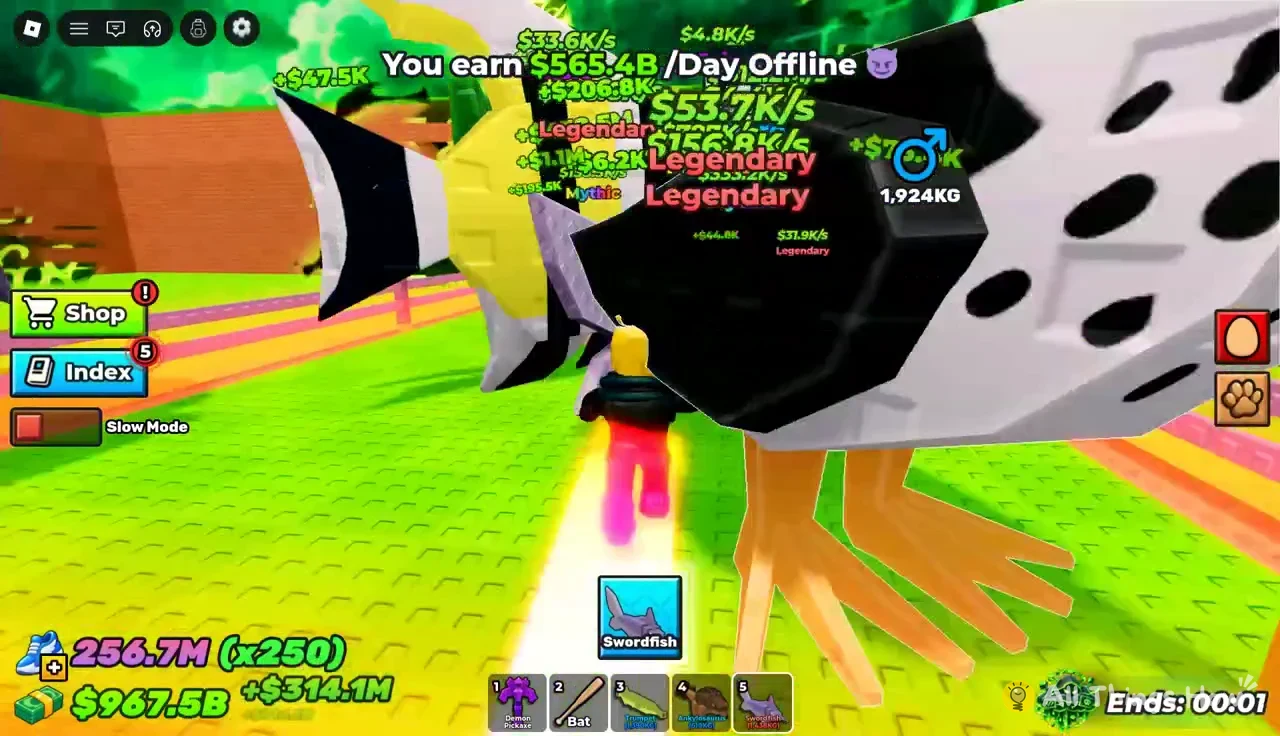
Pets you deliver earn Cash all the time, whether you are online or not. When you come back to the game, it shows your offline earnings, such as “You earn $565.4B/Day, Offline.” That Cash pays for the pickaxes, trails, and upgrades the later zones demand.
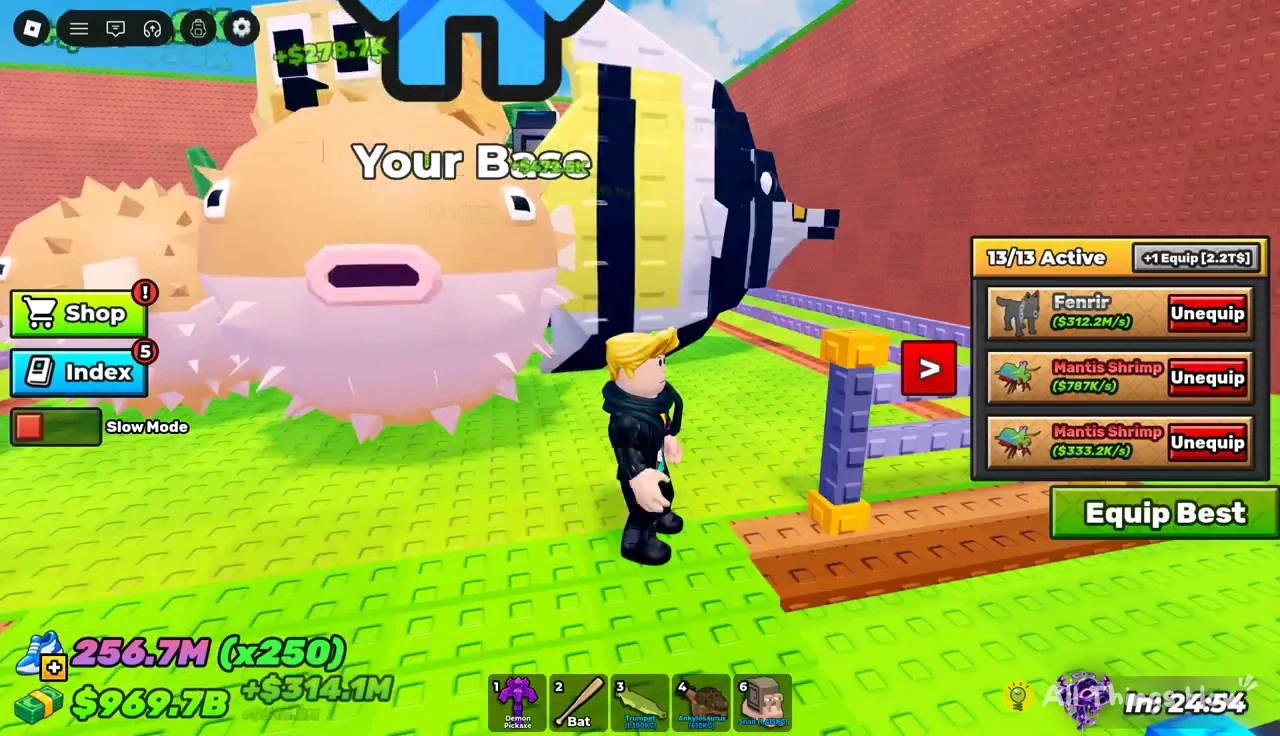
The pen has a limited number of active slots. Once it is full, for example at 13/13 Active, each new pet has to replace one already there. The pet panel lists everything you own, and its “Equip Best” button fills the active slots with your top earners. To add more slots, upgrade the pen. Going from Lv. 6 to Lv. 7 costs $2.2T.
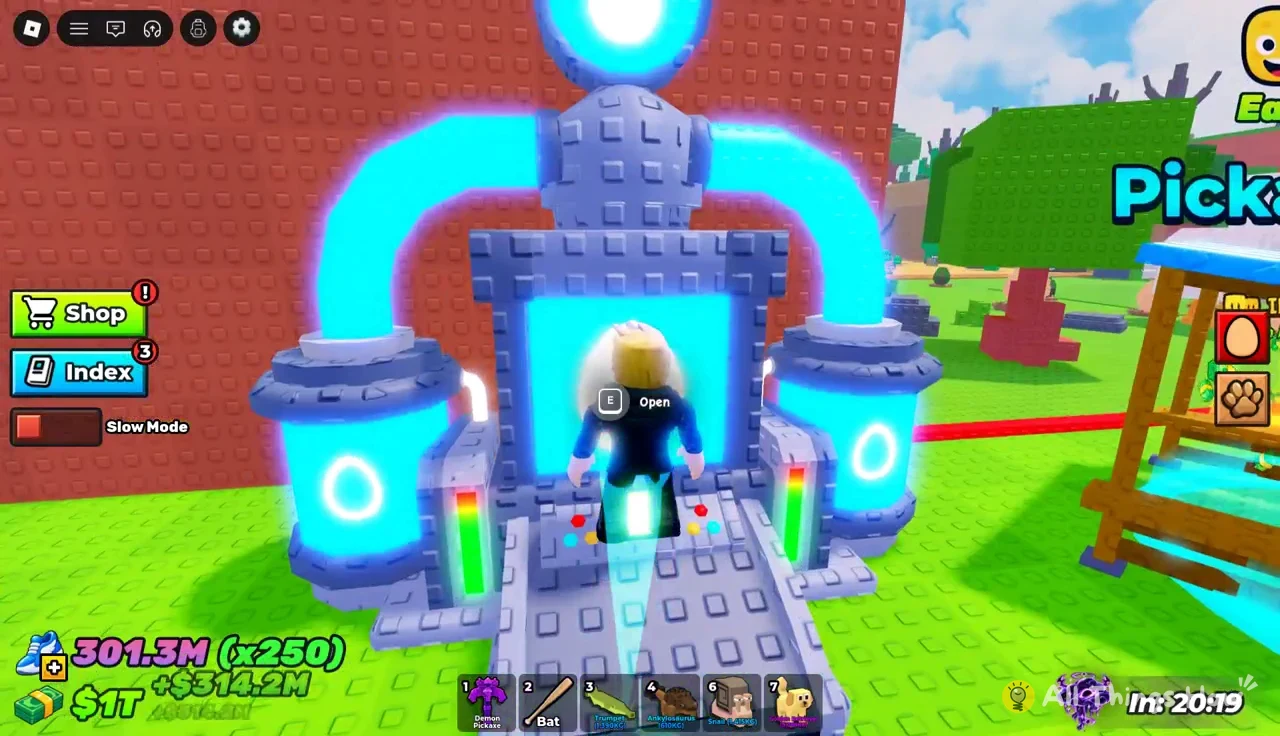
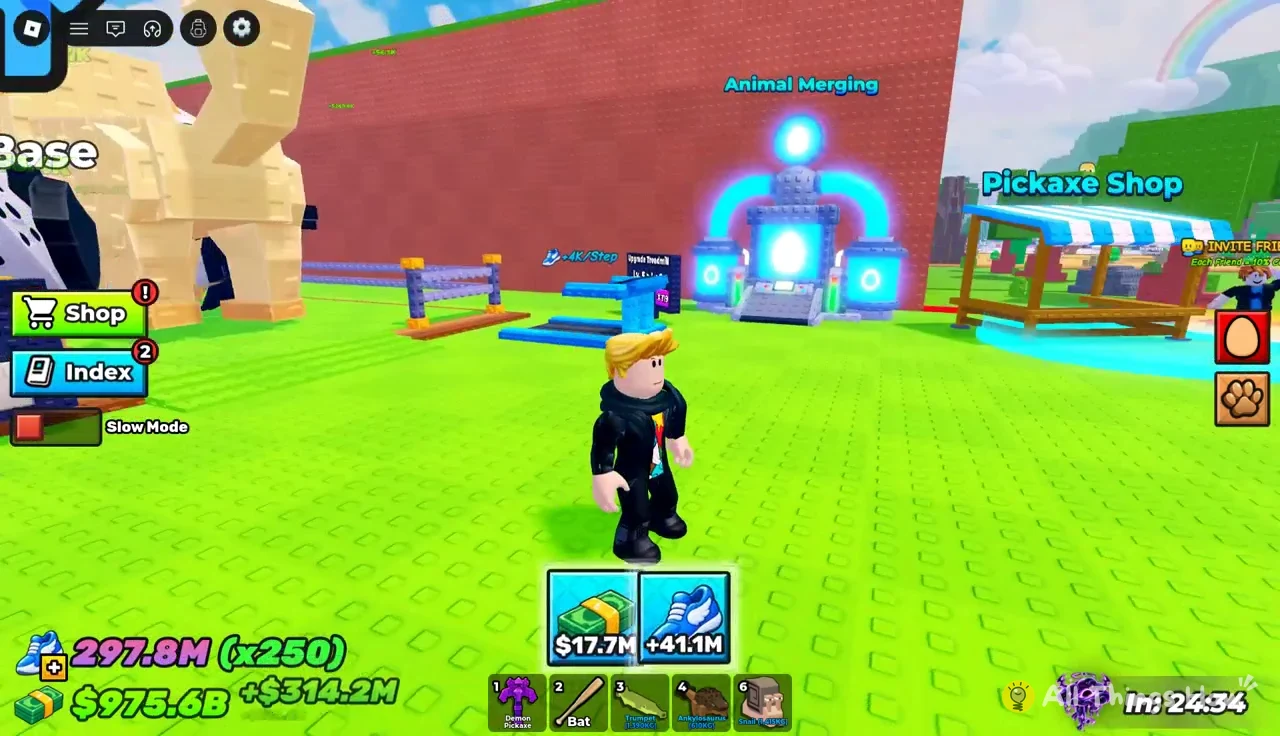
Spare duplicates go to the Animal Merging station next to the Pickaxe Shop. Walk up to it and press E to open it. The menu reads “Merge 3 of the same pets! More KG = Bigger EGG,” so three identical pets combine into one larger egg, and heavier pets produce a bigger result.
With all of that in place, the zones become a repeatable cycle. Farm the hardest zone you can return from reliably, put the best pets in your pen, and spend the Cash on whichever stat is holding you back. That is Speed if guardians keep catching you, and Pickaxe Power if eggs take too long to break.