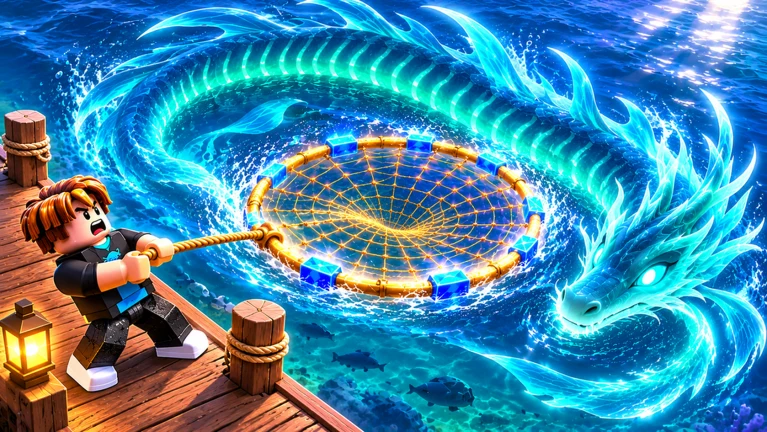
Net a Fish has two kinds of rewards. Server events like Wave Rush, Pirate Raids, and Forbidden Awakening pay out in short bursts. Bonuses come from potions, traits, gear, and collection rewards, and they make every cast during those bursts count for more. The two systems work together. Events supply the rare fish and raid materials, and your bonuses decide how much of that you keep.
Quick answer: When the TSUNAMI WARNING banner appears, equip your best fish at the Fish Cooler, drink Hub potions, set bait, and keep throwing nets through every wave. A final Extreme Wave multiplies rare fish and mutations by ten.
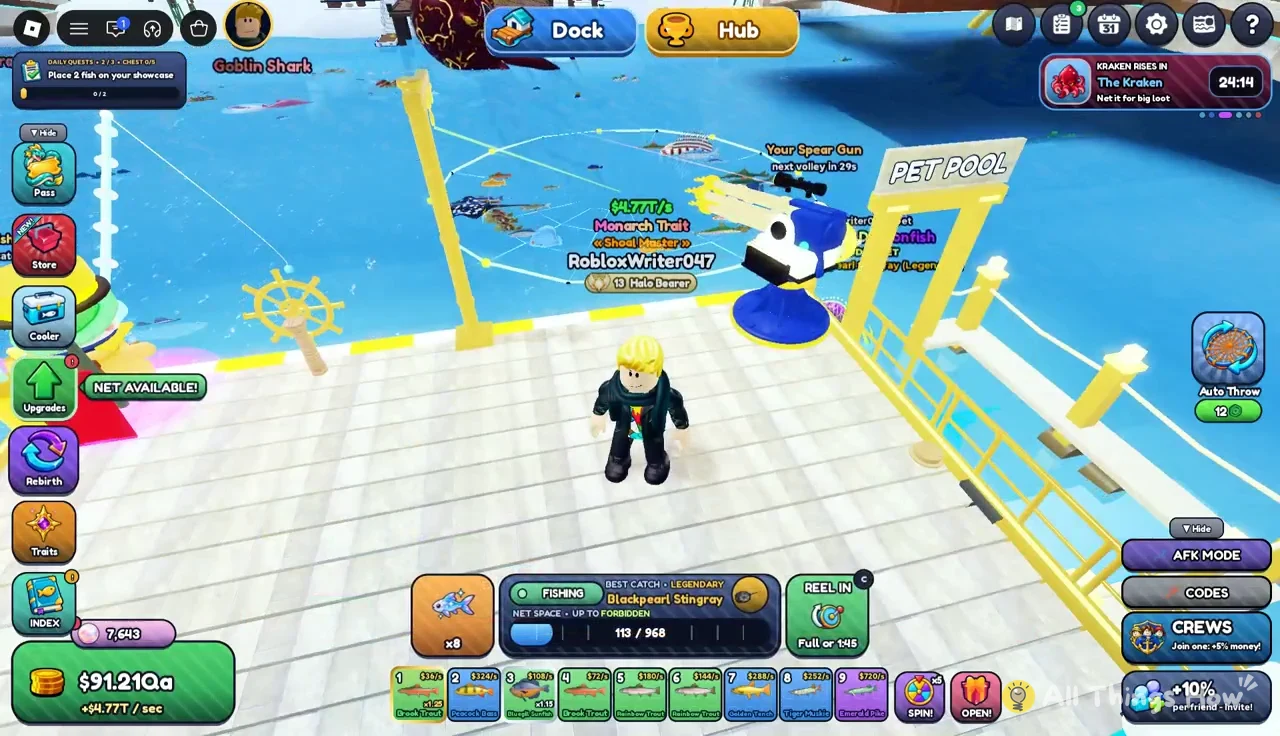
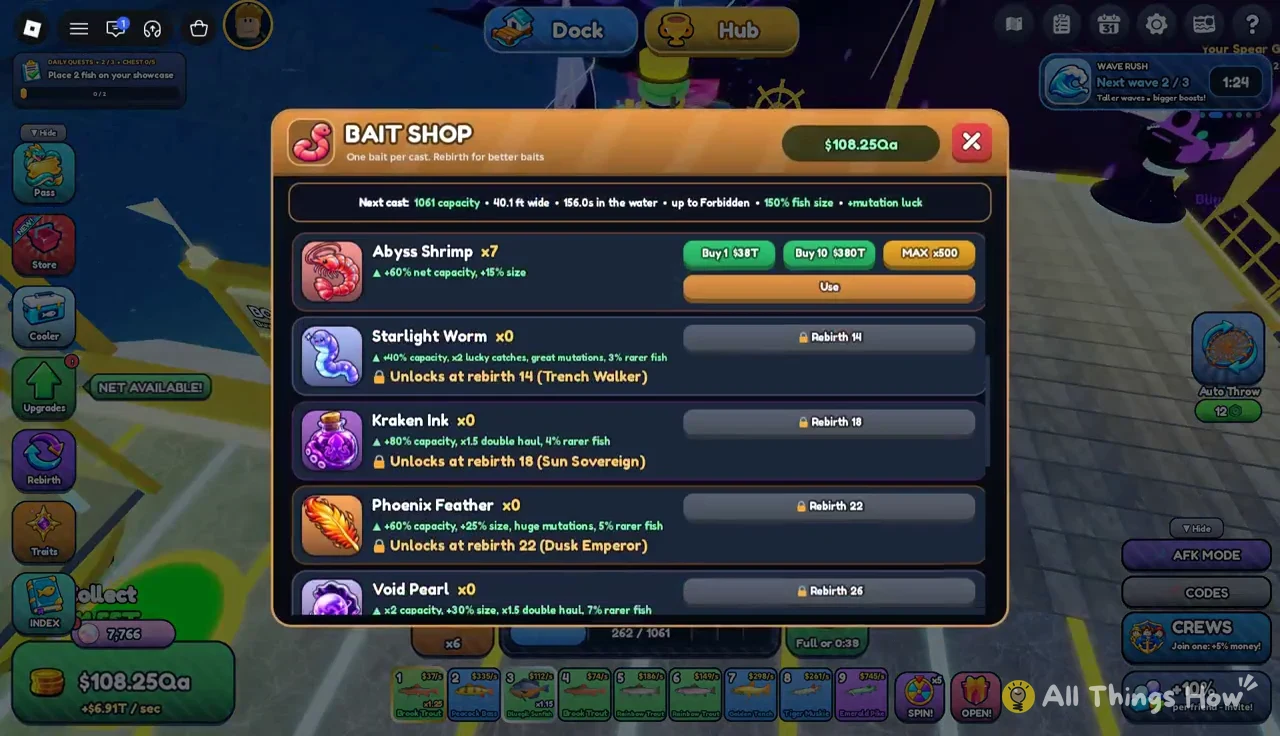
Every event happens at your dock, and every event runs on the same action: throwing nets into the river. Nothing about the casting changes when an event starts. The fish that show up are what change, so the work you do beforehand is what decides your haul.
Net a Fish server events and what they reward
Events are server-wide and scheduled. Each one announces itself with a banner across the top of the screen, so you never have to go looking for them. The table below lists the banner text for each event and what it gives you.
| Event | On-screen banner | What it gives |
|---|---|---|
| Wave Rush | TSUNAMI WARNING | 3 or 4 waves of rare fish |
| Extreme Wave | ! EXTREME WAVE ! | Rare fish x10, Mutations x10, Fish x3 |
| Pirate Raid | PIRATE RAID OVER! | Scrap, Doubloons, Temper Stones, Tier Cores |
| Forbidden Awakening | FORBIDDEN AWAKENING | A colossal creature enters the river |
Wave Rush and the Extreme Wave
Wave Rush starts with a TSUNAMI WARNING. A second banner then tells you how many waves are coming, such as WAVE RUSH! 4 waves of rare fish incoming! or WAVE RUSH! 3 waves of rare fish incoming!. Each wave brings boosted spawns of rare, mutated, and high-multiplier fish. Massive bosses also swim through the river while the waves are running.
The final wave of a Wave Rush can roll as an Extreme Wave. When it does, the ! EXTREME WAVE ! banner lists the multipliers: Rare fish x10 • Mutations x10 • Fish x3. That last wave is the best point in any event to have every potion running and your largest net equipped.
Pirate Raid
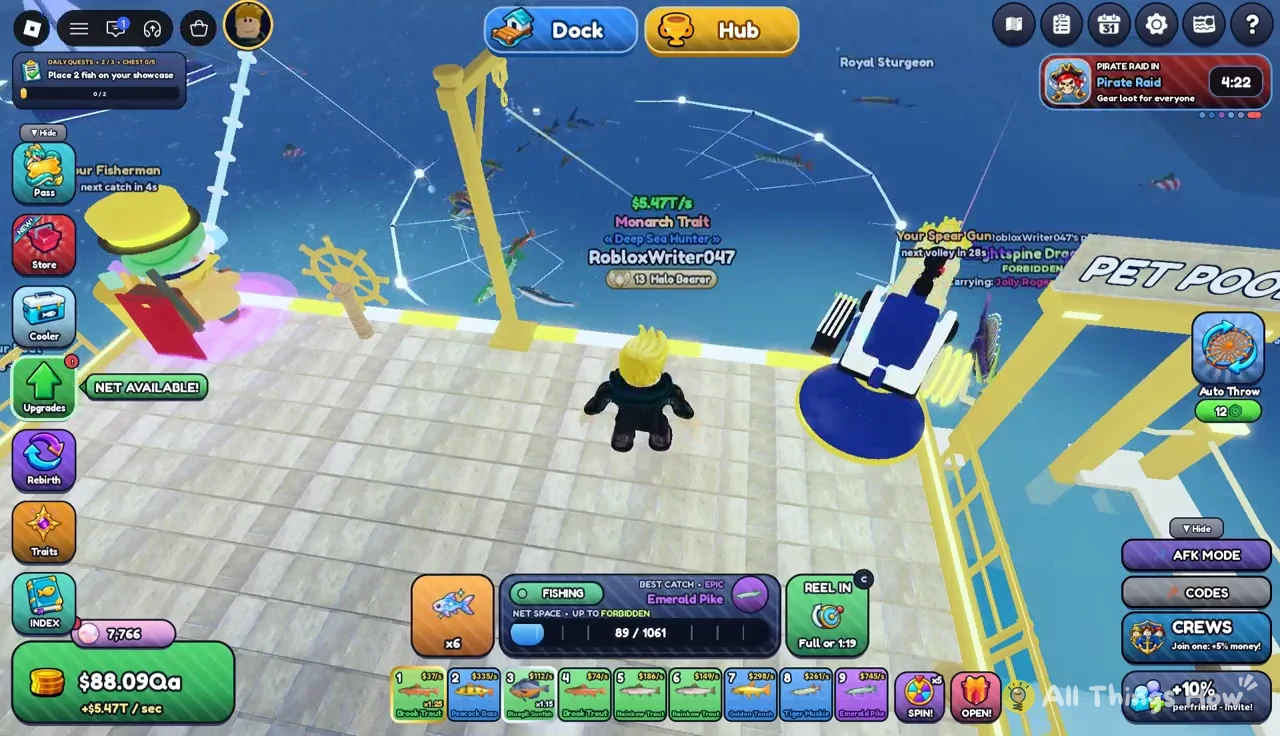
Pirate Raids are cooperative. Players on the server sink enemy ships together, and your rewards scale with the number of ships sunk and the chests you earn. When the raid ends, a PIRATE RAID OVER! summary lists your loot. A raid that sank 9 of 11 ships and earned 4 chests paid out +27 Scrap, +14 Doubloons, and +1 Temper Stone.
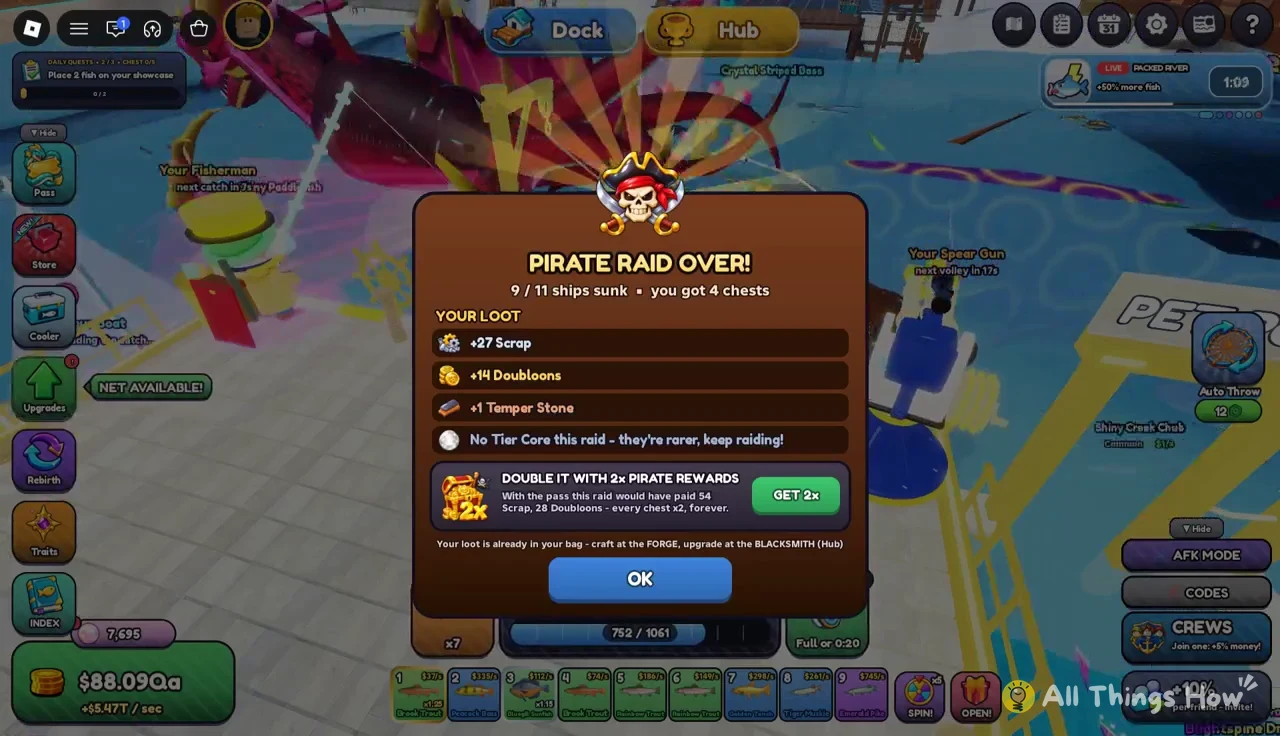
Tier Cores are the scarce drop. A raid that doesn’t award one tells you so directly with the line No Tier Core this raid - they're rarer, keep raiding!. Cores are a crafting ingredient at the Forge, so building gear depends on joining raids repeatedly.
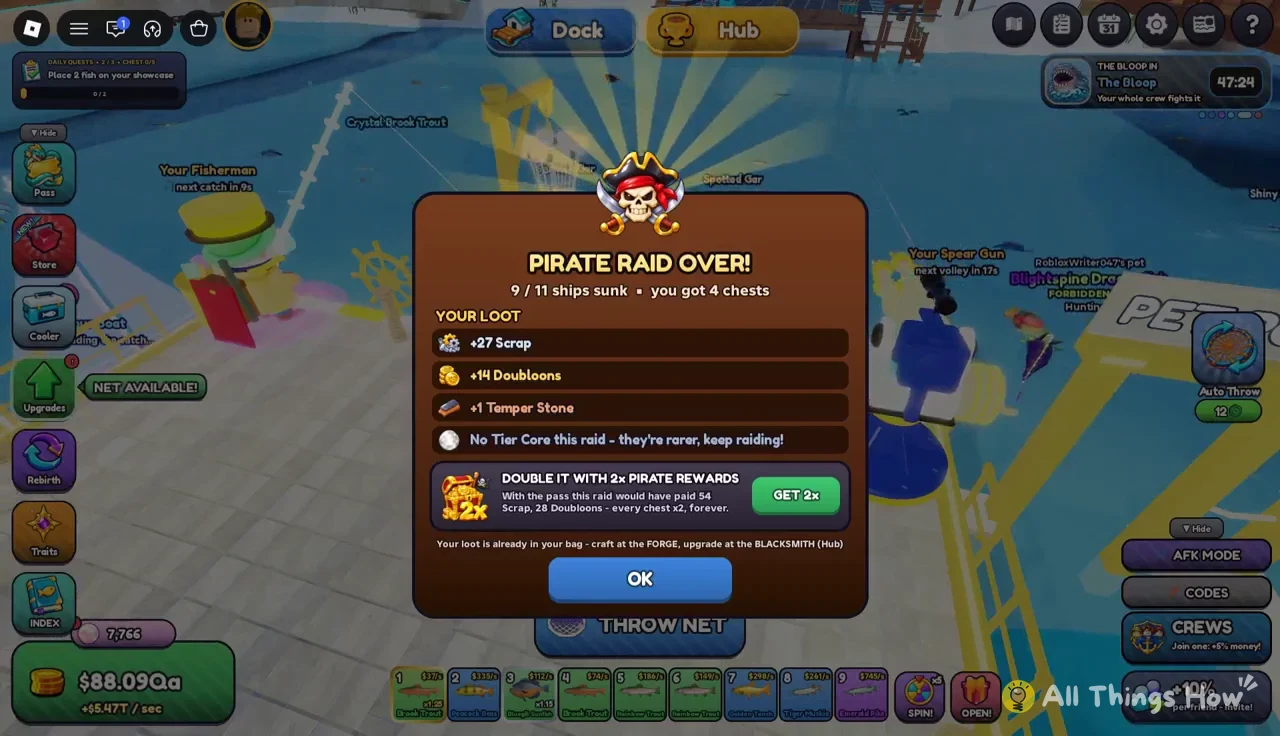
Press OK to close the summary and go back to fishing. The materials go straight to your inventory, ready to spend at the Blacksmith.
Forbidden Awakening
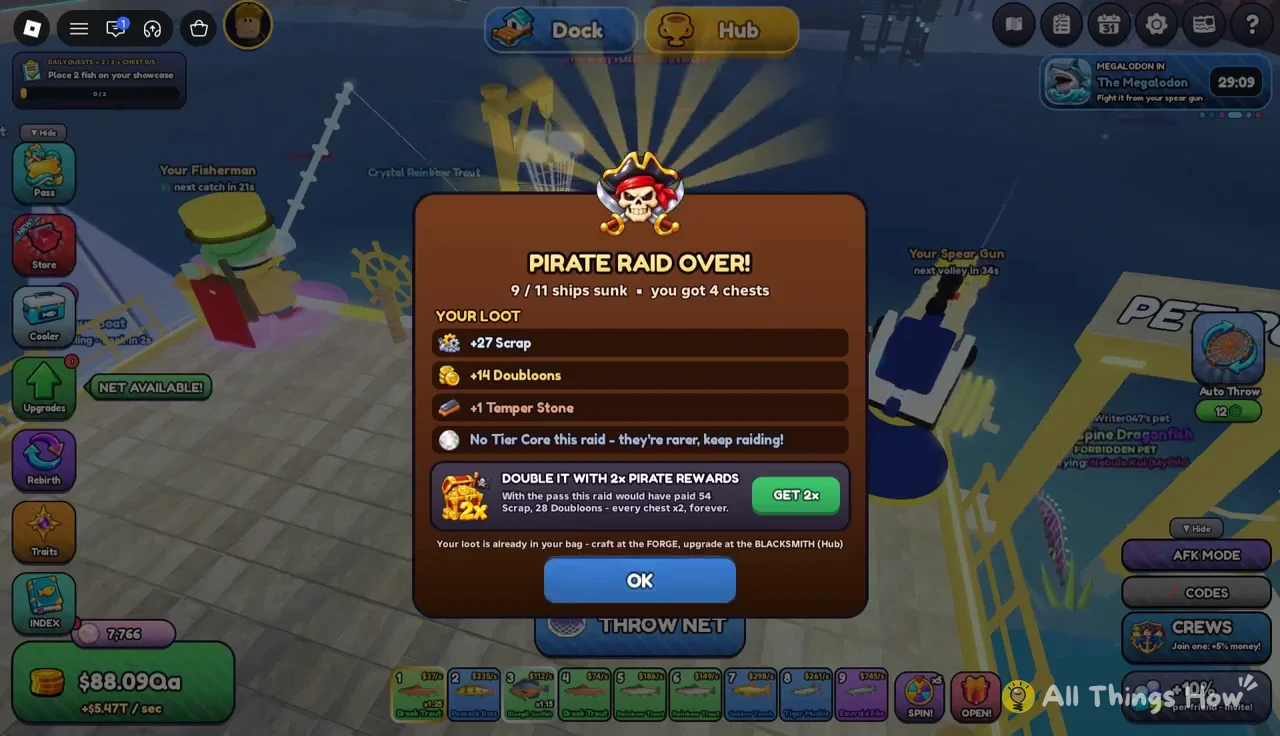
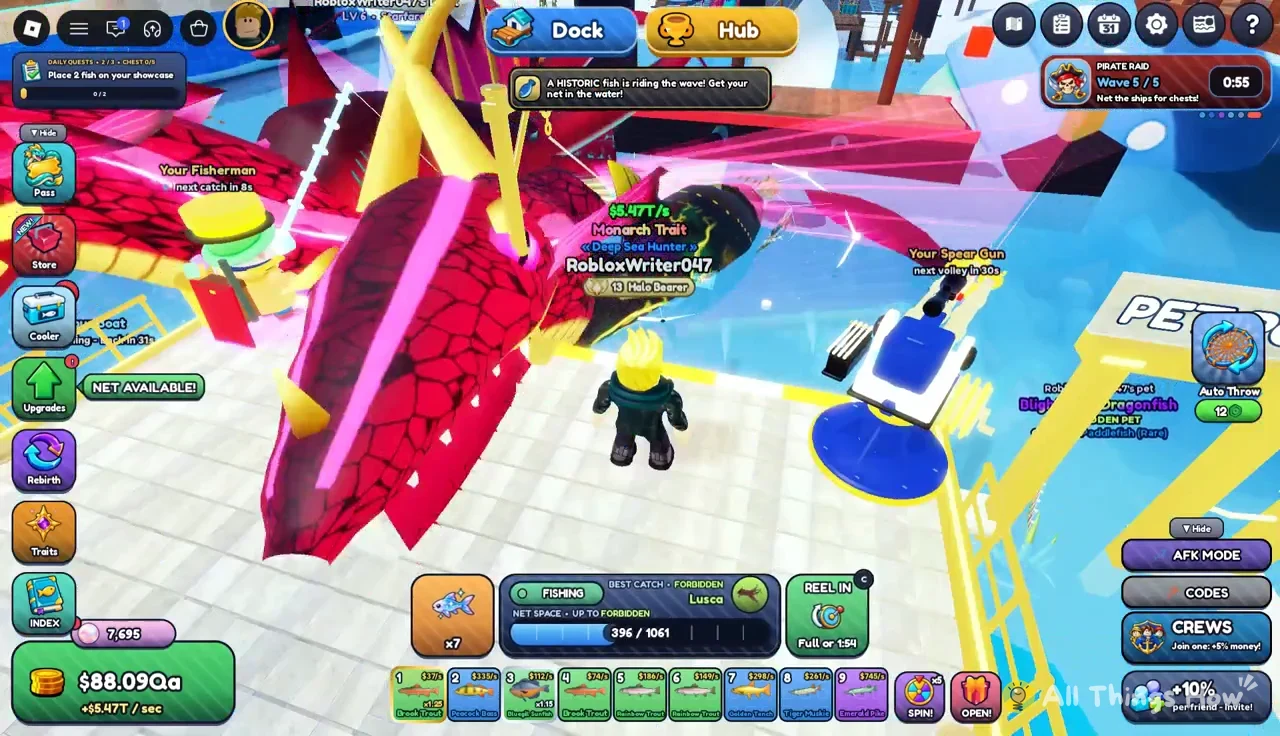
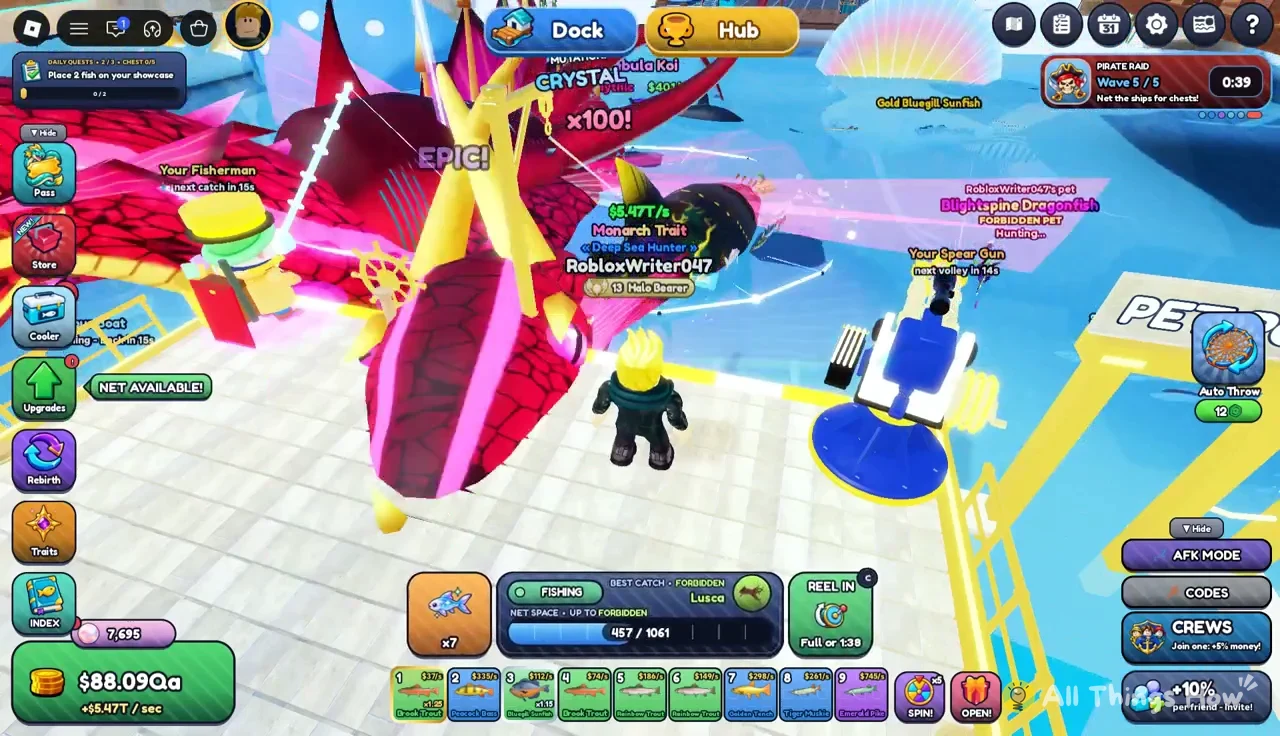
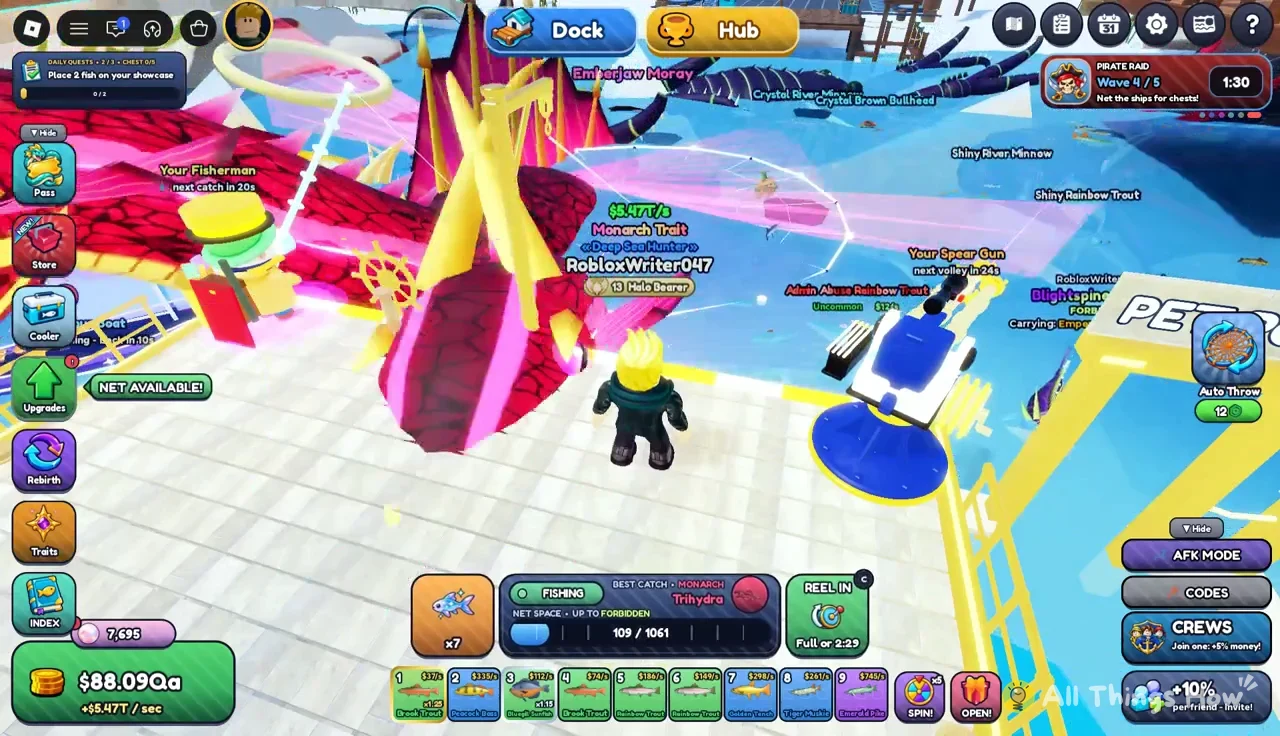
Forbidden Awakening is a timed world event. A server-wide countdown under the FORBIDDEN AWAKENING banner warns that a colossal creature is about to enter the river. When it ends, the screen reads ABYSSAL JAEKELOPTERUS HAS AWOKEN. Keep your nets going while it happens, because normal fishing continues at the same time.
How to prepare when a Tsunami Warning appears
The warning gives you a short window before the first wave arrives. Use it to stack every temporary boost you can, then get back to the dock before the rare fish show up.
E at the “Open Cooler” prompt. Equip your best fish setup here, so the strongest fish you own are the ones working during the event.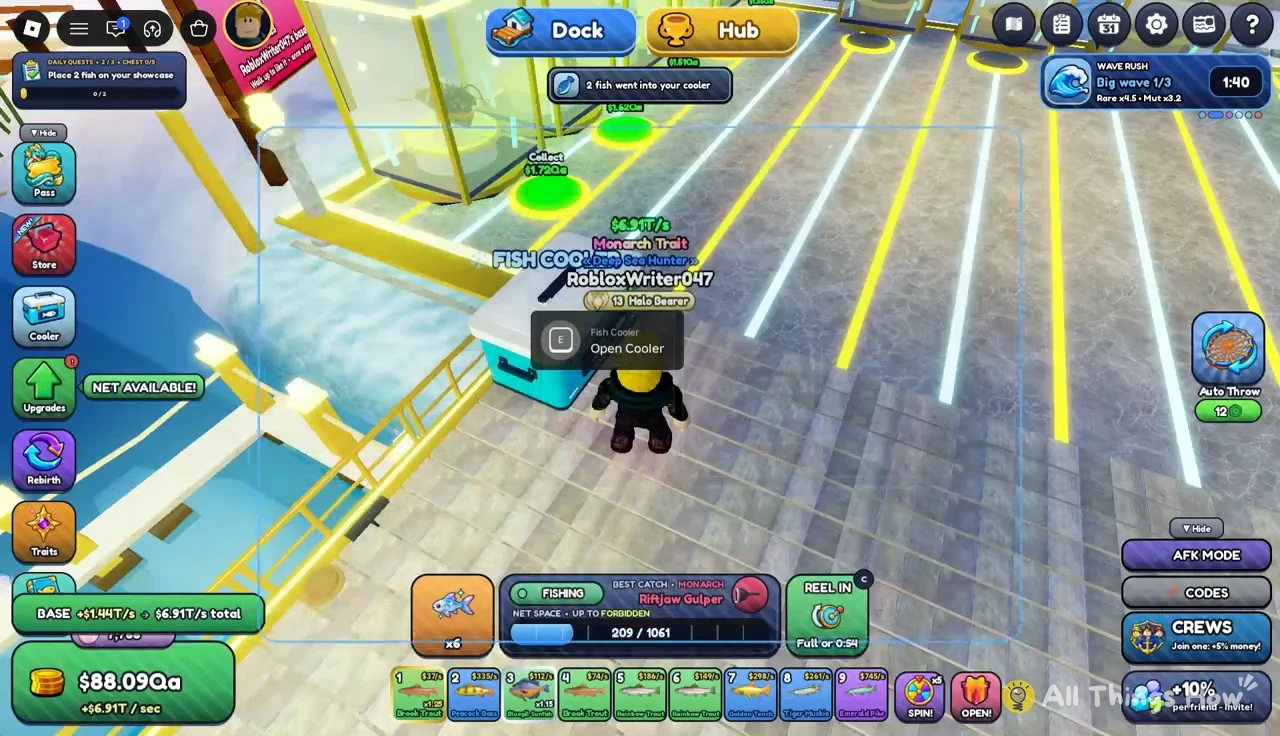
E at the Potion Shop. Buy the boosts that suit your goal. Fish Caught and Net Space potions increase volume, Mutation Luck raises the odds of mutated fish, and Cash Boost raises income. The full price list is in the next section.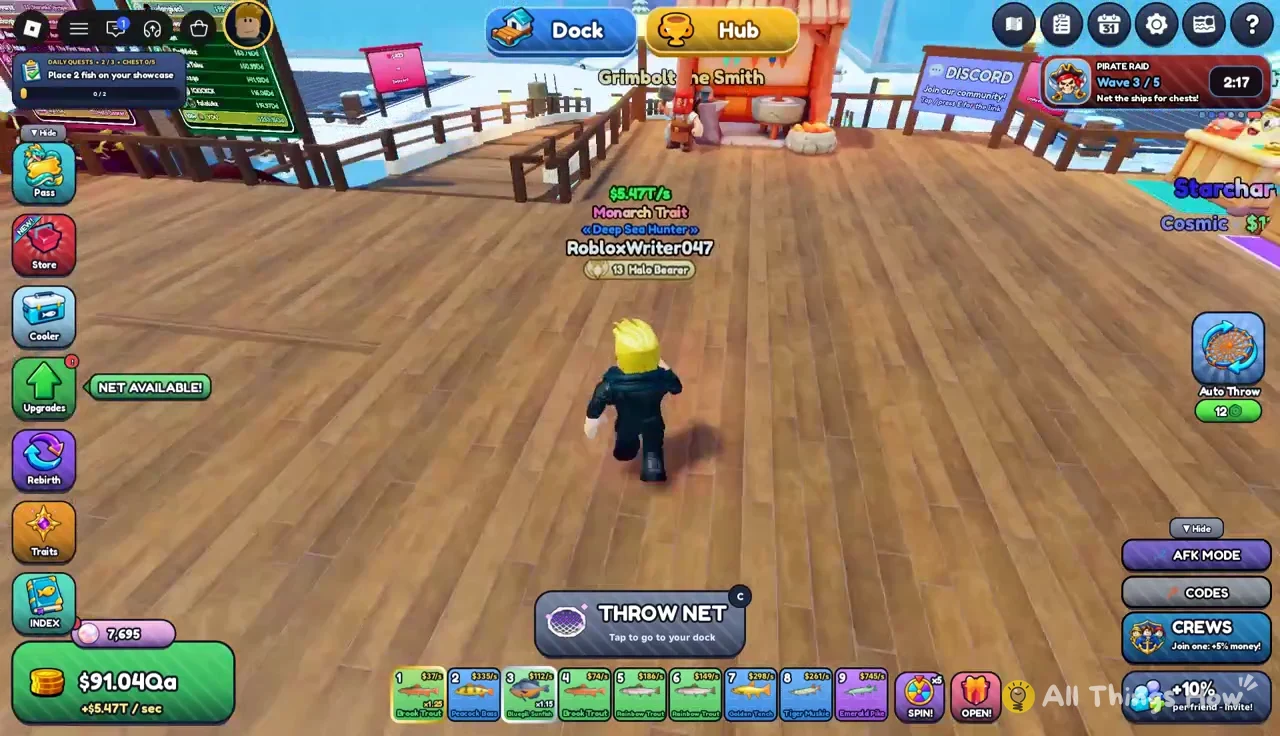
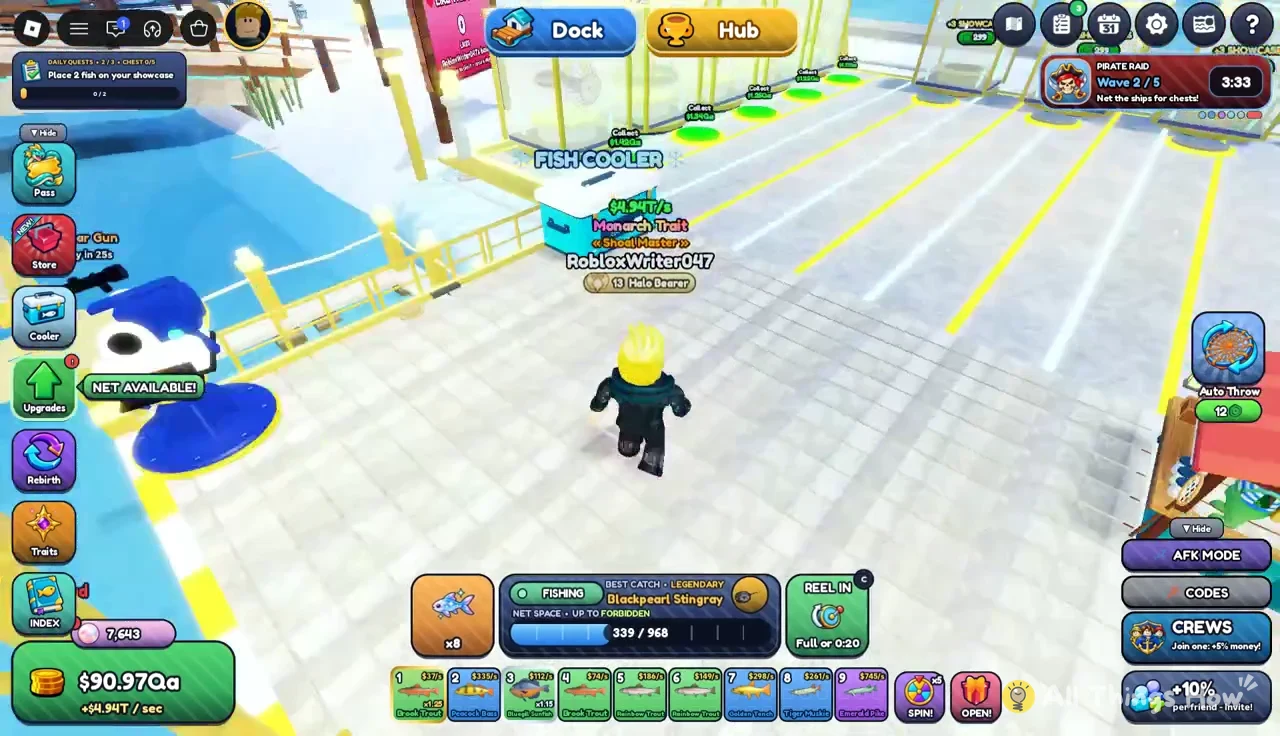
Collect the cash waiting on the glowing income pads under your dock showcases before you start a long fishing stretch. That money pays for the next round of potions.
Potion Shop boosts and prices
Potions are temporary, they stack, and each one in the Hub’s Potion Shop lasts 10 minutes. Higher tiers give larger percentages, and the price climbs steeply with each tier.
| Potion | Effect | Duration | Price |
|---|---|---|---|
| Fish Caught Tier VI | +30% fish caught | 10 min | $1.46M |
| Mutation Luck Tier V | +25% mutation luck | 10 min | $339,500 |
| Cash Boost Tier V | +25% cash | 10 min | $339,500 |
| Net Space Tier IV | +20% net space | 10 min | $77,600 |
| Net Space Tier VIII | +40% net space | 10 min | $24.25M |
Ten minutes is usually enough to cover an entire Wave Rush if you drink the potions once the warning appears. Drink them too early and they can expire before the Extreme Wave arrives.
Permanent bonuses that carry into every event
Potions run out, but several other systems give lasting bonuses. Claim them between events so they’re already active the next time a banner appears.
| Source | Where | Example bonus |
|---|---|---|
| Index pages | Index menu | +2% money, +1% mutation |
| Traits | Traits menu | Rare: x1.15 Money & Fish Caught |
| Leviathan Pass | Pass menu | Tier 16: 10 min of cash |
| Forge gear | Hub Blacksmith | Rare Helmet: +2% Luck |
| Nets and upgrades | Upgrades menu | More capacity and higher fish tiers |
Index completion rewards
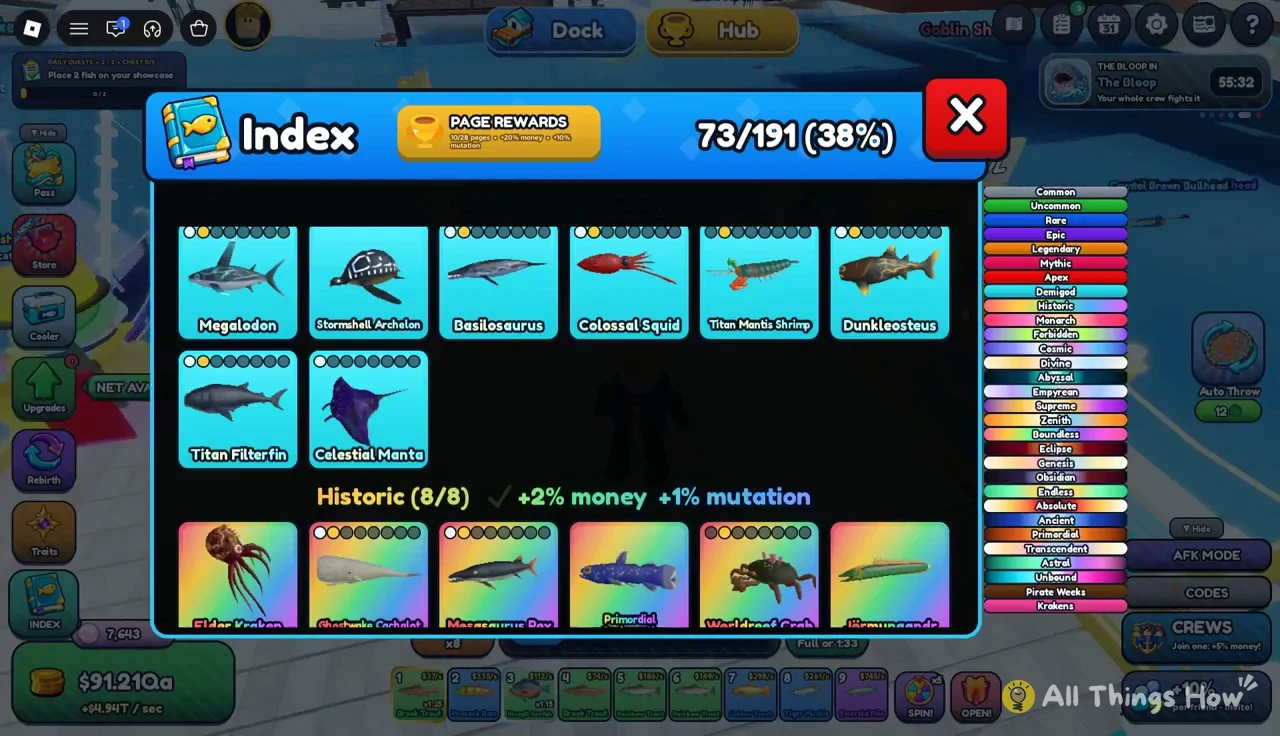
Each page of the Index tracks one fish group. Fill a page and you can claim its completion reward. The Demigod and Historic pages each give +2% money and +1% mutation. The Historic page holds eight entries, so 8/8 is the number to watch for on that page.
Traits, the Leviathan Pass, and titles
Spending a Trait Roll in the Traits menu gives you a random trait. A Rare result has 1 in 9 odds and grants x1.15 Money & Fish Caught. In one roll, the Monarch trait stayed in place while the Rare trait was added.
The Leviathan Pass for Season 1: Harvest Tide hands out rewards tier by tier. Tier 16 gives 10 minutes of cash. On the Quest Board in the Hub, you can claim completed contracts and Daily Quests, check Deep Current summoning calls, which use charged energy to unlock higher rarity calls, and equip unlocked titles. Shoal Master unlocks at 25,000 fish caught, and Deep Sea Hunter unlocks at 50,000.
Nets, Fishing, and Market upgrades
A bigger net catches more of every event wave. Higher-tier nets add capacity and width, and they unlock higher fish tiers.
| Net | Tier | Price | Notes |
|---|---|---|---|
| Oblivion Net | 22 | $240T | 360 capacity, 40.1 ft, up to Forbidden |
| Stardust Net | 23 | $960T | Unlocks Cosmic catches |
| Nebula Net | 24 | $4.8Qa | Next tier after Stardust |
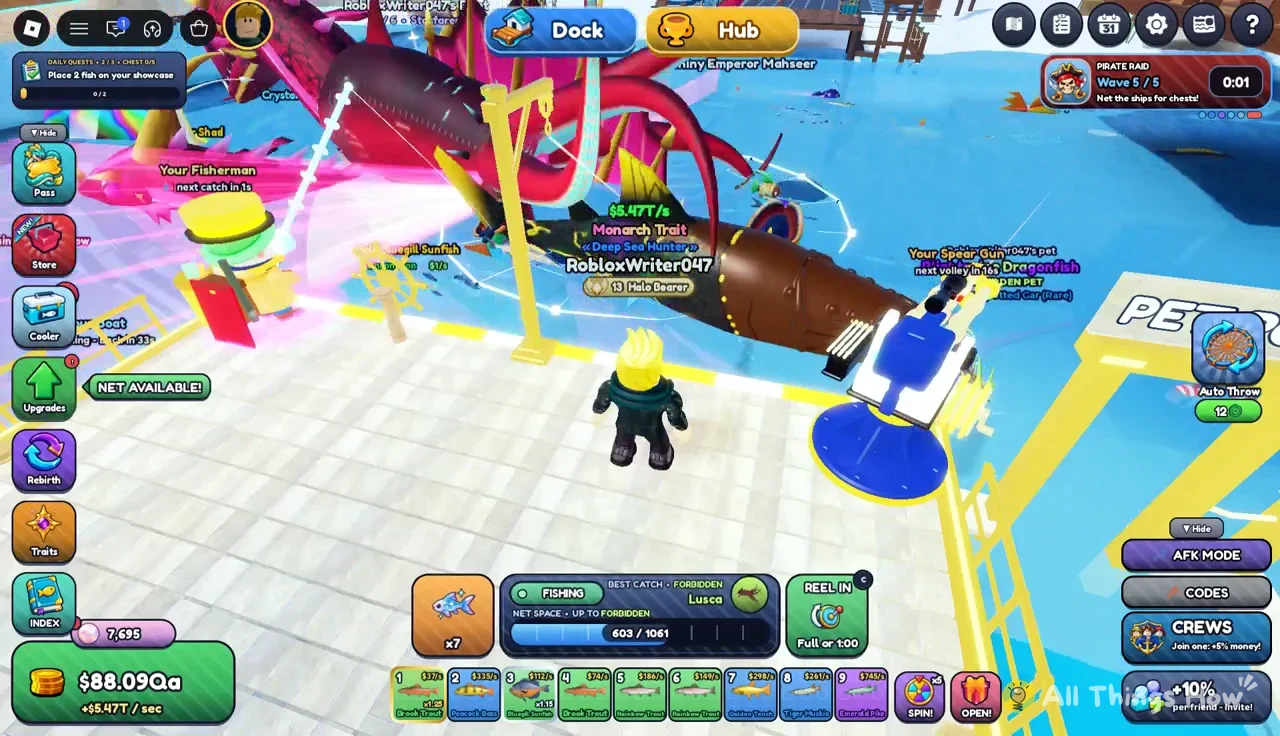
Moving to the Oblivion Net raises net space from 330 to 360 and adds +0.5% area. Since it reaches Forbidden tier, fish like the Forbidden Lusca can show up on the catch meter.
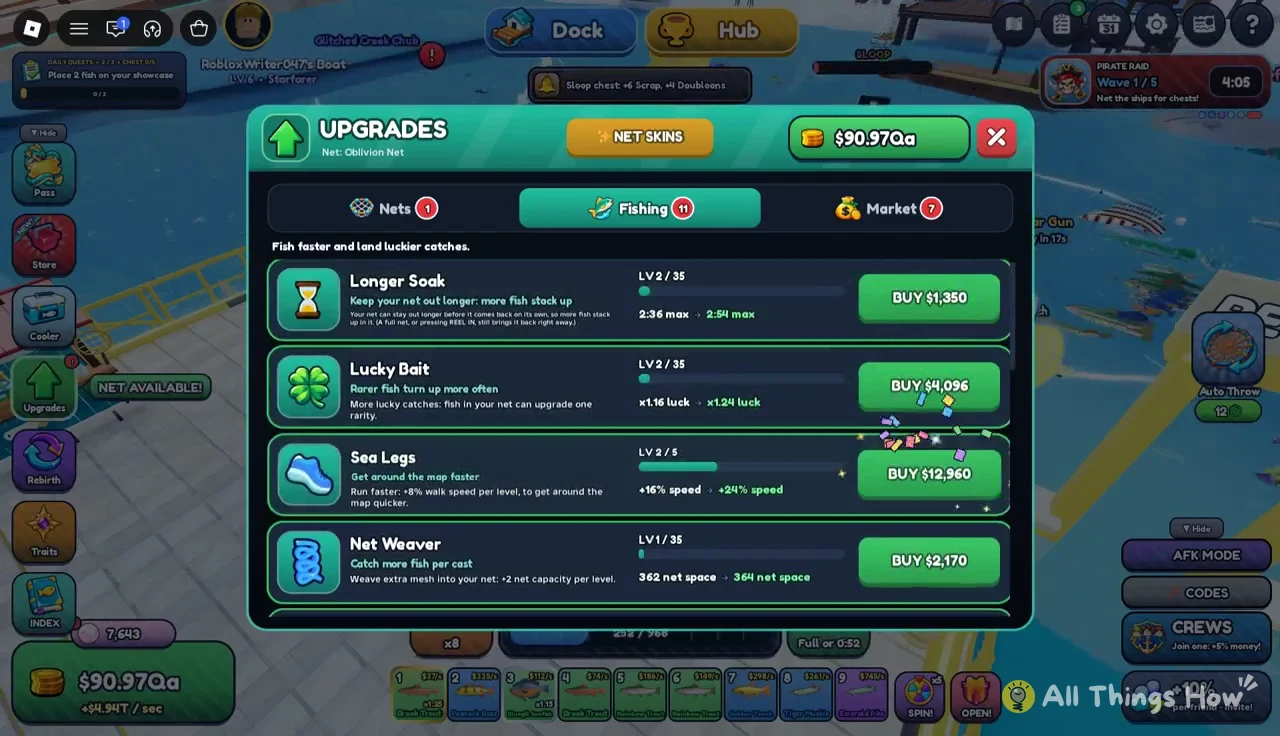
The Fishing tab of the Upgrades menu contains Longer Soak, Lucky Bait, Sea Legs, Net Weaver, Giant Bait, Double Haul, and Mutation Magnet. The Market tab contains Haggler, Night Watch, Treasure Diver, and Bait Saver. Each one is bought with a BUY button that displays its current cost.
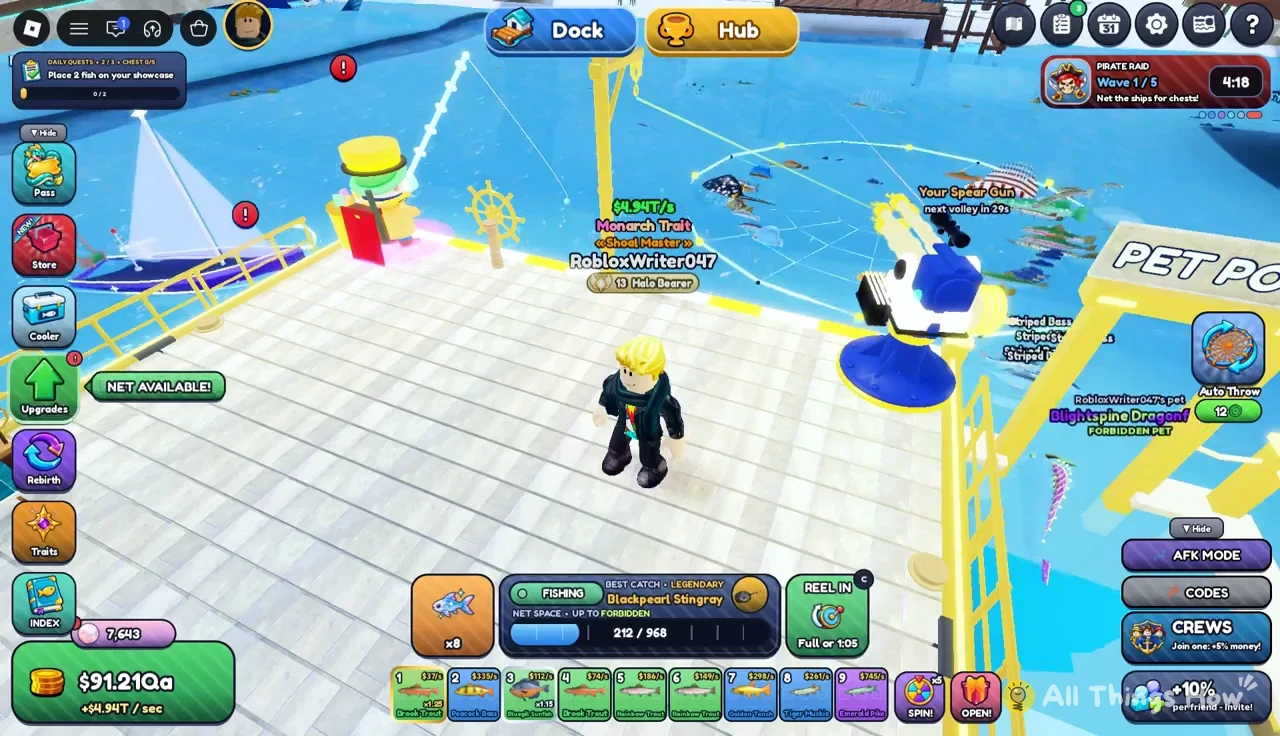
Dock helpers count as upgrades too. The Fisherman’s menu shows his Rod, Bucket, Quick Hands, and Range stats, and the Spear Gun station has its own upgrade tracks, such as Sharper Tips, which can be raised to Level 6 and beyond. Both keep working in the background while you’re casting nets during an event.
Turning Pirate Raid loot into gear at the Forge
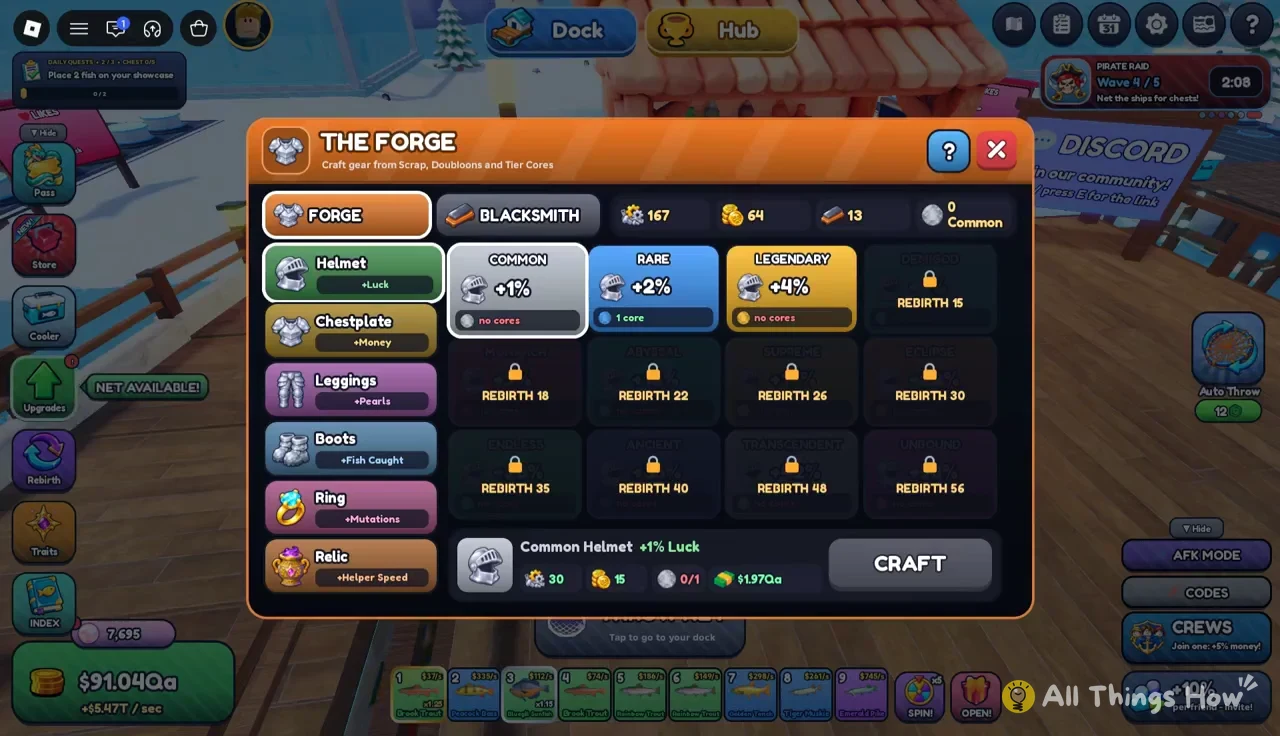
Grimbolt the Smith in the Hub runs two screens. The Forge crafts new gear, and the Blacksmith upgrades gear you already own. Gear slots are Helmets, Chestplates, Leggings, Boots, Rings, and Relics, and each piece gives a passive stat such as Luck, Money, or Pearls.
The Core in the Rare recipe is the limit on how fast you can craft, since Tier Cores don’t drop from every raid. Scrap and Doubloons pile up faster, and they cover the step-by-step upgrades while you wait on the next Core. Crafted armor doesn’t change how your avatar looks during normal play, so the stat bonus is the only sign it’s equipped.
AFK Mode between events
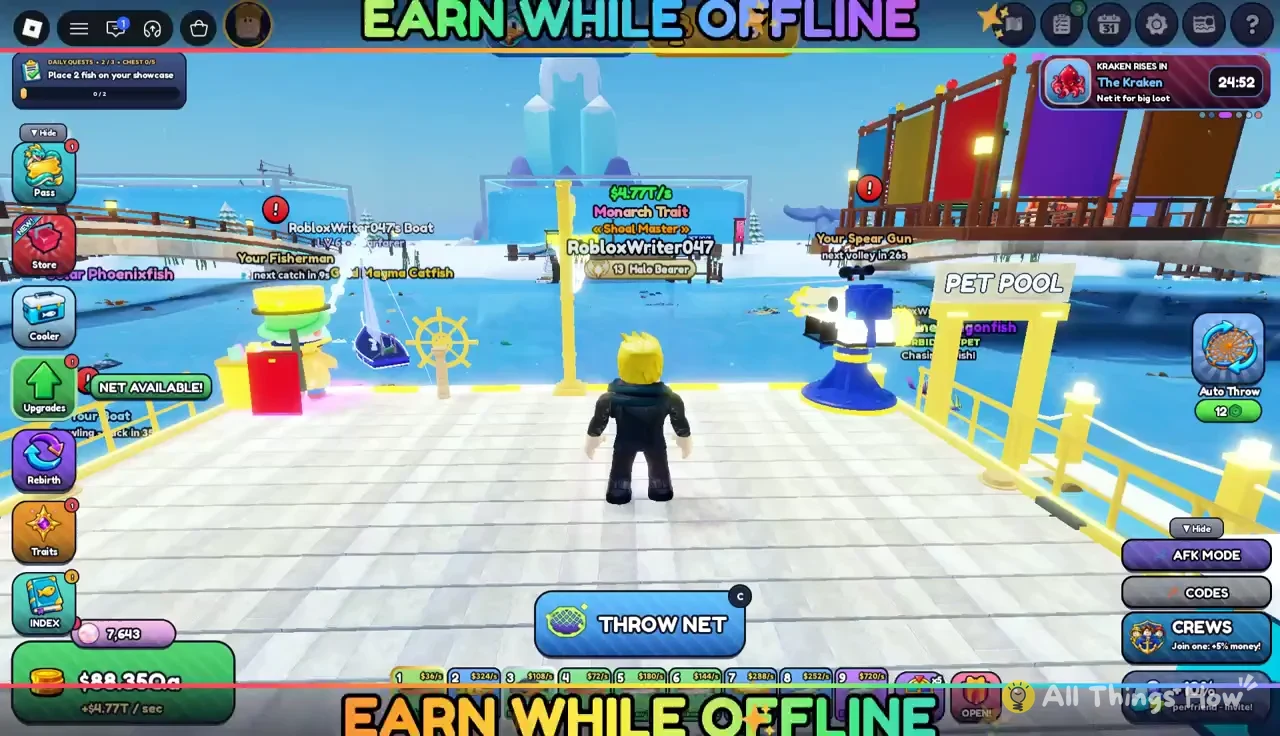
AFK Mode keeps your nets, your helpers, and your income running while you’re away. Its screen shows how long you’ve been AFK, your earnings per second, total fish caught, and cash earned, plus a battery saver setting. It’s a sensible way to cover the downtime between scheduled events.
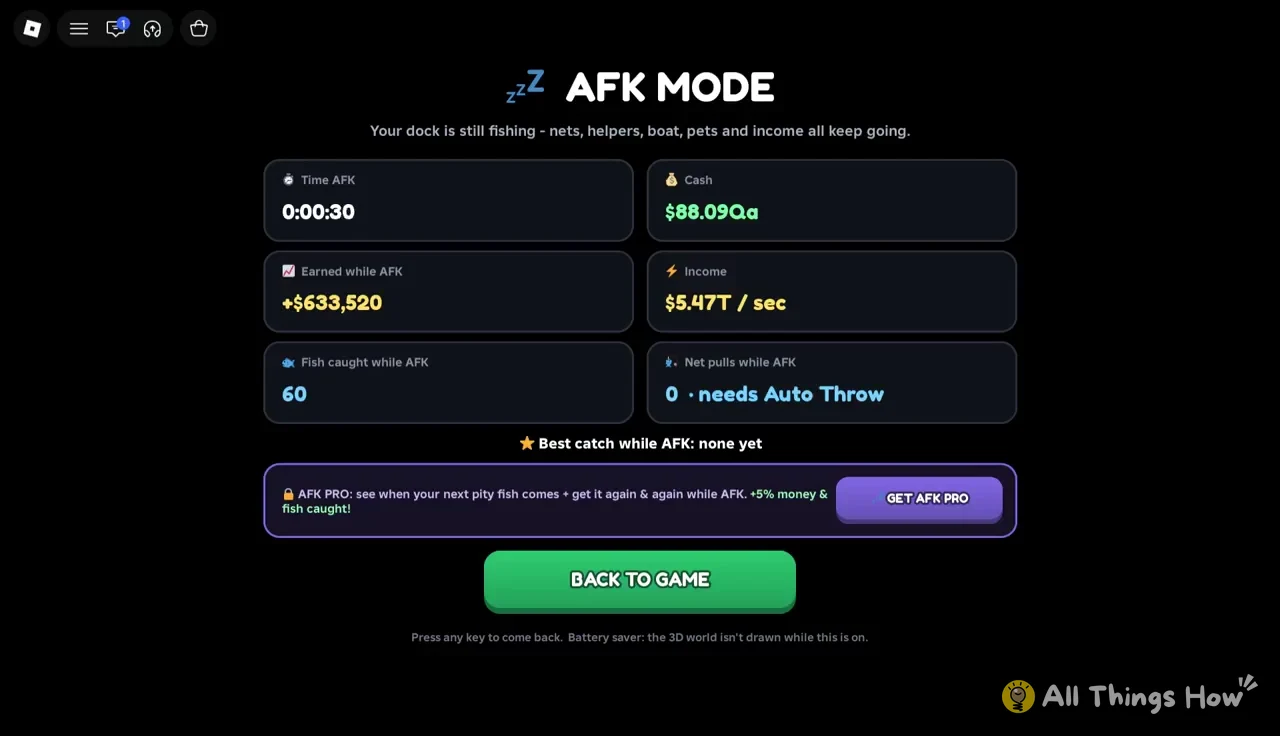
Select BACK TO GAME and close the pause screen to take control again. Your character goes back to throwing nets from the dock, and the catch meter starts counting up again.
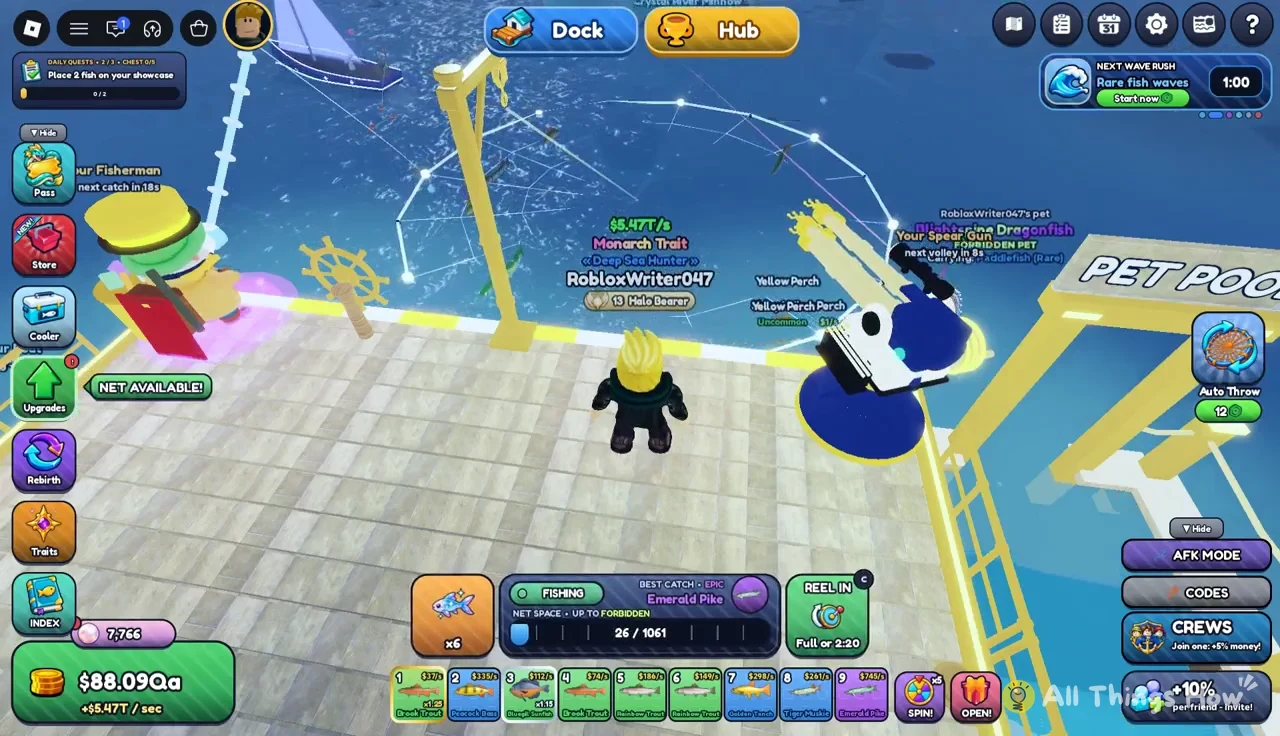
How you know you landed a Monarch fish
With every bonus stacked, ultra-rare catches are hard to miss. Landing a Monarch-tier fish triggers a cutscene for the whole server, featuring pillars of light that spin and a custom banner; afterward, a catch card shows the fish’s stats.
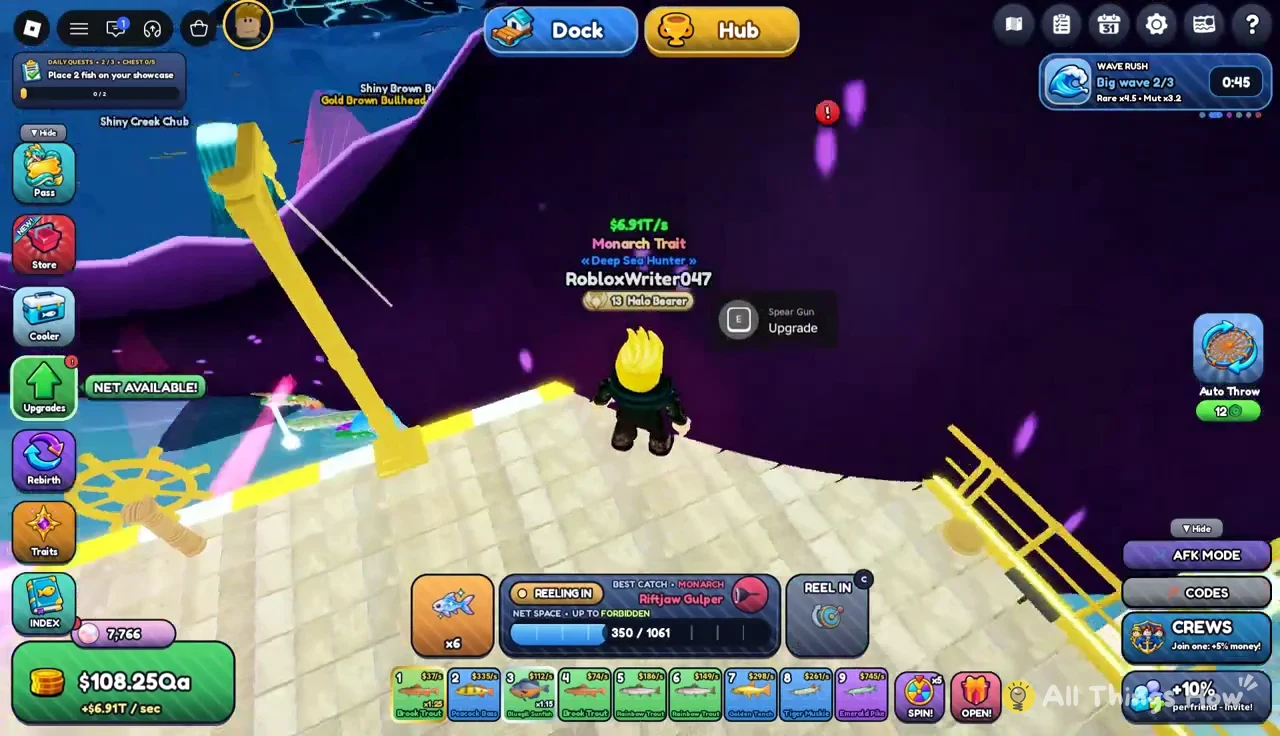
For the Riftjaw Gulper, the card reads MONARCH!, with ODDS: 1 in 300M and EARNS: $12.56D/s. A first catch is marked SPECIES: NEW!, and the banner says THE RIVER BOWS TO ITS MONARCH. An Extreme Wave can still come right after, so keep your nets in the water once the card closes.