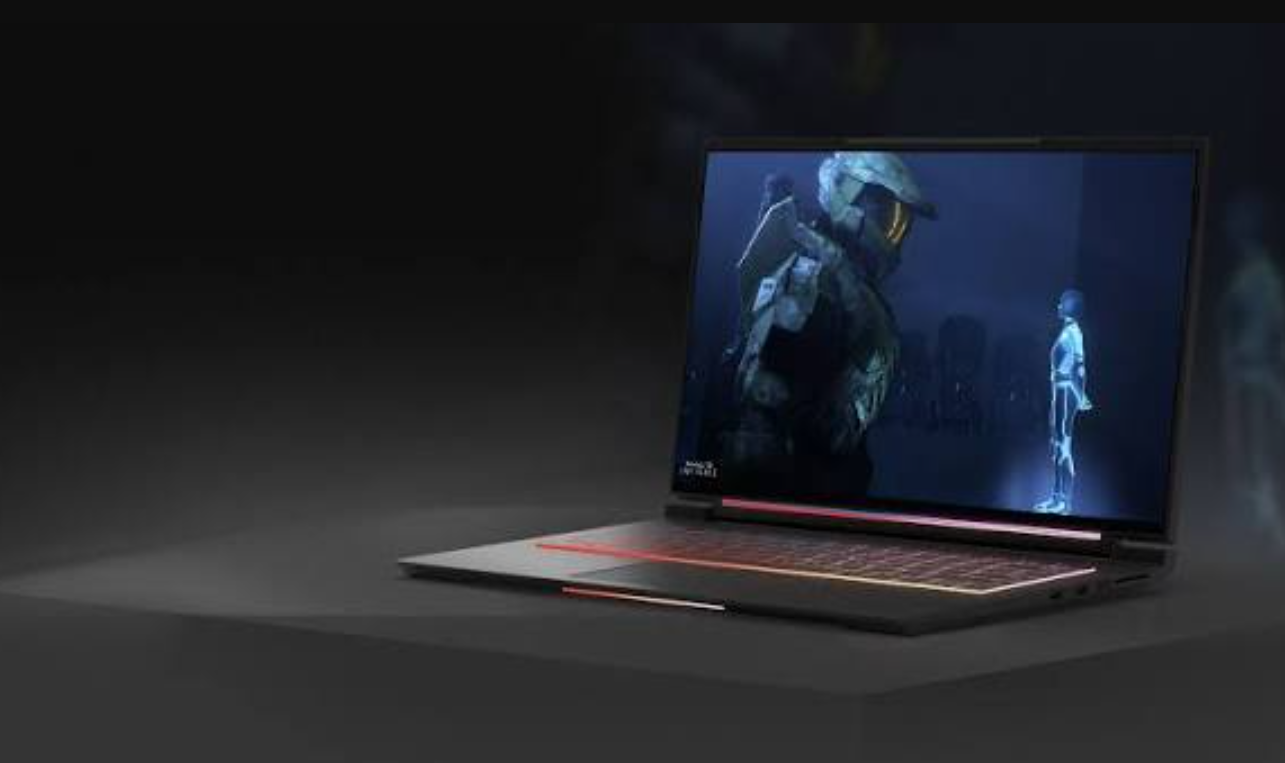
HDR on Windows 11 promises deeper blacks, brighter highlights, and richer color, but flipping the toggle rarely delivers that on its own. The visuals depend on your monitor’s real capabilities, the cable you use, your GPU’s output settings, and how Windows maps standard content once HDR is active. Get those pieces right and supported games look dramatically better. Skip them and the desktop turns gray while games look barely different from SDR.
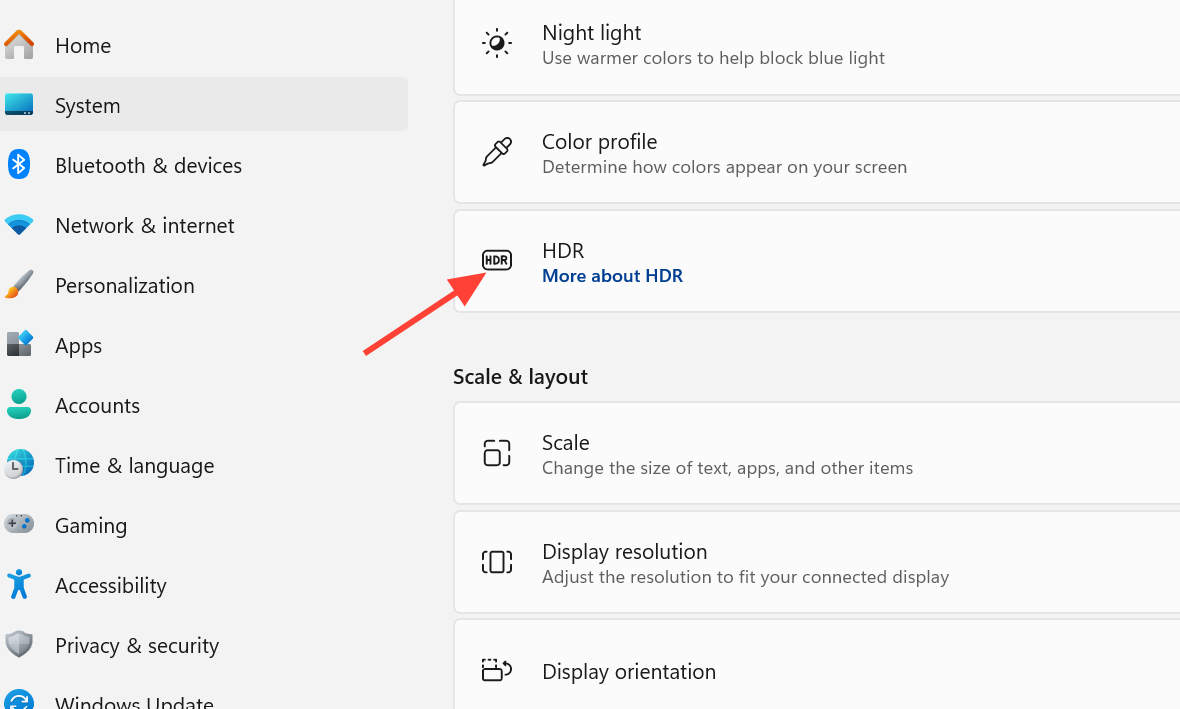
Quick answer: Open Settings > System > Display, select your HDR-capable monitor, turn on HDR, then expand the toggle and turn on Auto HDR. Run the Windows HDR Calibration app to build a profile, and set output to 10-bit color with Full RGB range in your GPU control panel.
Hardware and cables you need for HDR gaming
HDR quality is set by your panel first and software second. A basic DisplayHDR 400 monitor usually lacks meaningful local dimming and sustained brightness, so the result often looks like a slightly adjusted SDR image rather than a real upgrade. Mini-LED and OLED panels are where these settings pay off, because they can actually hit the contrast and peak brightness that HDR content is mastered for.
| Requirement | What to use |
|---|---|
| Display | A monitor with DisplayHDR certification (400, 600, or higher); OLED or mini-LED for the best result |
| GPU | A modern NVIDIA or AMD card that supports HDR output |
| Cable | HDMI 2.0 or higher, or DisplayPort 1.4 — older cables lack the bandwidth for HDR |
| OS | Windows 11 |
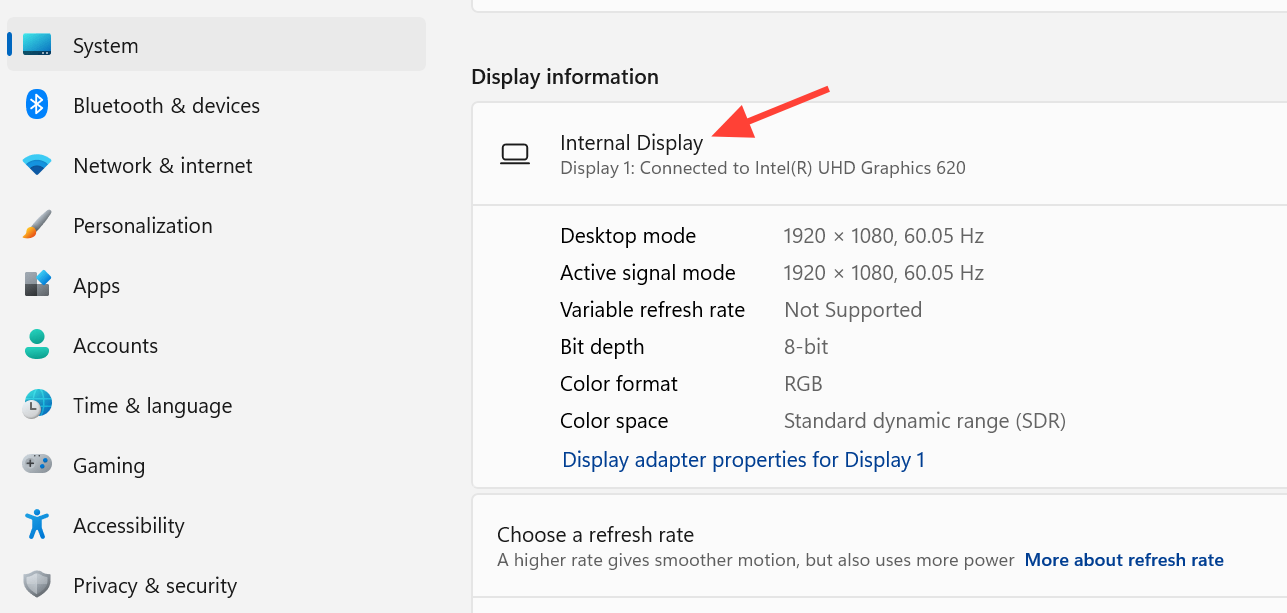
To confirm your GPU, right-click the desktop, open Display settings, choose Advanced display, and read the model under Display information. Check that model’s specs for HDR support before assuming your setup is ready.
Turn on HDR and Auto HDR in Windows 11
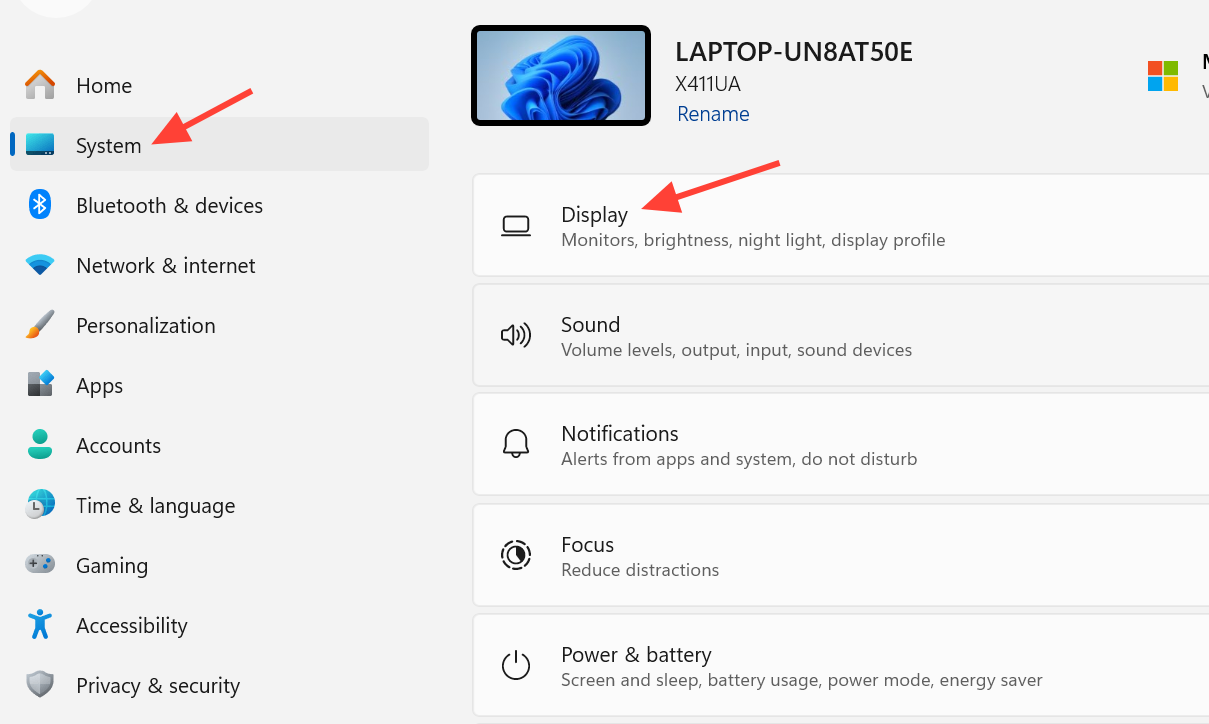
Auto HDR is worth leaving on, especially for older games, but it will never match a game that renders in native HDR. It’s a good compromise rather than a replacement.
Calibrate HDR to stop the washed-out look
The most common complaint after enabling HDR is a flat, grayish desktop and dull SDR apps. That happens because Windows assumes a generic brightness range and tone-maps content in a way that drains contrast. Calibrating fixes most of it.
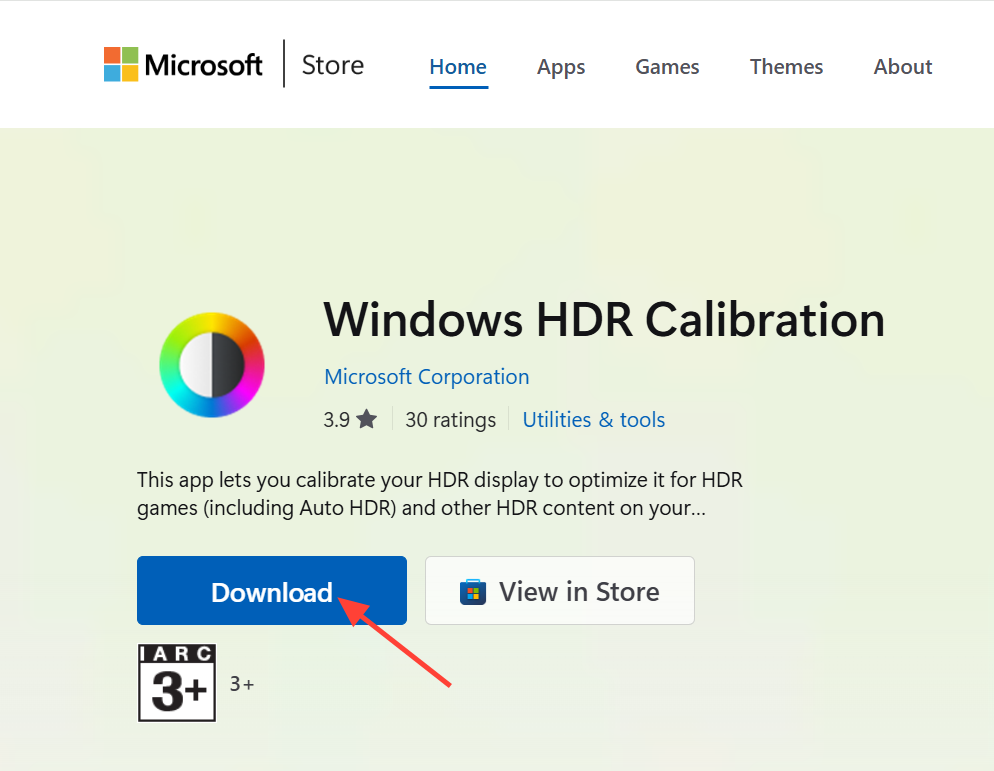
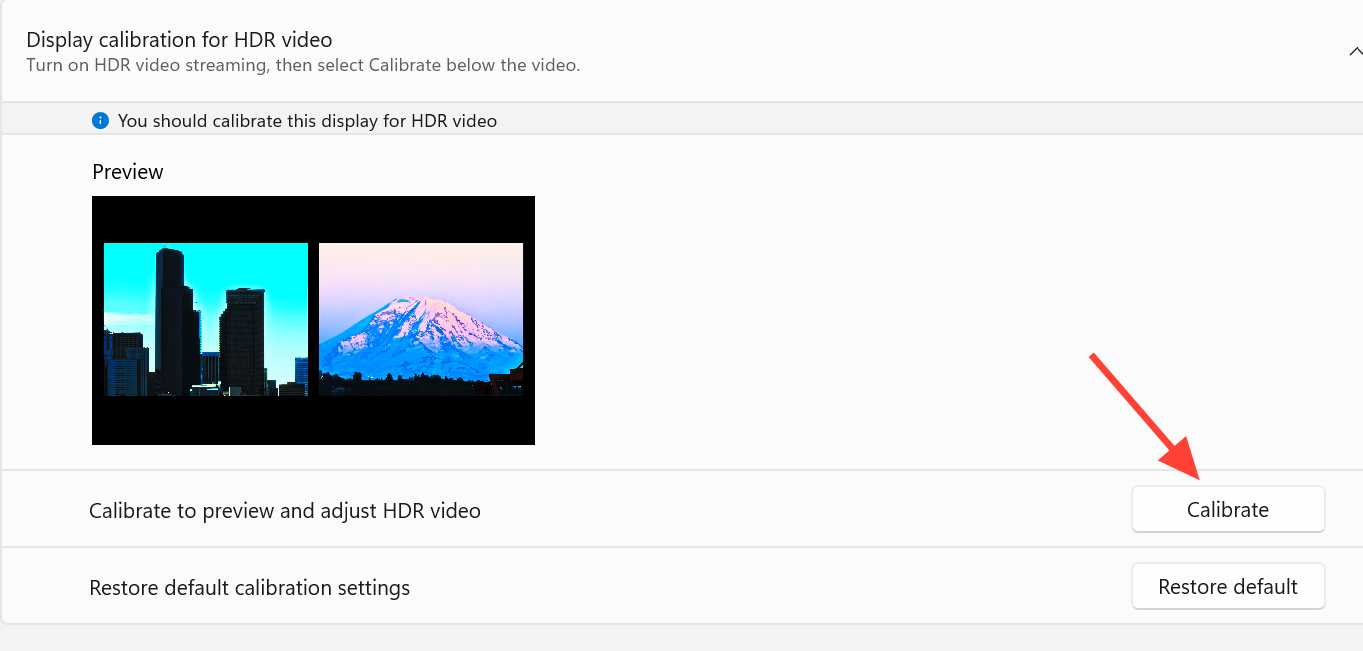
Windows also includes a built-in HDR Display Calibration option in the same HDR settings page. It walks through a short set of level adjustments if you’d rather not use the separate app.
Fix SDR color accuracy with an ICC profile
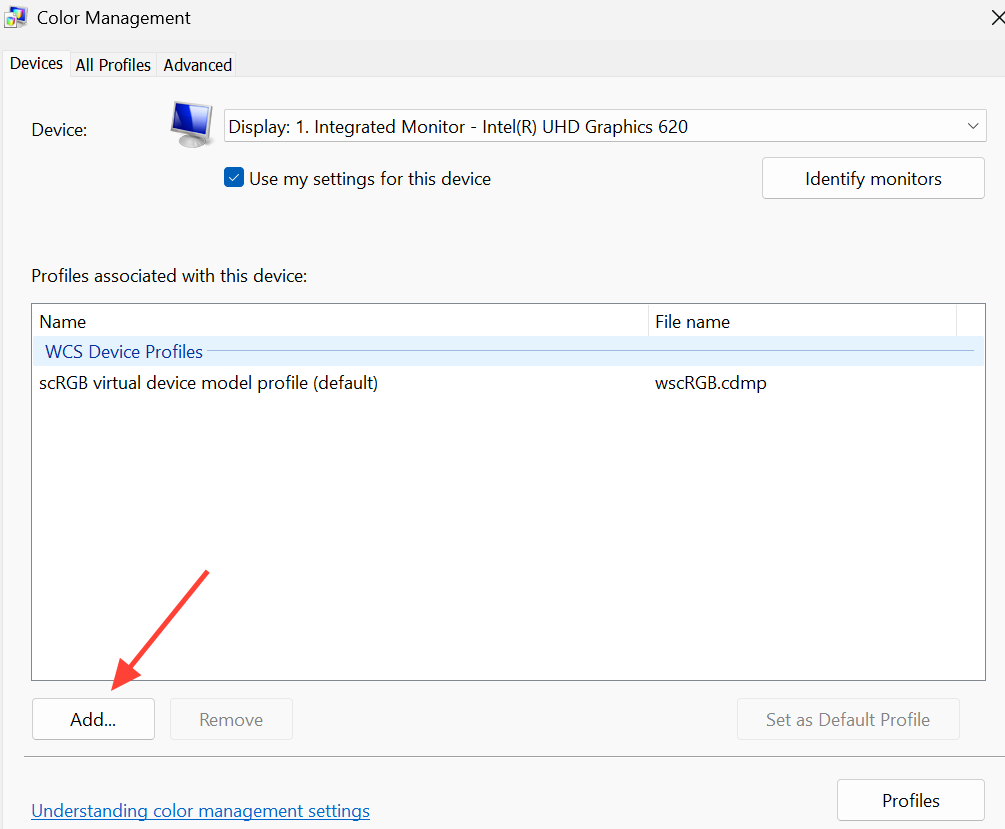
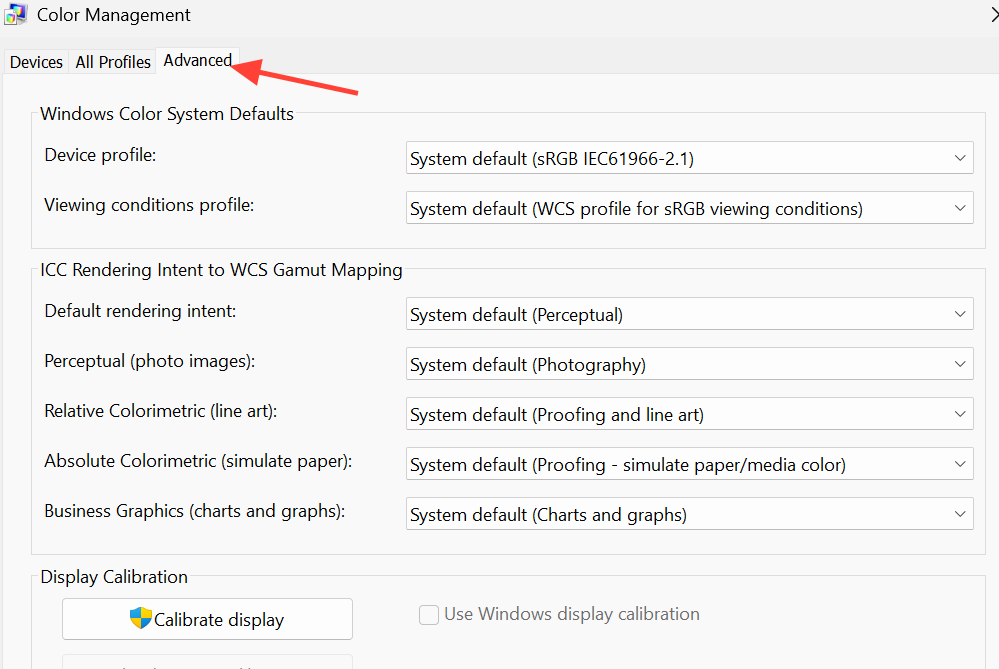
Calibration corrects brightness, but colors can still feel off compared to how they looked in SDR mode. Loading a custom color profile brings desktop and app color back in line, so switching between HDR and SDR is far less jarring.
GPU output settings for NVIDIA and AMD
Correct output settings make sure the full HDR signal reaches your monitor. Set 10-bit color and Full RGB range so highlights and shadows aren’t clipped.
| GPU | Settings to apply |
|---|---|
| NVIDIA | Open NVIDIA Control Panel > Display > Change resolution. Set output color depth to 10 bpc, choose RGB color format, and select Full dynamic range. |
| AMD | Open AMD Radeon Software > Display settings. Enable the 10-bit pixel format and set color depth to Full RGB. |
RTX HDR for unsupported SDR games (NVIDIA only)
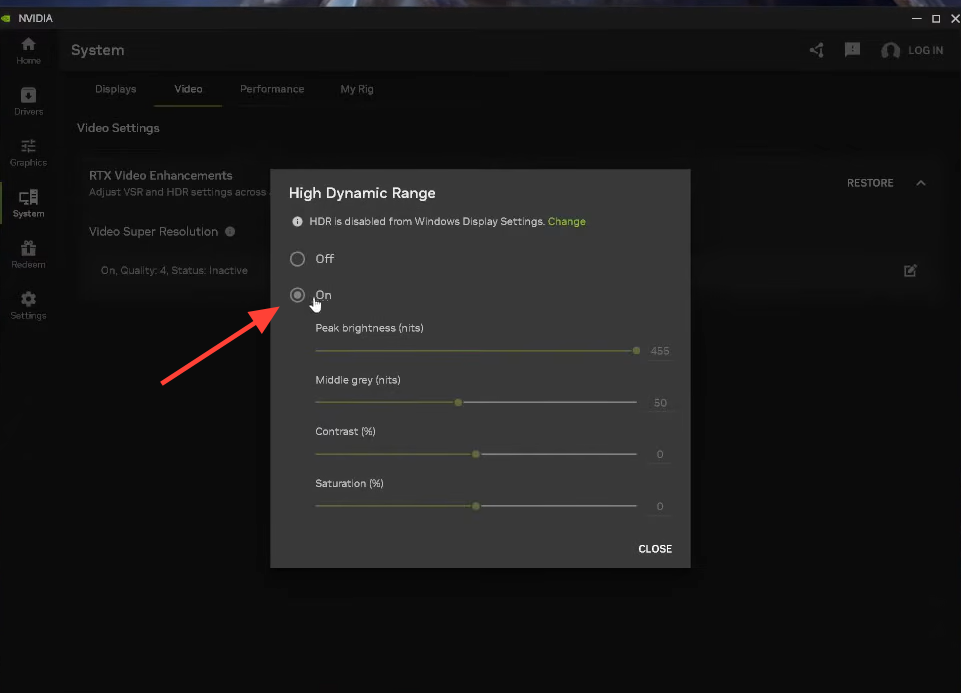
If your goal is making SDR games look closer to native HDR, RTX HDR handles it more consistently than Auto HDR by preserving contrast while boosting highlights. It’s an NVIDIA-only feature and requires an NVIDIA GPU.
Expect a performance cost of roughly 5–7 percent. That’s minor for most setups but noticeable if you’re already chasing high frame rates on a fast refresh-rate monitor.
Per-game HDR settings that matter
Many current games ship their own HDR menus, and tuning them gives sharper, more accurate results than relying on Windows alone. Focus on three values and leave the rest at default.
| Setting | Where to start |
|---|---|
| Peak brightness | Match your monitor’s maximum brightness, typically 400 to 1000 nits |
| Paper white | Begin near 200 nits, then adjust to taste based on room lighting |
| Color saturation | Leave near default unless colors look clearly wrong |
These values can shift from game to game, so a quick check per title is worthwhile. If you’d rather not fiddle each time, the Windows-level calibration plus GPU output settings will carry most games acceptably on their own.
How to know it worked
When HDR is active and calibrated correctly, a supported game shows visibly brighter highlights and reflections in sunny scenes while keeping detail in dark shadows, and the desktop no longer looks gray after you’ve lowered SDR content brightness and applied an ICC profile. If a game reports HDR as unavailable, the usual causes are a display that isn’t HDR-capable, an older cable below HDMI 2.0 or DisplayPort 1.4, or the HDR toggle being off for that specific monitor.
The single biggest factor remains the panel. On an OLED or mini-LED display, these tweaks resolve most of what makes HDR frustrating on Windows, while on entry-level DisplayHDR 400 screens the improvement stays modest no matter how carefully you calibrate.