Storage Hunters: Open World runs on a simple loop that hides a lot of nuance. You bid on sealed lockers, haul what you win back to your plot, and sell the contents to customers. The players who climb fastest are not the ones spending the most, they are the ones who bid with restraint, squeeze extra value out of each item before selling, and reinvest their first Gems into the right upgrades.
Quick answer: Finish the tutorial, bid only on lockers with visible high-value items and never chase past a set maximum, run finds through Grading and Cleaning before selling, collect lost items for a permanent luck boost, and put your first Gems into Tip Jar and Price Tags while saving cash to cross $750 net worth into the Back Alley.
Bid with discipline to win the right lockers
Start at a container location and interact with an available unit. You pay an entry fee, the door opens, and you get to inspect the contents before committing. If it looks like paper bags and junk, walk away and wait for the next one. A high starting price usually signals valuable contents worth competing for.
Bidding itself is a timing minigame. A marker slides across a green bar, and your bid only registers when it stops inside the highlighted zone. You must be standing inside the auction bid zone during the auction, and on PC you place a bid with E. Miss the green zone and the bid fails outright.
Set a maximum price in your head before the marker moves, then beat the NPC bids by the smallest amount you can. Do not chase past your limit. Junk lockers usually break even instead of paying out several times over, so overbidding on a weak unit costs you both cash and time. There is always another auction coming.
- Use a calculator to estimate a locker’s total value before you commit.
- Use X-Ray Vision to see what a container holds before bidding.
- Kick rival NPC auctioneers to reduce competition on a locker you want.
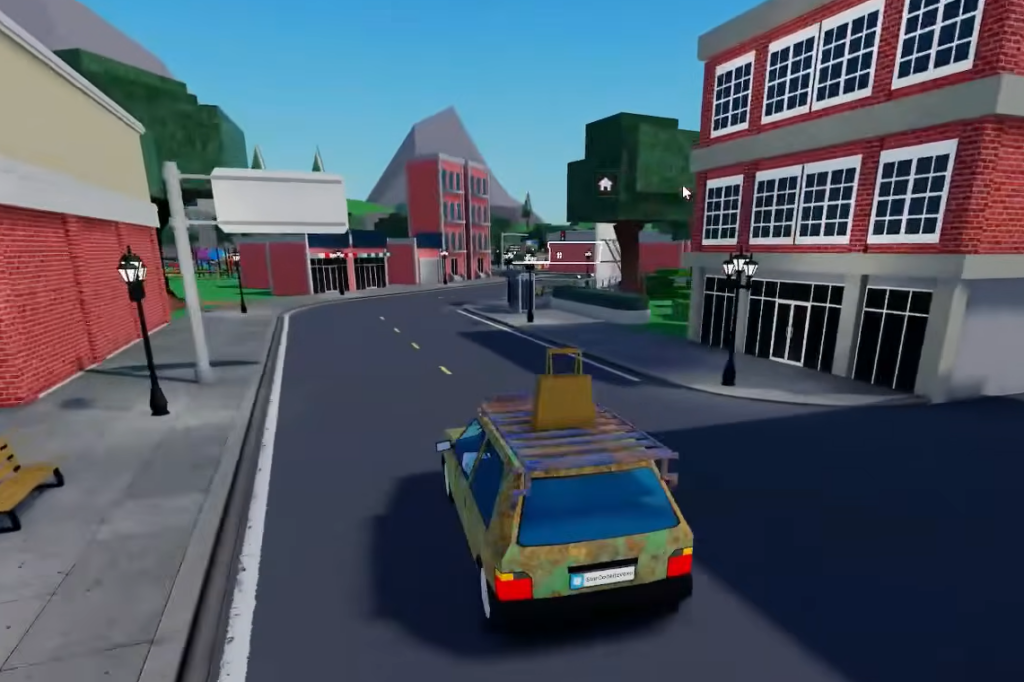
After you win, the items load automatically into your vehicle. Drive straight home and unload with a single click. Losing cargo on the road means losing profit, so treat the trip back as part of the run and avoid unnecessary risks once you have a strong haul.
Raise item value before you sell
Selling raw is the biggest mistake early players make. Several services in the Shopping Mall increase what a find is worth. Most are free but take time, and Gems can skip the wait.
| Service | What it does |
|---|---|
| Grading Shop | Assigns a grade that raises or lowers value; free, but rarer items take longer |
| Cleaning Service | Removes the Dirty mutation for free; Gems skip the timer |
| Locksmith | Opens safes to reveal the rewards inside |
| Repair Shop | Restores broken items; a Wrench item does the same |
| Quicksell NPC | Sells unwanted clutter instantly for immediate cash |
| Energy Café | Sells consumables that boost stats, including up to +50% luck |
Run promising items through Grading before you list them, since a higher grade means a higher base sell price. Safes are among the best finds because their contents stay hidden until the Locksmith opens them. When customers arrive at your shop, you can accept an offer for instant cash or reject it and wait for a better one.
How mutations stack and which ones pay
Mutations are visual modifiers rolled onto items that change the sell price. Most raise value, and the rarest push it up dozens of times over. A single item can carry more than one mutation, and this is where players lose money by assuming the wrong math. Stacked mutations add together rather than multiply, so Silver (2x) plus Gold (4x) equals 6x, not 8x.
| Mutation | Multiplier | Effect |
|---|---|---|
| Dirty | 0.8x | Below base value; clean it before selling |
| Pure | 1.5x | Modest value bump |
| Silver | 2x | Doubles value |
| Gold | 4x | Quadruples value |
| Void | 35x | Highest widely cited multiplier |
| Secret | 50x | Highest listed multiplier in the community table |
Treat a Gold roll or higher as a genuine win. Some mutations are tied to weather events, and a rain event, for example, can surface Wet and Shocked mutators inside auctions while it lasts. A Dirty item is the one case where you should never sell as-is, because it fetches less than base until the Cleaning Service removes the mutation.
Area unlock thresholds by net worth
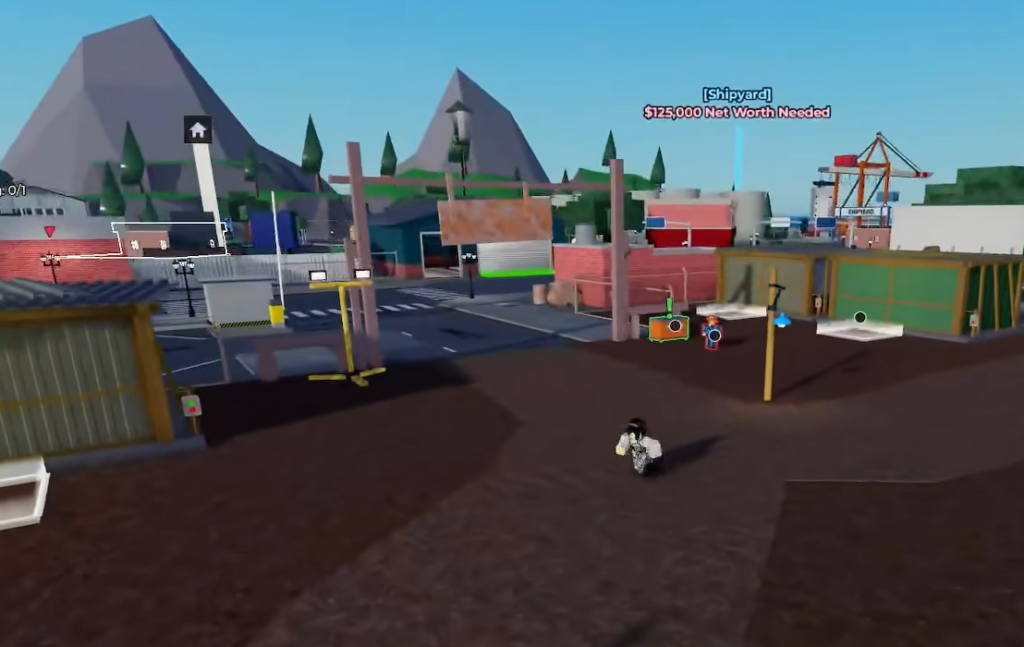
The map splits into zones, and each one needs a net worth to enter. Every accepted sale raises your net worth, which is the currency for unlocking areas. Higher zones gate better loot but also charge proportionally more per auction, so build a cushion before moving up rather than arriving broke.
| Area | Net worth to unlock | Notes |
|---|---|---|
| Junk Yard | Free (starter) | Common to uncommon loot |
| Back Alley | $750 | Starts dropping Mythic and Legendary accessories |
| Cargo Ship | $7,000 | Higher-value containers |
| Farmyard | $10,000 | Rarer item pool |
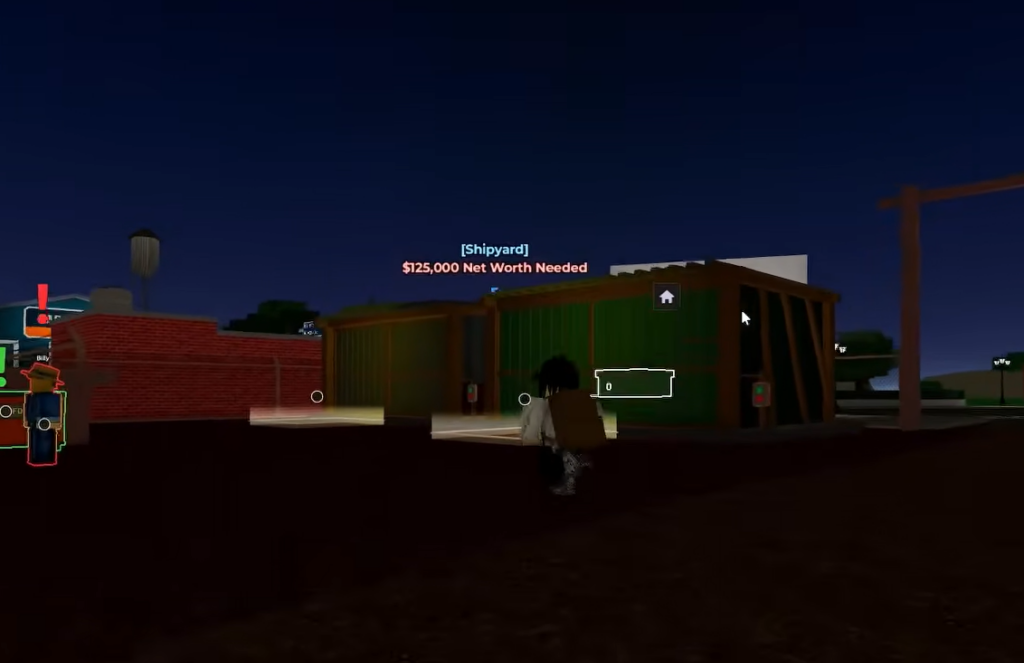
| Shipyard | $125,000 | Final and most rewarding zone |
Tip: Place your shop plot as close as possible to the auction zone you are grinding. Shorter round trips mean more runs per session, which directly raises your income. A quieter or private server gives you more freedom over where you drop the plot.
Collect lost items for a permanent luck boost
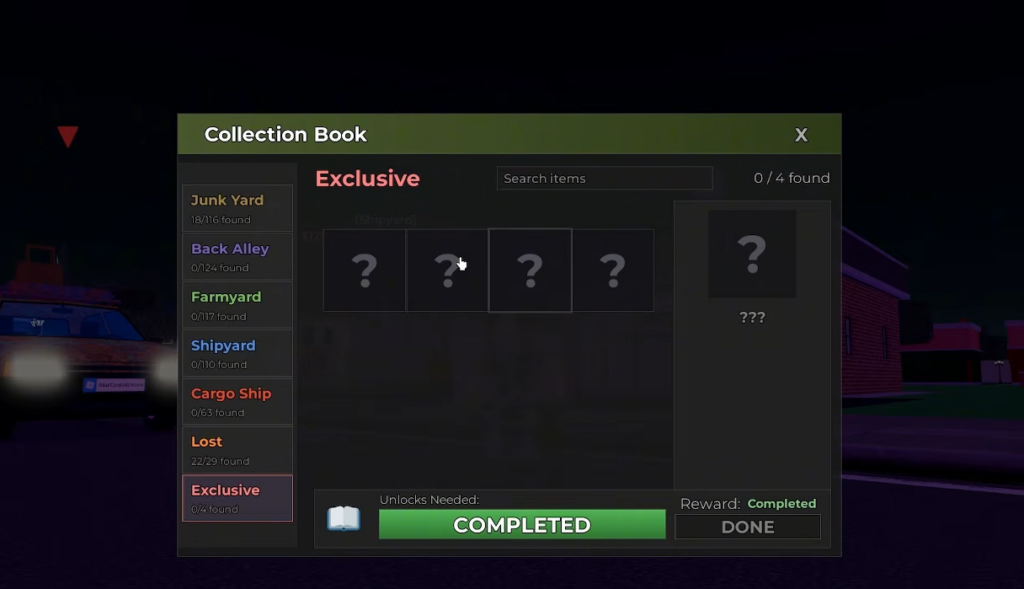
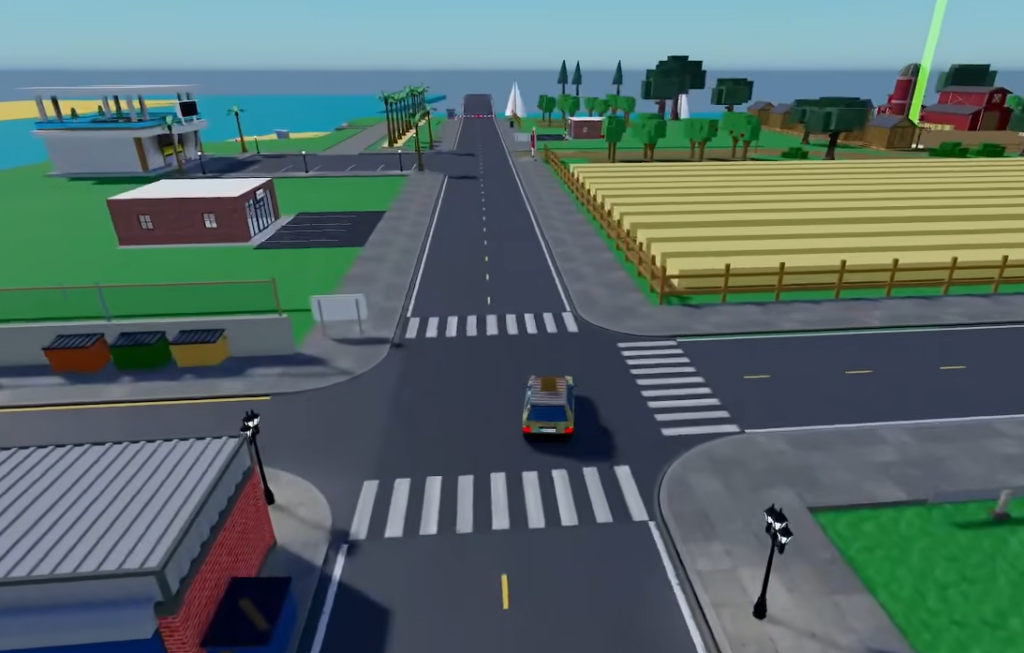
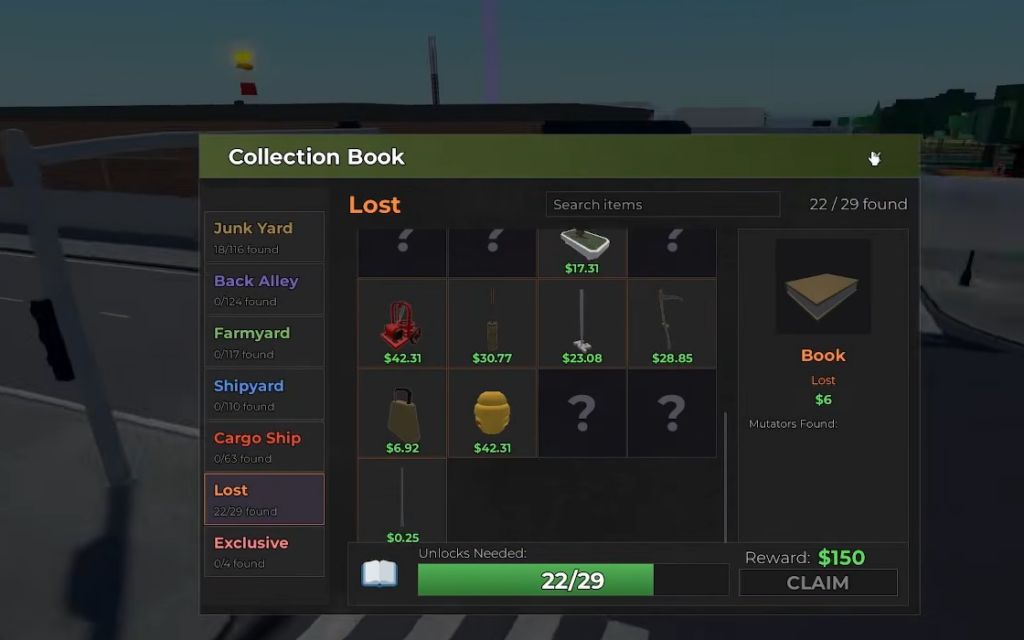
Lost items are scattered across the map, and picking them up grants rewards plus a permanent luck boost. Some hide in plain sight, such as a Key tucked under a Farmyard bridge that then opens a LOST garage door in the Back Alley. Completing a lost-item set can grant a bonus like +2% luck per tab, and higher luck noticeably improves the quality of mutations you pull over time. Prioritizing these early is one of the highest-value things a new player can do.
Note: Starting a fresh auction at a container can override items sitting in that area’s Lost & Found box, so clear valuable finds before you start a new run there.
Earn Gems and spend them in the right order
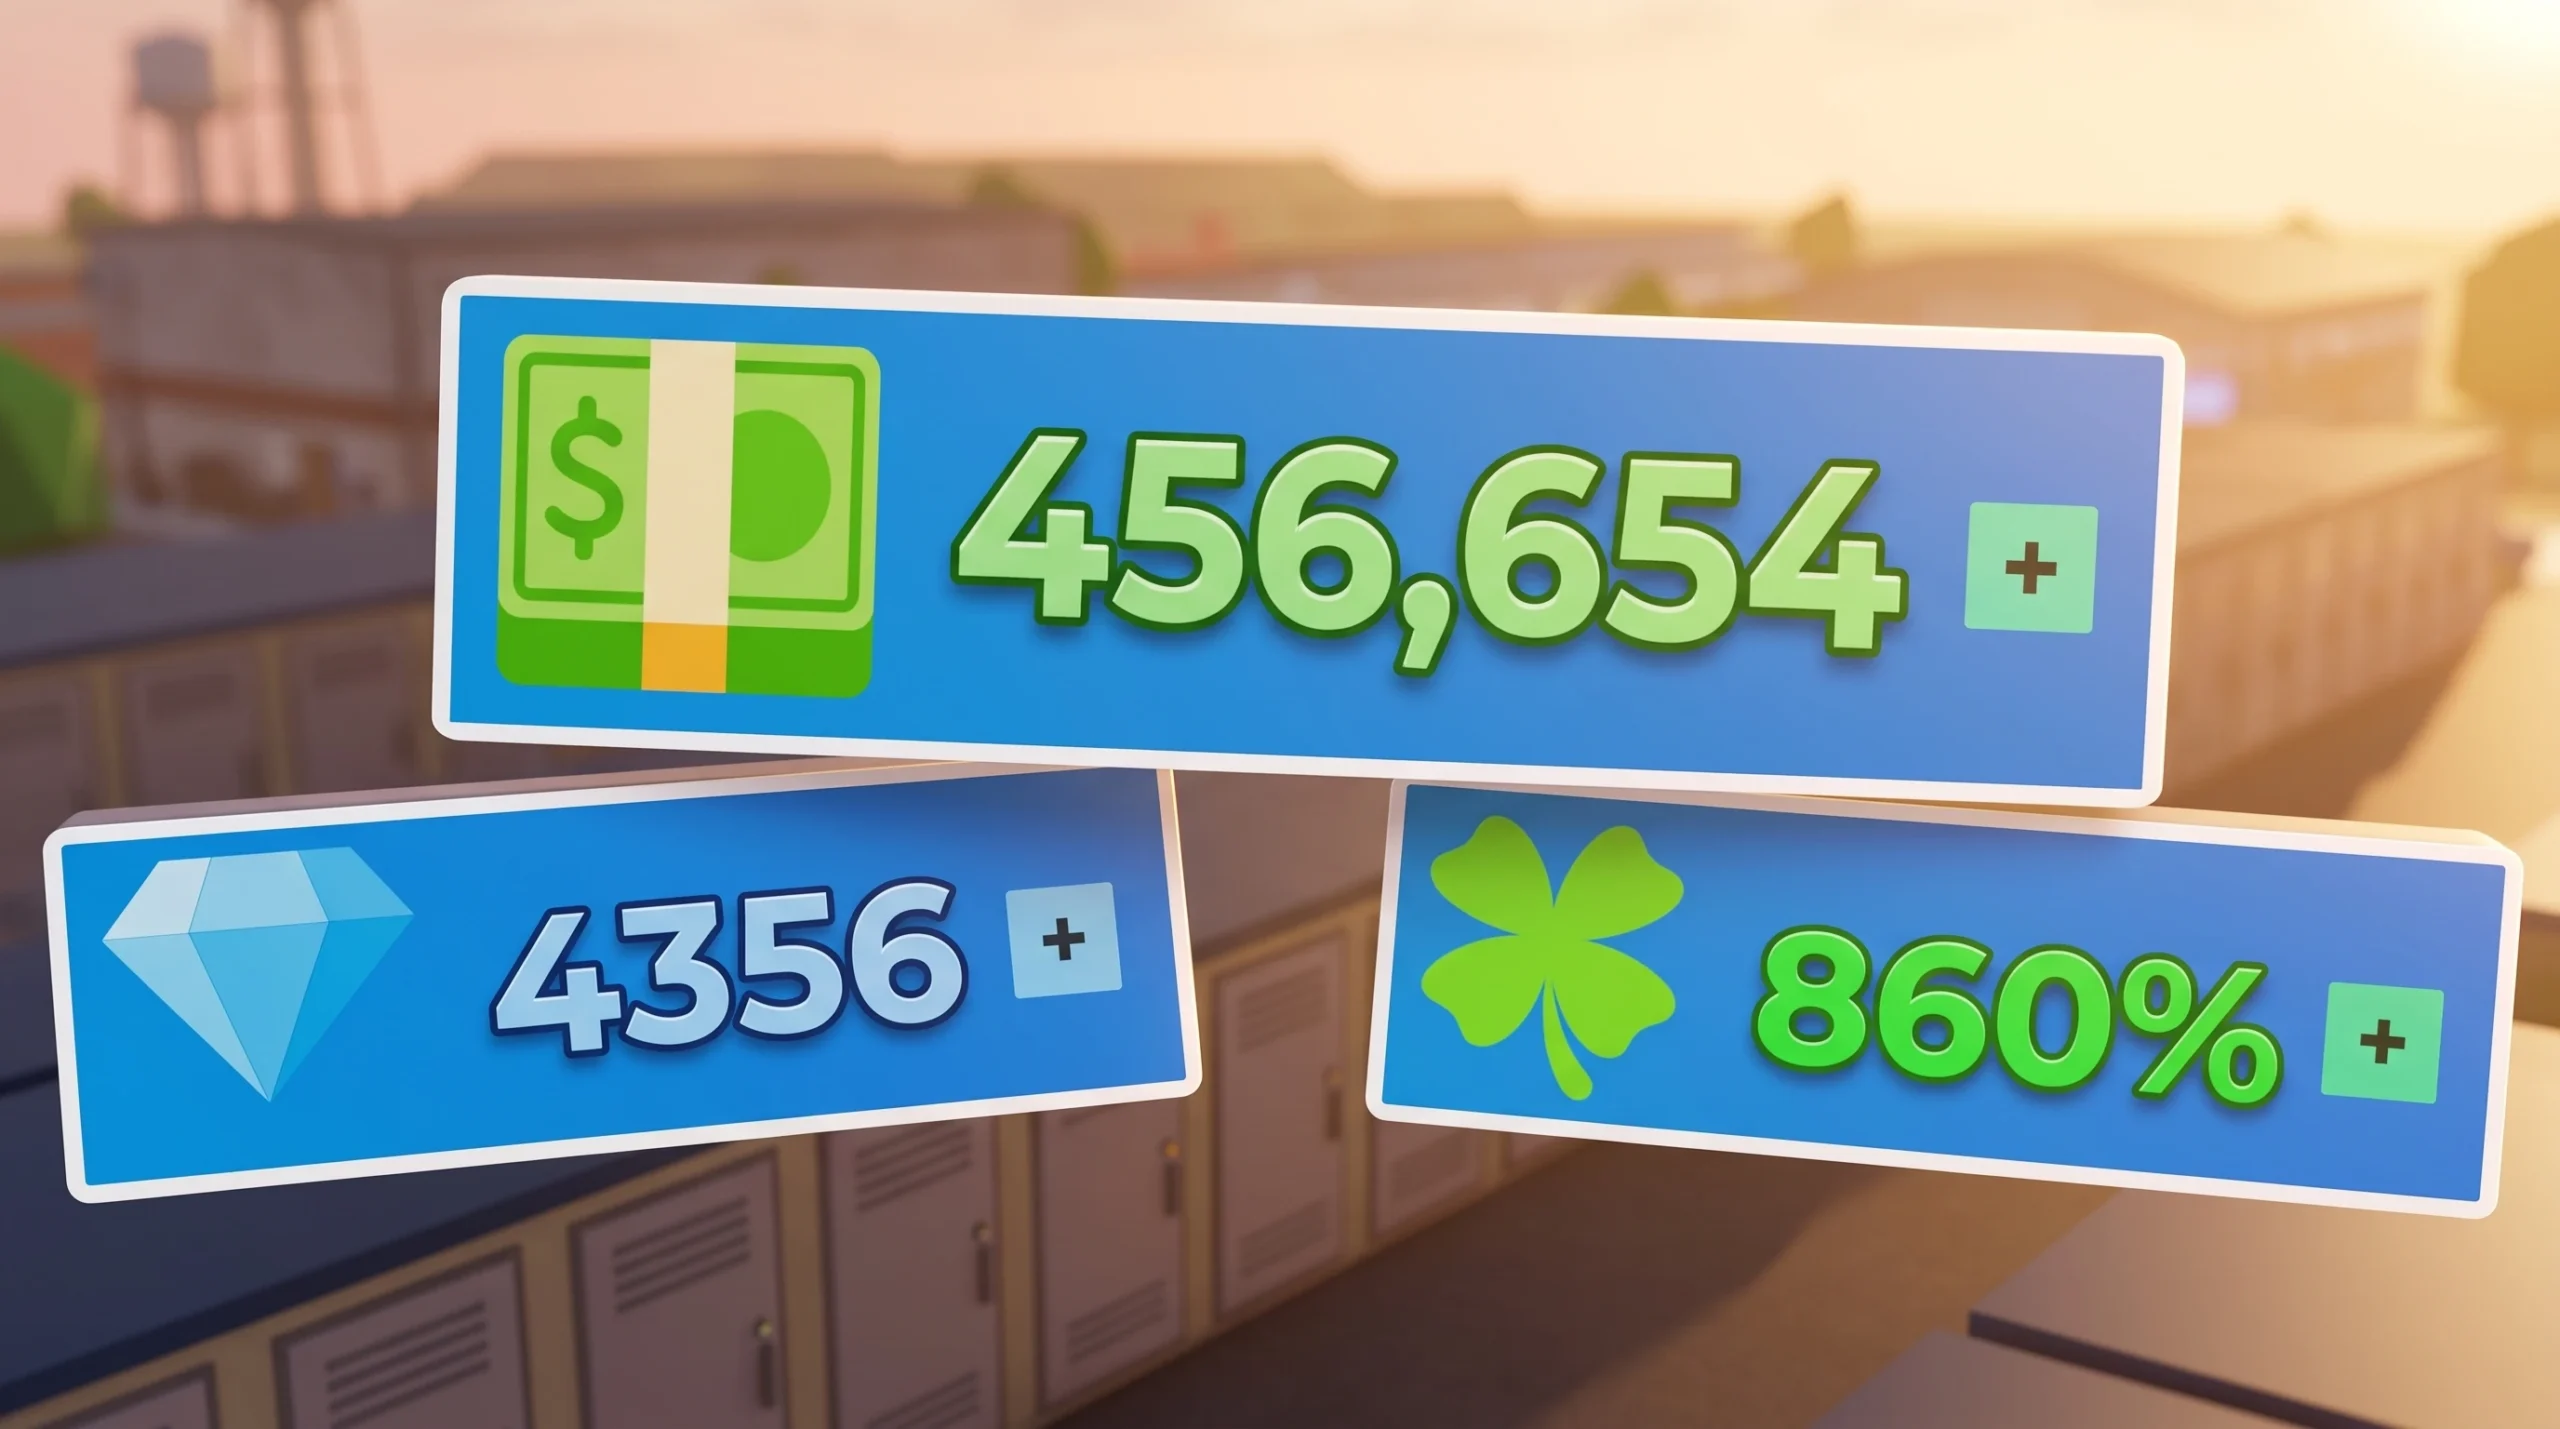
Achievements are the most reliable early Gem source, and most complete on their own as you play. Winning auctions, growing net worth, and simply spending time in the game tick off the bulk of them. Check the trophy icon on the right side of your screen and claim finished ones often, since the Gems add up quickly and are easy to forget. Early milestones such as Thanks for Playing, 1 Hour Played, and Net Worth $1,000 hand you a starting stack.
Each zone also has NPCs offering quests that reward Gems and stat boosts, so talk to every NPC you pass. When it comes to spending, put your first Gems into Tip Jar and Price Tags. Tip Jar gives customers a chance to leave bonus Gem tips, while Price Tags makes their opening offers start closer to fair value, so you lose less on each sale. Both pay for themselves fast.
After those, save for Trophy Capacity so you can place trophies in your shop. Trophies raise your mutation luck based on the mutation they carry, which makes rarer pulls more frequent as you progress. You can also hire a Shop Assistant for 100 Gems to sell items automatically at a margin you set while you keep bidding.
Gamepasses worth buying on a budget
You can play the entire game for free, and reinvesting cash and Gems into shop and vehicle upgrades should come first. A few Robux gamepasses remove the bottlenecks new players hit soonest.
| Gamepass | Cost | Why it helps early |
|---|---|---|
| Car Weight Increase (+50%) | R$379 | Carry more per run so you stop leaving items behind |
| Selling Space (+50%) | R$349 | More display slots means more simultaneous sales |
| Quick Sell from Inventory | R$249 | Clears low-value clutter without a shop trip |
| Vehicle Customization | R$149 | Skip until you own multiple vehicles |
The game and its store live on the official Storage Hunters: Open World Roblox page, published by Absolute Zero!.
Codes status
There are no active codes for Storage Hunters: Open World right now, and no expired codes are on record. The game has not exposed a working redemption function, so any guide promising free currency codes is filling demand rather than reporting a confirmed reward. Instructions for redeeming will only matter once a redemption UI actually appears in-game.
Put the pieces together and a repeatable rhythm emerges. Claim daily rewards and finished achievements, clear the NPC quests in your zone, then run several low-cost lockers with visible value while beating NPC bids by the smallest margin. Haul home, grade or clean the good finds, and let a Shop Assistant sell while you keep bidding. Reinvest into Tip Jar, Price Tags, and Trophy Capacity, grab lost items whenever you pass one, and your net worth climbs steadily toward the $750 Back Alley unlock and onward to the $125,000 Shipyard.