Desolate Maw’s Demonhold is one of the two zones added with the Honkai Star Rail 4.4 update, sitting inside Planarcadia alongside Fallen Star’s Cradle. Once the area is fully unlocked, you can roam it freely and teleport between its Space Anchors, and it holds 16 treasure chests that each hand out Stellar Jade and other rewards.
Quick answer: Teleport to the Crumbling Academy, Malevolent Metropolis, Decaying Street, Shelter, Howling Ramp, Mocking Spire, and Desolate Demonic Moon Space Anchors in turn, and collect the 16 chests spread across them using the exact positions below.
How to reach Desolate Maw’s Demonhold
The map opens up after you progress far enough into the region. From then on, open your map, pick any Space Anchor inside Desolate Maw’s Demonhold, and teleport straight to it. Every chest below is anchored to a nearby teleport point, so you can jump between anchors instead of walking the whole route.
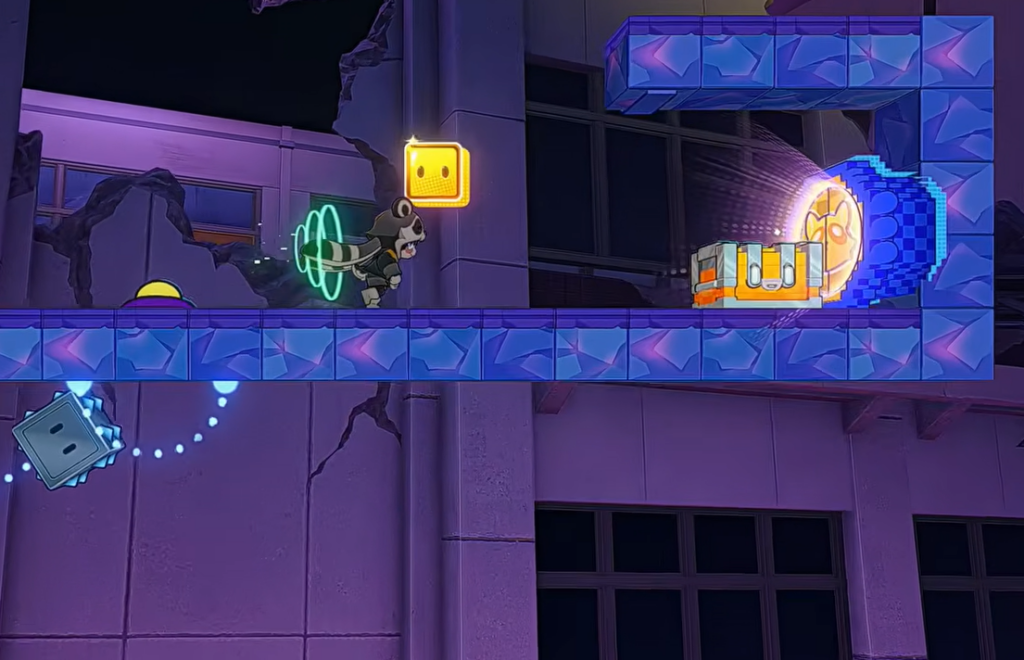
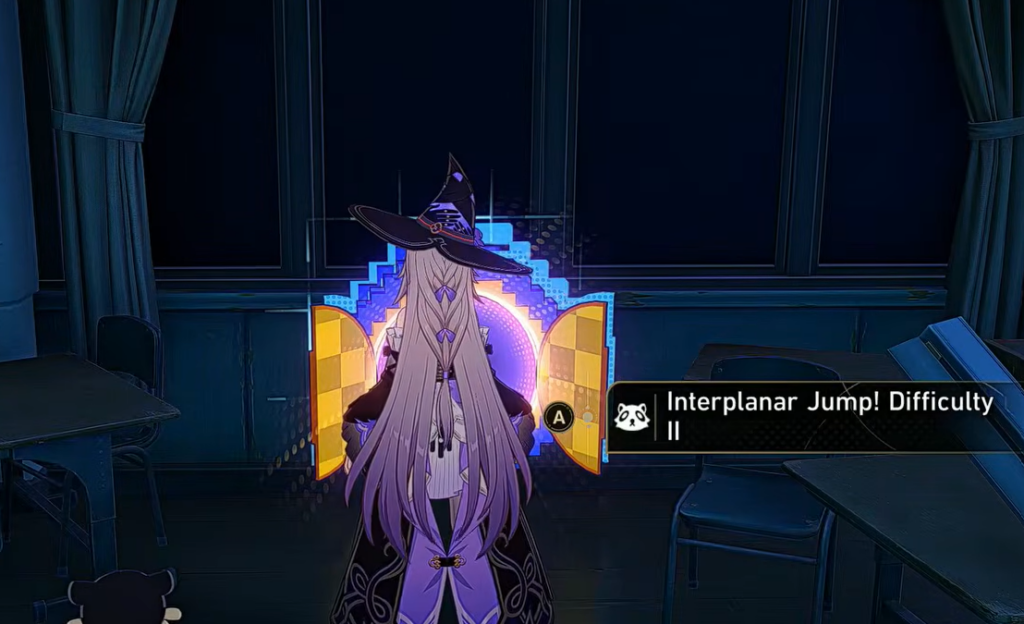
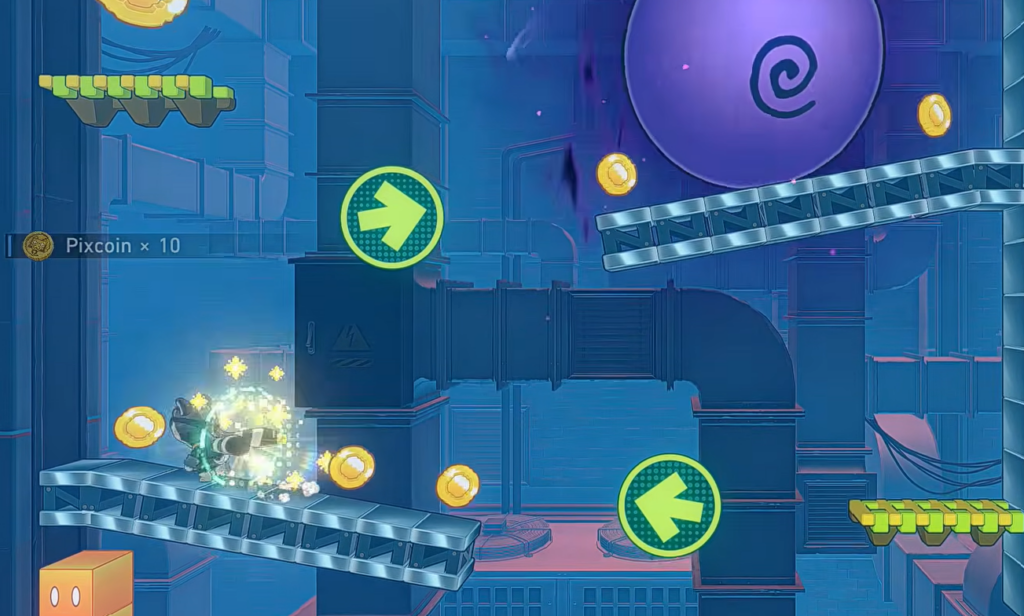
One chest sits behind a short puzzle. To reach it, you use the Interplanar Jump portal near the Howling Ramp anchor and finish the puzzle it drops you into.
All 16 treasure chest locations by Space Anchor
| Chest | Space Anchor | Where to find it |
|---|---|---|
| 1 | Crumbling Academy | Follow the path to the classroom, step outside, and look to your right. |
| 2 | Crumbling Academy | Turn around, continue the path, then take the left route into the next room. It sits on the balcony past an Imagenae enemy. |
| 3 | Malevolent Metropolis | Move from the sidewalk onto the main road, then turn around. It is near a car. |
| 4 | Malevolent Metropolis | Head down the road to the Imagenae enemy Rocking Rebel. The chest is right beside it. |
| 5 | Decaying Street | Turn around after spawning. It sits beside a light pole. |
| 6 | Decaying Street | Turn around again and walk toward the map border. It is in front of a closed store. |
| 7 | Decaying Street | Keep following the path into the next area, then look left. It is on the sidewalk. |
| 8 | Decaying Street | Turn around and head toward the Imagenae enemies and an NPC. It is behind a car. |
| 9 | Shelter | Look left as soon as you spawn. |
| 10 | Shelter | Walk to the south-western side of the room. It sits between two pillars. |
| 11 | Howling Ramp | Follow the path, and just before the road slopes down, use the Interplanar Jump on your right and finish the puzzle. |
| 12 | Howling Ramp | Back in the main area, follow the path. Where it turns right, look left. |
| 13 | Howling Ramp | Walk forward to the area with Voidrangers, then go left. It hides behind small debris. |
| 14 | Howling Ramp | Continue forward, climb the stairs, and go around the giant machine. |
| 15 | Mocking Spire | Go up the stairs, and after a short climb, turn right. |
| 16 | Desolate Demonic Moon | Look beside a small rock near the anchor. |
Tip: The Decaying Street cluster (chests 5 through 8) is the densest stretch, so clear all four before teleporting away rather than making a second trip.
How to confirm you collected every chest
Each opened chest pays out Stellar Jade and other rewards on the spot. Once all 16 are open, the region’s exploration progress for Desolate Maw’s Demonhold reflects a completed count, so check the map’s progress readout to verify nothing was skipped.
If a chest does not appear where expected, the usual cause is the map not being fully unlocked yet, or an enemy pack near the chest still blocking the approach. Clear the nearby Imagenae or Voidranger enemies first, then the chest becomes reachable.