Expedition mode in Anime Expeditions runs on its own economy of buildings, a separate upgrade tree, and a tight supply of Expedition Coins. Spend those Coins in the wrong order and you can stall your best passive income for hours. The buildings determine how fast you generate Gold, Geodes, Gems, and equipment materials, so the sequence you construct them in matters more than any single upgrade.
Quick answer: Build the Armory first, then the Gold Mine, raise the Expedition Center to Level 2, upgrade the Gold Mine to Level 2, and save 750 Expedition Coins plus about 150 Cursed Timber for the Resource Drill before buying anything from the Expedition Shop.
Unlock requirement for Expedition mode
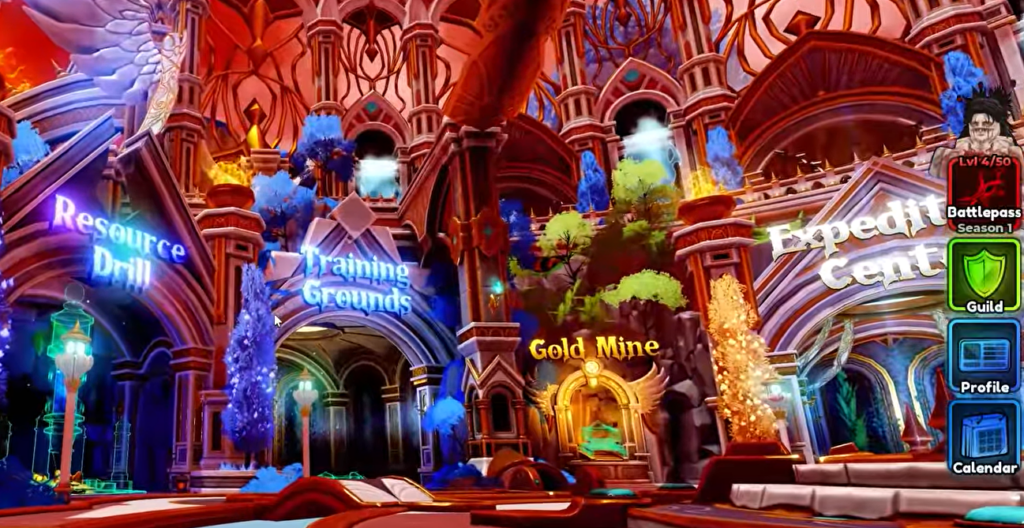
Expedition mode opens automatically once you reach Player Level 20. After that, enter the Expedition portal from the main hub to reach the separate area with its own buildings, quests, and maps. Combat here works differently from standard tower defense because your units defend a moving payload instead of a fixed base, and normal unit traits are switched off, so your permanent equipment and stats carry more weight.
Best Expedition building order
The order below is built to grow your account quickly while shielding your limited Coins from waste. Follow it top to bottom.
| Priority | Building | Role |
|---|---|---|
| 1 | Armory | Forge, reroll, and dismantle equipment |
| 2 | Gold Mine | Converts Fuel Cells into Gold |
| 3 | Expedition Center Level 2 | Unlocks higher building levels |
| 4 | Gold Mine Level 2 | Roughly doubles Gold output |
| 5 | Resource Drill | Converts Fuel Cells into Geodes |
| 6 | Research Lab | Opens the Expedition upgrade tree |
| 7 | Quest Board | Daily, Weekly, and Permanent quests |
| 8 | Expedition Shop | Buys Gems, rerolls, and Trait Crystals |
| 9 | Training Grounds | Passive unit XP and Worthiness |
Why the Armory comes first
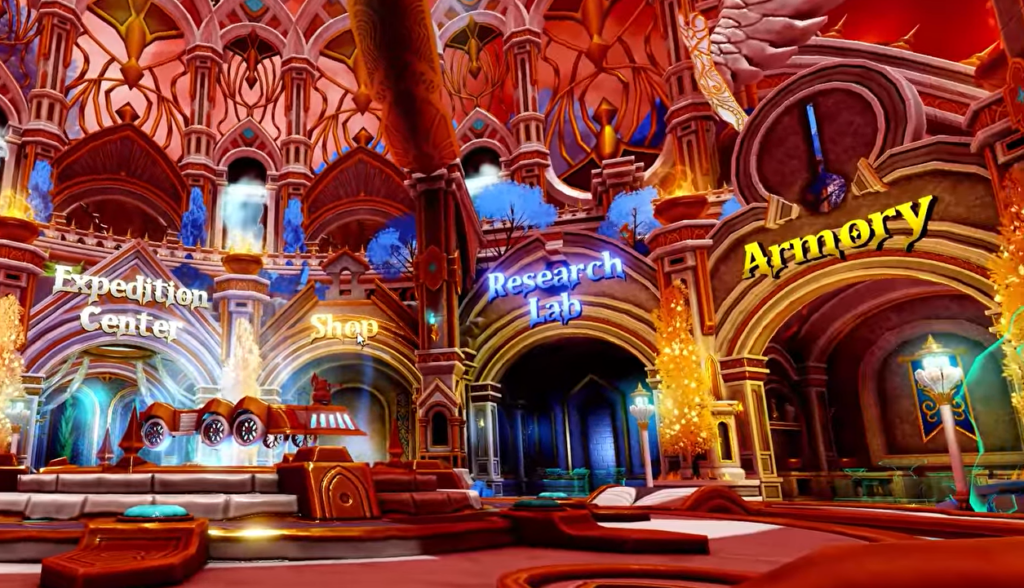
The Armory is your first major build because it lets you forge, reroll, and dismantle equipment. Stat quality on gear swings unit power hard, and a Mythic roll can dwarf a basic blue one. Improving equipment early makes every following run smoother, which in turn speeds up how fast you collect the materials and Coins needed for the rest of the tree. It is also the main way to reroll equipment stats across your account, so its value reaches well beyond Expedition itself.
Get the Gold Mine running early
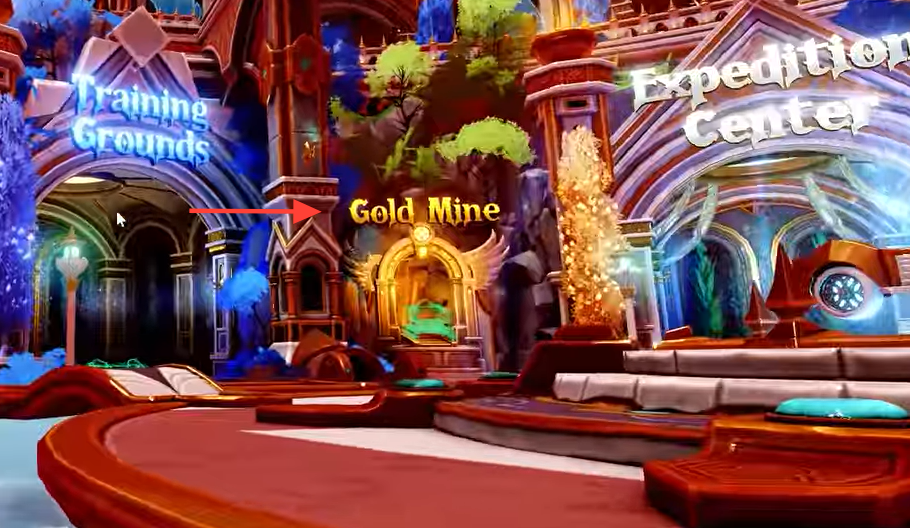
The Gold Mine turns Fuel Cells into Gold, and later buildings get expensive, so a passive Gold source pays for nearly every upgrade that follows. There is one dependency to respect. The Gold Mine cannot reach Level 2 until the Expedition Center is already at Level 2, so raise the Center first, then push the Mine.
A Level 2 Gold Mine supplied with enough Fuel Cells can produce more than one million Gold per day, which makes it one of the strongest farms in the game once it is fully fed.
Save 750 Coins for the Resource Drill
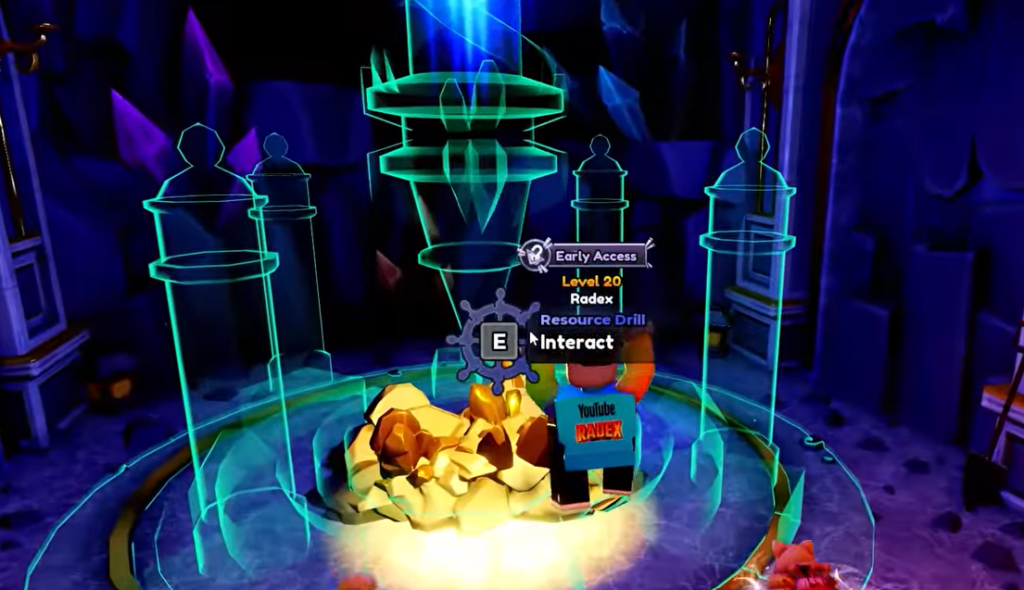
The Resource Drill is the single build your early Coins should be aimed at. It costs 750 Expedition Coins and around 150 Cursed Timber, and gathering that much can take several hours depending on your clear speed. Do not spend early quest Coins on Trait Crystals or other pricey Shop items before the Drill is finished.
The Drill converts Fuel Cells into Geodes. Opening Geodes can return Gems, Stat Rerolls, Equipment Rerolls, Trait Crystals, and other materials, which makes it one of the best long-term Gem and resource investments in the mode.
Manage Fuel Cells before you spend them
Fuel Cells sit in your inventory and cap at 1,000. Because higher building levels give better conversion rates, dumping a large stack into a Level 1 Gold Mine or Level 1 Resource Drill wastes value when an upgrade is close.
| Building level | Conversion improvement |
|---|---|
| Level 2 Gold Mine | Roughly twice the Gold |
| Level 2 Resource Drill | Roughly 1.5 times the Geodes |
Hold your Fuel Cells until the buildings are upgraded to squeeze more total output from the same limited stock. The exception is genuine urgency. If you need Gold, Gems, or a specific material to keep progressing, spend some earlier rather than stalling.
Research Lab before the Expedition Shop
The Research Lab opens the Expedition upgrade tree, which improves your payload, raises placement limits, strengthens modifiers, and grants other permanent bonuses. Those effects make every future run faster and easier, so they usually outperform the temporary resources you would buy from the Shop.
The Expedition Shop sells Gems, Gold, Stat Rerolls, Stat Locks, equipment resources, and Trait Crystals. It becomes worthwhile later, but buying Trait Crystals too soon can leave you short of the 750 Coins the Resource Drill needs. Build the Shop only after your production and research buildings are in place.
Quest Board over Training Grounds
The Quest Board hands out Daily, Weekly, and Permanent quests for Gold, Gems, and Expedition Coins. Clear the Expedition Coin questline as early as you can, since those rewards come in far faster than grinding Coins from failed runs.
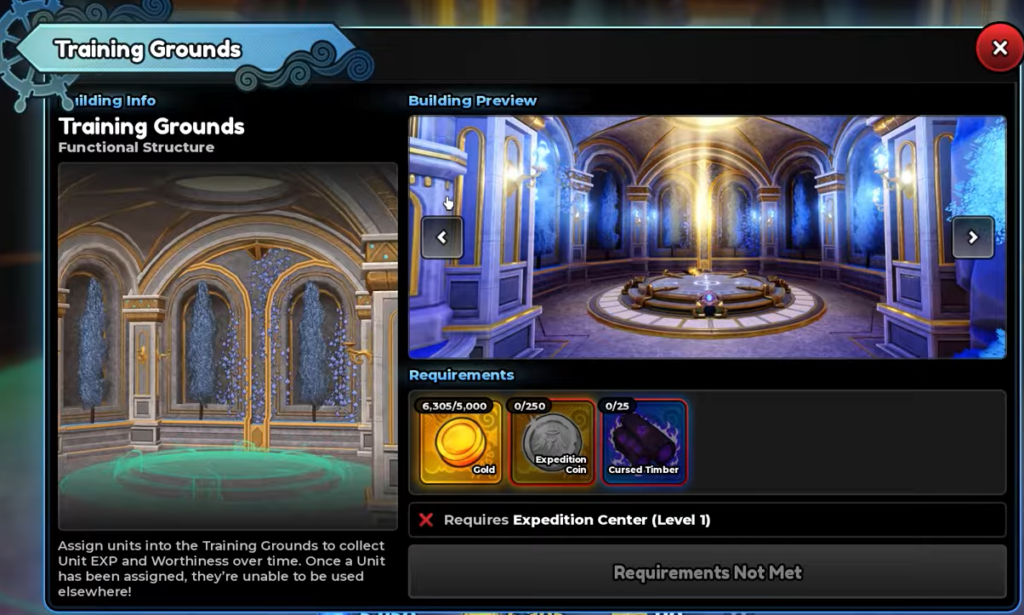
The Training Grounds belongs last. It gives units passive XP and Worthiness, but leveling units is generally easier to solve than a shortage of Coins, Geodes, or equipment rerolls, so it is the lowest-value slot in the sequence.
Research upgrade priority
Before you rush every building to Level 2, start spending in the Research Lab. Follow this order.
| Priority | Upgrade | Why it ranks here |
|---|---|---|
| 1 | Payload placement | More units means more damage right away |
| 2 | Yen generation | Yen pays for almost everything during a run |
| 3 | Damage upgrades | Improves consistency on harder nodes |
| 4 | Resource generation | Useful, but weaker than the three above during runs |
Extra placements come first because they add units and damage immediately. Yen sits second because it controls the whole run, covering unit upgrades, temporary hires, trait purchases, payload repairs, and Anvils. Damage follows to steady out tougher stages, and passive resource bonuses fill in after that.
Maps and materials the buildings depend on
Buildings and upgrades consume map-specific materials, so you eventually need to rotate through all three Expedition maps rather than parking on one. Only the first map is open at the start. Complete an Expedition to unlock the next, then clear that one to reach the third.
| Map | Main building resource |
|---|---|
| School Grounds | Cursed Timber |
| Flower Forest | Lush Dirt |
| Rose Kingdom | Aqua Shard |
All three maps can also drop Expedition Coins, Fuel Cells, and Equipment Scrap. The route is not locked, so click the map or node you want to steer your path toward whatever material or Coin reward you currently need most. The route display also previews upcoming checkpoints and rewards, which helps you plan when to bank Yen.
Note: Cursed Timber from School Grounds is the material the Resource Drill needs, so it is worth farming that first map until the Drill is built. Once you have a Level 2 Gold Mine and a working Resource Drill feeding on stored Fuel Cells, the rest of the buildings pay for themselves, and you can shift toward Research upgrades and higher difficulties for stronger rewards.