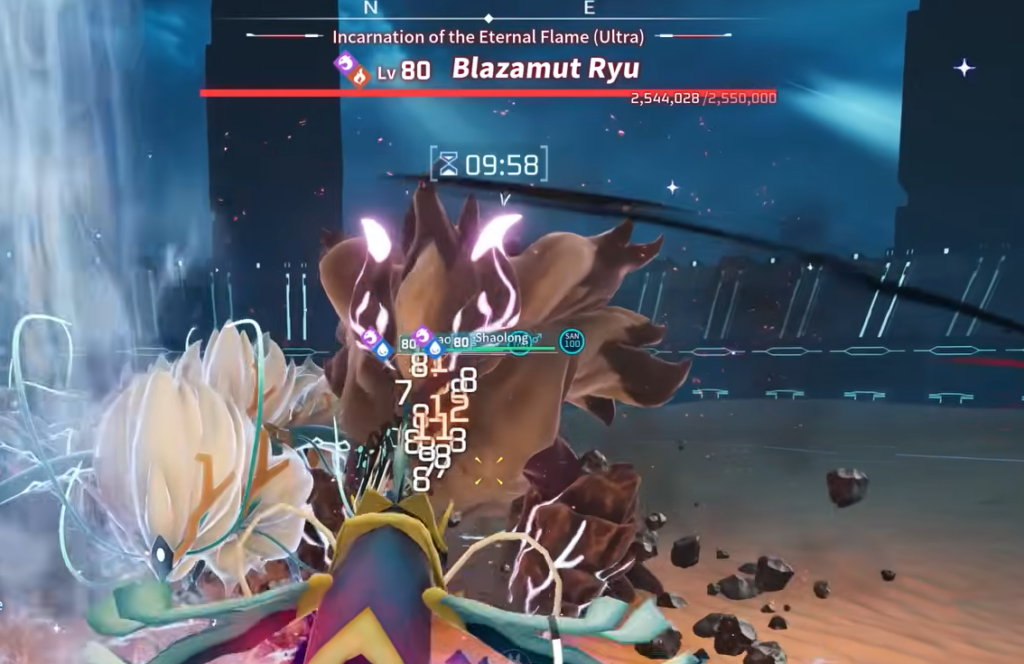
Blazamut Ryu (Ultra) is the hardest version of Palworld’s Sakurajima raid boss, a Dragon/Fire alpha with 1,025,360 HP and a strict 10-minute timer. The fight has two phases and a mid-battle type change that punishes the wrong Pal lineup, so success comes down to preparation more than reflexes.
Quick answer: Ride a heavily invested Azurobe with four Gobfin in your party, fill your base with Water-types led by Jormuntide for phase one, then swap to Ground-types like Anubis the instant it drops to 1 HP and turns Electric. Keep all party and base Pals at or near Level 55.
What you need before summoning Blazamut Ryu (Ultra)
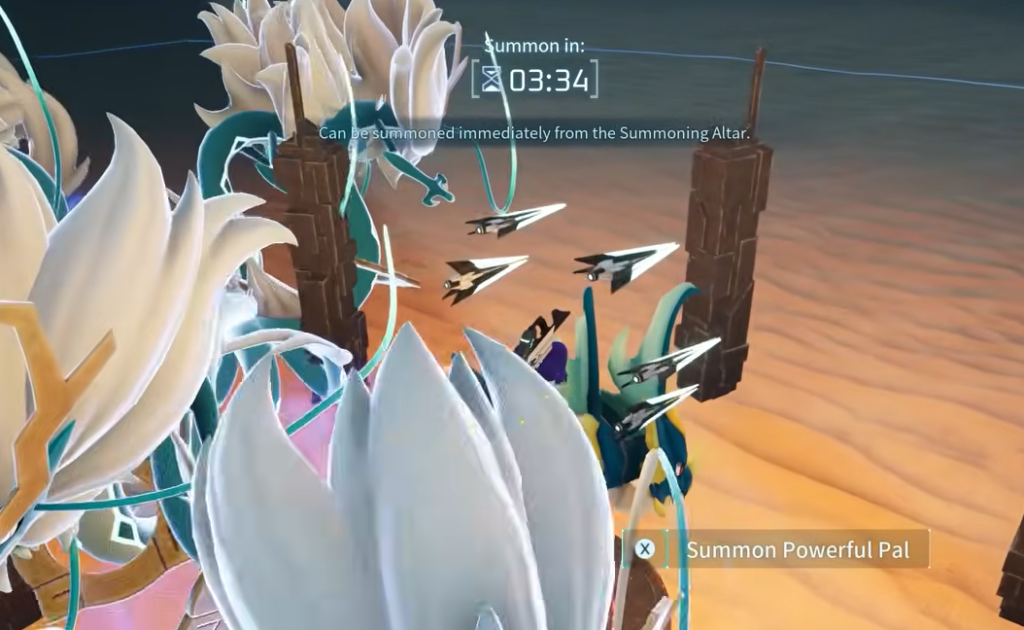
You cannot fight the Ultra version directly. First beat the standard Blazamut Ryu, which drops a Blazamut Ryu (Ultra) Slab. Once you have that slab, the Ultra fight skips the cave farming entirely, which is why it is the faster option once you can reliably clear it.
Build a dedicated base for the raid rather than risking your main one. Keep the Palbox on the outer edge and away from the fight, because the raid fails instantly if the Palbox is destroyed. Never place it on a tower or raised foundation, since any crafted item is destroyed the moment the foundation under it breaks.
Normal vs Ultra: the numbers that matter
| Detail | Blazamut Ryu | Blazamut Ryu (Ultra) |
|---|---|---|
| HP | 512,680 | 1,025,360 (2x) |
| Timer | 10 minutes | 10 minutes |
| Recommended level | 55 | 55 |
| Catchable | No | No |
| Elements | Dragon / Fire | Dragon / Fire |
The Ultra fight keeps the same timer while doubling the health pool, so your damage output has to be near-optimal. That means maxed gear, filled accessory slots, and a food buff active before you summon.
The two-phase type change you must plan for
Blazamut Ryu is Dragon/Fire, so Water attacks are super effective in phase one. When you bring it down to 1 HP, it triggers the second phase. It fires an Electric burst in all directions that can paralyze anyone nearby, regains close to a third of its HP, and becomes an Electric-type for the rest of the battle.
That change turns your Water-types into liabilities, because Electric attacks knock them out fast. Stage your swap before it happens. As phase one ends, stay near the Palbox, then open the Palbox Management menu the moment the light gathers. You will still be paralyzed briefly, but those safe seconds let you switch your Water Pals out for Ground Pals.
Best party build: Gobfin and a mounted Azurobe
The strongest party pairs a mount with stacked attack buffs. Ride an Azurobe (Water/Dragon) with heavy investment and attack while mounted so your hits carry the Water element into the boss’s weakness. Fill the other four slots with Gobfin.
Each Gobfin’s partner skill adds 10% to your attack just by being in the party, and four of them stack to at least 40%. Ranking them up with the Pal Essence Condenser raises each to 20%, pushing the total even higher. The Vanguard passive on your Azurobe and Gobfin scales the team further.
| Role | Pal | Why |
|---|---|---|
| Mount | Azurobe | Infuses attacks with super-effective Water damage while ridden |
| Support x4 | Gobfin | Stacking player attack buff, up to 40% or more |
Base Pals: Water for phase one, Ground for phase two
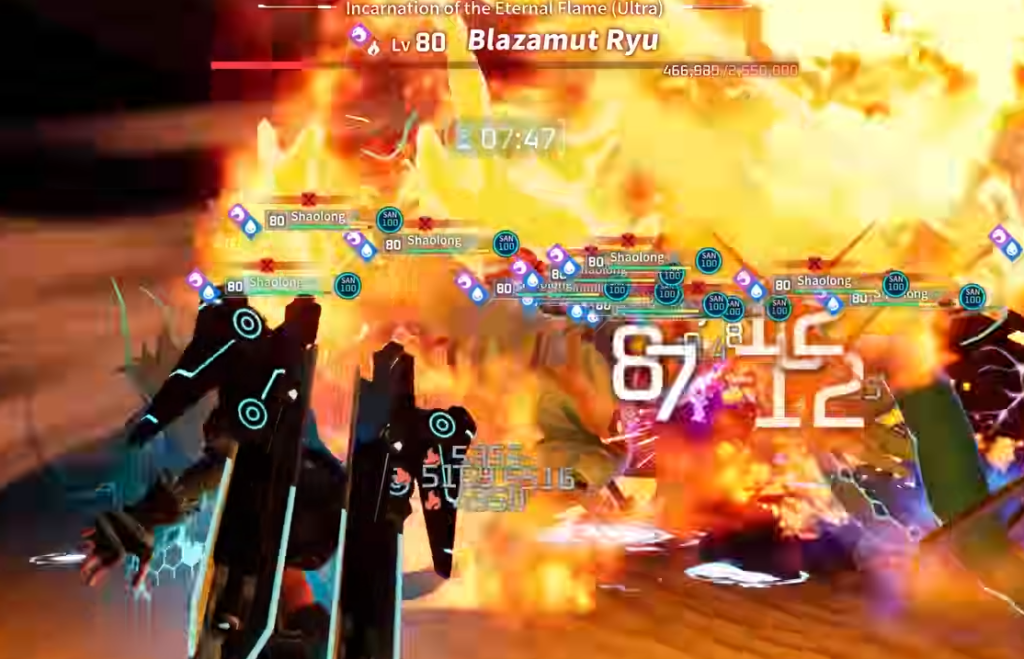
Set up two rosters in advance. Load Water-types for the opening phase, and keep a Ground-type set on a separate Palbox tab so you can offload the Water Pals in seconds when the boss turns Electric.
| Phase | Base Pals |
|---|---|
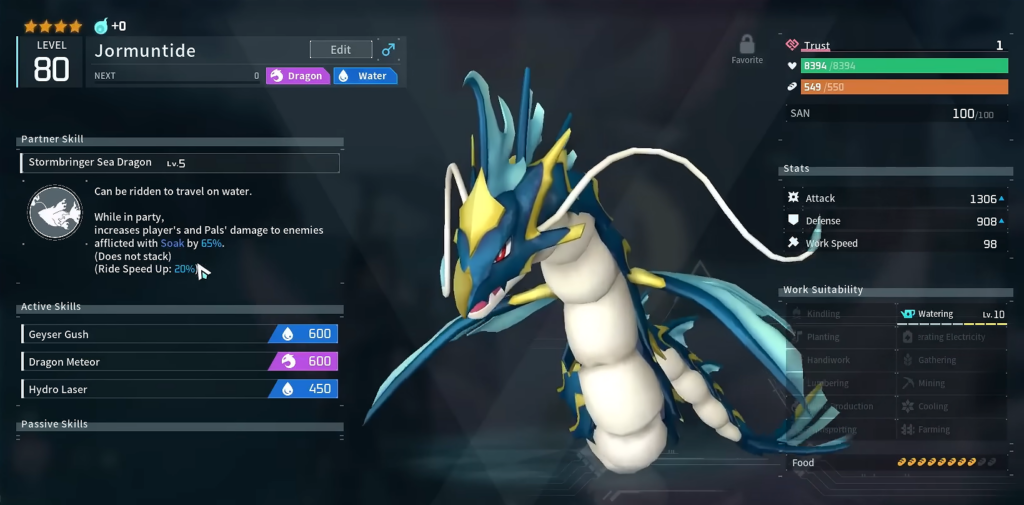
| Phase 1 (Water) | Jormuntide (best), Suzaku Aqua, Broncherry Aqua, Elphidran Aqua, Relaxaurus, Croajiro |
| Phase 2 (Ground) | Anubis, Menasting, Warsect, Dazemu, Knocklem |
Jormuntide is the standout for phase one thanks to its high stats and resistance to Blazamut Ryu’s Fire attacks. Have every base Pal placed before you summon the boss so nothing is idle when the timer starts.
Attacks to avoid and when to punish
Nearly all of Blazamut Ryu’s moves are large AoE attacks, so fight from a distance and read the startup animations. Two attacks are worth memorizing.
- Brawn Impact: It pulls its arms back, enlarges its hands, and claps them together. The AoE is wide and fast, making it hard to dodge in a cluttered fight.
- Magna Crush: It leaps up as a purple fireball, then lunges down with a ground-pound that explodes again about two seconds later. Move opposite to the fireball, since the lunge can cover the whole base.
After enough damage, Blazamut Ryu falls face-down and is stunned for roughly 10 seconds. Use that window for uninterrupted hits and aim for the head, then back off before it stands and repeat.
How to confirm the kill and what you get
The raid ends when Blazamut Ryu’s second-phase health is emptied before the 10-minute timer runs out. On a win, a Huge Dragon Egg is added to your inventory that hatches your own Blazamut Ryu, plus another Ultra Slab so you can repeat the fight without cave farming.
| Ultra reward | Notes |
|---|---|
| Huge Dragon Egg | Hatches a Blazamut Ryu |
| Blazamut Ryu (Ultra) Slab | Restarts the Ultra fight |
| Ancient Civilization Core | High-end base crafting |
| Ancient Civilization Parts | Endgame crafting material |
| Horns of Supremacy | Rare material |
| Diamond, Coal | Refined resources |
| Training Crystal, Medium Pal Soul | Pal progression |
| Life Lotus (L), Speed Lotus (L), Stout Fruit | Stat boosters |
| Precious Claw | Crafting material |
If your damage falls short of the double health pool, the two most common failures are bringing Pals under Level 55 and losing the Water lineup to the Electric phase because the swap came late. Fix both, keep the buff stacks and Water mount up front, and the Ultra timer stops being the wall it first appears to be.