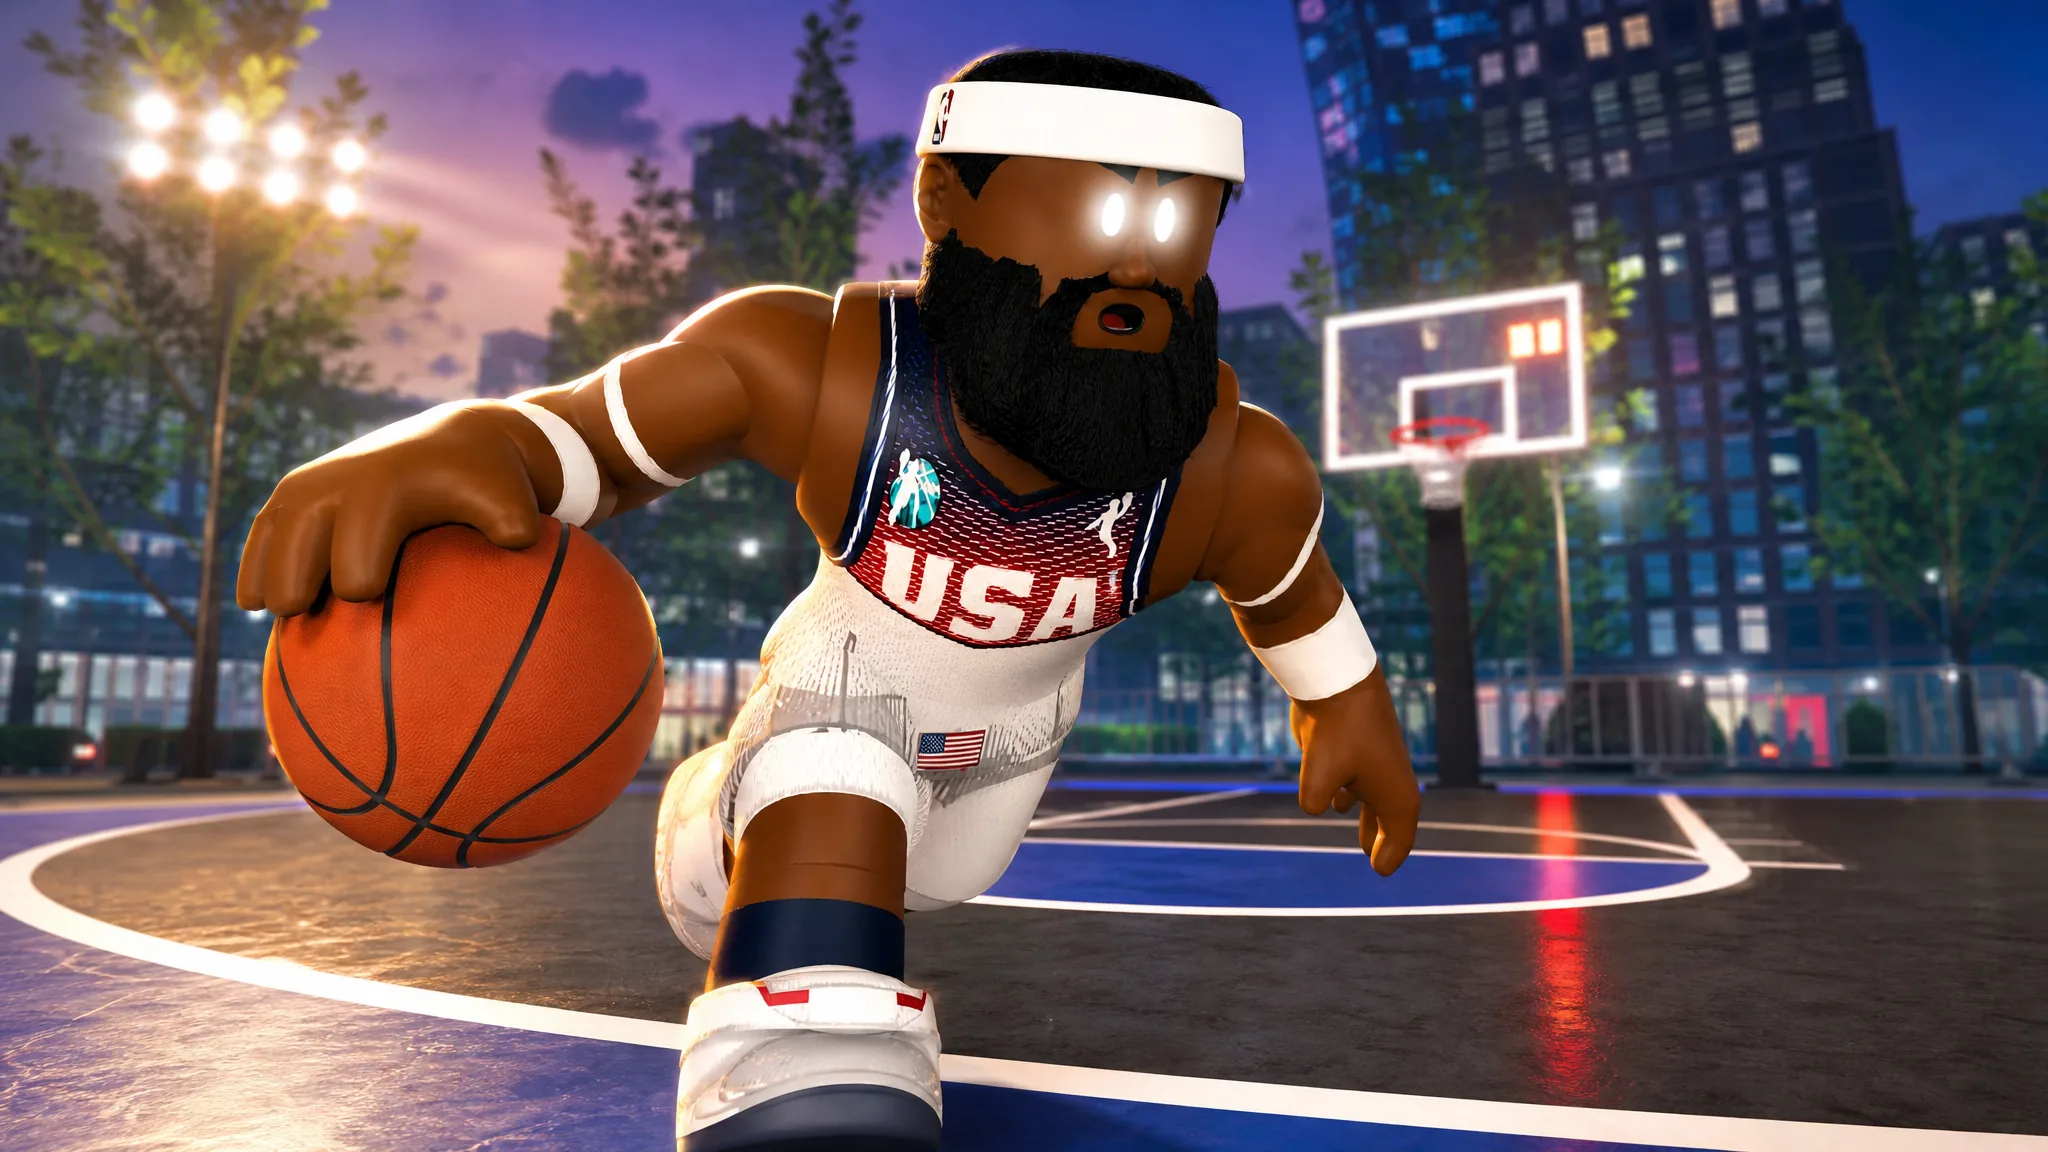
Practical Basketball rewards builds that stack elite ratings without leaving obvious holes, and after Stress Test 3 the gap between the strongest archetypes and the rest is wide. The rankings below sort the current position builds by how consistently they win possessions on both ends, from the dominant paint centers down to the more specialized wings.
Quick answer: The 7’2″ “2-Way Post-Up Contributor” center sits at the top of S tier, thanks to 90 Post Control, 90 Interior Defense, 90 Block, 90 Rebound, and 93 Strength paired with the Diesel takeover.
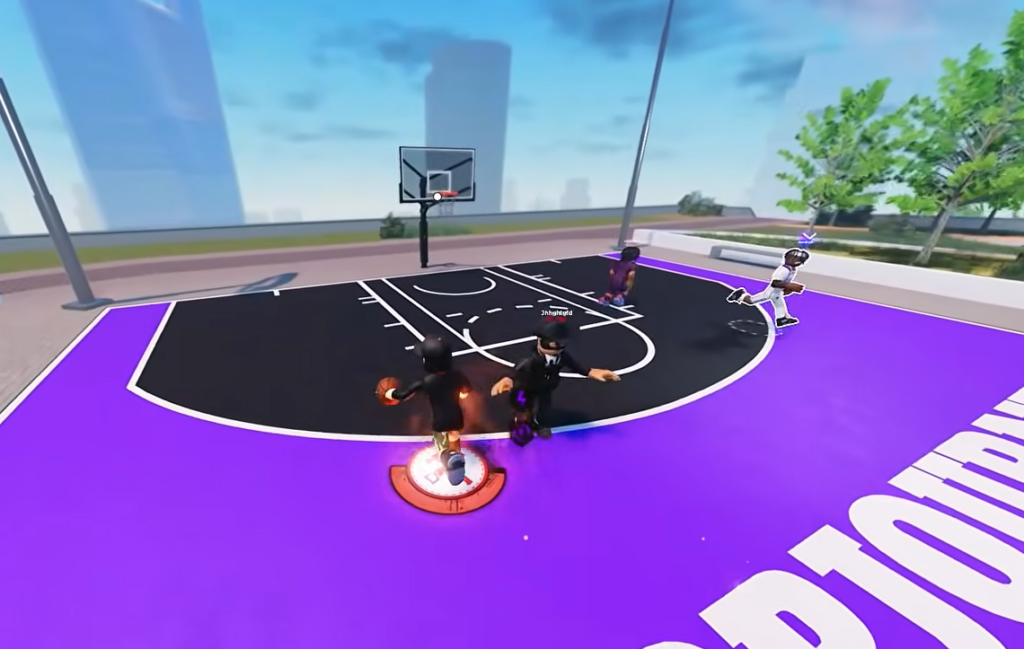
Practical Basketball build tier list (all positions)
| Tier | Builds |
|---|---|
| S | 2-Way Post-Up Contributor (7’2″ Center) |
| A | Crafty Walking Bucket (6’9″ Small Forward), Thieving Floor-General (6’2″ Point Guard) |
| B | Crafty Offensive General (6’6″ Shooting Guard) |
| C | Built Power Forward (6’10”) |
Why the 7’2″ center tops the list
The center build earns the S slot because it scores three ways while anchoring the paint. Post Control, Interior Defense, Block, and Rebound all sit at 90, Strength reaches 93, and the shooting attributes stay respectable at 81 Mid-Range and 81 Three-Point. That combination means it can bully smaller defenders inside, protect the rim, and still punish a sagging defense from range.
Choosing the Diesel takeover over Knockdown Shooter is what pushes it into overpowered territory. Diesel unlocks contact dunks and paint dominance, which fits the 255 lb Built body far better than a spacing-focused option. Knockdown Shooter is still viable if you want to stretch the floor, but it trades away the interior pressure that makes this build so hard to stop.
| Setting | Value |
|---|---|
| Height / Wingspan | 7’2″ / 7’2″ |
| Weight | 255 lbs, Built body |
| Takeover | Diesel |
| Jumpshot | Trevor Newman (Duke Kupp for ISO) |
| Standing Dunk | One Handed Off Two Standing Dunk (3,000 coins) |
| Shot meter | Vertical |
| FOV / Controller Distance | 93 / 17 |
The Vertical shot meter is the most reliable timing indicator for greening shots, with Funnel and Bat as solid backups if you prefer their spacing.
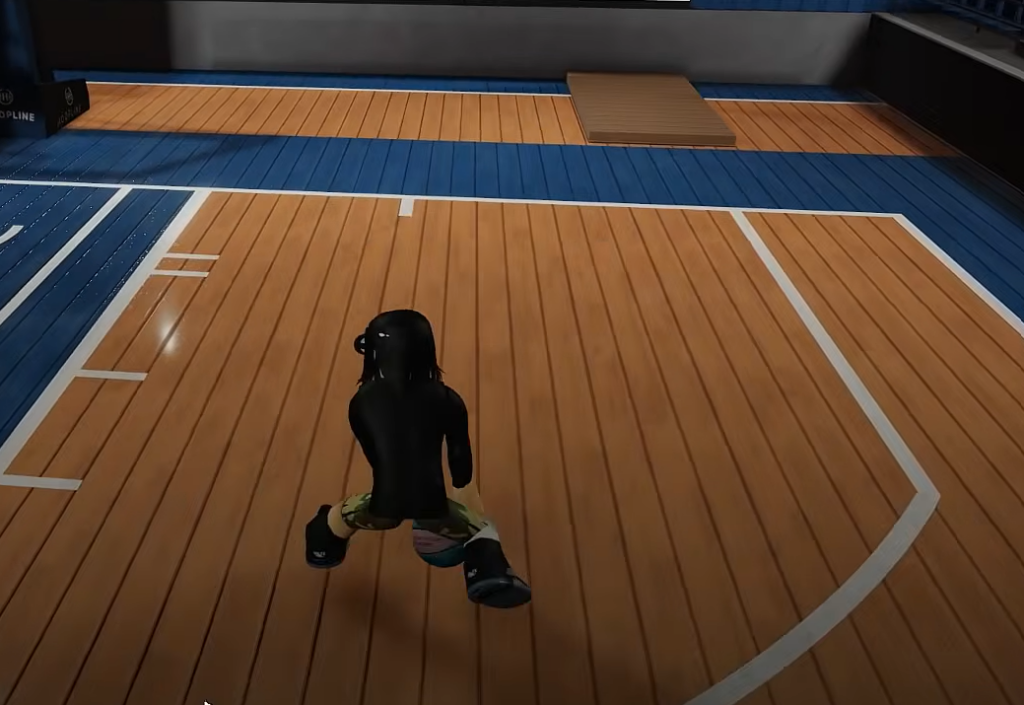
A tier: versatile scorers and playmakers
The 6’9″ “Crafty Walking Bucket” small forward is the best perimeter build available. It reaches 96 Perimeter Defense, 92 Lateral Speed, 89 Driving Dunk, and 89 Vertical, so it defends the wing at a high level and finishes above the rim. The Highlight Reel takeover boosts blowbys, driving dunk percentages, and posterizer chance, which lines up directly with its slashing profile.
The 6’2″ “Thieving Floor-General” point guard rounds out A tier as the pace-setter. It combines 98 Speed, 95 Acceleration, 94 Lateral Speed, 93 Three-Point, and 90 Ball Handle, giving it both the burst to create separation and the defense to force turnovers. Smooth Operator is the takeover here, improving off-the-dribble shot succession and range.

B and C tiers: solid but narrower
The 6’6″ “Crafty Offensive General” shooting guard lands in B tier. Its 96 Three-Point and 90 Mid-Range make it a serious floor spacer, and 85 Perimeter Defense keeps it competitive on defense. It falls short of the wing and guard builds above it because its finishing and steal ratings sit low, so it leans heavily on catch-and-shoot situations.
The 6’10” Built power forward closes out the list in C tier. It offers size and a strong frame, but its scoring package trends toward low close-shot finishing, leaving it more one-dimensional than the center that shares the frontcourt with it. It works as a role player, though it does not carry a lineup the way the top builds do.
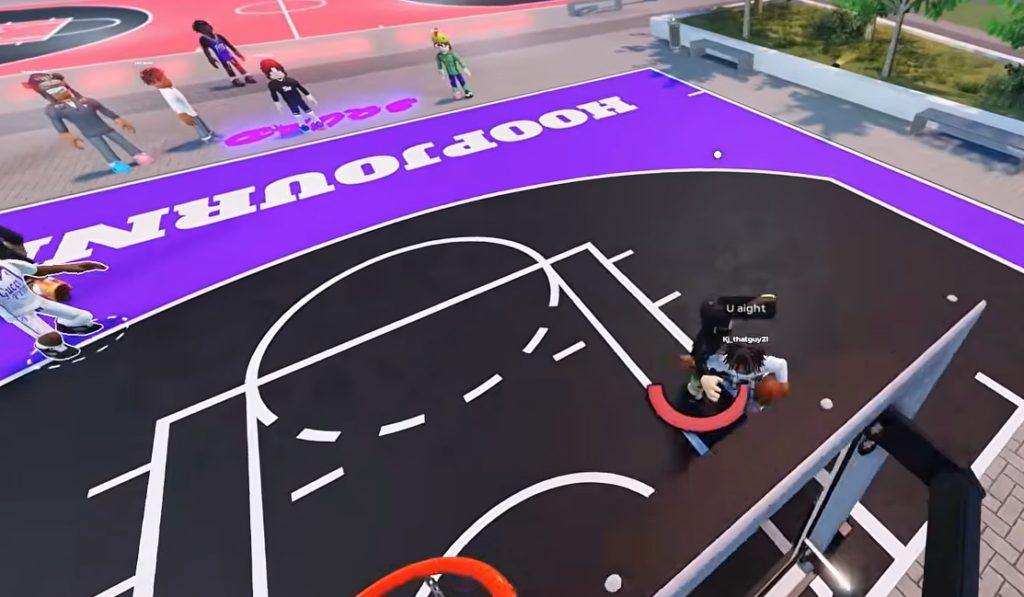
How this ranking was decided
Placement weighs each build’s two-way ceiling, its attribute balance across scoring, defense, and physicals, and how well its takeover matches its role. Builds that score multiple ways while holding up defensively rank above specialists that depend on a single skill.
These rankings reflect the Practical Basketball meta following the most recent Stress Test 3 period. Attribute caps and badge availability can shift with future updates, so revisit your build after any balance changes that adjust post scoring or perimeter defense.