Reaching 100 KM (100,000 meters) in Drill to Earth’s Core comes down to two things: a class that fits how you want to play, and a drill built to break harder blocks while keeping you alive. The deeper layers punish weak drill power and thin health bars, so your upgrade order matters more than raw grinding.
Quick answer: Play Lucky Looter or Driller, pour early upgrades into RPM Overclock, Drill Power, and Power Burst, keep your fuel and health topped up, and clear every dungeon for scrap you can sell and craft into stronger drill attachments.
Best classes for a deep run
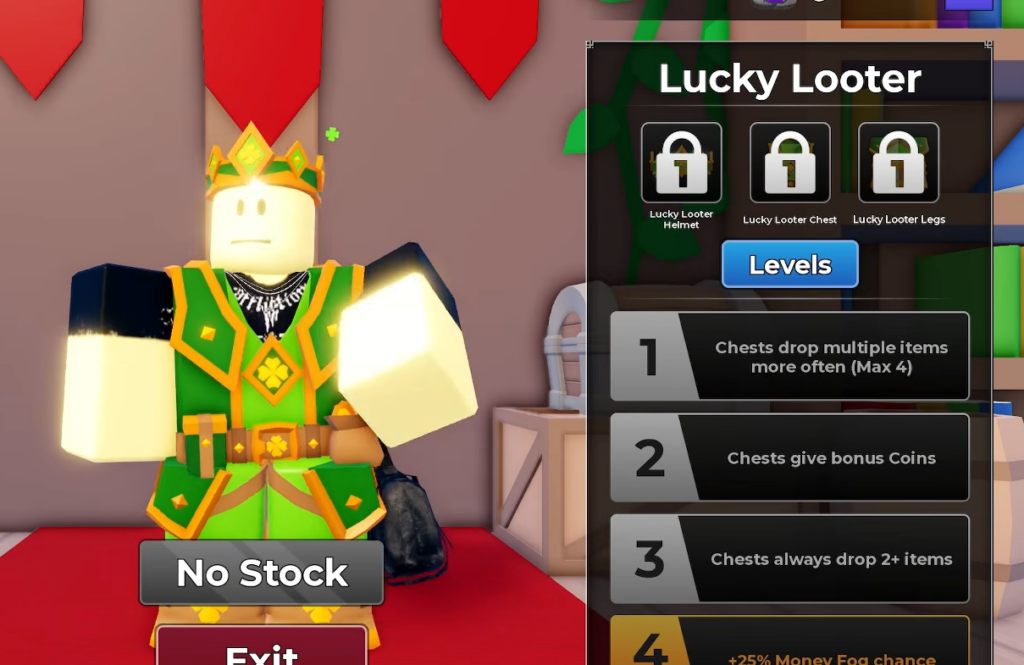
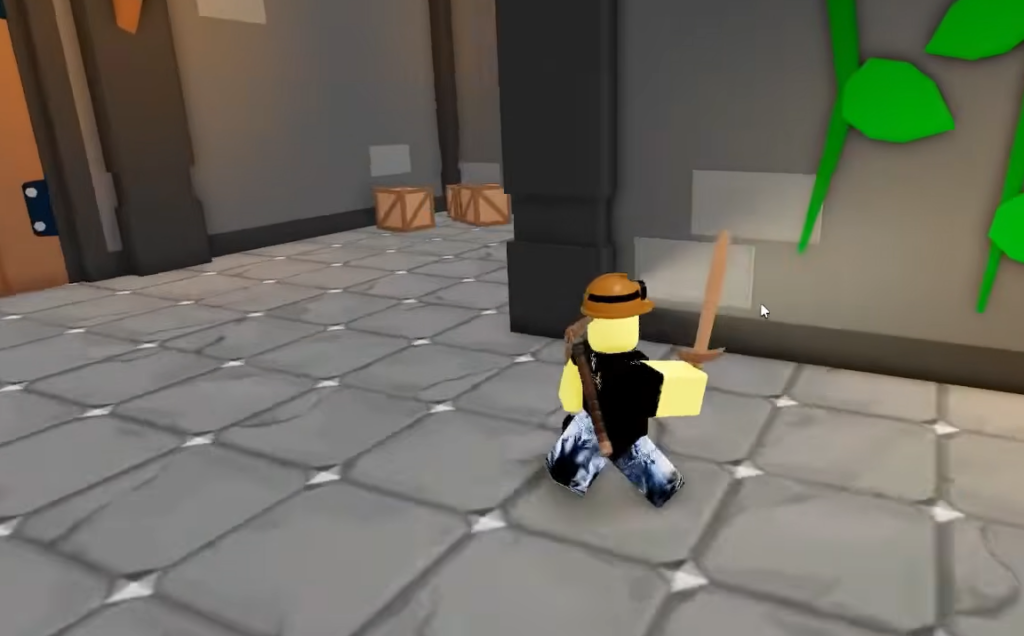
Your class shapes your whole descent. You pick and equip one at the Classes building (the Academy), and leveling it up unlocks stronger bonuses and better starting gear. For pushing toward the core, four classes stand out.
| Class | What it gives you |
|---|---|
| Lucky Looter | Higher chest drop rates and coin bonuses, the strongest all-round pick for income. |
| Driller | 50% discount on Drill Power, Mega Drill, and Power Slam upgrades, so your drill scales faster and cheaper. |
| Pirate | Better gold bar drop rates and a 100% boost to gold item sell values. |
| Reaper | Lets you collect soul orbs; unlocking it costs 10,000 Cores. |
Match the class to your goal. If you want to blast through blocks and keep drilling, Driller keeps upgrade costs down. If you want the most coins per run, Lucky Looter wins. Pirate is strongest once you are selling stacks of gold, and Reaper is a late unlock built around soul orbs. The Academy also offers Miner, Scout, Healer, Tank, Gunslinger, and Mechanic if you prefer a straight mining or combat role.
Note: In a 30-player server, a mix of roles clears dungeons far faster than everyone playing the same class, and teammates can revive each other on dangerous deep dives.
Drill upgrade priority
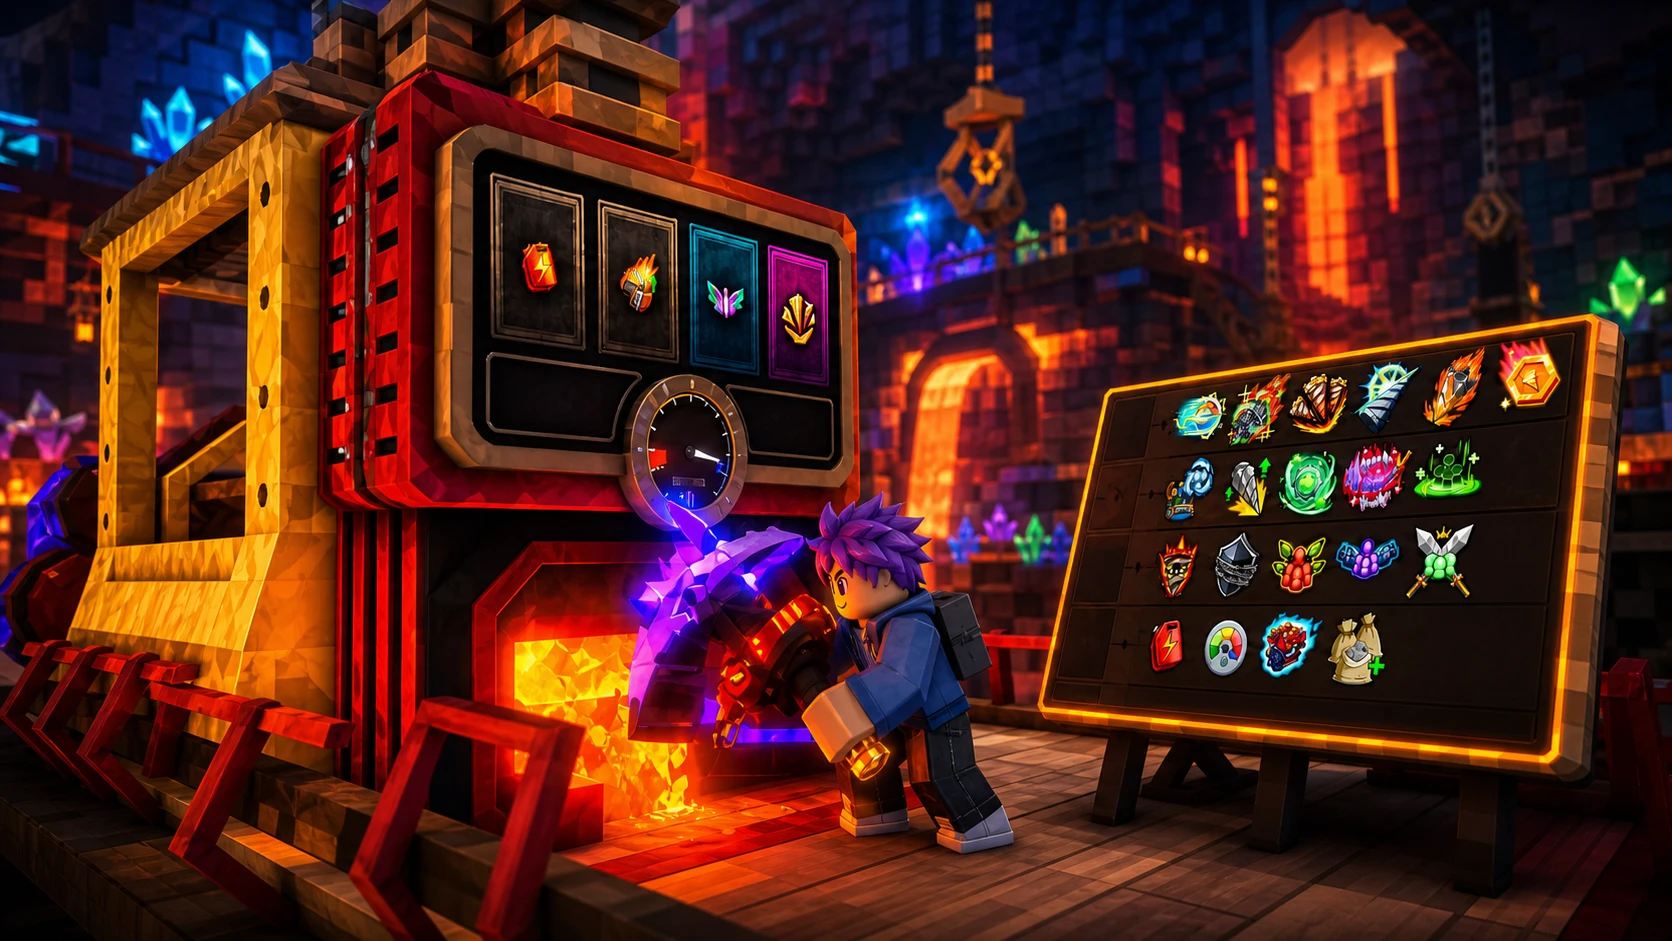
Drill upgrades are bought at the Trading Post upgrade menu. Some are worth every coin, and some are a trap. Spend on drilling speed and power first, then survivability, and skip the dead-weight upgrades entirely.
| Priority | Upgrades |
|---|---|
| Top priority | RPM Overclock, Drill Power, Power Burst |
| Strong buys | Deadly Drill II, Drill Power II, Health Regen, Team Health, Engine Overdrive |
| Avoid | Power Drive (weak return on coins) |
RPM Overclock and Drill Power let you break tougher, deeper blocks, which is the wall that stops most runs. Health Regen is the standout survival upgrade; even at its first level, it removes most of your need for healing across the whole run. The Damage Drill upgrade is also worth using, because you can lure enemies under the front of the moving drill and kill them for free.
The run loop that gets you deeper
Every layer follows the same rhythm: drill down, loot, fight, sell, upgrade, repeat. Sticking to it is how you fund the upgrades that reach 100 KM.
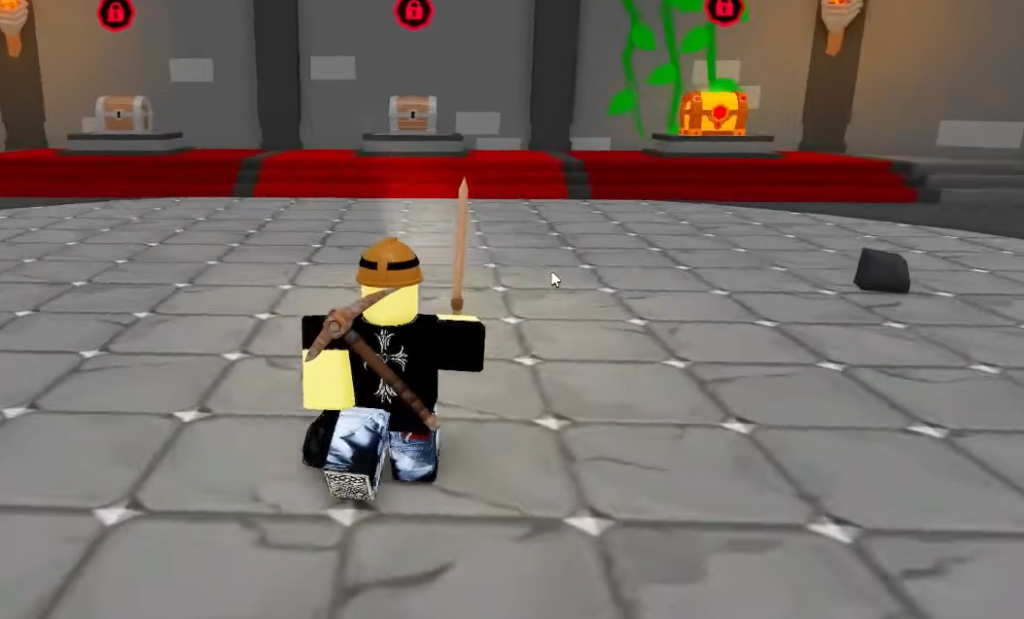
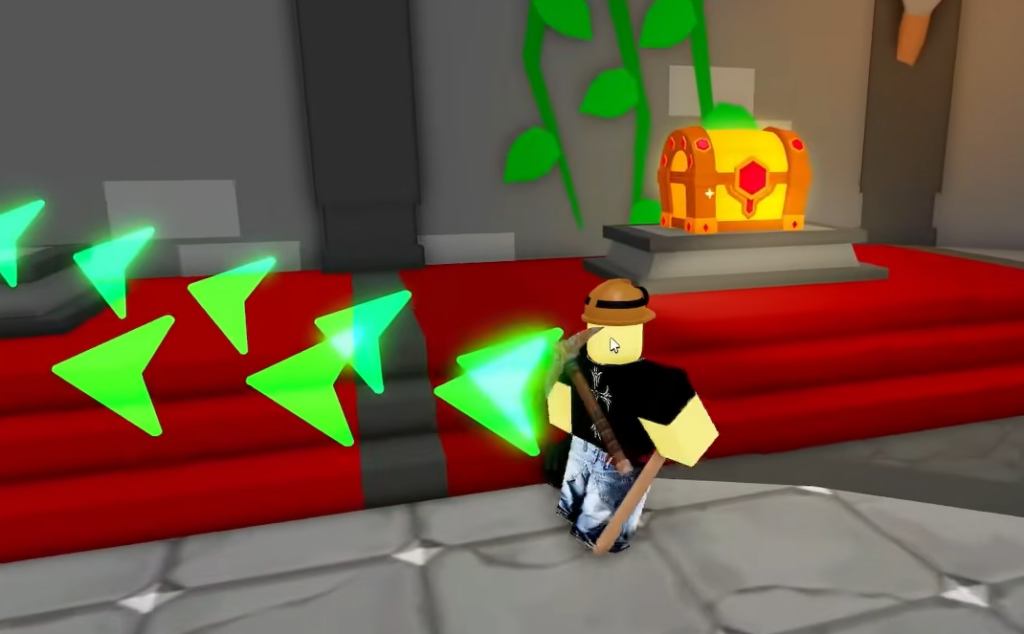
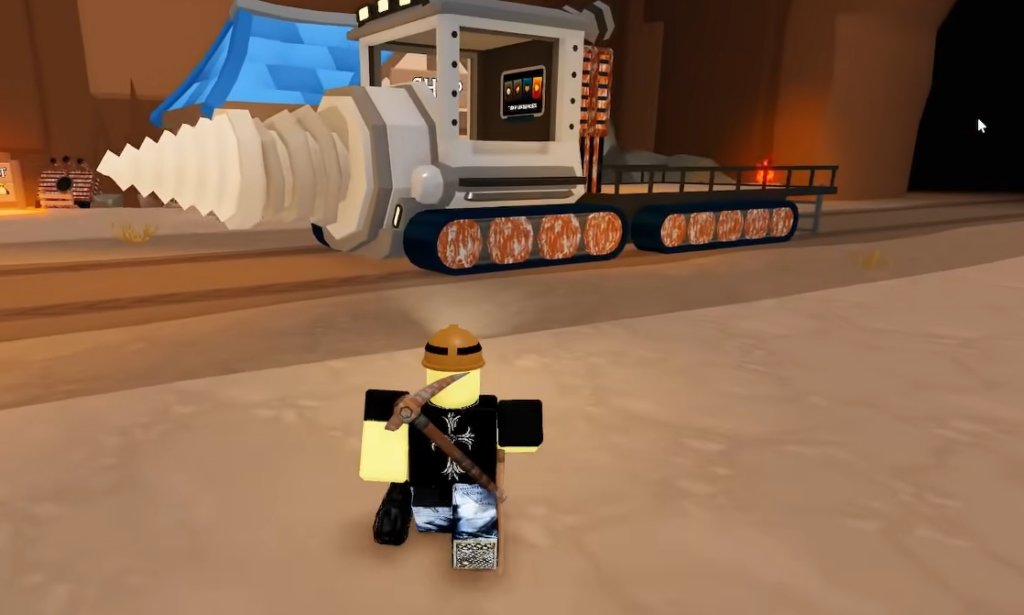
Keep an eye on the fuel tank. When it empties, the drill stops, and you step out to refuel it by hand. Coal keeps you moving, so never drive past it. Leeches spawn on some ore blocks and attack about two seconds after you mine them, but they deal only one damage and die in a few hits.
At the first major hurdle, a purple barrier, stop the drill before you touch it. Gather all nearby coal and pack your sack, because Gremlins spawn here and steal your items. Goblin Brutes also appear; pushing them into town with the front of the drill makes them easier to gather and sell.
Scrap, selling, and crafting at Crazy Zack’s
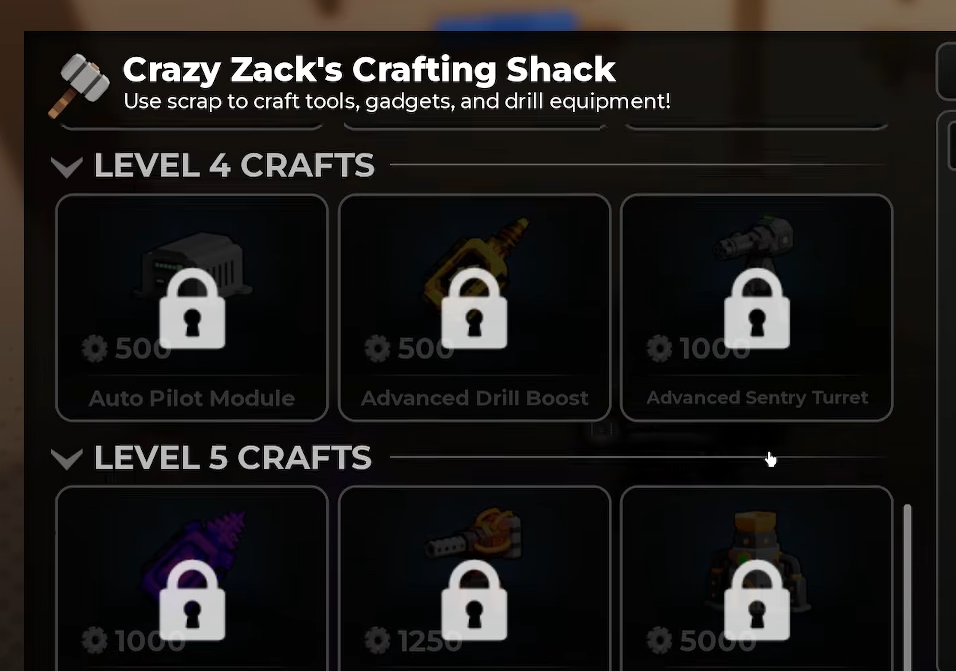
Scrap has two uses. Sell it at Trading Posts for coins, or recycle it into scrap points at Crazy Zack’s Crafting Shack to build advanced drill attachments. Crafting is where you turn spare loot into permanent upgrades to your vehicle.
| Craftable item | Cost |
|---|---|
| Wrench | 10 Scrap |
| Sentry Turret | 350 Scrap |
| Autopilot Module | Crafted from scrap points |
| Advanced Drill Boost | Crafted from scrap points |
You can also turn raw ore into higher-value scrap. Drop Gold Ore or Iron Ore into a furnace marked “Place ores here for bars!” to melt it into bars, with a Gold Bar worth 500 coins.
Weapons, armor, and consumables
The main Shop stocks the gear that keeps you alive in combat. Buy speed early, then a firearm, and keep bandages on hand.
| Item | Cost |
|---|---|
| Steel Speed Boots | 150 Coins |
| Dynamite | 200 Coins |
| Shotgun | 500 Coins |
| Rifle | 750 Coins |
| Void Shotgun | 3,000 Coins |
| Bandages | 10 Coins each |
Each gun has a void version that hits much harder, with the Void Shotgun being one of the strongest weapons available. When moving into a city, you can ignore mobs chasing you because the town turrets will finish them, and bandages are cheap enough to shrug off small hits. Dynamite is usually a poor buy, since the coins are better spent upgrading the drill and Goblin Brutes are worth pushing into town with the drill instead.
Cores, starting coins, and health for deep layers
Cores boost your starting balance. You buy them with Robux and convert them to Coins at Benji The Banker in the bank, which gives your run a head start on upgrades. You can also earn Cores for free by completing achievements, such as stepping into the lobby well, selling an evil duck from a dungeon chest, or stepping into a campfire.
| Cores | Robux |
|---|---|
| 200 Cores | 36 Robux |
| 450 Cores | 45 Robux |
| 960 Cores | 135 Robux |
| 2,100 Cores | 270 Robux |
| 7,000 Cores | 720 Robux |
Health is the real bottleneck the deeper you go, because enemies hit harder in the lower layers. Two game passes help without being pay-to-win. The +100 Extra Health pass (399 Robux) directly extends how deep you can survive, while the +5 Sack Storage pass (199 Robux) adds five inventory slots for longer loot runs before you unload. If you only buy one, extra health is the more useful for pushing toward the core.
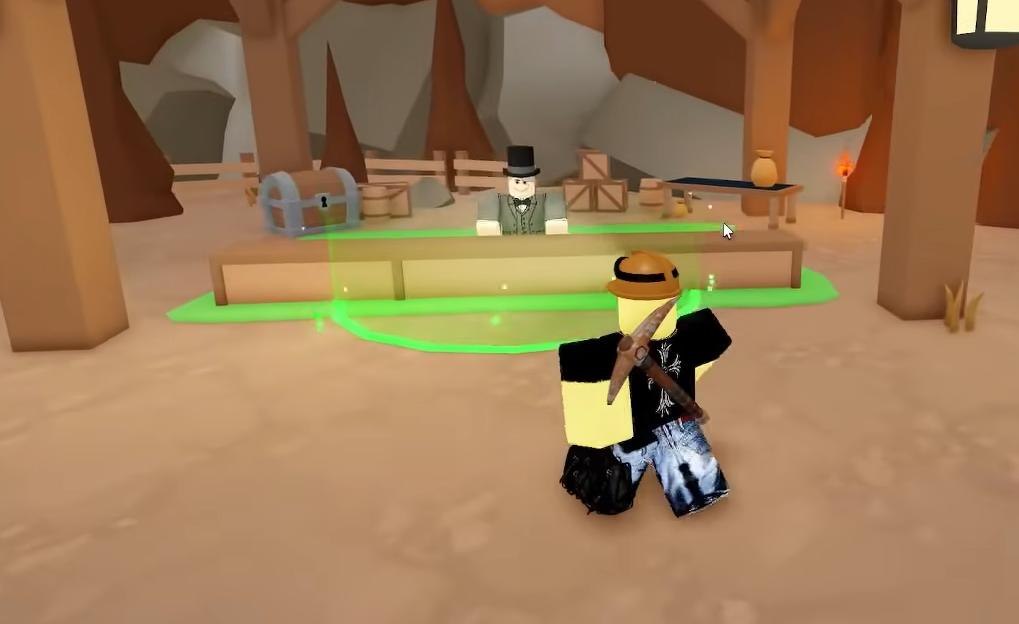
You will know your build is on track when your drill cuts through deeper blocks without stalling, your health regen keeps your bar topped between fights, and each Trading Post visit funds the next upgrade tier. Keep that loop tight, favor Drill Power and Health Regen over flashy purchases, and the descent to 100 KM becomes a matter of steady runs rather than luck.