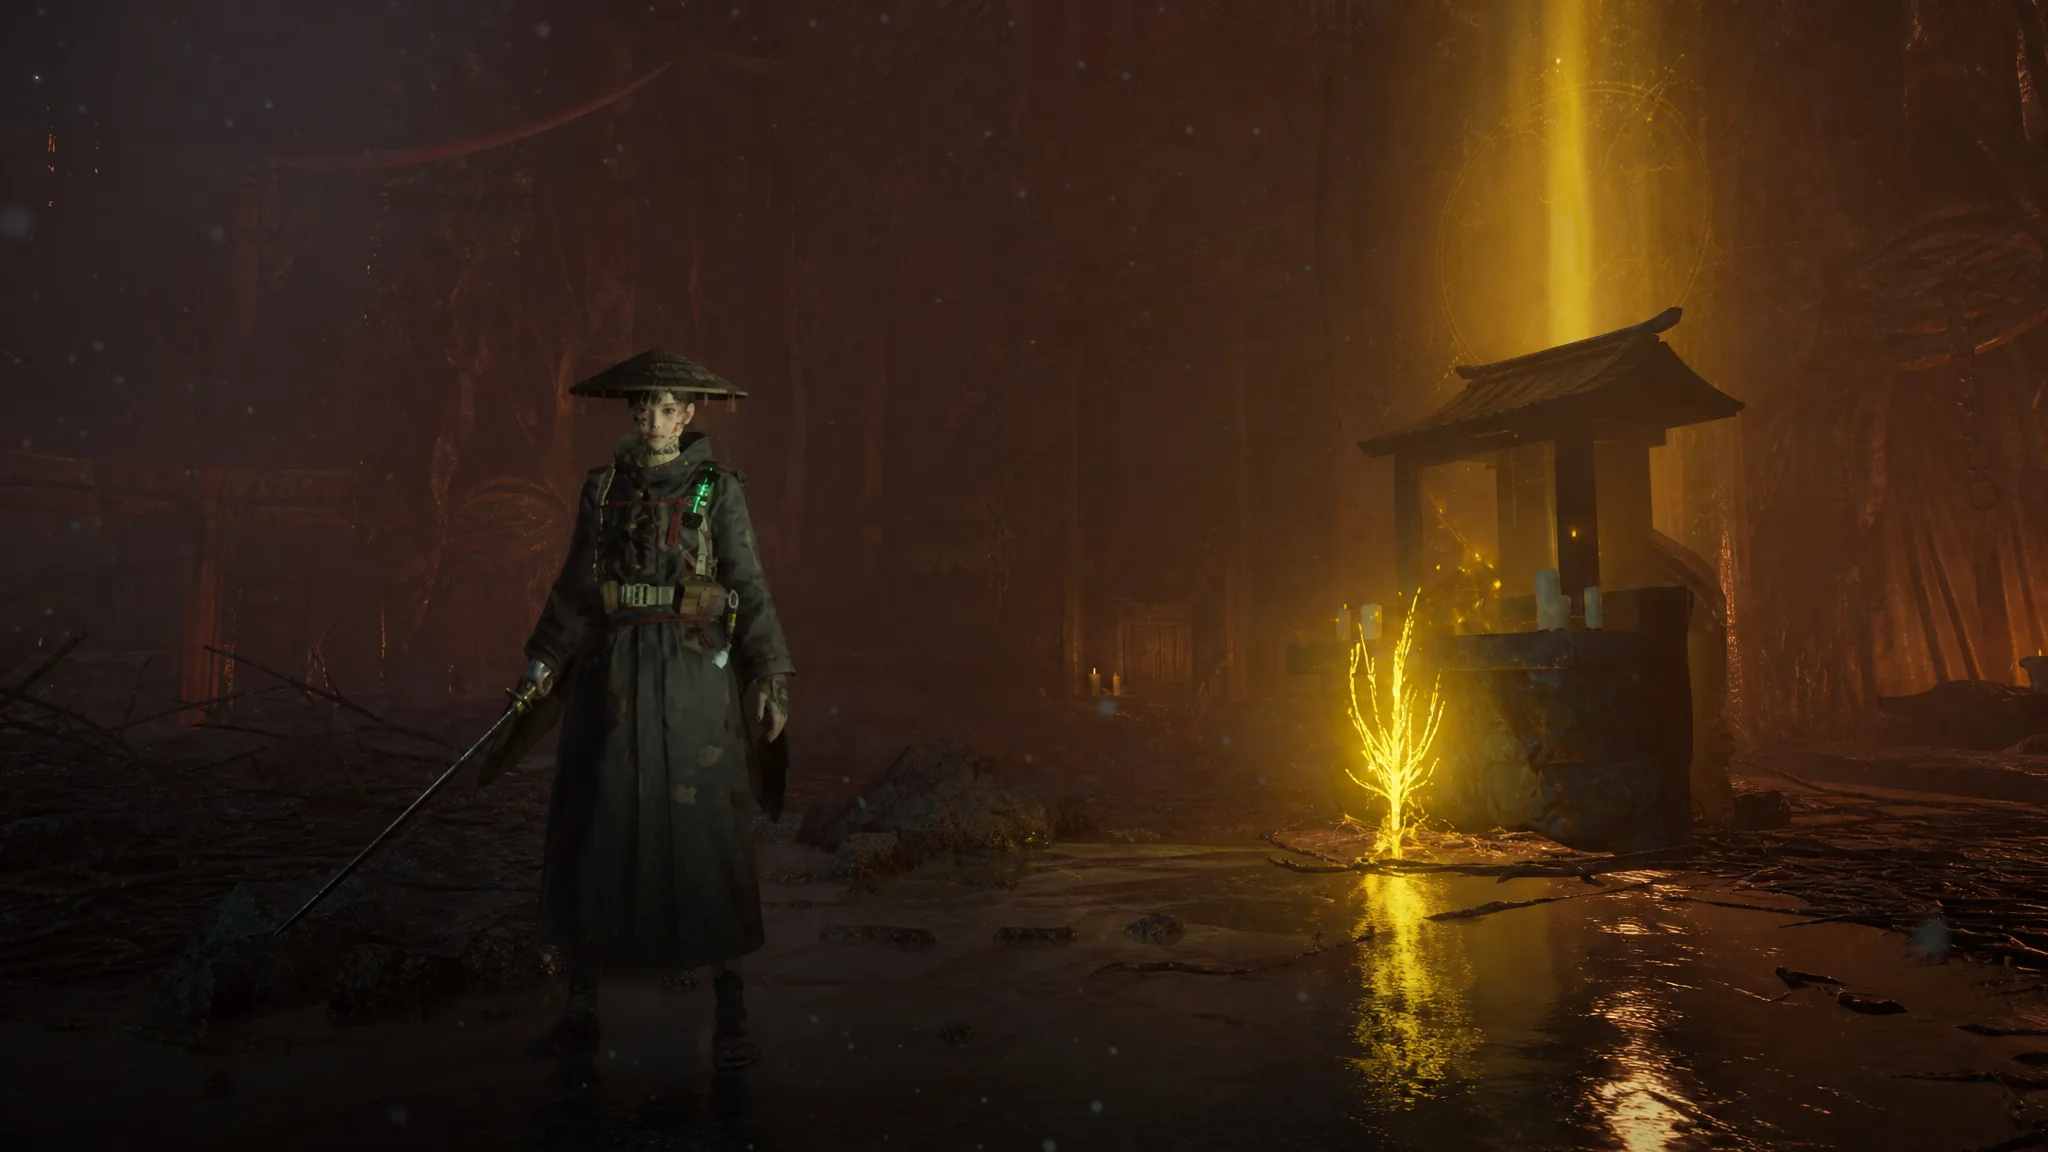
Dragon Vein Shrines are the single most important collectible for staying alive in Beast of Reincarnation. Each one you touch permanently raises how much healing you carry into fights, and they start appearing once you leave Chapter 1 behind. Emma begins the game with four Stimpacks, and tracking down enough Shrines pushes that number all the way up to nine.
Quick answer: Touch your first Dragon Vein Shrine for an instant +1 Stimpack, then reach 10, 20, 30, and 40 total Shrines for one extra Stimpack at each milestone. Every Shrine also hands you 3x Life Fruit.
How Dragon Vein Shrines raise your maximum Stimpacks
Stimpacks are Emma’s main source of healing during combat, so more of them directly means longer survival against bosses and Golems. The reward is tied to your running total, not to any single map. There are more than 40 Shrines in the world, and hitting each threshold below unlocks another Stimpack slot.
| Shrines found | Reward |
|---|---|
| 1 | +1 Stimpack |
| 10 | +1 Stimpack |
| 20 | +1 Stimpack |
| 30 | +1 Stimpack |
| 40 | +1 Stimpack |
The Life Fruit each Shrine gives you matters just as much over the long run. Koo uses Life Fruit to craft special battle items such as the Life Censer and the Resurrection Censer, which boost Emma’s maximum HP or revive her outright. Whenever you get close to a Shrine, Koo will call it out, though some are tucked behind terrain and easy to walk past.
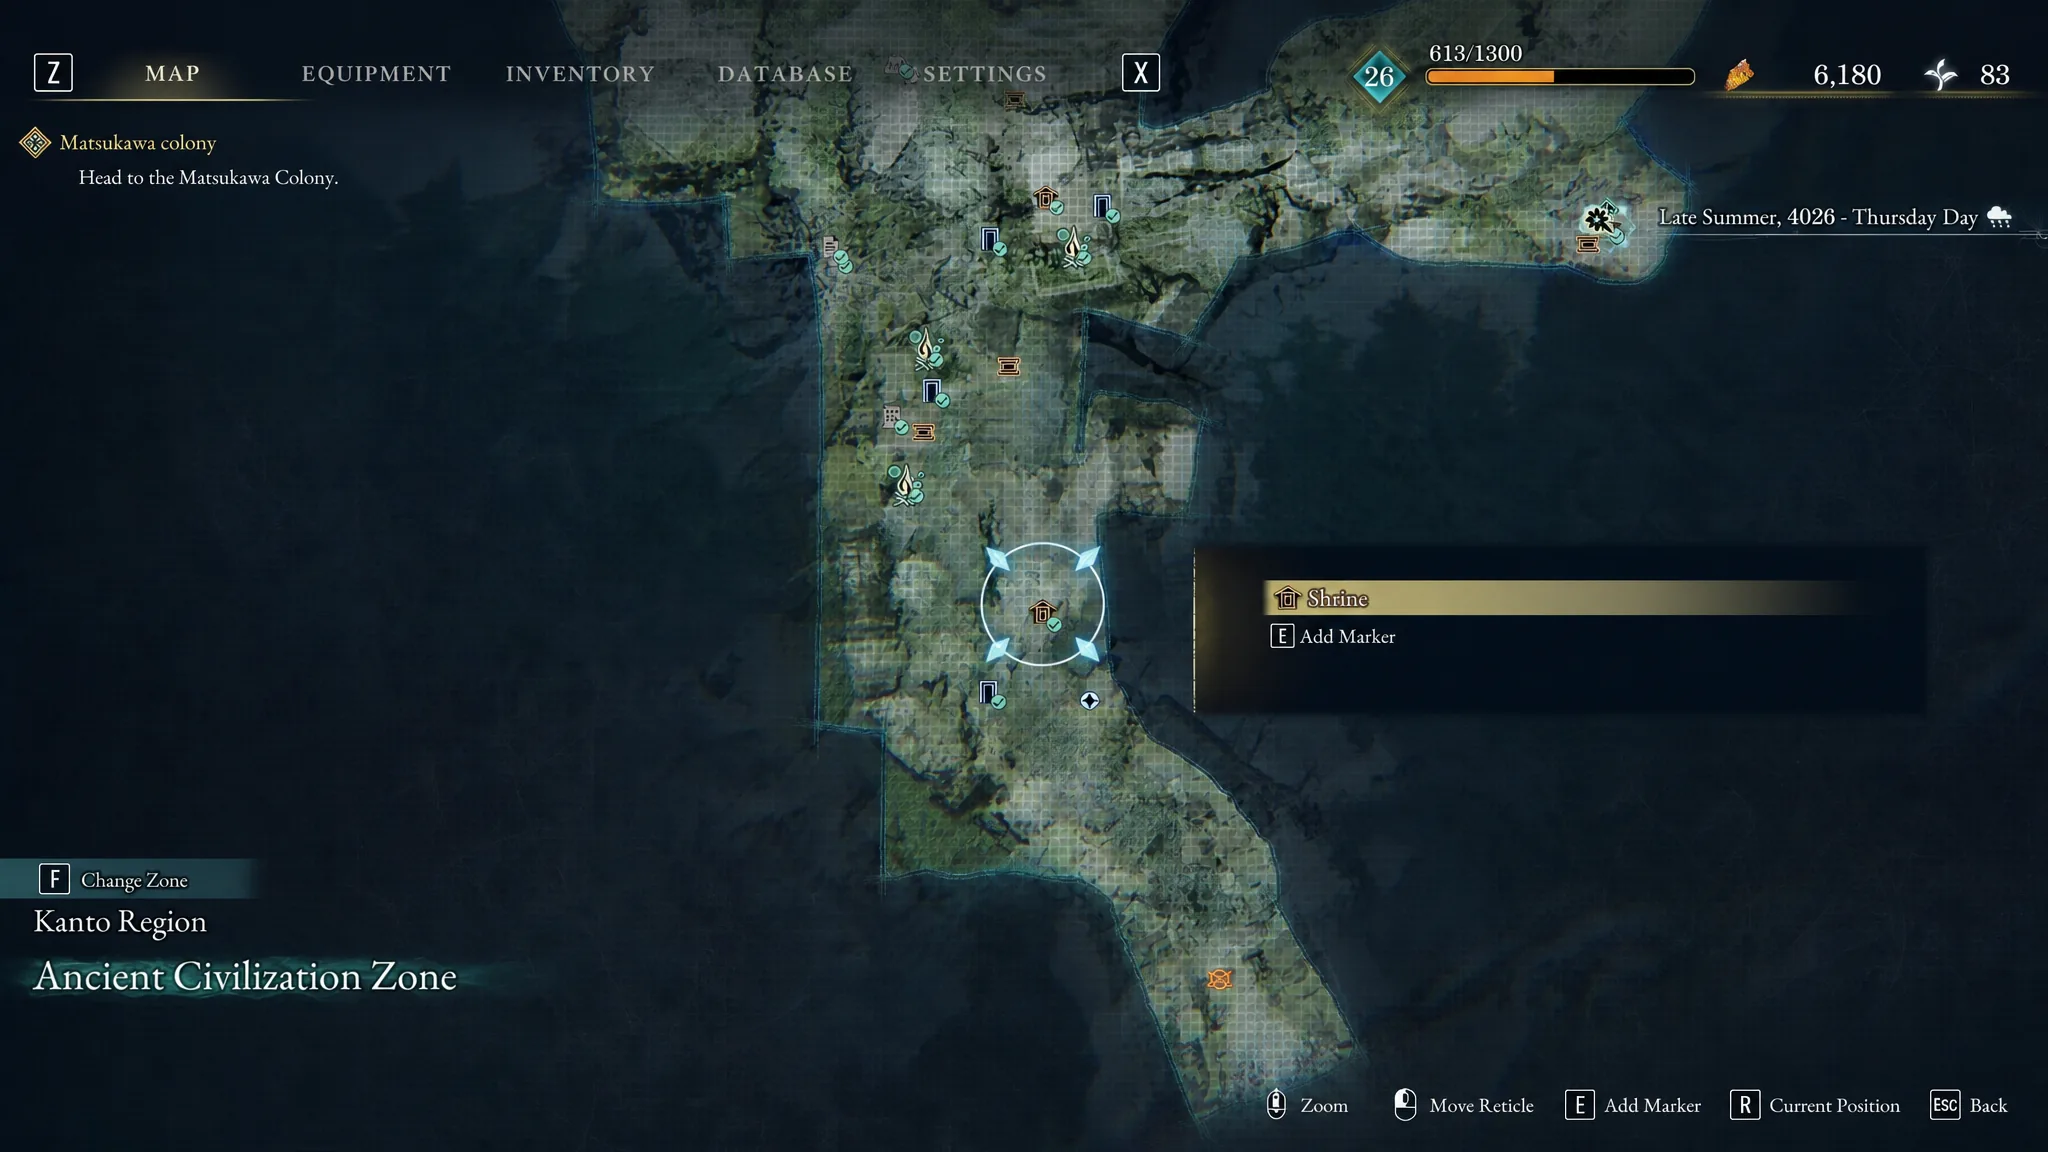
Chapter 2 Dragon Vein Shrines (Ancient Civilization Zone)
Shrines only begin appearing in Chapter 2, and there are three to collect here. The very first one gives you that immediate extra Stimpack, so grab it early.
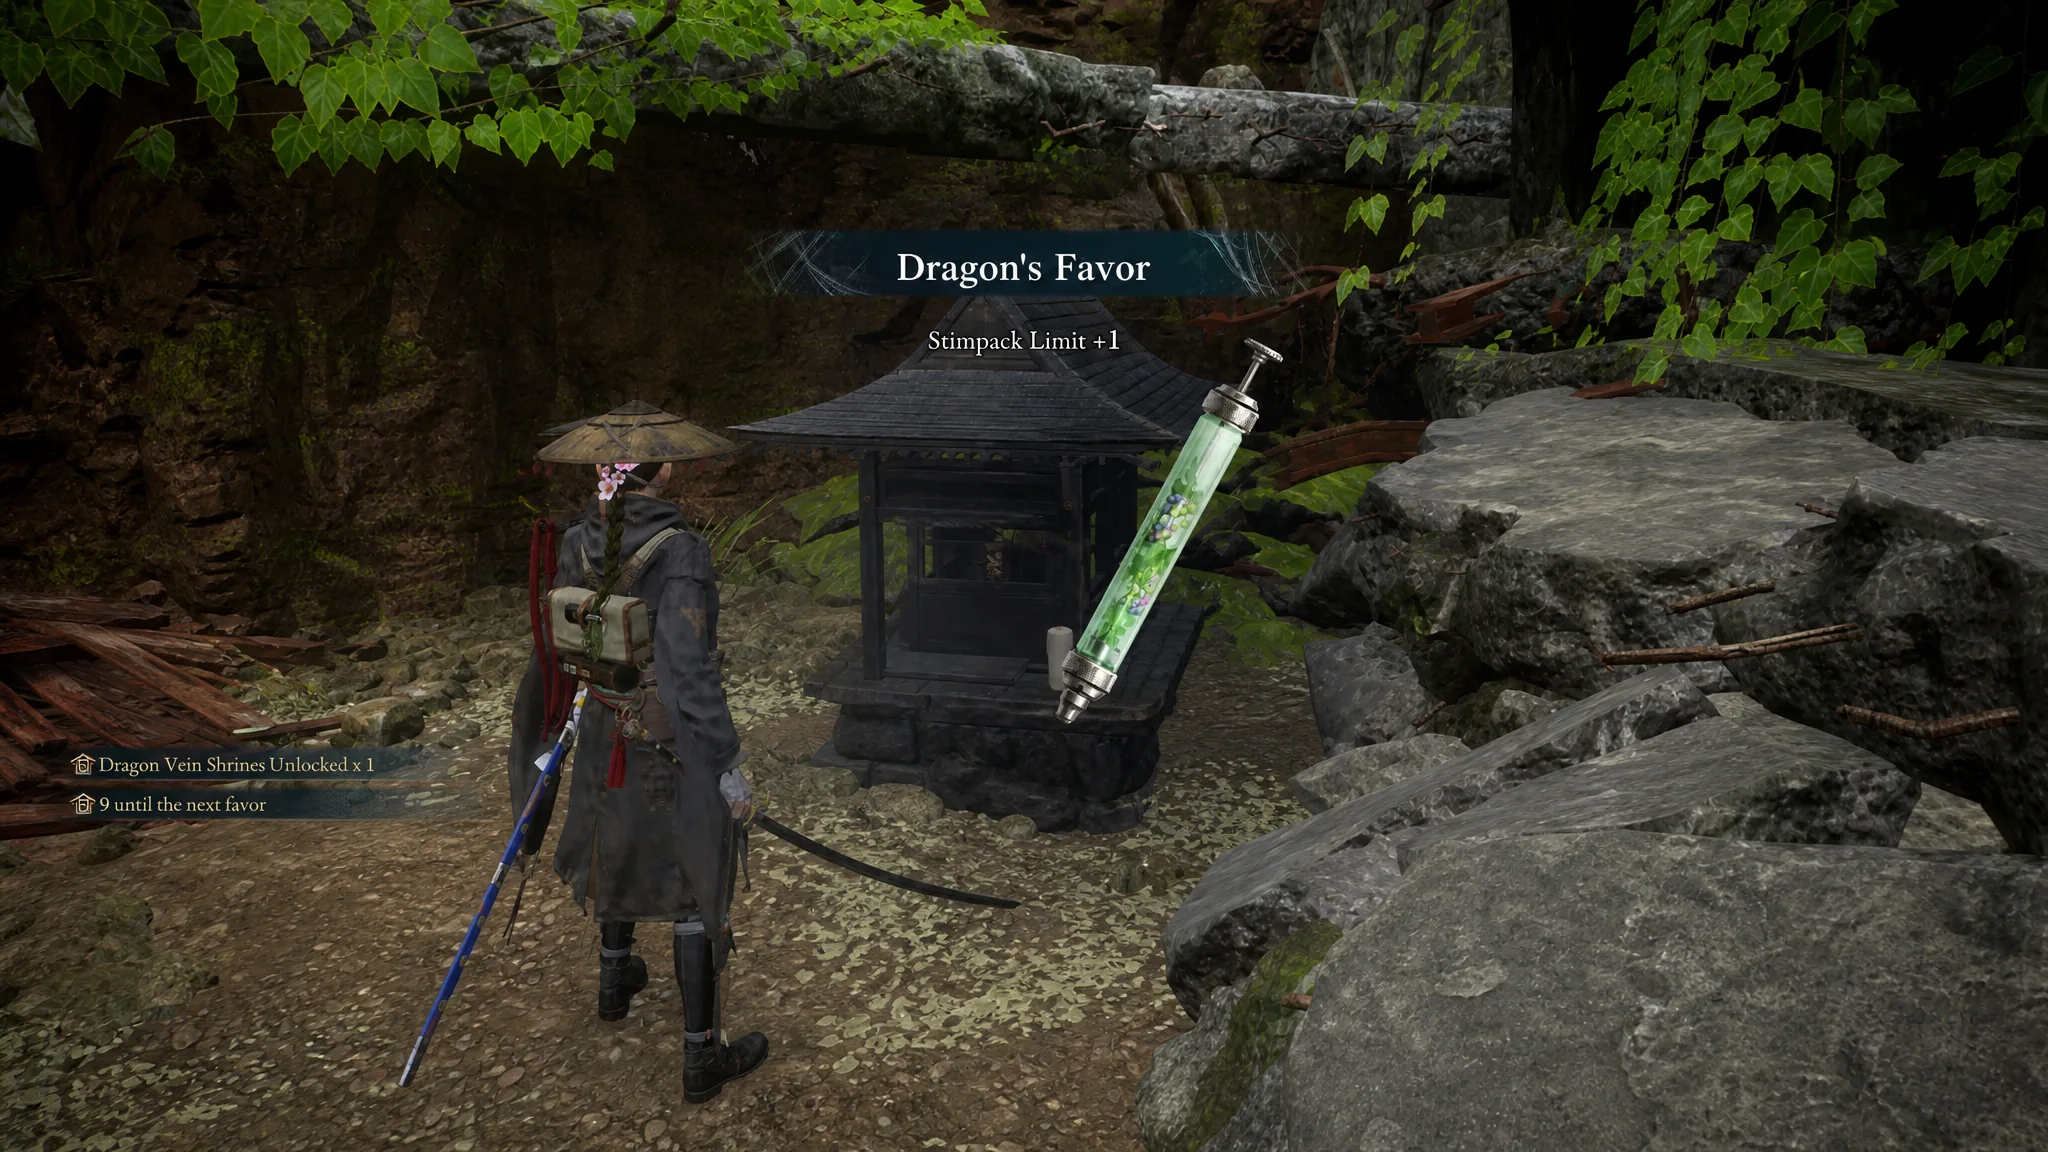
The first Shrine sits at the opening stretch of the chapter. At the first locked gate, use the ledges on the right-hand side to climb to the top, then look for the Shrine straight ahead on the main path where you have to scale some ruined buildings vertically.
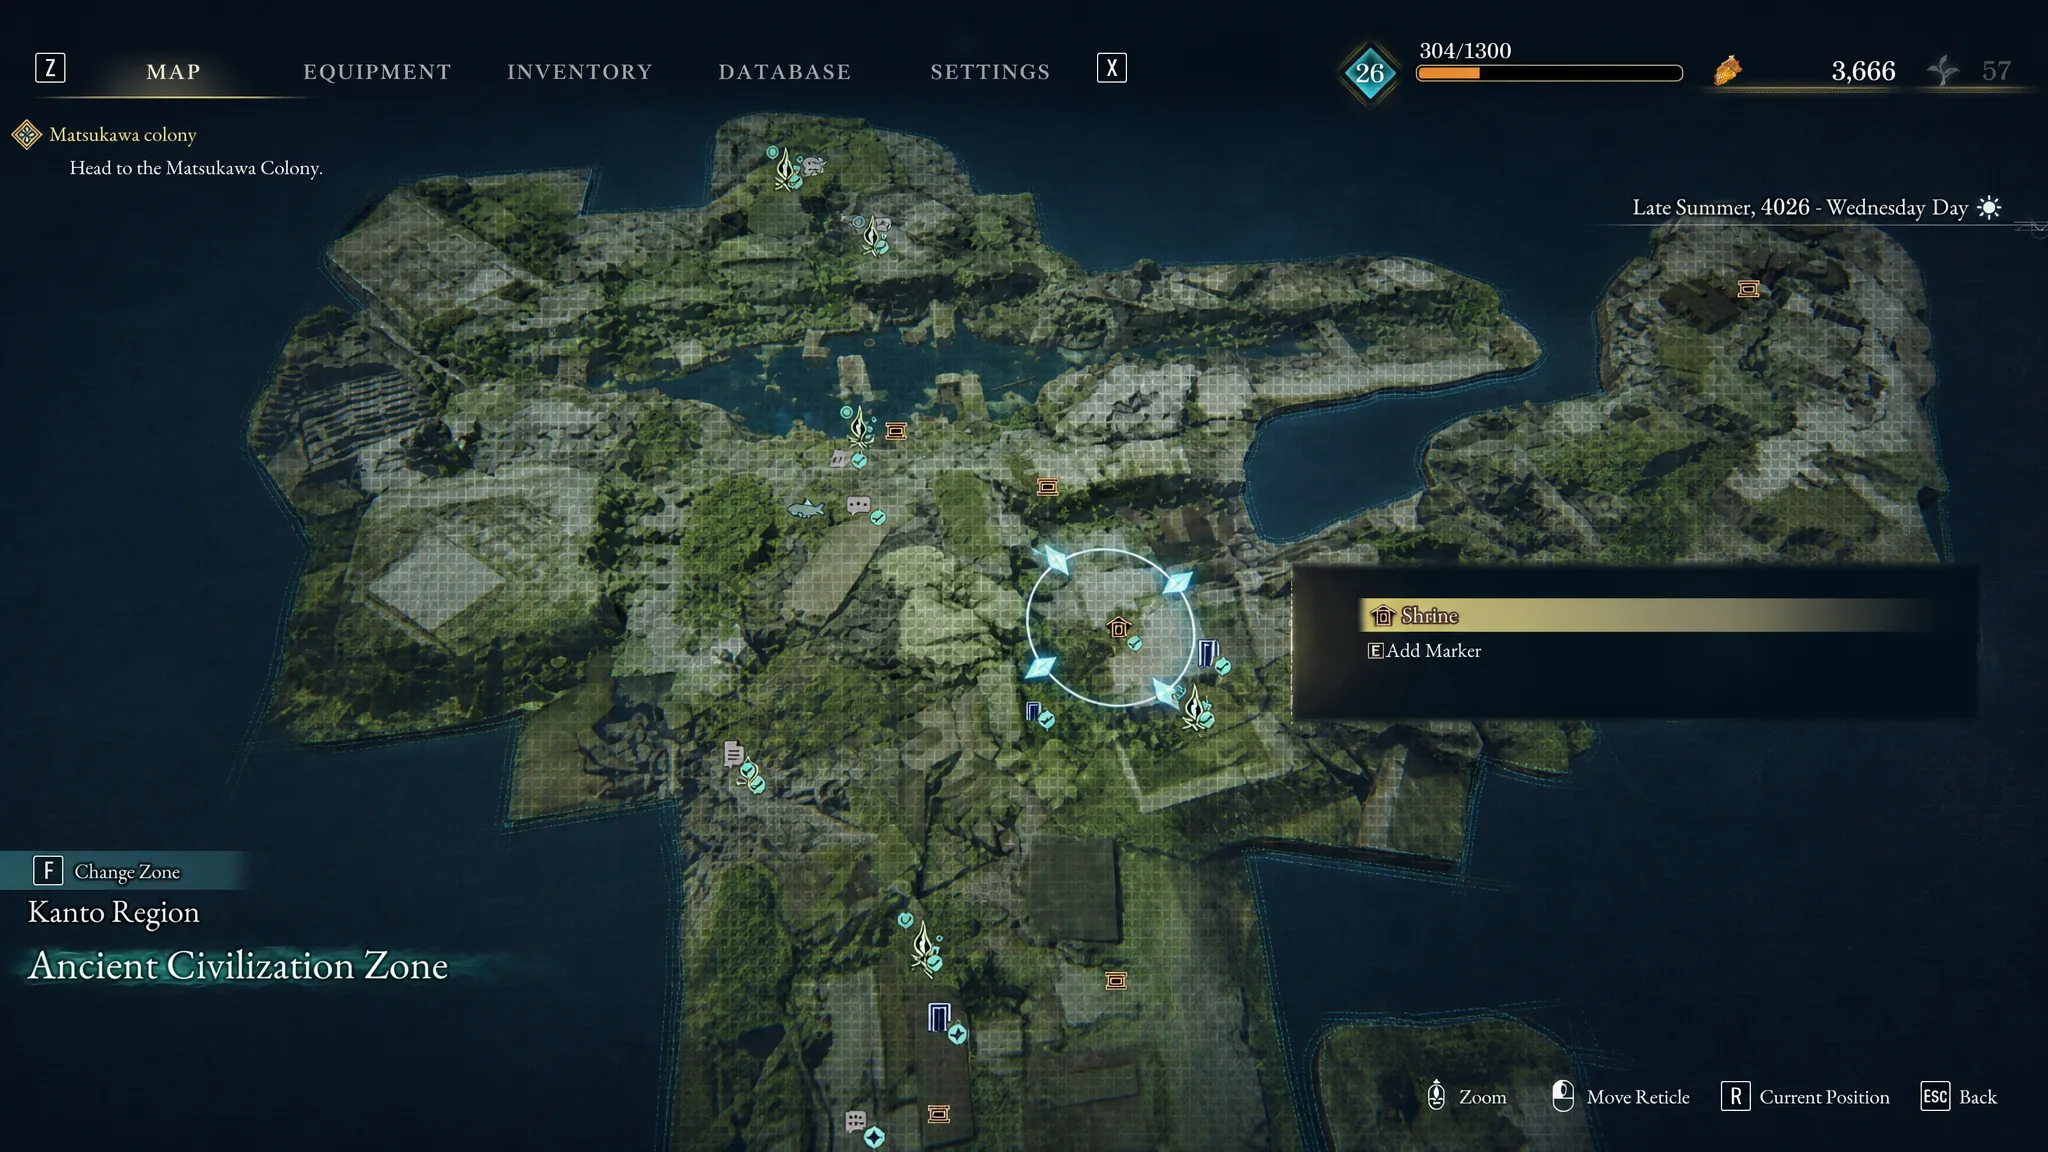
The second Shrine is inside the Reservoir. Keep pushing the main quest until you’ve powered both generators to open the gate, then head into the large first room. From the Reservoir Interior Campsite, U-turn and the Shrine sits on the left side of the room, near one of the Bulkhead doors.
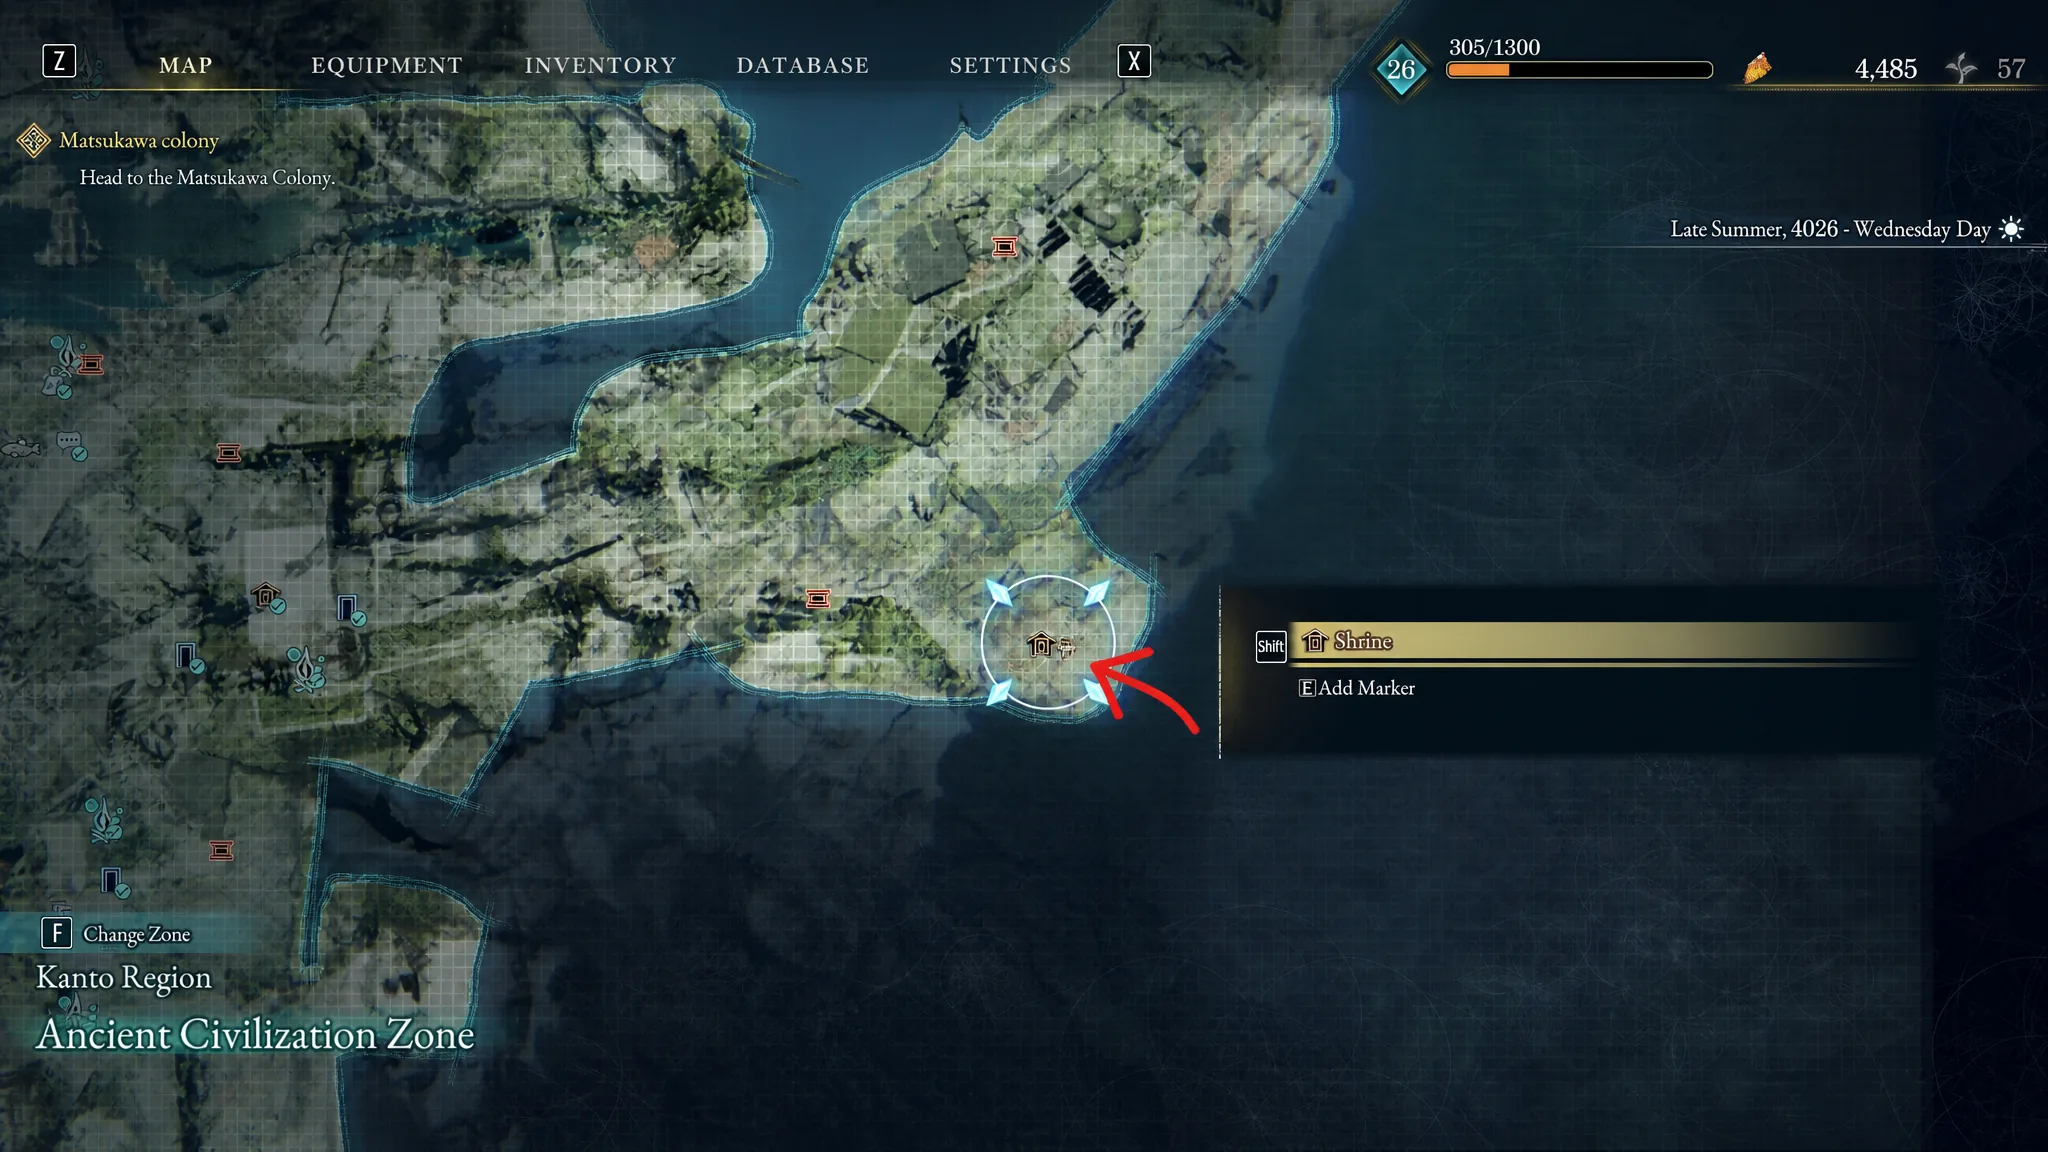
The third Shrine is guarded by Golems. From the Ruins Slope: Approach Campsite, stay on the main path and climb or grapple up to the sloped walkway that crosses above the approach. Follow it past the enemies, including the Archer Golems on the ruined platforms, and the Shrine is on your right at the end.
Chapter 3 Dragon Vein Shrines (Great Wall Terraces)
Chapter 3 is the biggest haul so far, with eight Shrines spread across the Great Wall Terraces. Several are tied to the map’s recurring Nue Malefact fights, so you’ll naturally pass some as the story pushes forward.
The first Shrine is near the start. Use the control panel to open the gate and move ahead until the path splits into an upward slope on the left and a river on the right. Follow the river past the enemy, jump over the rocks at the back, and the Shrine is just beyond a couple more foes.
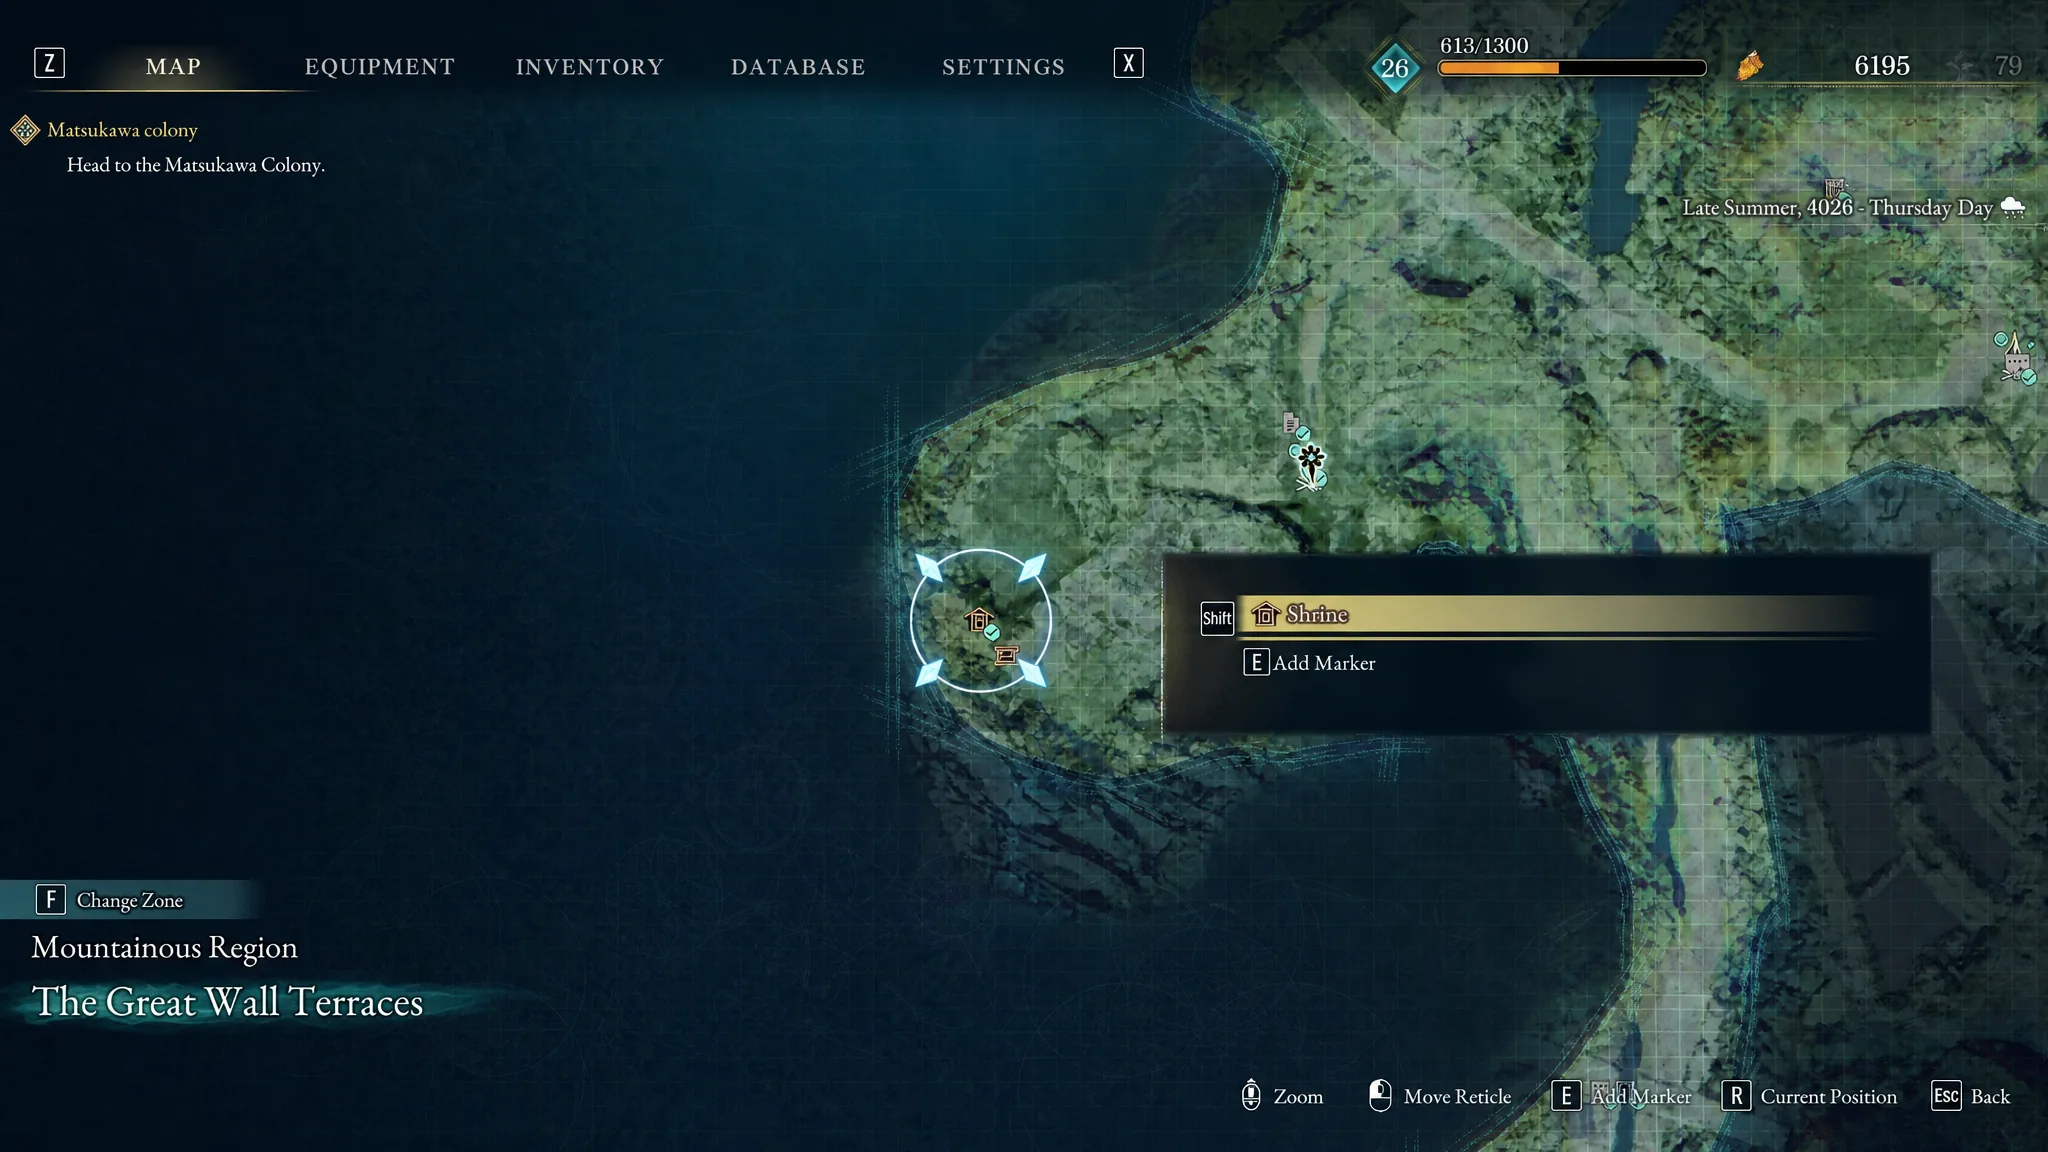
For the second Shrine, head west from the Mountain Village: Entrance Campsite into the village itself, looting as you go. Go all the way to the deepest, westmost point and you’ll find it against the cliff wall.
The third Shrine is inside the first Nue Malefact arena. After the fight, climb the ruins on your left within the arena and look on top of the highest platform.
The fourth Shrine is a short walk from the Great Forest: Entrance Campsite. Cross the bridge after the Nue fight, head northwest, and clear out the large mob of Golems in the graveyard area, where the Shrine is waiting.
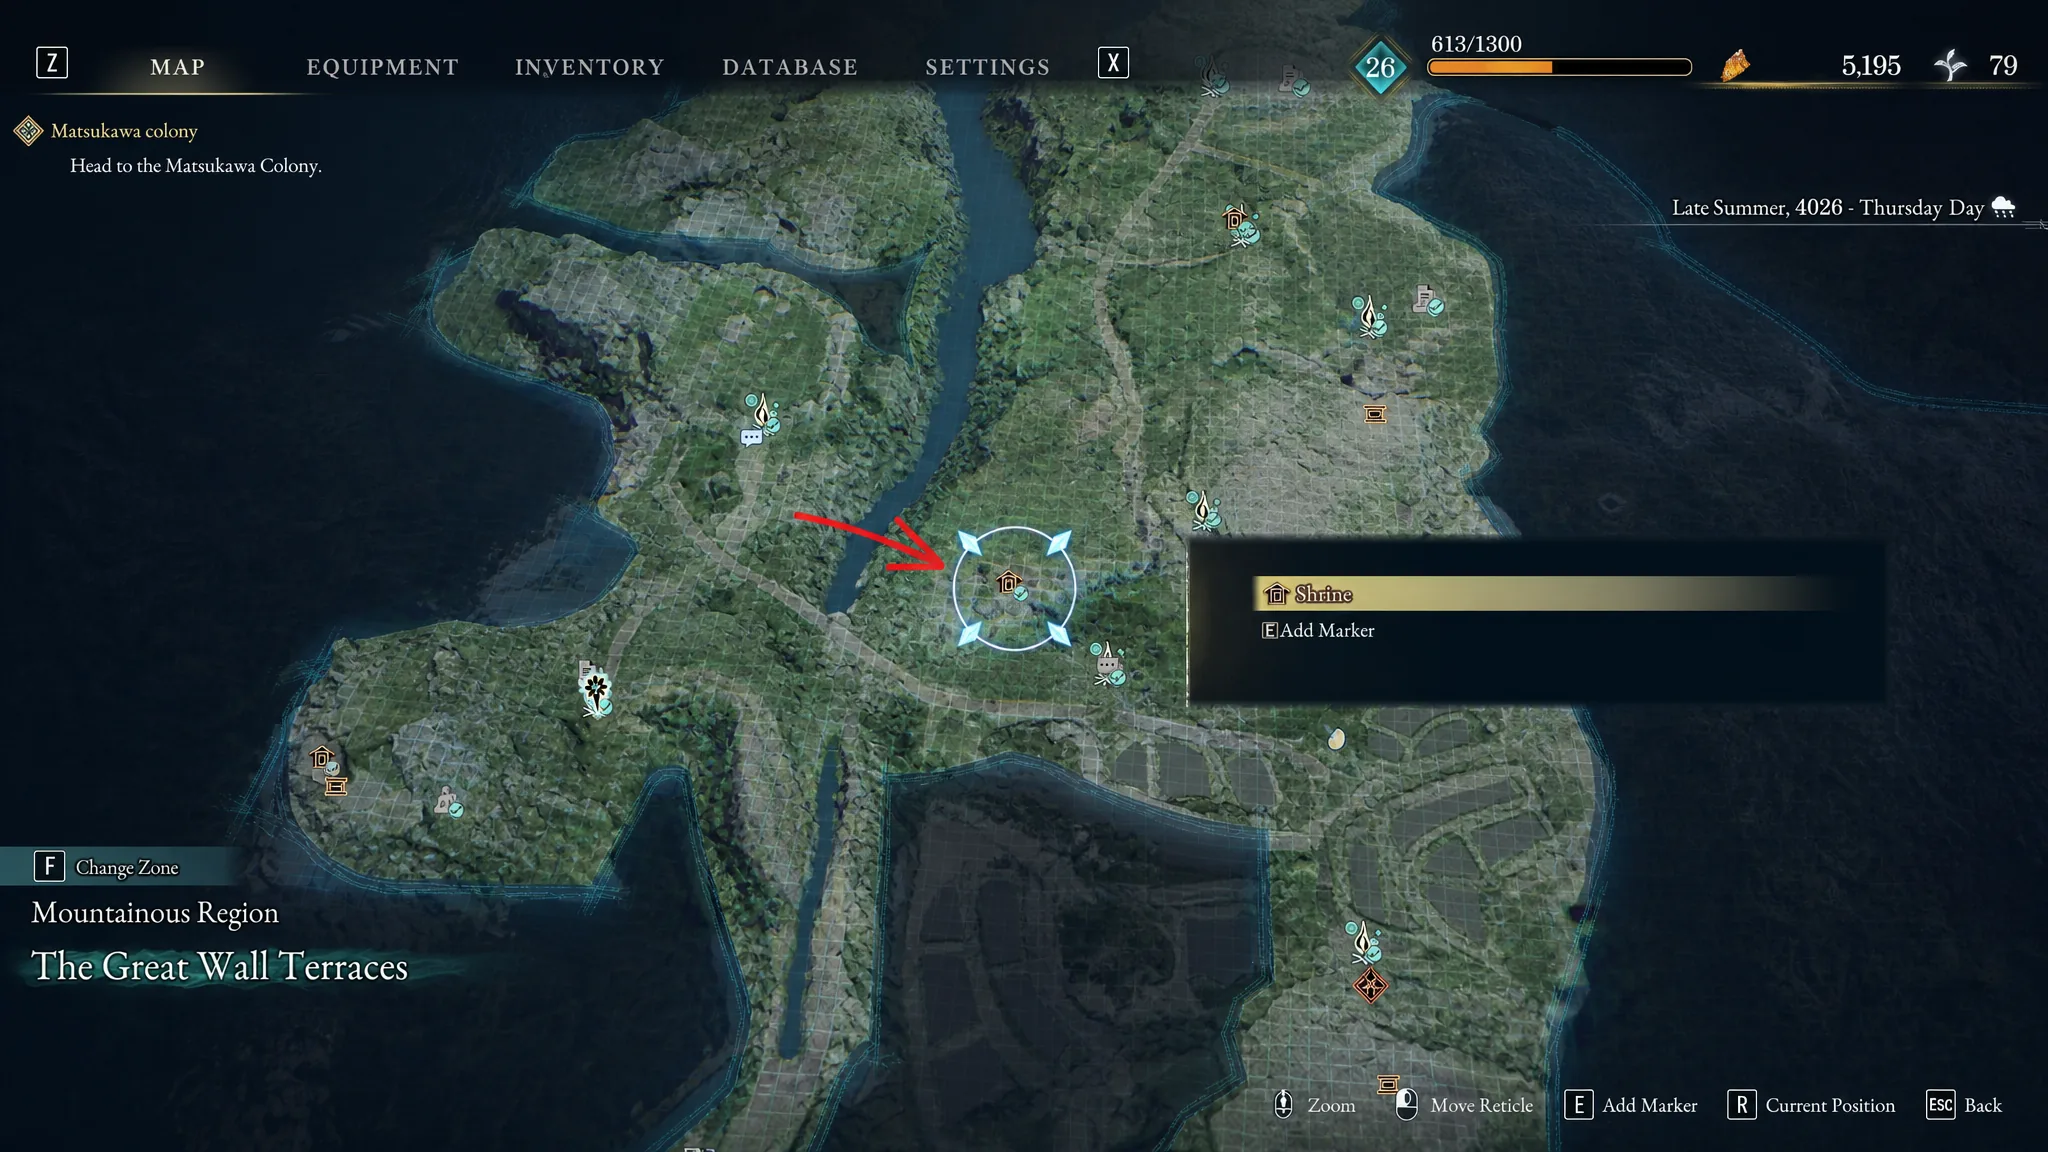
The fifth Shrine is the easiest of the bunch. After the second Nue encounter, follow the main path north to the Flower Square: Forefront Campsite, and the Shrine sits directly beside it.
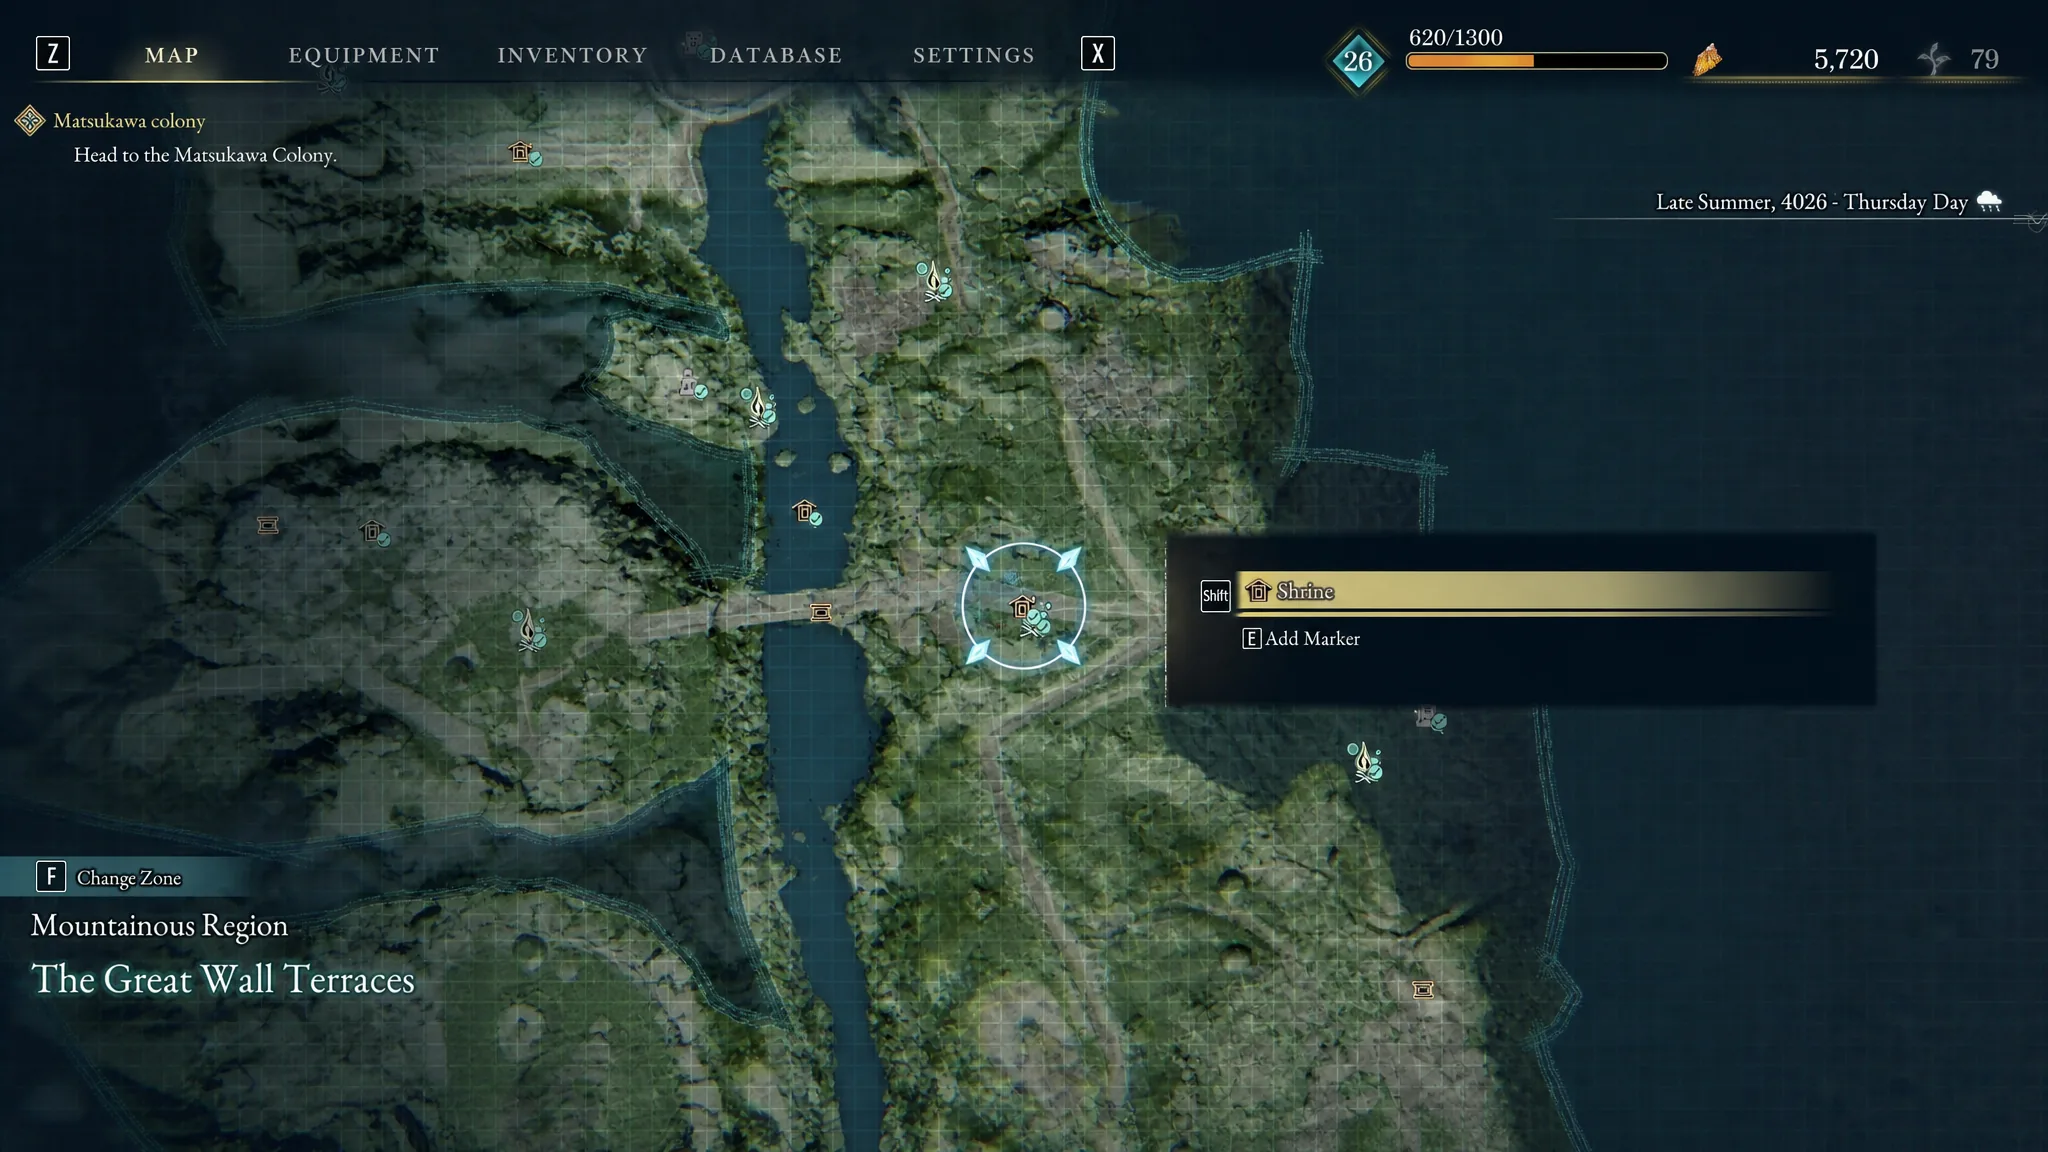
The sixth Shrine takes some vertical work. From the Flower Square: Forefront Campsite, cross the bridge west to the Ruined Road Square Campsite. Grapple up to the north, turn left off the roof, and grapple again onto the taller stone platform to the west, where the Shrine sits on top.
The seventh Shrine is down in the river and needs careful footing. Head north from the Flower Square: Forefront Campsite to the Flower Field Tower Campsite, clear the enemies on the metal platform to the west, then look over the edge to the river below. The Shrine sits on a rock in the water, so use the grapple points and Emma’s Hair to reach it safely. Continuing past it leads to the Hidden Stone Hall and a Keeper Golem.
The eighth and final Chapter 3 Shrine comes after your third Nue encounter. Cross to the west side, drop to the other side of the bridge, and keep heading west to the Ruined Temple Entrance Campsite. Climb the steps inside on your right to claim it.
Chapter 4 Dragon Vein Shrines (Pilgrim’s Zone)
The Pilgrim’s Zone holds seven Shrines, several of them buried inside the chapter’s large cave network. Here is where each one sits.
| Shrine | Location |
|---|---|
| 1 | After the Taurus boss, grapple up to the right side of the broken bridge and follow the path. It’s guarded by Rodent Malefacts. |
| 2 | Reach the Cave from the Cave Entrance Campsite and head all the way to the end of the path. |
| 3 | From Shrine 2, turn around and take the right path. Shoot the explosive barrel behind the door, hug the right wall to a small tunnel, crouch through, then turn and jump to the upper ledge. |
| 4 | From the Stone Chamber Interior Campsite, follow the edge clockwise all the way around. The Shrine is around the corner at the end. |
| 5 | At the Trail Area Campsite, head south a short way to a white tent built against the rock on your left. The Shrine is under the tent. |
| 6 | From the Belfry Entrance Campsite, cross the bridge with Emma’s Hair and enter. Use the ledges on your left to reach the platform, open the door past two Fanatics, and jump the gap between the rocks. |
| 7 | At the Nushi’s Lair Campsite, before entering the lair look southeast and grapple to the broken bridge above. Follow the cliff path to the Shrine, guarded by a burrowed Grizzly Malefact. |
You’ll know a Shrine has counted the moment you interact with it, since Emma receives her Life Fruit and, at each threshold, the Stimpack bump right there. If a Shrine appears marked on your HUD but you can’t reach it, look for a path around the opposite side rather than trying to approach it head-on.
Beast of Reincarnation runs across 13 chapters plus an epilogue, so the maps beyond the Pilgrim’s Zone hold plenty more Shrines still to be pinned down. Collect every one you can as you travel west, activate each campsite alongside them, and your growing pile of Stimpacks and Life Fruit will make each Nushi fight noticeably more forgiving.