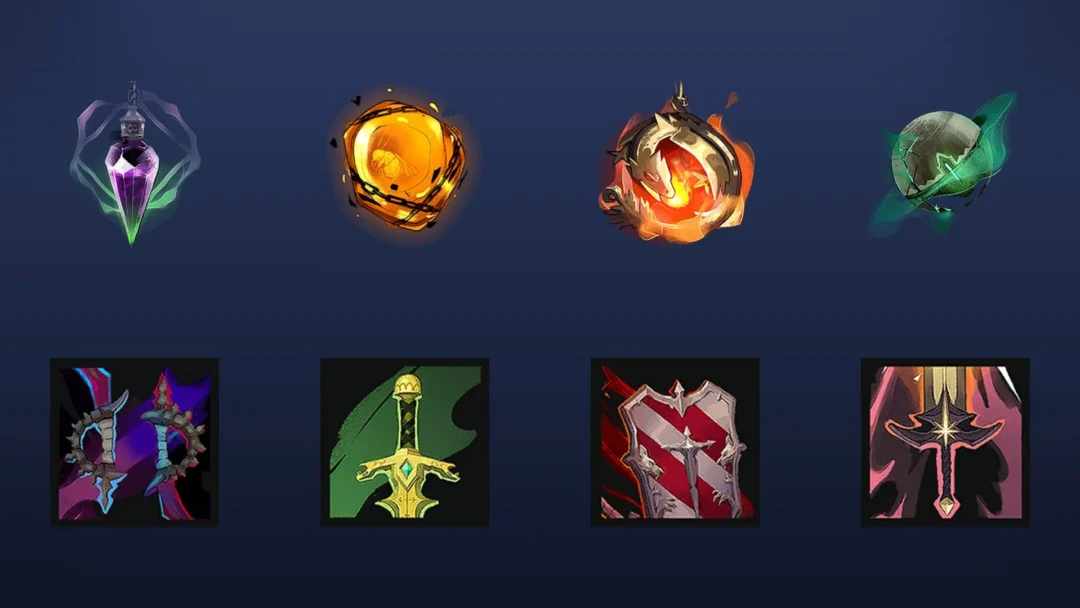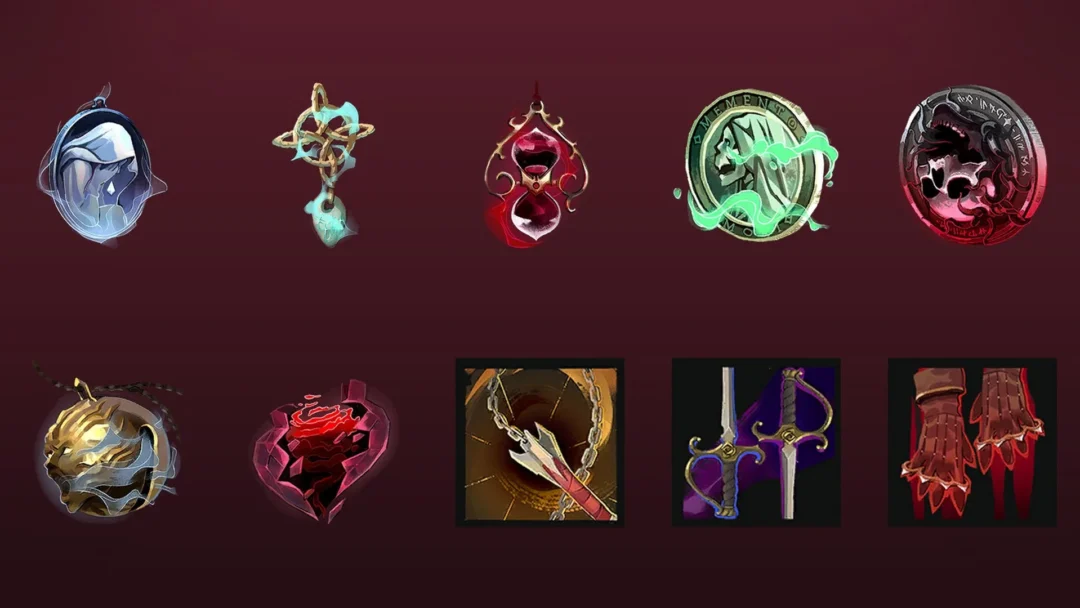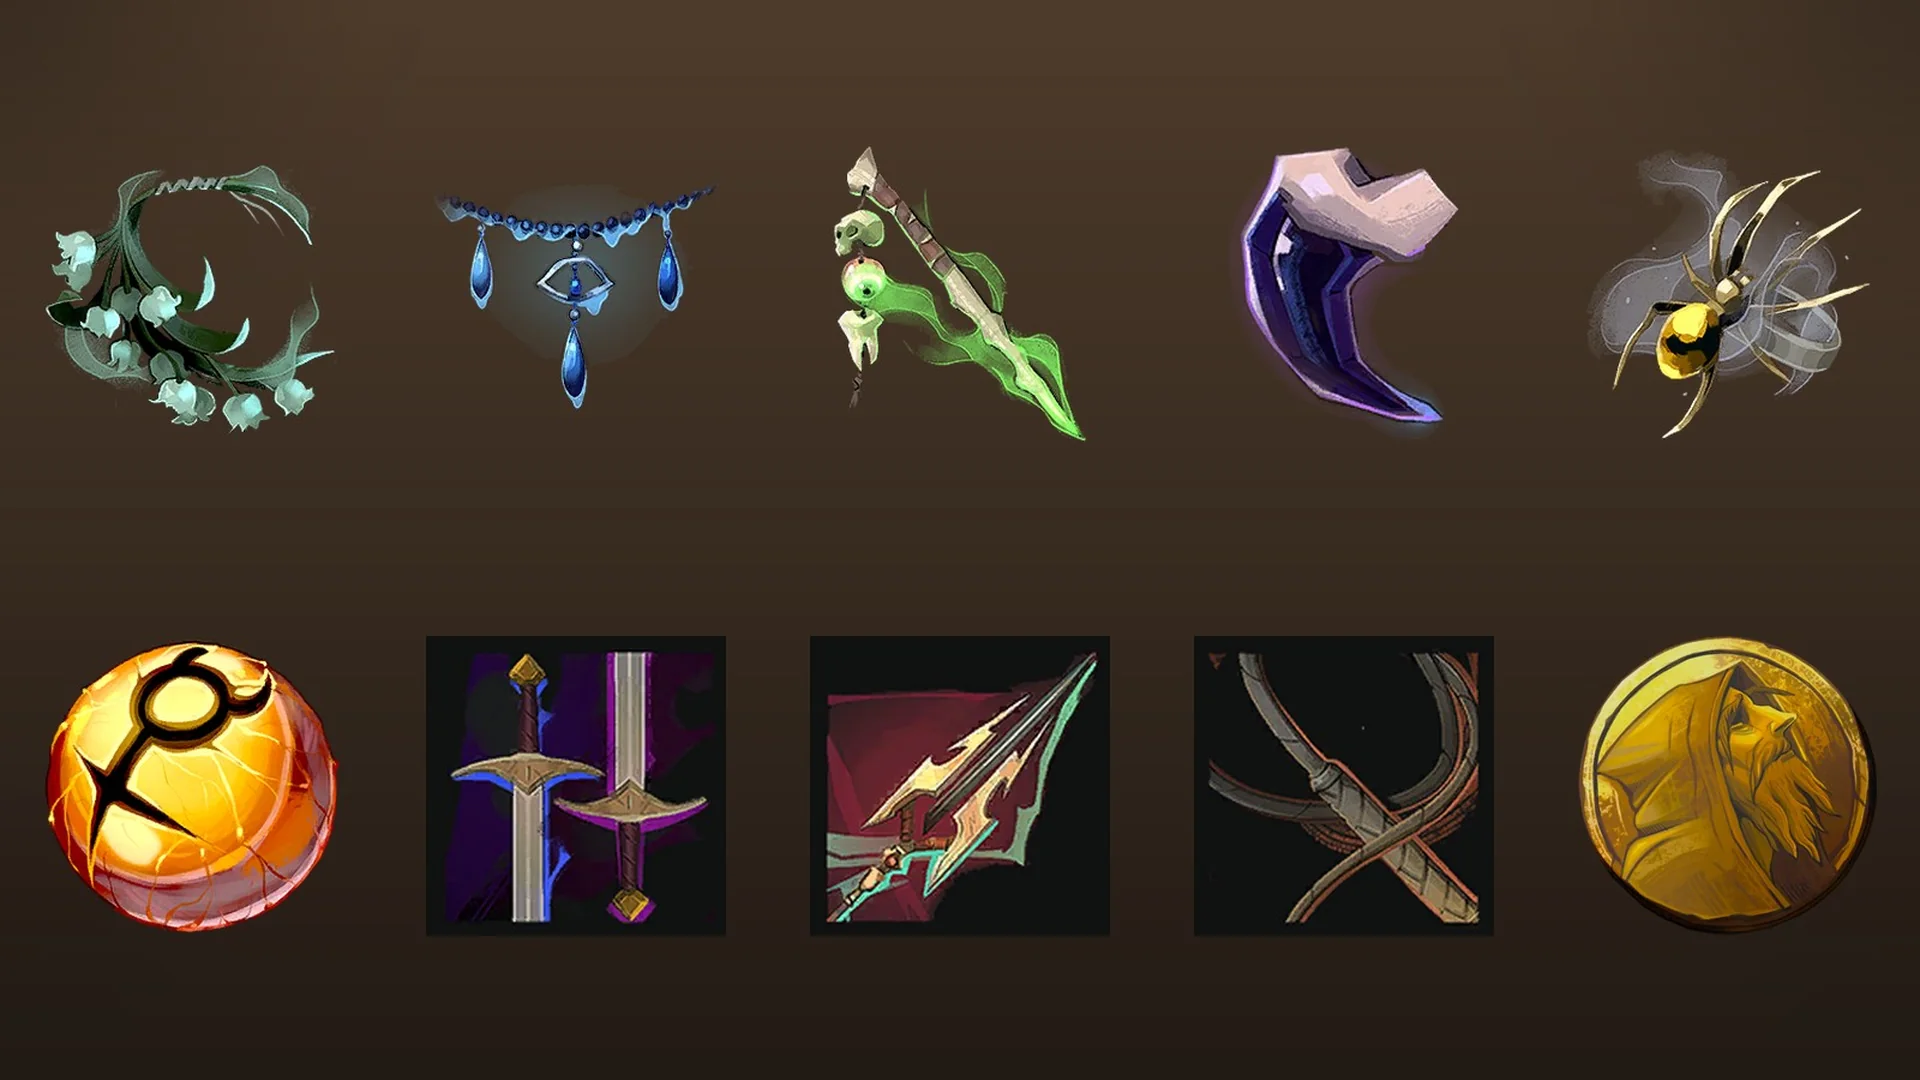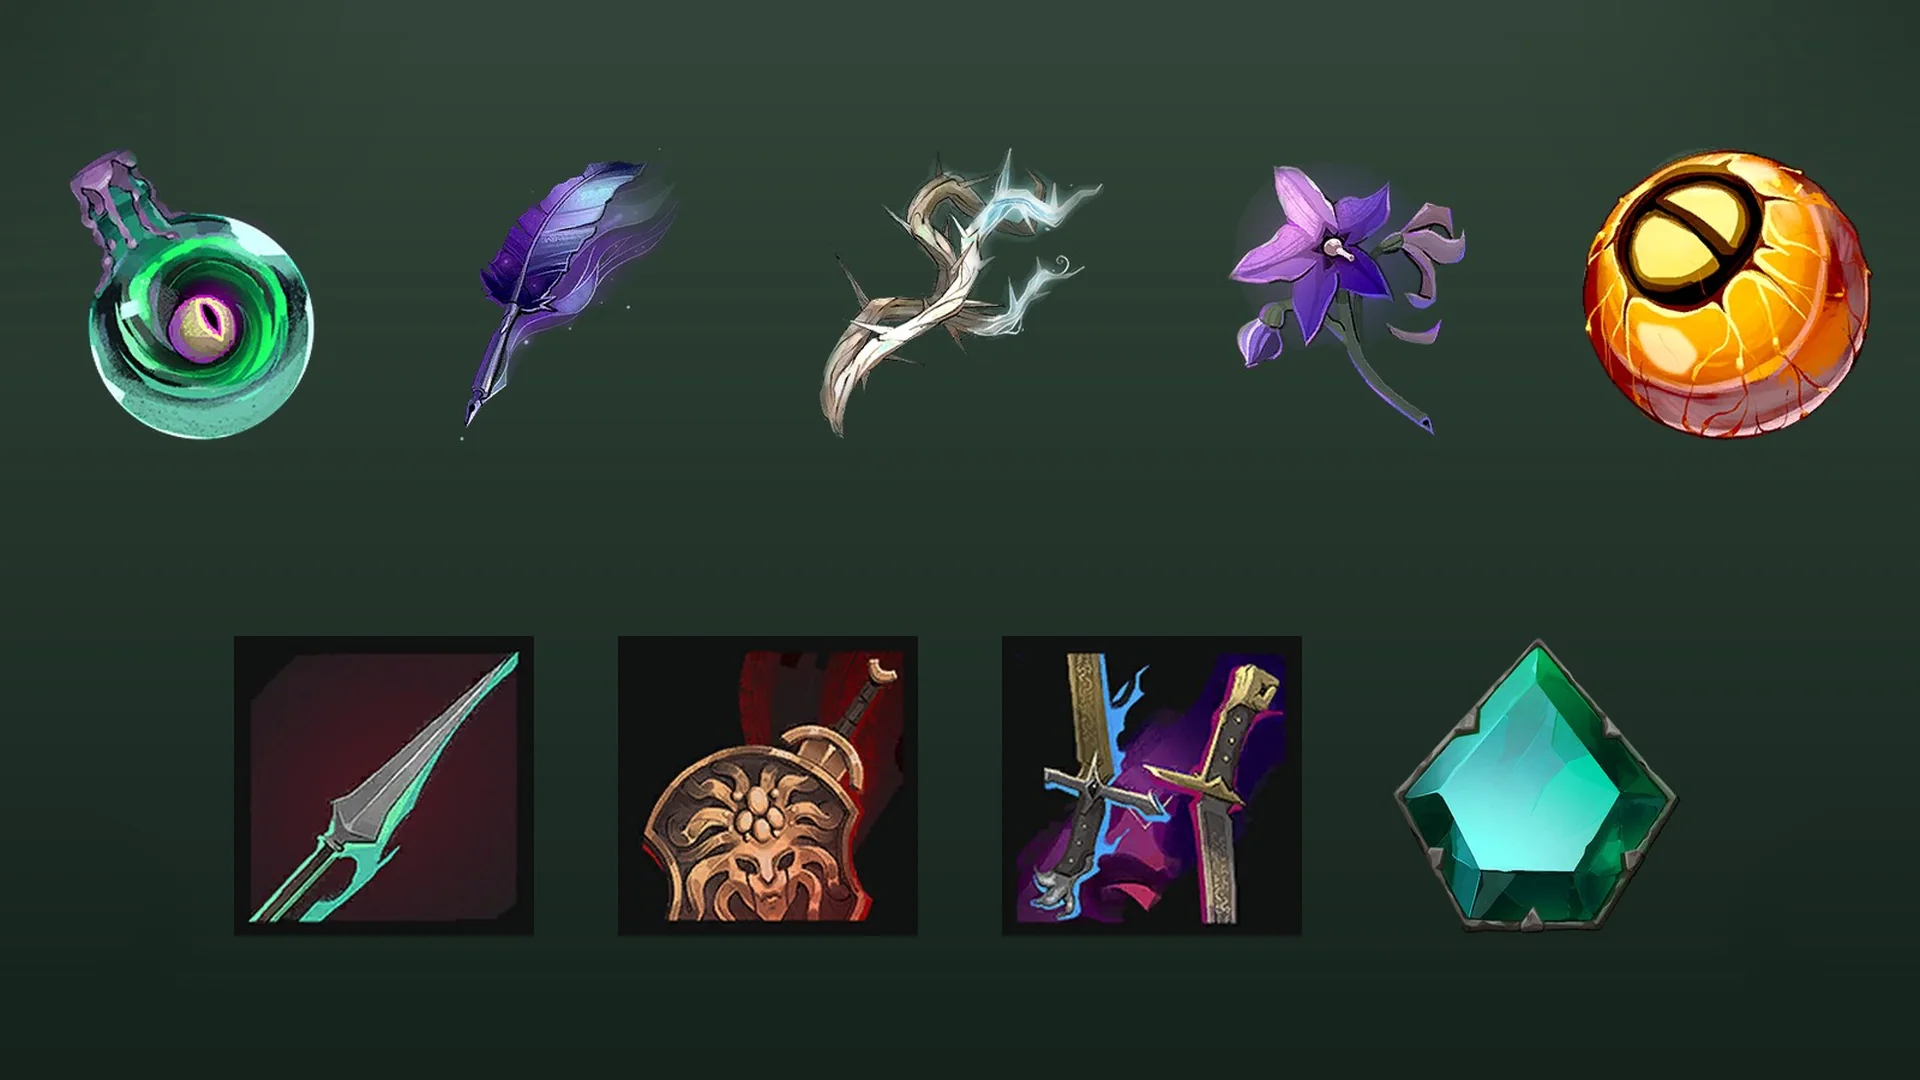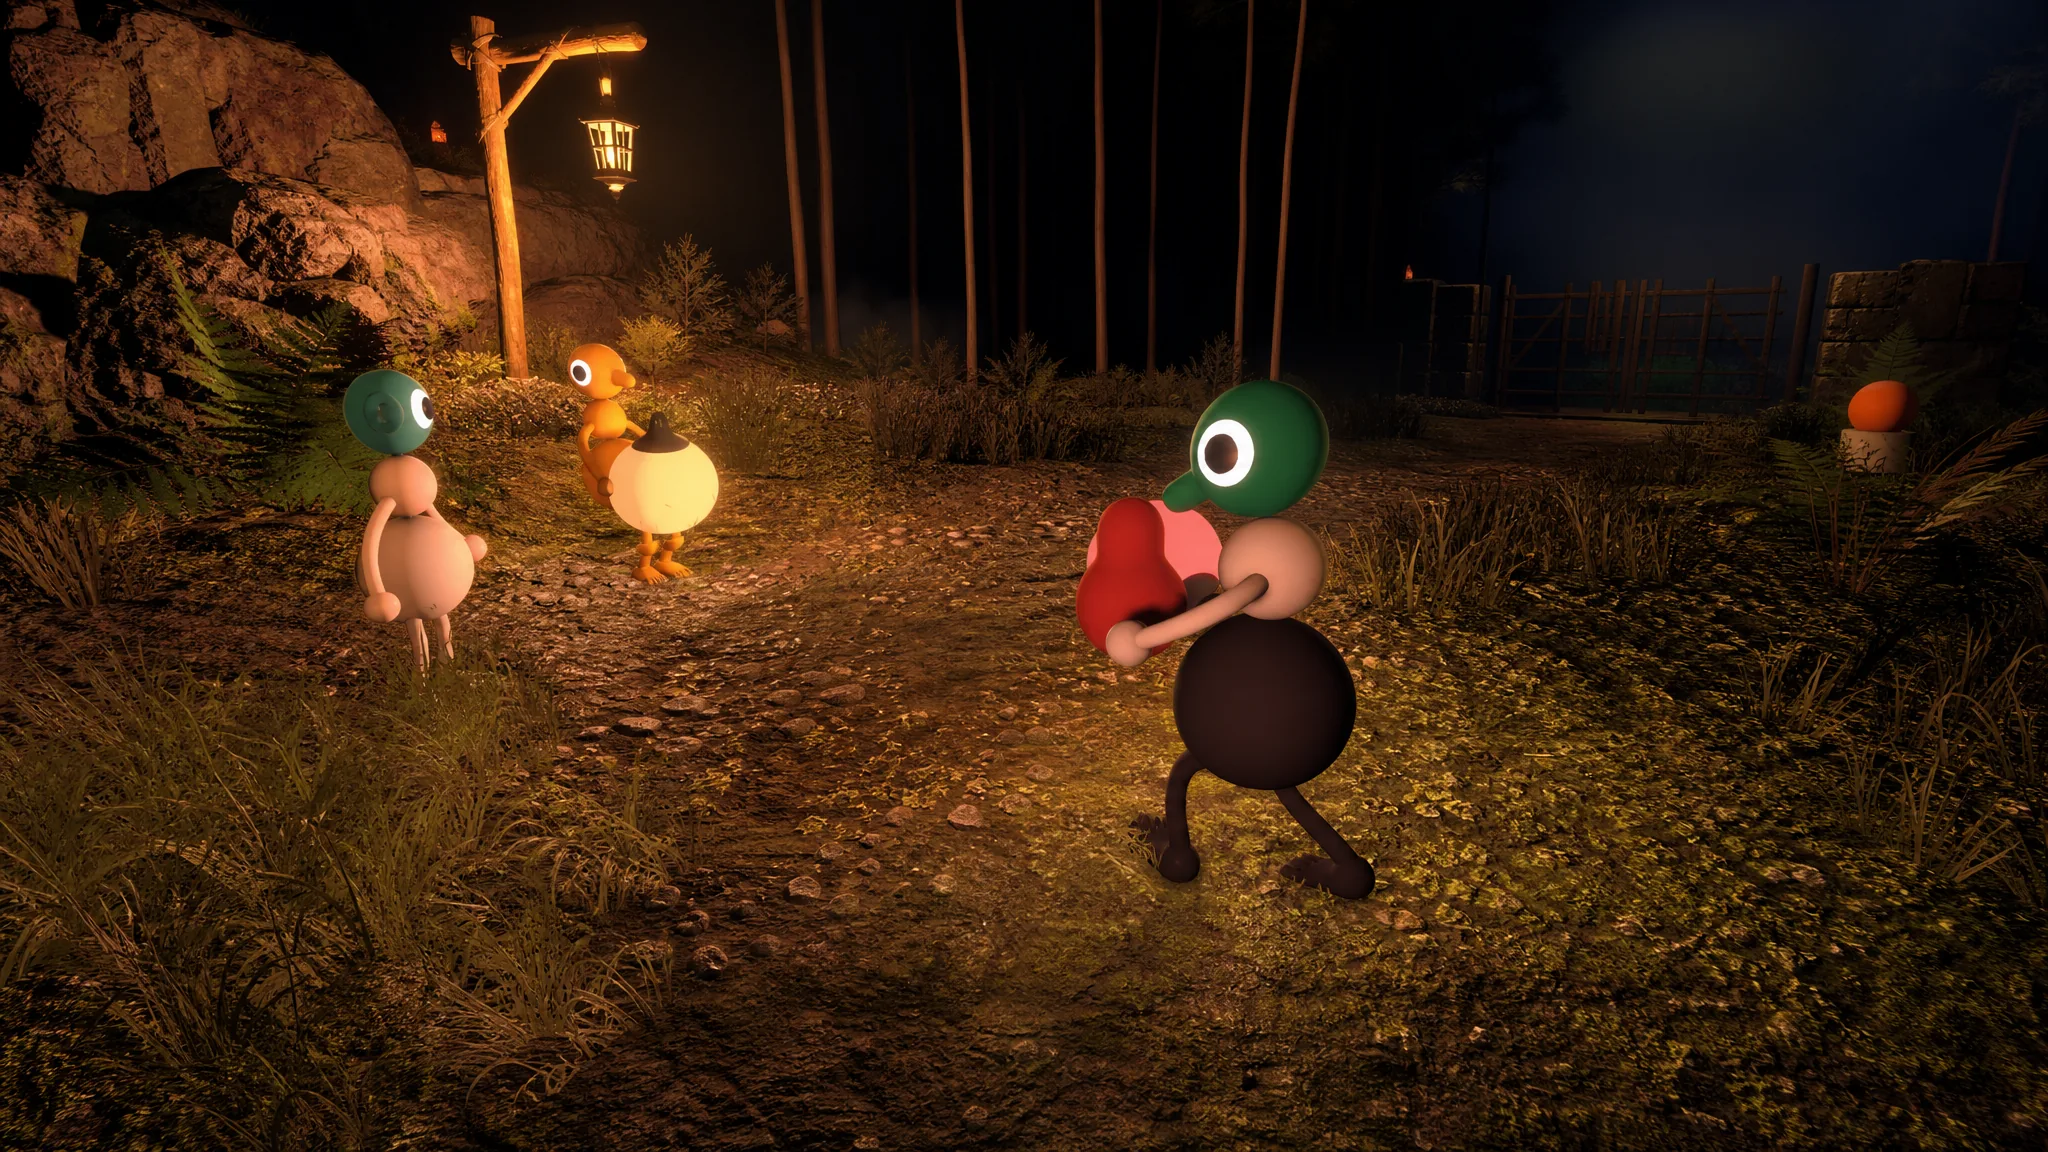
The drawbridge in Big Walk is the first real barrier between you and the rest of the island. To lower it, your group needs to build a key by collecting four gourds hidden around the starting area, place them into a set of slots, and then reshape the key at several devices before it will fit the bridge.
Quick answer: Collect all four gourds from the intro area, place them in the empty slots to pull out the key, shape the key at five devices (three near the slots, two along the shoreline rocks), then insert the shaped key at the drawbridge to lower it.
What you need before starting
This is a co-op puzzle, so most steps require at least two players, and a few require all four. The gourds sit close together because the advanced parts of the map stay locked at this point. There is no set order, so you can grab them in whatever sequence works for your group.
Note: Puzzle setups can shift slightly depending on how many players are in your party, but the solutions stay close to what is described below.
Find all four gourds
Each gourd is locked behind its own mini-puzzle. Here is a fast reference for where each one sits and what the puzzle asks of you.
| Gourd | Location | Solution |
|---|---|---|
| Blue structure | Hug the left path from the red gate as you walk down the cliff | One player reads a pattern inside a locked room and calls it out; others place matching panels on the wall and hit the switch |
| Yellow L-structure | Near the main path at the bottom of the cliff | Stack players on top of one another and have the top player jump to hit the switch |
| Telescope / red light | Cliff on the right side, next to a telescope and switch | One player holds the switch to open a distant red container; another follows the red light into the cave to grab it |
| Green structure | To the left of the map, toward the ocean | All players press switches on the columns at the same moment |
Blue structure gourd
Starting from the red gate where you entered the map, follow the left path as you descend the cliff until you reach a blue house-like building. One player heads into the locked room and sees a row of patterns. That player calls out the order to the others, who place the matching panels on the wall.
Press the switch to the right once the panels are set. If the order is correct, confetti appears and the gourd drops from its clamp.
Yellow L-structure gourd
Close to the color-changing station, look for an L-shaped yellow mechanical structure with a gourd hanging near the top. There is a switch beside it. To reach the switch, climb onto a teammate and hop up to interact with it. You can pick up a friend by pressing the action button while facing the lower half of their body.
Telescope gourd
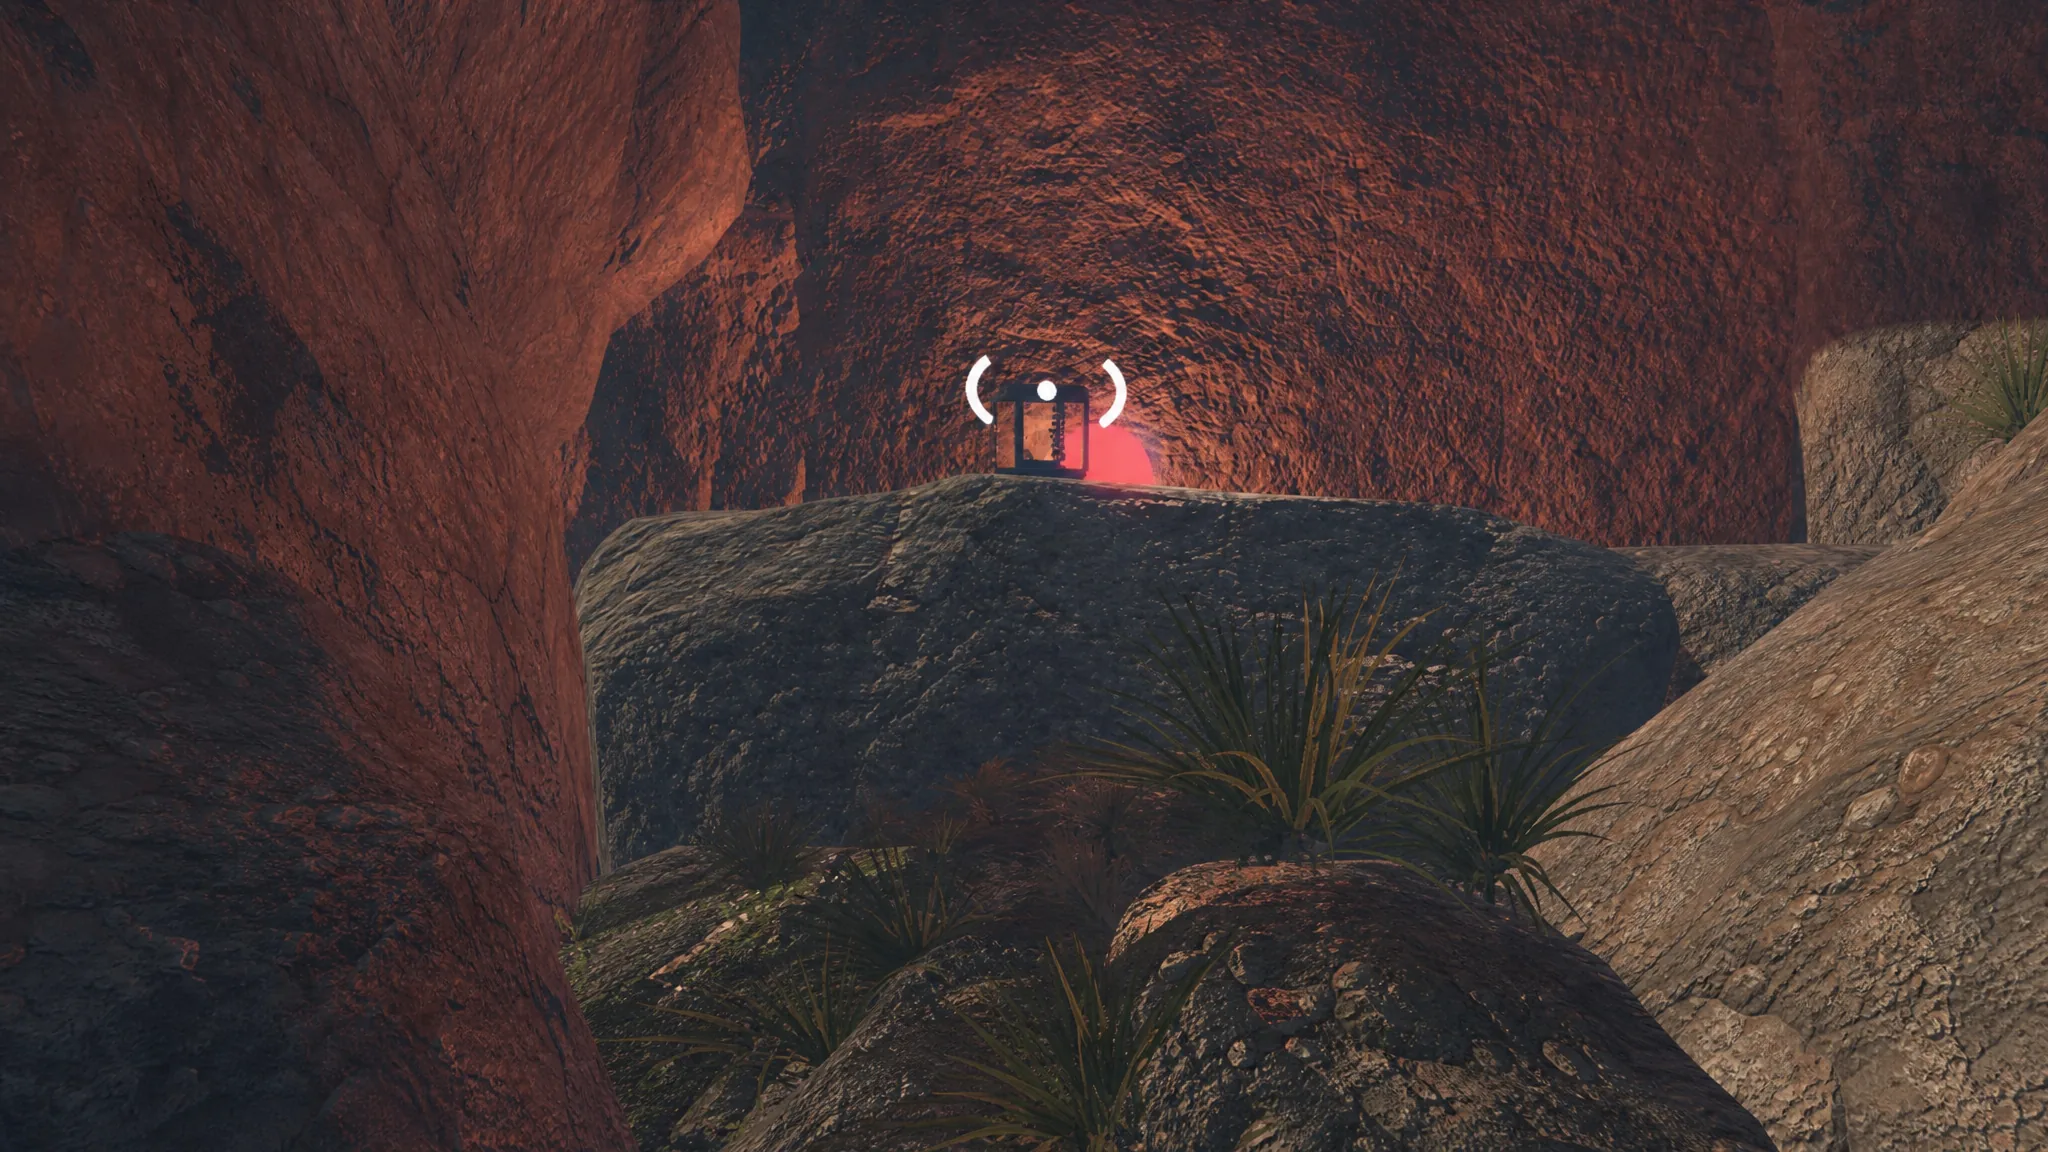
Head to the cliff on the right, where you will find a telescope and a switch beside it. Pressing the switch activates a red container in the distance. Look through the telescope to spot where the gourd is sitting.
One player stays behind to hold the switch and keep the container open. The other follows the red light over to the cave and grabs the gourd, then carries it back.
Green structure gourd
The last gourd sits inside a large green structure toward the left of the map, near the ocean. Look around the columns for switches. All players must press their switch at exactly the same moment. When timed correctly, the gourd is released.
Place the gourds to get the key
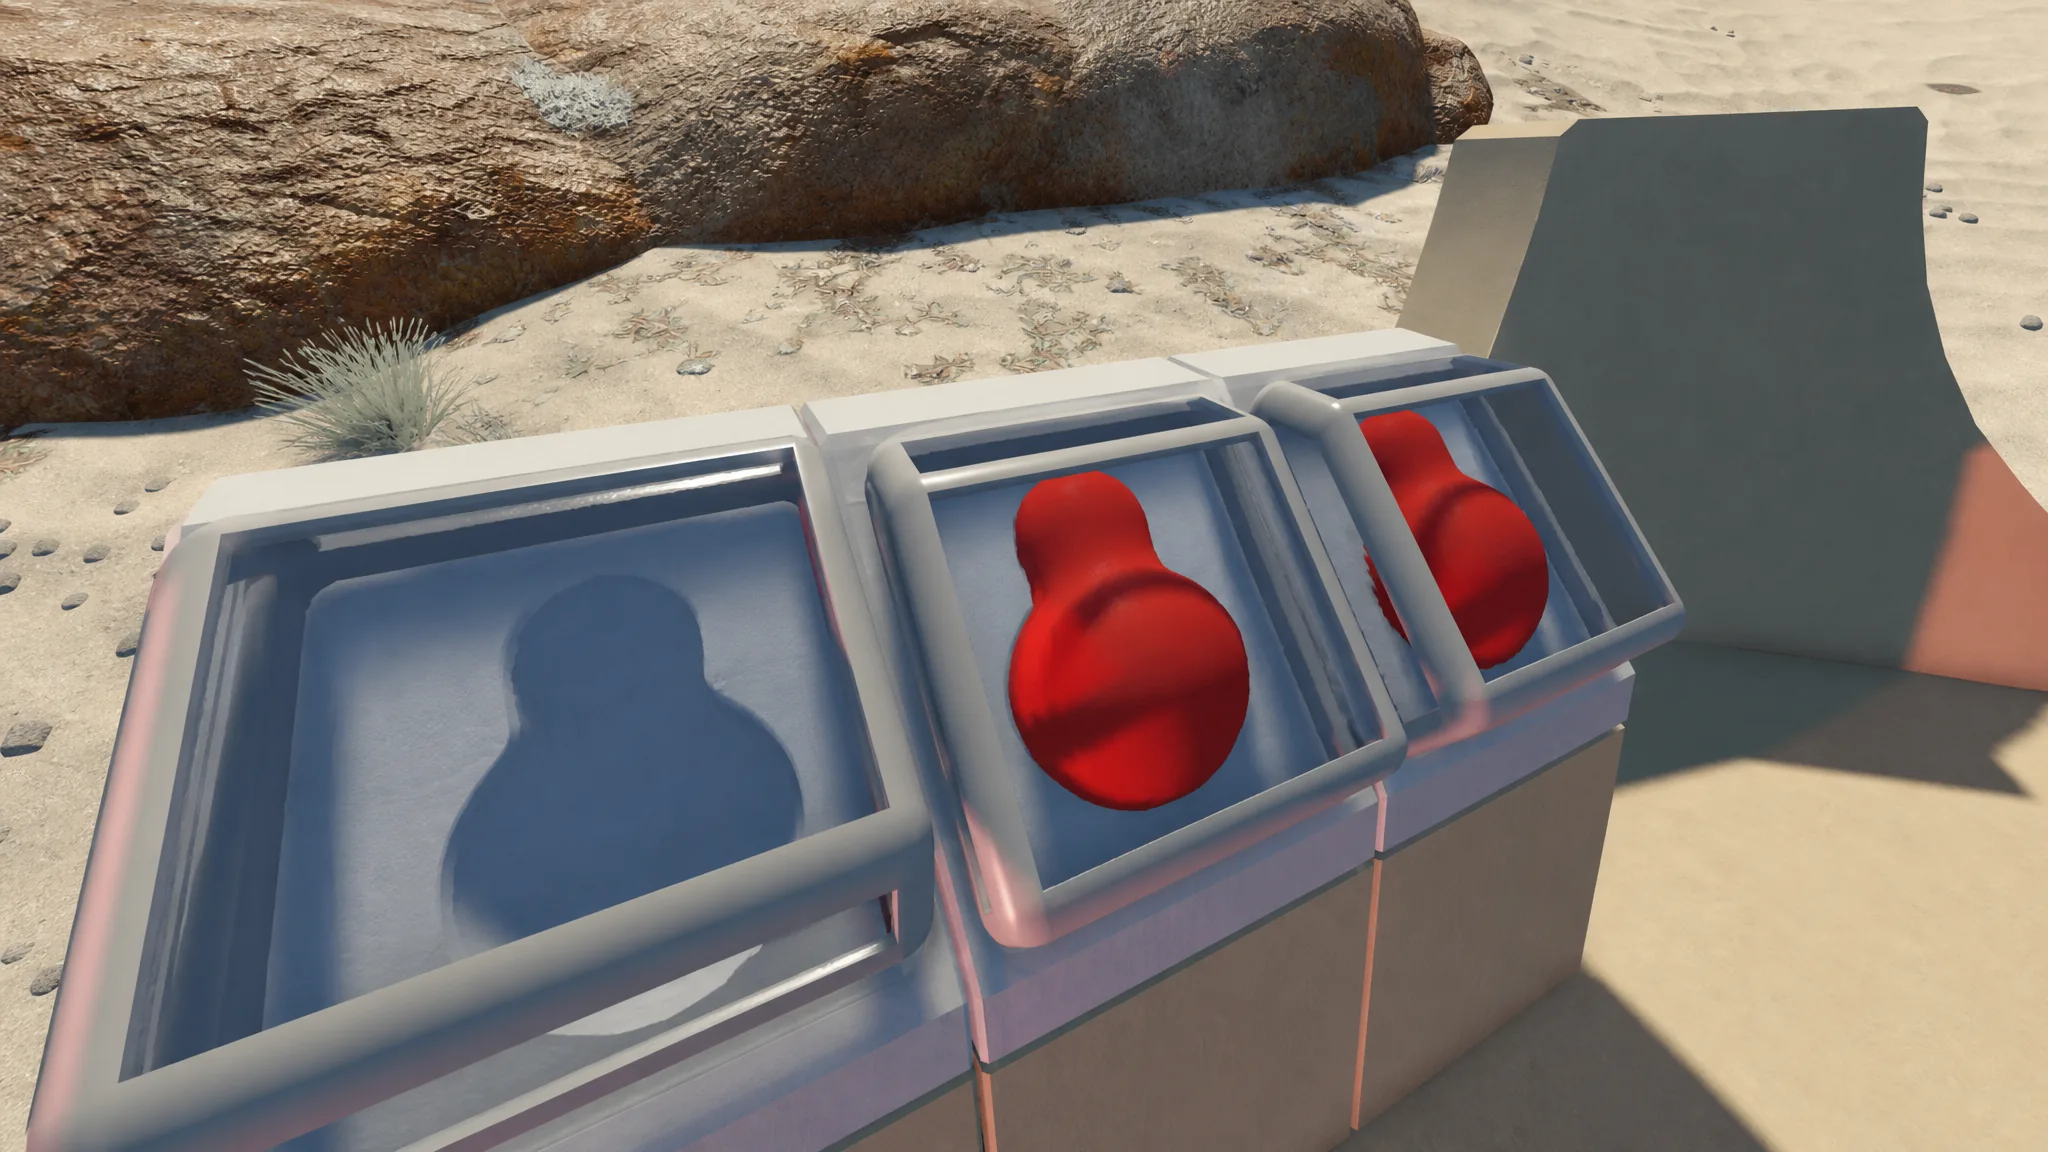
Bring all four gourds back to the slots near the key puzzle. One player presses one of the switches to open the case, while the others drop the gourds into the empty slots. Once every slot is filled, you can pull the key out.
Shape the key at the five devices
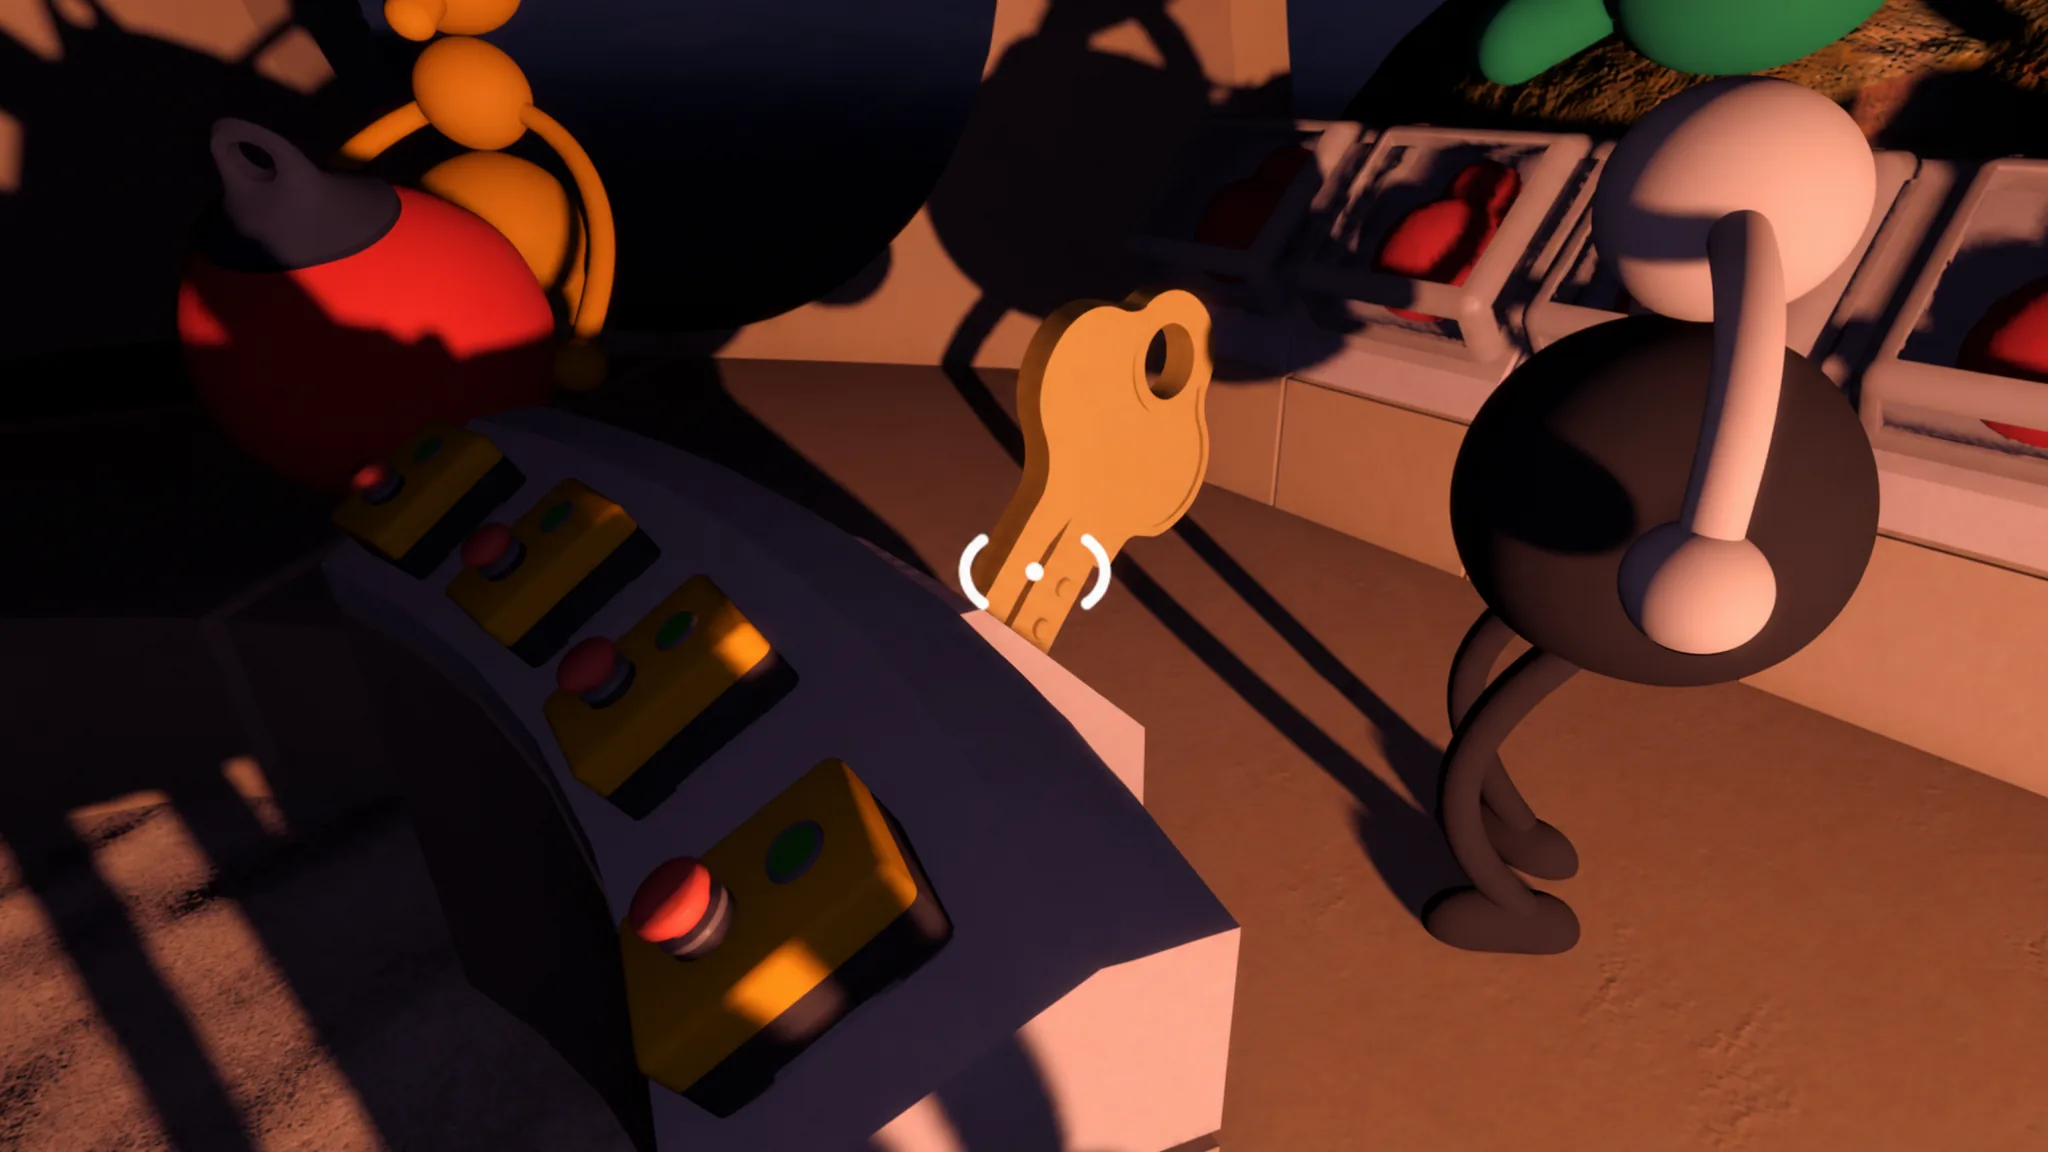
The key does not work straight out of the slot. You have to shape it first by inserting it into five special devices. Three of them are right around the area where you pulled the key, and the other two are along the shoreline on the rocks.
Start with the device next to where you found the key. Each one points you toward the next, so an arrow on top of the current device shows the direction of the following device until all five are done.
Open the drawbridge
Once the key has been shaped at all five devices, carry it to the drawbridge and place it in the required spot. The bridge lowers, opening the path to the rest of the island. If nothing happens, you have likely missed one of the five shaping devices, so retrace the arrows before returning to the bridge.