Progress in Afraid Monkeys is gated by three keycards. Each locked door in the facility reads out which cards it needs, and you cannot pass into Level 2 or Level 3 until the matching card sits in your inventory. The route runs through tunnels, an elevator, and a set of monster patrols that instantly kill on contact.
Quick answer: Grab Card 1 from a shelf in the Level 1 storage room, take the elevator down for Card 2, use both to open the “LEVEL 2” door, then find Card 3 on a shelf in Level 2’s blue-lit corridor to open the “LEVEL 3” door. You know a card worked when the reader shows “Used Card One!” (or Two/Three) and the door slides open.
Keycard route to unlock Level 2 and Level 3
The card readers name their requirements directly, so you always know what is missing. The “LEVEL 2” door reads “Needs Card 1, 2” and the “LEVEL 3” door reads “Needs Card 1, 2, 3”. Collect them in order to avoid backtracking.
| Keycard | Location | Unlocks |
|---|---|---|
| Card 1 | Shelf in the Level 1 storage room, off the corridor past the locked Level Two door | The “SELL SCRAP” / Level progression door |
| Card 2 | Shelf reached by taking the elevator down from Level 1 | The “LEVEL TWO” door with the Card 2 reader |
| Card 3 | Shelf in the blue-lit corridors of Level 2 | The “LEVEL THREE” door |
How to collect all three keycards
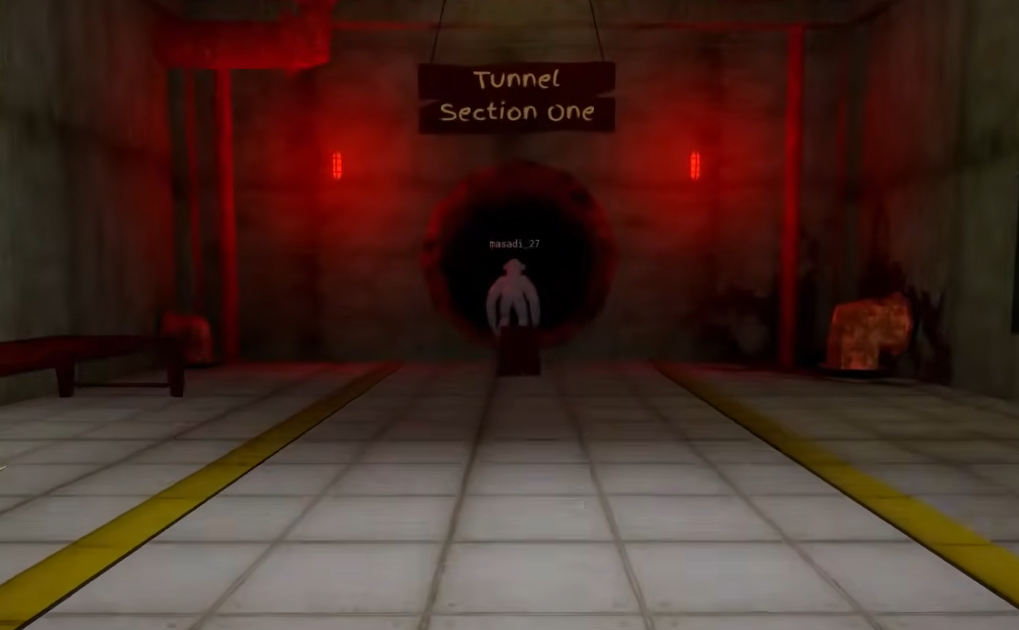
Start from the lobby safe zone, where nothing can touch you, and drop into “Tunnel Section One”. You can join the game from the official Afraid Monkeys Roblox page and spawn straight into this lobby.
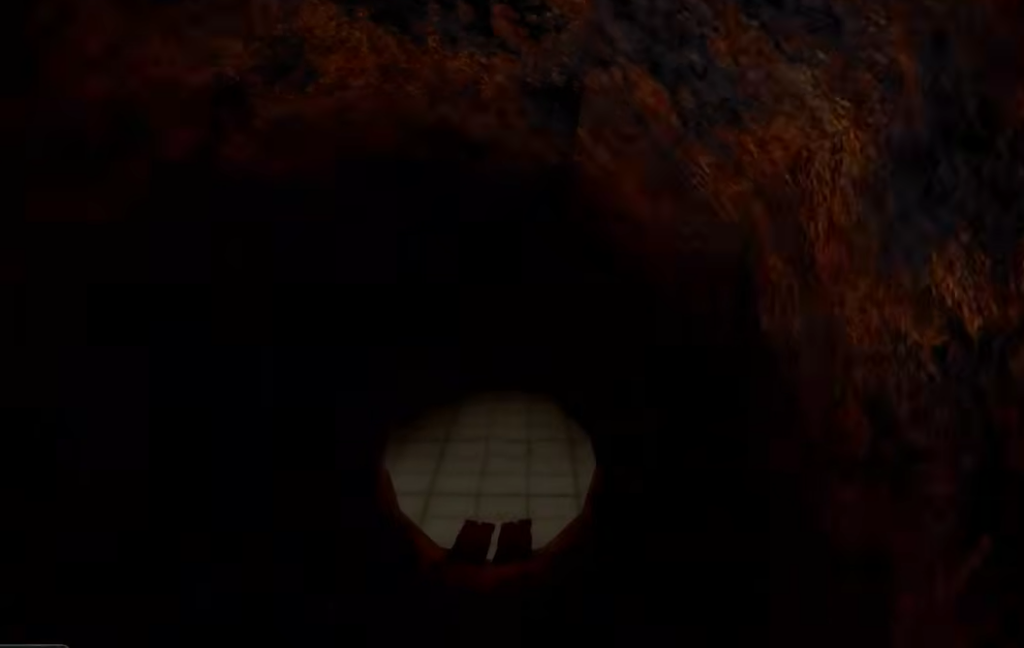
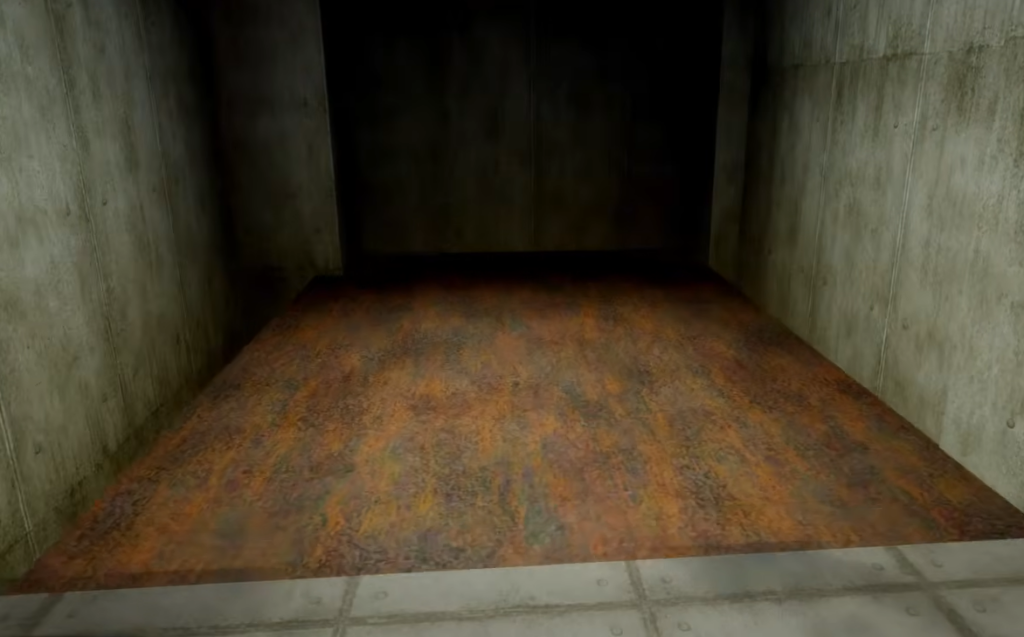
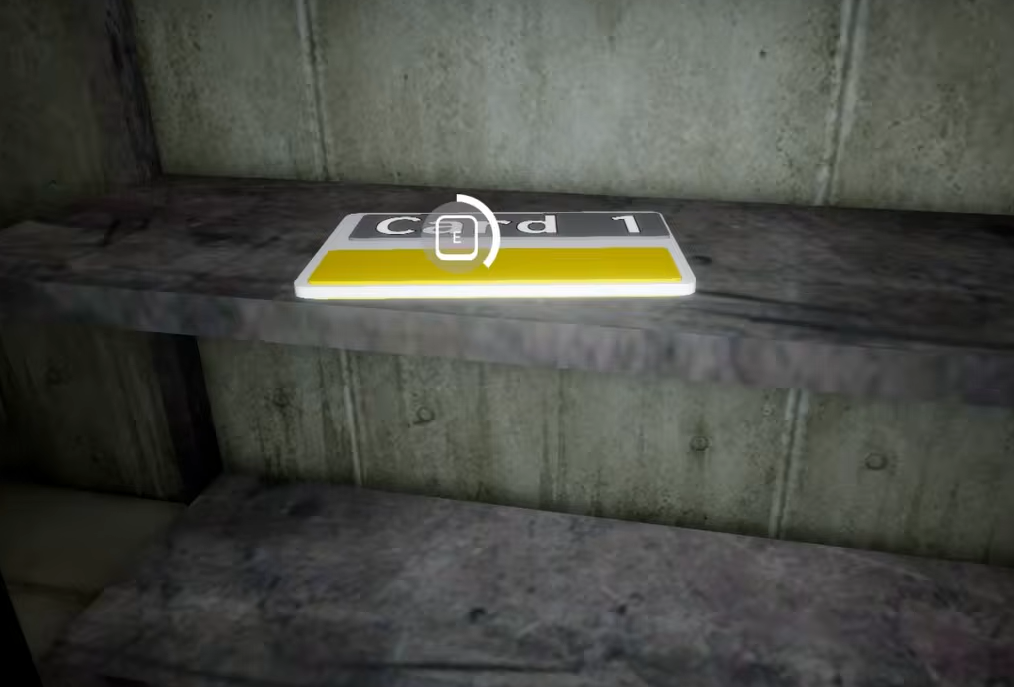
F for the flashlight, skirt the acid, and follow the corridor until the lighting turns blue.A tutorial cave sits at Level 0. Completing that maze awards the “Escaped the Maze” badge and an exclusive hat, but it is a side objective and not required to reach the keycard rooms.
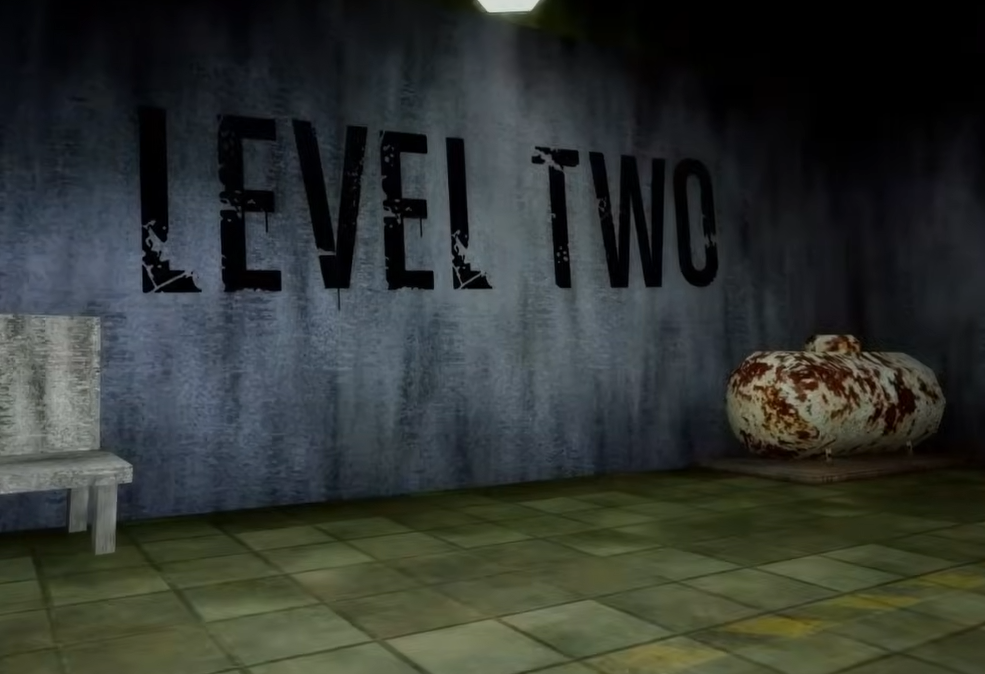
Shop items that make keycard runs safer
Scrap you collect in the corridors sells for credits at the Scrap Recycler. Spend those credits before your deeper runs, because two items directly help you locate cards and dodge patrols. Buy Radar first, then Map.
| Item | Cost | Effect |
|---|---|---|
| Radar | 50 credits | Highlights hostile monsters through walls and across floors |
| Map | 75 credits | Reveals the facility layout for maze and keycard navigation |
| Molotov | 25 credits | Briefly stuns enemies and sets the ground on fire |
| Grenade | 15 credits | Cheap emergency stun for tight corridors |
| Sprint | 0 credits | Speed upgrade from the shop or VIP gamepass |
Spend credits before changing any hats. Swapping cosmetics can wipe your credits, so buy Radar and Map first.
Controls you need during card runs
Movement speed and the flashlight decide most runs. Open the controls menu with C at any time to check bindings.
| Key | Action |
|---|---|
| Shift | Sprint |
| C | Slide |
| F | Flashlight |
| G | Emote Wheel |
| M | Menu |
| Z | Unlock Mouse |
| E | Interact (elevator call, card readers) |
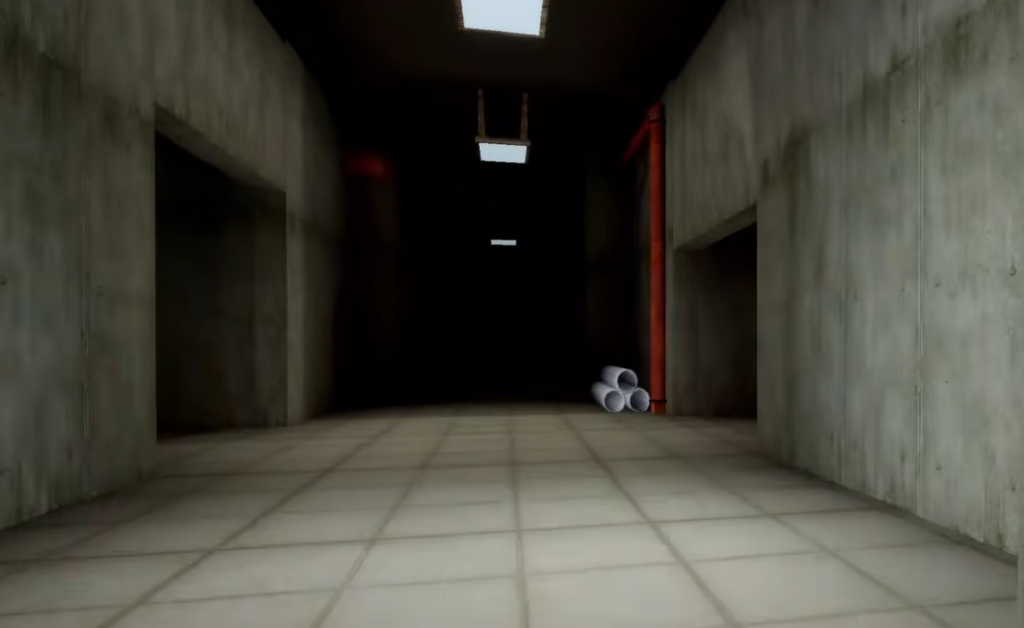
Monsters and hazards that end a run
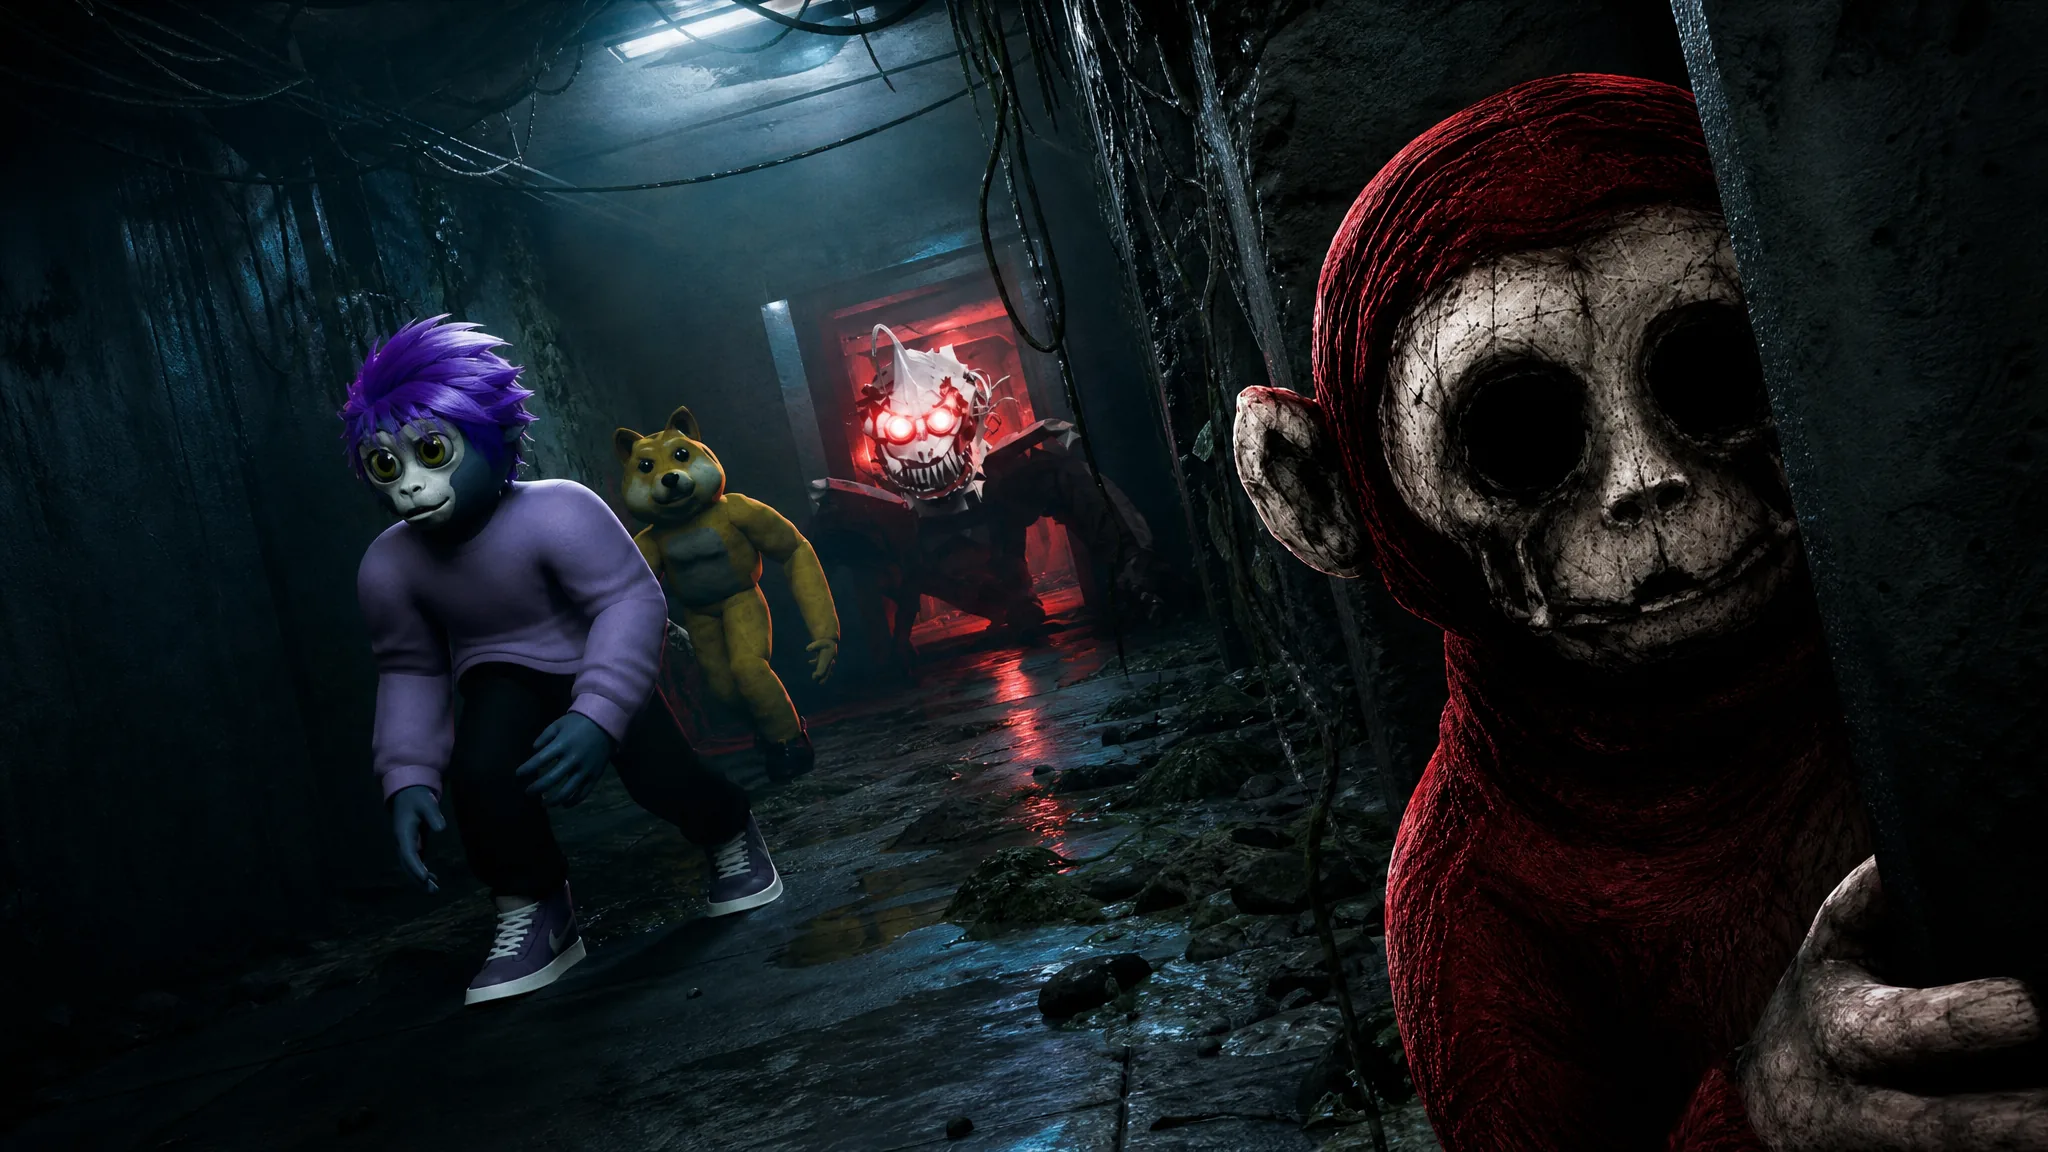
Every hostile monkey kills on contact and triggers a jumpscare, then sends you back to the lobby with a “good luck next time! pick a new spawn location” message. Learn where each one patrols so you can time your grabs.
- A pink monster patrols near the Card 1 storage room on Level 1.
- A red and white monkey guards the lower corridor around Card 2.
- A green monkey stalks Level 2, alongside the “FLASHLIGHT REQUIRED” zone and the green acid pool.
- A white, long-limbed creature roams the fenced hallway between the safe area and the Card 2 room.
- A skeletal brown monkey ambushes deeper in Level 3, near the shop and containment tank.
Level 3 adds a few non-hostile stops. A silent shop NPC helps with purchases, a “Hurt Monkey” NPC gives you a Tire and dialogue pointing you toward the exit, and a white monkey sits sealed in a liquid tank. A “Chicken Mask” hat can also drop randomly on the map, flagged by an on-screen notice.
Work the cards in sequence, keep the flashlight ready for the dark zones, and treat every corridor with a patrol as a grab-and-go. Once all three readers confirm “Used Card…” and their doors open, you are through to the final level and one of the few set to escape the facility.