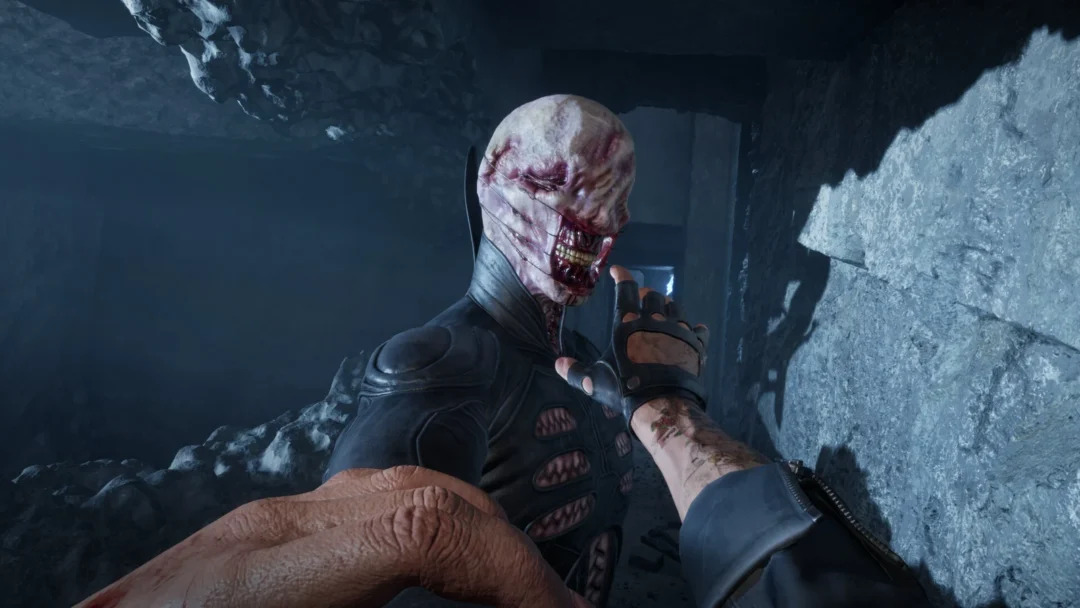
Afraid Monkeys drops you into a dark facility where you collect scrap, find keycards, and slip past infected monkeys to reach the exit of each level. Progress runs on a simple chain of cards, and one early detour rewards a badge plus a cosmetic. Here is exactly where to go, what to pick up, and how to know each step worked.
Quick answer: Grab Card One on Level 1 to open the Sell Area, Card Two to open the Level 2 door, and Card Three (found inside Level 2) to open the Level III door. Clear the Level 0 cave maze by following the on-screen arrows to earn the “Escaped the Maze” badge and the red miner’s hat.
Keycard locations and unlock order
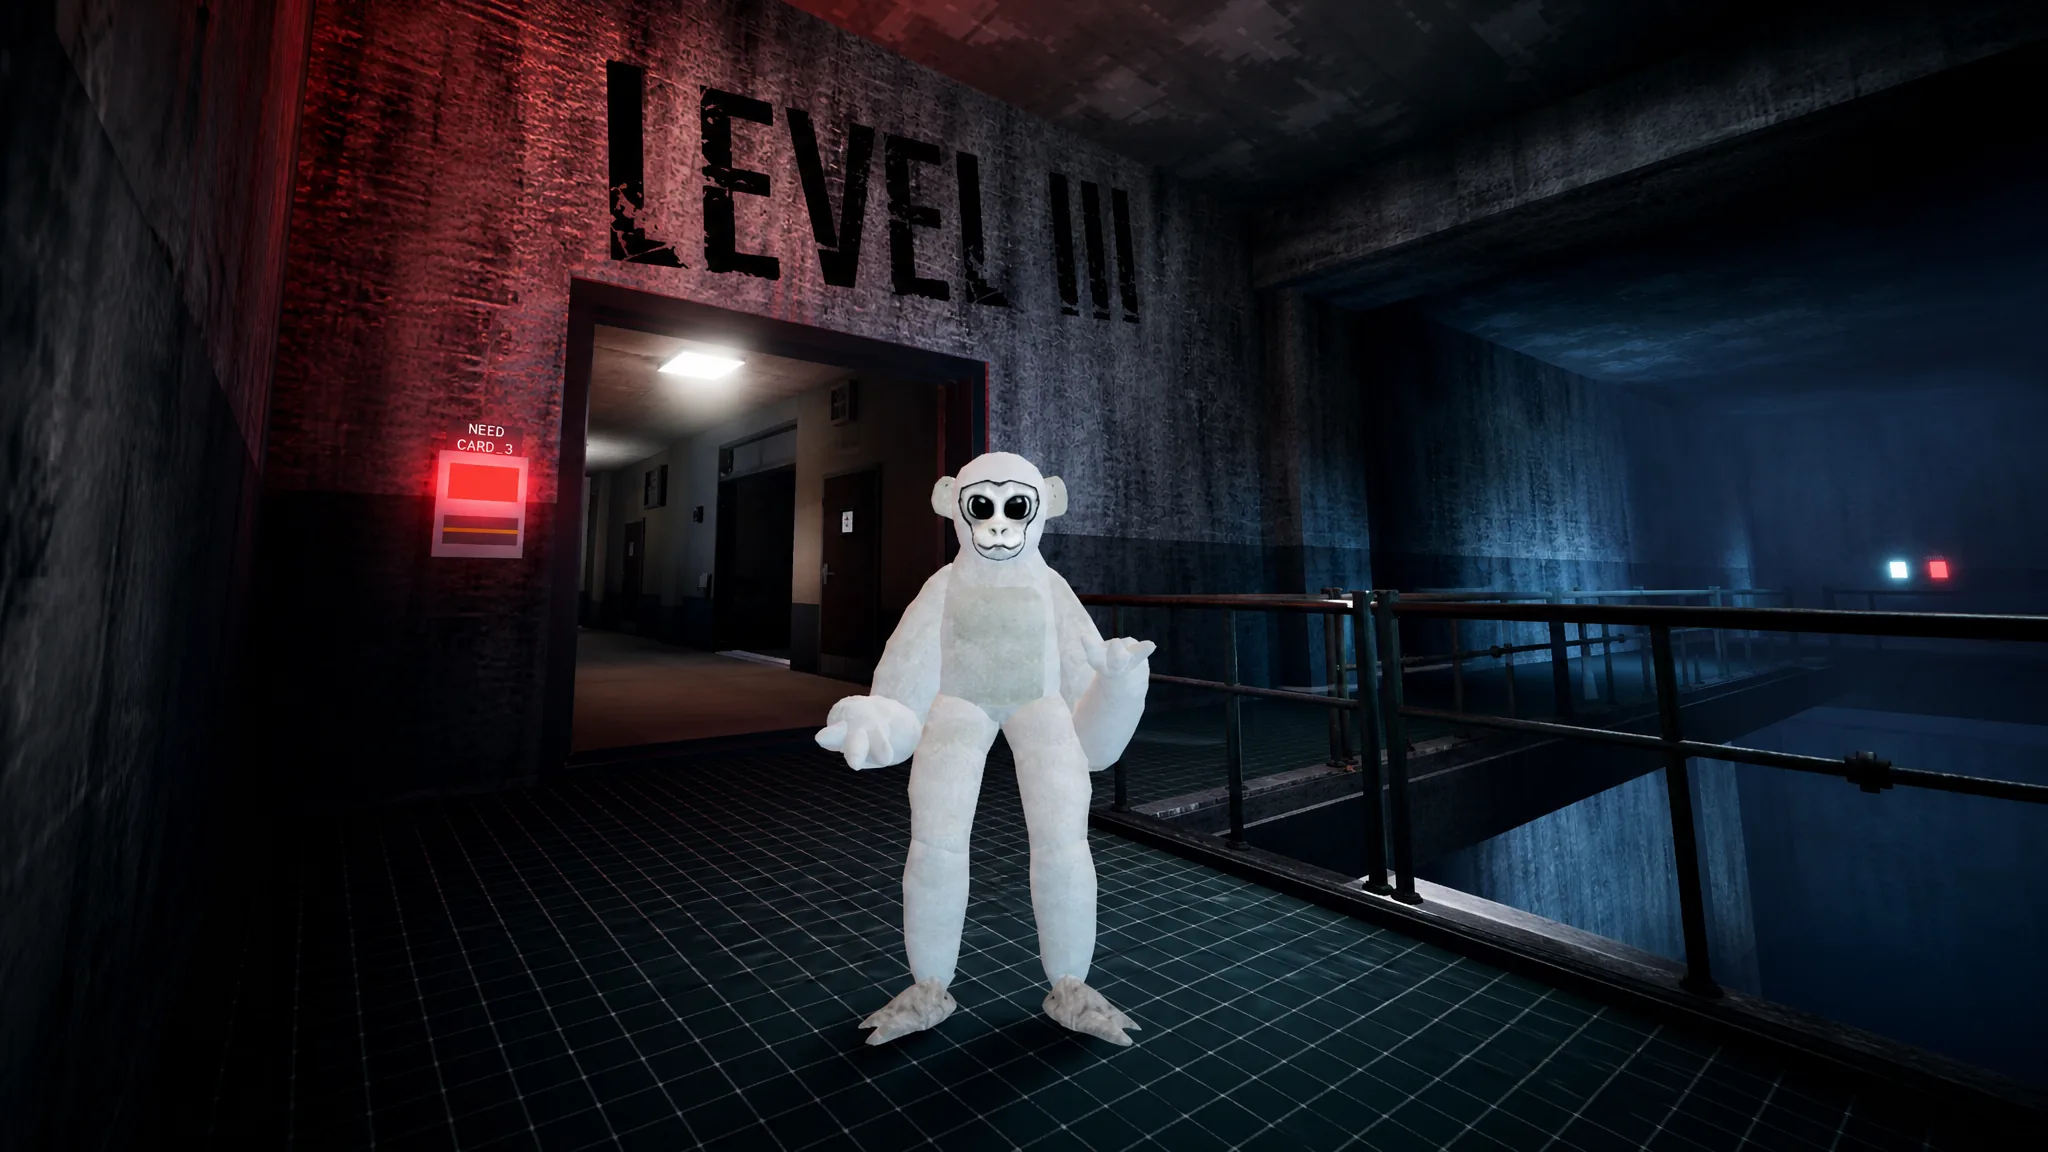
Three cards drive your progress. Each one is picked up from a metal shelf with an E Collect prompt, and each opens a matching door with a card reader. When you interact with a reader, the game confirms it with a message such as “Unlocked with Card One!” and the door slides open.
| Card | Where to find it | What it opens |
|---|---|---|
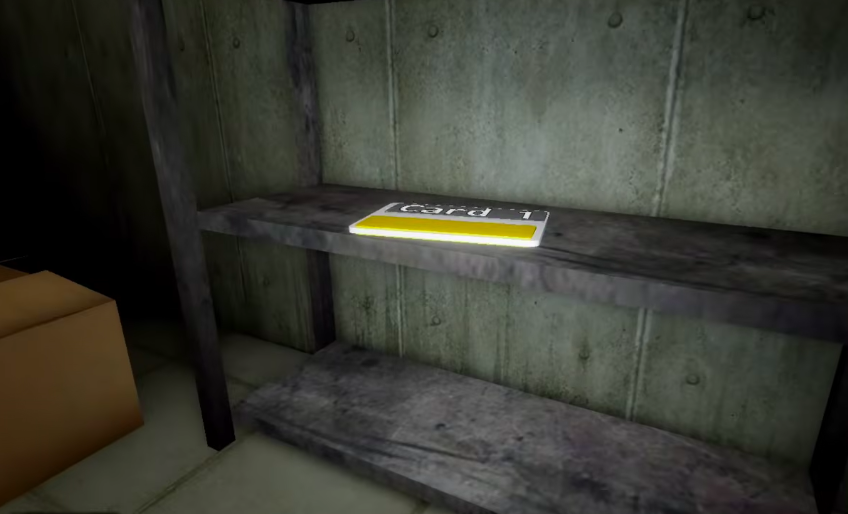
| Card One (Level 1) | On a metal shelf in the back corridors near the Level 1 door | The Sell Area door |
| Card Two (Level 2) | On a shelf in the Safe Area near the elevator exit corridor | The Level 2 door |
| Card Three (Level 3) | On a tall shelf inside Level 2 (also triggers a Burger Bob hat drop) | The Level III door |
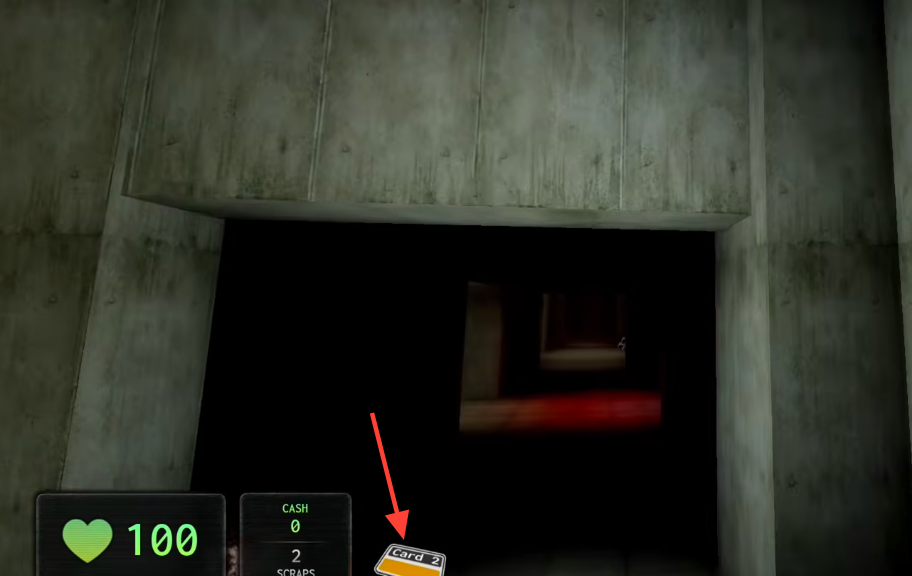
A reader that still shows “NEED CARD 1” (or 2, or 3) means you have not collected that card yet. Pick it up first, then return to the door.
Level 0: Cave maze and the Escaped the Maze badge
Level 0 is the tunnel section that leads to a hidden cave maze. Clearing the maze awards the “Escaped the Maze” badge and a red miner’s hat.
Tunnel Section One and slide down. Turn toward the elevator, press the wall button with the E Call prompt, then step on and ride it down.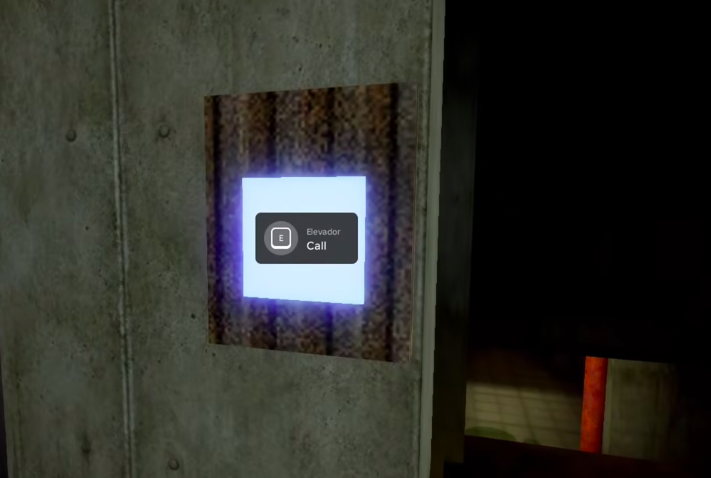
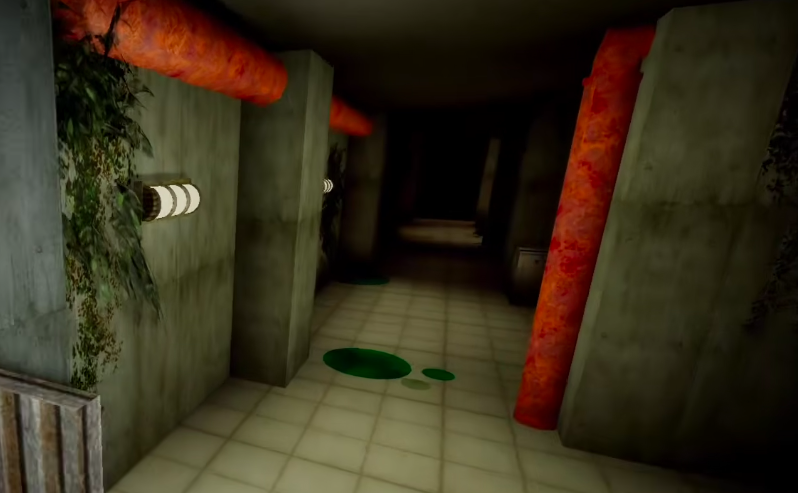
You know it worked when the screen fades and shows “congrats! you’ve completed the cave!” with the miner’s helmet, followed by a badge notification for “Escaped the Maze.” You are then returned to the lobby automatically.
Level 1: Card One and the Sell Area
Back in the lobby, re-enter the tunnel pipe and slide down again. This time, instead of heading to the elevator, turn into the side corridor lined with rusty tanks and shelves.
E Collect. The message “Collected Card One!” confirms it, and a card icon appears in your inventory bar.E Sell scrap prompt. Selling turns your scrap into cash, shown by a message like “Sold 2 scrap for $5!” and an updated cash total.Card One only opens the Sell Area. The neighboring door still reading “NEED CARD 2” needs the next card, which you collect below.
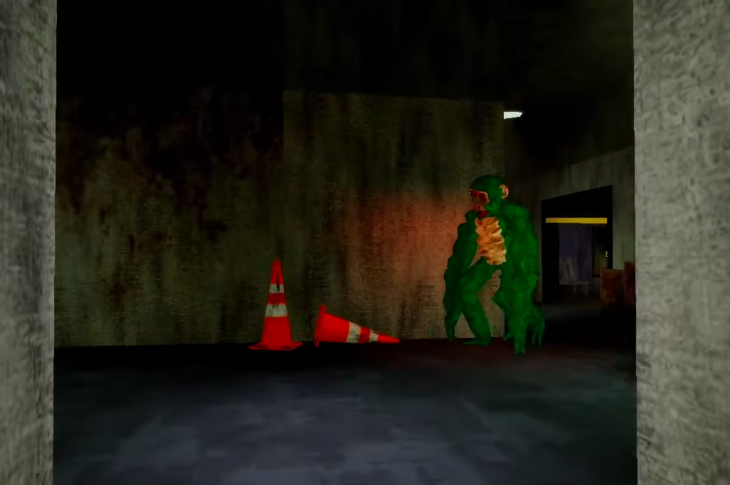
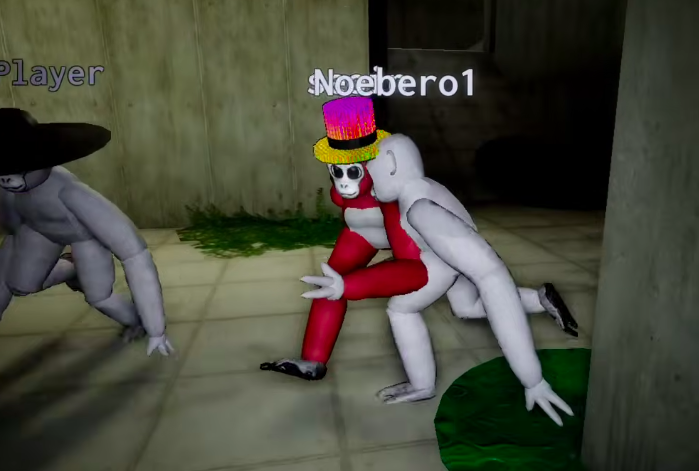
Level 2: Card Two and the infected monkey
Card Two sits in the Safe Area, a short branch off the lower corridors.
The Level 2 shop window (with a monkey vendor) sells gear that helps you survive and navigate. The menu lists Radar ($25), Map ($75), and Sprint ($75). Radar highlights nearby threats, and the Map helps with maze and keycard routing.
Level 3: Card Three and the wire puzzle
Card Three is inside Level 2, so collect it before you try to open the Level III door.
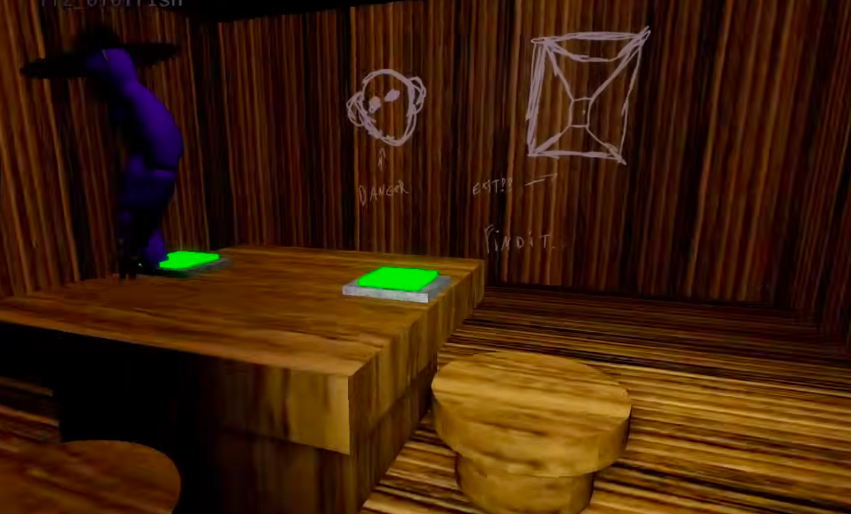
E Fix prompt and a 0 / 4 counter. Connect each colored wire to its matching point, pairing Red, Yellow, Blue, and Green from top to bottom. Selecting a wire and then its matching color completes each link.When all four wires are matched, the panel pays out “+$66 CASH” and your total updates. From there, keep moving. Level 3 has a spider-like monkey monster that will kill you and send you to the respawn screen, where you can pick a new spawn location at the Lobby, Level 2, or Level 3.
Badges you can earn
Three badges are tied to Afraid Monkeys. The maze badge is the only one that takes real effort, and it comes with a cosmetic reward. You can view the full badge list on the game’s official Roblox page.
| Badge | How to get it | Reward |
|---|---|---|
| Escaped the Maze | Complete the Level 0 cave maze | Exclusive red miner’s hat |
| welcome. | Play the game for the first time out of beta | Free entry badge |
| Played BETA | Awarded to players from the beta stage | Exclusive hat |
Work the card chain in order, use the Sell Area to bank cash, and follow the maze arrows on your first Level 0 run. Once you have all three keycards and the Escaped the Maze badge, you have cleared the core progression through Level 3.