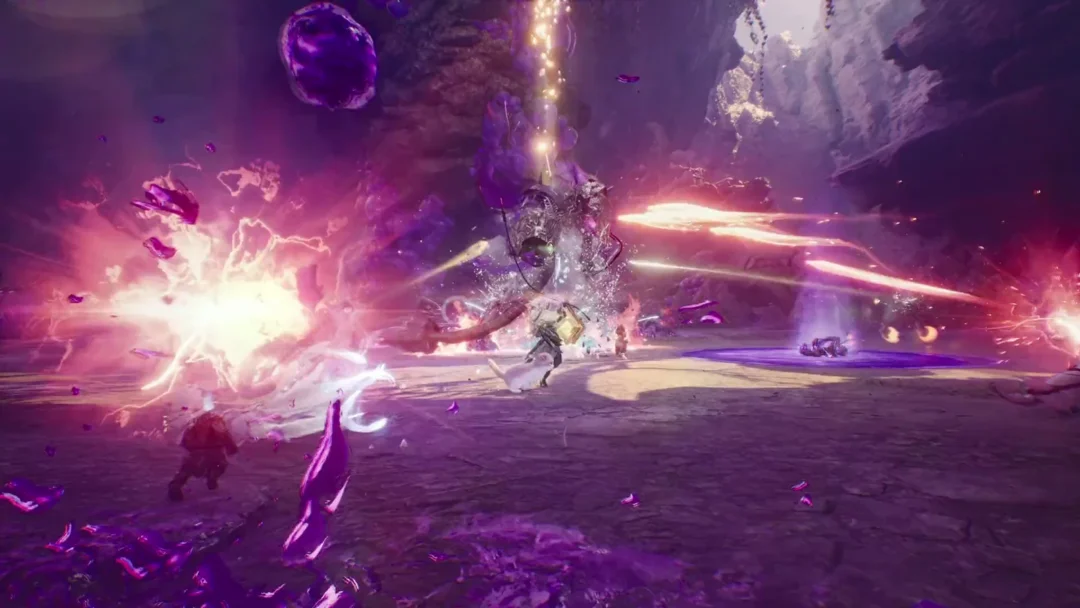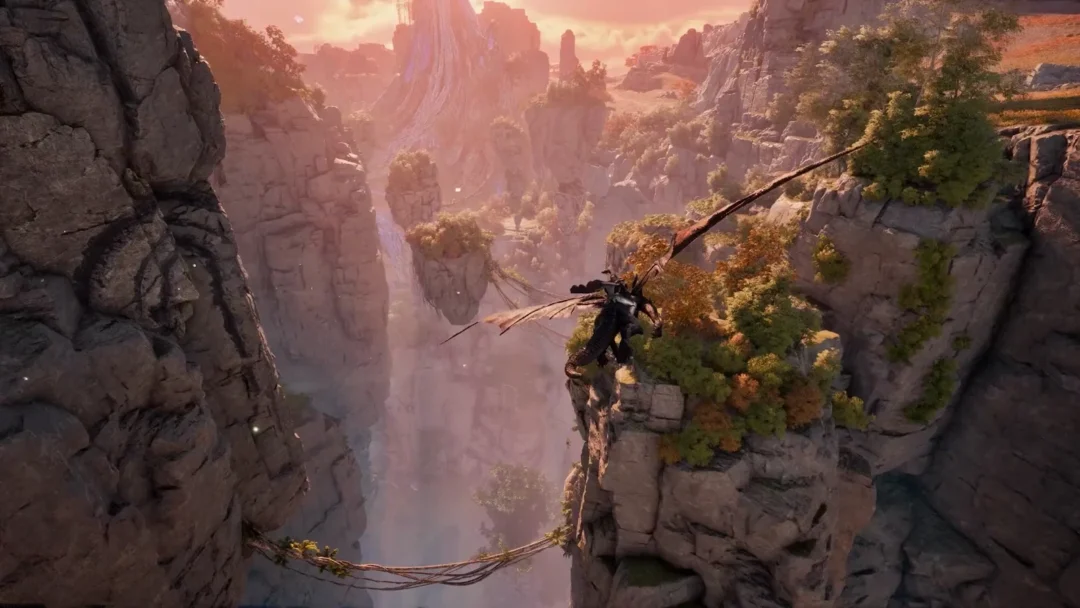
AION 2 gives you a creator deep enough to lose an hour in, and then it lets you keep more than one result. Each character holds eight saved appearance slots and eight download slots, so you can sculpt a face, bank it, experiment, and jump back without rebuilding from memory. The catch is that these saves live on the character you made them on, not across your whole account.
Quick answer: Open Customization, click Manage Appearance at the bottom left, and you get eight My Appearance slots plus eight Download Storage slots. Save and Load work per character; Style Shop downloads land in Download Storage.
Where AION 2 stores your saved looks
Three different things get called a “preset” in AION 2, and they are not interchangeable. There are the built-in starter appearances you pick when you first enter the creator, the looks you save yourself while editing, and community appearances shared through the Style Shop. The save system lives inside the Manage Appearance panel and splits into two columns: My Appearance for your own saves and Download Storage for anything you pull off the Style Shop.
Both columns run slots 1 through 8. Treat a saved appearance as tied to the current character rather than a universal file. Saving a face on one character does not make it appear in the creator when you roll a brand-new character, so a look you plan to reuse across classes needs a separate backup.
Save and load your own appearance presets
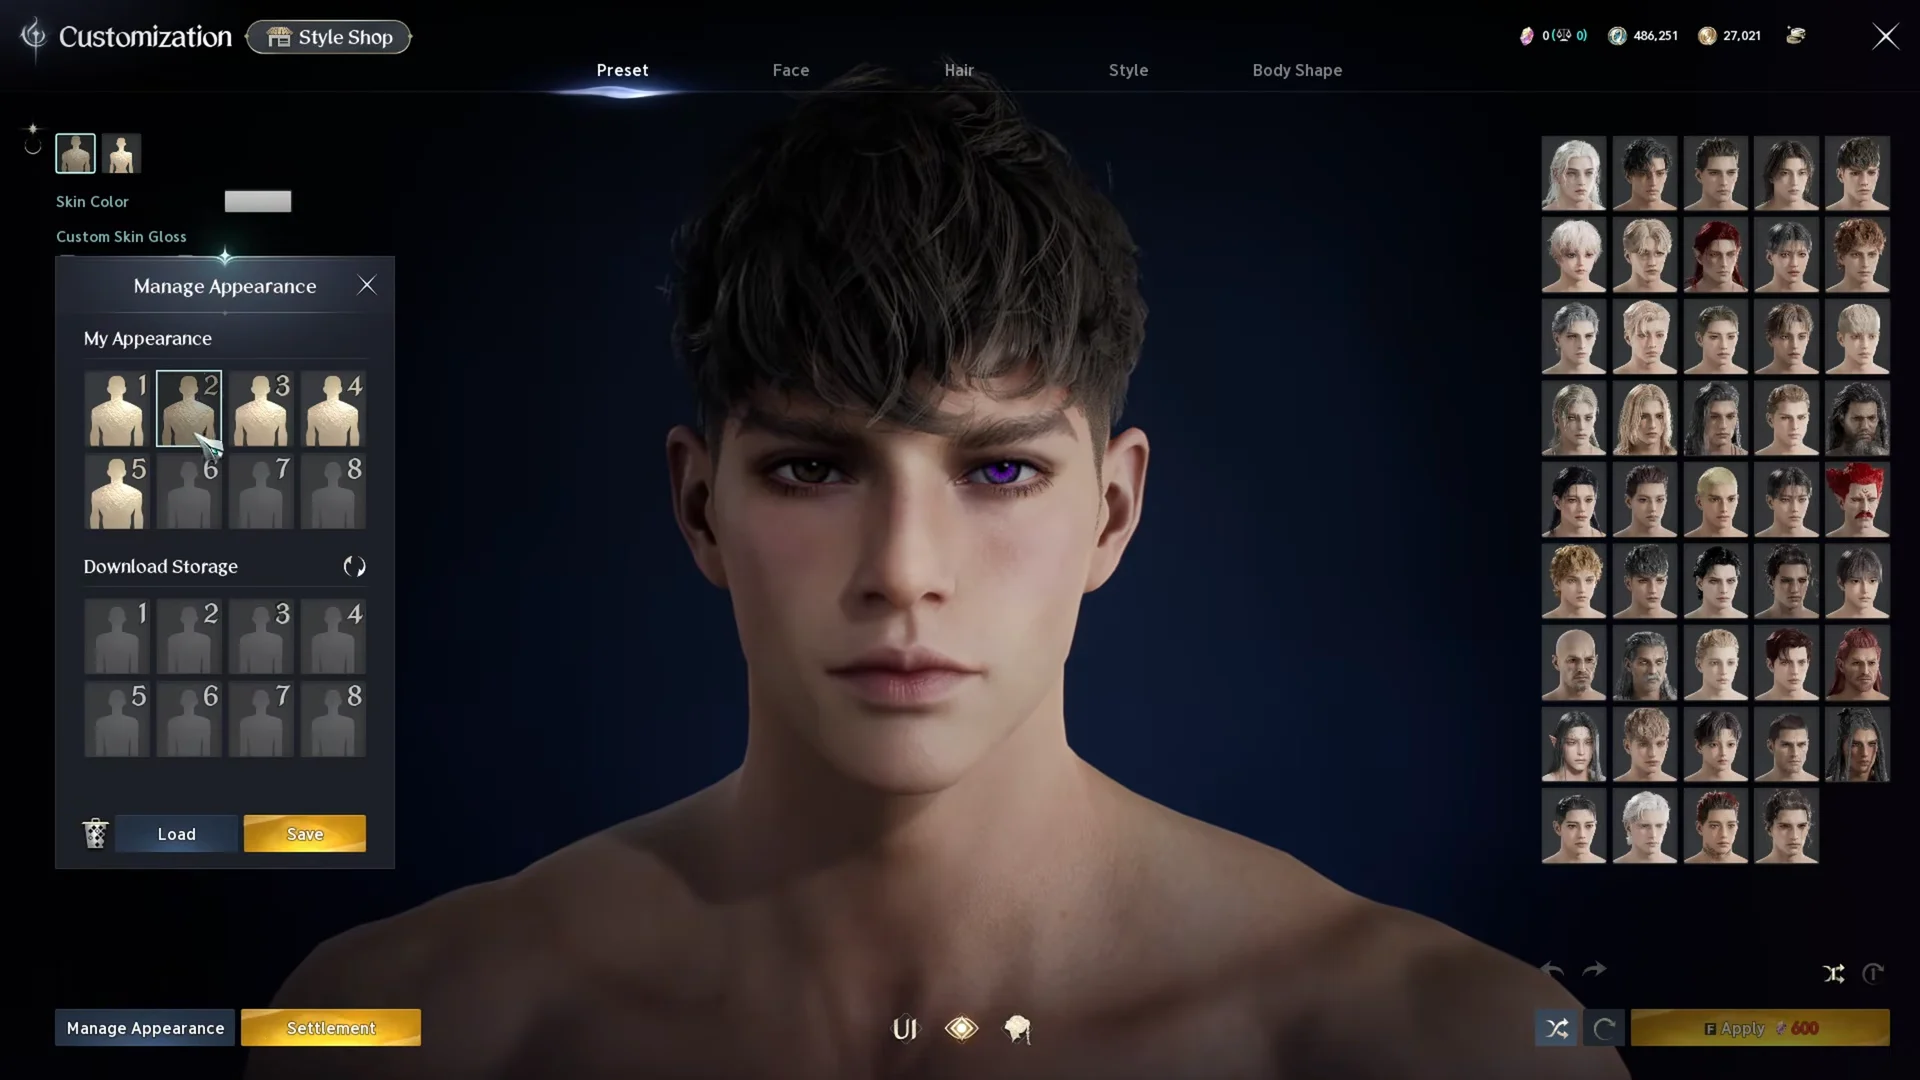
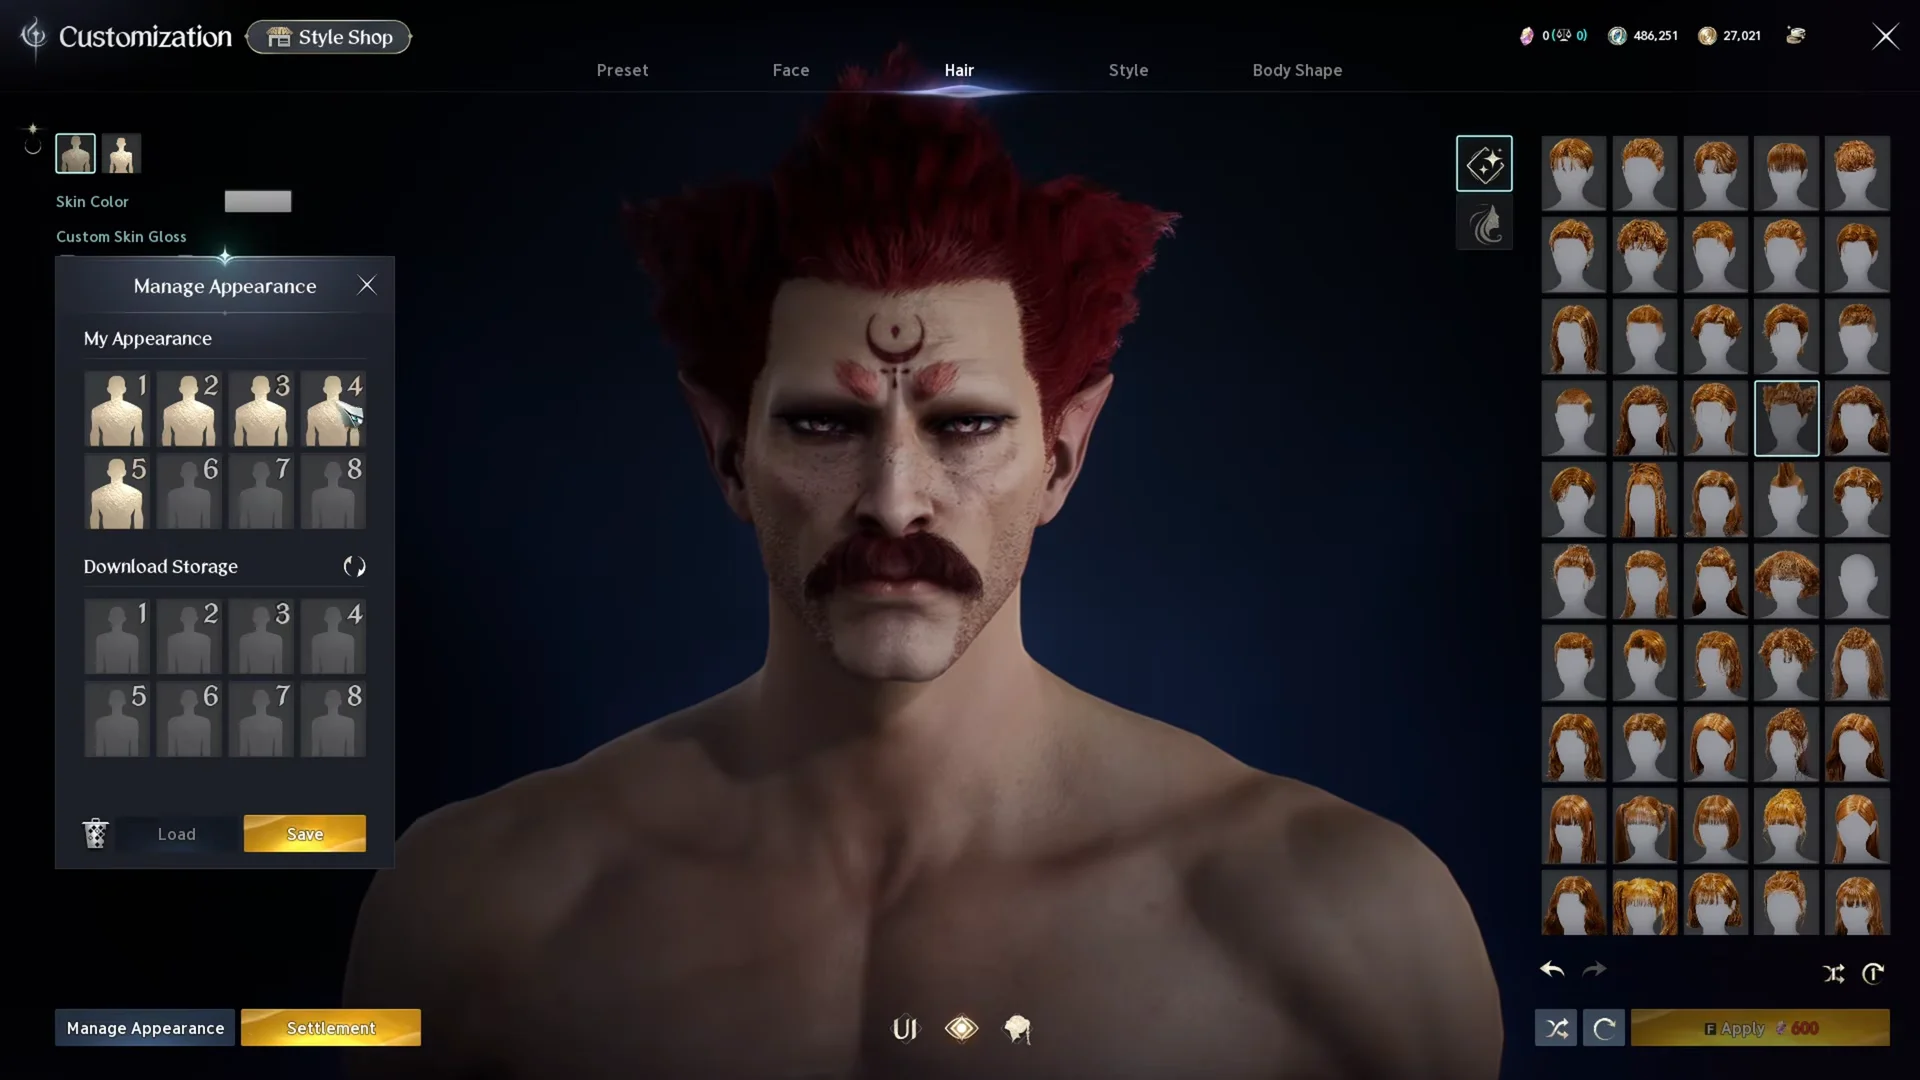
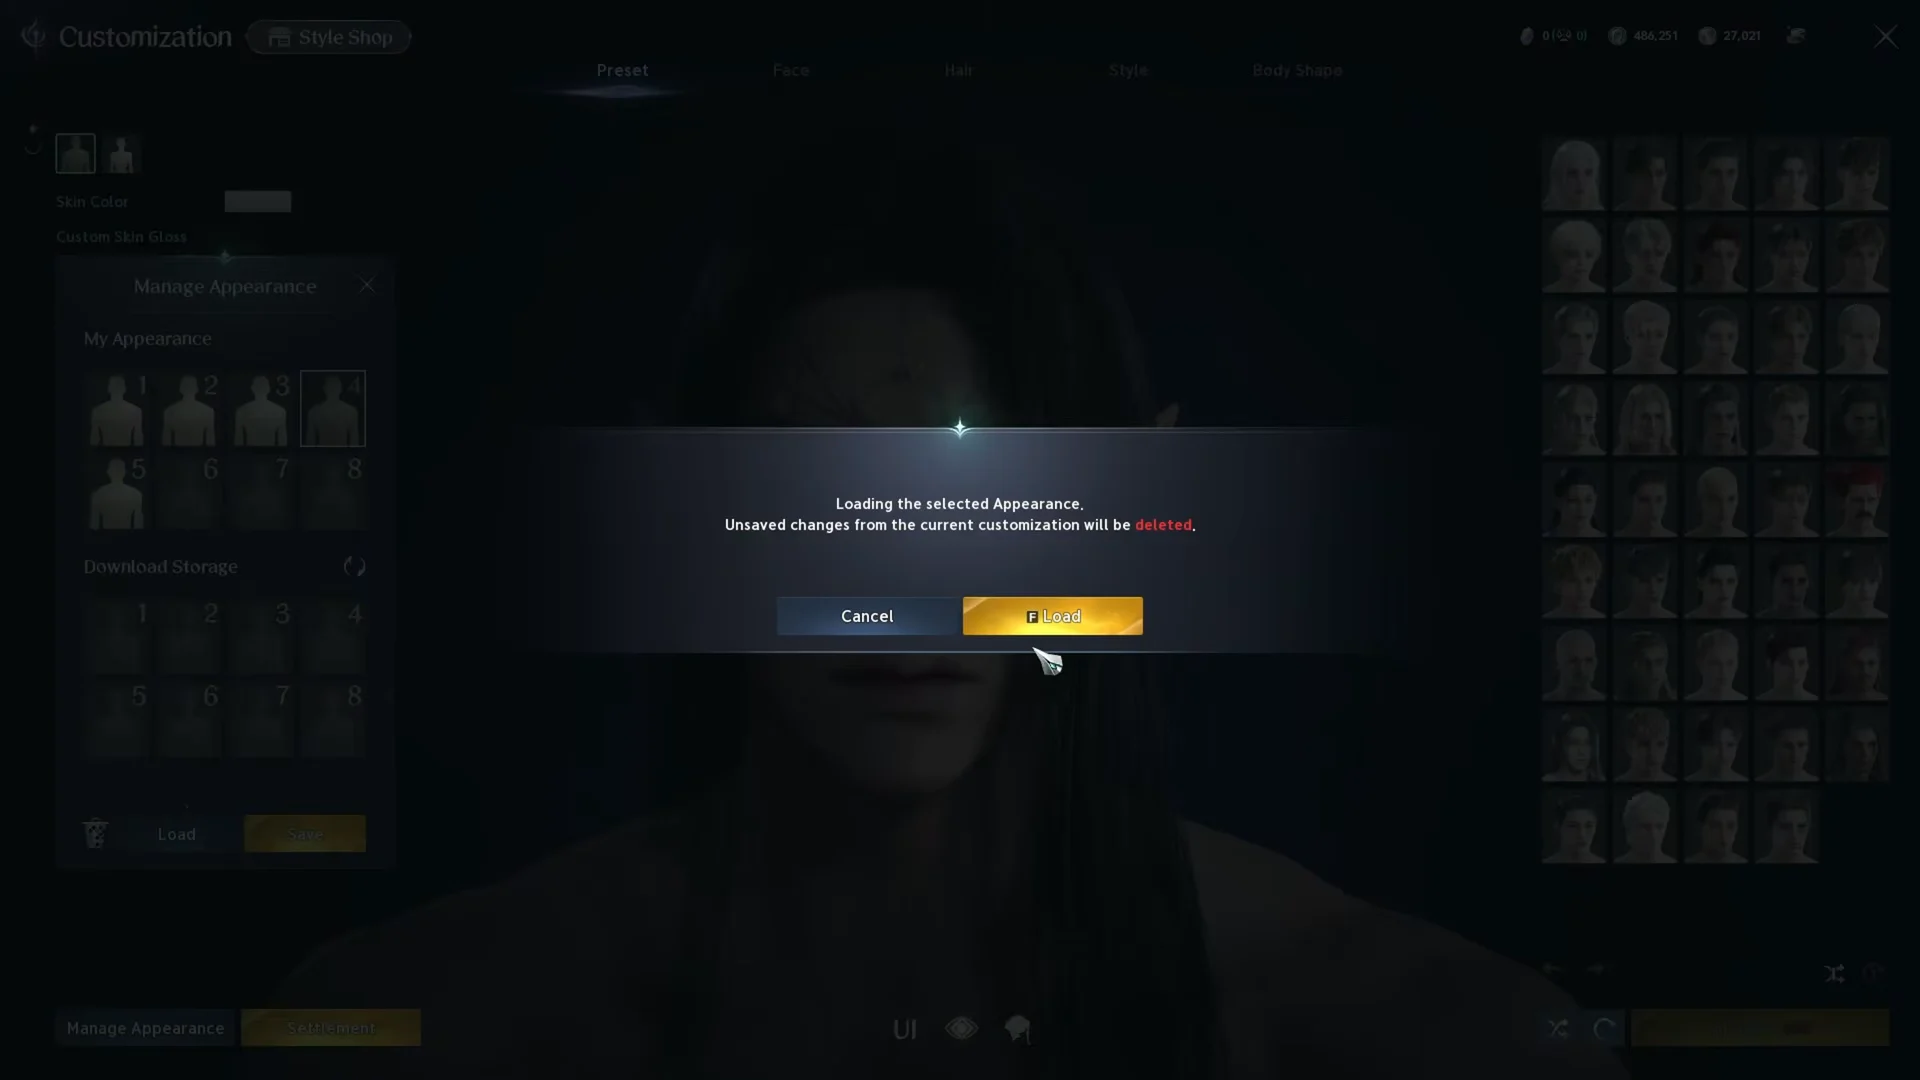
To switch between saved faces later, select a My Appearance slot and click Load, then confirm in the dialog. The model updates to that saved look, which is how you cycle through several banked appearances on the same character.
Download a look from the Style Shop
PlayNC operates the official Style Shop website, where players can post custom appearances for others to view and use. The site links with the game via Download Storage; after refreshing the client, the style chosen online becomes available there.
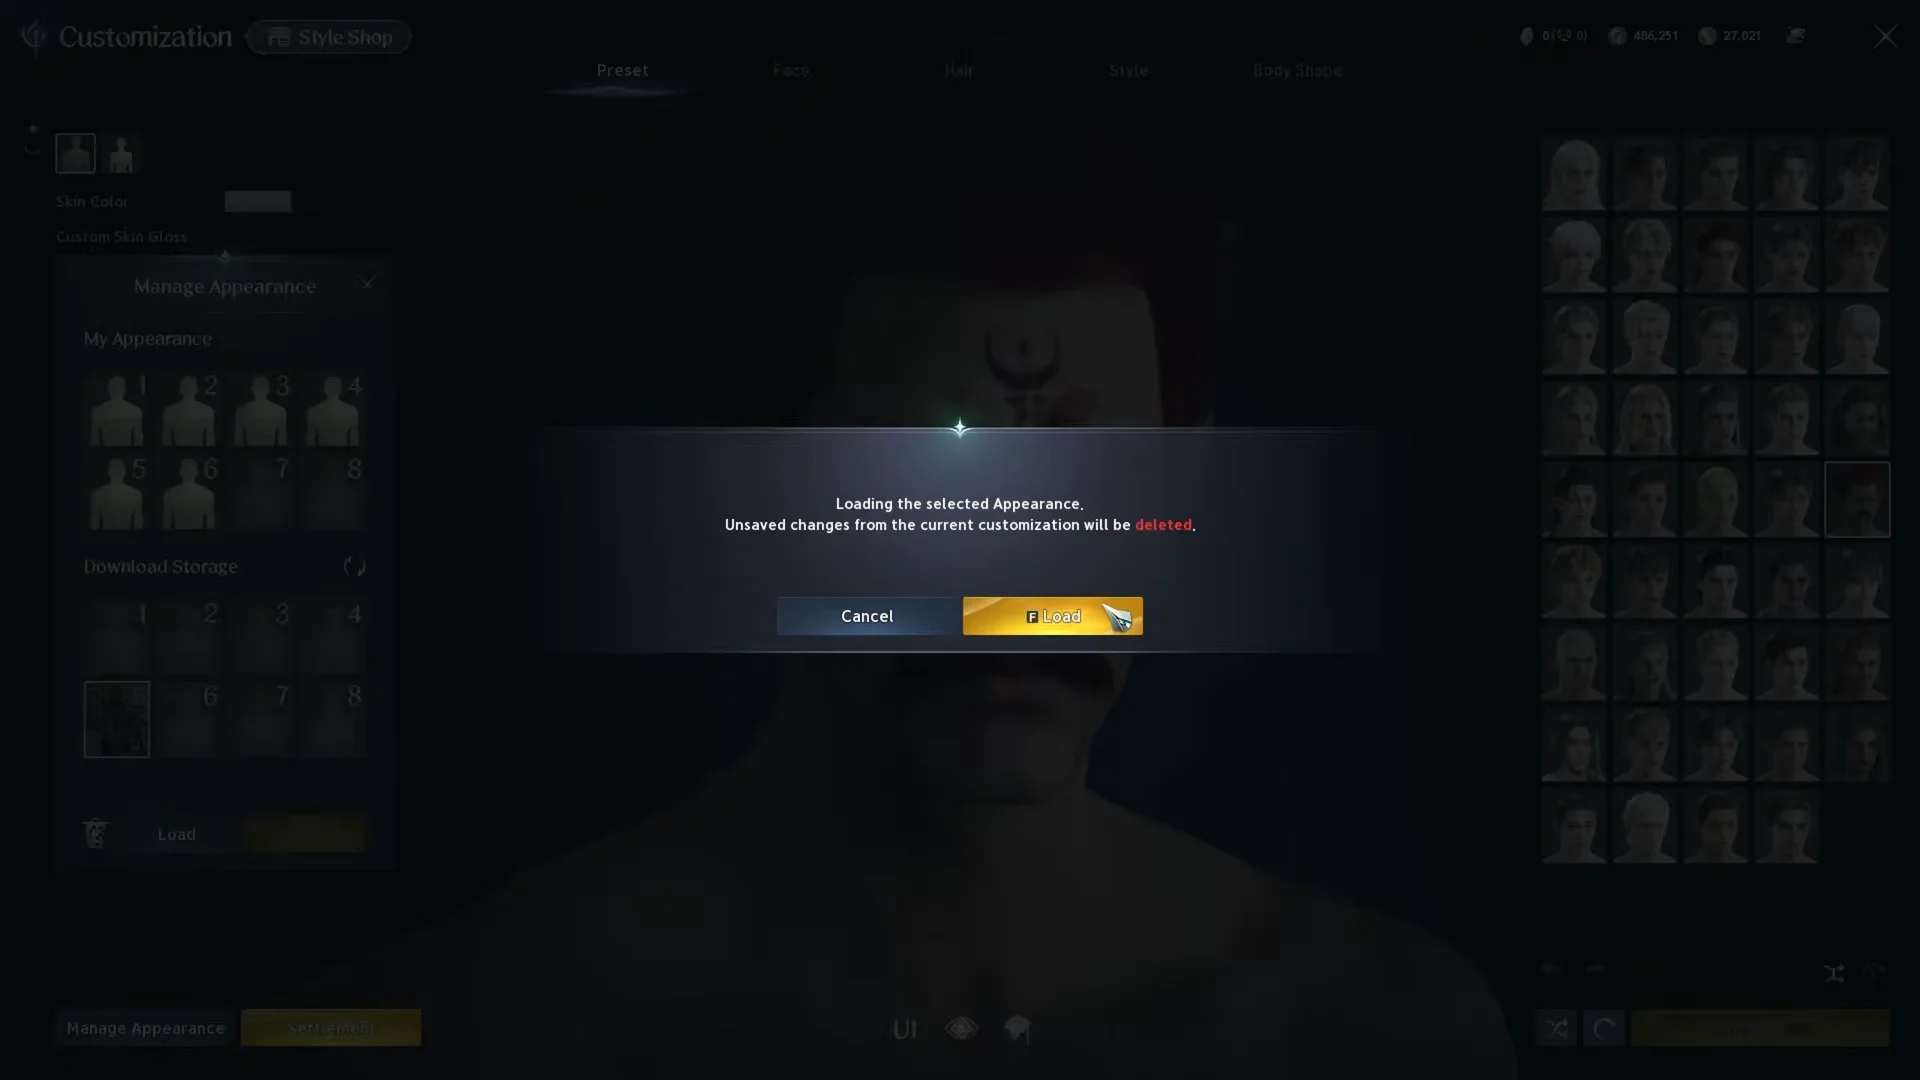
To use a shared style, you need a Character Appearance ticket or 600 Quna. The publishing region matters too: an online look may not be usable on your server.
Build a look from scratch in the editor
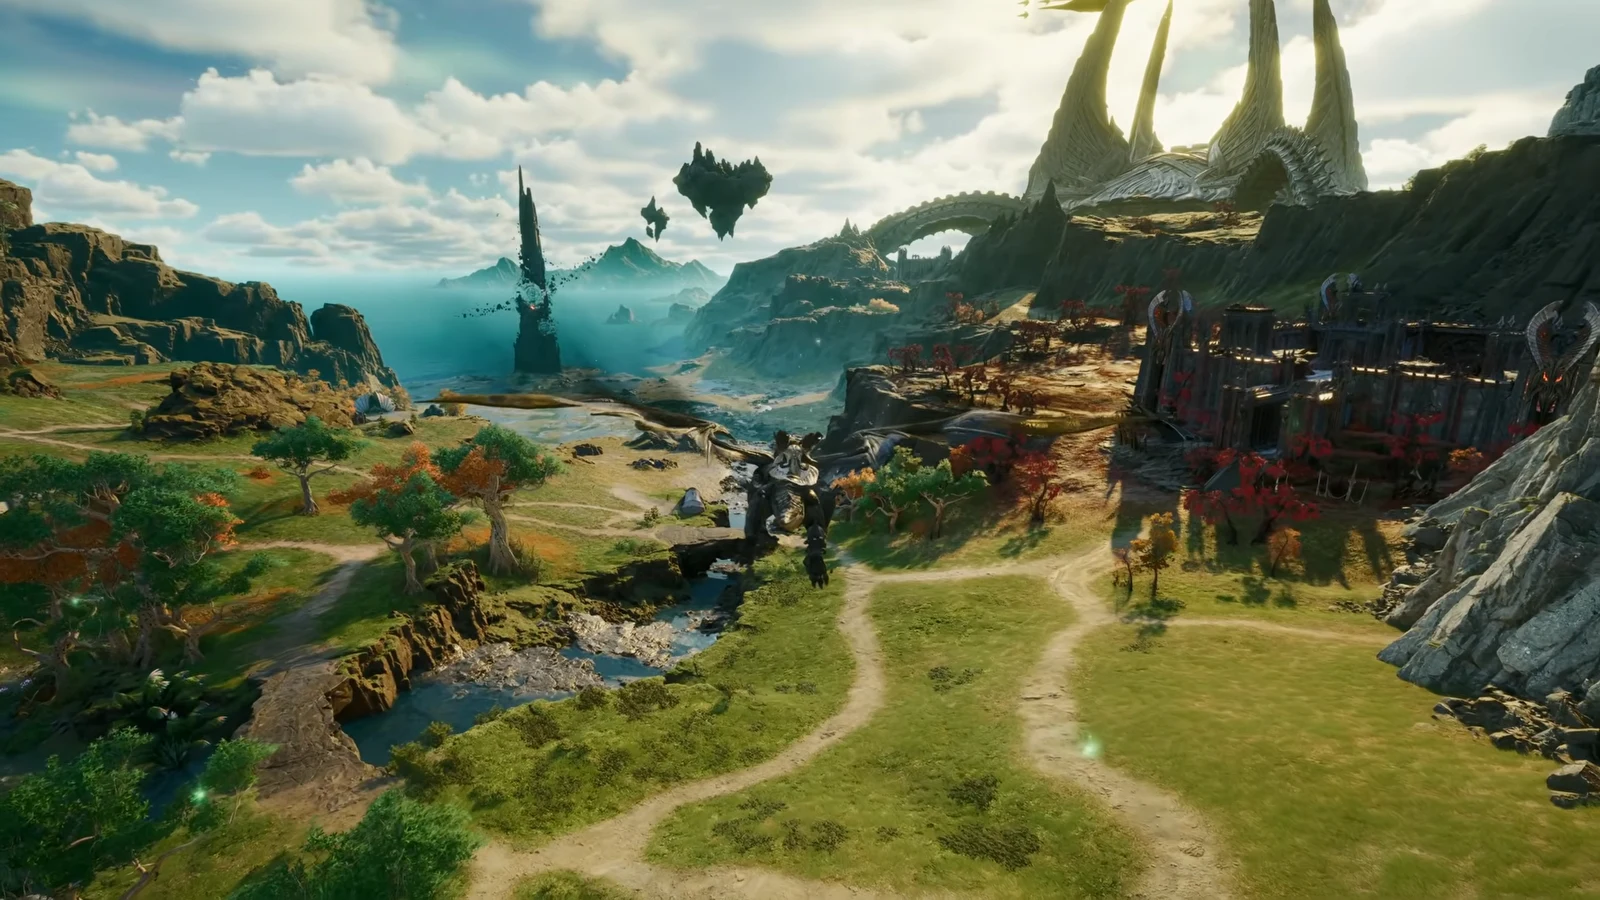
AION 2 launches its creator once you have chosen a faction, race, and class. The Unreal Engine 5 editor shows changes as you drag, and offers over 200 settings arranged in five sections: Preset, Face, Hair, Style, and Body Shape. Move through them in that sequence, then inspect your character in colored light and a full armor set before confirming.
Body type and starting presets
Choose between a wider body frame and a slimmer one first. Both share the same hairstyles, makeup, and style choices, while body-shape details, outfits, and skins vary between them, making this an important decision. If you switch afterward, a warning tells you unsaved changes will disappear.
The preset list goes well past a handful of templates, covering human and elfin looks, heavy physiques, aged faces, and demonic archetypes, all of which stay fully editable. Pick the one closest to the silhouette you want and treat it as a starting mesh. The top of the screen holds the broad strokes that sit above everything: skin color with its own gloss sliders, a range of voices from vicious to cutesy, an outfit preview, and lighting controls for the stage.
The Face tab
This is the deepest part of the editor. Settings are grouped under Face Shape, Chin, Cheeks, Forehead, Cheekbones, Ears, Eyes, Eyebrows, Eyelashes, Iris, Pupil, Sclera, Nose, and Mouth. Some menus use a two-axis morph grid instead of a single slider, changing a feature along two directions at once. Individual sliders run from 0 to 100.
Make the major choices before fine-tuning: begin with the face’s overall shape, move to the ears, then work through the jaw, chin, cheeks, and forehead. These choices affect how subsequent edits appear. For ears, select either Standard Ears or elongated Pointy Ears; this one choice separates a human-looking face from an elven one.
Expression depends heavily on the eyes. Adjust their depth and rotation, the width and height of both inner and outer corners, and the upper and lower lids separately. Fantasy options extend to the eyeballs: choose an iris shape and set its center and border colors independently, select pupils such as hearts, stars, or sigils, and tune eye shine, sclera color, and vein intensity. With asymmetry enabled, each eye can receive individual settings, useful for a heterochromatic or scarred appearance. Nose and mouth controls are similarly detailed; moving the lip corners can alter the neutral expression more than expected.
Hair, dye, and gloss
The hairstyle selection includes bobs, twin braids, ponytails, dreadlocks, mohawks, and long flowing cuts. Every option works with either body type, since styles are not gender-restricted. Open the separate Dye menu to use one Default color or choose Two-Tone Dye. The latter adds Dye Area, for setting how much hair gets the second shade; Dye Contrast adjusts the separation between shades, and Hair Gloss determines how much light the strands reflect.
The Style tab
Everything placed on the skin is managed here. For most entries, choose a shape and color, adjust intensity and gloss, then use Detail mode for more precise tuning. Available categories include contour and highlighter, blush, eyeliner, eyeshadow, lips, moles and freckles, and facial hair.
Tattoos are not limited to the face. You can place a design on the face, front torso, back, each arm, and each leg individually, with color, position, size, rotation, and symmetry controls. War paint sits alongside tattoos for a tribal or ritual look, with base color, accent color, texture intensity, metallic, and gloss. Scars get their own type, position, size, rotation, and a Scar Depth slider.
The slimmer female base model can also have facial hair—stubble, mustaches, or full beards—not just the broader frame.
Body Shape sliders
Body Shape opens with its own preset collection, then groups the rest by region. Global settings cover Height, Build, and Width, plus Vein Intensity. The torso is broken into individual areas rather than one or two sliders, covering shoulders, trapezius, rib cage, chest, and back muscle. Arms, hands, stomach, waist, and the lower body each get their own thickness, length, and muscle-definition controls.
Separate settings govern body thickness and muscle definition. With height and build held constant, the same character can look anything from very lean to heavily muscled or obese. Because height, build, and muscle affect how armor fits, make these changes last, then recheck the face at the character’s final scale.
Preview tools before you confirm
A face that works in the creator may look different in other lighting or under a helmet. Use Outfit preview to view full armor sets, Colored Light environments to assess makeup and skin tone, Lift Hair to clear the face, Face Camera to zoom in, and the UI hide function to remove the interface. Before confirming, inspect the character up close, in intense colored lighting, and wearing a full armor set instead of the basic creation outfit.
Class weapons and roles to build your look around
Your class is chosen before the creator opens. When your appearance is set, the game displays it in high-level armor for each class. These sets are only for preview and do not transfer into the game, but they help you check the silhouette with the weapon you plan to use. At launch, eight classes are playable, each tied to one main weapon.
| Class | Main weapon | Party roles | Skills |
|---|---|---|---|
| Gladiator | Greatsword | Tank, Dealer | 39 |
| Templar | Longsword | Tank | 36 |
| Ranger | Bow | Dealer | 37 |
| Assassin | Dagger | Dealer | 38 |
| Spiritmaster | Orb | Dealer | 44 |
| Sorcerer | Spellbook | Dealer | 39 |
| Cleric | Mace | Healer | 36 |
| Chanter | Staff | Healer, Dealer | 37 |
Gladiator alone combines Tank and Dealer roles. Its Greatsword makes the shoulder, trapezius, and back-muscle settings especially visible, so a wider physique suits the weapon’s look. With 44 skills, Spiritmaster has the biggest kit and uses an Orb. Ranger, Assassin, Sorcerer, and Spiritmaster serve only as Dealers; for a full playthrough, choose among them based on the weapon silhouette you prefer. Brawler, the Fist class, is unavailable at global launch and therefore does not yet show in the class selection.
Changing and backing up a look after you confirm
Physical appearance locks once you leave character creation. Reworking it later requires a Customization Voucher or a seven-day Appearance Change Voucher, some of which arrive through the Founder’s Pack or as Twitch Drops. Because saved slots behave as character-specific saves rather than an account-wide library, a face built on one character will not automatically load when you create another.
Before confirming, capture screenshots of every creator page in tab order, plus front and side views, to keep a design you want to preserve. Retain the images in that sequence so you can reproduce each slider setting if you reroll as another class or on another server. In-game cosmetics—including outfits, armor skins, weapon appearances, wings, pets, and mounts—alter appearance only and provide no combat power.