Tamahagane is the metal that carries every sword upgrade in Onimusha: Way of the Sword, and the game hands out exactly as many as you need — not one more. Miss a chest and a proficiency rank stays locked, which also blocks the Dressed to Kill trophy and achievement for maxing all equipment.
Quick answer: There are 25 Tamahagane. Twenty sit in chests or come from side quest rewards across Kyoto and the later regions, and the final five drop automatically as you play the main story. Buy Oni Vision: Treasures at the Spirit Mirror first, then sweep every area before you accept the final mission, “The Clash At Rendaino.”
What Tamahagane is spent on, and why all 25 are required
Enhancements happen at the Spirit Mirror, which unlocks automatically during the mission “The Oni’s Apprentice.” Open the Equipment Enhancement tab and Tamahagane appears in two places: the sword’s higher levels and proficiency ranks, plus the Hozuki Pouch: Resistance upgrades. Clothing uses Fine Silk Cloth instead, and the gauntlet runs on Malicite and demon drops, so neither competes for your Tamahagane.
| Upgrade | Tamahagane cost |
|---|---|
| Sword Level 6 (first tier) | 1 |
| Sword Proficiency Level 2 | 2 |
| Second tier, Level 5 | 2 |
| Sword Proficiency Level 3 | 3 |
| Third tier, Level 5 | 4 |
| Sword Proficiency Level 4 | 4 |
| Fourth tier, Levels 5–10 | 1 each (6 total) |
| Sword Proficiency Level 5 | 1 |
| Hozuki Pouch: Resistance, Levels 2 and 3 | 1 each (2 total) |
Add those up and the total lands on 25 exactly. There is no farming route and no spare, so treat every single one as mandatory rather than optional cleanup.
Buy Oni Vision: Treasures before you start collecting
Three Special Skills turn the hunt from guesswork into a radar sweep: Oni Vision: Treasures, Oni Vision: Treasures 2, and Oni Vision: Search Range. Purchase all three at the Spirit Mirror with Oni Stones before you spend those stones on anything else. In the field, hold L2/LT and tap R2/RT repeatedly, and nearby chests light up through walls and floors.
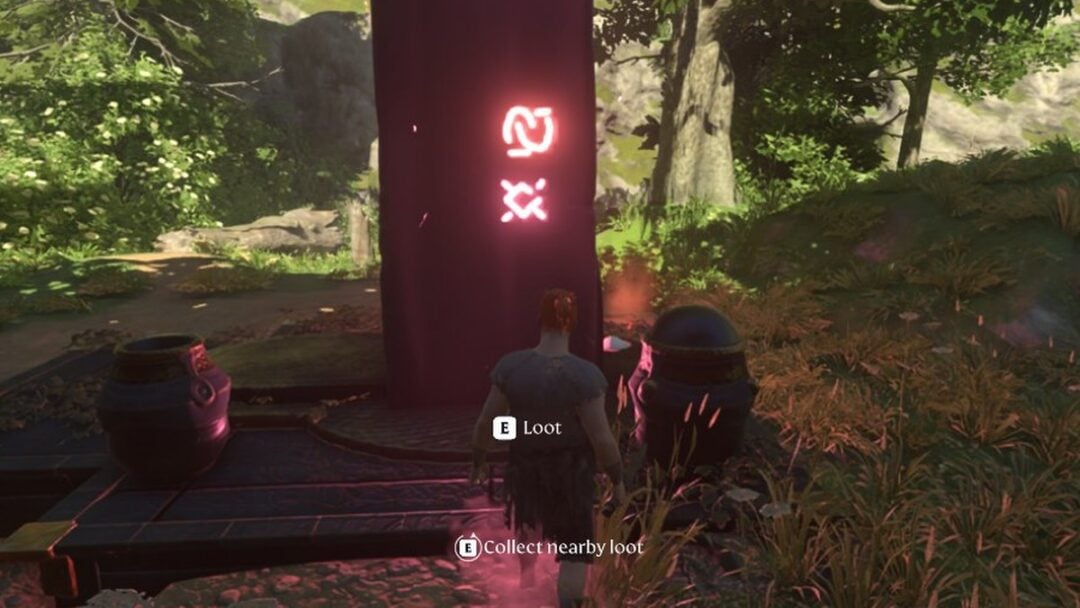
Several Tamahagane chests also sit behind Oni Markers or Malice Barriers, meaning the container is invisible until you trigger Oni Power on the spot. If a marker on your map points at an empty room, that is almost always what is happening.
All 20 collectible Tamahagane locations
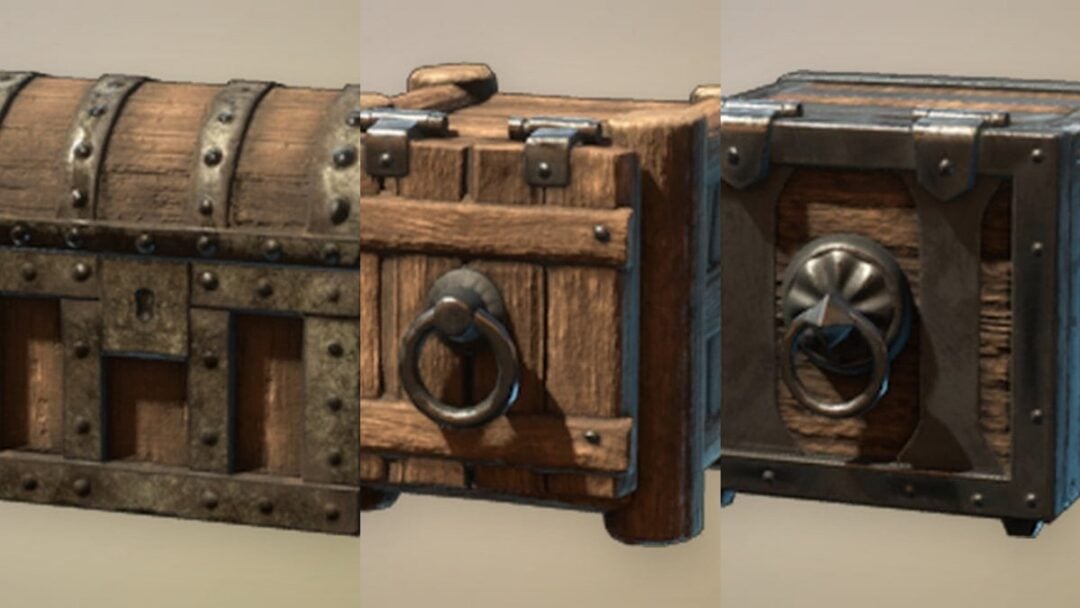
These are the 20 you have to physically go and get. Twelve are straightforward chests scattered through Kyoto, five come attached to side quests, and the last three are parked in the late regions.
| # | Where to find it |
|---|---|
| 1 | Chest in a town area |
| 2 | Chest inside a cave |
| 3 | Chest near a shrine |
| 4 | Chest inside a wooden building |
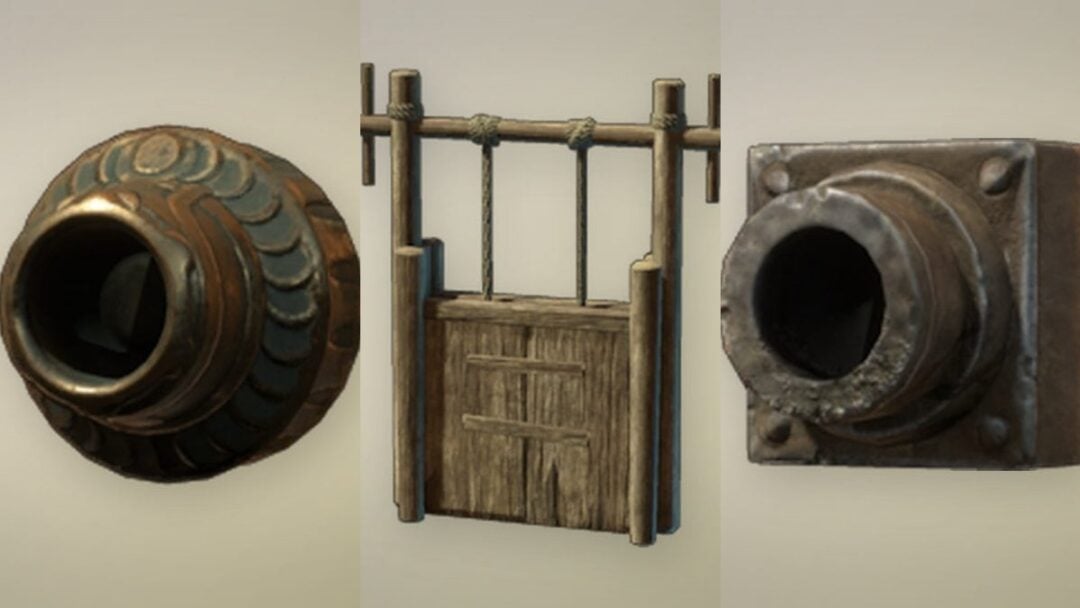
| 5 | Chest beside a wooden gate |
| 6 | Chest near a kiln |
| 7 | Chest inside a shed |
| 8 | Chest in a building reached by climbing a scaffold |
| 9 | Chest against a bamboo wall |
| 10 | Chest in a garden |
| 11 | Chest down a narrow alley |
| 12 | Reward for “Ace Archer: Kiyomizu-dera Temple” |
| 13 | Reward for “Ace Archer: Kyoto Imperial Palace” |
| 14 | Reward for “Ace Archer: Arashiyama” |
| 15 | Golden chest from “Hidden Treasure No. 4” |
| 16 | Chest that spawns during or after “Noisy Neighbors” |
| 17 | Chest in a shed |
| 18 | Mount Oe, Castle Courtyard |
| 19 | Arashiyama, Hozukyo Gorge |
| 20 | Shanoah Castle, Third Layer |
Kyoto chest pickups (#1–#11 and #17)
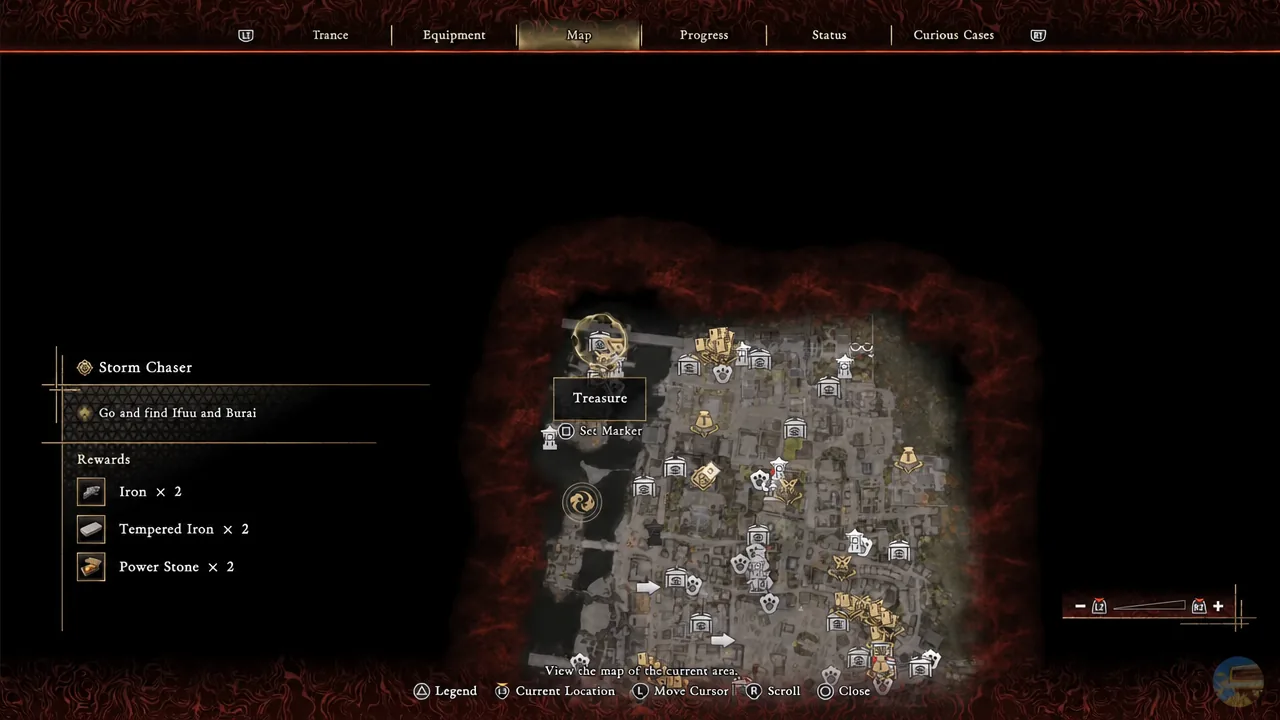
The first dozen are all city finds, and the fastest way to work through them is to open the Map screen, highlight the Treasure marker you want, and set a waypoint before you move. That keeps the marker on your compass while you navigate rooftops and courtyards, which matters because most of these chests are not reachable from the street directly below them.
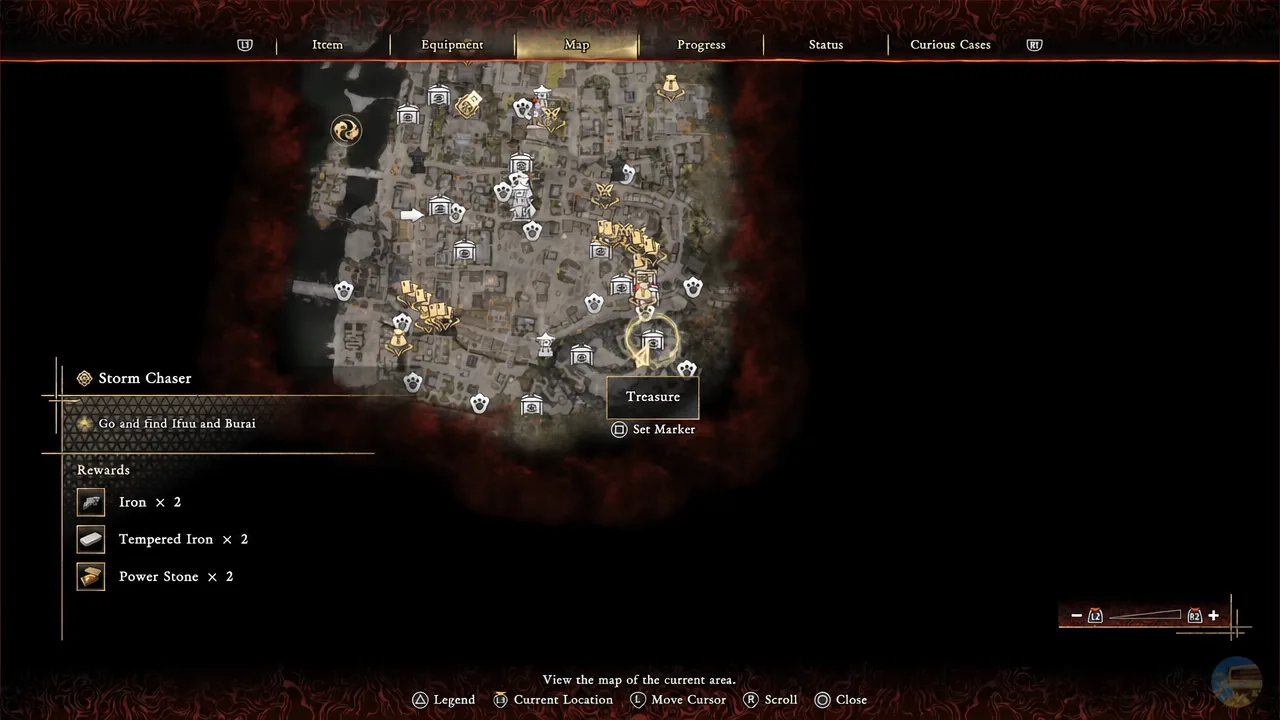
Access routes are the real obstacle, not the chests themselves. Expect to enter a courtyard from the far side, climb a ladder or scaffold onto a roof, and drop into the enclosed space where the chest sits. The cave chest and the scaffold-and-building chest are the two most common ones to walk past on a first pass.
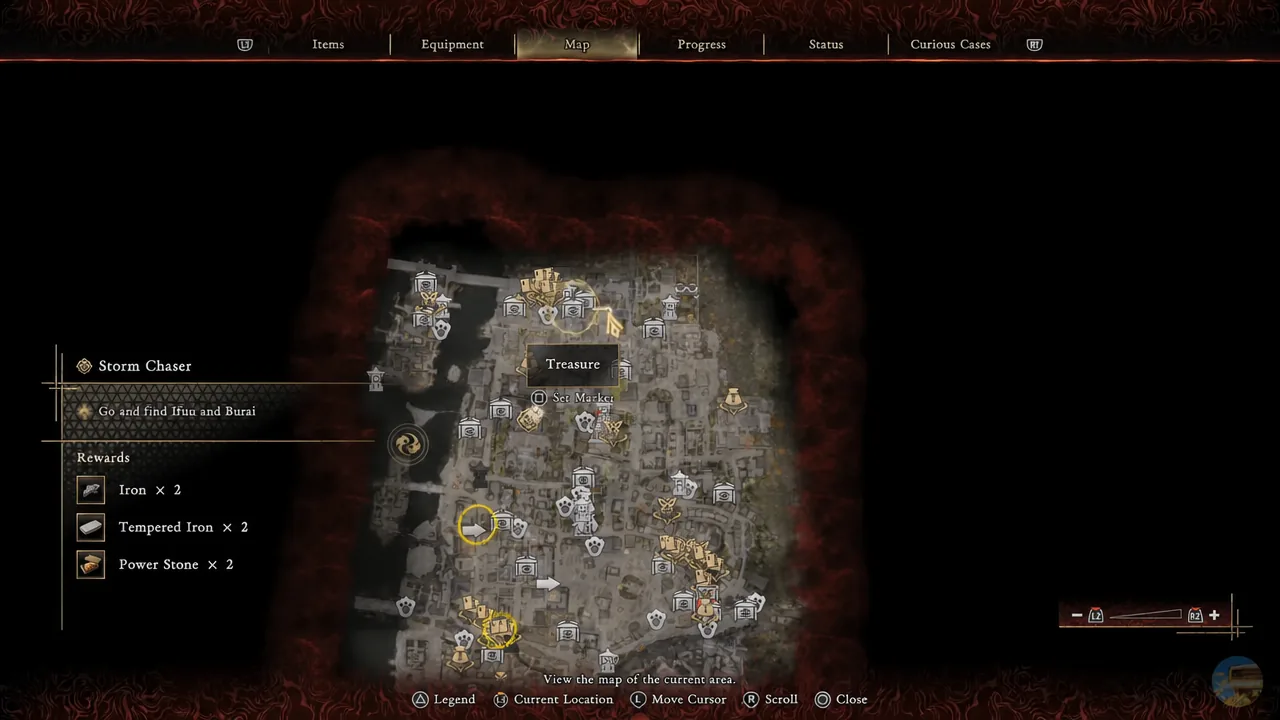
Tip: leave Oni Vision running as you clear each district rather than fast-travelling back later. The garden and alley chests in particular are easy to spot through a wall but almost invisible from the walkway you would normally take.
Side quest rewards (#12–#16)
Three separate “Ace Archer” challenges each pay out a single Tamahagane on completion, and they are spread across Kiyomizu-dera Temple, the Kyoto Imperial Palace, and Arashiyama. Completing one does not affect the others, so all three have to be finished individually.
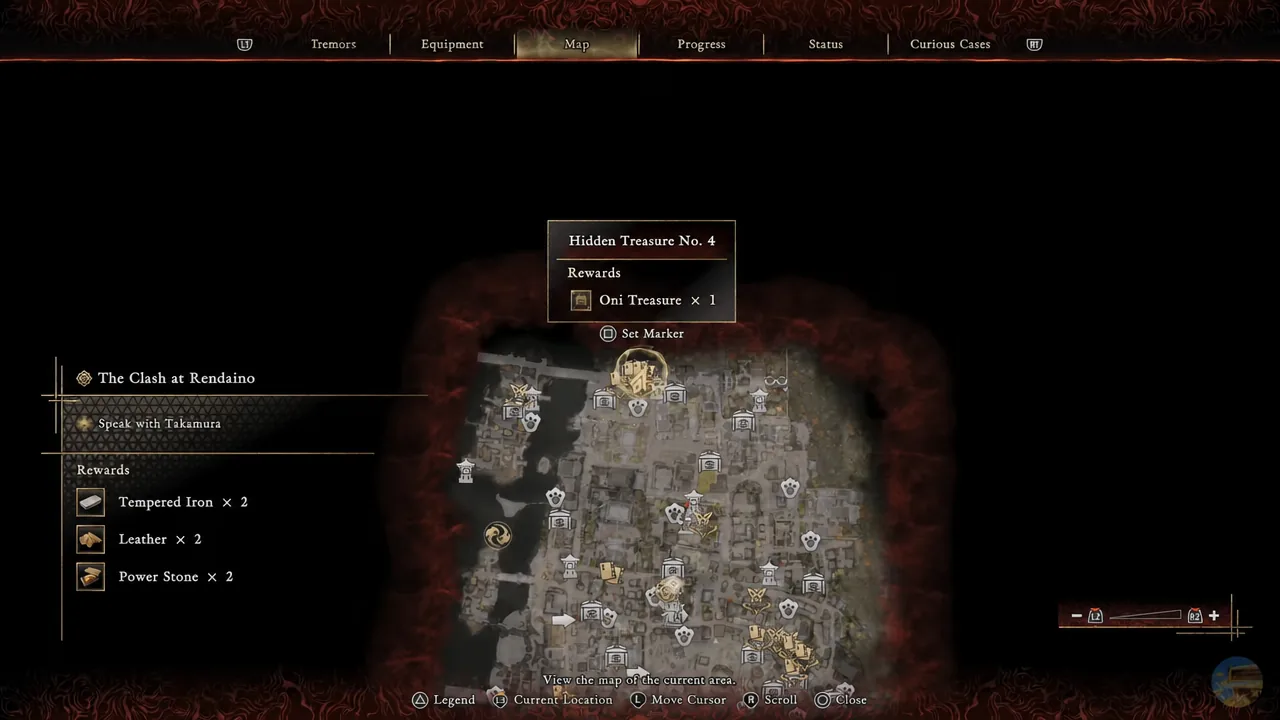
“Hidden Treasure No. 4” is the odd one out. Rather than a quest turn-in, the reward is a golden chest sitting on a high temple balcony, which you have to climb to and open yourself. Old Drawing No. 4 is the clue item tied to it.
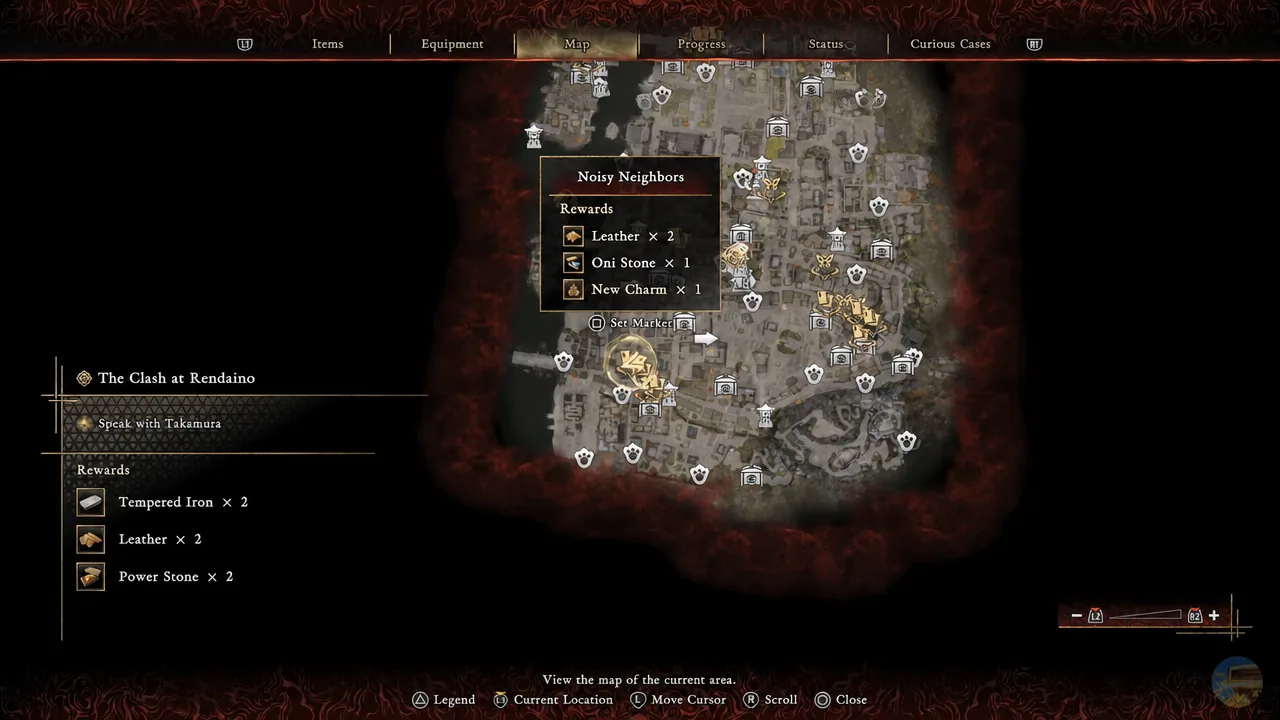
“Noisy Neighbors,” in the Yasaka Pagoda area, works differently again. The chest holding the Tamahagane only appears once the quest is underway or finished, so an earlier sweep of that area will show nothing there. Return after triggering the quest and open it manually.
Late-region chests (#18–#20)
The last three sit outside Kyoto and are gated by story progress rather than difficulty. One is in the Castle Courtyard at Mount Oe, one is in Hozukyo Gorge within Arashiyama, and the final one is on the Third Layer of Shanoah Castle. Grab them on your first visit if you can, since backtracking to Shanoah Castle in particular is slow.
The final five Tamahagane are story rewards
Numbers 21 through 25 need no searching at all. They are granted automatically as you progress through main story missions, which means you cannot miss them and there is no chest to hunt down. If your count is stuck below 25 after finishing the campaign, the gap is always in the 20 collectible pickups, never in these five.
The point of no return and what carries into New Game Plus
Nothing here is permanently missable during a playthrough, but free roam ends the moment you accept “The Clash At Rendaino.” The game shows a clear warning before that triggers. Keep a manual save at that point, because after the credits you can select Continue from the main menu and be placed back just before the finale with all progress intact — enough to clean up any Tamahagane you skipped.
One important catch for anyone planning two runs: sword and gauntlet enhancements do not carry into New Game Plus, and neither does Spirit Mirror unlock progress. Enhanced skills, Hozuki Pouches and their upgrades, items, Charms, Genma Notes, and Lion Dogs all do transfer. Carnage difficulty is only available in New Game Plus, so a second run is required for full completion regardless.
How to confirm you have every Tamahagane
Open the Equipment Enhancement tab at the Spirit Mirror and try to push the sword through its remaining levels and proficiency ranks, then do the same for Hozuki Pouch: Resistance. Because the total supply matches the total cost precisely, being short by even one means an upgrade will refuse to apply and the material count on that screen will show a shortfall.
The clean confirmation is the Dressed to Kill trophy and achievement, which unlocks once all equipment is at maximum level — that covers the Fine Silk Cloth side as well, so it will not pop from Tamahagane alone. If it has not triggered, run Oni Vision through the districts holding the trickier chests, and double-check that the three Ace Archer challenges are all marked complete rather than just started.