Ambrus’s Cellars: Trouble Brewing is the city-bound entry in the blood cellar chain, and it works differently from the two rural raids. Instead of a camp, the target is a house in the middle of Svartrau City, and the activity adds a second objective on top of smashing the barrels. It costs 3 time units off the 30-day clock, and it can be failed outright if you leave it too long.
Quick answer: Kill the guards outside the cellar in Svartrau City, follow the blood trail inside, defeat the lone indoor guard, interact with the barrels and pick [collect the blood] before destroying them, then go upstairs, interact with the alchemy equipment, and spare Master Dietmar to earn the Lasting Malediction Manual and Potent Razor Claw Vial.
Where the cellar is in Svartrau City
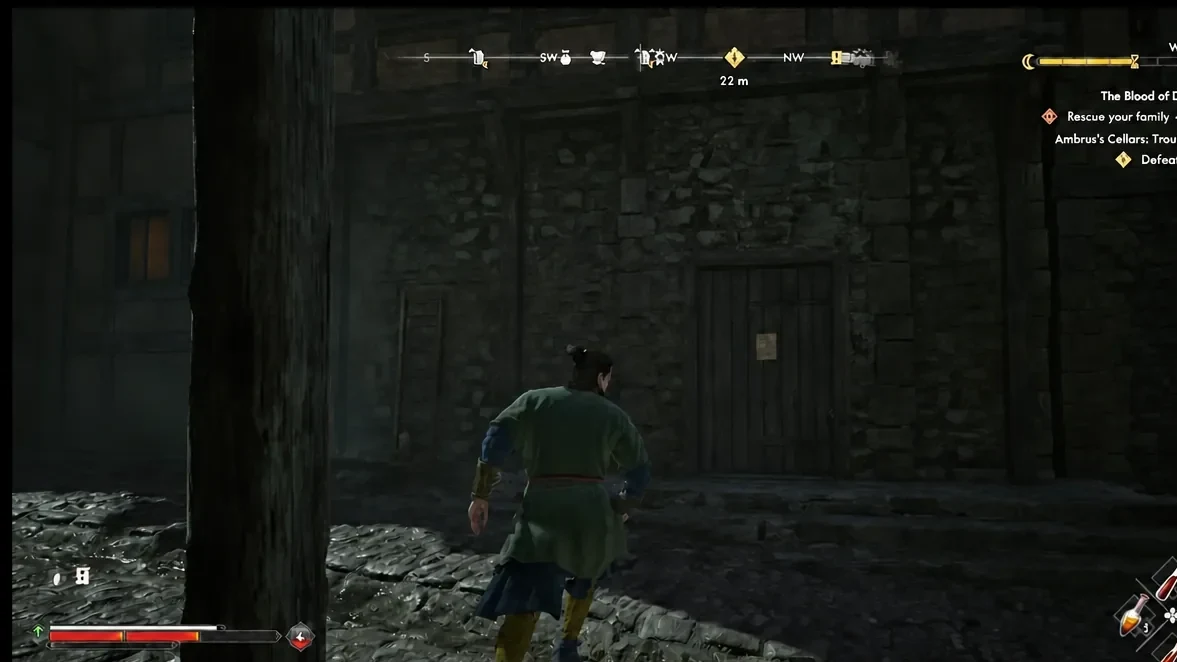
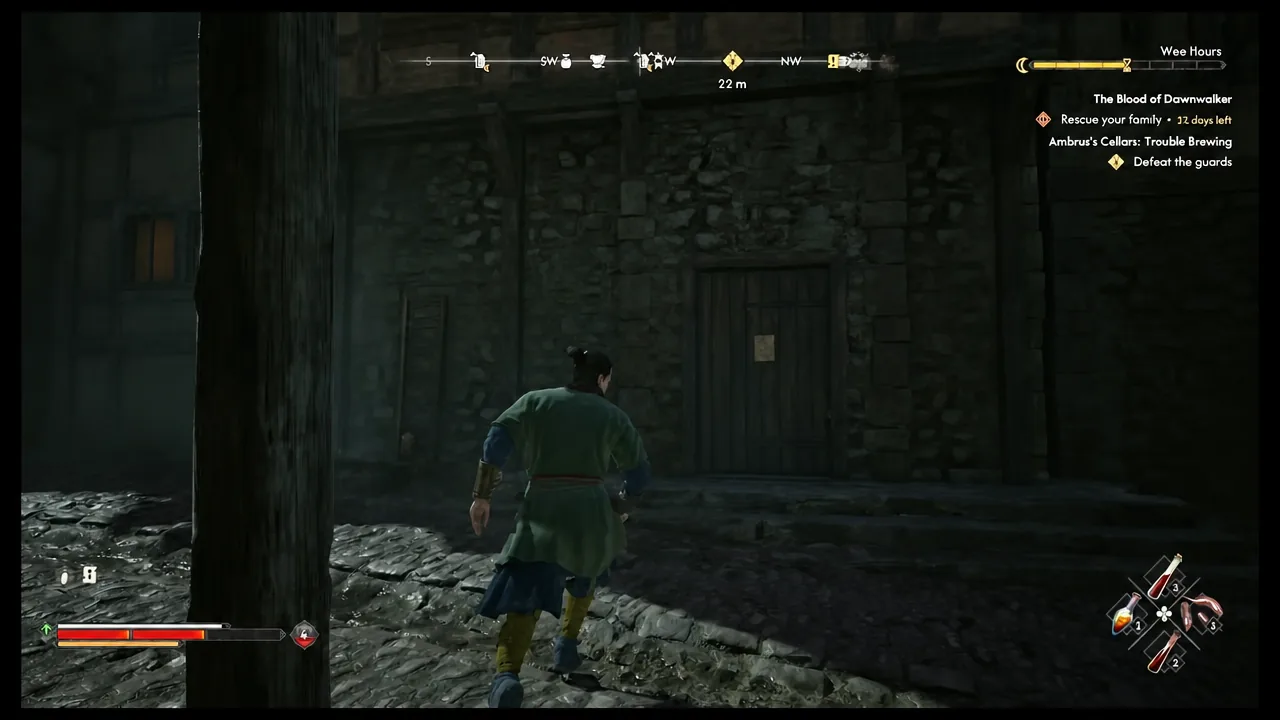
The activity begins around Altenmarkt, inside the Svartrau City region. Court activities are not pinned on your map by default — they show up as unknown activities until you physically find them, so the fastest approach is to look for the yellow banner with the black zigzag pattern that marks every one of Ambrus’s holdings. In the city, that banner sits above the entrance to the guarded building rather than a camp gate.
The quest can be run during the day or at night, and the time cost is the same either way. Night has a practical edge: claws hit harder than a sword after dark, and Shadowstep lets you climb walls and rooftops around the target house. Climbing onto the roofs above the alley is the cleanest way to open the fight, since you can drop into a stealth attack instead of walking into the whole guard patrol at once.
Objectives, time cost and rewards
Three objectives, none optional, all pinned once you have found the location.
| Detail | Value |
|---|---|
| Objectives | Defeat the guards → Investigate the house → Destroy the blood stock |
| Total time cost | 3 time units (2 for investigating, 1 for destroying) |
| Time of day | Day or night, same cost |
| Region | Svartrau City, starting around Altenmarkt |
| Missable | Yes — it has a failure ending tied to the coronation deadline |
| Base rewards | 750 XP, 2 skill points |
| Extra rewards | Lasting Malediction Manual ×1, Potent Razor Claw Vial ×1 |
The Lasting Malediction Manual is a Superior perk manual and the Potent Razor Claw Vial is an Epic potion. Both come from the conversation at the end, not from the barrels.
Clearing the guards and reaching the blood stock
Collect the blood or destroy the barrels
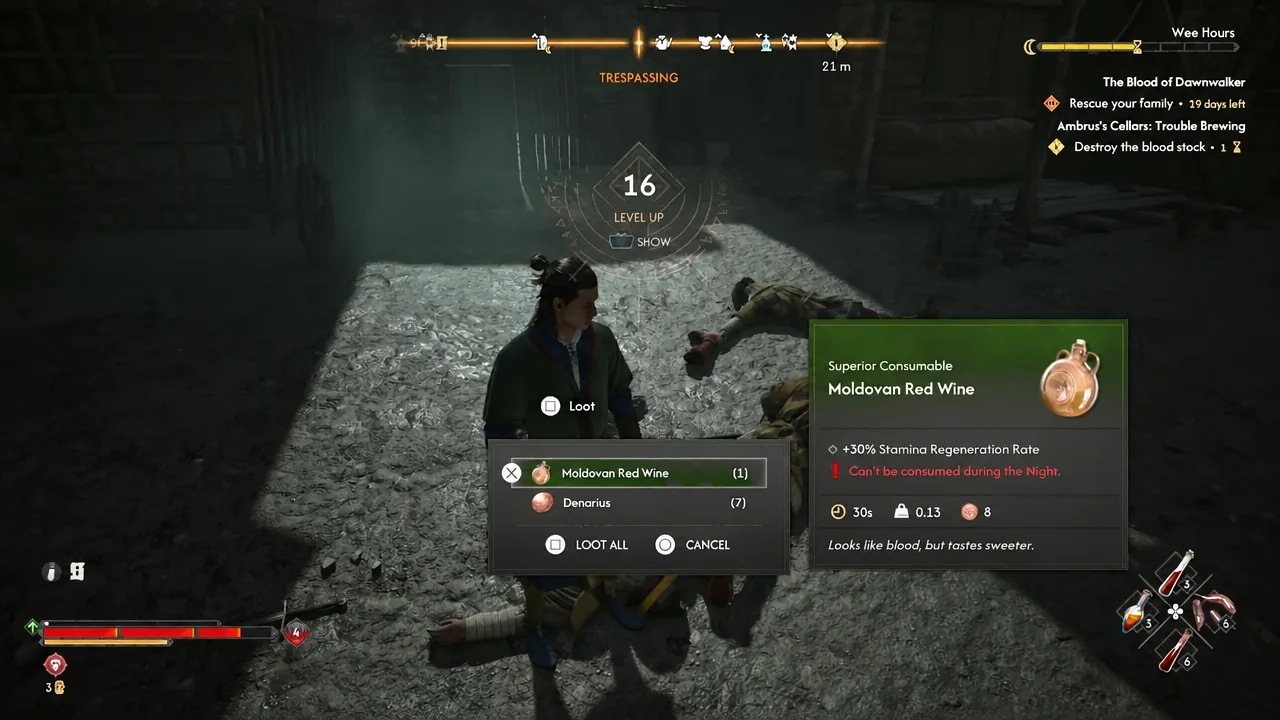
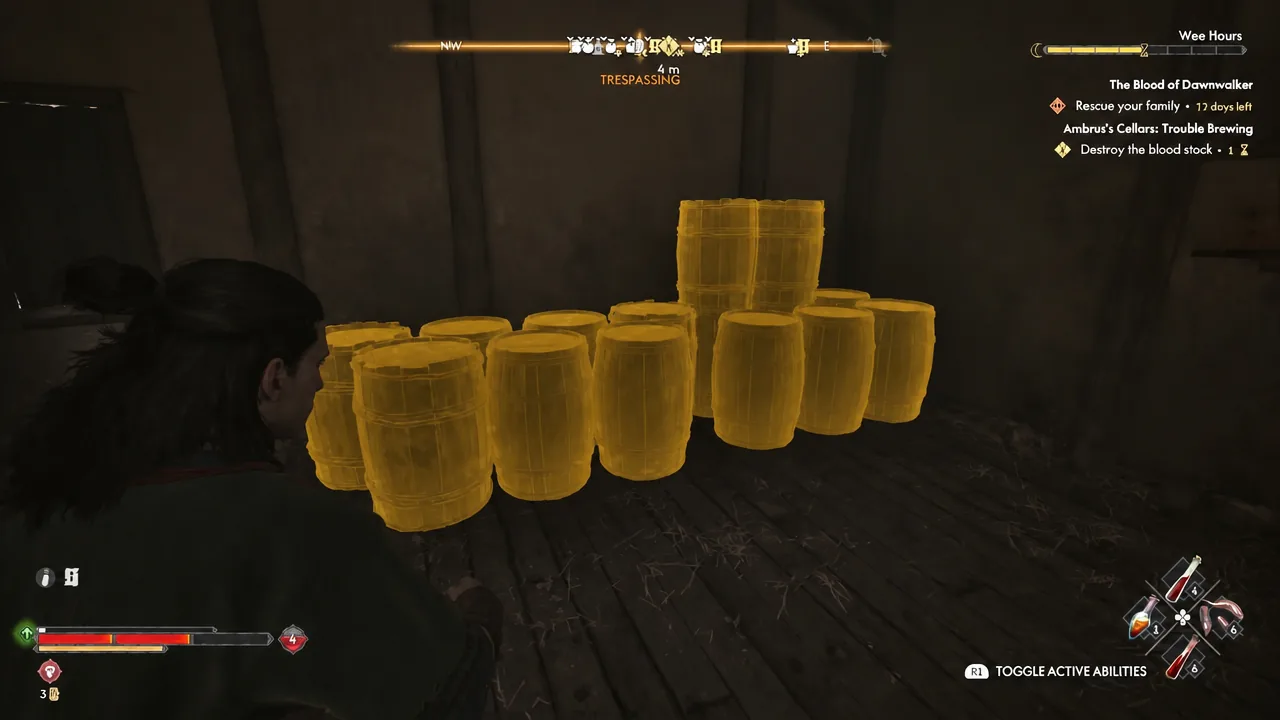
Interacting with the barrels opens two prompts, [collect the blood] and [destroy the barrels]. Collecting first does not cancel the objective. You still wreck the stock afterwards, so the only thing you gain by picking it is a handful of blood vials, which restore health while you are in vampire form. Given how much healing the fights ahead demand, taking the blood before smashing the rest is the practical call.
No story branch, locked dialogue, or reward change has surfaced from this choice. It reads as a character beat rather than a mechanical fork, so pick whichever fits how you are playing Coen.
Investigate the house and find Master Dietmar


Kill or spare the alchemist
You can execute Dietmar for working with the vrakhiri or let him go. Sparing him is the option that pays, since it hands over the Lasting Malediction Manual and the Potent Razor Claw Vial on top of the 750 XP and 2 skill points. Killing him ends the encounter without those two items, and his account of being coerced makes mercy the coherent read anyway.
Note: the manual and vial are attached to the conversation, not to the barrels. Destroying the stock and walking out without going upstairs still closes the activity, but you lose both.
How to confirm it completed
The successful ending logs as Coen noting that he has destroyed the blood stockpile and that Ambrus will be furious about it. Your journal fills in the 750 XP and 2 skill points, and if you spared Dietmar the two rare items land in your inventory during the same wrap-up. There are only two endings in total, and the second is the failure state, recorded as never having got round to destroying the cellar.
That failure is the one thing to watch. Because the activity is missable and tied to the coronation deadline, letting the 30-day clock run down takes it off the board permanently. It only costs 3 time units, so there is little reason to defer it.
Where this fits in Ambrus’s court activities
Blood cellars are one node inside Ambrus’s 14 court activities, sitting alongside his transports, collectors, prisoners and dungeons. Court activities are what raise a vassal’s anger level, and once Ambrus is angry enough you unlock The Gilded Gauntlet to duel him. Clearing all three cellars — Uninvited, Seeing Red and Trouble Brewing — is an efficient way to push that meter, since each one is short and the two rural cellars are simpler than this city version.
You do not need every activity in his region. Roughly three quarters of them is enough to trigger the boss quest, and Ambrus is the level 1+ vassal, so his node is the natural first target before moving on to Bakir and Xanthe.