Ambrus’s Collectors: Bounty of the Mire is one of the Court Activities that raises Ambrus’s anger level in The Blood of Dawnwalker. It sits in the swampy stretch of Vale Sangora, costs three time segments, and hands over a Skill Point once you clear it. The activity is available to Coen right after the Prologue and scales to the Ambrus region’s level 1+ range, so it works as an early-game stop.
Quick answer: Approach the leech collectors’ camp in the bogs to start the activity, kill every camp guard, then either destroy the leech barrels or agree to leave them alone when the collectors ask. Either resolution closes the activity and awards 1 Skill Point.
Bounty of the Mire location in Vale Sangora
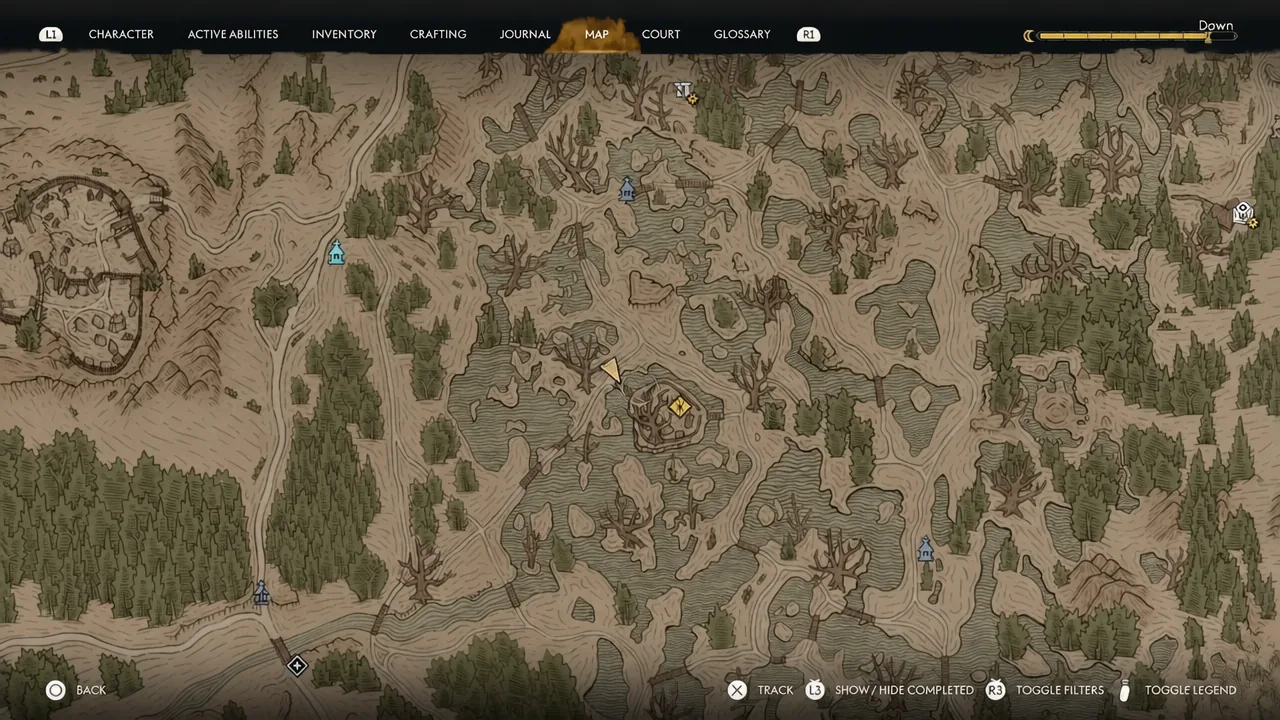
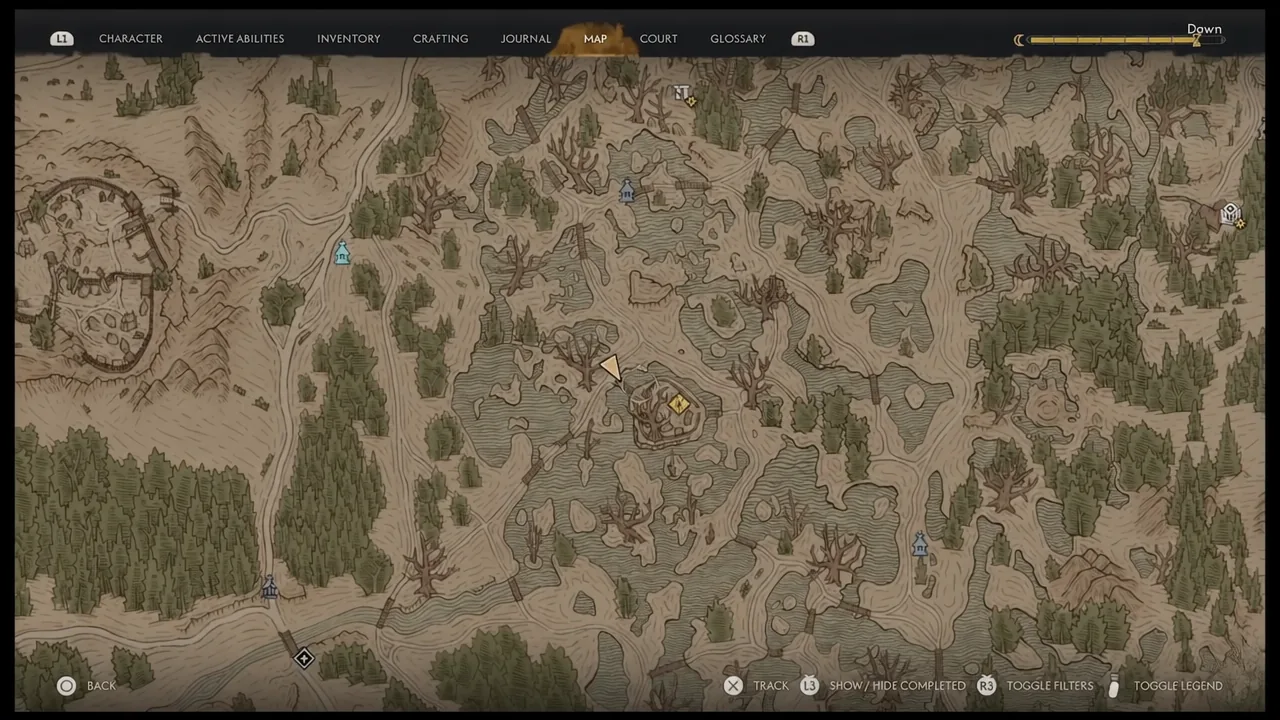
The camp is planted in the marshland of the Briar Sloughs, roughly between Briar Sloughs Crossing, Stoneward Post, and the Muddy Trail. You will spot it by the tents and the yellow-and-black flags, with a wooden bridge running toward the entrance. Court Activities are not pinned on your map by default and show up as “Unknown Activity” until you physically find them, so climbing the nearby towers first is the fastest way to get question-mark icons on the map.
There is a second way in. An Urgent Letter sits inside a barrel elsewhere in Vale Sangora, and reading it opens this activity along with two more of Ambrus’s leech collector jobs. You do not need the letter to start Bounty of the Mire, though. Walking up to the camp triggers it on its own.
Clearing the camp guards
The first objective is blunt: Ambrus’s soldiers are guarding the camp and all of them have to die. The journal entry updates the moment the last guard drops.
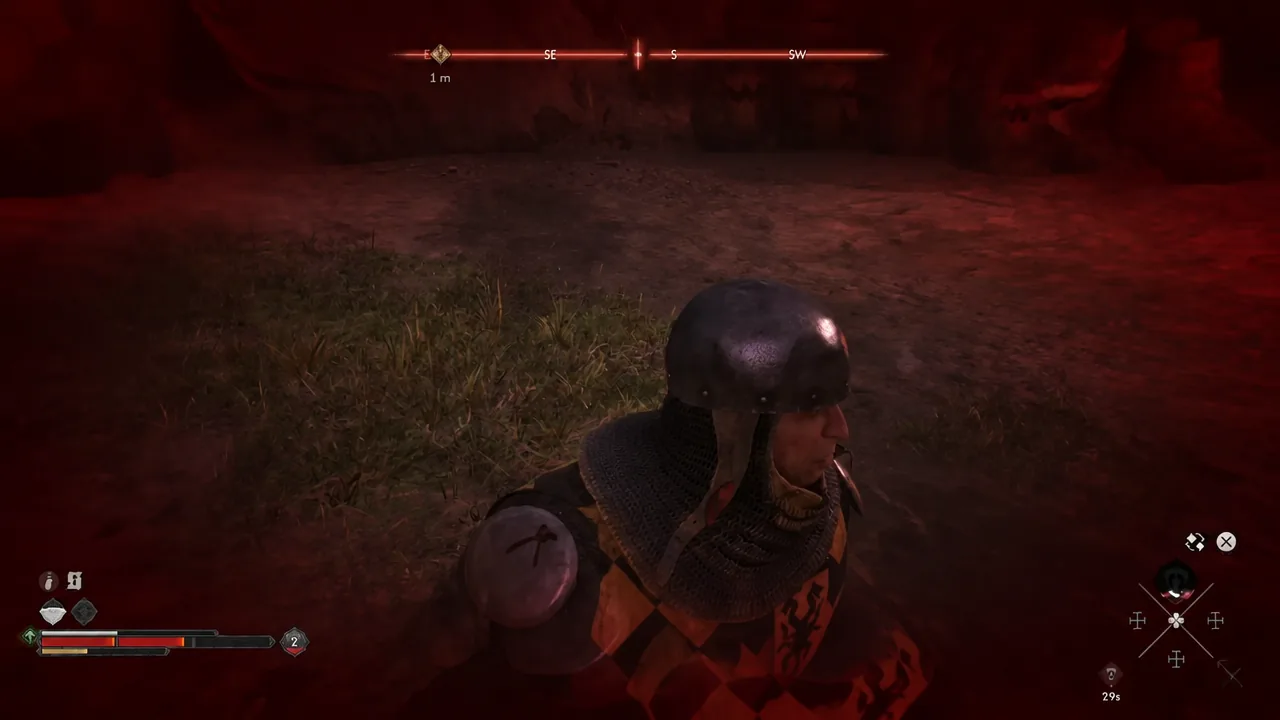
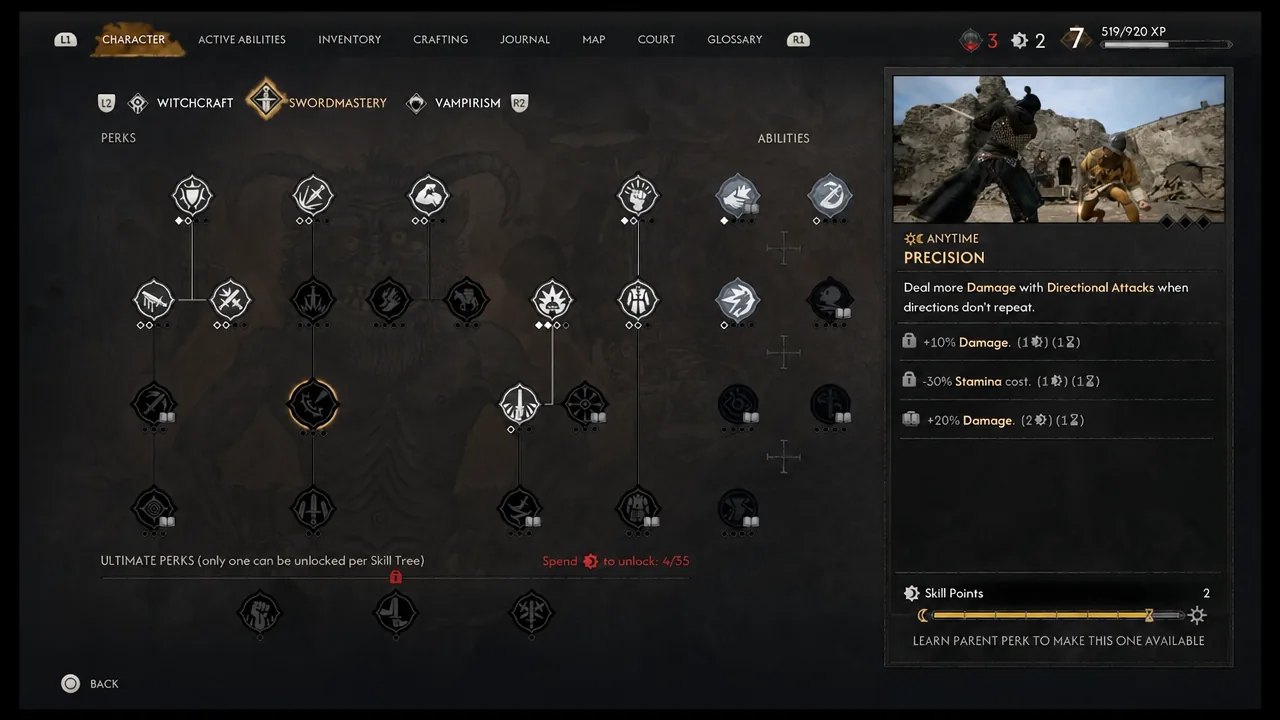
The Precision Manual feeds into the Swordmastery side of Coen’s build, where the Precision perk lives on the Character screen with its own unlock requirements listed alongside it. The salve recipe is a crafting unlock rather than a consumable, so it goes into your recipe list rather than your pouch.
The leech barrel choice and every outcome
With the guards dead, the second objective points you at Ambrus’s leech barrels. The local collectors harvesting the leeches are not soldiers, and they will ask you to leave their haul intact so they can sell it on to the Vrakhiri. That request is the actual decision point of the activity.
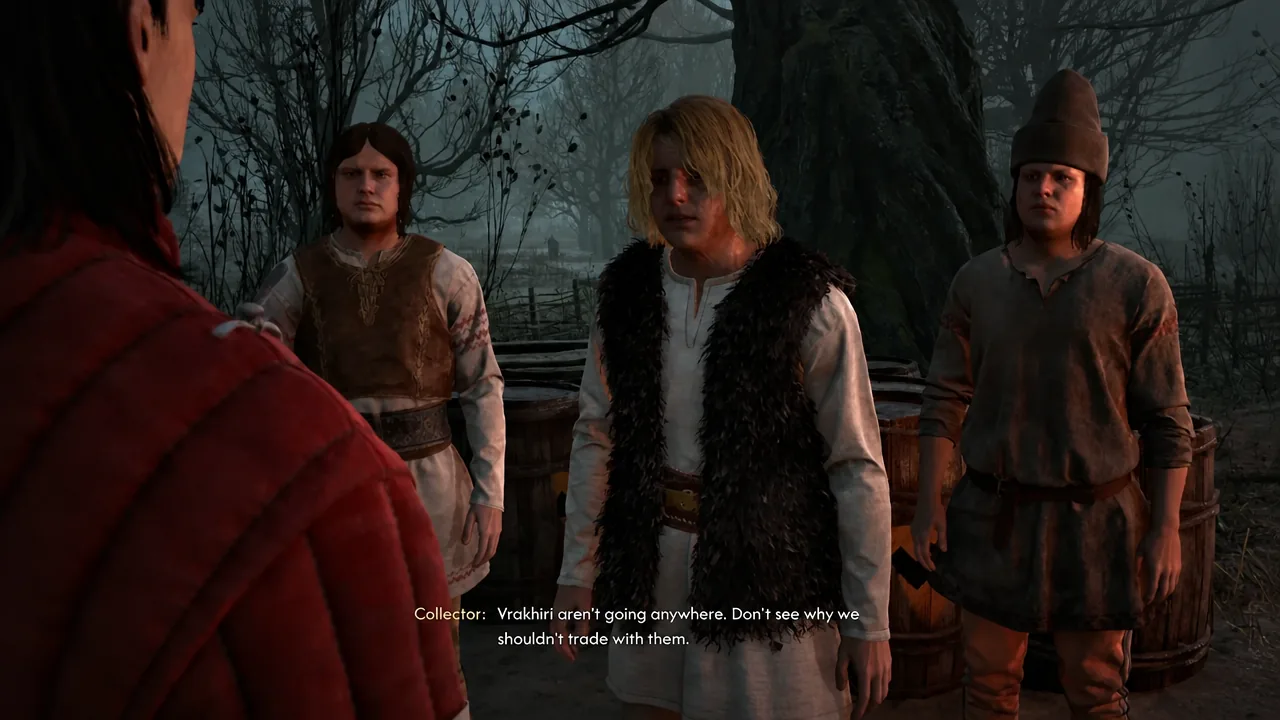
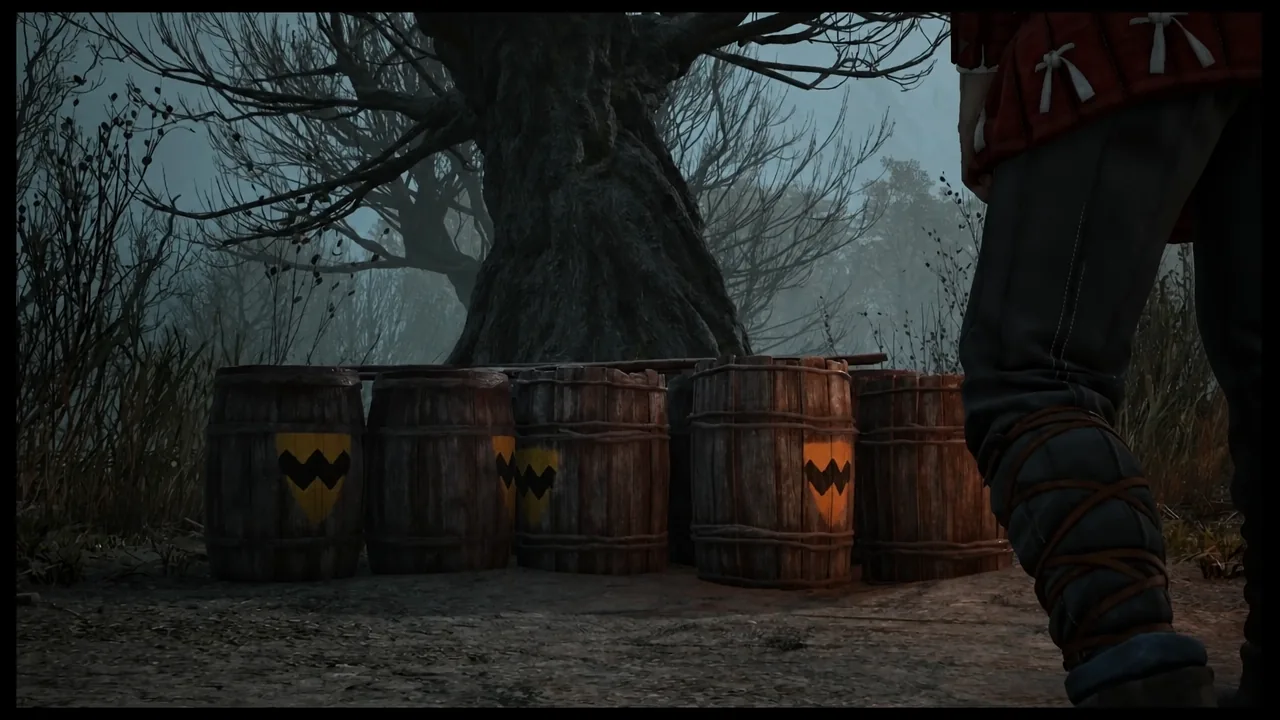
Destroying the barrels means interacting with them directly, one row at a time, until the objective clears.
The journal records the result differently depending on how you handle the collectors and the stash. These are the closing entries the activity can end on:
| What you did | How it closes |
|---|---|
| Wrecked the camp’s operation | Ambrus was using locals to collect leeches, and this camp will not be delivering anything for a long while |
| Destroyed the barrels despite the collectors’ plea | They asked you not to, but the barrels went anyway |
| Left the barrels standing at their request | You spared them a punishment, with no guarantee it will not come back on you |
| Collectors fought to protect the stash | You killed them before smashing Ambrus’s supply |
| Walked away entirely | You left the camp alone because Brencis matters more |
Sparing the barrels still resolves the activity. Sparing the collectors themselves is the safer habit anyway, since killing non-hostile NPCs and quest givers can shut you out of other content in Vale Sangora.
Rewards, time cost, and how to confirm it finished
| Detail | Value |
|---|---|
| Region | Vale Sangora, Briar Sloughs area |
| Vassal | Ambrus (Level 1+) |
| Category | Leech Collectors Court Activity |
| Time cost | 3 time segments |
| Objectives | Defeat the camp guards, then destroy the leech barrels |
| Reward | 1 Skill Point, plus Blood Leeches if you leave the collectors their haul |
| Notable loot | Precision Manual, Recipe for Potent Regenerative Salve |
You will know it worked when the journal entry moves out of your active list and Ambrus’s anger meter in the Court menu ticks up. The Skill Point lands at the same moment. If you took the route of letting the collectors keep their leeches, Blood Leeches show up in your inventory as part of the payout.
Note: the three time segments are deducted from your 30 in-game day limit to defeat all three vassals and reach Brencis. Time only moves when you spend it, so a Court Activity like this one is a deliberate cost rather than something the clock takes from you passively.
Why the activity may not trigger or complete
- You have not reached the camp yet. The activity starts on approach, and until then it stays hidden as an “Unknown Activity” with no map pin.
- You are still in the Prologue. Court Activities only open up once the Prologue ends.
- A guard is still alive somewhere in the camp. The barrel objective will not appear until every one of them is down.
- You left the area mid-fight without resolving the barrels or the conversation, leaving the entry sitting in your journal.
Bounty of the Mire is one of three leech collector camps under Ambrus, alongside Wetland Helpers and Unsavoury Solutions, and all three follow the same guards-then-barrels shape. You do not need every Court Activity in the region to draw Ambrus out. Clearing roughly three quarters of them pushes his anger to the top and unlocks the duel, so treat the mire camps as a convenient early cluster rather than a mandatory checklist.