Ambrus is the vassal who keeps Brencis’s court supplied with blood, and every one of his Court Activities exists to break part of that supply chain. They open up right after the Prologue, they sit in the lowest-level region of the map, and they are the fastest route into the main story because they double as your first boss track.
Quick answer: Complete at least 10 of the 14 Ambrus Court Activities to max out his anger level. That unlocks the duel questline, The Gilded Gauntlet followed by The Bittersweet Toast, which is the Ambrus boss fight.
How Ambrus Court Activities unlock the boss fight
The Blood of Dawnwalker has 41 Court Activity locations spread across three vassals — 14 for Ambrus, 12 for Bakir, and 15 for Xanthe. They function as the main quests. Every activity you clear in a vassal’s region raises that vassal’s anger level, and when the meter fills you get a quest to draw them out and fight them. Killing all three vassals is what finally exposes Brencis.
Ambrus is scaled for Level 1 and up, which is why his region is the sensible first target before Bakir (Level 20+) and Xanthe. He controls the collection, storage, and distribution of blood, so his activities are all transports, leech barrels, cellars, and prison camps.
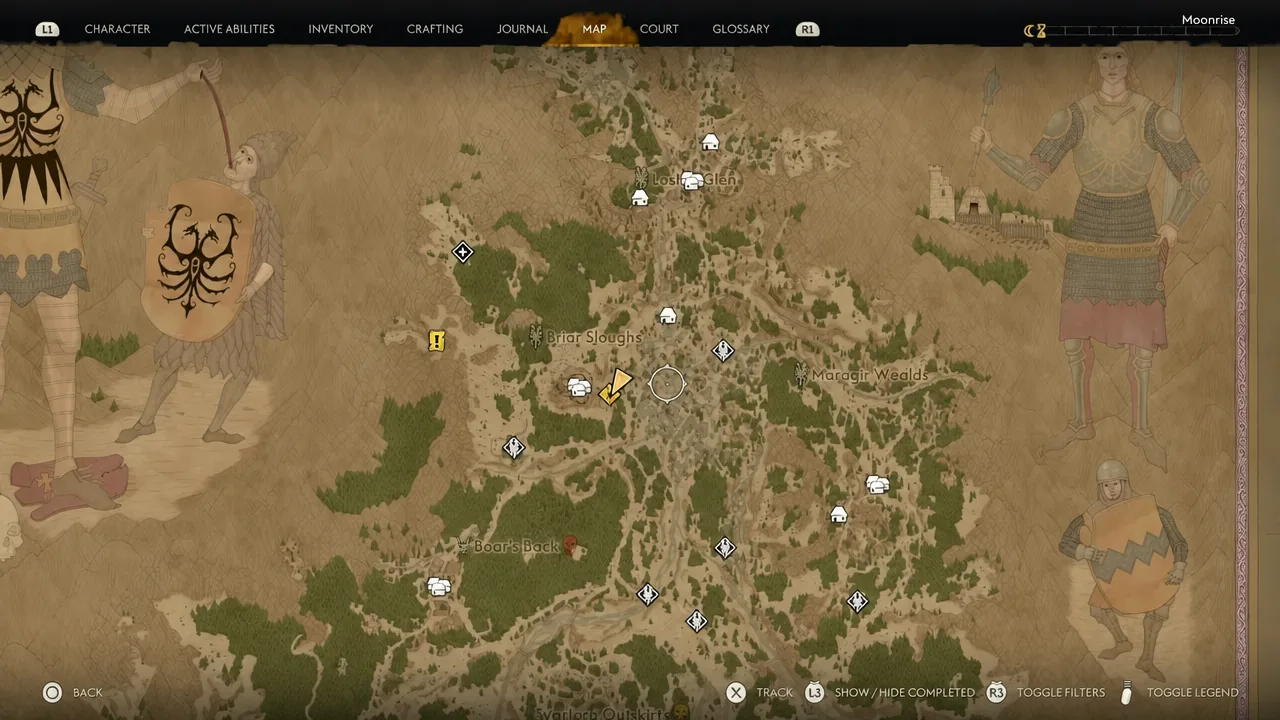
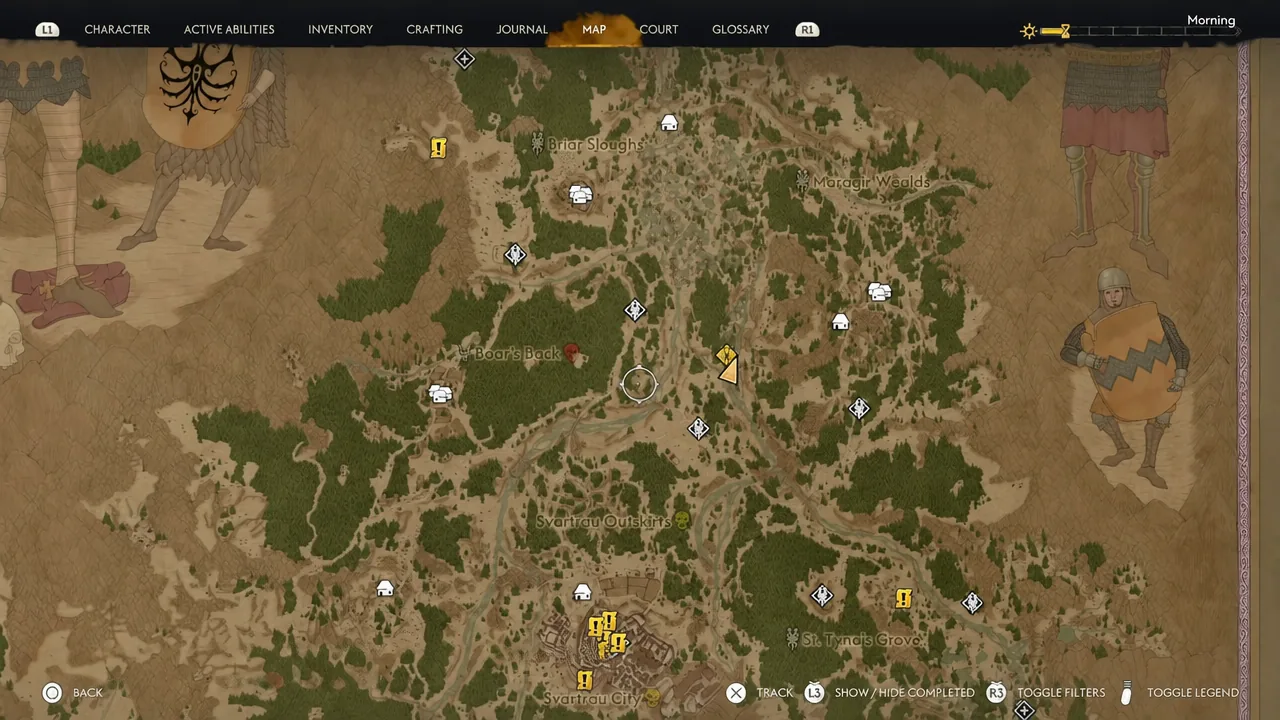
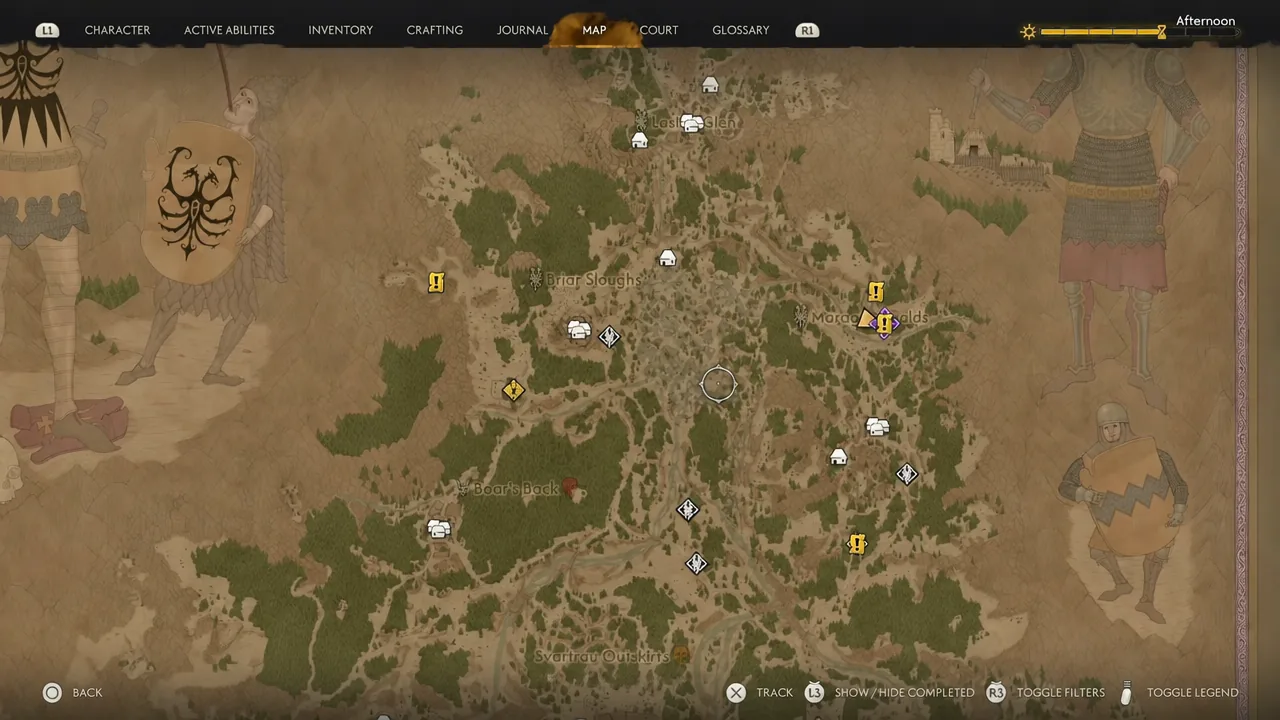
The catch is that none of these are pinned on your map by default. They show up as “Unknown Activity” until you physically find them in the world. Climbing the towers scattered across the map marks nearby activities with white question-mark icons, which flip to yellow exclamation icons once you get close enough to trigger them.
Time in this game is a currency, not a clock. It only moves when you complete quests or pick certain dialogue options. You have 30 in-game days to kill all three vassals and rescue your family, and the full Ambrus questline costs 58 time segments — 36 from the activities themselves, 3 from The Gilded Gauntlet, and 9 to 10 from The Bittersweet Toast.
All 14 Ambrus Court Activities and their time cost
| Activity | Category | Time |
|---|---|---|
| Ambrus’s Transports: Bloody Business | Blood Transports | 3 |
| Ambrus’s Transports: Roadside Surprise | Blood Transports | 3 |
| Under Watchful Eyes (with The Firebrand) | Prisoner Processing Camp | 3 |
| Ambrus’s Collectors: Bounty of the Mire | Leech Collectors | 3 |
| Ambrus’s Collectors: Wetland Helpers | Leech Collectors | 3 |
| Ambrus’s Collectors: Unsavoury Solutions | Leech Collectors | 3 |
| Ambrus’s Prisoners: Lucky Crossing | Prisoner Transports | 3 |
| Ambrus’s Prisoners: Fate’s Mercy | Prisoner Transports | 3 |
| Ambrus’s Cellars: Uninvited | Blood Cellars | 1 |
| Ambrus’s Cellars: Seeing Red | Blood Cellars | 1 |
| Ambrus’s Cellars: Trouble Brewing | Blood Cellars | 1 |
| Ambrus’s Dungeons: Judge and Executioner | Dungeons | 3 |
| Ambrus’s Dungeons: Evil and Convenience | Dungeons | 3 |
| Ambrus’s Dungeons: Twists and Turns | Dungeons | 3 |
If you are trying to reach the duel for the smallest possible time spend, the three cellars are the obvious picks. Each costs a single time segment instead of three, so all three cellars together cost less than one road ambush.
Blood cellars: Uninvited, Seeing Red, and Trouble Brewing
All three cellars follow the same shape. Get underground, kill whatever is guarding the stock, then interact with the crates and barrels to destroy them. Some entrances are not obvious from the surface, so use Focus Mode to trace the route down.
Uninvited is set in a stone outpost near Psovlav and ends with Murohn, Malformed Monstrosity, a single heavy enemy standing between you and the blood stock. Killing it drops Murohn’s Blood, and the Survivor’s Ring is also here.
Seeing Red takes place in a much more heavily guarded ruin. Alongside the barrels you can pick up Ambrus’s Blood Network, a document mapping out how the supply chain is organized, plus the Fate’s Favour Manual.
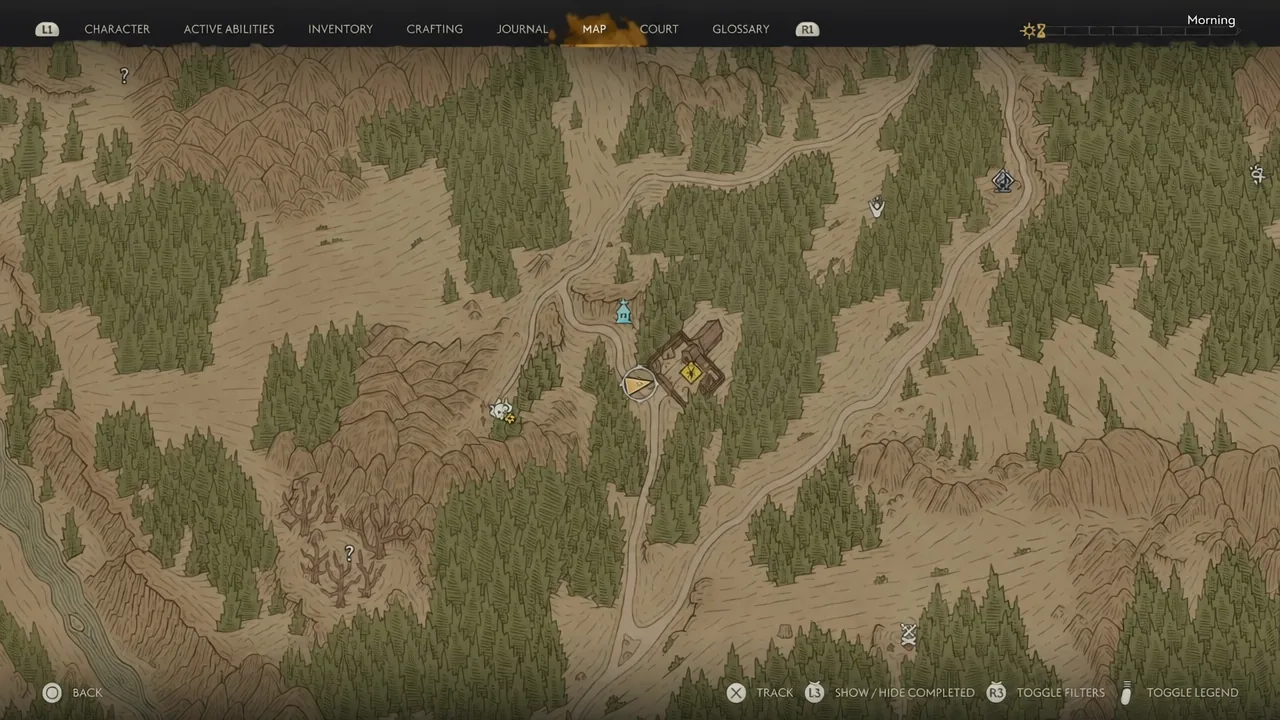
Trouble Brewing is inside Svartrau City, tucked into a house. Clear the enemies and smash the barrels on the ground floor, then head upstairs, where an alchemist is being forced to brew a blood substitute. Sparing him hands you the Lasting Malediction Manual and a Potent Razor Claw Vial.
Blood and prisoner transports on the road
Four of Ambrus’s activities are moving convoys, split into two blood transports and two prisoner transports. These groups patrol a stretch of road rather than sitting still, so if the quest marker does not appear where you expect it, walk the road in both directions until it pops.
Bloody Business runs near Briar Sloughs. Wipe out the escort, then loot the captain’s body for the Letter of Reprimand, which spells out Ambrus’s role in keeping the vrakhiri fed. The Sharp Eye Manual and the Recipe for Potent Vigour Infusion are also on this convoy.
Roadside Surprise is a roadside camp instead of a walking group. Kill the guards, then interact with the barrels to destroy them. One barrel contains Klaus the Brave, who has hidden himself inside. The Pendant of Yakhari’s Swiftness, Kobold’s Blood, and Uriashi Smoked Cheese are all lootable here.
Lucky Crossing is an escorted prisoner column. Free the captives and you meet Ursul Varna, also called Ursul the Undefeated, who challenges you to a duel. Take him up on it at his camp afterwards and beating him turns him into a Swordmastery teacher, opening a shop that sells the Second Skin II, Omniblock, and Counterattack manuals.
Fate’s Mercy works the same way. Break the escort, free the prisoners, and Danylo invites you to his smithy in Svartrau.
Leech collector camps in the swamps
The leech line starts when you attack a swamp camp to find out why Ambrus’s soldiers are hauling in leeches. That discovery opens the three collector activities, and each one ends the same way: clear the camp, then interact with the leech barrels to destroy them.
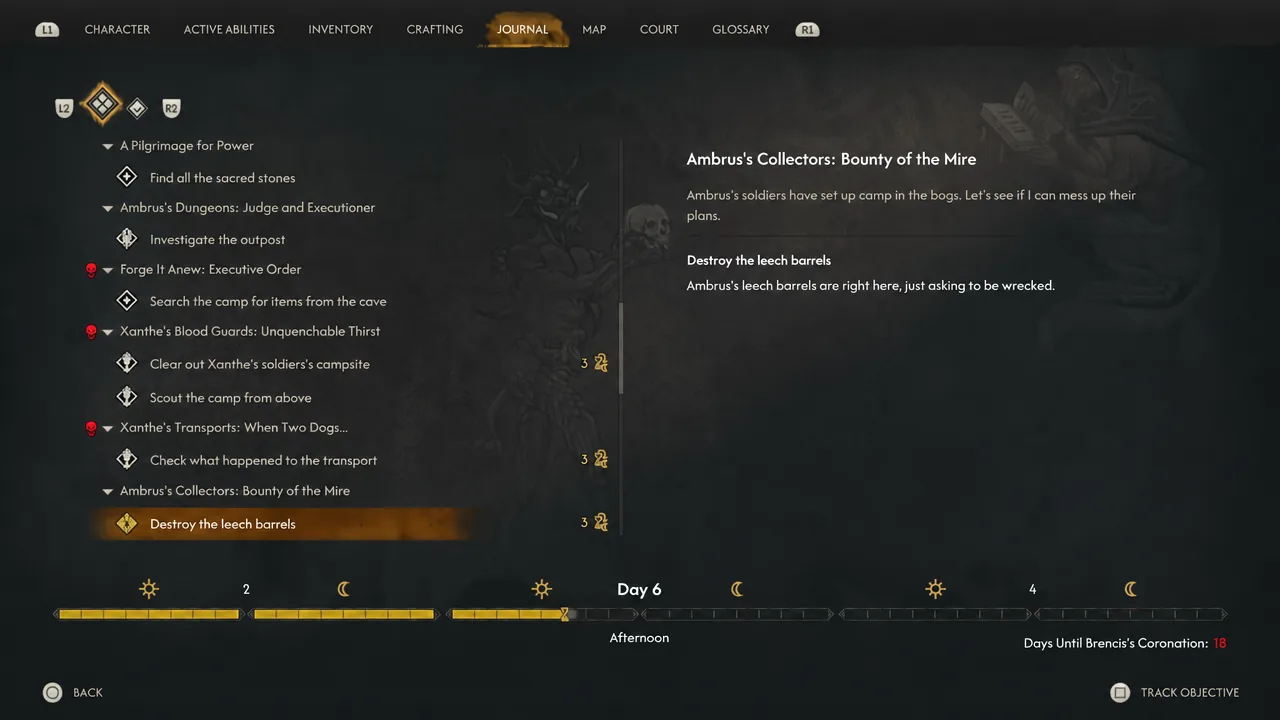
Bounty of the Mire is the only one with a wrinkle. The collectors here are mortals who will try to talk you out of it, since the vrakhiri are paying them. Destroying the barrels anyway completes the activity.
Wetland Helpers is a night camp with a standard guard rotation and no dialogue to worry about. Unsavoury Solutions is the toughest of the three because a mini-boss called The Bloodletter defends the site. Clearing it yields the Master Fencer Manual and a Phial of Bakir’s Blood.
Dungeons and the prisoner processing camp
The dungeon activities are the longest of the set and the ones with real choices attached. Each is worth 3 time segments.
Judge and Executioner has you investigate a soldier outpost, kill the guards, and pull Ambrus’s directives off a body. Loot the Keeper’s Keys and you can talk to the prisoners in the cell to release them. One of them is Branko. Leaving Branko locked up is the correct call — he was informing on the other prisoners, and a report you can find later at the woodcutter’s camp confirms it. Free both and you can return to their camp after a day passes.
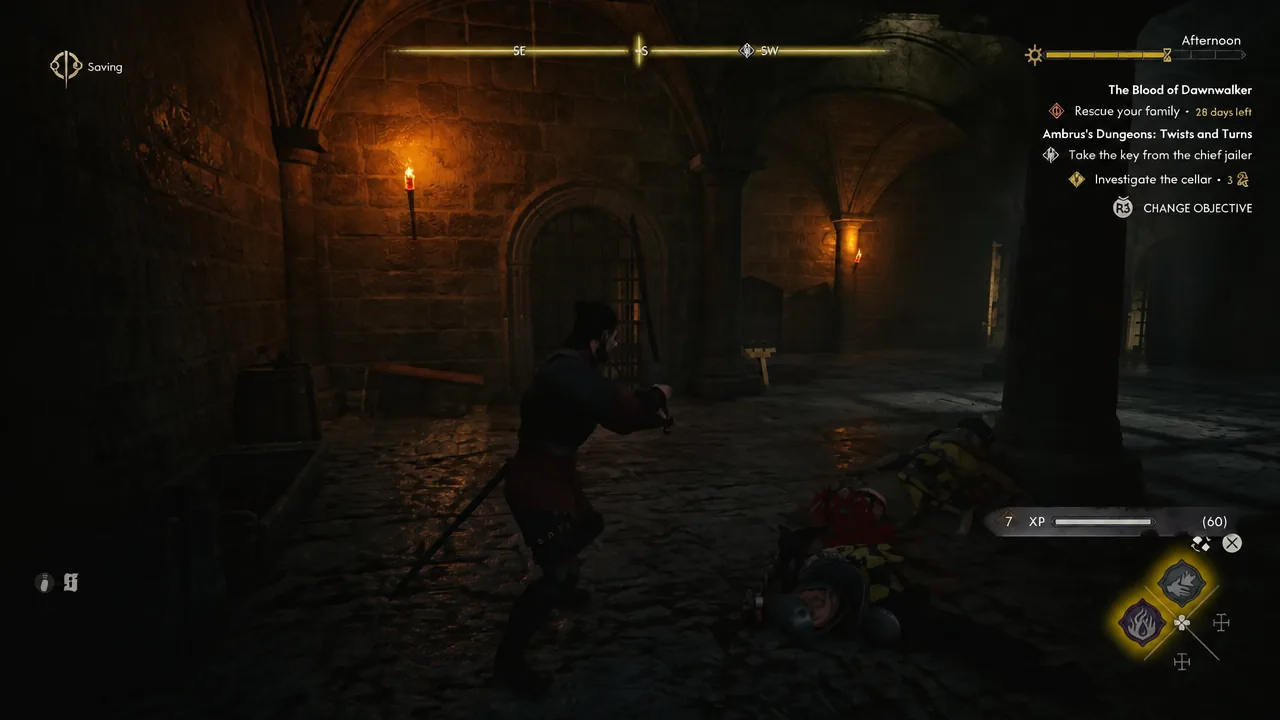
Twists and Turns sends you into a cave cellar stacked with drained bodies. Kill the guards, then open the cell and release the survivors.
Evil and Convenience is the one people get stuck on, because the building you need is locked. Here is the order that works.
Separate from the dungeons, the prisoner processing camp counts as a single activity. Returning to Laslea Glen starts The Firebrand, which walks you through searching Vlad’s Hut and the mill before pointing you at the Stoneward Post. Clearing the camp there and getting the prisoner out completes Under Watchful Eyes and the side quest at the same time, for a combined 3 time segments.
How to confirm Ambrus is ready to fight
You get an on-screen notification about your Infamy rating as you work through the list — that is the running measure of how much damage you have done to Brencis’s operation. Once Ambrus’s anger level hits maximum, The Gilded Gauntlet appears in your journal, and it leads directly into The Bittersweet Toast, which is the fight itself. If neither quest has shown up, you have not cleared enough of his 14 activities yet.
Two things to watch for. Only activities inside Ambrus’s region feed his anger meter, so time spent in Bakir or Xanthe territory does nothing for this unlock. And because activities stay hidden until discovered, an activity you have walked past but never triggered has not been counted.
Rising infamy also has a cost. Brencis responds with Edicts that make life harder, including more soldiers stationed in settlements, a bounty on Coen, tougher enemies, and inflated shop prices.
Everything on this list stays available after Ambrus is dead, so there is no reason to grind out all 14 before the duel. Take a manual save before the boss, push through with the 10 you need, and come back for the leftovers, the treasure maps, and Ursul’s manual shop once the pressure is off.