

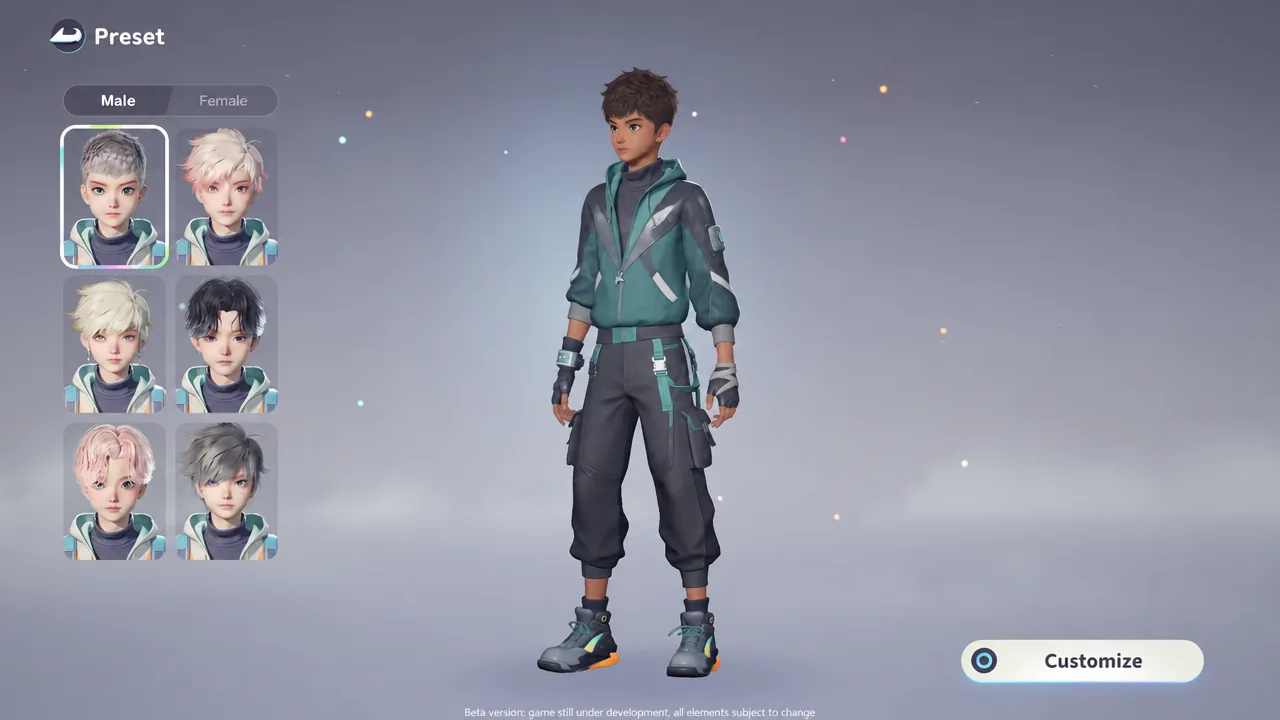
Aniimo is a creature-catching game, but the first real decision you make is what your Pathfinder looks like. The character creator is deep and fully cosmetic, so nothing you pick here changes combat or stats. You can blend presets, push individual sliders, dye hair, and mix outfit pieces down to gloves and shoes.
Quick answer: Open the Appearance tab in the Pause menu, then use Face Adjust, Hairstyle Design, and Clothing Design. Hair and outfit changes are free; editing face, makeup, or body after creation requires a Redesign Card.
How to open character customization in Aniimo
Every appearance setting lives under the Appearance tab in the in-game Pause menu. Inside the Design section you will find three entries: Face Adjust, Hairstyle Design, and Clothing Design. You can reach this screen at any point in a playthrough.
There is one important limit. Hairstyle and outfit swaps cost nothing, but changing your face, makeup, or body proportions after creation requires a Redesign Card. Because of that, it pays to get the face and body close to what you want during the initial creation, when everything is still free to adjust.
Character type, chosen as Male or Female (Type A or Type B) at the very start, sets your presets and cannot be swapped later, so pick the silhouette you prefer up front.
Start with a preset, then use Face Blend
After choosing your character type, you select one of roughly six presets as a starting point. That preset is only a foundation, so you can override anything about it afterward.
To reach a unique look faster, use Face Blend. It combines facial attributes from multiple presets on an interactive blend wheel, and you can drag the node to weight the mix. Once you have a blended base, refine it with the individual sliders. Blending two or three presets first, then tuning details, is usually quicker than building a face from scratch.
Face sliders: shape, eyes, nose, mouth, and ears
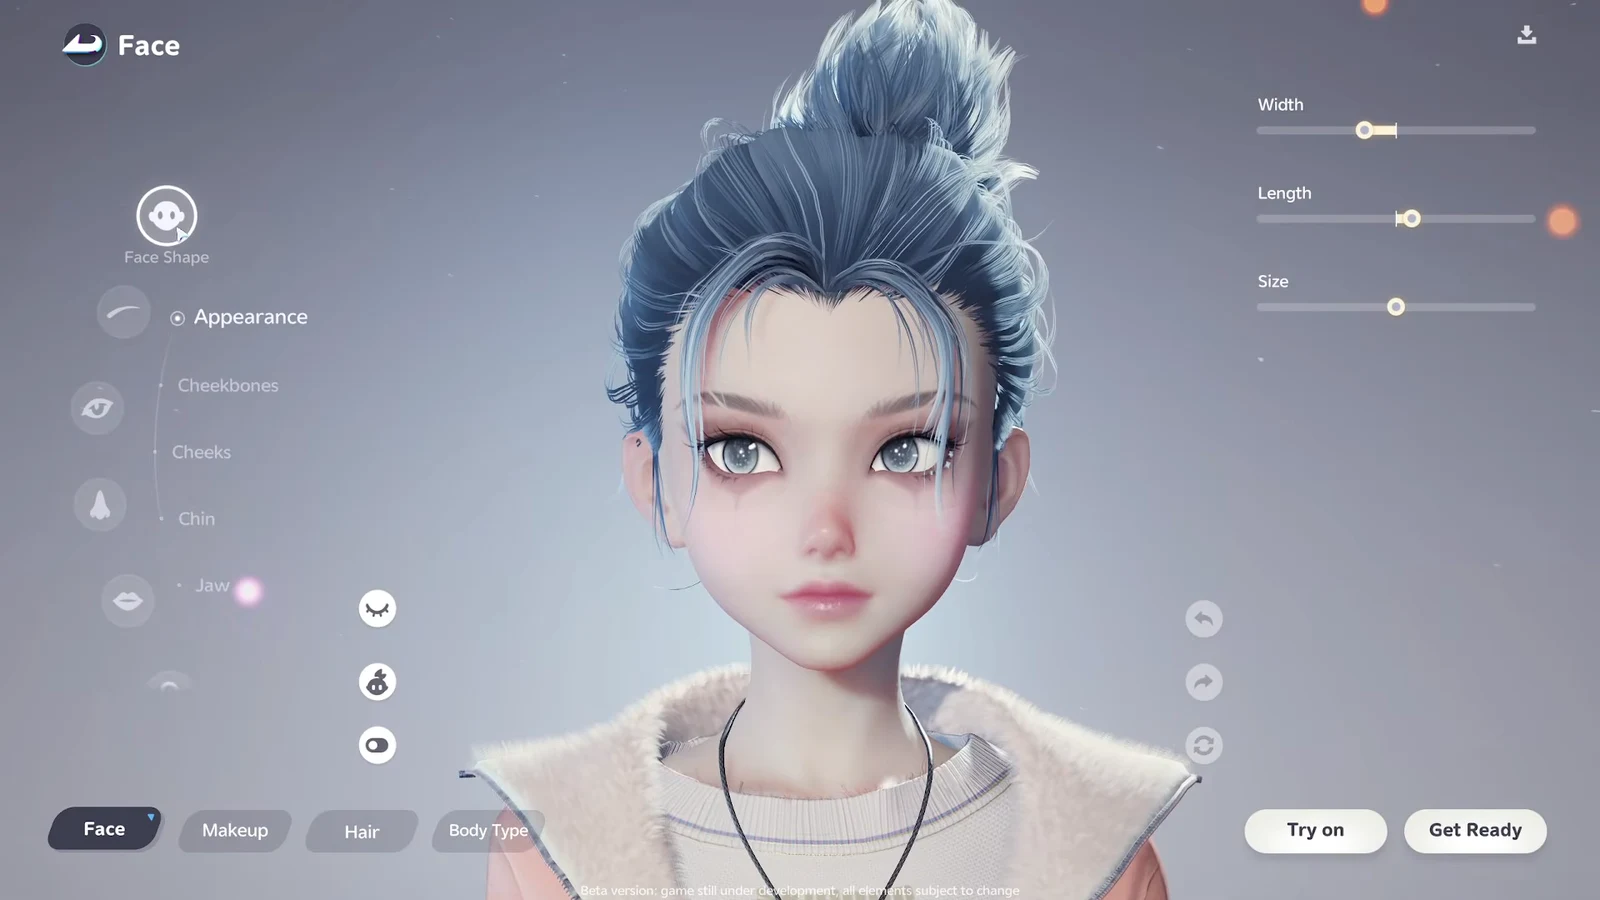
The Face menu breaks the head into zones, each with its own sliders. Start with Face Shape, which controls the overall Width, Length, and Size, then move through the Appearance subcategories for cheekbones, cheeks, chin, and jaw.
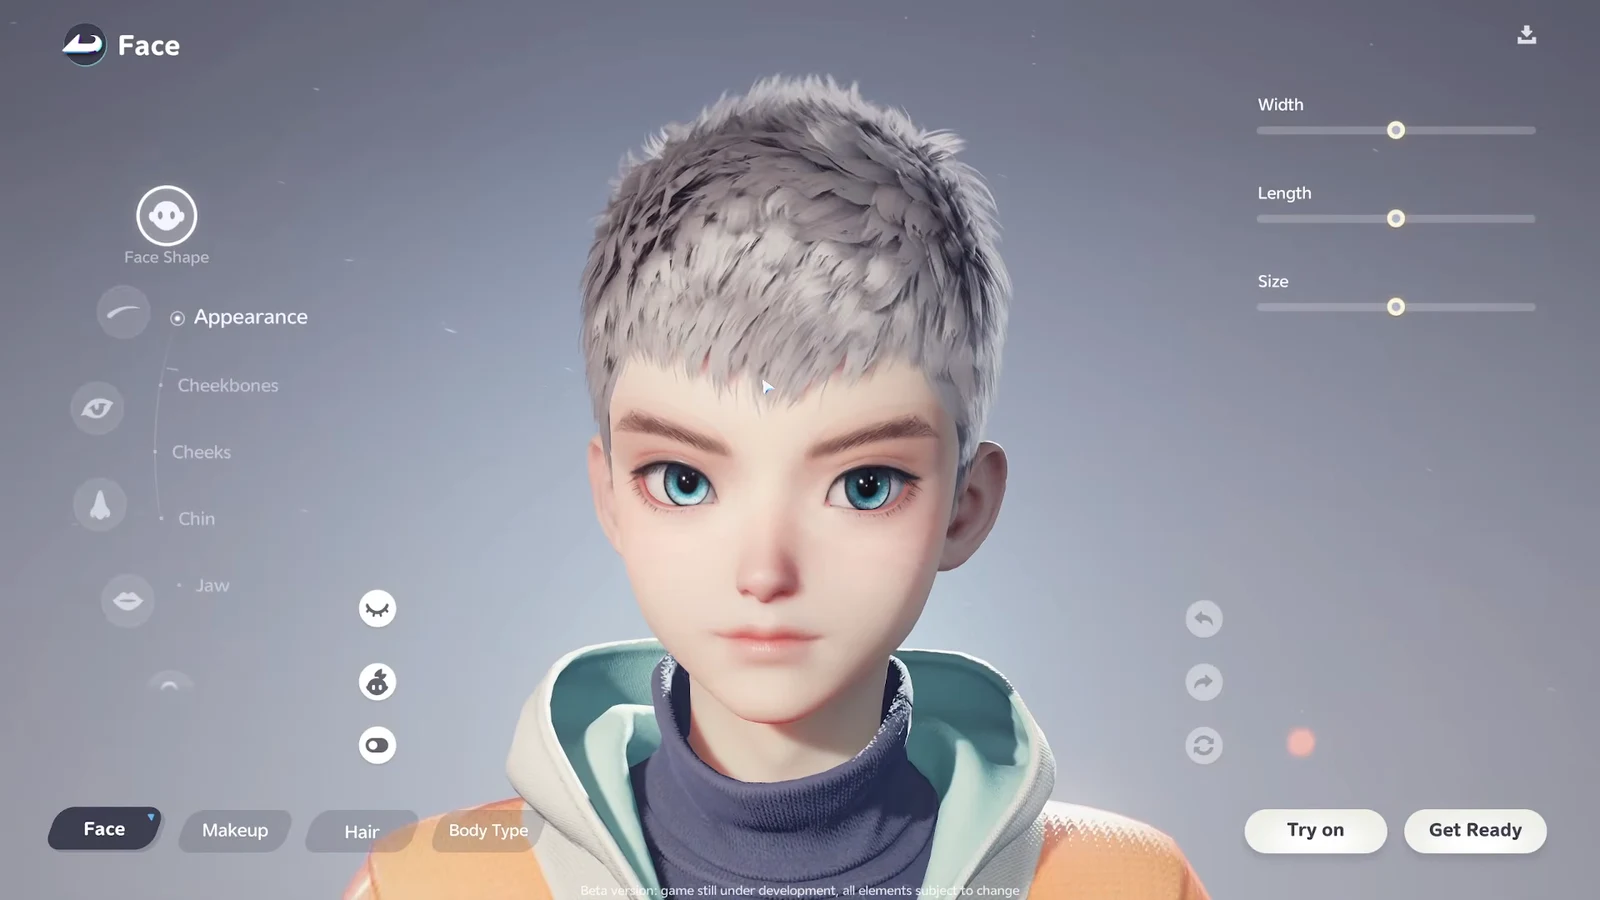
From there you can shape the rest of the face feature by feature. Rotate the model to a side profile when tuning depth and prominence, since those changes read most clearly from the side.
- Eyebrows: Up/Down, Left/Right, Prominence, and Angle.
- Eyes: pupil size, gap, angle, width, upper and lower eyelid angle, eye corners, and eyeball prominence and position.
- Nose: nose tip angle and depth, nostril width and size, and bridge width and depth.
- Mouth: width, size, mouth corner angle, and upper and lower lip fullness.
- Ears: angle, size, inclination, and height, with an elven ear option for pointed shapes.
Makeup, skin, and pupil effects
The Makeup category covers far more than cosmetics. This is also where skin tone lives, and almost every option uses a full RGB color wheel rather than a small fixed palette, so you can match colors precisely.
- Eyelashes and brows: multiple styles with color-wheel control.
- Pupils and iris patterns: shapes such as hearts and stars, plus iris graphics, set per eye for heterochromia.
- Pupil FX: animated glow with controls for glow color, playback and revolution speed, and intensity.
- Eye makeup and blush: metallic texture, roughness, and opacity sliders for a matte or glossy finish.
- Lips and markings: lipstick styles plus repositionable facial art such as paw prints, moons, and stars.
- Skin: a full 360-degree color wheel with undertone, metallic, and roughness controls applied across the body.
Facial markings and art decals include a self-illumination slider, so you can make a symbol glow or keep it flat against the skin.
Hairstyle Design: presets, dye, and modular pieces
Hair is handled in the Hairstyle Design menu, and changing it is free of cost. Pick a base style first from the Overall category, then refine it.
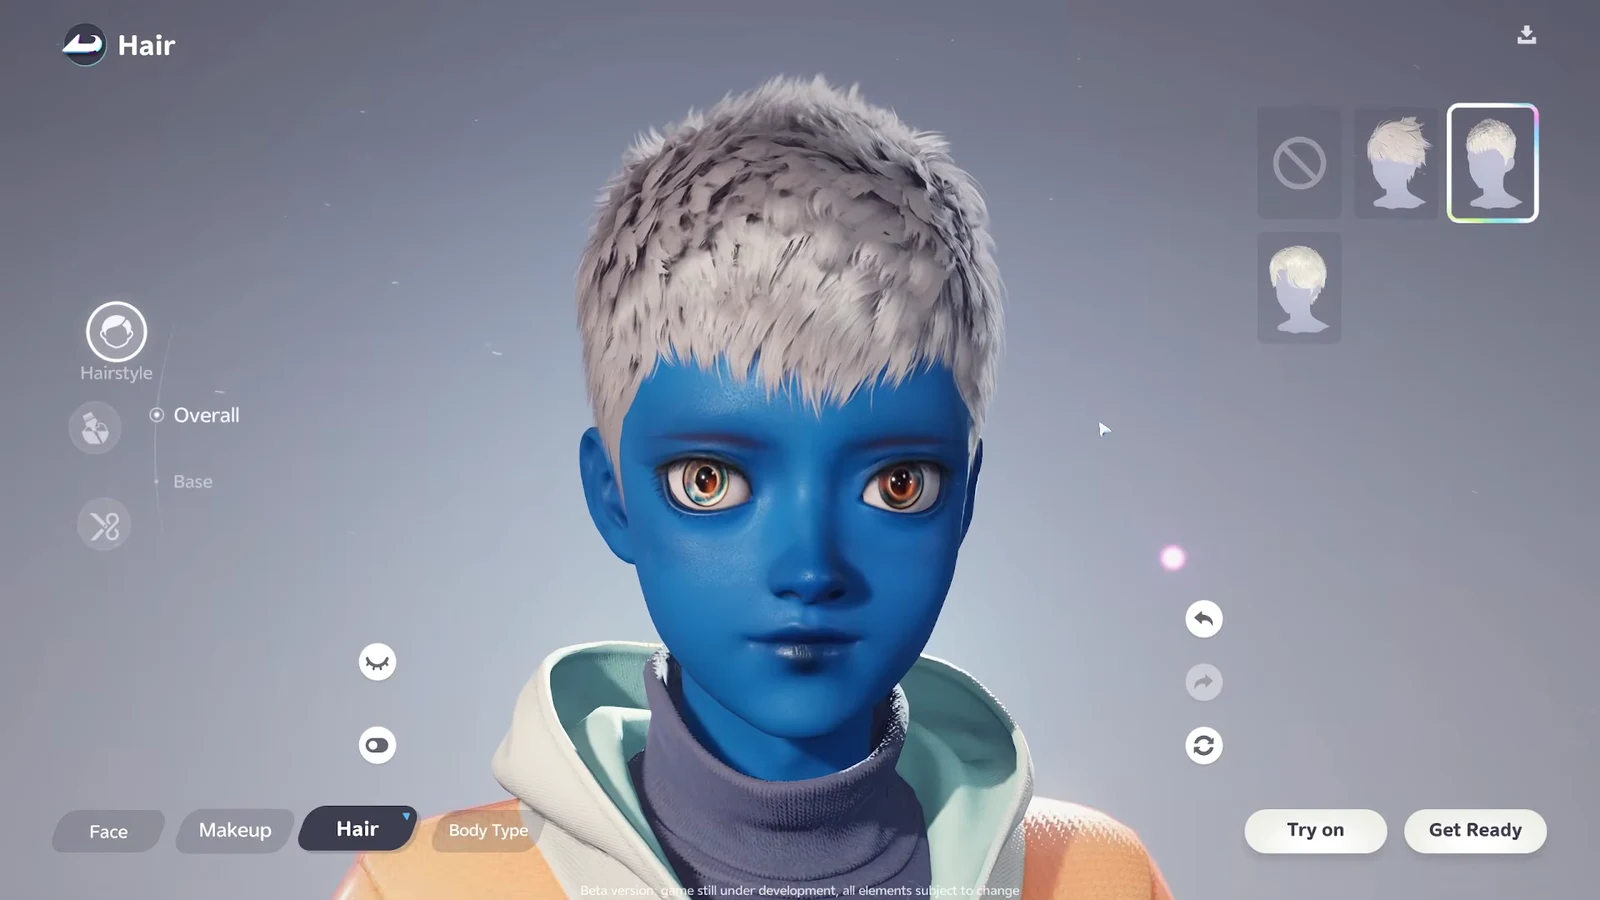
Once a style is chosen, you can dye it with a base color plus separate highlight and gradient colors for a multi-toned finish. A Tailor tool lets you rotate, resize, and curl individual strands, bangs, and sideburns, and you can mix and match bangs, sides, and back pieces to build a custom shape.
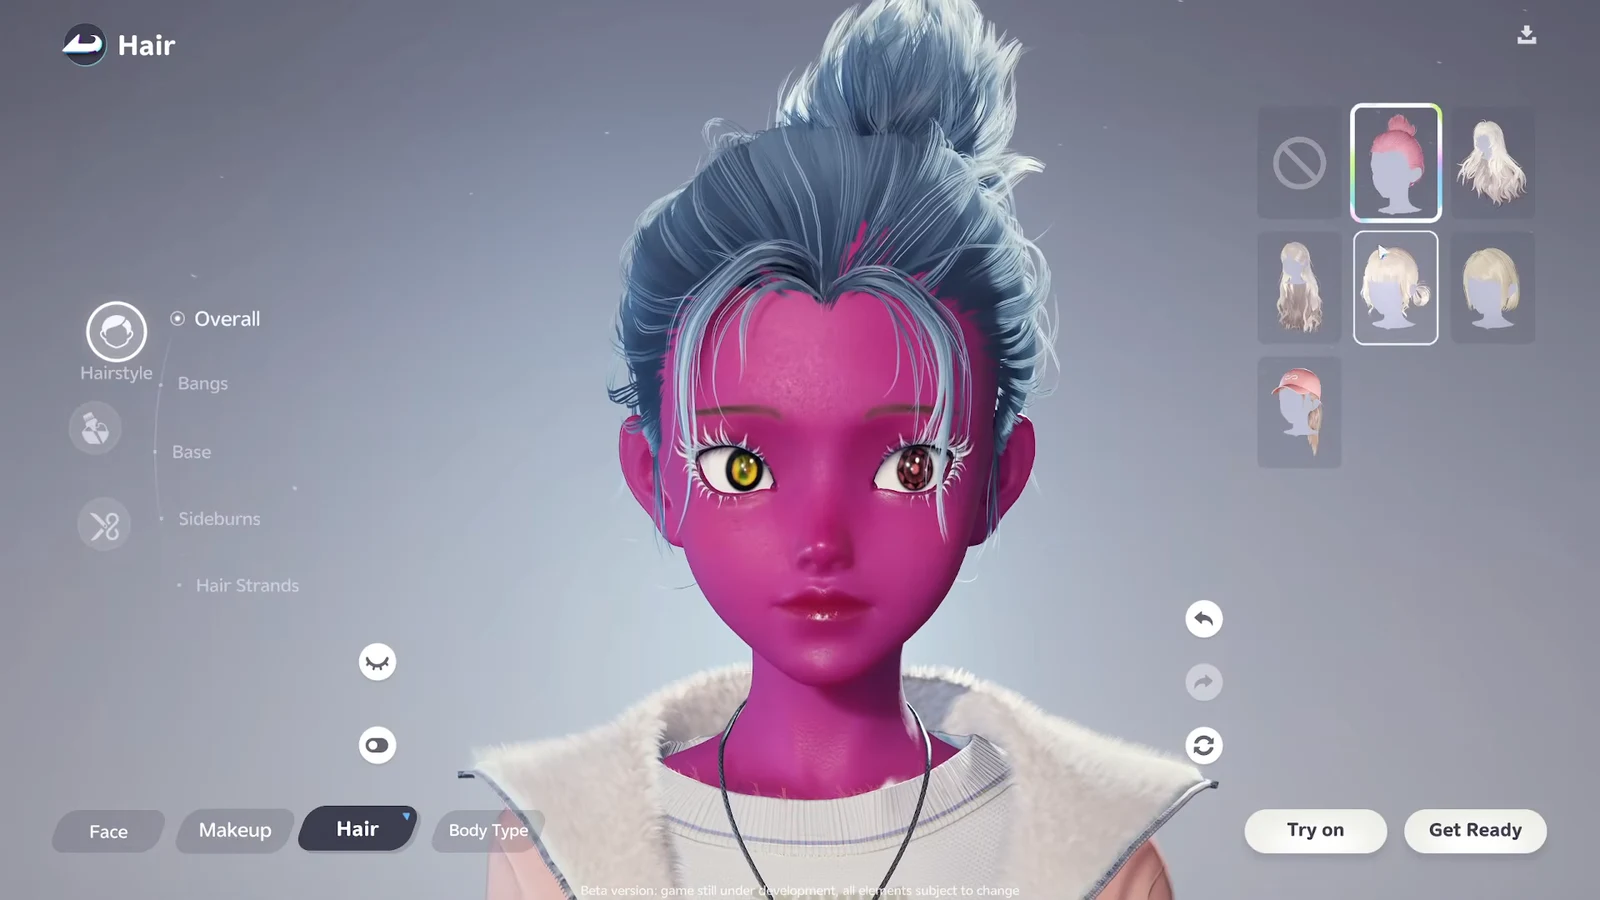
Only a limited set of styles is available at the start. Additional hairstyles unlock later through shops, events, and quests.
Body Type: proportions from arms to calves
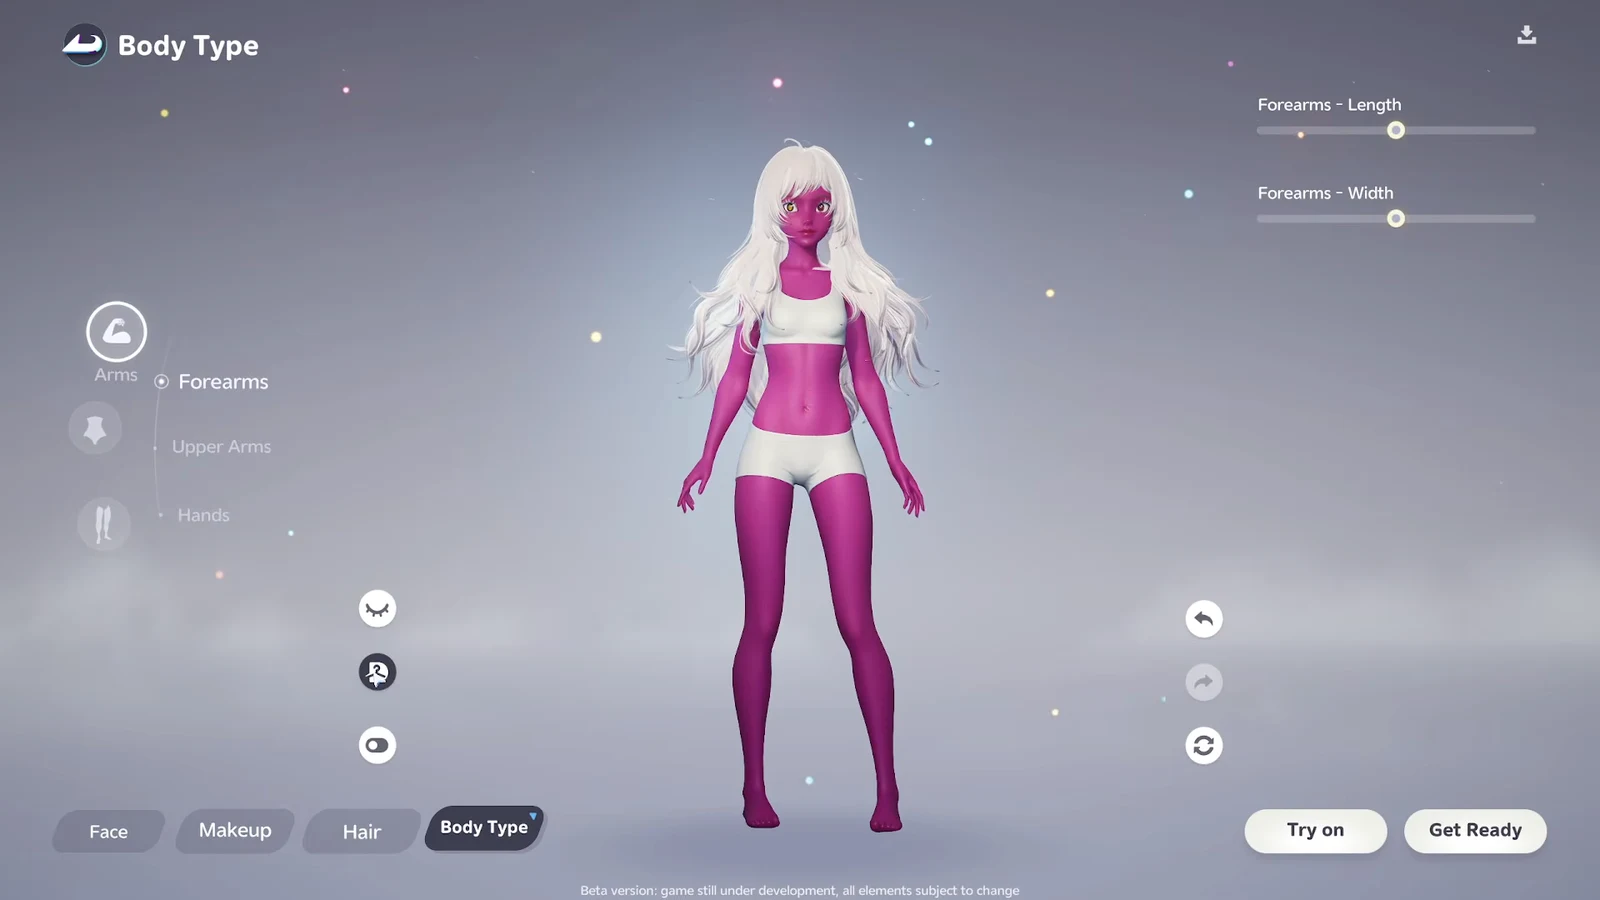
Body Type does not use a single thin-to-thick slider. Instead, it segments the body so you can shape parts independently, and you can toggle clothing off to check proportions clearly. Re-equip the outfit before you finish so nothing clips.
- Arms and hands: forearm length and width, upper arm width, and hand size.
- Torso: shoulders, chest, and waist width.
- Lower body: hips, thighs, and calf width.
Clothing and accessories
Outfits are modular. Full sets divide into tops, bottoms, gloves, socks, and shoes, while dresses fill both the top and bottom slots as a single item. You can mix pieces across sets freely, and outfits can be dyed at no cost. Some tops include a built-in backpack that you can toggle off if you prefer a cleaner look.
Accessories add another layer, covering headwear, animal ears, glasses, earrings, necklaces, chokers, waist charms, shoulder companions, backpacks, and tails. Many of these unlock through the Anilog research system. Reaching research milestones with a specific creature can grant a themed cosmetic for free, such as the Emberpup backpack or a Puppy Pal shoulder companion.
Import a look with a QR code
You do not have to build every face by hand. The Import Face Data screen lets you scan a QR code or enter a Face ID, which applies the appearance tied to that code to your character. You can then keep tweaking the imported result with the normal sliders.
Confirm your changes
Before committing, use the emote and pose options to preview your character in motion, since eyes and makeup can read differently under different lighting and angles. When the look is right, press Apply to save it. From that point, any later edit to face, makeup, or body proportions will consume a Redesign Card, while hair and outfit swaps stay free.





