Aniimo drops a lot of systems on you in the first hour. Catching, real-time combat, Twining, regional completion tracks, a farm on wheels, and a level cap that only moves when you pass an exam. Most of the early mistakes people make are not combat mistakes — they are decisions made before the game explains why they matter.
Quick answer: Pick your regional server first, link an existing Aniimo Pass at the first console login, then push the Main Story and Elite Training toward level 40 to claim the free Prismana.
Pick your server before you build a character
Aniimo runs three regional servers: Aniimo-America, Aniimo-Europe, and Aniimo-Apac. Progress carries across PC, PlayStation 5, Xbox, and mobile, but only inside the same server. Moving from Europe to America means a fresh account, not a transfer. If you plan to play with friends, agree on the region before anyone sinks hours into a main character. Mobile versions arrive on September 23.
Console players get one screen that matters more than the rest. If you already have an Aniimo Pass, the first login can prompt you to link it. Skip that prompt and the console creates a brand-new Aniimo Pass instead of connecting to the one you use. PS5 accounts are also assigned a server based on the registered PSN region. The official account linking notice covers the platform-specific rules.
Beta progress was wiped, and several beta-era systems no longer exist. The rune system was removed entirely for launch, so any old build advice built around random rune slots is dead.
Helion or Lunara: pick by control style, not stats
The prologue puts both starters in front of you and asks you to choose one. They share the Light element and identical base stats, so there is no correct answer on a spreadsheet. The choice is permanent for that character, and it decides what your first several hours feel like to play.

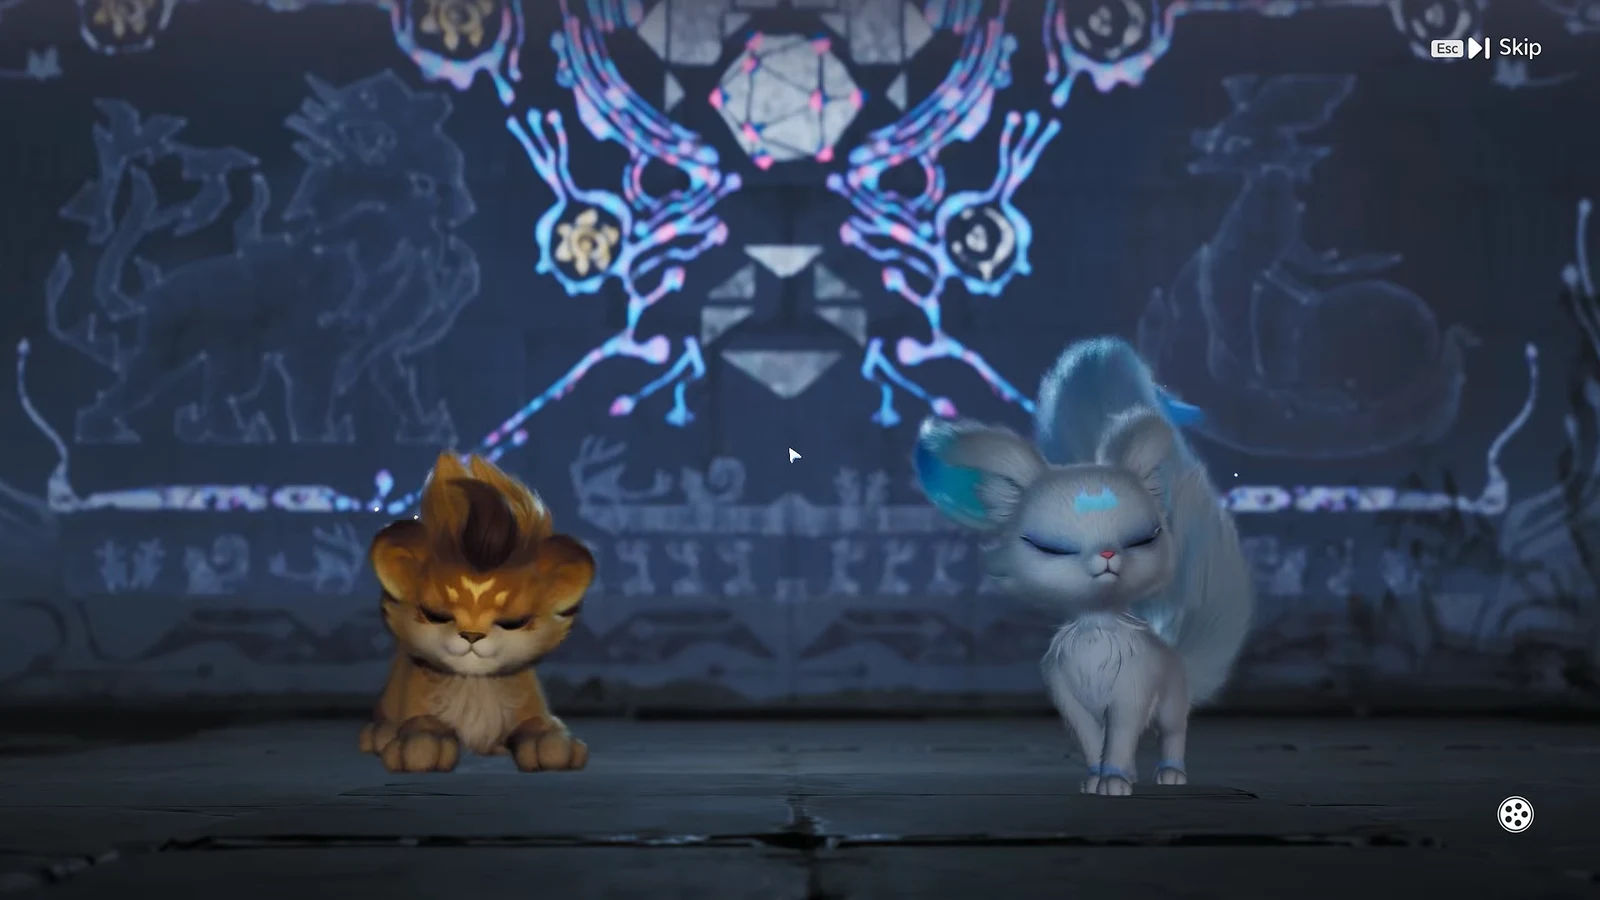
Helion is the close-range lion pup. It commits to a single target and concentrates damage into short bursts. Its Holy Storm is a 20 EP crowd-control skill with 60 power and the BREAK tag, spinning enemies toward its center while dealing BREAK damage scaled to the Aniimo’s level. Its Ultimate transforms it into Soleon for the rest of the fight.
Lunara is the ranged moon fox, built around wide-area attacks and self-sustain through boosted basic attacks. Selene’s Judgment is its signature: a free, 167 power Holy hit on an 8-second cooldown that transforms Lunara into Fennelun until combat ends, raises its Damage Amp, and grants four stacks of Silvermoon Mark. Fennelun is the transformation, not a separate starter you can select.
Learn Command and Twining in the same session
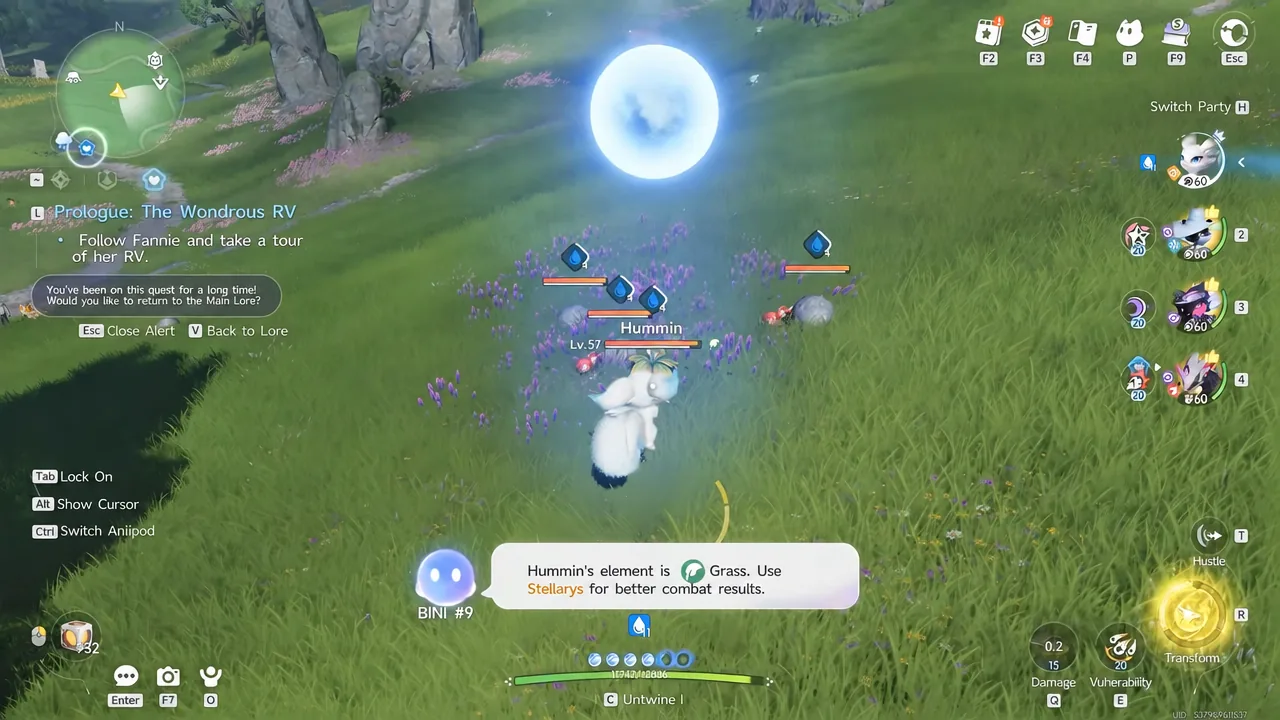
Aniimo splits combat into two control modes and the tutorial forces both before the world opens up. In Command mode you stay on the field and direct an Aniimo. In Twine mode you become the creature, and the HUD switches to its energy bar and skill buttons.
Command is safer when you want to reposition while your creature absorbs hits. Twining is better when you need a precise dodge or a specific skill right now. You also keep your own skills either way, including Aeroboard on a 20-second cooldown, Mega Mallet at 25.94 power on 15 seconds, Elemental Shot for weakening on 15 seconds, and Gravity Pull, which costs nothing and pulls enemies together.
Twining is not only a combat tool. Field abilities like gliding, diving, swimming, and tunneling all come from creatures in your box, which is why a weak Aniimo with a useful traversal ability earns its slot. When an obstacle looks deliberately placed, the answer is usually a creature, not a better jump.
Build for five roles and two counter systems
Your field team holds four Aniimo, and the game tracks five jobs across them: DPS, Break, Heal, Regen, and Support. Regen means energy recovery, not passive healing — that distinction catches out a lot of new players who stack two creatures that solve the same problem.
- One reliable damage dealer whose moveset you enjoy controlling.
- One Break applier to shatter posture bars and open a window where damage taken rises to 250 percent.
- One source of healing, shields, or EP recovery.
- One flexible slot for a missing element or a traversal ability for your current route.
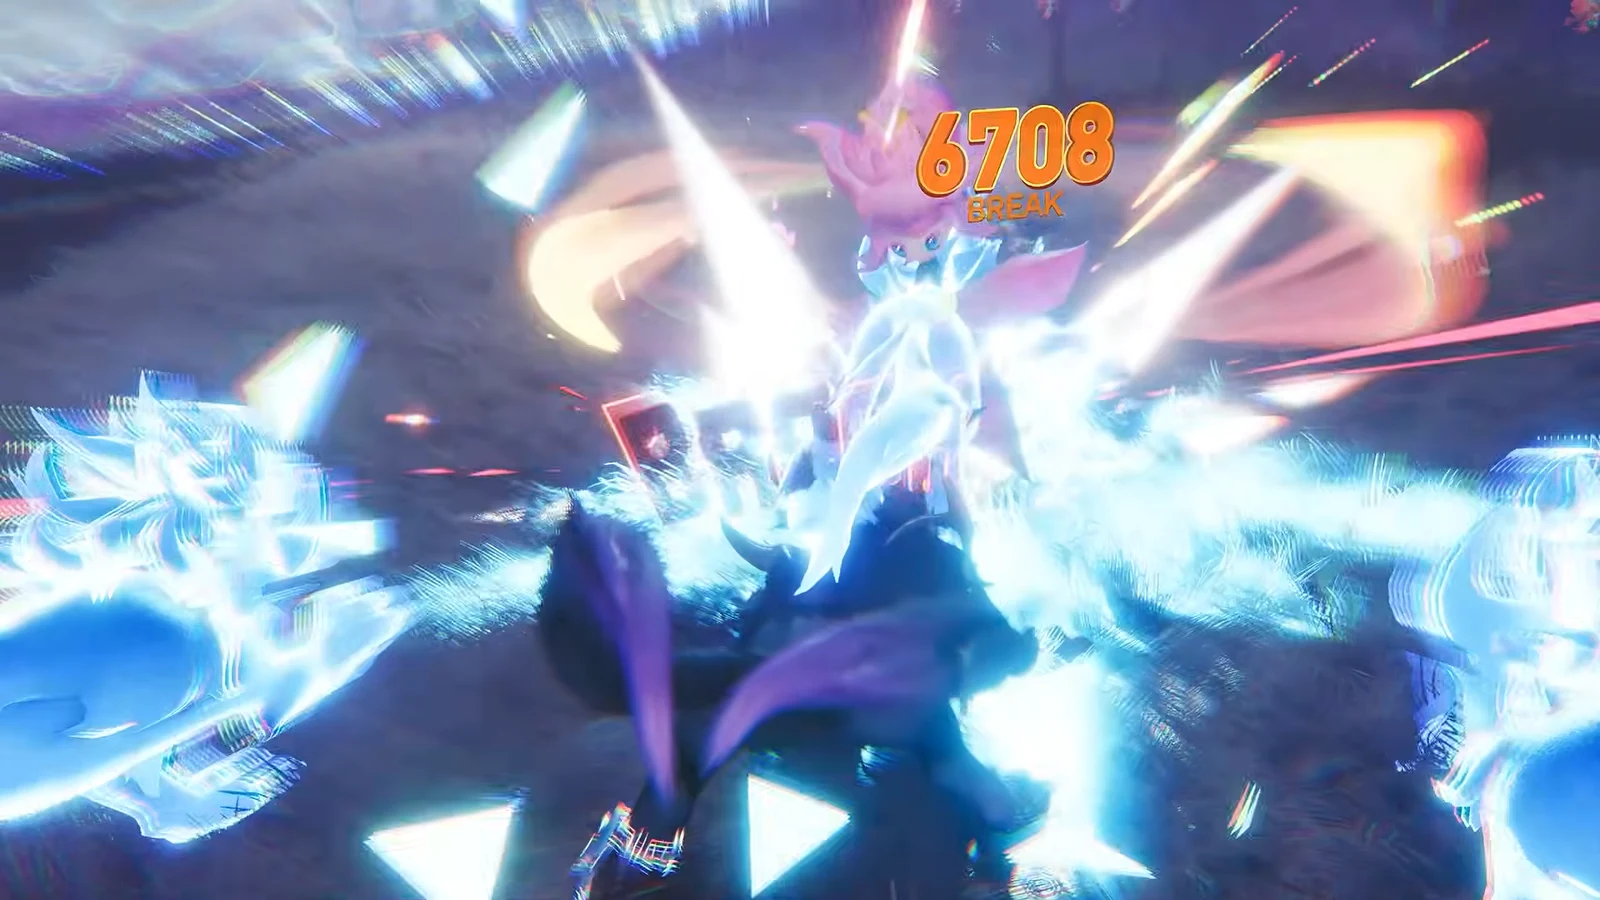
Elements run on a nine-by-nine chart. A super-effective hit multiplies damage by 1.60x, while a resisted hit drops to 0.625x — Fire against Grass or Ice is the clean example. Use the in-game Counters Lookup rather than importing a type chart from another game, because dual-element defenders change the math.
There is a second, easier-to-miss layer: spatial relations. Ranged attacks counter Flying enemies, Flying dodges Ground attacks, Ground Pound counters Tunneling, and Tunneling avoids Ranged attacks. Against a boss that keeps taking off, the fix is often a positioning type, not a stronger element.
Catching: fix the percentage before you throw
The aiming view shows a catch percentage next to the target before you commit. That number is the whole game. If it is low, spamming pods will not raise it — repositioning will. Missed Aniipods return to your inventory, so a bad throw costs time rather than stock, but a wasted rare pod does not come back.
Three bonuses stack in your favor. Approach undetected for a stealth backstab, ideally by crouching through tall grass or blooms. Place a trap when the target keeps pacing or fleeing. Then apply Break or drop its HP in combat so the catch resolves against a creature that has already lost its composure. Sleeping targets are the easiest catches in the game.
| Aniipod | Catch rate | Best used for |
|---|---|---|
| Aniipod | Base | Commons |
 Aniipod Pro Aniipod Pro | 1.5x | Routine catches |
 Aniipod Mega Aniipod Mega | 2x | Straight odds boost |
 Aniipod Hyper Aniipod Hyper | 2x | Faster, longer throws |
| Aniipod Trace | 2x | Targets that turn mid-throw |
| Tumbler Aniipod | 2x | Groups, up to 10 at once |
 Aniipod Ultra Aniipod Ultra | Guaranteed | Encounters you cannot repeat |
 Sparkling Cube Sparkling Cube | Guaranteed Sparkling | Perfect potential catches |
The Tumbler jumps to 6x against groups pulled together, which makes it a crowd tool rather than a sniping tool. Legendary Aniipods are crafted from exploration and story tokens for one-time encounters such as Irisalis, and cannot be bought.
Lock your Ultras and Sparkling Cubes in the inventory so you never fire one at a common. Locking an equipped pod also unequips it, which is exactly the behavior you want.
Regional completion is what unlocks Prismana spawns
Every region tracks a Catch Report, and filling it out does more than tick a box. Completing regional catch entries earns Area Collection Badges, and at 40 percent capture progress a region such as Mistwoods unlocks the Nurturing privilege, which lets you activate that region’s Bloom energy.
From there the loop is mechanical. Capture regional Aniimo with Tumbler Aniipods to fill the Bloom flower with Prismatic Energy. Once the energy state is high enough, rare Prismana variants start appearing in that region.
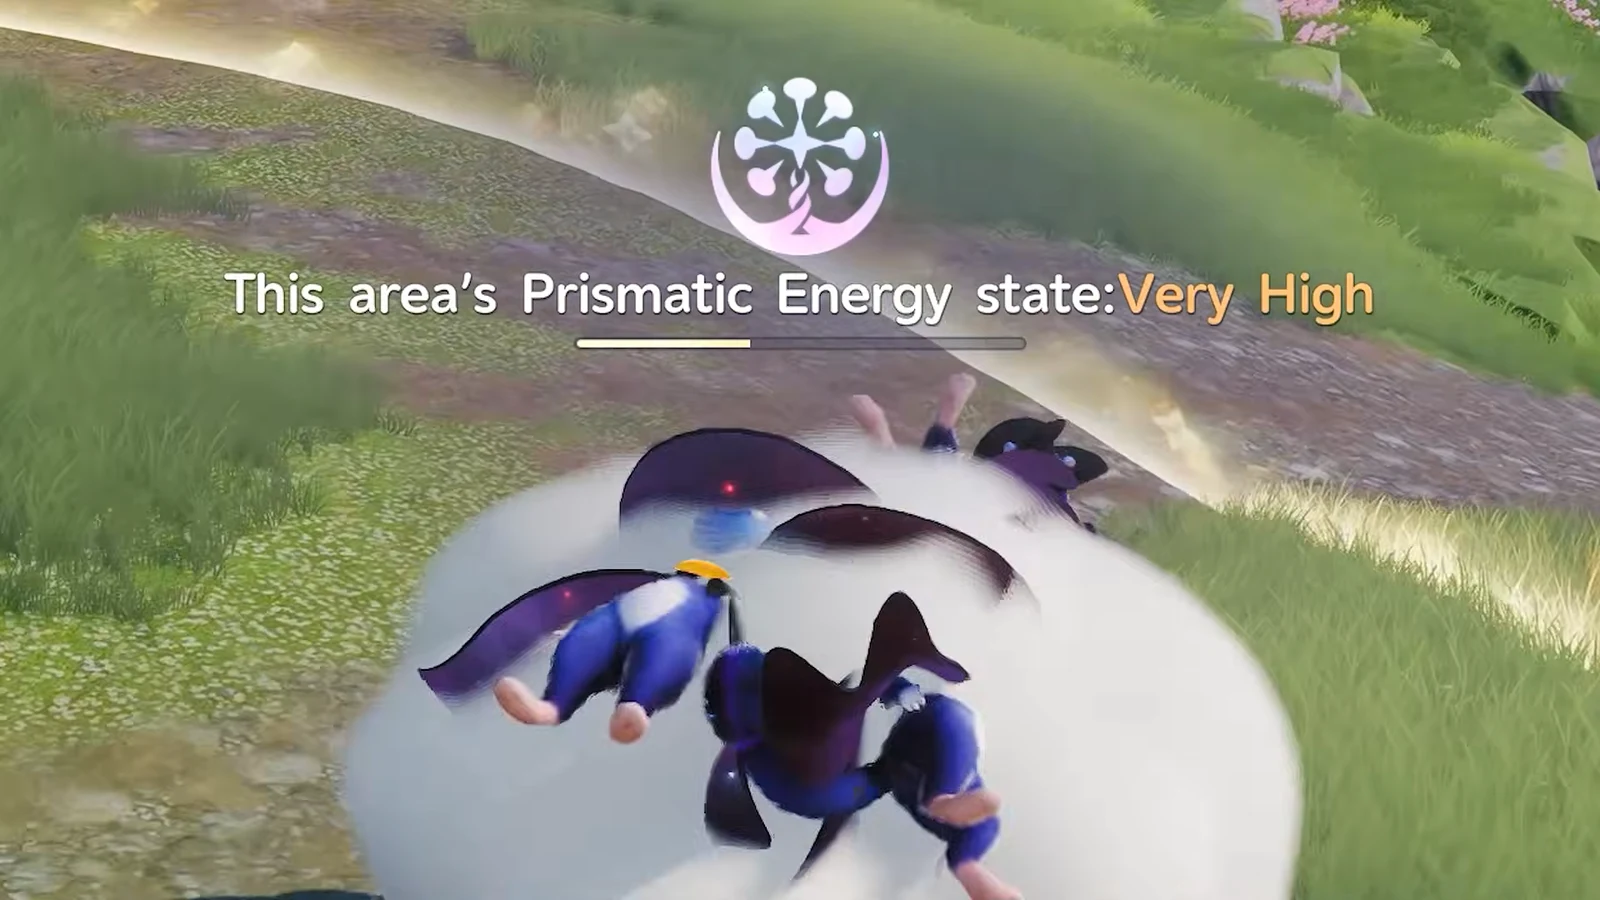
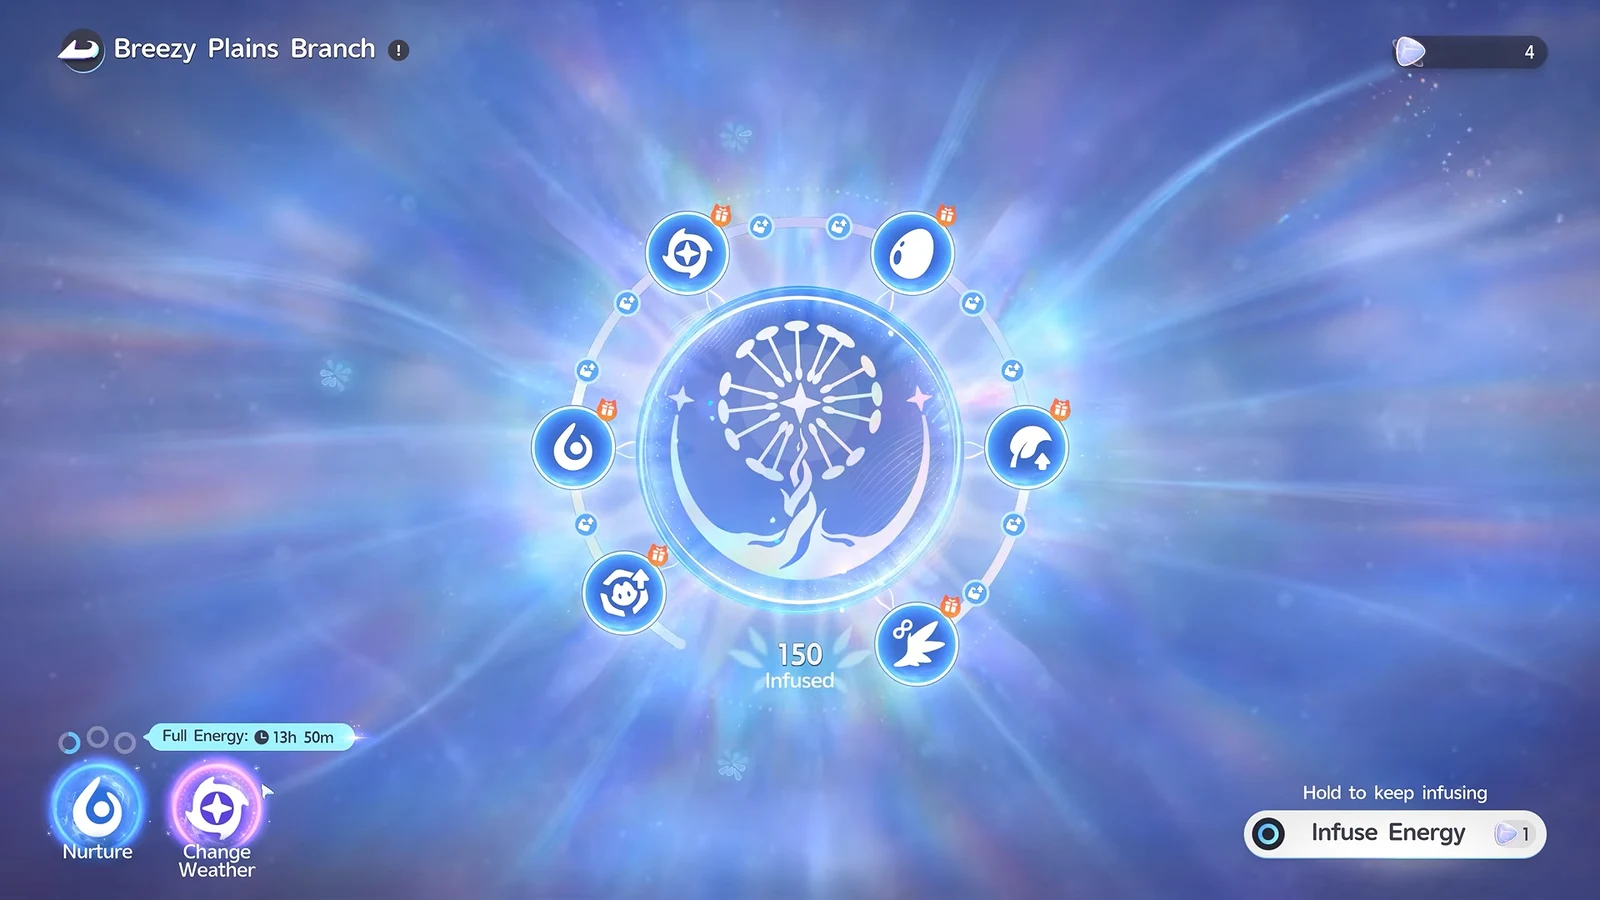
Push a region to 70 percent completion and its Branch menu adds weather control. Changing the weather deliberately triggers guaranteed Prismana Storms, which turns rare variant hunting from a waiting game into a scheduled one. Regional and weather-based forms like Rainstorm, Cloudmist, and Plateau variants are caught in the wild under those conditions, not evolved into.
Lumin Amber buys permanent regional upgrades
Lumin Amber sits in the open world and inside secret temples, with more than 200 of them scattered across Idyll. Spend it at Bloom Branches on permanent upgrades: catch rate buffs, stamina increases, and Wonder Eggs. These are account-level improvements, which makes Amber collection one of the few detours worth taking mid-quest rather than later.

Activating Branches also reveals map sections and opens fast travel, so the collection route and the exploration route are the same route. Sanctum puzzle challenges are the other reliable source worth clearing while you pass through.
Prismana Pact: a free level 40 Prismana at level 40
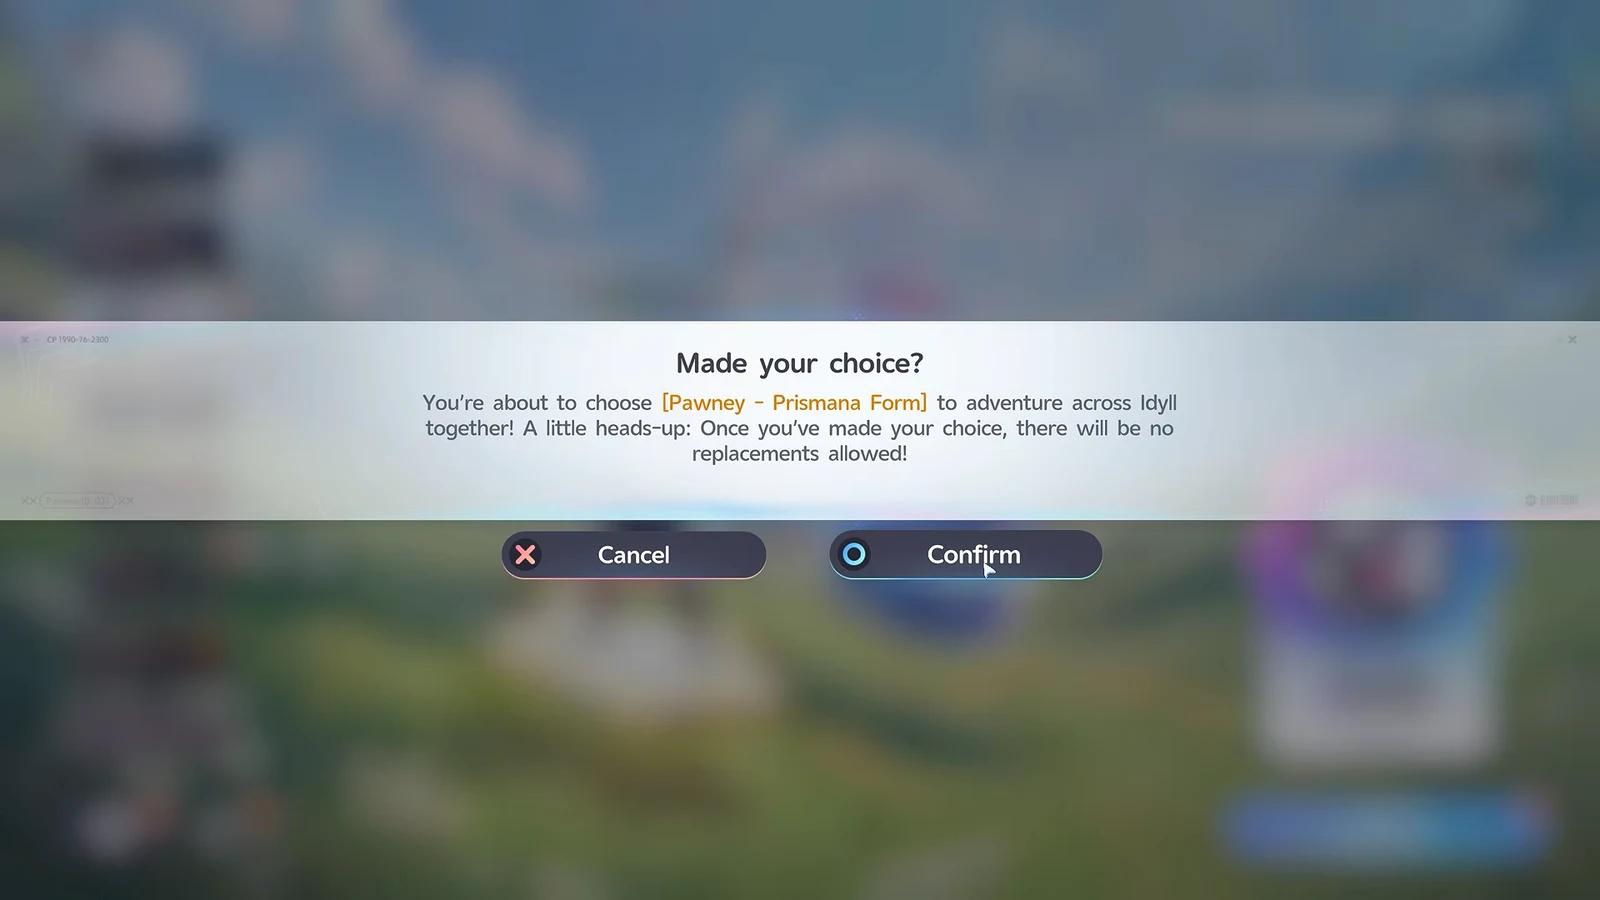
The Prismana Pact event hands you one free Prismana Aniimo at level 40, already trained to level 40, chosen from 14 options. It is the single biggest power spike available in the early game, and the choice is confirmed with a dialog you cannot undo, so decide before you open it.
Glacy is the pick if your team lacks party healing. Cornet delivers fast, sustained damage. Grizbo covers two elements at once, which papers over gaps in a thin roster. Pawney and Magmarex round out the strongest selections. Choose the one that fills the role your current four-slot team is missing rather than the one with the biggest number.
Elite Training raises the level cap to 71
Experience comes fastest from Main Story quests, Elite Training objectives, and catching constantly while you travel. But the cap itself does not rise with experience. Elite Training runs Core Courses alongside elective paths — Twining, Discovery, Victory, and Splendor — and each promotion rank requires specific milestones before you can take the assessment.
Passing a promotion unlocks the next title, such as Veteran Student, and with it the next level ceiling on the road to the level 71 cap. If your experience bar stops filling, that is the first menu to open. Grinding the same enemies will not fix a promotion you have not taken.
Training investment is also more forgiving than it looks. Capability Awakening on any Aniimo below level 60 can be reset at any time with the materials returned, and Capafruit effects transfer automatically during inheritance. Experiment early rather than saving resources for a theoretically perfect team.
Open Homeland as soon as you hit level 20
Homeland unlocks at level 20, after which you open the Missions menu, select the Welcome Home mission, track it, and follow Fanny’s objectives. Delaying it delays a production track that runs offline, which means the cost of putting it off compounds daily.
Once it is running, Homeland covers farming, resource gathering, material processing, item production including Aniipods, Orders for rewards, storage, furniture, RV upgrades, and egg hatching through the Hatchinator. Assigned Aniimo leave your active roster, so keep your field team separate from your workers before you start staffing facilities.
Before you log off on day one, sweep the reward screens. The Institute Guide holds a daily checklist, the Companion Handbook tracks milestone rewards, and the level-up rewards interface stores everything you have already earned but not claimed. These sit behind menus rather than notifications, and a first session that ends with them unclaimed is a session that gave up free progress.