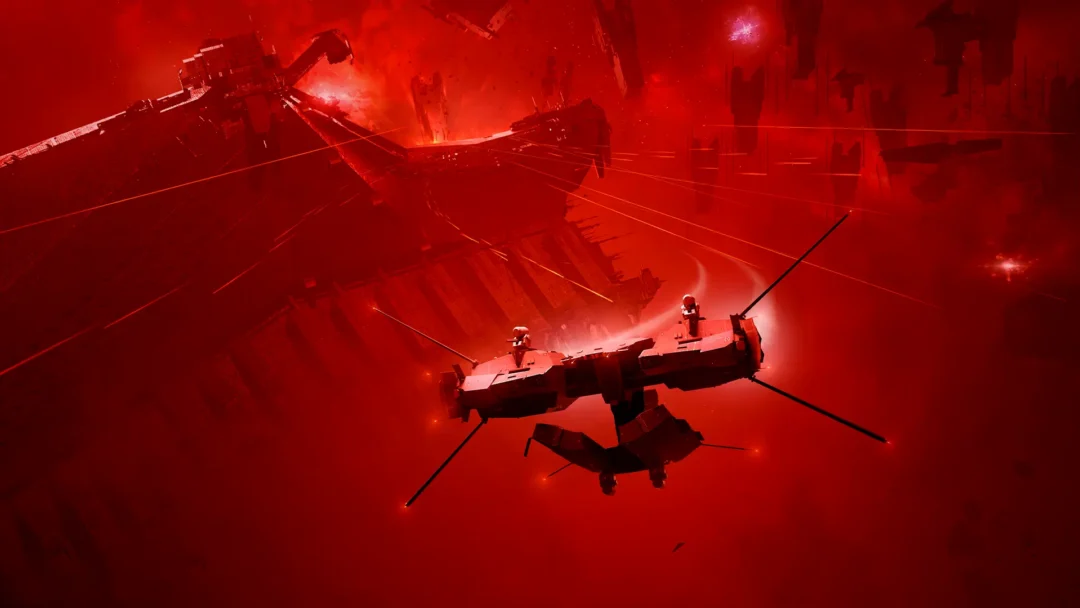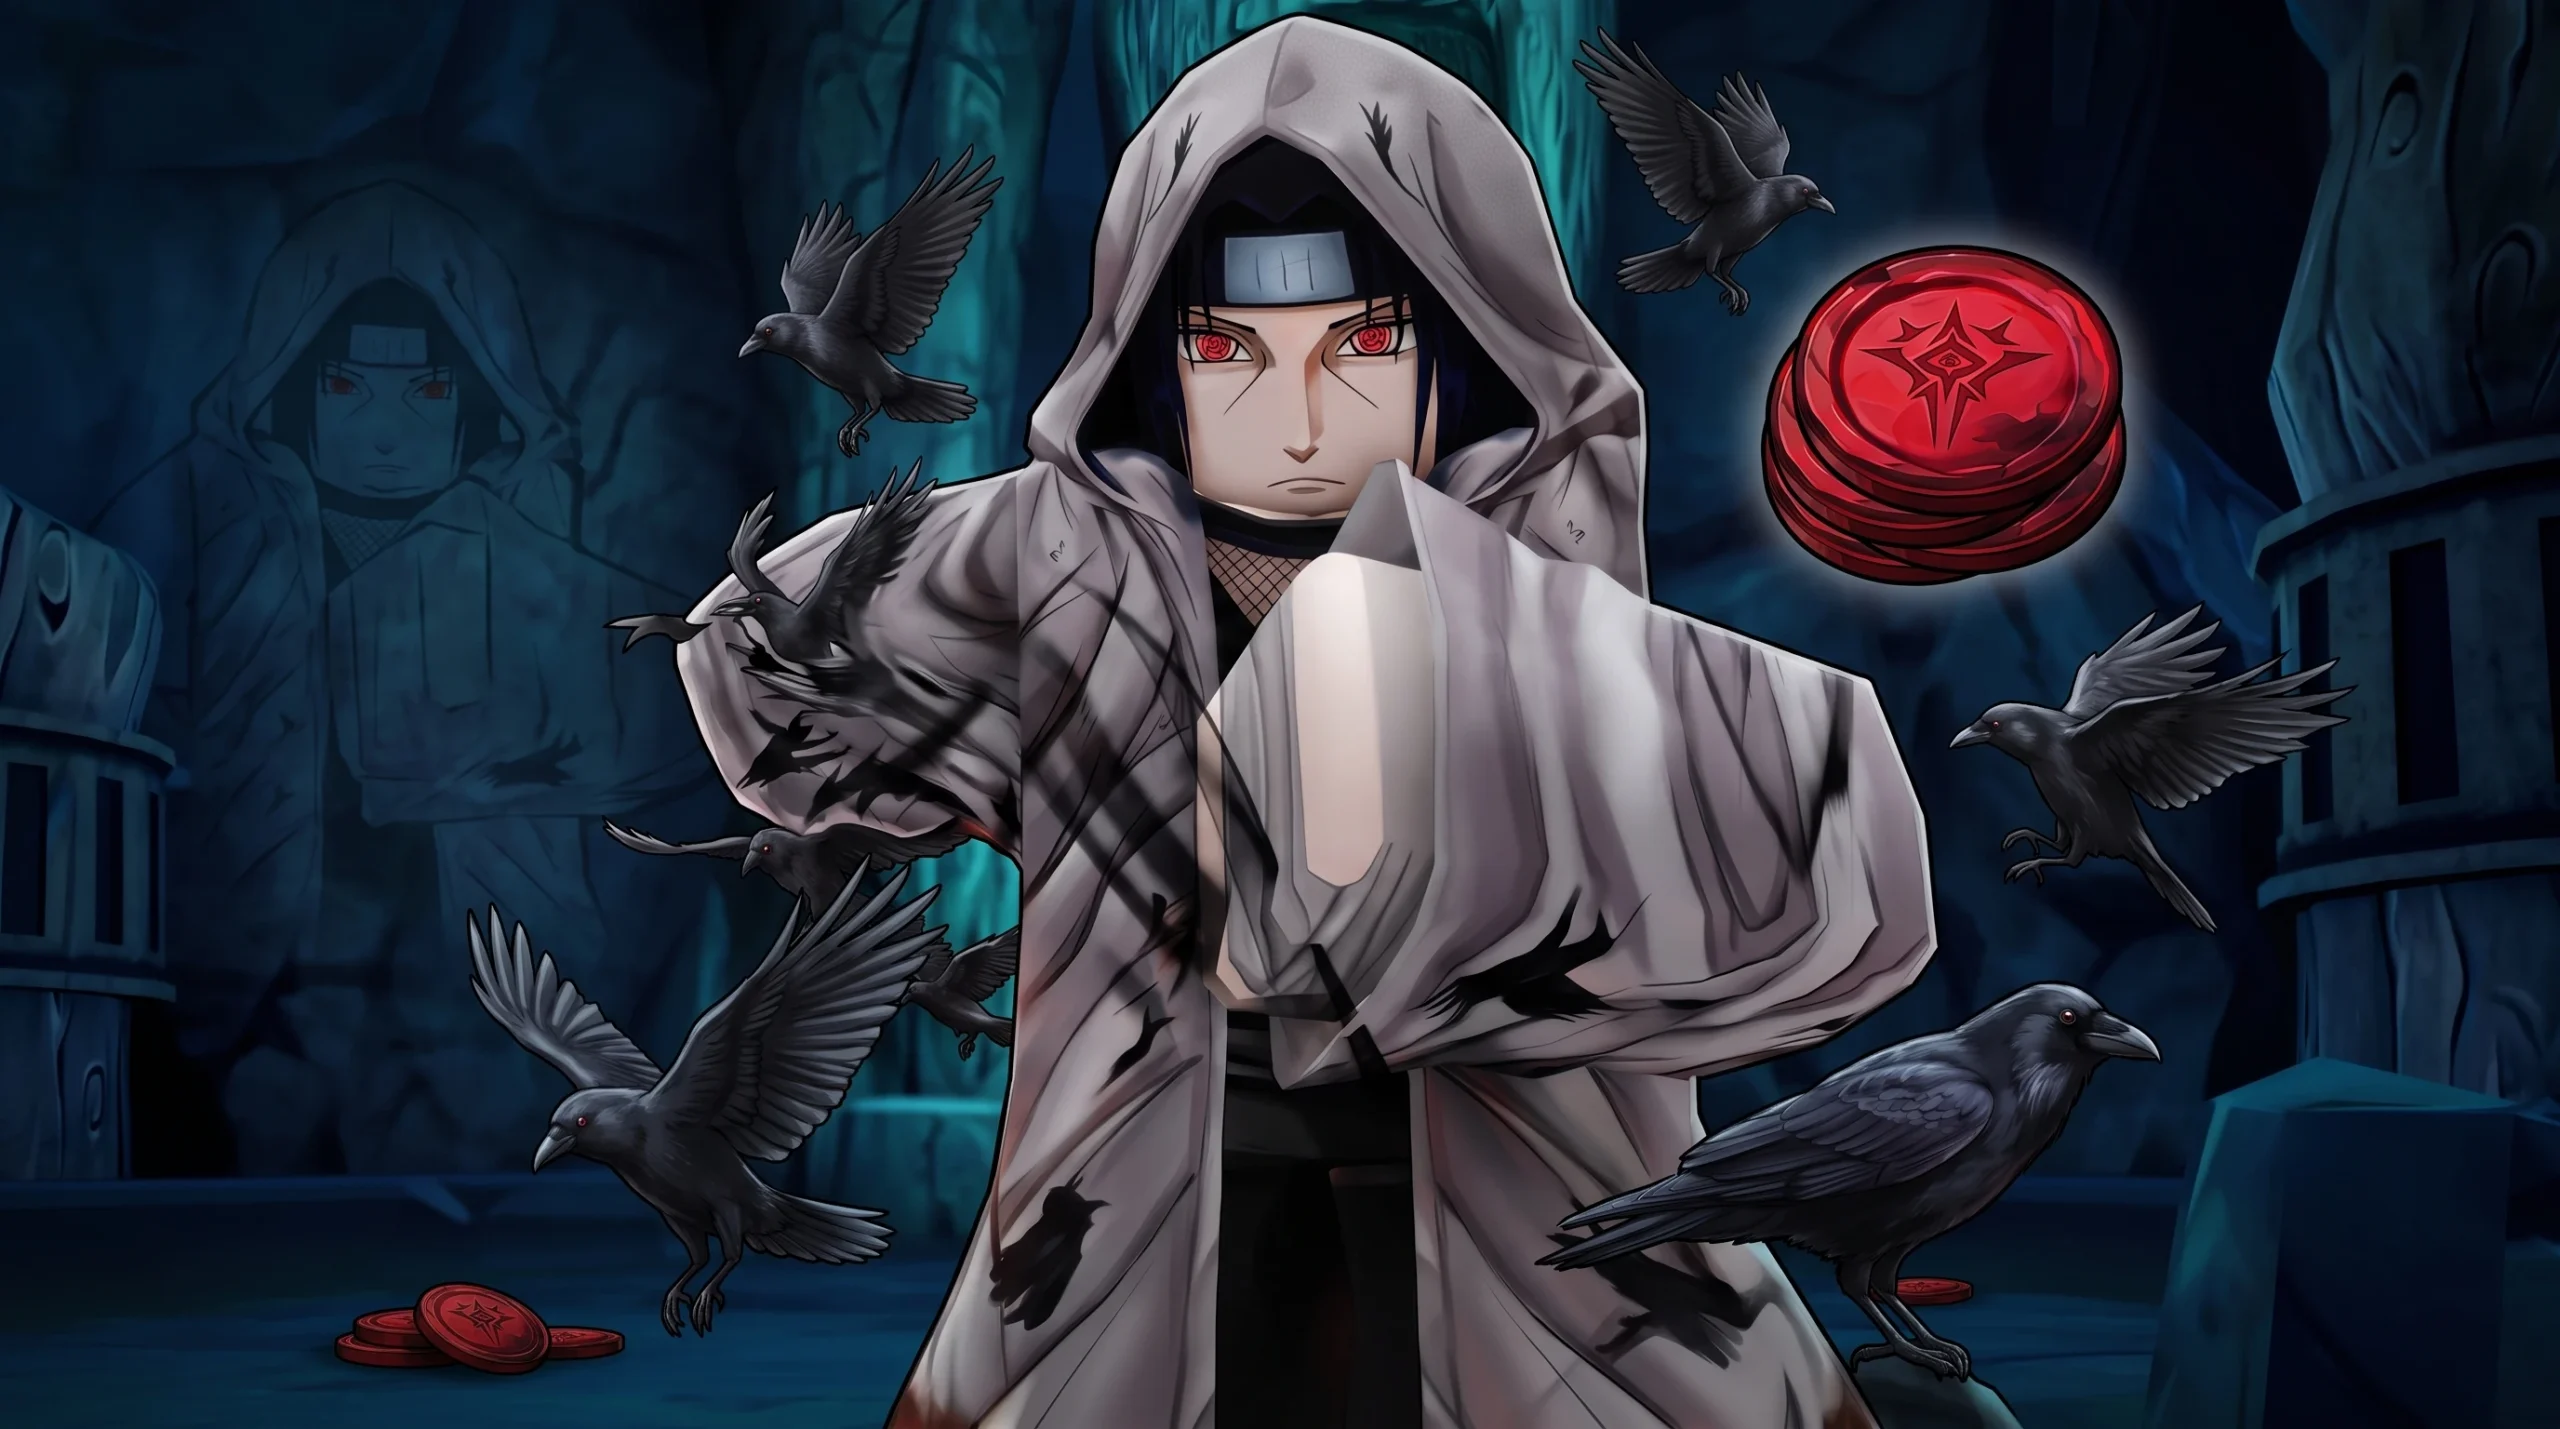
Crow Hideout – Crow is the fourth and final act of the Villain Invasion event in Anime Expeditions, running on Hard Mode with six active stage modifiers. It ends with two bosses, a relic-gated entry, and a Razorjaw fight that punishes players who ignore its respawn rule. Clearing it solo comes down to one carry, a reliable slow, and a disciplined placement order.
Quick answer: Bring an Unbound 8th Sword (Berserker) as your carry, three Stone Alchemist farms for income, a Salmon Sorcerer (Grade 1) with the Crumble Away: Inverse slow, and a Puppet (Telekinetic) for its 20% damage mark. Farm first, relocate the carry to each active path as portals switch, and keep a damage-over-time effect on Razorjaw at the moment you kill it.
Requirements before entering Crow Hideout
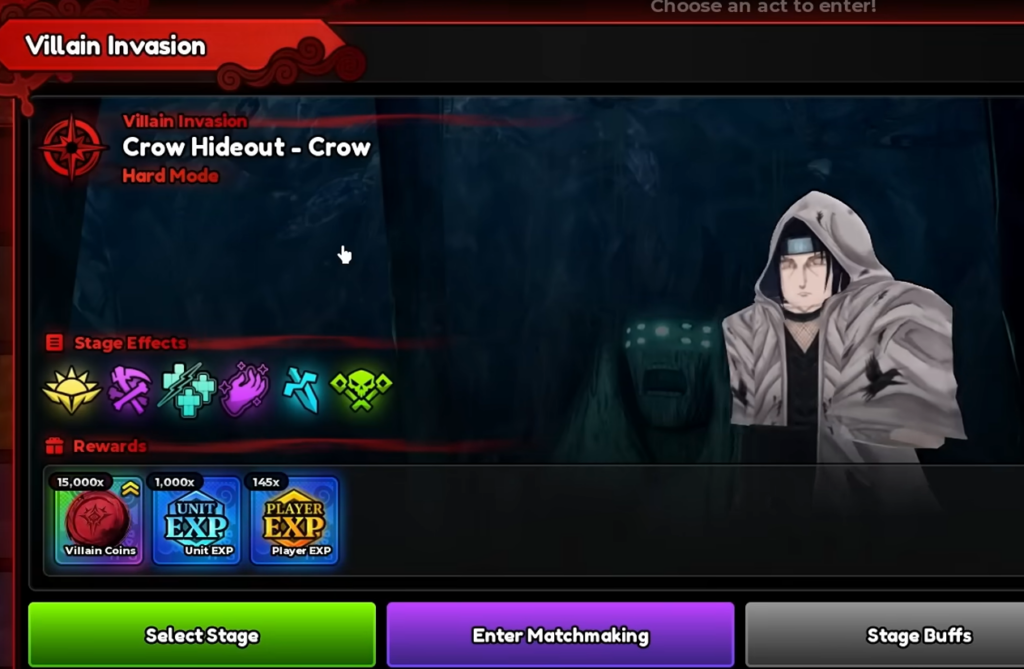
The stage sits in the Villain Invasion menu. Speak to Crow (Black Fire) in the lobby, choose View Event, open the Event Gamemode tab, and select Crow – Dawn (Act 4). The stage window lists Crow Hideout – Crow on Hard Mode with its rewards attached.
You need an Unbound unit to hold this stage on your own. The clear is built around an Unbound 8th Sword (Berserker), which gets relocated across three separate paths as enemies switch portals. Without a single strong carry to move around, waves leak faster than income can support.
Solo team and equipment for Act 4
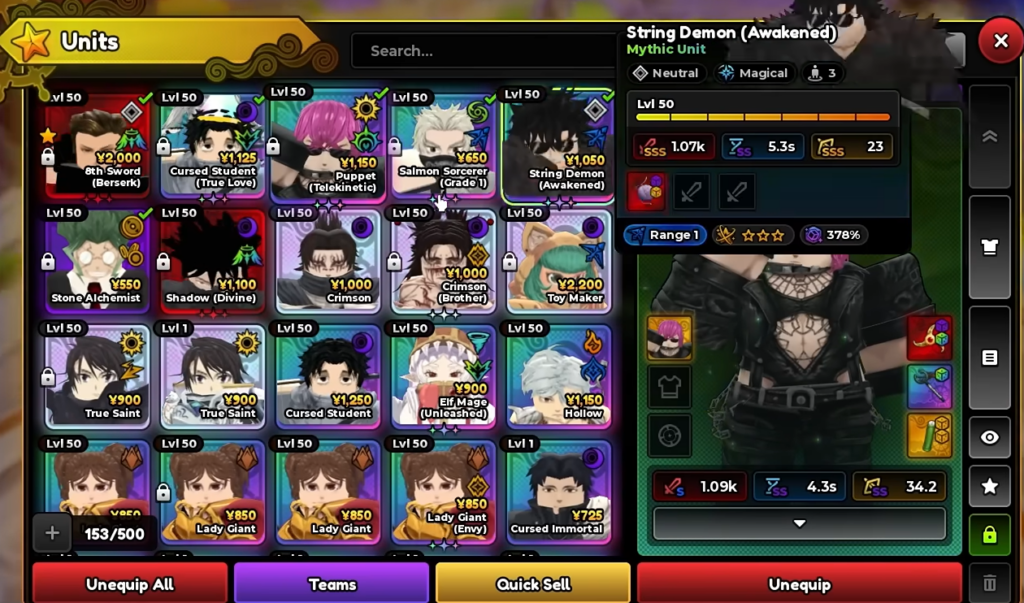
Six slots, each with a defined job. The 8th Sword (Berserker) is the damage core, the Salmon Sorcerer supplies the mandatory slow, and the Puppet (Telekinetic) adds a damage amplifier for the bosses. String Demon (Awakened) is only there for its reward boost.
| Unit | Role | Equipment |
|---|---|---|
| 8th Sword (Berserker) — Unbound | Main carry | Hair Bells, Shinigami Sword, Warrior’s Axe |
| Salmon Sorcerer (Grade 1) — must use | Slow support | Technique Amplifier (passive must be Crumble Away: Inverse) |
| Puppet (Telekinetic) | Damage amplifier / leak catch | Pirate’s Slingshot, Calamity’s Eye |
| Cursed Student (True Love) | Extra boss DPS | Accursed Equipment, Red Finger |
| Stone Alchemist | Farm / income | — |
| String Demon (Awakened) | Reward boost only | — |
The Salmon Sorcerer’s equipment passive has to read Crumble Away: Inverse, which applies slow scaled to the enemy’s current attack. If the passive is anything else, the slow does not do its job and fast enemies push through.
You can swap the Cursed Student for a Ramen Guy if you prefer, since that slot exists mainly as damage insurance rather than a fixed pick.
Wave-by-wave placement order
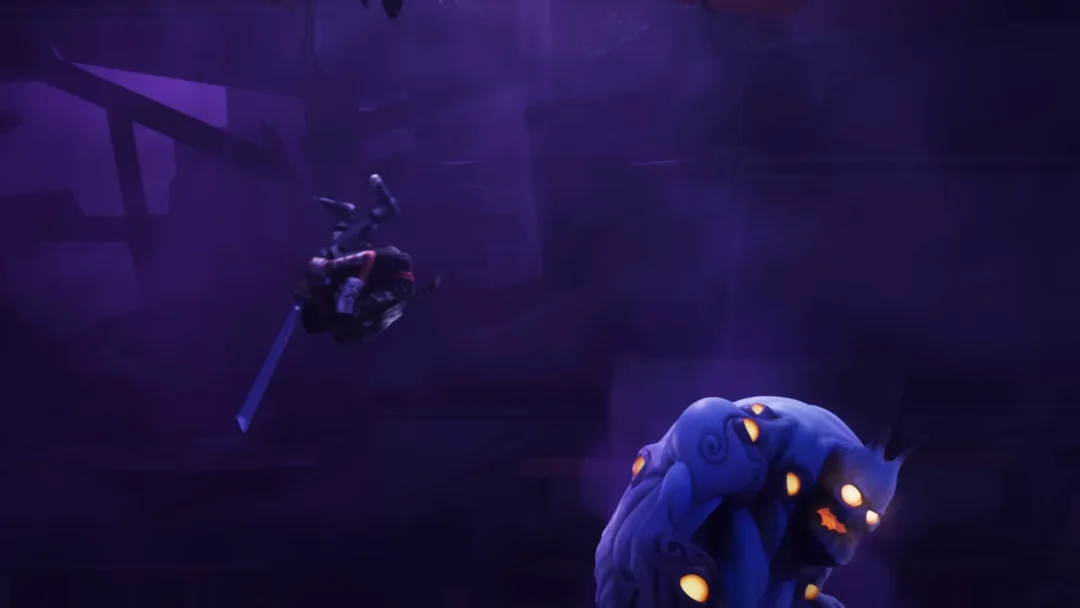
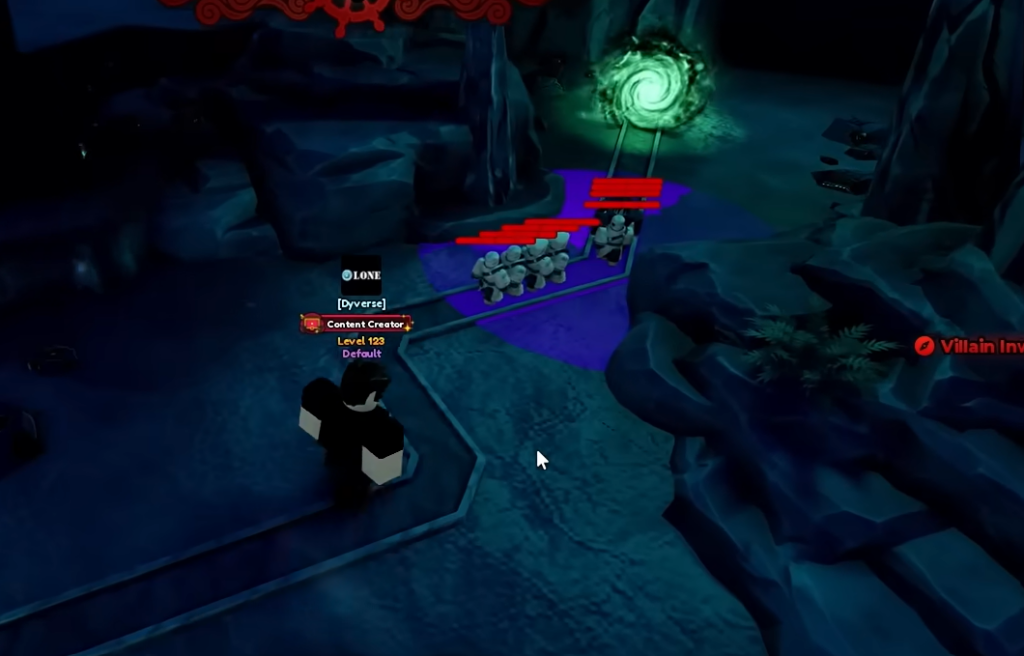
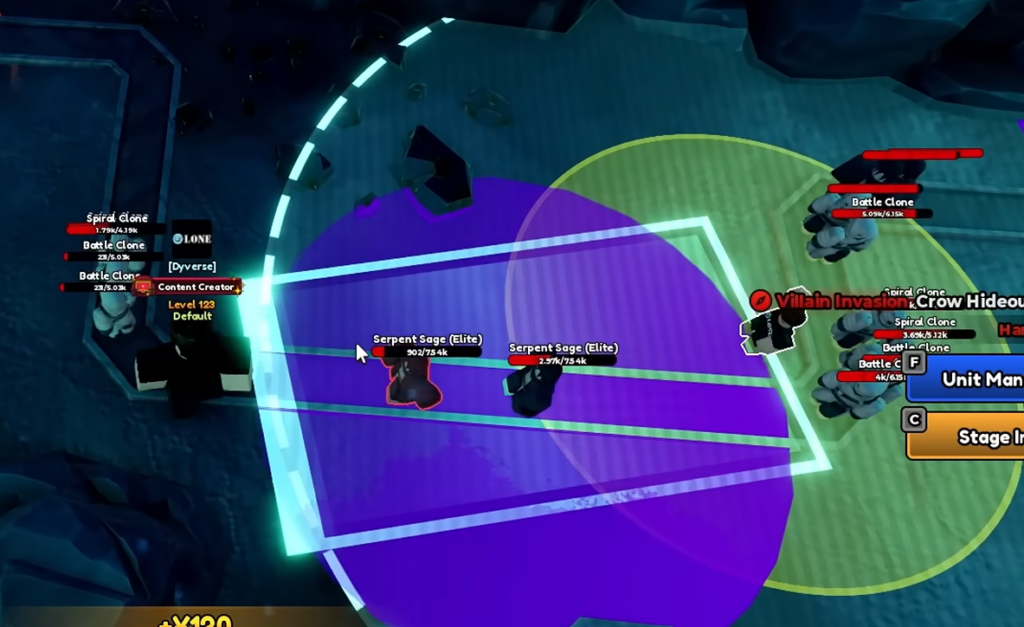
The map is a dark, lava-lined cavern. Enemies open from the center, then swap to the right portal, then the left, so your carry has to move rather than sit still. Prioritize income early and resist over-upgrading the carry too soon.
Razorjaw and Crow boss mechanics
Wave 21 spawns Razorjaw with 495k HP. Its Sword modifier lets it respawn up to two times unless it dies while affected by a damage-over-time effect. In practice it revives once during this fight, so the safe play is to make sure a DoT is ticking on it at the exact moment its health hits zero. Kill its second form the same way and the boss stays down.
Waves 23 to 25 bring the final boss, Crow, with 1.14M HP. Sell and move the 8th Sword to the final path, then stack multiple Cursed Student (True Love) units and a maxed-out Puppet (Telekinetic) alongside it. The Puppet’s mark plus the Salmon Sorcerer slow keeps Crow in range long enough for the combined damage to finish the run.
Rewards and how to confirm the clear
A successful run ends with a Victory screen and the event payout. The rewards are the same each clear.
| Reward | Amount |
|---|---|
| Villain Coins | 15,000x |
| Unit EXP | 1,000x |
| Player EXP | 145x |
The Victory panel also reports run stats. A clean solo clear lands near a 6-minute, 52-second time, around 408,000 total Yen, roughly 276 kills, and just over 21 million total damage. If you see those numbers and the Gained Rewards line, the stage counted and the coins are added.
Mistakes that cause a run to fail
- Killing Razorjaw without a DoT active, which lets it respawn beyond the intended limit.
- Over-upgrading the 8th Sword early instead of holding money for the later boss waves.
- Running a Salmon Sorcerer whose equipment passive is not Crumble Away: Inverse, so fast enemies never get slowed.
- Failing to relocate the carry when the active portal changes, leaving new lanes undefended.
- Skipping the Puppet’s Marionette’s Gaze mark on the bosses, which removes the 20% damage boost you need to close them out.
Handle the income window first, move your Unbound carry as the portals shift, and keep a DoT on Razorjaw when it drops. Do that and Crow Hideout – Crow becomes a repeatable solo clear rather than a wall.