
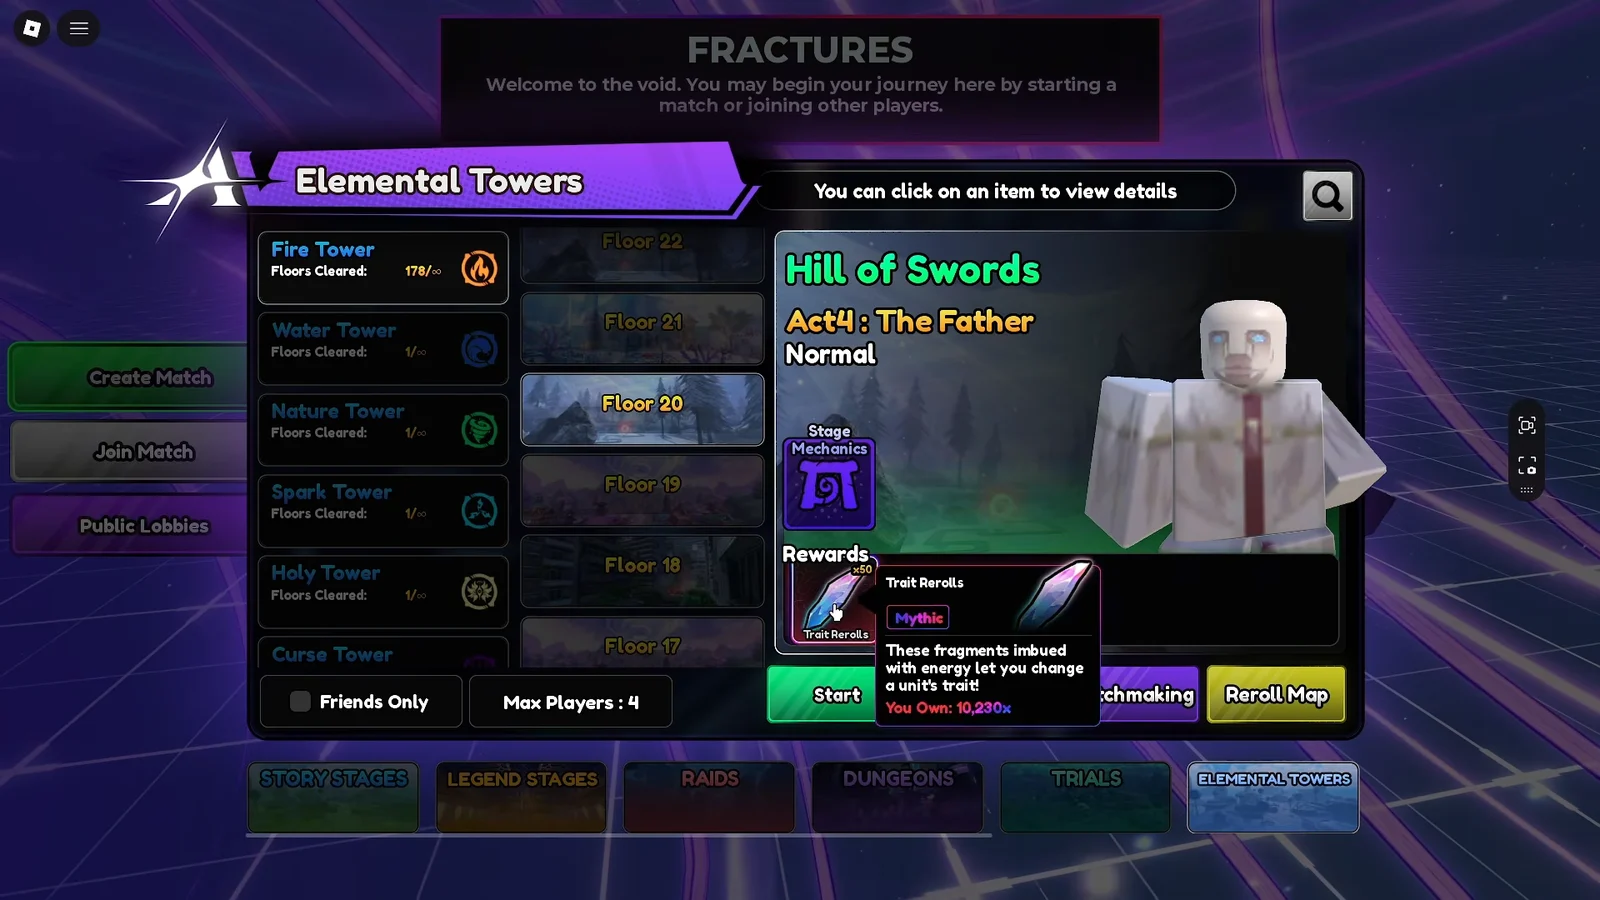
Elemental Towers sit next to the Dungeon entrance in the Raids area of Anime Vanguards, and they are the single largest repeatable source of Trait Rerolls in the game. Each floor is a 20-wave stage, the reward table loops every 50 floors, and every cleared floor also feeds a permanent Skill Tree that carries across all towers.
Quick answer: A full 1–50 clear of any single tower pays 300 Trait Rerolls. Rerolls drop on floors 5, 10, 20, 30, 40 and 50, then the same table repeats from floor 51.
Elemental Towers access requirements and element rules
The mode unlocks at account level 30. There is a tower for each element plus the Omni Tower, and yen generation inside a floor matches infinite mode, so your usual farm setup still works.
- Every tower accepts every unit; the element only changes damage output.
- A unit whose element matches the tower deals ×3 base damage.
- A non-matching unit still places, but at −80% base damage.
- The Omni Tower has no element preference, so any full team works there.
- Difficulty does not scale with party size, and Chaos Mode is available inside the towers.
That damage split is why saved team presets matter. Building one preset per element you plan to farm (Unbound, Fire, Blast, Holy) removes the loadout shuffling between runs and keeps your carry on the ×3 multiplier instead of the penalty.
Trait Reroll rewards per floor and the 50-floor loop
Every tower uses the same reward table. Floors that are not milestones pay 3,000 Gems each. After floor 50 the table restarts, so floor 51 gives what floor 1 gave, floor 55 gives 20 Trait Rerolls again, and so on indefinitely.
| Floor | Reward |
|---|---|
| 5 | 20 Trait Rerolls |
| 10 | 30 Trait Rerolls |
| 15 | 50 Corruption Crystals |
| 20 | 50 Trait Rerolls |
| 25 | 50 Phoenix Shards |
| 30 | 50 Trait Rerolls |
| 35 | 500 Stat Chips |
| 40 | 50 Trait Rerolls |
| 45 | 50 Elemental Shards |
| 50 | 100 Trait Rerolls |
Stacked across all 11 towers, the totals are large enough to fund pity on several units at once.
| Item | One tower (1–50) | All 11 towers |
|---|---|---|
| Gems | 120,000 | 1,320,000 |
| Trait Rerolls | 300 | 3,300 |
| Stat Chips | 500 | 5,500 |
| Corruption Crystals | 50 | 550 |
| Phoenix Shards | 50 | 550 |
| Elemental Shards | 50 | 550 |
Skill Tree points, keystones and perk priority
Cumulative floor clears award Skill Points, and those points apply to every tower, not just the one you farmed them in. There are 39 points to earn in total, and reaching any keystone costs 21 points in that path. A full reset costs 100,000 Gold, so plan the path before spending.
Three paths exist. Damage holds Loner, Ultimate Power, Amplifier, Advantageous and Potential Man, ending in the Max Output keystone. Range holds Teamwork, Goggles, Sniper, Marker and Slug, ending in Blending In. Cost holds Freebie, Cost Effective, Income Surge, Money Money and Rebate, ending in Teamplayer. Each path shows five major perks but only lets you pick three, and every minor node in a path gives the same small buff, such as 3% damage per minor in the Damage path.
The working priority for floor pushing is Loner, then Ultimate Power, then Amplifier, then Max Output. Money Money and Sniper are the usual secondary picks. Max Output requires roughly 700 cumulative floors, which places it well beyond a first clear.
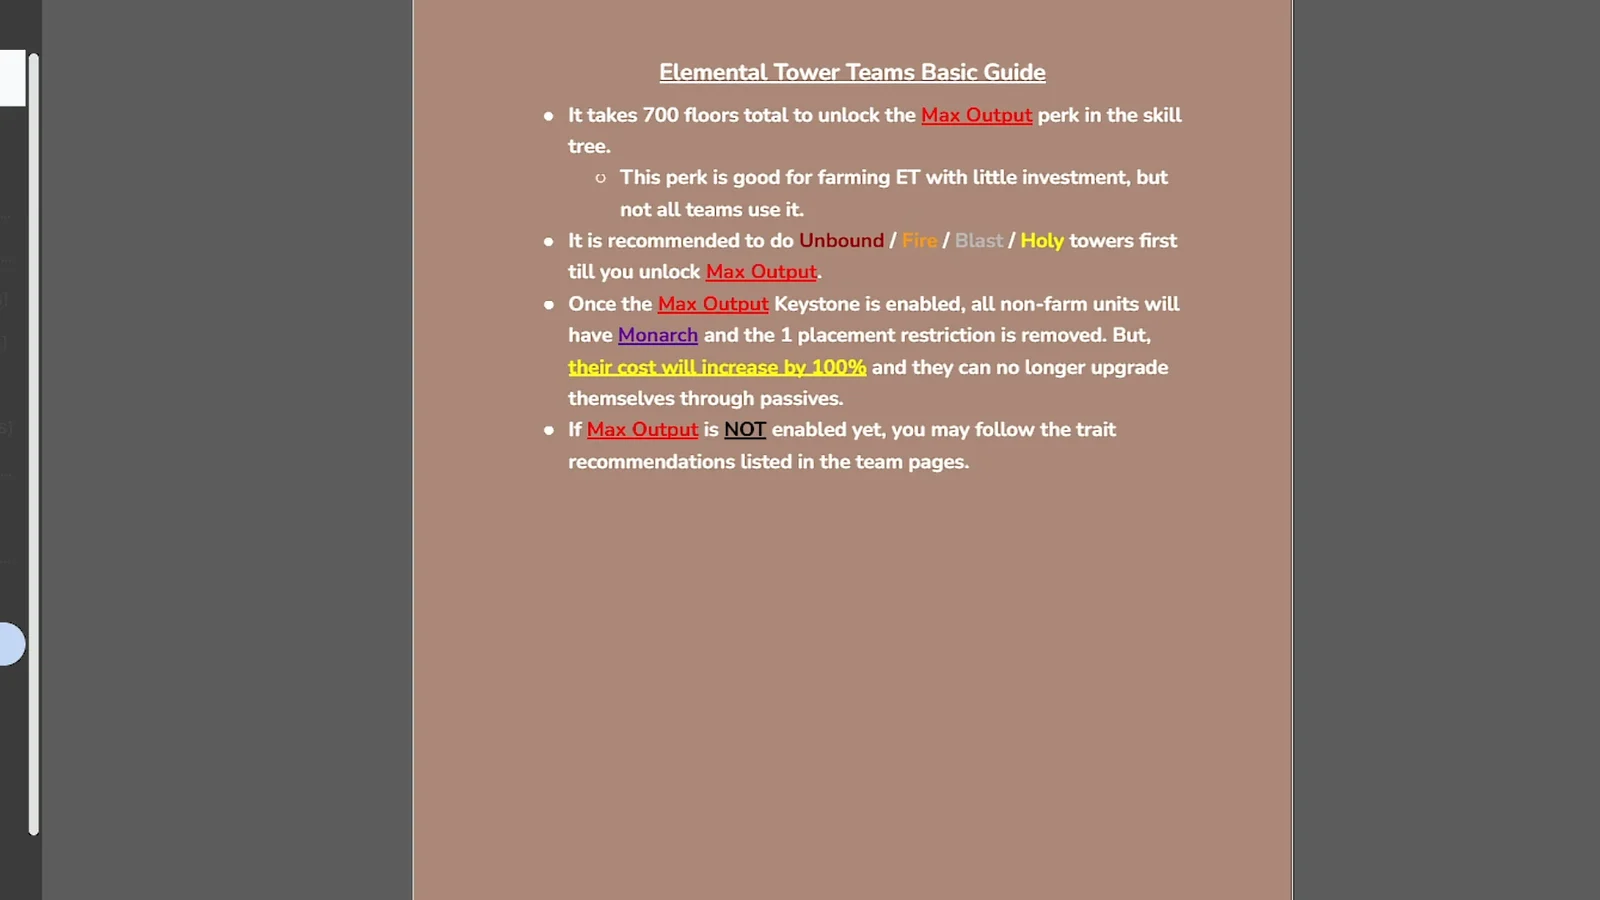
Loner grants +300% damage but subtracts 50% damage for every teammate in the match, so it is a solo pick. Max Output also doubles placement and upgrade costs and disables passive upgrades, and some team compositions are explicitly built to avoid taking it.

Farm floors faster with four-player co-op
Enemy health and count do not increase when more players join. A full group of four therefore clears the same 20 waves with four times the placement budget and four times the damage, which is the cheapest speed increase available in the mode. Chaos Mode on top of that shortens clears further.
The one trade-off is the Damage keystone path. If your tree is built around Loner, running with three other players cuts that perk to nothing, so either commit to solo with Loner or build a co-op tree around Ultimate Power and Amplifier instead.
Holy Tower run order: placements and upgrade timing
A 300-floor Holy setup shows how the wave pacing works. The loadout runs Gilgamesh (King of Heroes), Holy Deceiver (Dark), Apathetic Savior (Door), World Destroyer (Old), Elastic Captain (Cog 5th) and Sprintwagon.

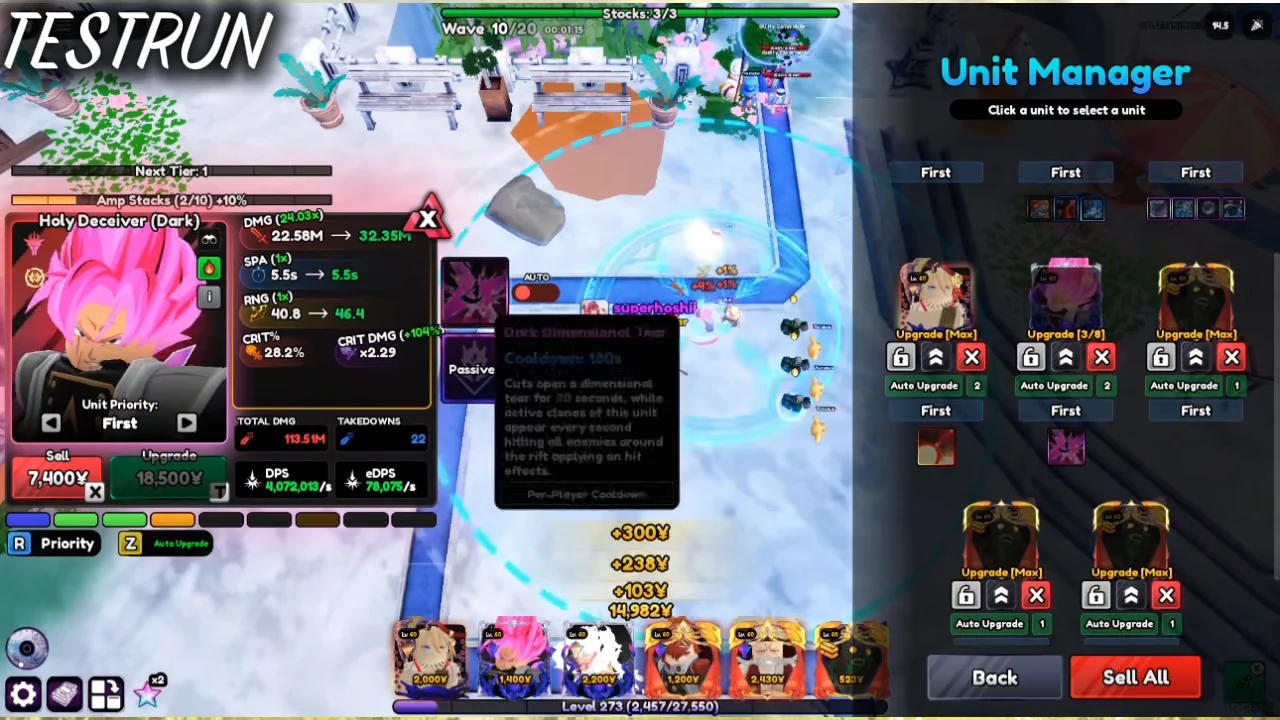

A clean run of that floor finishes in about 2 minutes 46 seconds with roughly 43.41B total damage on the victory summary.
Spending the Trait Rerolls you farm
Access the Mandra NPC through Upgrades in the lobby; each reroll costs one token. Every unit copy has its own pity progress, which remains after that unit is evolved or normalized.
| Trait | Effect | Drop rate | Pity |
|---|---|---|---|
| Monarch | +300% DMG, 1 placement | 0.1% | 1,500 |
| Ethereal | +20% DMG, −20% ATK SPD | 0.175% | 858 |
| Deadeye | +45% crit, +50% crit DMG | 0.375% | 400 |
| Solar | +10% DMG, +25% range | 0.5% | 300 |
| Blitz | −20% ATK SPD | 1.85% | None |
| Fortune | +20% yen, −10% upgrade cost | 2.5% | None |
Fortune on your farm unit is the first target, since it averages about 40 rerolls and pays out in every single run. After that, push Ethereal or Monarch on your strongest carry, take Deadeye or Blitz on the second and third damage dealers, and put Solar on support and utility units where the range bonus widens buff coverage.
Because pity is per unit, switching targets mid-chase throws away all accumulated progress. Decide which unit is your carry before committing a 858 or 1,500 pity run.
Confirming a floor cleared and rerolls landed
A successful floor ends on the victory summary showing the stage name, clear time and total damage, with unit XP progress underneath. The tower then lists the next floor as available, and any milestone reward for the floor you just finished is credited immediately rather than on exit.
Two counters confirm the rest. Your Skill Point total in the tower’s tree rises as cumulative clears accumulate, and your Trait Reroll balance at the Mandra NPC increases by the exact milestone amount, 20 after floor 5, 30 after floor 10, and 100 after floor 50. If both moved, the floor registered.
From there the loop is straightforward. Farm one tower to 50 for the 300-reroll block and the Skill Points, rebuild your preset for the next element, and repeat until the tree is deep enough that later floors stop being a damage check.