The Dragon Sphere Team sits at the top of the Anime Vanguards meta as the highest-DPS lineup in the game, and it holds that spot for a specific reason. The units feed each other buffs, and two unit-exclusive familiars push the damage from strong to absurd. Getting those familiars is the hard part, because both are locked behind Trials that punish sloppy placement.
Quick answer: Clear the Land of the Gods trial for the Candy Ball and the Frozen Port trial for the Turtle Symbol, then run Holy Deceiver (Dark), Super Vogito, Rogita (Super 4), Boohon (Evil), Rogita (Super), and Sprintwagon — and always max Holy Deceiver first so his passive upgrades the rest of the Dragon Ball units around him.
Dragon Sphere Team units and roles
The team is built around Dragon Ball unit synergy, with a single economy slot to keep yen flowing. It also works as an AutoPlay team, which matters if you are grinding repeated clears rather than babysitting every wave.
| Unit | Why it’s in the team |
|---|---|
| Holy Deceiver (Dark) | Core support and damage. His passive auto-upgrades other Dragon Ball units in range. |
| Super Vogito | Primary DPS carry once Rotara Fusion and Big Spirit Beam are online. |
| Rogita (Super 4) | Synergy DPS that scales with the rest of the Dragon Ball lineup. |
| Boohon (Evil) | Support and crowd control, boosted heavily by the Candy Ball familiar. |
| Rogita (Super) | Filler slot. Swap it out in game modes with enough yen to fund a stronger unit. |
| Sprintwagon | Economy. Place it first and max it before anything else. |
Note: Holy Deceiver (Dark) is a limited unit, so if it is not on your account, the team loses the passive that makes the whole upgrade chain work quickly.
The two familiars you need and where they drop
Vanguard Familiars are attached to specific units, and two of them are non-negotiable for this build. Both come from the Trials system, which tests older units on fixed stages and pays out unique familiars for a clear.
| Familiar | Unit | Trial |
|---|---|---|
| Candy Ball | Boo (Evil) | Land of the Gods |
| Turtle Symbol | Vegito | Frozen Port |
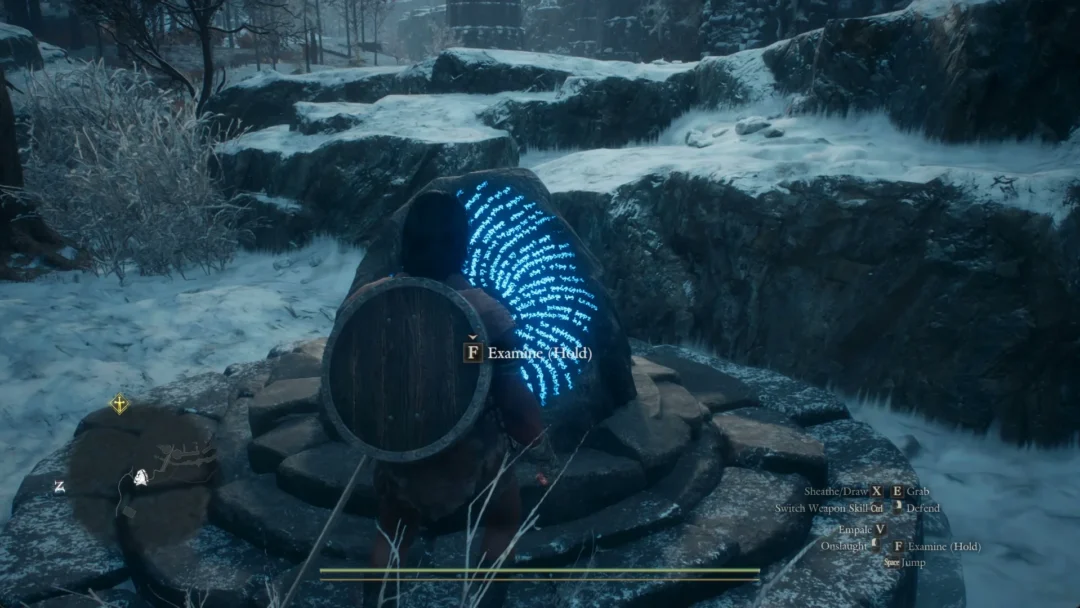
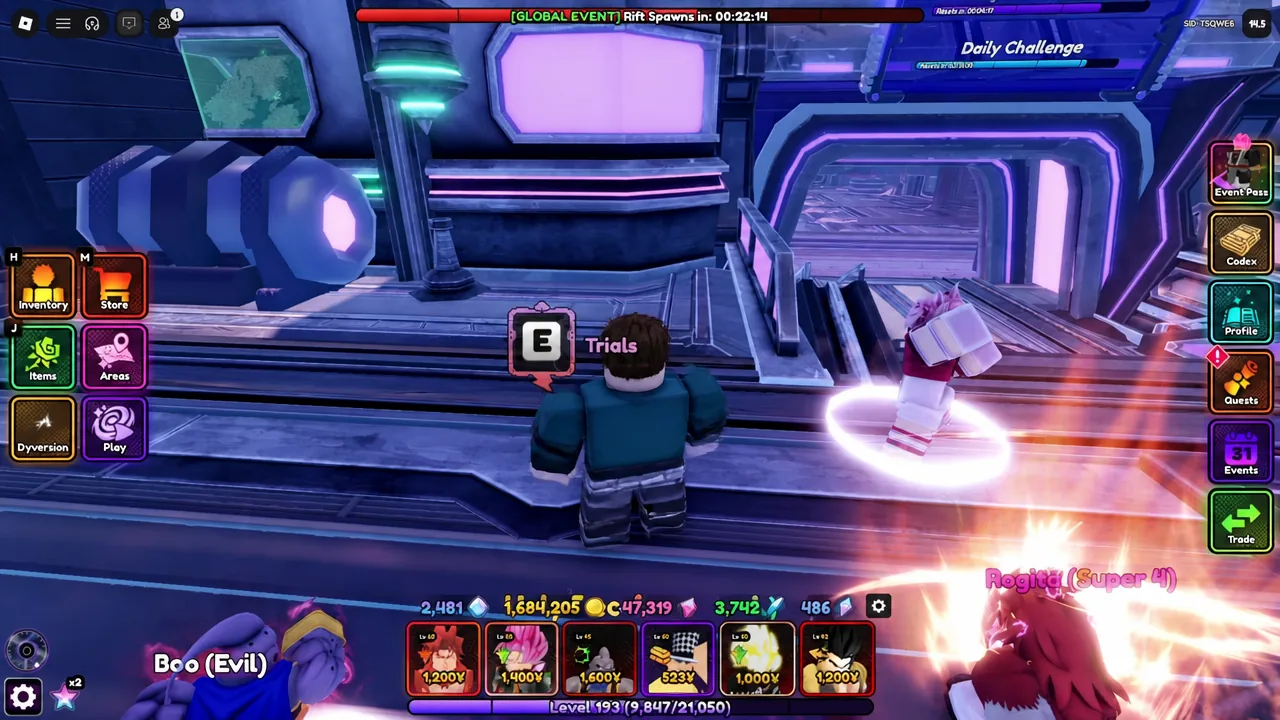
You reach both from the Trials menu in the lobby. Walk up to the Trials prompt and press the highlighted interact key to open the stage list, then pick the trial tied to the unit whose familiar you want.
Land of the Gods trial: Getting the Candy Ball
This is the harder of the two, and it is the one that eats hours if you improvise. The run does not end early, so a defense that holds through the mid waves can still fall apart at the end.
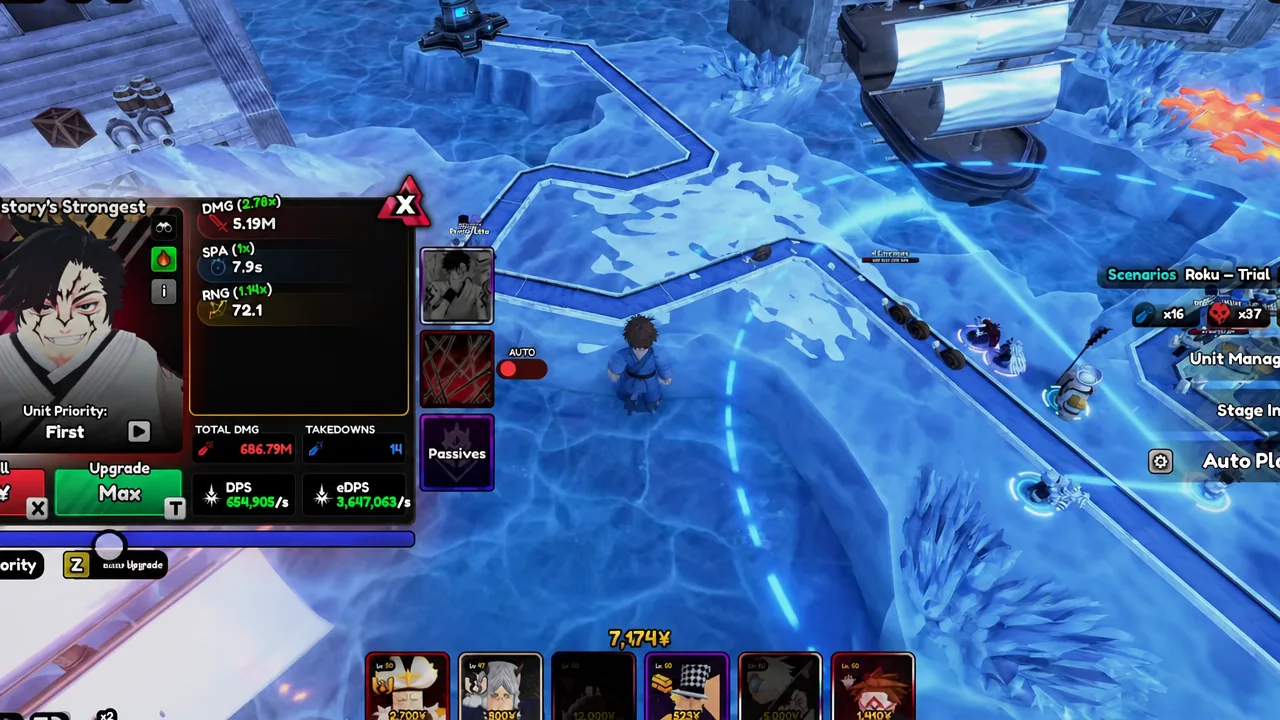
Clearing wave 15 awards the Candy Ball. It is exclusive to Boo (Evil), so it will not do anything for any other unit in your roster.
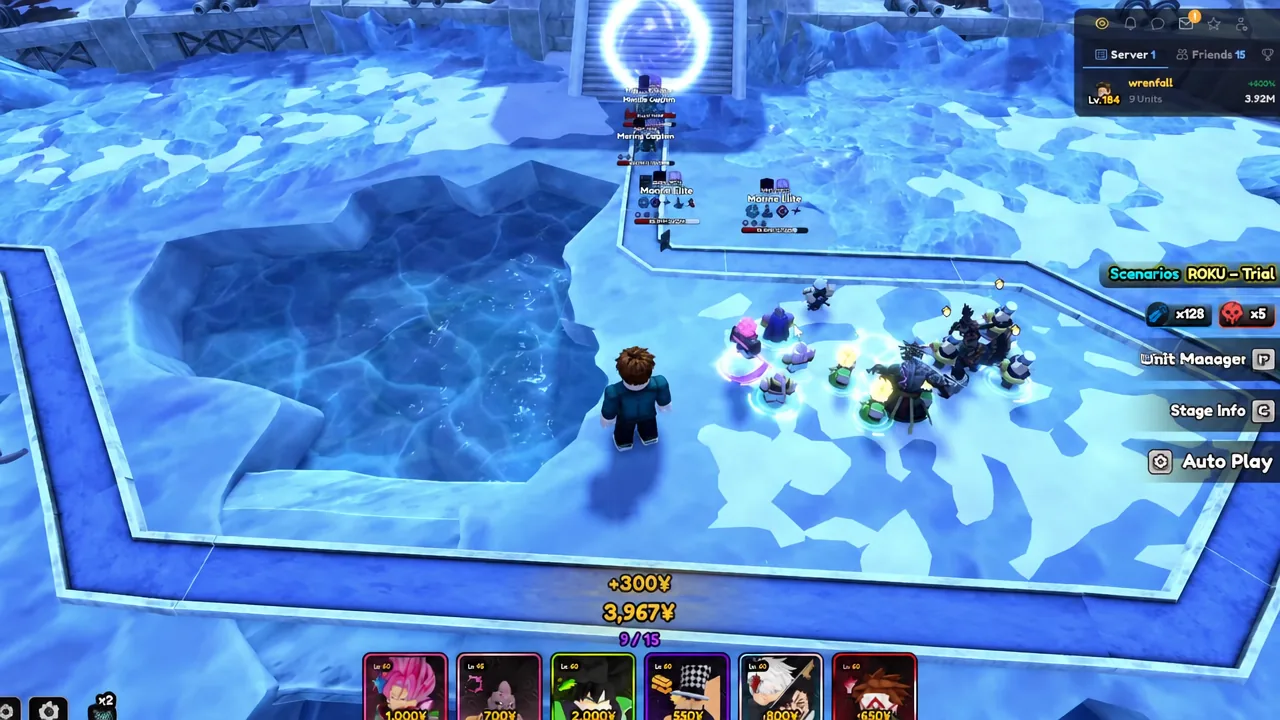
Frozen Port trial: Getting the Turtle Symbol
Frozen Port is more forgiving if you respect the opening. The stage rewards an early economy investment and a stable front line before you spend on damage.
Placement and upgrade order for maximum DPS
Order matters more than positioning perfection here. Holy Deceiver’s passive upgrades the other Dragon Ball units inside his range whenever he is upgraded, so spending yen on him first effectively pays for part of the rest of your board.
How to confirm the setup is working
Two checks tell you the build is correct. First, when you upgrade Goku Black, the nearby Dragon Ball units should visibly gain levels without you spending on them. Second, Rotara Fusion should convert Vegito into Super Vegito on the board and expose Big Spirit Beam as an active option after his final upgrade.
If neither happens, the usual causes are narrow. Units placed outside Holy Deceiver’s range will not receive the passive upgrades, and Big Spirit Beam does not become available until Super Vegito is fully maxed after the fusion. The familiars also do nothing on the wrong unit, since the Candy Ball only attaches to Boo (Evil) and the Turtle Symbol only to Vegito.
Sandbox is the fastest way to verify the whole chain. Spawning high-health Ali bosses gives you a clean single-target readout, and a correctly assembled Dragon Sphere Team should be putting up damage numbers in the billions per second.
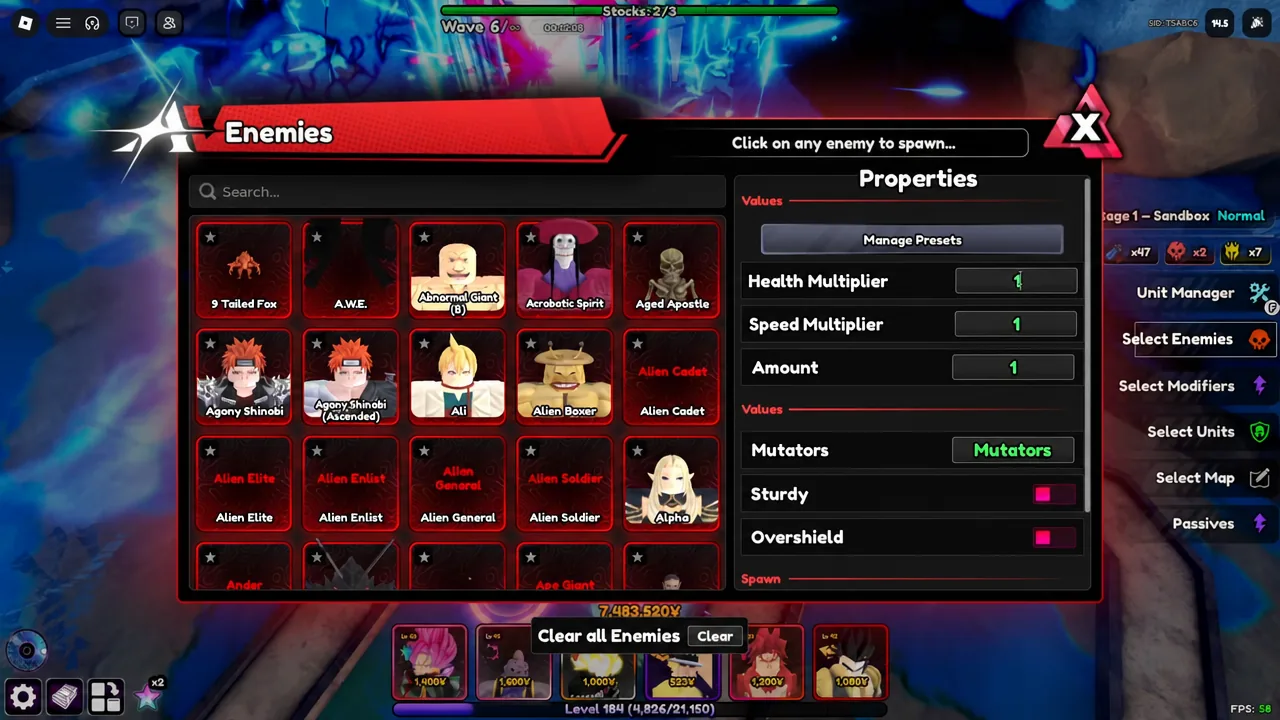
The familiar grind is the real cost of this team, not the units themselves. Once the Candy Ball and Turtle Symbol are attached and you stick to the Holy Deceiver–first upgrade order, the lineup runs itself well enough to leave on AutoPlay for repeat clears.