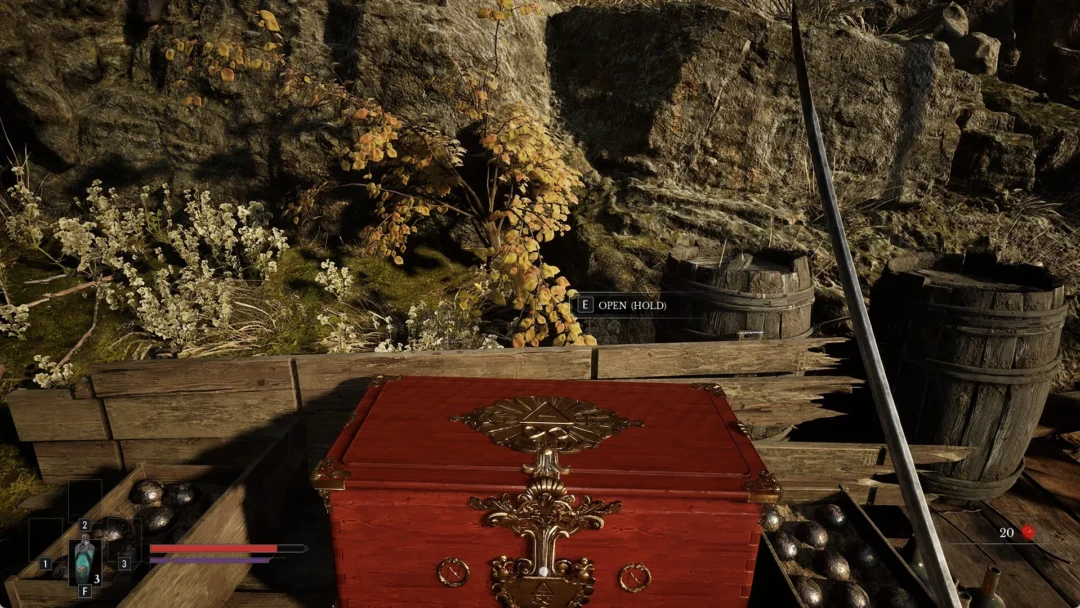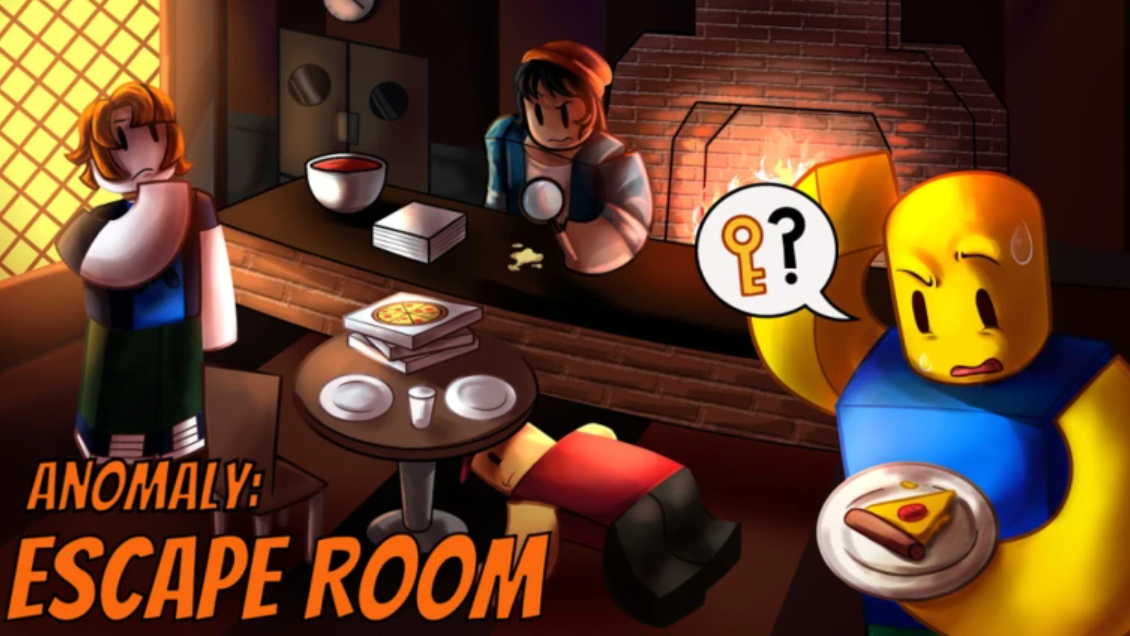
The Forgotten Temple sits on the easier end of the Anomaly: Escape Room rotation in Roblox, but a few specific puzzles still trip up new players, including a keypad gate, a hidden symbol order, and a final ritual that requires items collected from across the map. Work through the rooms in the order below, and you can finish the map in a single run.
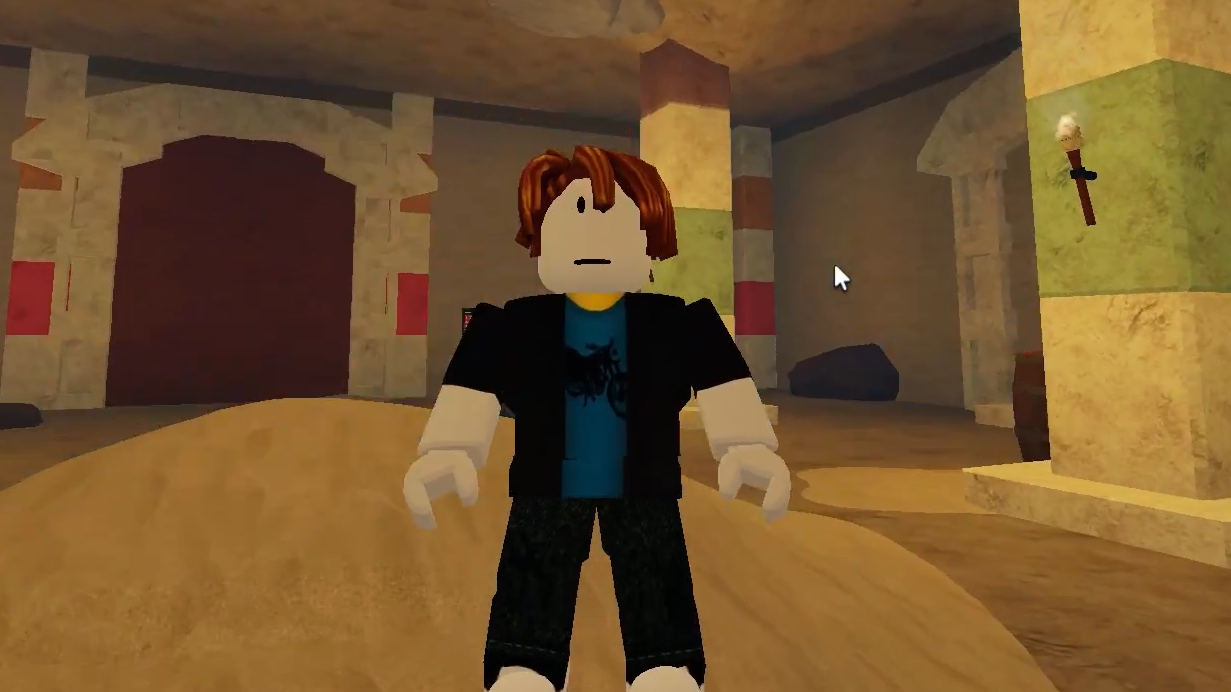
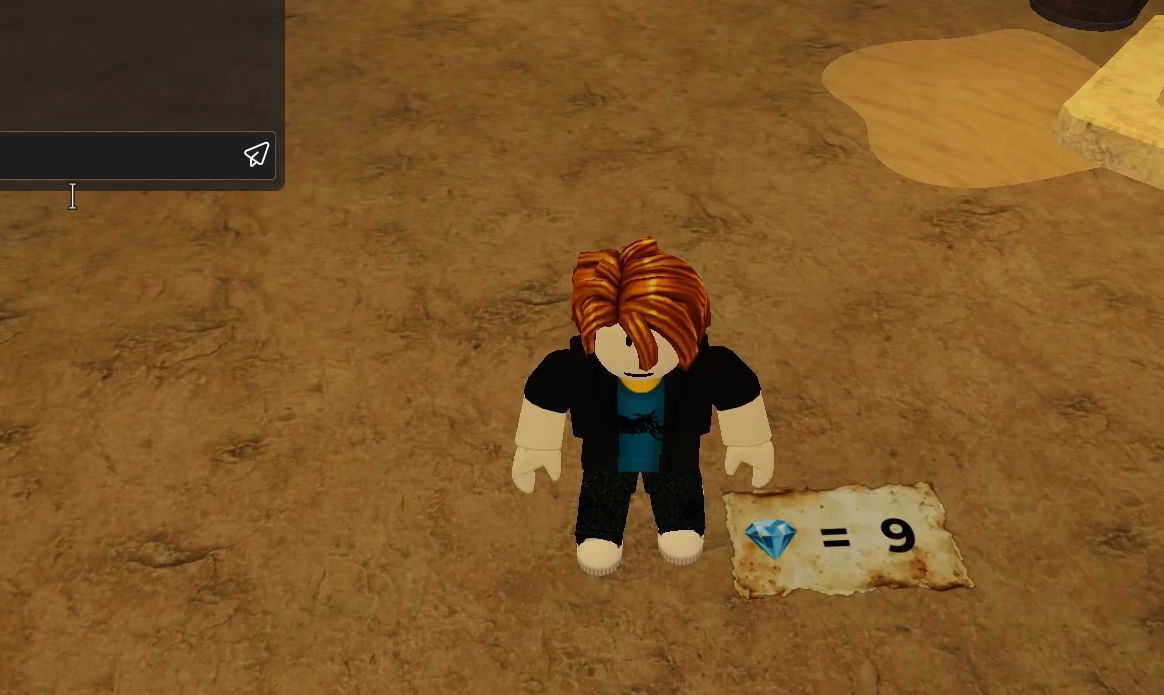
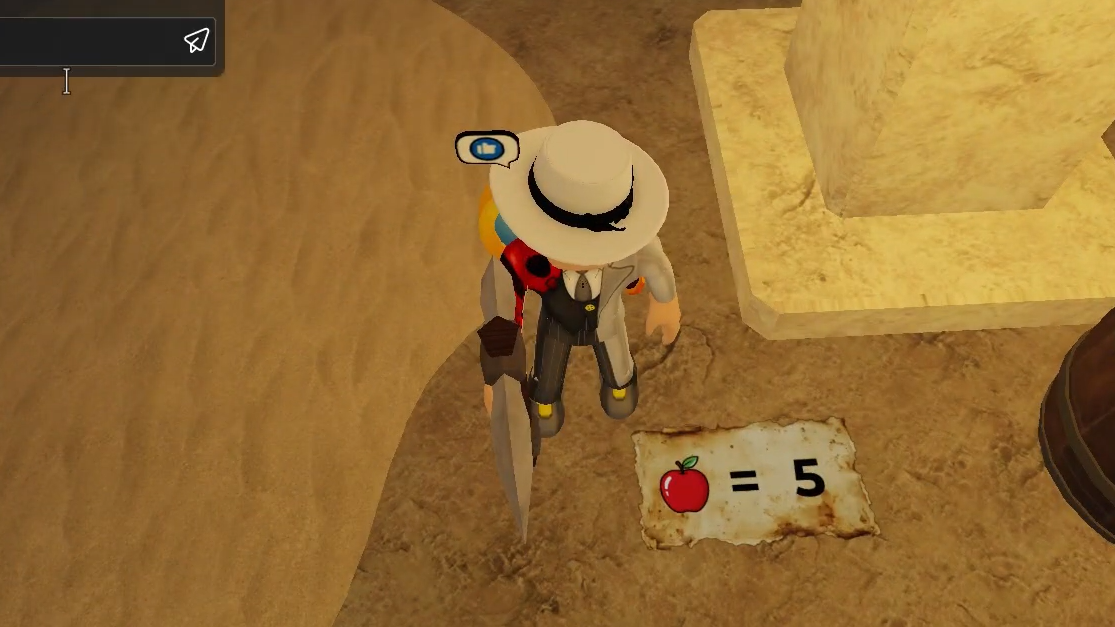
Opening the first gate (diamond, gold, apple)
You spawn in front of a keypad gate that needs three offerings before it opens. Each one is hidden nearby and only takes a short search to locate. Pick them up in any order and bring them back to the pedestals beside the gate.
The moon phase puzzle (Vine Rune)
One of the side rooms contains a wall covered in vines under glowing moon symbols. The correct sequence is printed on the wall itself, running from the full moon to the new moon.
Pull the vines in that order without skipping any. If you interact with the wrong vine, the puzzle resets, and the room can damage you. Completing it rewards the Vine Rune, which you will need for the final door.
The spike hallway (Spike Rune)
The spike room is a narrow corridor lined with deadly walls. A series of arrows on the entrance wall encodes the turns you need to take. Read them as left and right directions in order.
The path through is: right, left, right, left, left, left. Touching the spikes instantly kills your character, so move slowly and count each turn. The reward at the end is the Spike Rune.
The rising water parkour (Toxic Rune)
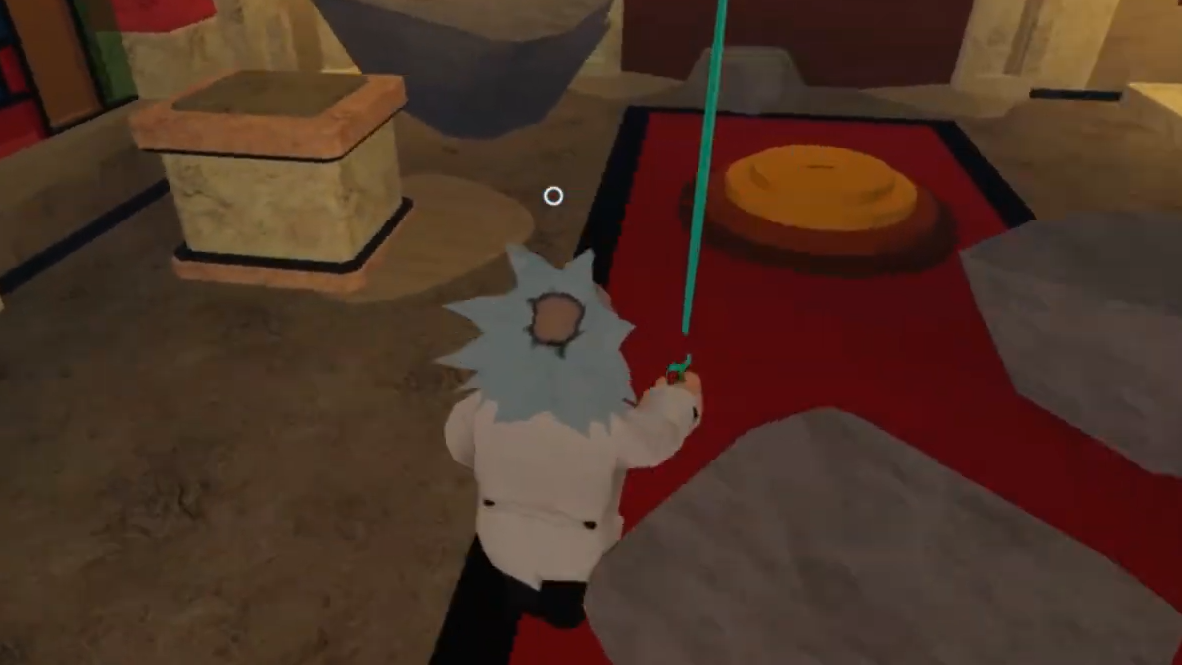
This room is a vertical climb. Water begins rising the moment you enter, and falling into it kills you. Use the wall ledges and platforms to work your way upward as fast as possible.
Reach the top before the water catches up, and grab the Toxic Rune from the pedestal there. There is no shortcut, so keep moving and avoid pausing on lower platforms.
The invisible bridge (Water Rune)
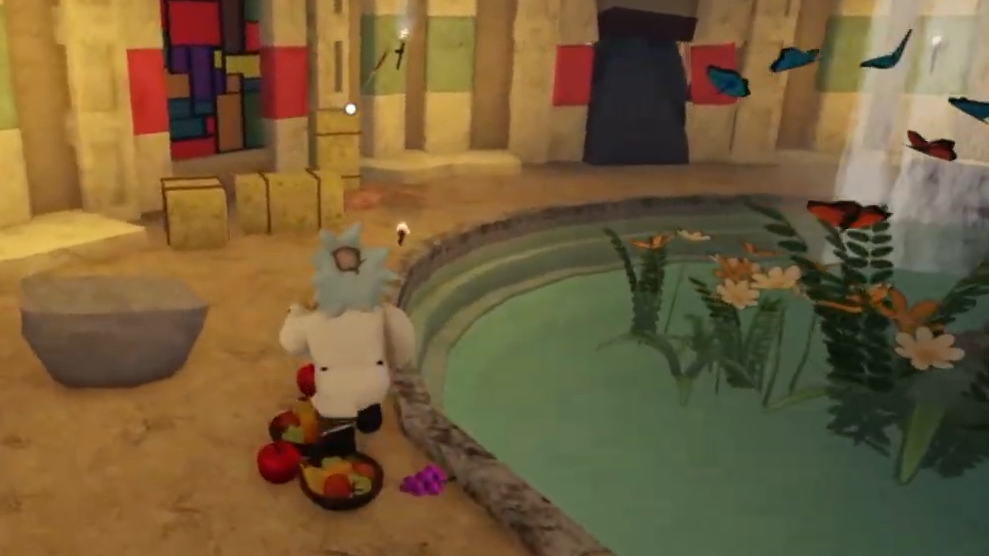
You enter a room with a pool of water below and what looks like an empty walkway. The real path is invisible, but the layout is mirrored on the ceiling above you.
Tilt your camera up and follow the pattern on the ceiling step by step. Stepping off the path drops you into the water and resets the room. Reaching the far side gives you the Water Rune.
The pillar jump puzzle (Glyph Rune)
The final puzzle room contains rows of pillars topped with three shapes: triangle, square, and circle. Jumping on the wrong shape triggers a kill effect.
The correct sequence across the rows is: triangle, square, square, triangle, circle, triangle, square, triangle, circle. Land cleanly on each correct pillar and pick up the Glyph Rune at the end.
Final ritual and exit
Return to the central chamber with all the runes in your inventory. A wall holds four to five circular indentations, each matching one of the runes you collected.
Place every rune on its pedestal. The vault door slides open, revealing the exit area and ending the map. If the door does not open, you are missing a rune from one of the side rooms, so backtrack and check which pedestal is still empty.
Once the vault opens, walk through to trigger the completion screen and credit the map to your account. From there, you can leave the server or queue into the next Anomaly: Escape Room map.