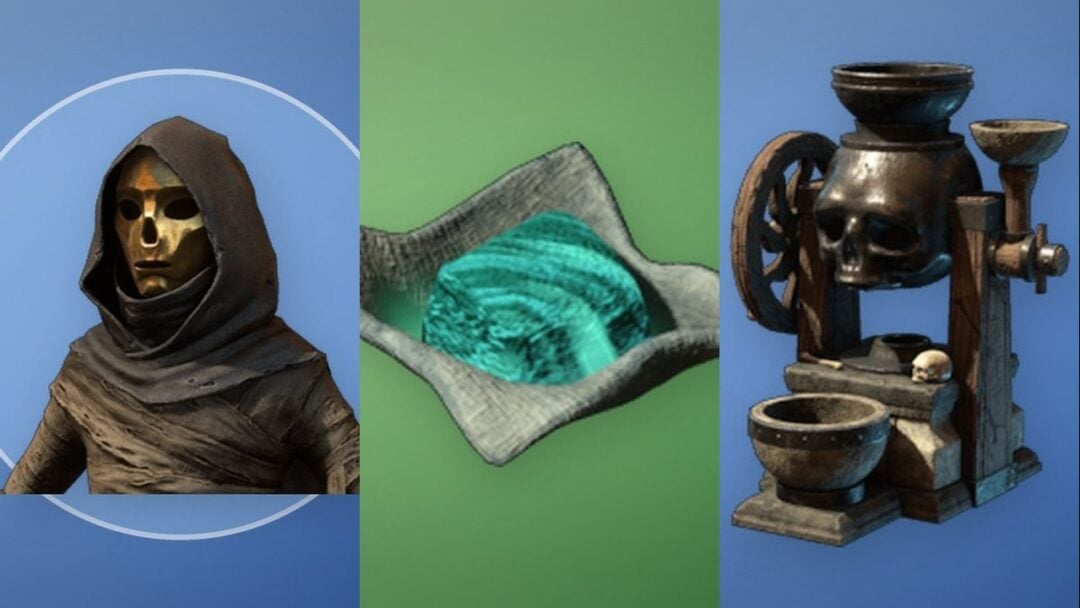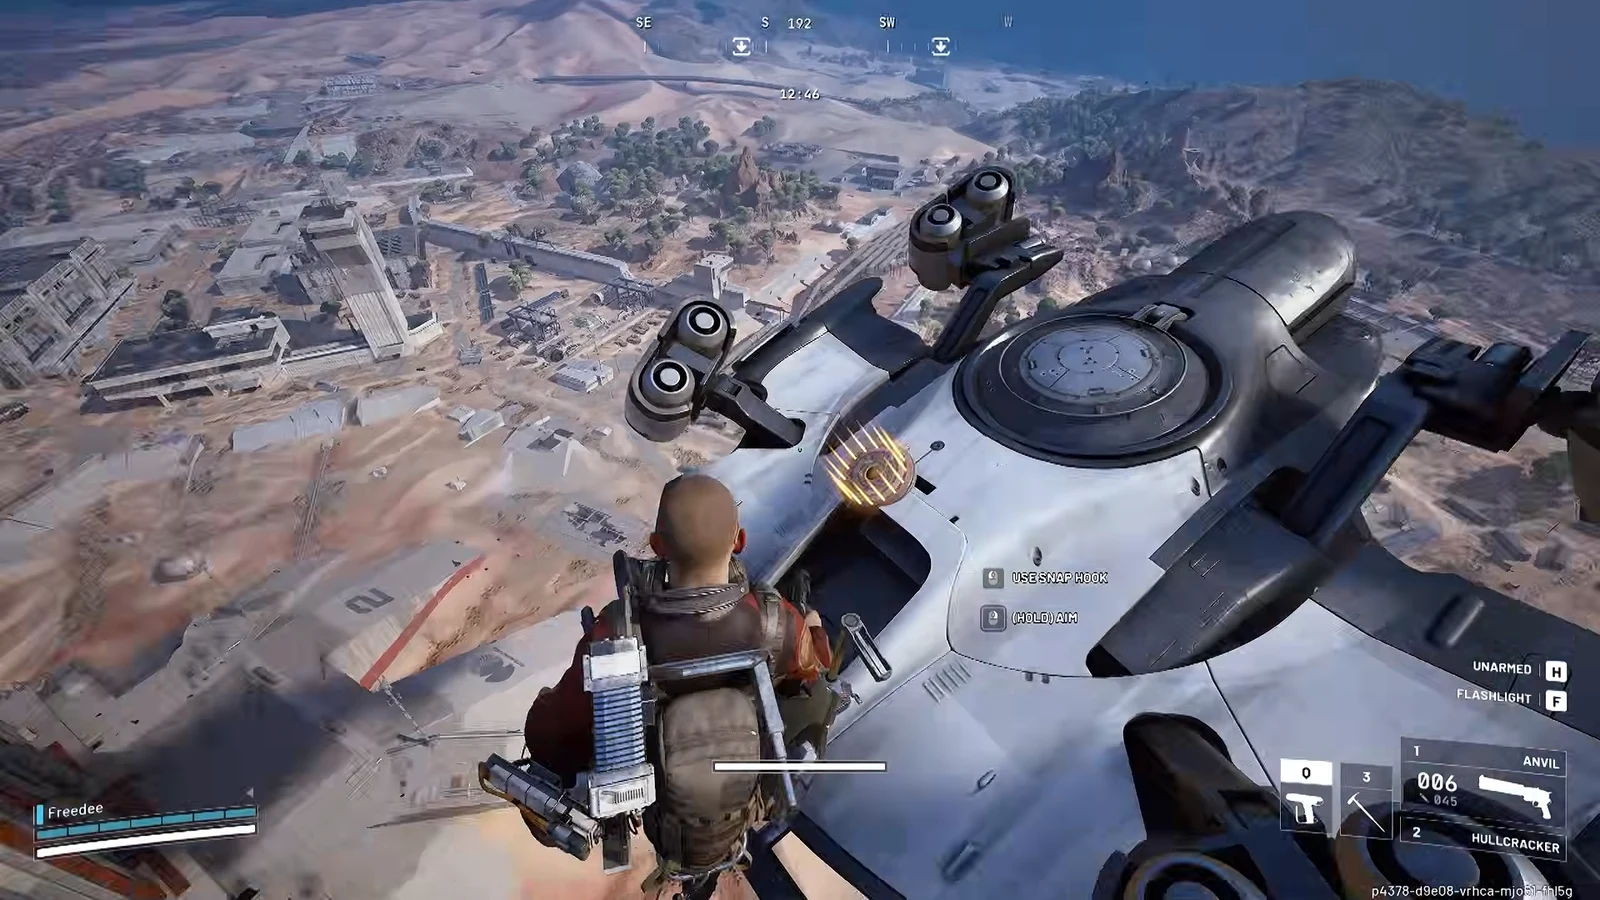
The Frigate is an ARC warship that hangs over the map in Arc Raiders, and a full clear takes most of a raid. The run has three parts. You ride a platform up to it, break every glowing orange coil on board, and then release the cargo pod and ride it down to the ground. The pod is lined with loot containers. Two mechanics drive the whole ship, which are shooting coils and shooting yellow buttons. The difficulty comes from doing both while Hydras, Rocketeers and Vaporizers shoot at you.
Quick answer: Queue a map showing the ARC Frigate condition with a three-person squad. Board from the rear platforms using Disrupt, destroy every coil, breach the four corner latches, then crank the two drums until the pod drops.
Frigate requirements: Map condition, squad and raid rules
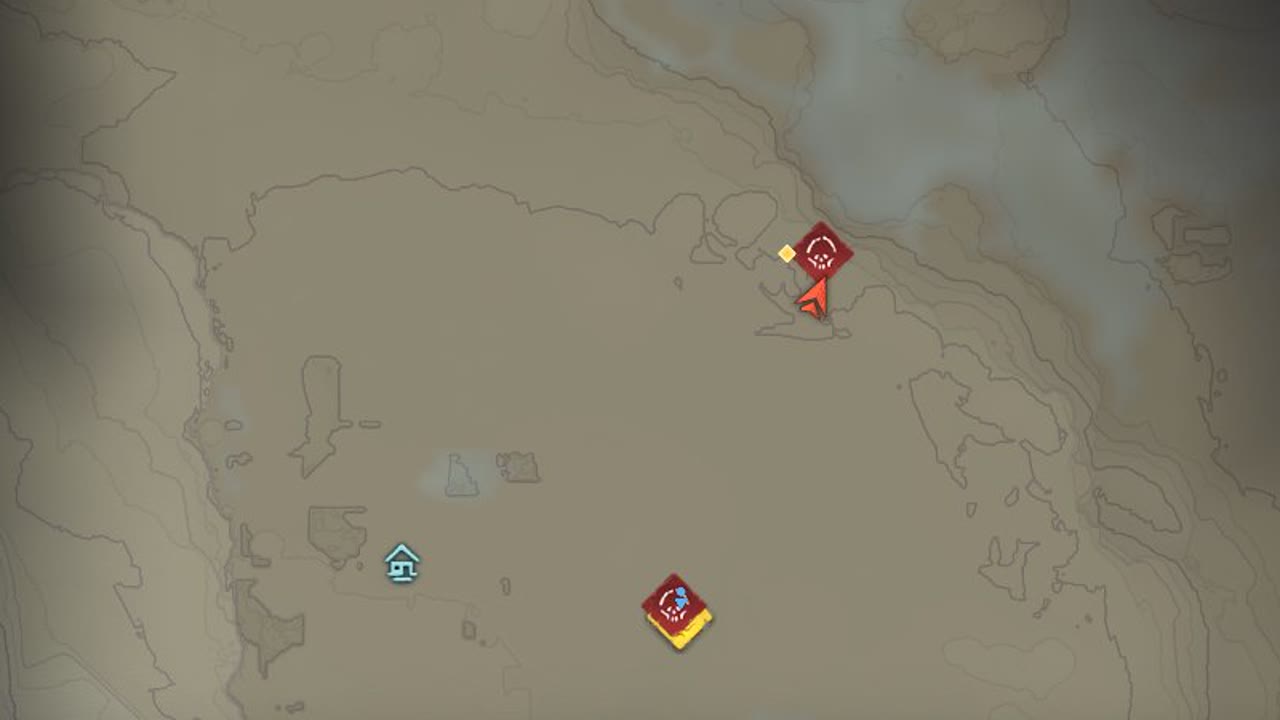
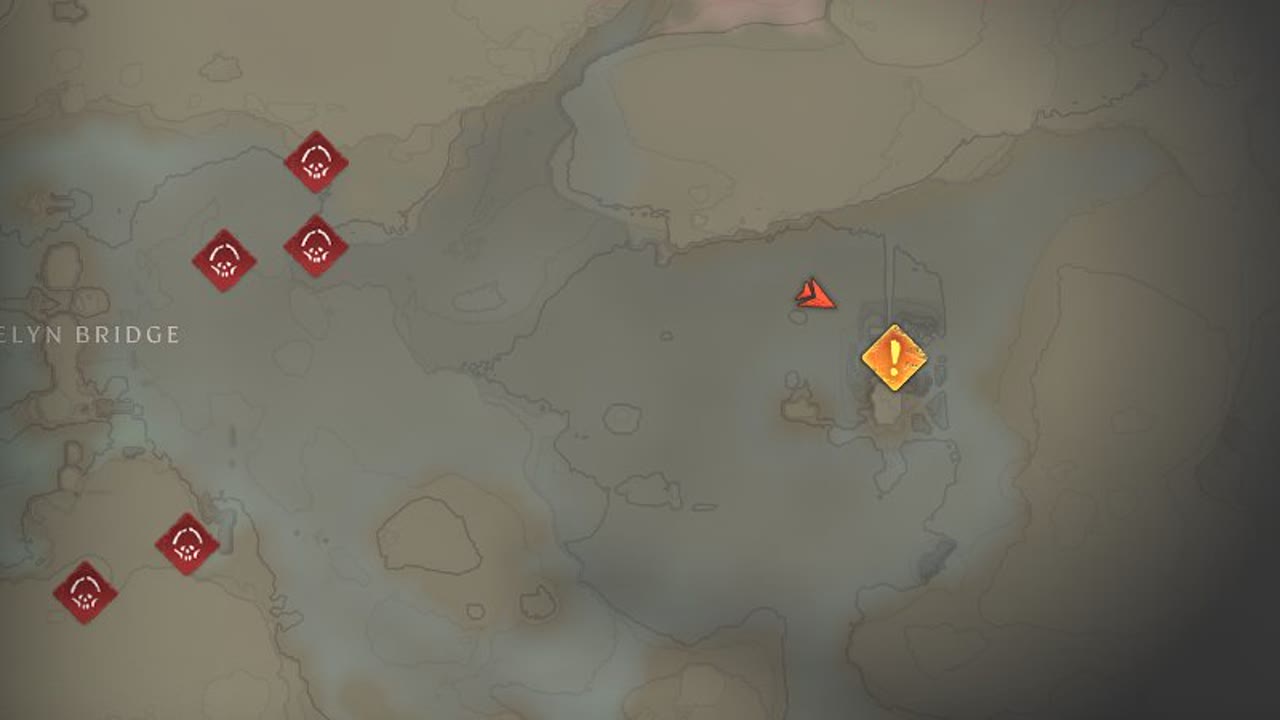
The Frigate is a map condition rather than a fixed map. It rotates across several maps, so check the Map Selection screen before you deploy and pick one that lists ARC Frigate under the map name. Once you load in, the ship is visible over the map and holds one position for the whole raid. Weapons fired from the ground won’t destroy it. You have to board it.
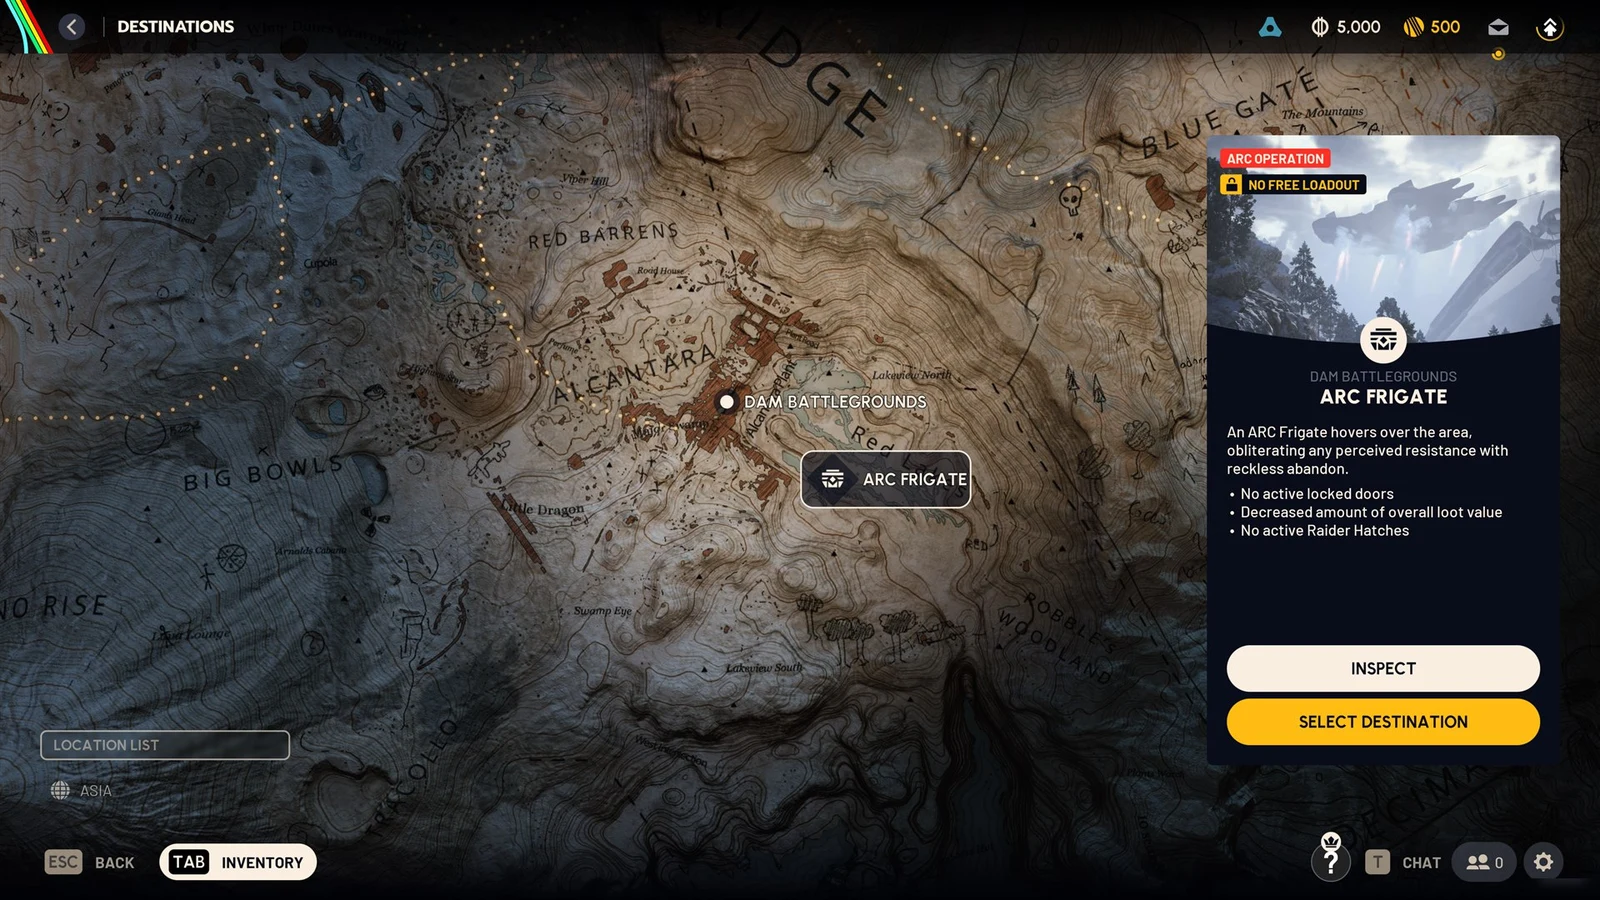
The condition also changes the raid underneath the ship.
- Free loadouts are disabled, so you have to bring your own kit.
- Raider Hatches are disabled, so plan to leave through normal extraction points.
- Locked key-room doors are inactive.
- Overall loot value across the map is lower.
- Several consoles need three Raiders pressing at the same time. Solo and duo players have to team up with strangers on board.
The route eats most of the raid timer. Head for the ship as soon as you land instead of looting the far side of the map first.
Best Frigate loadout: Weapons and ammo
| Weapon | Rarity / type | Ammo · magazine | Weight |
|---|---|---|---|
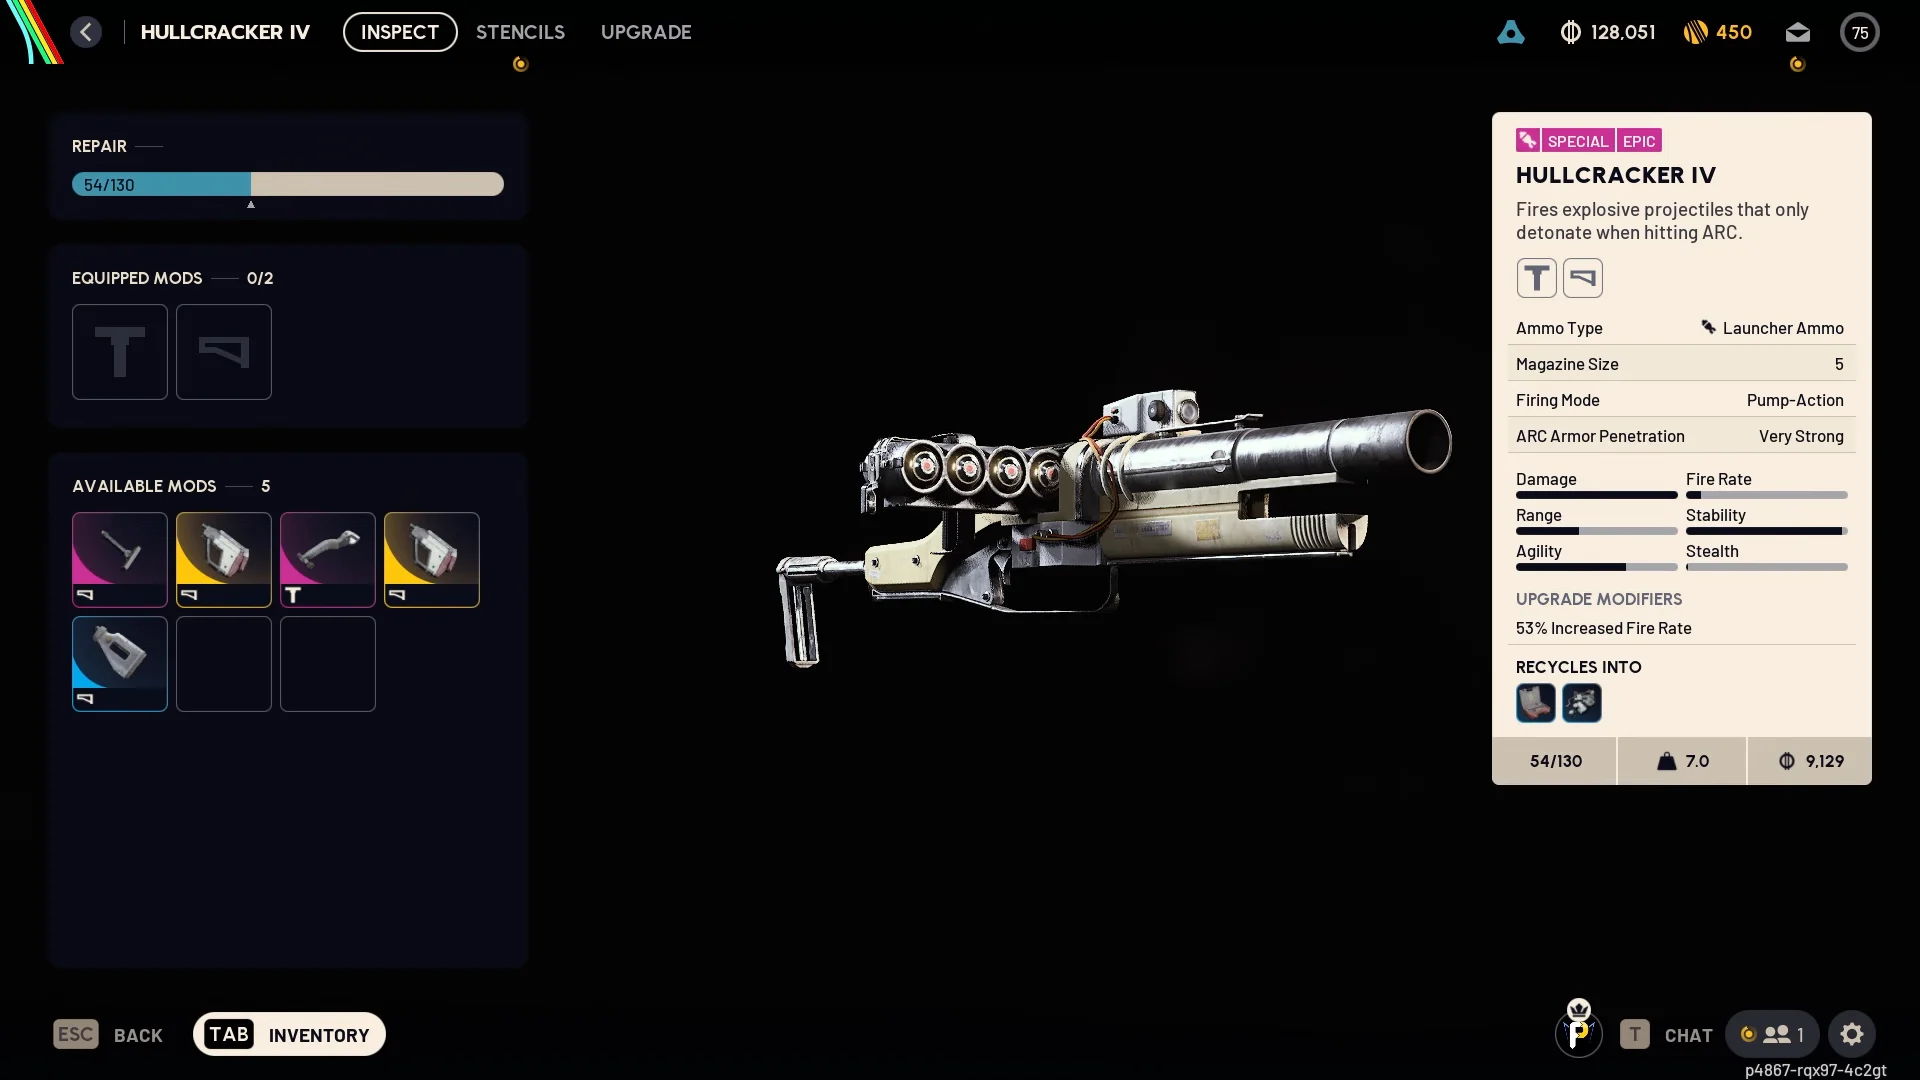
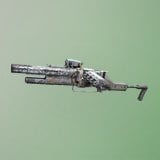 Hullcracker Hullcracker | Epic Special | Launcher Ammo | 7 |
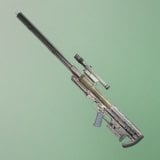 Jupiter Jupiter | Legendary Sniper Rifle | Heavy Ammo · 5 | 9 |
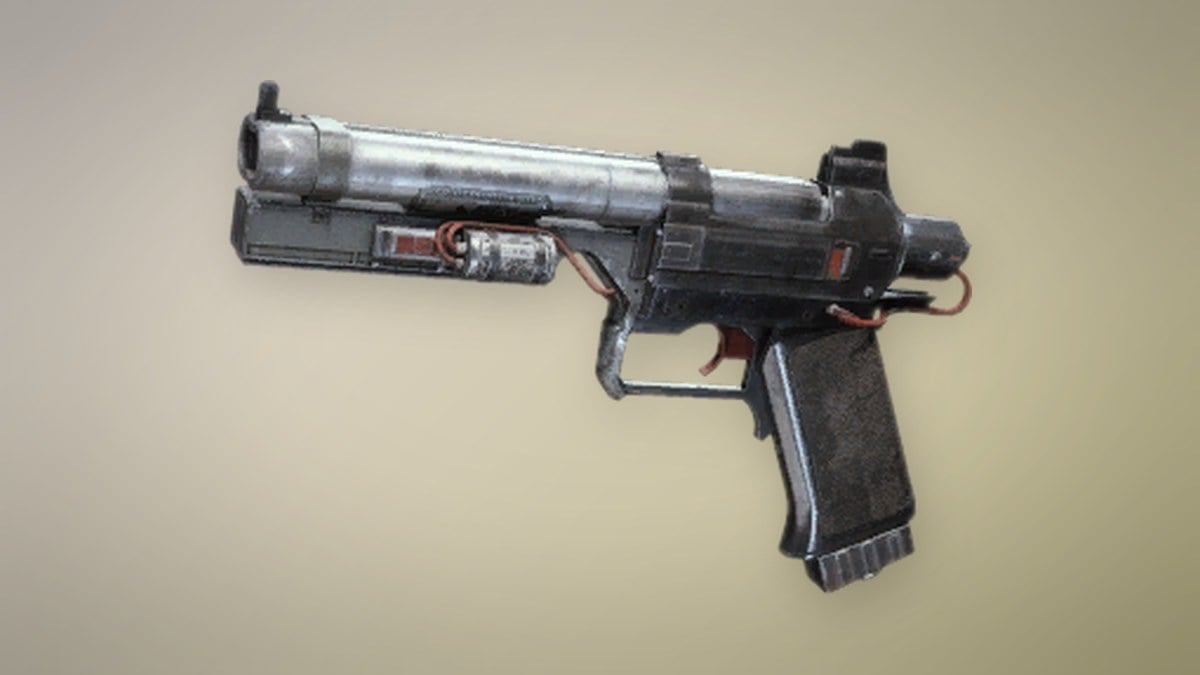
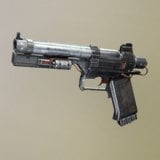 Venator Venator | Rare Pistol | Medium Ammo · 10 | 5 |
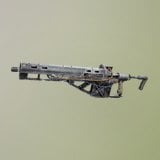 Bettina Bettina | Epic Assault Rifle | Heavy Ammo · 22 | 11 |
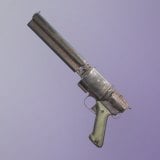 Anvil Anvil | Rare Hand Cannon | Heavy Ammo · 6 | 5 |
Every weapon above can be upgraded from level I to IV. The Hullcracker, Jupiter, Bettina and Anvil can also be amplified. The Jupiter sells for 27,500 and has Very Strong ARC armor penetration.
Primary: Hullcracker or Jupiter
Hullcracker is the damage pick. Its explosive rounds only go off when they hit ARC, which suits a ship full of machines. It clears Hydras and coil clusters faster than anything else in the kit, but it burns through ammo quickly.
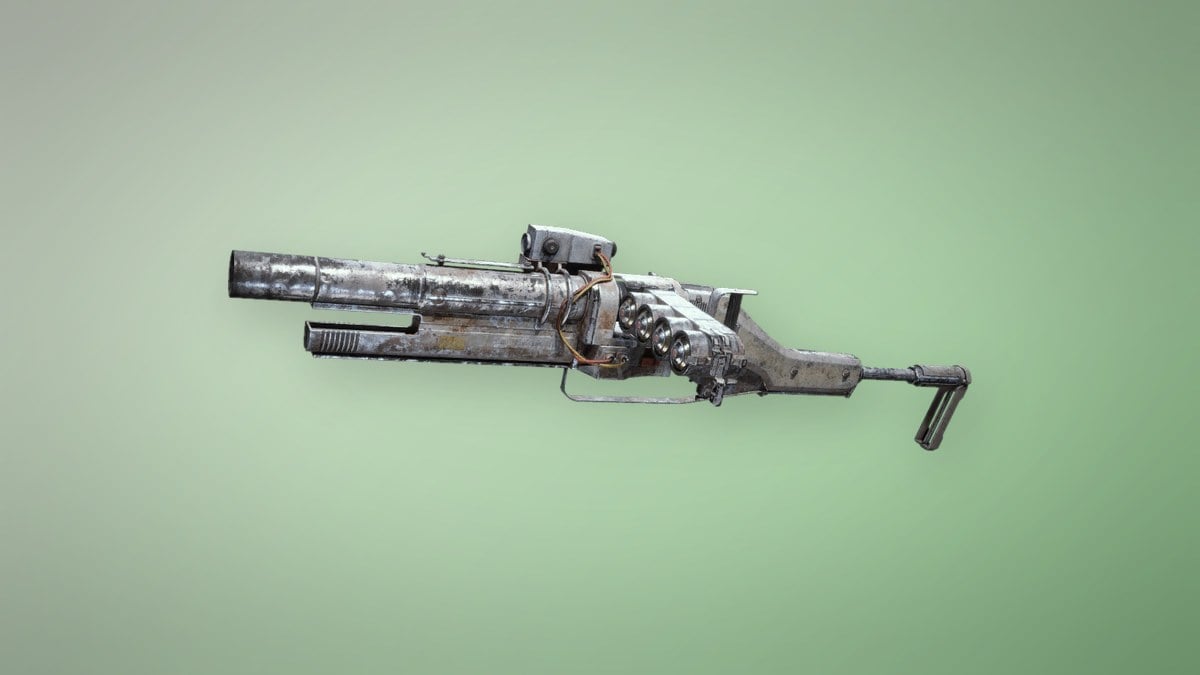
Jupiter is the economy pick. It is a bolt-action rifle that fires projectiles fast enough to pass through more than one target. It does less damage per second than the Hullcracker, but your reserves last much longer, which matters on a run this long.
Secondary: Venator over Anvil
Venator fires two shots per trigger pull, and you can upgrade its magazine. That makes it the right tool for exposed coils and yellow buttons, which reward fast, accurate hits and short reload pauses. The Anvil hits hard, but it handles slowly and holds fewer rounds, so you spend more time reloading in the middle of a fight. If you expect Raider fights, the Bettina is the heavy-ammo alternative.
Ammo reserves
| Ammo | Max stack | Weight | Sold by |
|---|---|---|---|
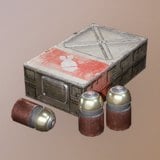 Launcher Ammo Launcher Ammo | 24 | 0.1 | Tian Wen, 4,500 Coins |
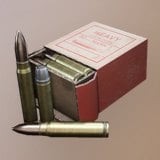 Heavy Ammo Heavy Ammo | 60 | 0.05 | Tian Wen, 900 Coins |
Bring at least 100 Launcher Ammo rounds if you run the Hullcracker. That is five full stacks, and runs that start with around 130 still come close to running dry. One trio that cleared the ship in a PvP lobby used more than 150 rounds each. Pack 200 or more pistol rounds for the Venator as well.
Frigate gear: Shields, mobility and gadgets
| Item | Rarity | Weight | Key stats |
|---|---|---|---|
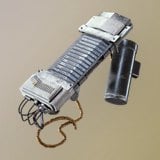 Light Shield Light Shield | Uncommon | 5 | Charge 40, 40% reduction |
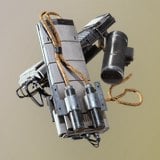 Medium Shield Medium Shield | Rare | 7 | Charge 70, 42.5% reduction, −5% speed |
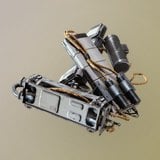 Heavy Shield Heavy Shield | Epic | 9 | Charge 80, 52.5% reduction, −10% speed |
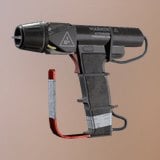 Snap Hook Snap Hook | Legendary | 5 | Range 20m |
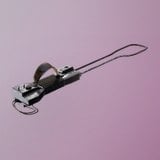 Photoelectric Cloak Photoelectric Cloak | Epic | 3 | Hides you from ARC |
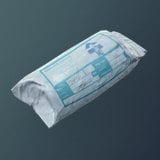 Sterilized Bandage Sterilized Bandage | Rare | 0.2 | 5/s for 10s, stack of 3 |
 Lure Grenade Lure Grenade | Uncommon | 0.4 | Stack of 3 |
Lance sells the Light Shield for 1,920 Coins, the Medium Shield for 6,000 and the Heavy Shield for 16,500. He also sells the Sterilized Bandage for 6,000 Coins.
Medium Shield gives the best balance for a ship where you need to move fast. Carry two of them, one equipped and one in your backpack. Shields break during the long fights on the top deck, and a spare keeps you in the run instead of forcing you to fall back.
Defibrillators are essential. Fire jets, Hydra volleys, and deep falls through Frigate shafts can knock Raiders down; the run ends if your squad has fewer than three players. The Integrated Defibrillator can be used repeatedly after its cooldown, but stays bound to its slot and cannot be dropped.
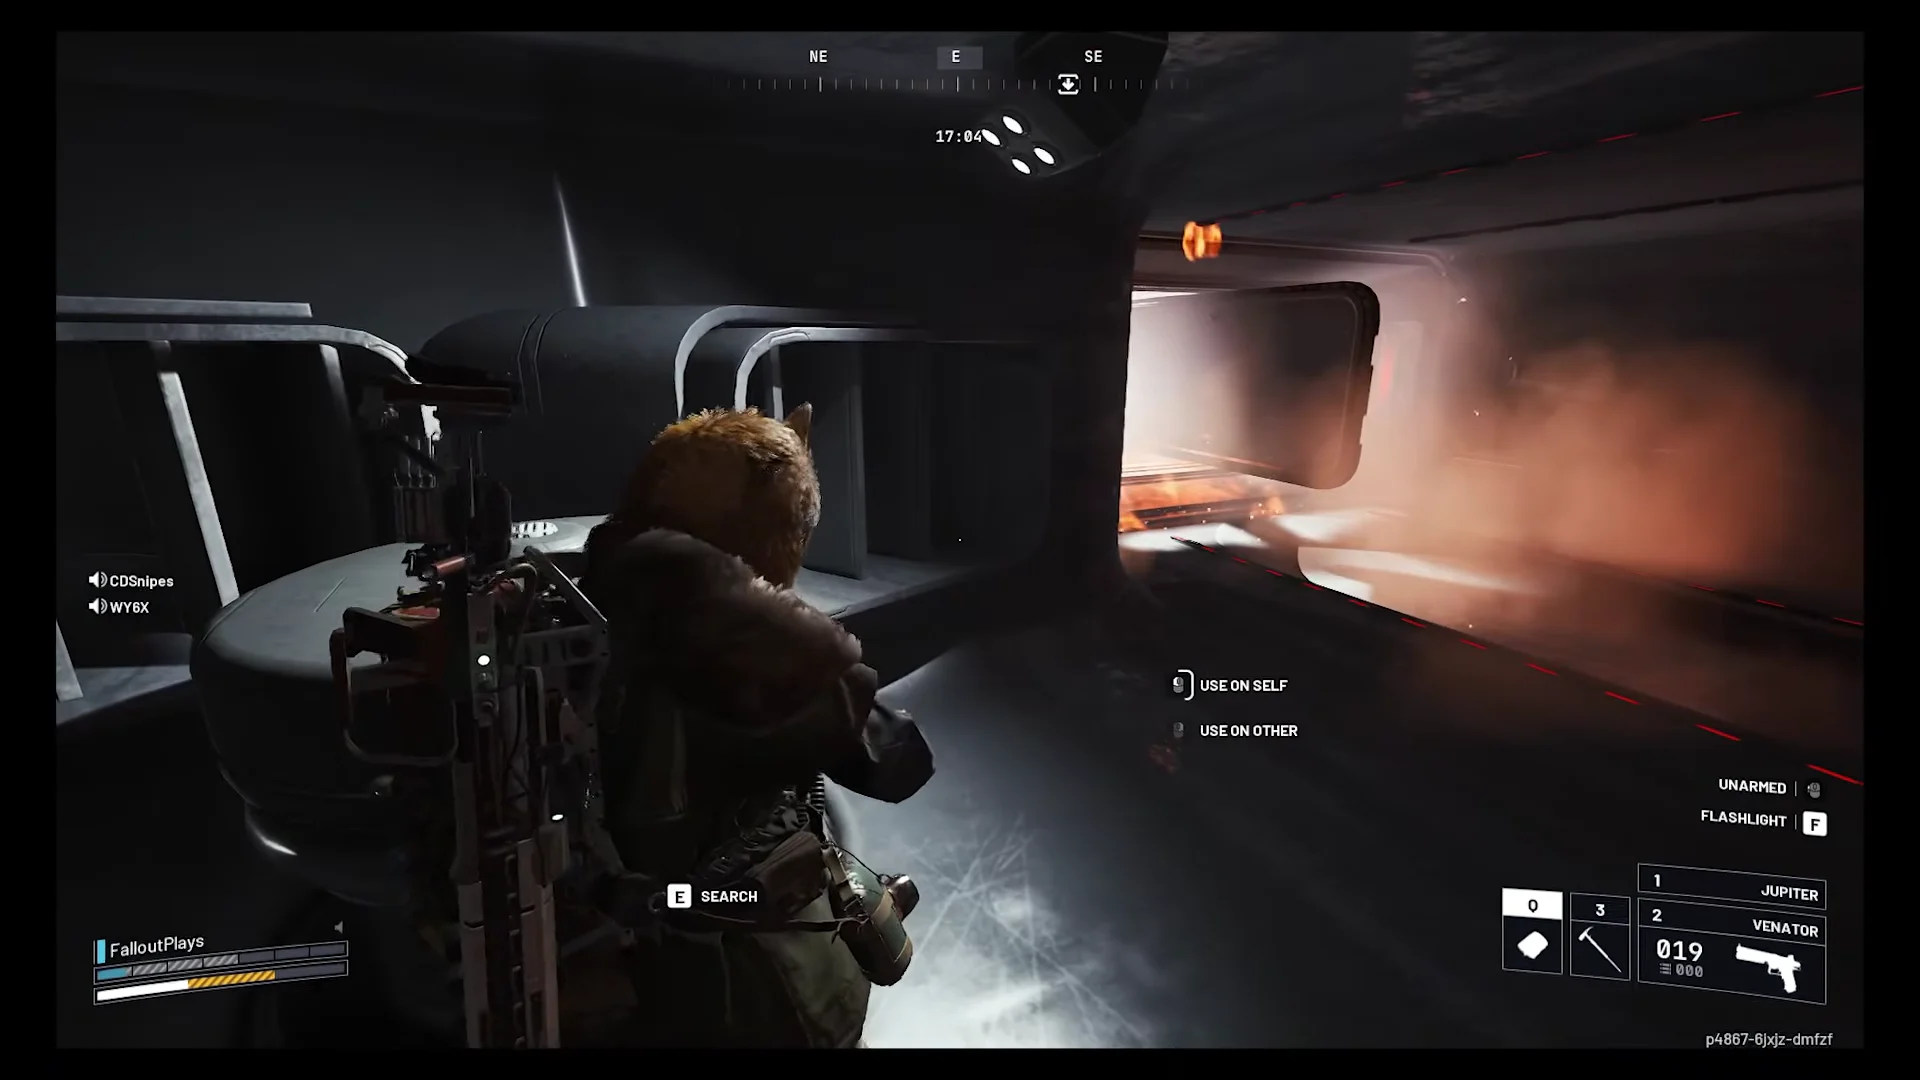
Snap Hook lets you skip the climbs between decks and gets you out of trouble when the ARC pin your squad. It also replaces the first three-person lift if your squad is short a player. A broken Snap Hook will slow your Raider badly for the rest of the run.
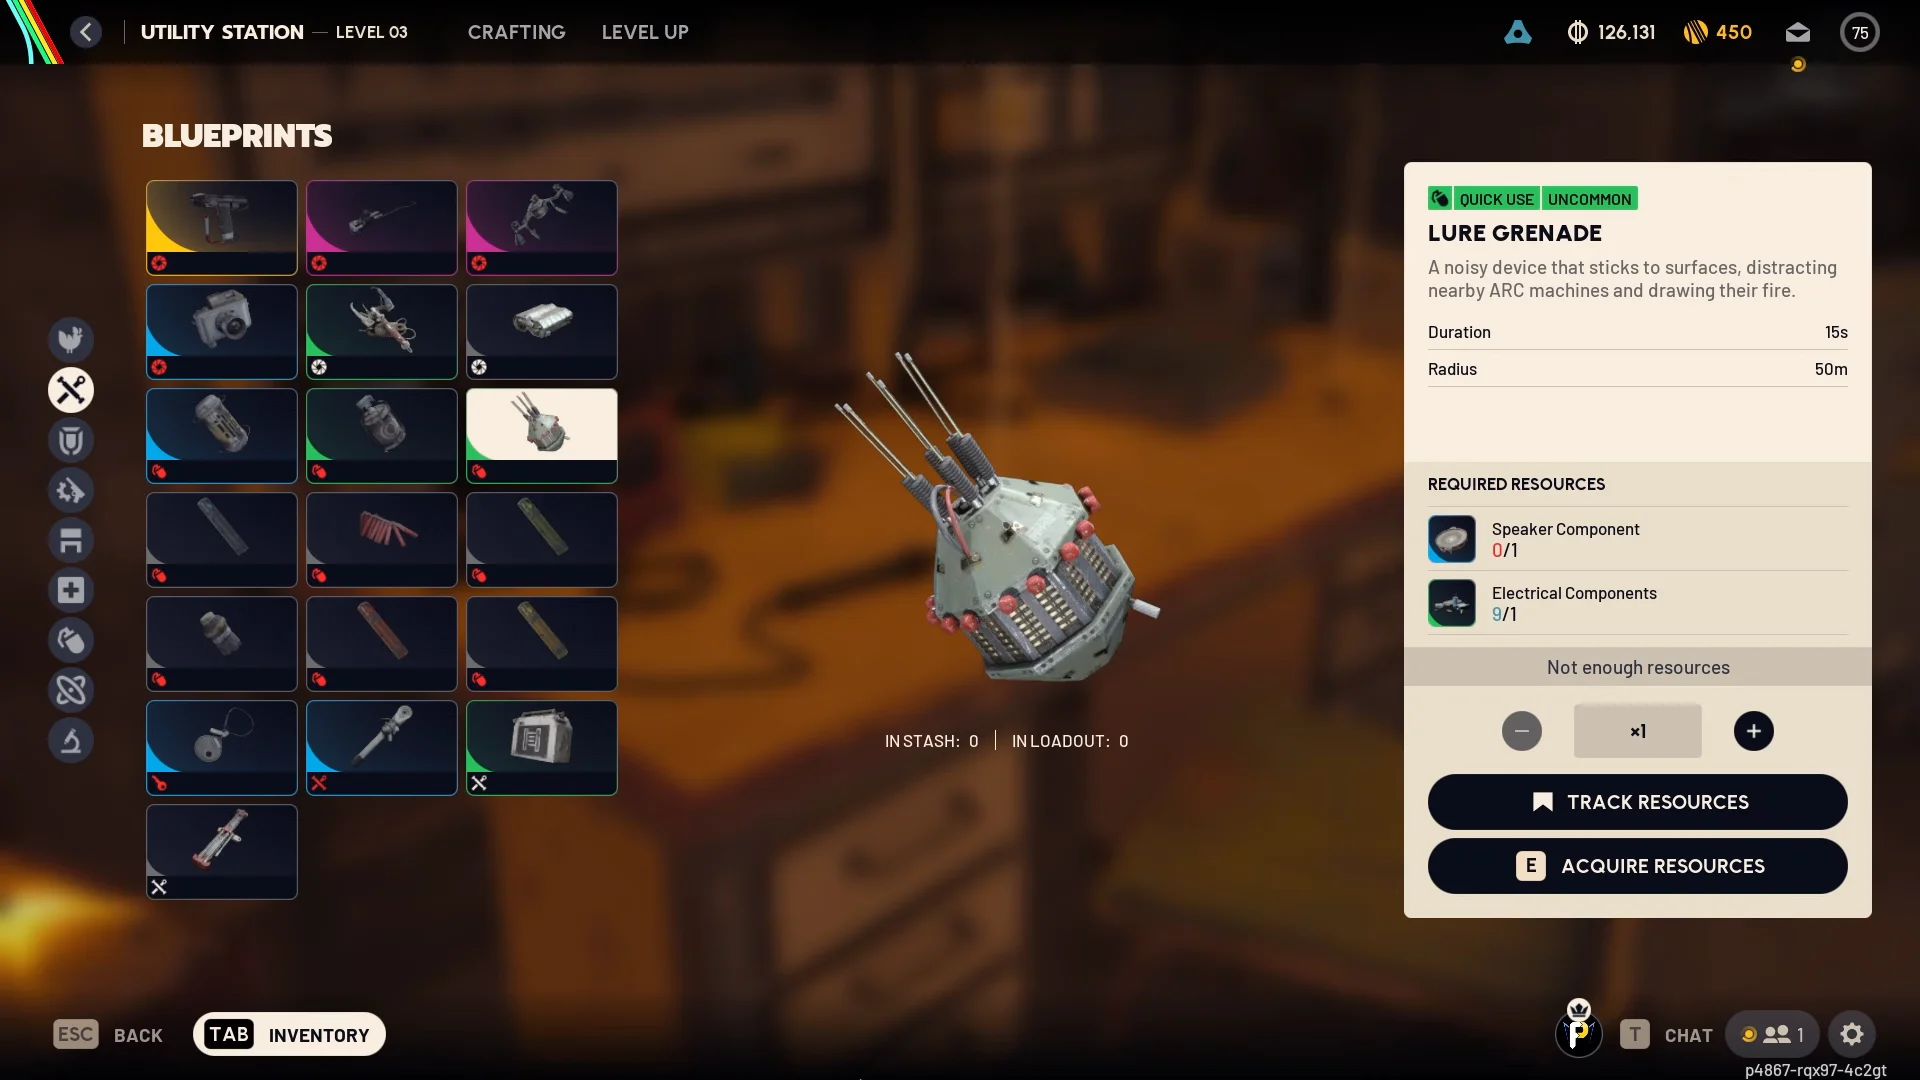
Lure Grenades carry more of the run than any other gadget. They stick to surfaces and make noise, which pulls nearby ARC fire away from whoever is breaching or shooting a coil. Barricade Kits give you portable cover against Vaporizers and Rocketeers. Wolfpacks split into homing missiles that target ARC, so they handle the airborne Rocketeers.
How Frigate coils and yellow buttons work
Every stage on the ship uses one of two mechanics. Once you can read them, the route becomes a sequence of targets instead of a maze.
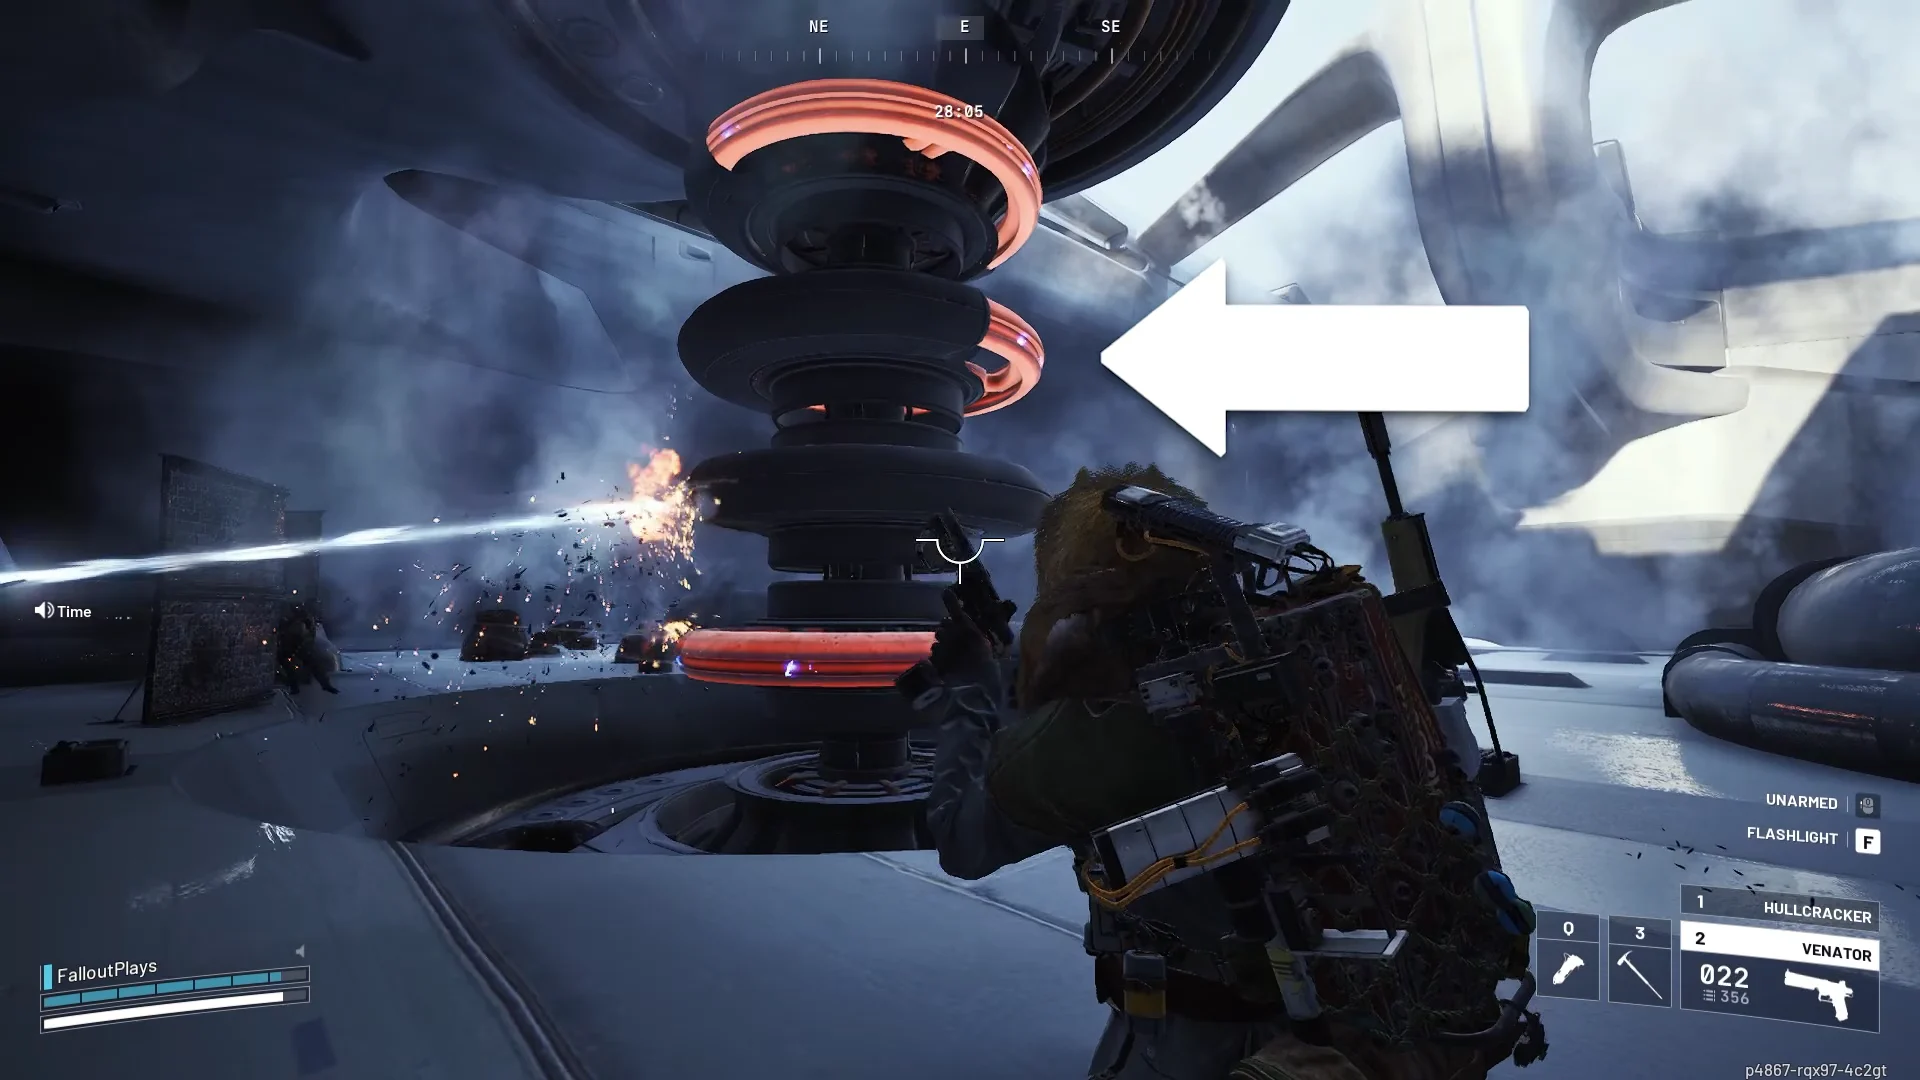
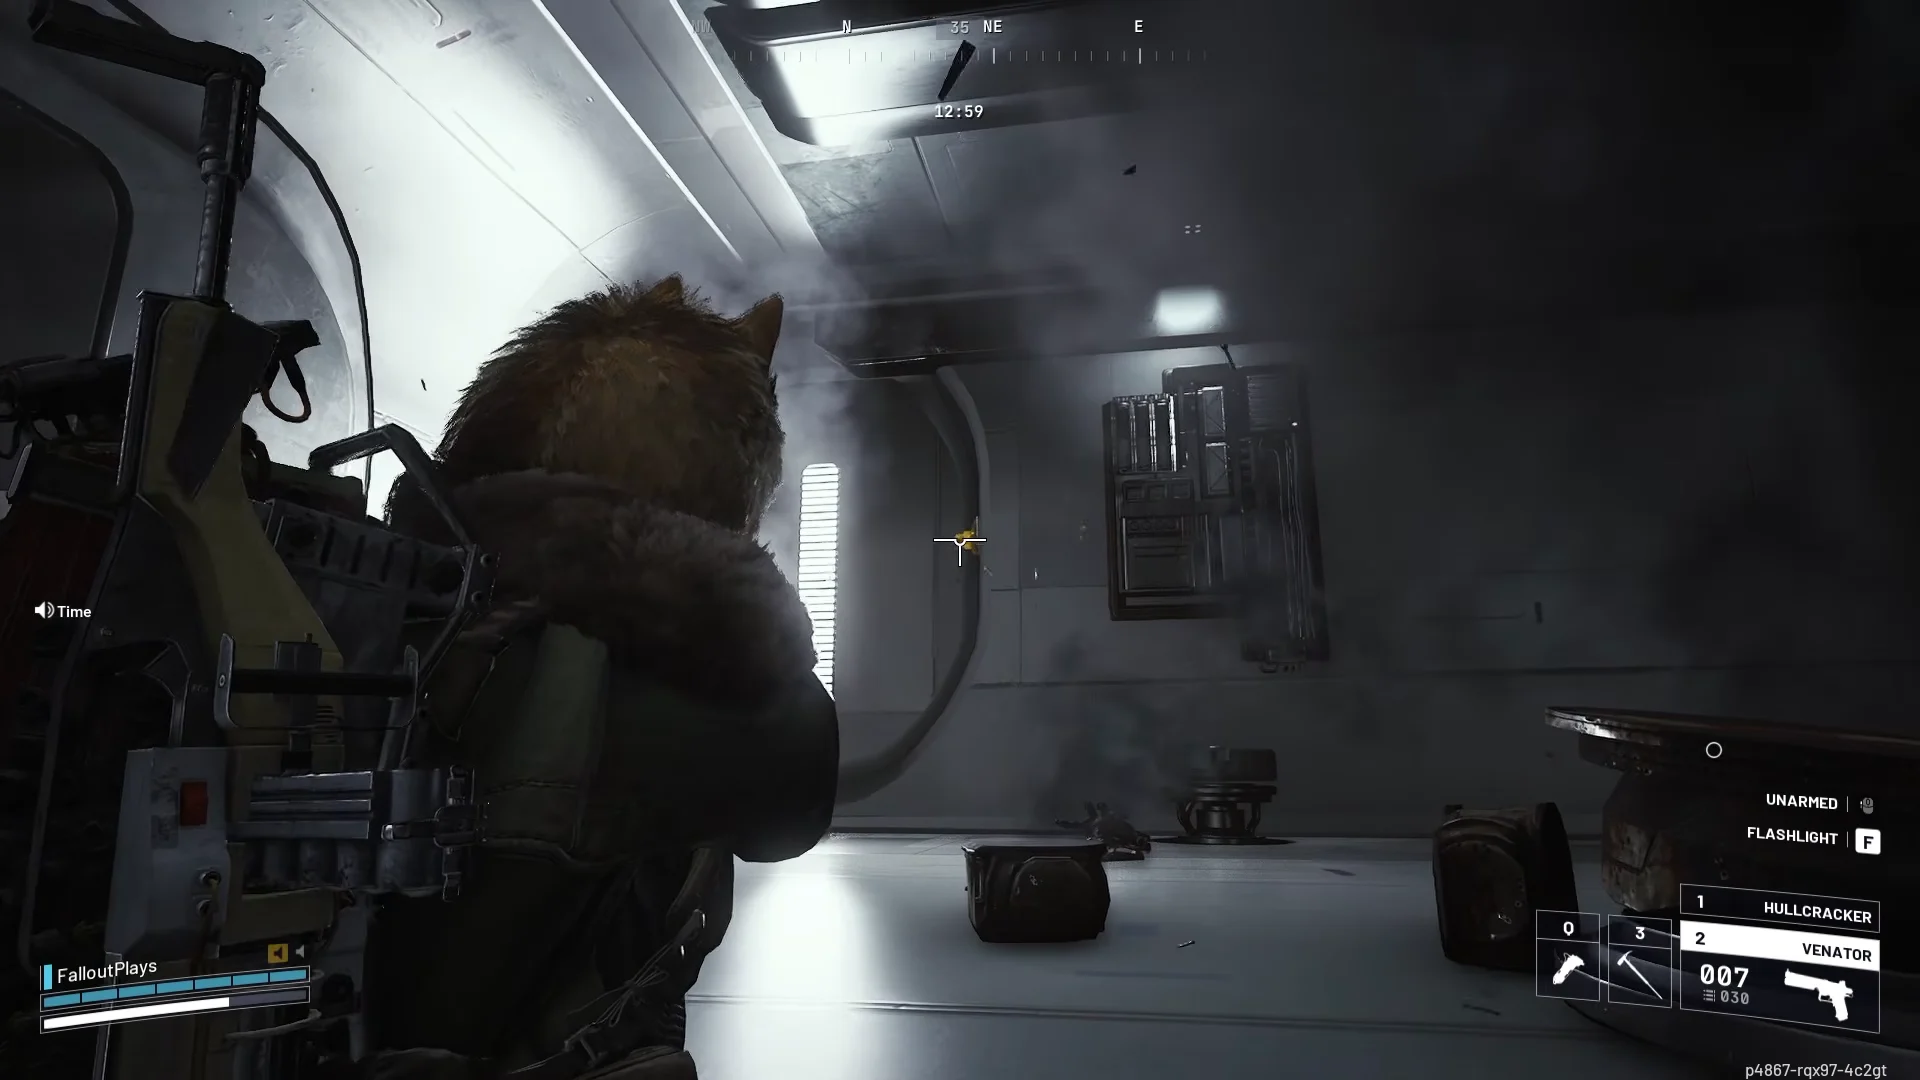
Orange coils are the Frigate’s power cores. The game pings them as “Power Core.” They are glowing cylinders, some small and some built into large multi-ring towers, and they get darker as they take damage until they shatter. Some are exposed. Others sit behind armored panels, and a Raider has to hold the E BREACH POWER CORE prompt with a pickaxe before anyone can shoot them. Each coil you start on spawns more ARC, so line up the squad and shoot together.
Yellow buttons are small round glowing targets set into walls. Shooting them runs machinery. They fold wall sections out into climbable steps, stop the reactor turbines, and unlock security doors. When a set extends into steps, the compartments that open often hold loot too.
Frigate walkthrough: From boarding platform to drop pod
Boarding at the stern
E DISRUPT. A spherical ARC energy shield forms around you, and the platform starts climbing toward the ship.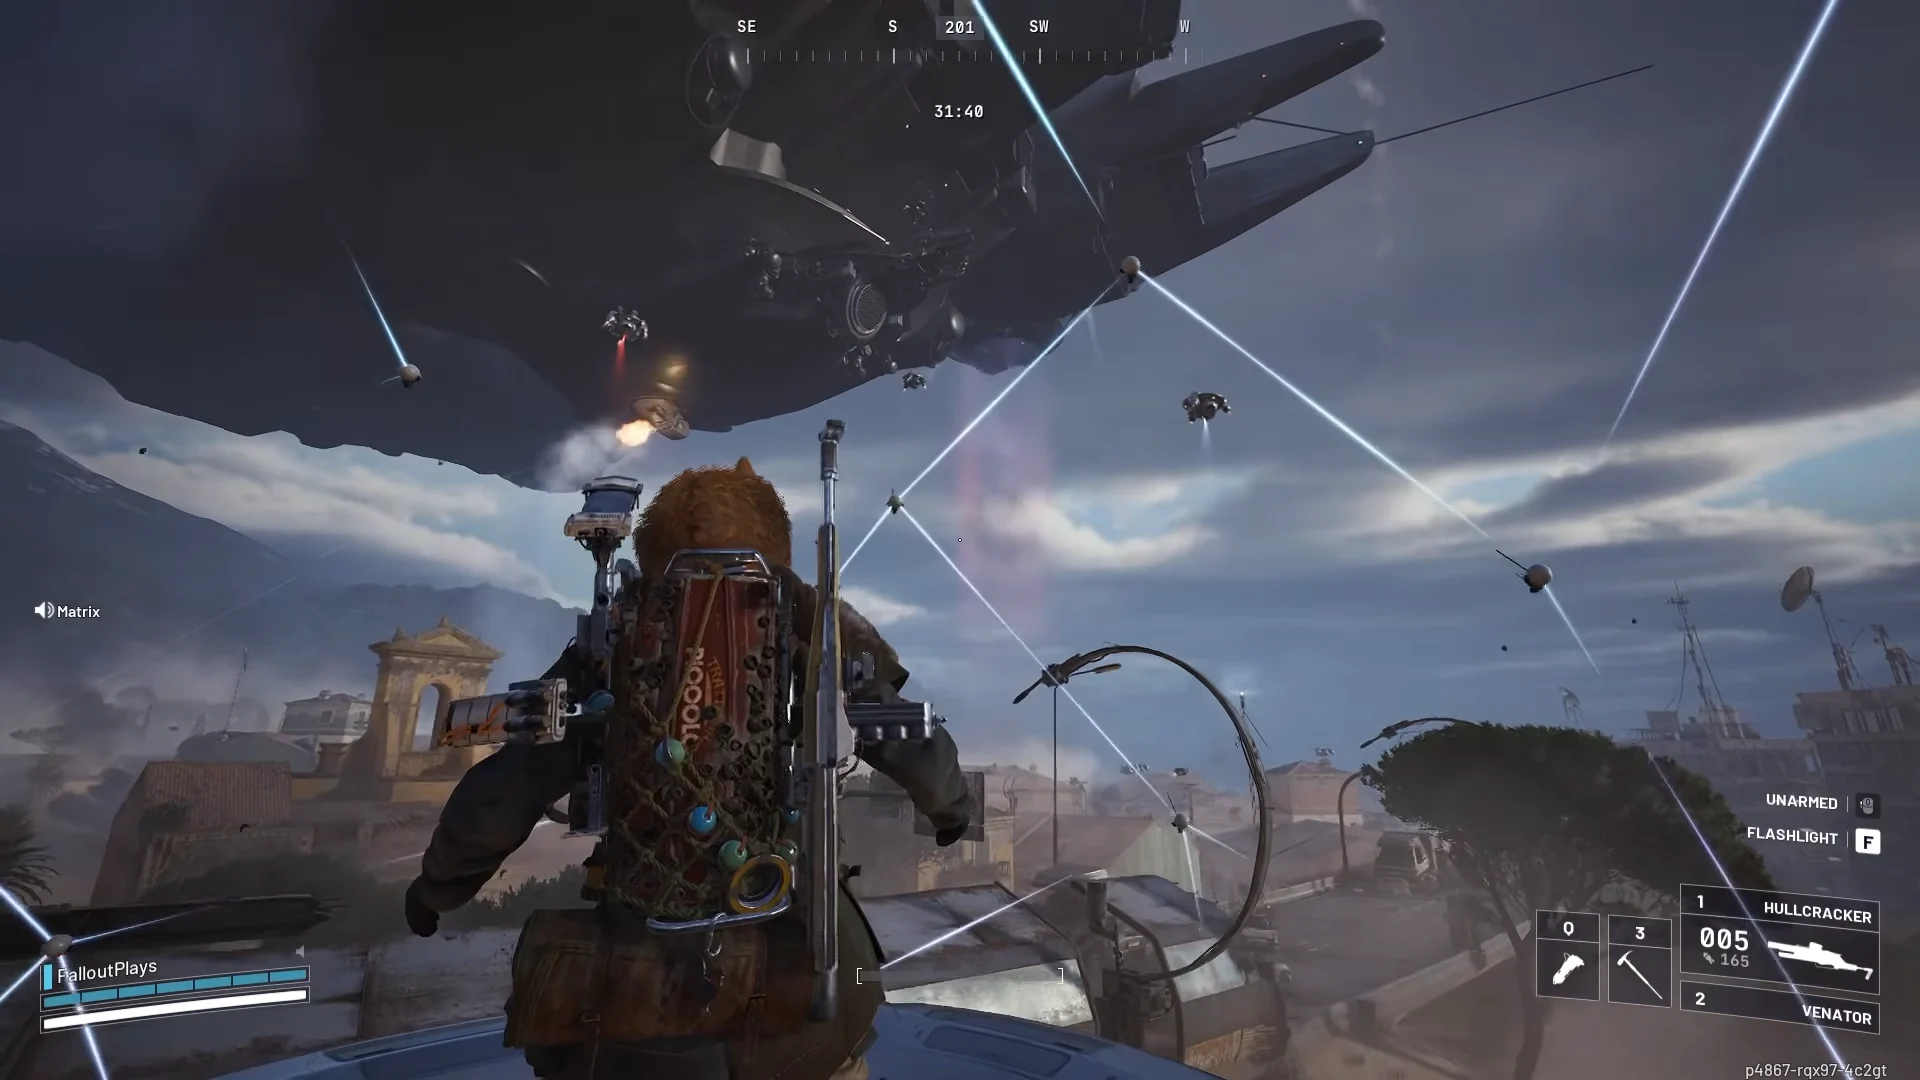
The ride up is slow and exposed, and a large gun under the hull targets Raiders on approach. A Photoelectric Cloak hides you from ARC during that stretch. In a hostile lobby, clear the area around the platforms before you ride.
Bottom floor: The giant coil tower and side room
E MOVE UP at the same time until the multi-tier coil tower has fully risen.
Top floor: Six coil clusters and the fire rooms
After the first top-deck Hydra dies, a jet blast pushes Raiders toward the edge of the ship. Move into the wind instead of away from it, and it won’t throw you overboard.
Front section: Yellow buttons, turbines and reactor coils
If every coil looks destroyed and nothing opens, look for a red-lit hatch below deck. It drops you into a chamber with a small core, and destroying that core opens the bottom of the ship.
Releasing and riding the cargo pod
Frigate loot and when to abort a run
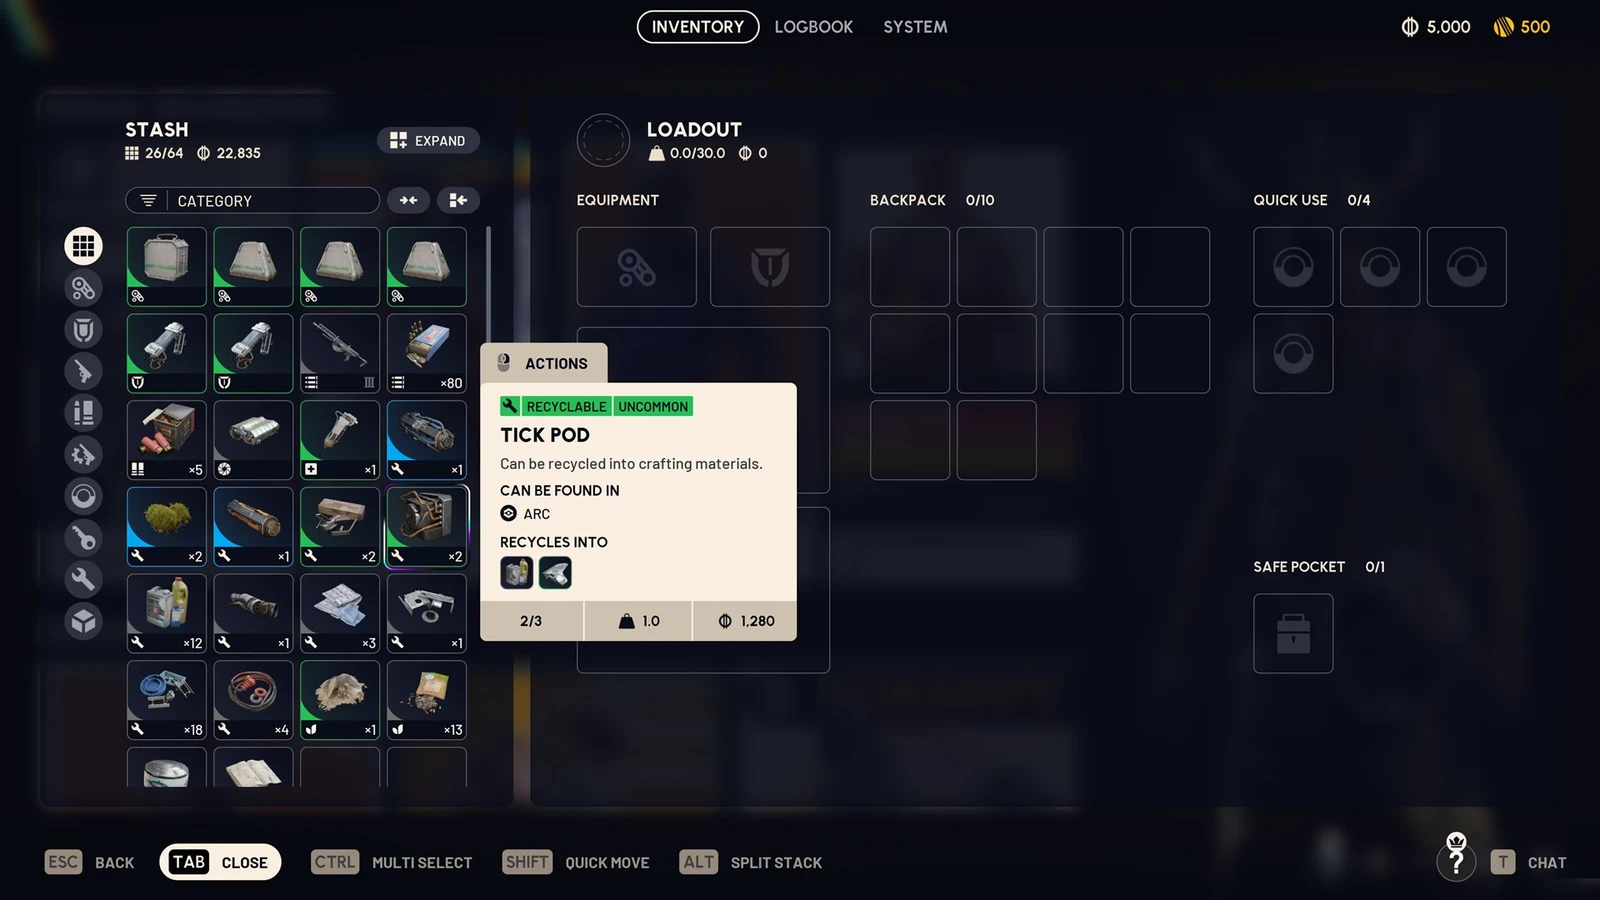
The Frigate is one of two sources of Amplification Modules. The fallen Emperor is the other. The modules don’t only come from the pod. The hull has 64 recessed hatch containers, 56 large and 8 small, and any of them can roll a module. The pod itself holds 12 more. Modules come in Marks from Mk. I to Mk. V, matched to weapon rarity from Common to Legendary. Move any module to your safe pocket the moment you loot it, because a knockdown on deck costs you everything else.
Not every run ends at the pod. If your squad is down a player, short on ammo, or can’t coordinate the three-person consoles, ride a platform back down early and take a normal extraction. That keeps your expensive loadout intact. Keep an eye on the timer as well. When the radio warns that an ARC orbiter is ten minutes out, the safe window is closing whether or not the pod is free.