Call of Duty: Modern Warfare 4‘s campaign is playable now, and multiplayer and DMZ are not open yet. Settings that ran well in the beta still apply, with one rule throughout. A steady frame rate and low input lag matter more than how the game looks. Infinity Ward removed weapon bloom from the gunplay, so where you aim is where your shots land. Frame drops in a fight are what throw that off.
Quick answer: Use Fullscreen Exclusive, turn Anti-Lag/Reflex on, and turn VSync, ray tracing, frame generation and weapon motion blur off. Set Graphic Preset to Custom, then match Advanced Quality to your hardware tier below.
PC requirements to check before changing Modern Warfare 4 settings
Some stutter can’t be fixed from the in-game menu. Other problems keep you out of the menu altogether. Sort these out first:
- TPM 2.0 and Secure Boot must be on in your BIOS. The RICOCHET anti-cheat won’t run without them, and the game won’t reach the settings screen.
- Install the game on an SSD. A hard drive causes loading delays and texture-streaming hitches.
- Update your GPU driver before you play. An old driver can hold back performance.
- On NVIDIA cards, set Low Latency Mode to Ultra in the driver. This cuts input delay separately from the in-game settings.
Activision’s TPM and Secure Boot support page explains how to check and enable both features.
Battle.net installs include shader preloading from the start. Steam players may need to wait for a one-time shader compile on first launch. Let it finish before you queue, or you’ll get shader stutter in your first matches.
Best Modern Warfare 4 display settings for low input lag
The Display tab controls latency and frame pacing more than image quality. Most values are the same on any PC. Only the frame rate limits change with your hardware. “Low-end” means a PC close to the minimum requirements. “High-end” means a PC above the recommended requirements.
| Setting | Low-end PC | High-end PC |
|---|---|---|
| Display Mode | Fullscreen Exclusive (one monitor) | Fullscreen Exclusive (one monitor) |
| Display Adapter | Dedicated GPU | Dedicated GPU |
| Screen Refresh Rate | Monitor’s native rate | Monitor’s native rate |
| Display Resolution | Monitor’s native resolution | Monitor’s native resolution |
| Aspect Ratio | Automatic | Automatic |
| Background Shader Preloading | On | On |
| Display Gamma | 2.2 (sRGB) | 2.2 (sRGB) |
| Anti-Lag/Reflex | On | On |
| Eco Mode Preset | Efficiency | Efficiency |
| VSync / VSync (Menus) | Off / Off | Off / Off |
| Gameplay Custom Frame Rate Limit | 60 | 150 |
| Menu Custom Frame Rate Limit | 60 | 90 |
| Out of Focus Custom Frame Rate Limit | 30 | 30 |
| Reduce Menu Render Resolution | Optimal | Optimal |
| Pause Game Rendering | Off | Off |
| Reduce Quality When Inactive | 30 seconds | 30 seconds |
| Focused Mode | 0 | 0 |
With more than one monitor, switch Display Mode to Fullscreen Borderless. Fullscreen Exclusive gives the lowest input latency with a single screen. Restart Shader Preloading doesn’t need changing.
A 150 FPS gameplay limit is a solid choice for a powerful PC. Alternatively, choose a ceiling several frames under the display’s refresh rate, such as 141 FPS with a 144Hz monitor. A constant limit delivers more consistent frame pacing than letting FPS fluctuate without a ceiling. NVIDIA players can also select On + Boost for Reflex.
Quality tab: upscaling, ray tracing and motion blur
Set Graphic Preset to Custom before changing anything else. The built-in presets add effects that cost frames and clutter the screen. Upscaling depends most on your GPU. Weaker cards need it. Stronger cards can render at native resolution.
| Setting | Low-end PC | High-end PC |
|---|---|---|
| Graphic Preset | Custom | Custom |
| Frame Generation | Off | Off |
| Ray Tracing | Off | Off |
| Resolution Scaling Technique | Enabled | Off |
| Sharpness | 50 | Off |
| Upscaler Preset | Performance | Off |
| VRS | On | Off |
| World Motion Blur | Cutscenes Only | Cutscenes Only |
| Weapon Motion Blur | Off | Off |
| World Depth of Field | On | On |
| Weapon Depth of Field | On | On |
| Film Grain | 0 | 0 |
Render resolution has the largest effect on frame rate. If you’re below your target FPS, drop the upscaler preset first, from Quality to Balanced, Performance or Ultra Performance, before touching other settings. On NVIDIA cards using DLSS, a sharpness of 50 to 60 keeps the upscaled image clear. Frame generation stays off for multiplayer, because the extra frames don’t make the game respond faster.
Advanced Quality settings for low-end and high-end PCs
The high-end values below run well on a Radeon 9060 XT 16GB, Ryzen 7 5700X and 32GB of DDR4 RAM. Treat that system as the reference point. Use the high-end column on anything around that level or faster.
| Setting | Low-end PC | High-end PC |
|---|---|---|
| VRAM Scale Target | 85 | 100 |
| Texture Resolution | Very Low | High |
| Texture Filter Anisotropic | Low | Ultra |
| Detail Quality | Very Low | High |
| Particle Resolution | Low | High |
| Bullet Impacts | On | On |
| Persistent Effects | On | On |
| Shader Quality | Low | High |
| Shading Quality | Very Low | High |
| On-Demand Texture Streaming | Minimal | Optimized |
| In-Game Video Quality | Low | High |
| Shadow Quality | Low | High |
| Shadow Filtering Quality | Low | High |
| Screen Space Shadows | Low | High |
| Occlusion and Screen Space Lighting | Low | High |
| Screen Space Reflections | Off | Normal |
| Static Reflection Quality | Low | High |
| Terrain Quality | Very Low | Very High |
| Volumetric Quality | Low | High |
| Deferred Physics Quality | Low | High |
| Weather Grid Volumes Quality | Low | High |
| Water Quality | Off | All |
If you’re between the two tiers, these settings cost the most frames: shadows, volumetrics and particles. Particles matter most in busy fights full of smoke and explosions, so lower those three first. Texture Resolution uses video memory more than it lowers frame rate. Normal textures are safe on cards with 8GB or more, and Low is the safer choice on 4GB cards. Texture filtering costs little, so most PCs can leave it higher than the other settings.
Modern Warfare 4 FOV and mouse sensitivity settings
A wider field of view helps you spot flankers sooner. At 105, enemies stay big enough to hit. Going up to 110 or 120 shows more of the map, but distant players look smaller. Pick the highest value you can still aim at comfortably.
| Setting | Value |
|---|---|
| Field of View (FOV) | 105 (up to 120) |
| 3rd Person FOV | 90 |
| Vehicle FOV | Default |
| 1st Person Camera Movement | Minimal (25%) |
| 3rd Person Camera Movement | Minimal (25%) |
| Mouse Sensitivity (800 DPI) | 8.00 |
| ADS Sensitivity Multiplier | 1.00 |
| Mouse Acceleration | 0.00 |
For a steadier view while sprinting, set camera movement to 25 percent. At 800 DPI, 8.00 sensitivity means a 180-degree turn takes roughly 190 to 200 degrees of mouse movement across the pad, a useful range for controlled tracking. Keep the ADS multiplier at 1.00 to make aiming down sights match hip fire. Mouse Acceleration is found in Mouse Advanced Settings, so check it there.
Keybinds and movement behaviors
These binds keep WASD as normal and put stance changes, sliding and sprinting on keys near your movement fingers. You can dive or drop prone without moving your hand.
| Action or behavior | Setting |
|---|---|
| Movement | WASD |
| Prone / Dive | X |
| Change Stance / Slide / Dive | Left Alt |
| Sprint / Tactical Sprint / Focus | Caps Lock |
| Melee / Finishing Move | Side mouse button |
| Lethal Equipment | E |
| Tactical Equipment | Q |
| Focus | Left Shift |
| Map | Tilde (~) |
| Sprint Assist / Mantle Assist | Off / Off |
| Corner Slice | On |
| Crouch / Prone / Sprint Behaviors | Toggle |
| Aim Down Sight Behavior | Hold |
| Weapon Mount Activation | Double Tap ADS |
With Sprint Assist and Mantle Assist off, the game won’t start movement animations you didn’t ask for. That matters most up close. Corner Slice stays on so you can lean around cover without showing much of your body.
Audio and interface settings for footsteps and hit feedback
- Audio Mix set to Headphones and Speaker Output set to Stereo, so footsteps are easier to place.
- Master volumes balanced, with gameplay music turned down low.
- Voice Chat set to Push-to-Talk, which stops open-mic noise.
- Minimap Rotation on, and an easy-to-see crosshair color such as teal.
- Hit Marker Visuals and Damage-Based Hit Markers both on, so every hit is clear.
During fights, shift HUD elements closer to the screen’s center so the minimap and ammo count stay visible.
How to confirm your Modern Warfare 4 settings are working
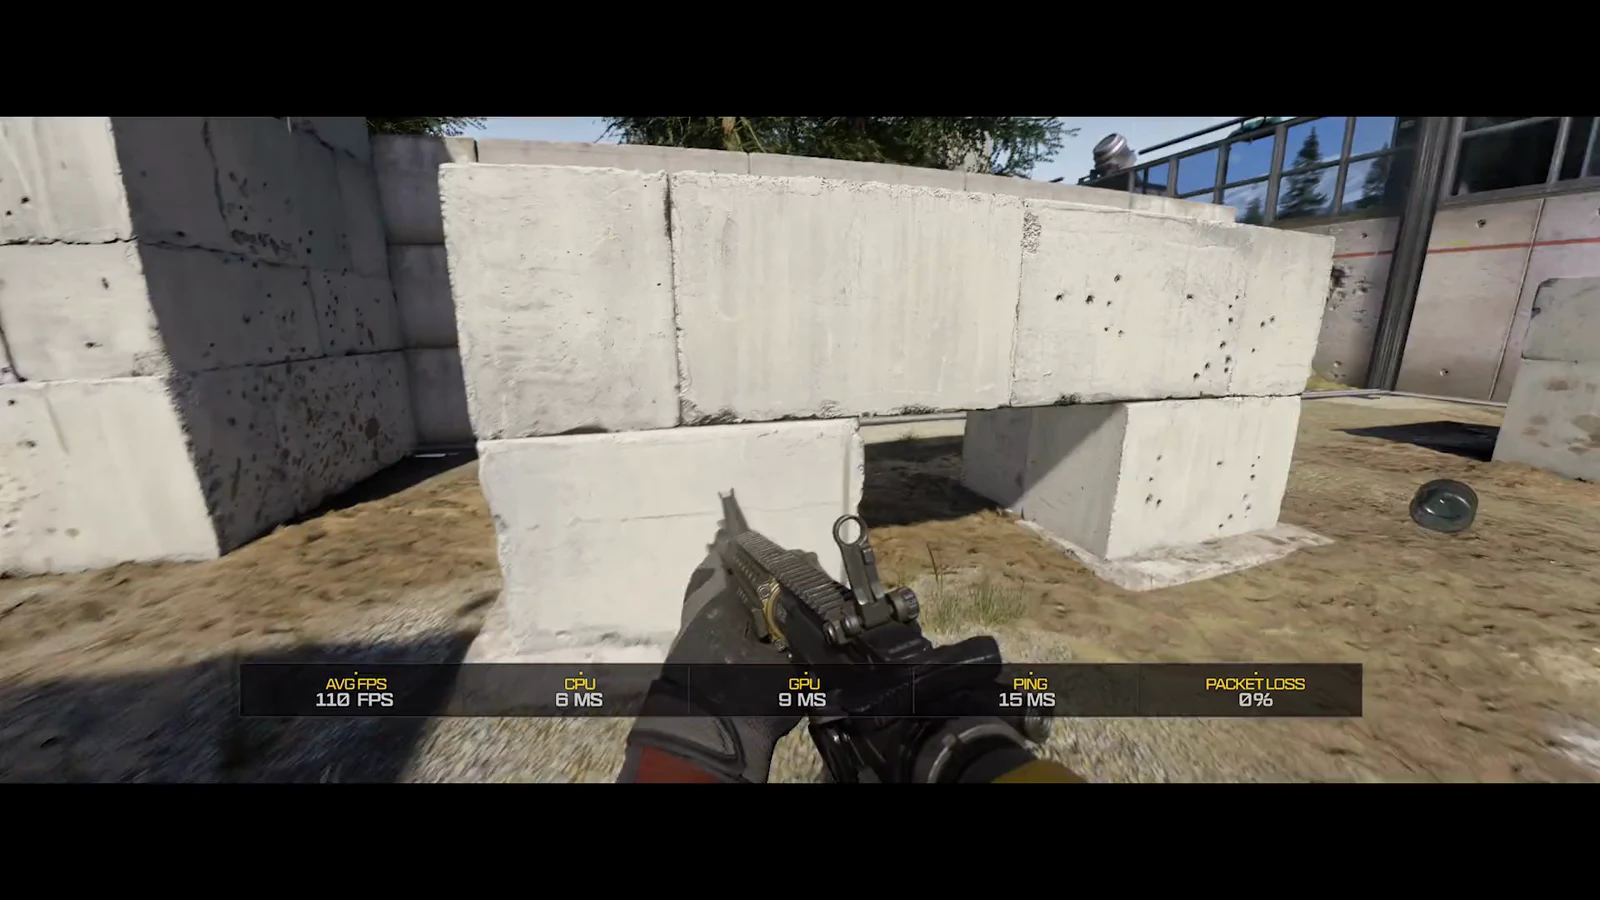
Your setup is right when the frame rate stays at its cap through heavy fighting and Anti-Lag/Reflex is on. After that, leave sensitivity and keybinds alone for a while. Changing them every session makes it harder to build muscle memory, and that matters more in a game without bloom.