Gaming Guide

Black Ops 7 Super Easter Egg Guide (All Six Maps)

Every toy, trade item, and boss requirement needed to unlock Mister Peeks Mayhem, Boss Rush, and the Warden skin.

Every toy, trade item, and boss requirement needed to unlock Mister Peeks Mayhem, Boss Rush, and the Warden skin.

The Super Easter Egg is the longest chain of side objectives in Black Ops 7 Zombies, and it does not end on a single map. Six separate quests each hand you one toy, and the toys go on a shelf. Fill the shelf, beat the fight it triggers, and you walk away with a new mode, a challenge mode, and a character skin.

Quick answer: Finish the main quest on all six maps, then complete each map’s toy side quest and exfil with the toy. Place the final Toy Warden on the shelf in Rex’s Furnace to start Boss Rush.


What the Super Easter Egg unlocks

Completing all six toy quests and the final encounter pays out three things:

  • Mister Peeks Mayhem, a new game mode.
  • A Boss Rush challenge mode you can replay for high-tier rewards.
  • The Warden character skin.
04:1304:1304:13
A round in progress partway through a Super Easter Egg run. Shown at 04:13 in TheGamingRevolution’s video.

Requirements before you start any toy quest

  • The main Easter egg quest must already be complete on every available map. The toy quests will not start otherwise.
  • Each toy quest ends with an exfil. Dying or bleeding out instead of leaving does not bank the toy.
  • Two maps need specific loadout choices: a psy grenade on Paradox Junction and the Wildfire field upgrade on Totenreich.
  • Progress is tracked on the toy shelf upstairs in the house on Rex’s Furnace.

Check the shelf before starting a run. Any empty slot tells you exactly which map still owes you a toy.


Toy checklist for all six maps

MapToy earnedItem you trade
Ashes of the DamnedTessieMeteor shard
Astra MalorumCaltherisGreen alien
Paradox JunctionTwinsTeddy bear
TotenreichGuardianKing Dragveld’s crown
KawakujoZ-RexOrigami bird
Rex’s FurnaceToy WardenThree soul box items

Every map follows the same skeleton. Find the toy box, open it with a map-specific trick, complete a short objective chain, then hand in the item the chain produces. The order you do the five non-Rex maps in does not matter.


Ashes of the Damned: Tessie toy

Find the Twins at one of these three possible spots: behind the cabin, at the end of the zipline in Ashwood, or aboard the boat.
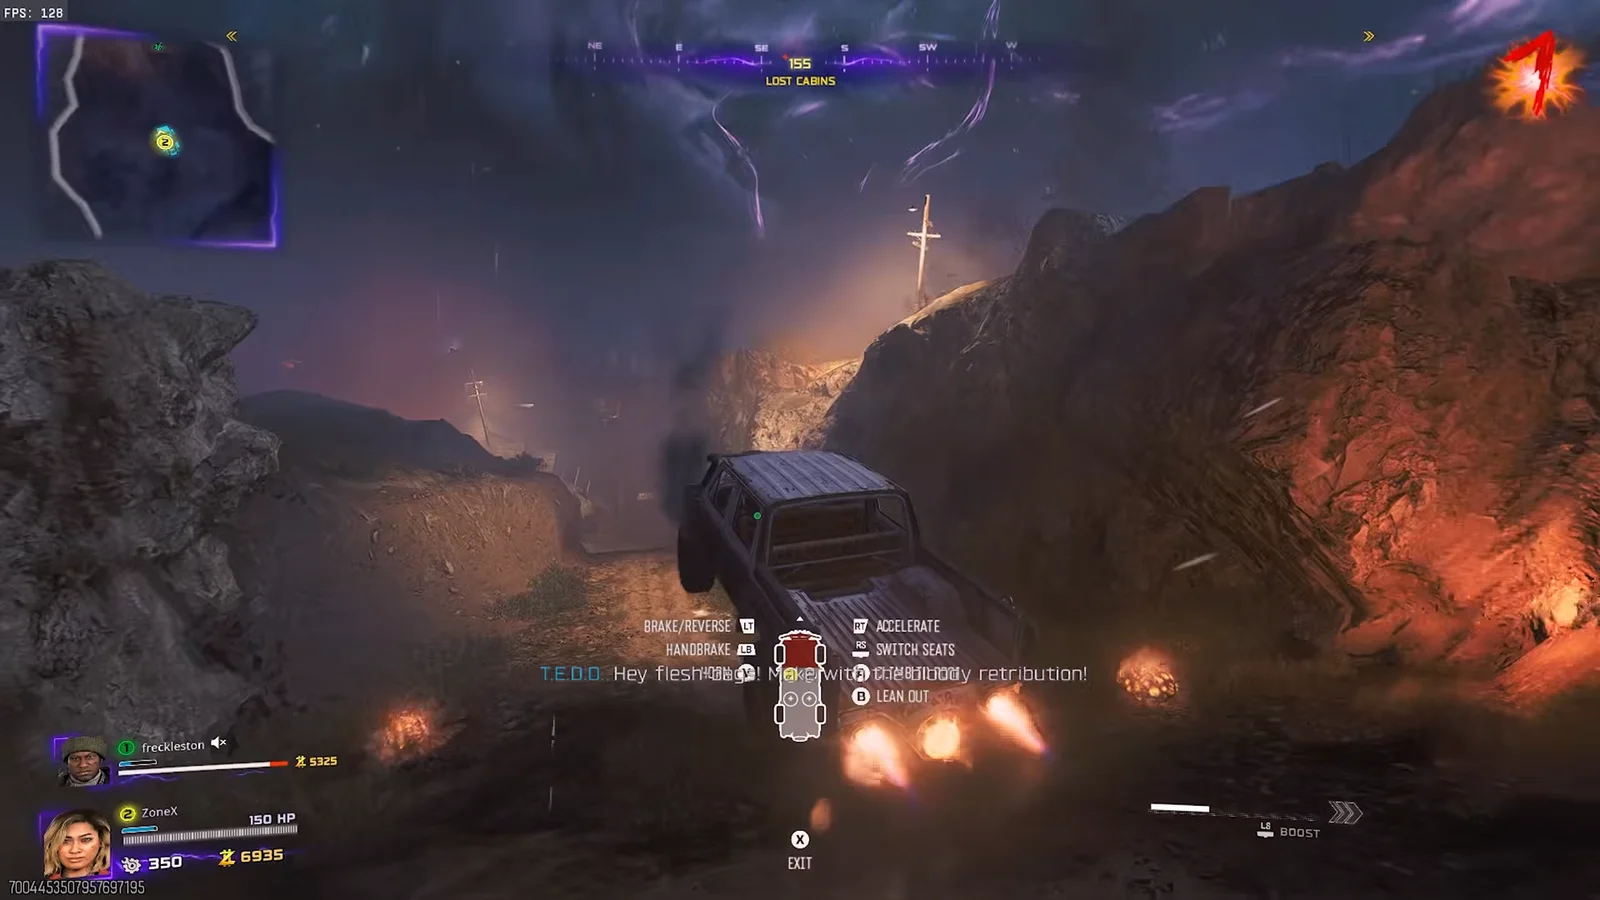
Map 1: Ashes of the Damned00:44Map 1: Ashes of the Damned
Driving between the three possible Twins spawns on Ashes of the Damned. Shown at 00:44 in ZoneX’s video.
Head to the Farm and find the Twins again, this time sitting on the barn roof.
Fire the wonder weapon at the toy box in the windmill, then reload so it drops to ground level.
Open the box with a Dark Flare charge.
Take a fumigator to Monolith Forest. Use the wonder weapon on all three purple monolith crystals, then reload to make them lower before interacting with each one.
A meteor crashes into Blackwater Lake. Interact with it, finish the round, and the meteor cracks open to leave a shard behind.
At the toy box, exchange the shard for the Tessie toy before exfiltrating.

Astra Malorum: Caltheris toy

This is the longest of the five, and it leans on a side quest weapon you have to build first.

The toy box sits behind Juggernog. Hit it with explosives twice to move it to Spawn.
The box hovers once it lands at Spawn. Throw a Kazimir device underneath to bring it down.
Do the Wonder Waffe side quest. Throw an explosive at the space rock, wall-jump off it, grab the weapon in space, then build it onto Tessie.
Locate the white wisp in a lantern, then melee it from one lantern to the next across all nine lantern locations near Juggernog and Speed Cola. Finish the round to upgrade the wisps.
Bring robot Oscar to the toy box, then use Tessie’s Wonder Waffe turret to destroy him. The box will open afterward.
Scan for the comet through the Pack-a-Punch telescope, then rapidly melee five clocks around the map to activate slow motion.
While slow motion is active, use the telescope again to scan the comet. It turns out to be a UFO.
On Mars, use an LMG to activate the obelisks and toss shock charges into the blue rings, which calls in the UFO. The UFO displays the Morse-code letters L, F, T, and S.
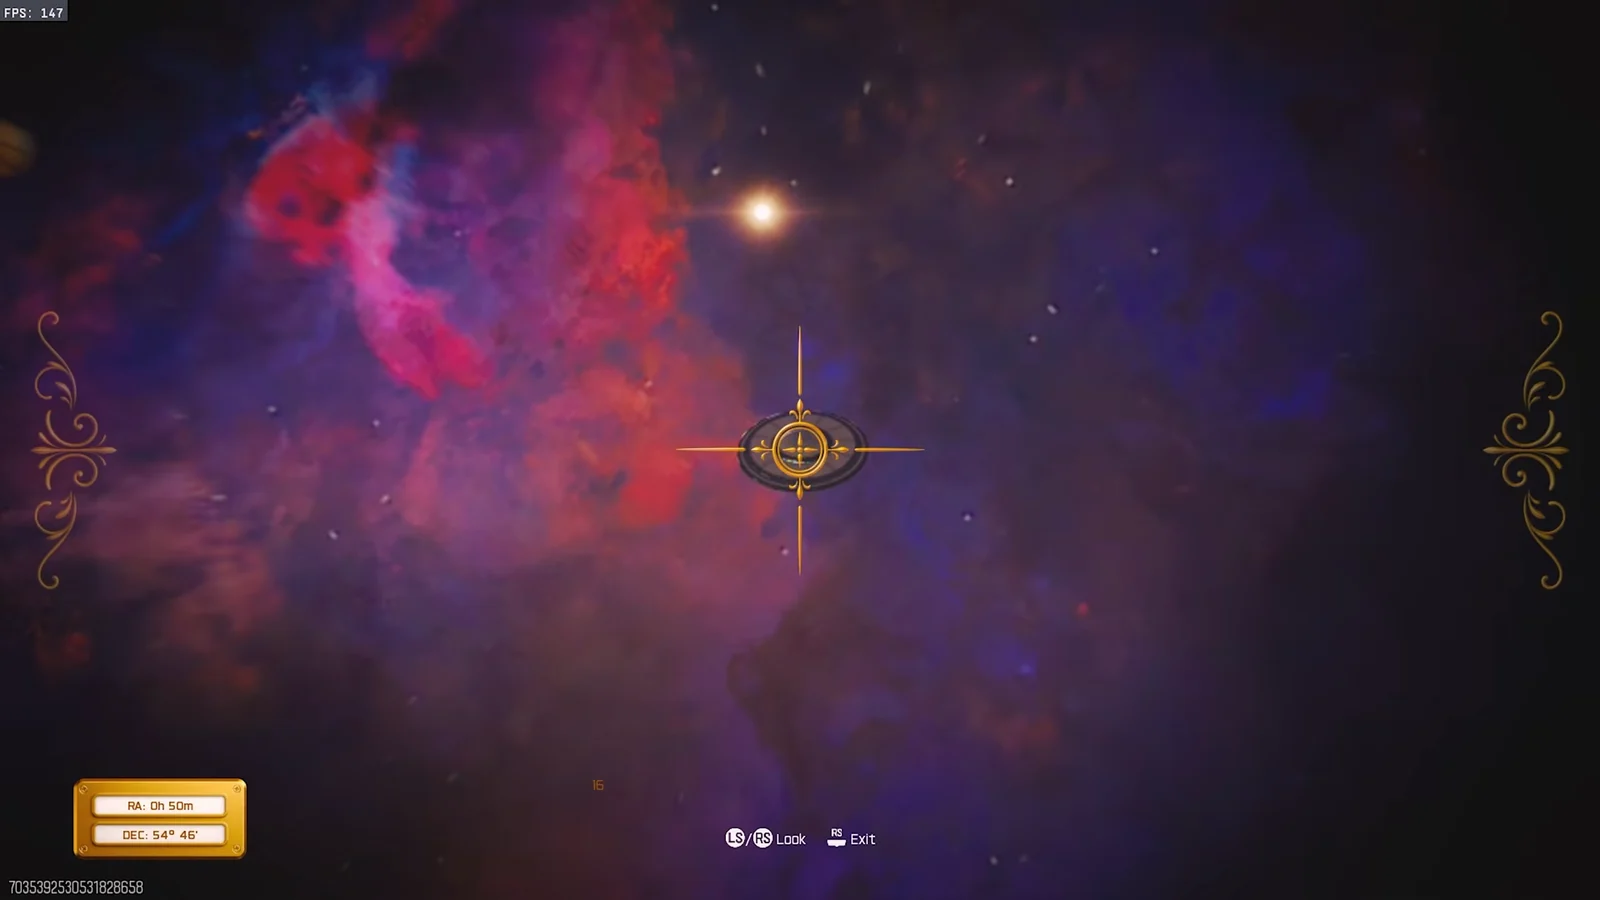
Mars Obelisks & Morse Code05:23Mars Obelisks & Morse Code
Summoning the UFO on Mars, which flashes the Morse code letters you need. Shown at 05:23 in ZoneX’s video.
Apply the upgraded wisps to their corresponding Mars objects: Lava Lamp, Flamingo, Toilet, and Space Suit. Pick up the green alien, exchange it at the toy box for Caltheris, and exfil.

Paradox Junction: Twins toy

Before you load in, put a psy grenade in your loadout. Without it this quest cannot start.
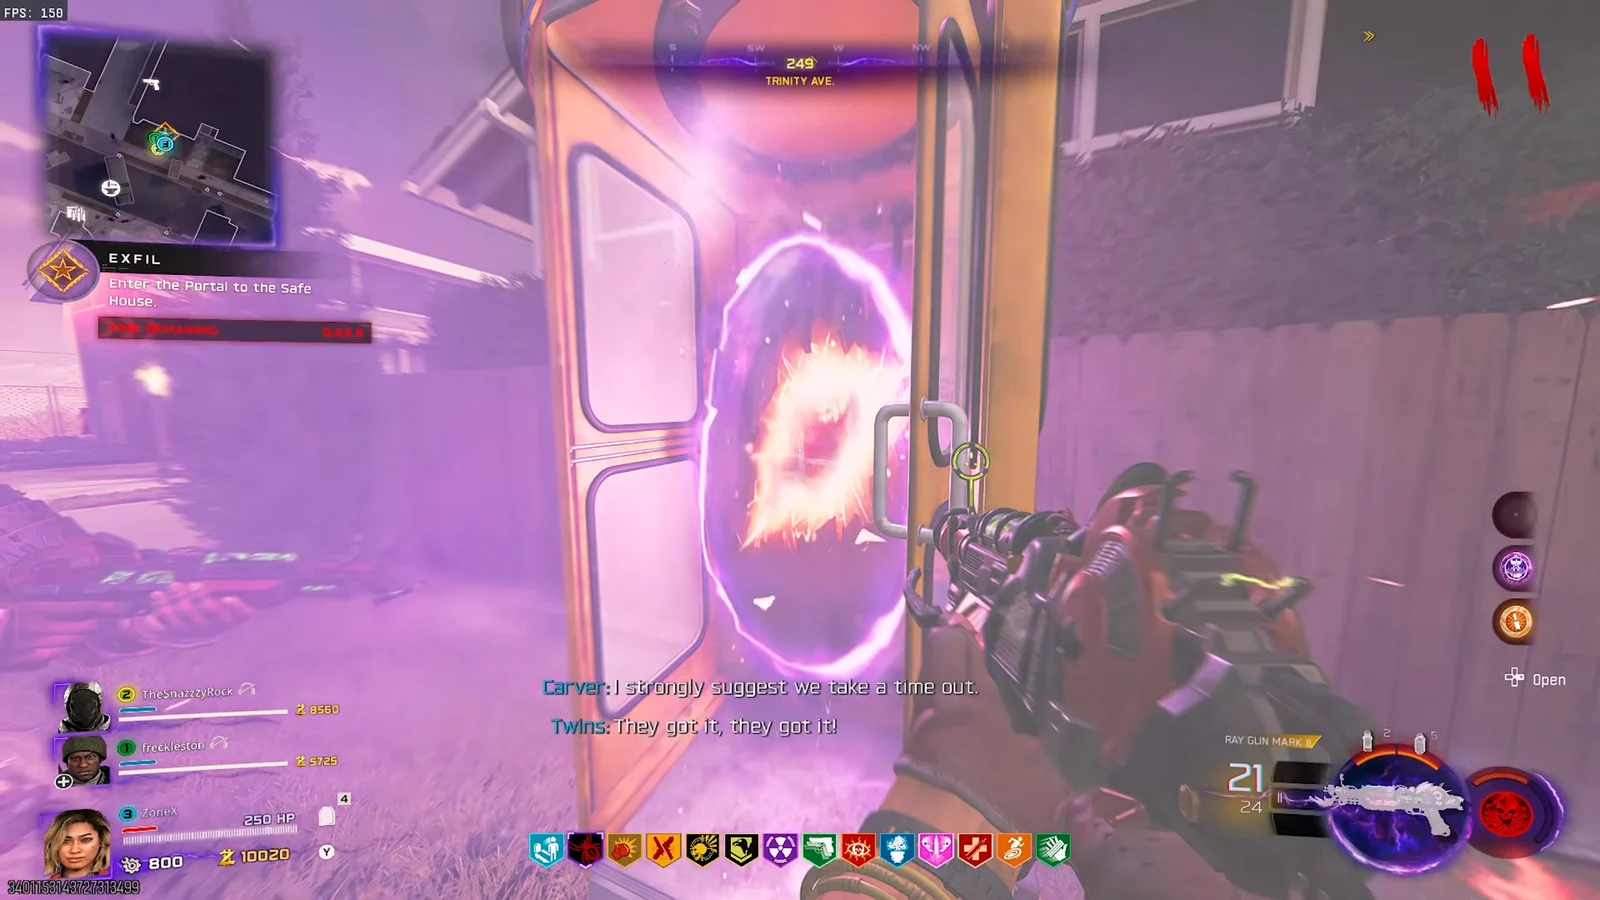
Use teleportation to reach classic Nuketown. After opening Pack-a-Punch, activate the drawing on the garage wall to transform it into a chest.
On the Yellow House’s upper wall, hit the question mark with a psy grenade. This causes a key to appear in the drawing.
Insert the key into the garage chest to make the toy box appear.
Collect three elephant toy parts. They come from six possible spawns — the truck, the bunker, the garage rack, the bedroom chair, and two rooftops.
26:3826:4026:38
Sweeping the map for the scattered quest parts. Shown at 26:40 in TheGamingRevolution’s video.
Climb onto the bus, interact with the parts on the roof, and complete the elephant chase minigame. A teddy bear is left on the bus.
Return to Nuketown, put the teddy bear inside the toy box to obtain the Twins’ toy, and then exfil.

Totenreich: Guardian toy

Load in with the Wildfire field upgrade equipped and begin the wonder weapon build.
Map 4: Totenreich08:39Map 4: Totenreich
Loading into Totenreich with Wildfire equipped before starting the wonder weapon build. Shown at 08:39 in ZoneX’s video.
The build gets you to the Lighthouse second floor. Look down into the gap in the broken floor and grab the crossbow, The Silent Her. Upgrading it makes the boss fight much easier.
Take a fishing rod to the marked fishing location, then cast Wildfire at the pole to pull up an ice cube.
Put the ice cube in the toy box and wait for it to melt; melting it unlocks the box.
Go to the Burial Ground to summon King Dragveld and kill him with The Silent Her.
Take his crown to the toy box and trade it for the Guardian toy before exfilling.

Kawakujo: Z-Rex toy

Kawakujo is the shortest run of the six, as long as you get the bird routing right.

Activate the power and Pack-a-Punch, then search above the roof for the toy box.
Drop back down and melee the cherry blossom tree to pick up Flower Power. Use it to spin a tornado underneath the toy box and lower it.
After the bird leaves the box and begins perching on rooftops, direct it by triggering the trees in the Kitchen, Spawn, then Makiato areas.
Create a Flower Power tornado on the central tree stump. Pick up the origami bird the bird drops, trade it for the Z-Rex toy, and exfil.

Rex’s Furnace: Toy Warden and the Boss Rush

Save this one for last. It is the map that holds the shelf, and its own toy quest is gated behind the upgraded grapple hook.

To enhance the grapple hook, knock the basketball off the house. During an exfil round, hit each of the four symbols sequentially, then retrieve the upgraded grapple from the house.
Choose any grapple point, upgrade it, and pick up the upgraded point.
Find the lock under Nyxara. Make sure you are holding an Aether Shroud charge, then grapple the lock to teleport into an obstacle course.
Climb to the top of the course, tip over the blue box, and pop Aether Shroud to release three wisps. They reveal three floating horses out on the map.
31:0731:0931:07
Moving between objective points with the upgraded grapple hook. Shown at 31:09 in TheGamingRevolution’s video.
Grapple onto each horse and strike it with a melee attack. One is by Juggernog, another by Widow’s Wine, and the third by PhD; each activates a soul box.
Complete the soul boxes in this requirement order: jump kills, PhD kills, then Frenzied Guard kills. Pick up the three items they drop.
Use the exfil-round portal to return to the house, deposit all three items in the toy box, and retrieve the Toy Warden.
Begin the Boss Rush by placing the Toy Warden on the shelf upstairs.

Boss Rush stages and how to confirm the unlock

The final encounter runs in stages rather than as one fight. You face the Z-Rex, then the Guardian, then a Tessie challenge, then Caltheris, and finally the Warden.

Verification is not subtle. The shelf upstairs in Rex’s Furnace shows every toy you have banked, so a full shelf means all six side quests are done. Once the Boss Rush is finished, the game throws up two confirmation screens: MISTER PEEKS MAYHEM UNLOCKED and a SKIN UNLOCKED screen for the Warden. Boss Rush itself stays available after that as a repeatable challenge mode.

If you are running this with a group, the toy shelf is the fastest way to divide the work. Check it between sessions, pick off whichever map is still missing, and leave Rex’s Furnace until the other five toys are sitting in place.