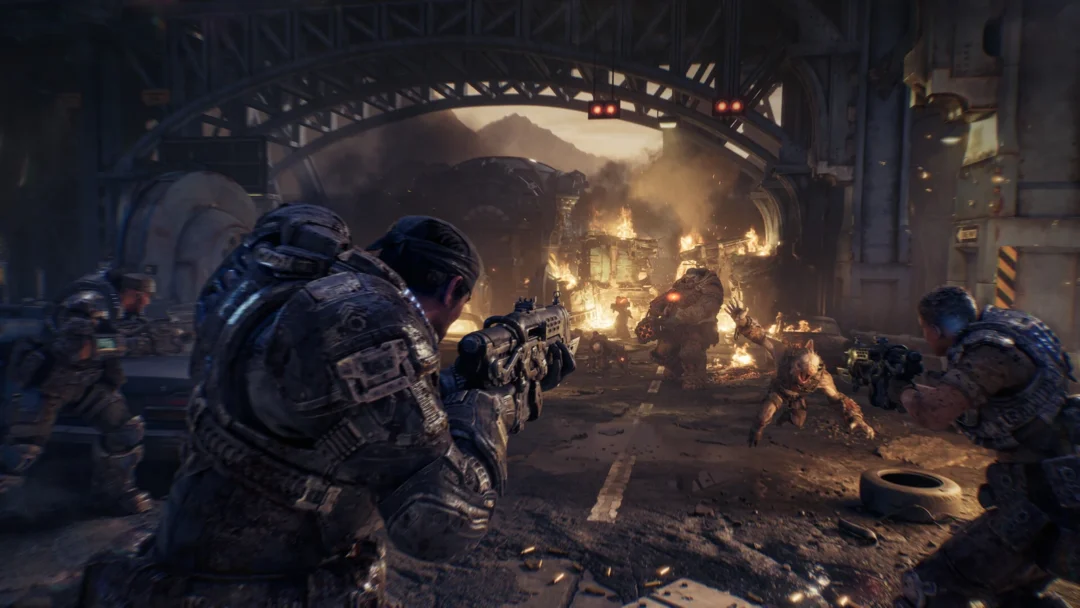
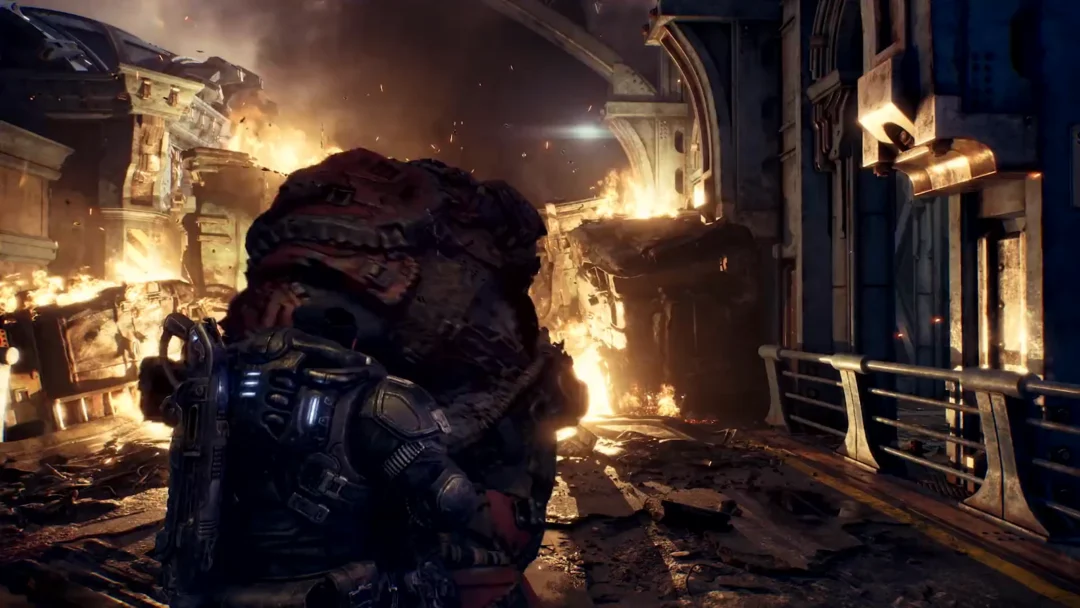
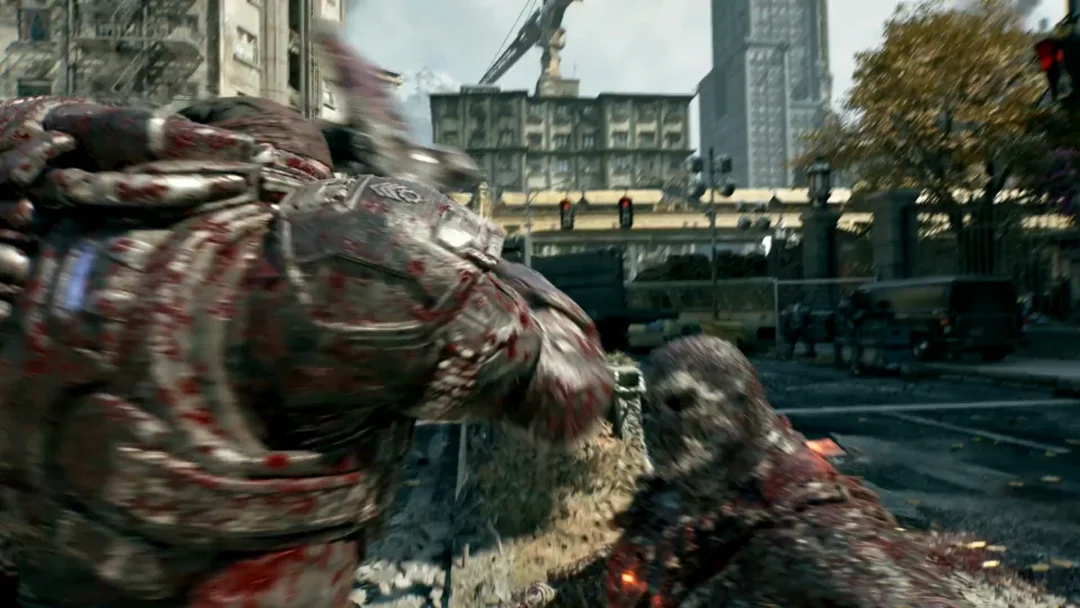
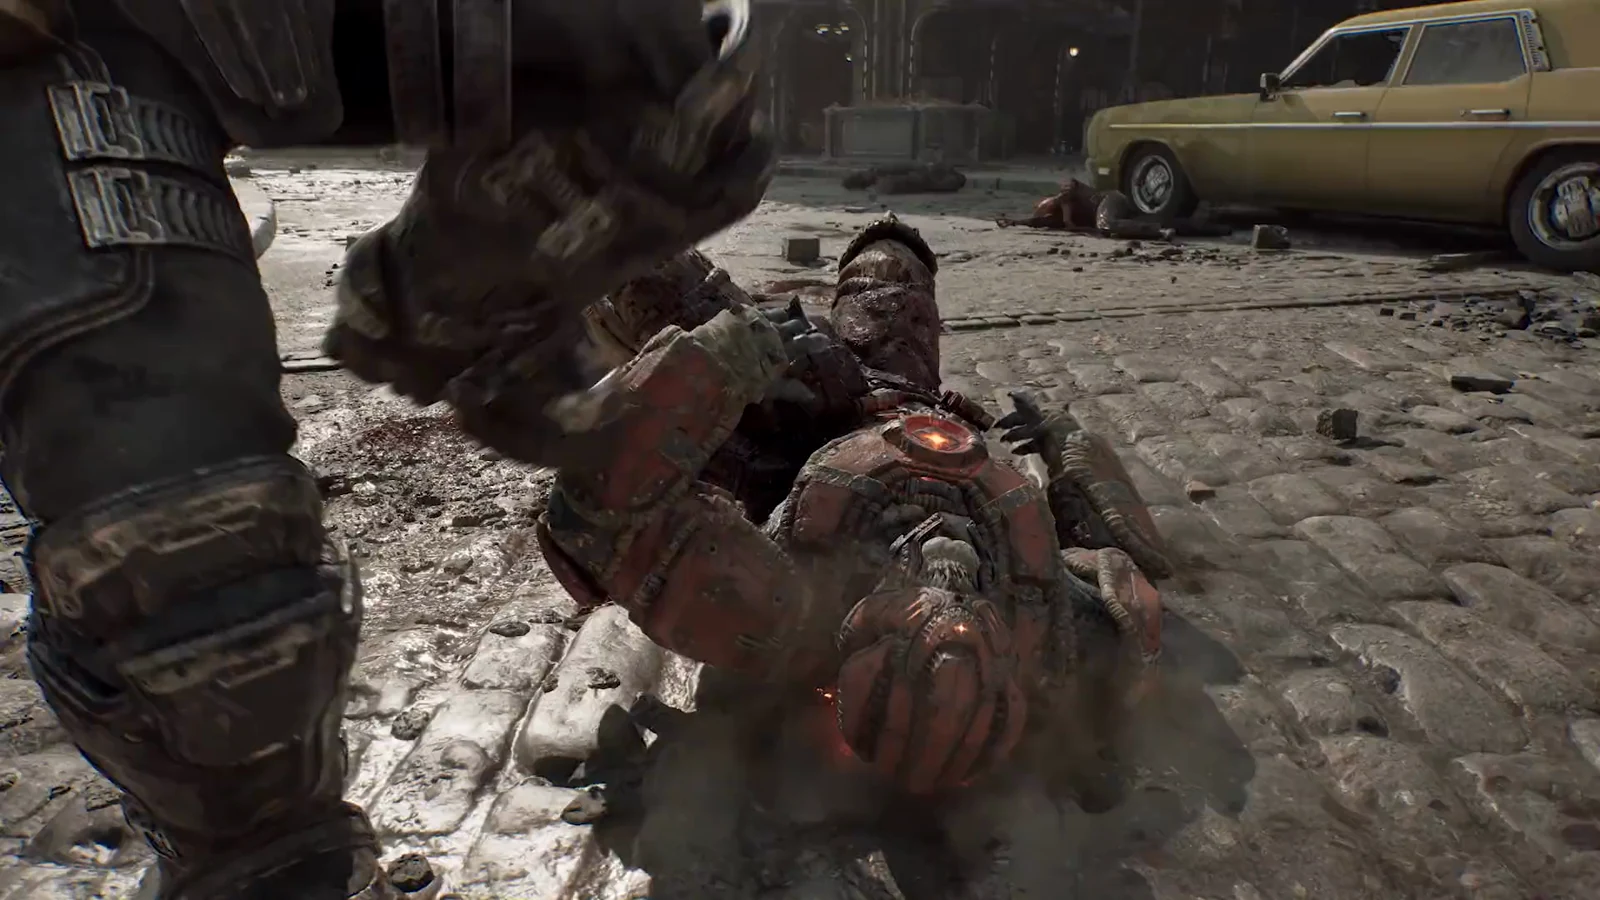
Ravenous Flock is one of the few crowd-control tools in Blood of Dawnwalker that rewards you for hitting a specific enemy rather than swinging at whoever is closest. It stuns a group, marks one target, and then pays out extra area damage every time you connect with that marked target. Get the targeting wrong and you burn a big chunk of health for a single stun.
Quick answer: Cast Ravenous Flock, then attack the enemy with the mark on its health bar. Each hit on that marked enemy sets off another area burst; hitting any other stunned enemy does nothing extra.
What Ravenous Flock does when you cast it
The cast does two things at once. It deals area damage around your target and applies a stun, which freezes the pack long enough for you to reposition or start swinging. It also drops a status icon above the primary target’s health bar, and that icon is the whole point of the skill.
While the mark is live, every landed attack on that one enemy triggers a fresh area attack that damages everything nearby. All hits on the marked target are treated as critical hits. The mark lasts 20 seconds, but it usually ends earlier, because the skill cancels itself after a set number of hits.
Note: the stun lands on the group, but the mark lands on one enemy only. Swinging at a different stunned enemy is a normal sword hit with no burst attached.
Ravenous Flock cost, cooldown, and restrictions
This is a Witchcraft ability, so it runs on Activation Charges and your own health rather than a mana pool. It is also restricted to daytime use, which rules it out of any encounter you deliberately save for the night.
| Property | Value |
|---|---|
| Ability type | Witchcraft |
| Cost | 2 Activation Charges, 40% Health |
| Cooldown | 45 seconds |
| Availability | Day only |
| Max level | 4 |
| Unlock | Find or buy the Ravenous Flock Manual |
The numbers you see in your own character menu will not always match those base figures. Witchcraft perks can cut the health cost down to 32%, and the listed area damage climbs well past the base values as your character and gear improve, so figures in the 400s show up on a developed build. Check the panel in the Character screen before you commit, because a 40% health cast into a bad opening is how runs end.

Ravenous Flock level scaling
Levelling the skill raises the burst damage, but the more useful upgrade is the extra hit allowance. At level 1 the flock disappears after a single follow-up. At level 4 you get four bursts out of one cast, which is what turns it from a stun into a group wipe.
| Level | Area damage | Cancels after |
|---|---|---|
| 1 | 176 | 1 hit |
| 2 | 194 | 2 hits |
| 3 | 212 | 3 hits |
| 4 | 229 | 4 hits |
Every level keeps the same 20-second duration and the same 100% critical hit rule on the marked target.
How to unlock Ravenous Flock: Bear Trouble
Skill points alone will not open this one. You need the Ravenous Flock Manual, which comes from the A Pilgrimage for Power: Bear Trouble side quest. That quest sits in the Briar Sloughs and requires Smoke and Ashes to be finished first. Budget two Time Segments for it, and expect 250 XP alongside the manual.
You know it worked when Ravenous Flock appears in the Witchcraft tree as learnable. If it still shows as unavailable, you have not read the scroll from your inventory yet. If it shows “not enough skill points to learn”, the manual is done and only points are missing.
Ravenous Flock in a real fight
The cleanest use is against a tight group of soldiers. Lock on to the enemy in the middle of the pack, cast, and the whole cluster is stunned while the mark settles on your locked target. Then hit that target once and the second area burst goes off across everyone still standing in it.

On the next cooldown, the same pattern works on whichever enemy is leading the charge at you. Cast, close the distance, and land the strike on the marked one to set off the burst before the rest of the group recovers from the stun.
The third cast is usually a finisher. By that point the group is softened enough that one burst brings them into range of ordinary sword strikes, and you clean up without spending another 40% of your health bar.
Why the second burst does not go off
- You hit an unmarked enemy. Only the target carrying the icon above its health bar sets off additional area damage.
- The skill already cancelled. At level 1 it ends after a single follow-up hit, so anything after that is a plain attack.
- The 20-second duration expired before you connected.
- The cast never went through because you were short on Activation Charges or health, or you tried to use it at night.
Treat Ravenous Flock as a setup tool rather than a nuke and the health cost stops feeling steep. Lock on before you cast, keep the marked enemy in front of you, and spend your hit allowance deliberately instead of flailing at the nearest body.