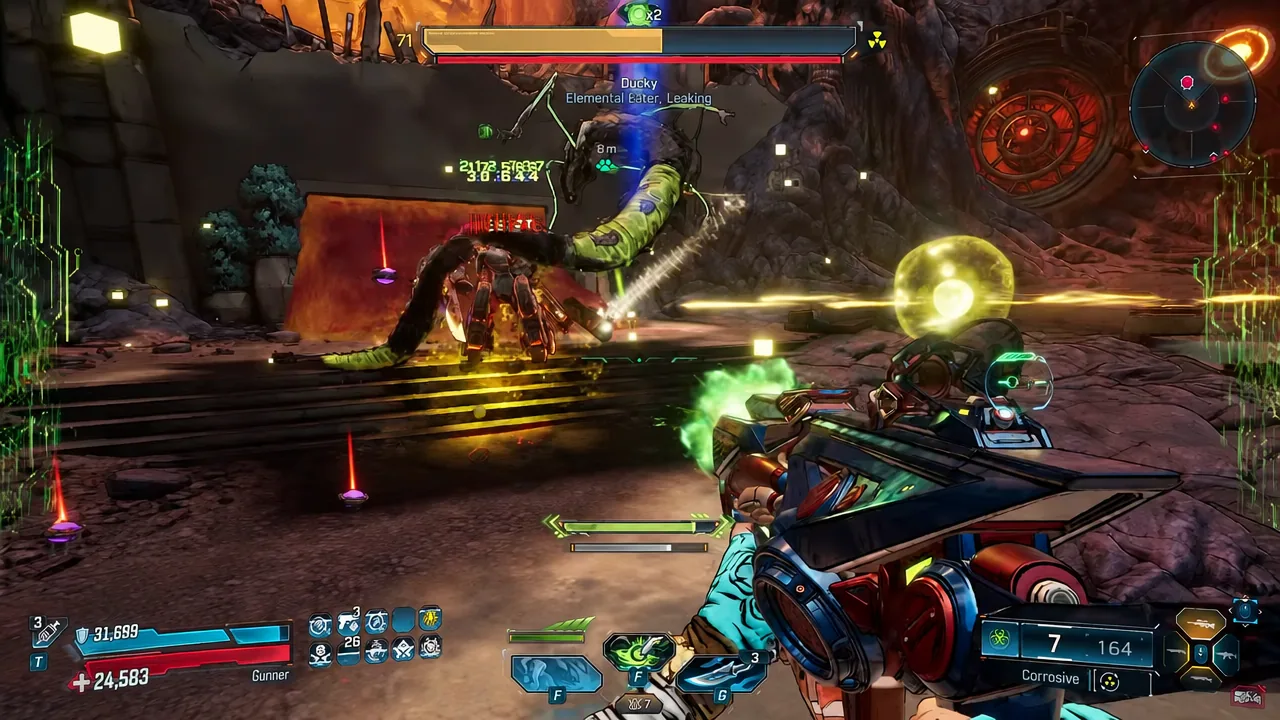
Loveless the Hacker arrived with Borderlands 4 Version 1.10 and Story Pack 2: FL4K and the Last Resort, and her Malignant Construct Action Skill is the one that summons Wyrm, a digital symbiote that fights alongside her. The Wyrm build lives in her red Manifestation tree, where nearly every meaningful passive keys off Symbiosis Stacks. Get that stack count high and stable, and both Loveless and her companion scale hard into radiation and critical hit damage at the level 70 cap.
Quick answer: Build the Manifestation tree around Symbiosis generation — Drift Compatible, Corrupted Path, Great Wyrm, Fusion Friends-y and In Memoriam — then equip barrag.exe or nuk.exe and spend RAM on Empowered Melee.
How RAM and Symbiosis Stacks power the Wyrm build
Two systems run in parallel here, and the build only works when both are ticking over at once.
- RAM is Loveless’ Vault Hunter Trait. She gains RAM whenever she lands a Critical Hit or applies a Status Effect, and the fuller the gauge, the more Gun Damage she deals. A full gauge makes her next Melee Attack Empowered, which consumes all RAM.
- RAM decays if none has been gained recently, so the build needs constant crits or status procs to hold the gun damage bonus.
- Symbiosis Stacks are granted when Loveless summons Wyrm, when Wyrm kills an enemy, and through several passives. They deplete over time and act as the scaling multiplier for every Symbiosis Effect in the tree.
Because Wyrm applies radiation damage and lands its own critical hits, it feeds RAM while you are reloading, repositioning, or in cover. That is the single biggest practical advantage of this tree over a pure gun setup.
Core Manifestation skills for the Wyrm build
These are the passives the build cannot function without. Every one of them carries a Symbiosis Effect that scales with your current stack count.
| Skill | Points | Effect |
|---|---|---|
| Drift Compatible | 5 | Wyrm crit chance; crit damage scales with Symbiosis |
| Corrupted Path | 5 | Radiation damage, Irradiation chance, bonus radiation |
| Great Wyrm | 5 | Wyrm basic attacks deal more radiation damage |
| Fusion Friends-y | 5 | Higher max Symbiosis; kills can grant stacks |
| In Memoriam | 4–5 | More stacks on summon; keeps stacks when Wyrm dies |
| Storage Upgrade | 5 | Bigger RAM bonuses; spending RAM grants Symbiosis |
| Critically Acclaimed | 5 | Crit kills refund skill duration and grant Symbiosis |
| Perfect Execution | 4–5 | Crit chance on Function and Executable damage |
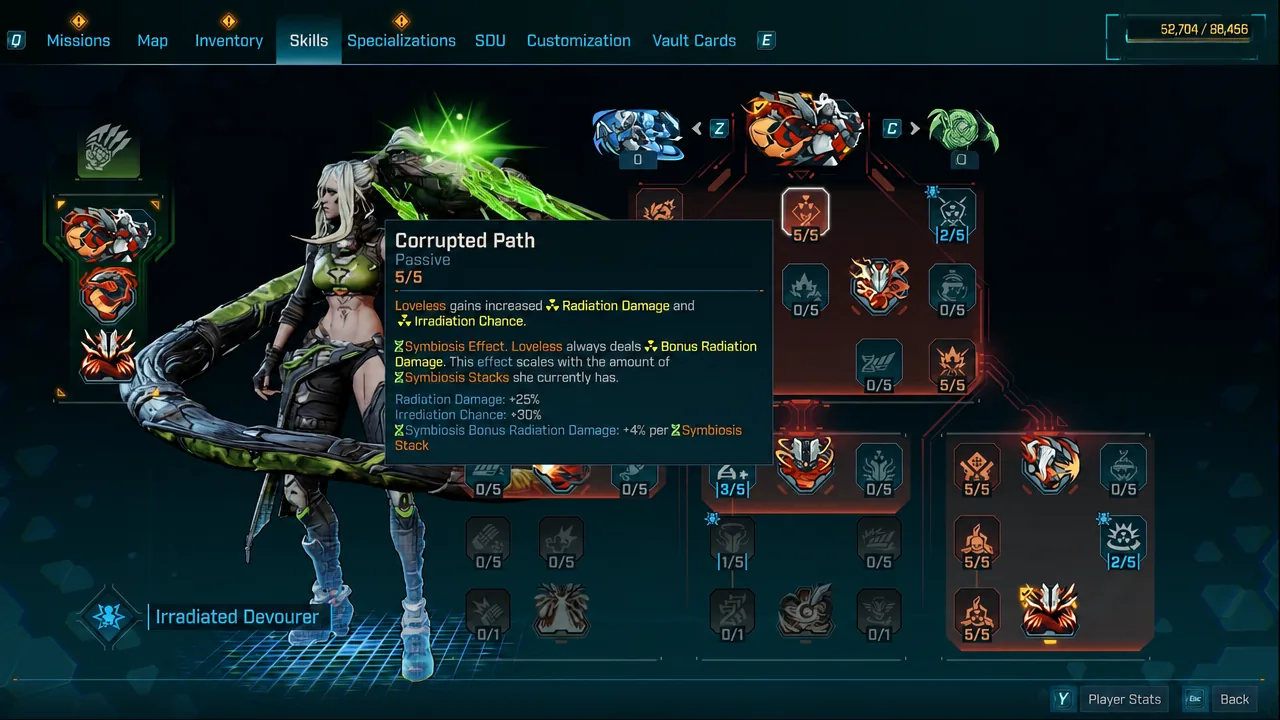
Corrupted Path is the skill that makes weapon choice flexible. While Wyrm is active, Loveless always deals Bonus Radiation Damage, so non-elemental guns still contribute to status uptime and RAM generation.
Level 70 skill point allocation
The level cap sits at 70, which gives you 69 points to spend. There are two allocations worth running, and they differ mainly in whether you keep everything in the red tree or split into green for status and crit chance.
Melee-focused Manifestation allocation
- Drift Compatible 5/5, Corrupted Path 5/5, Antivirus 1/5
- Overclock 5/5, Finisher 5/5, Optimization 1/5
- Storage Upgrade 5/5, Neurokinetics 1/5, Perfect Execution 4/5, Intrusion 1/1
- Fusion Friends-y 5/5, Great Wyrm 5/5, In Memoriam 4/5, UUDDLRLRBAS 1/1
The single point in Optimization still pays off, because spending RAM rolls for a full refill and a failed roll returns a partial refill that scales with Symbiosis. One point in Neurokinetics exists purely for the melee lifesteal chance, which keeps you alive while punching. Antivirus at 1/5 is a cheap overshield on radiation kills.
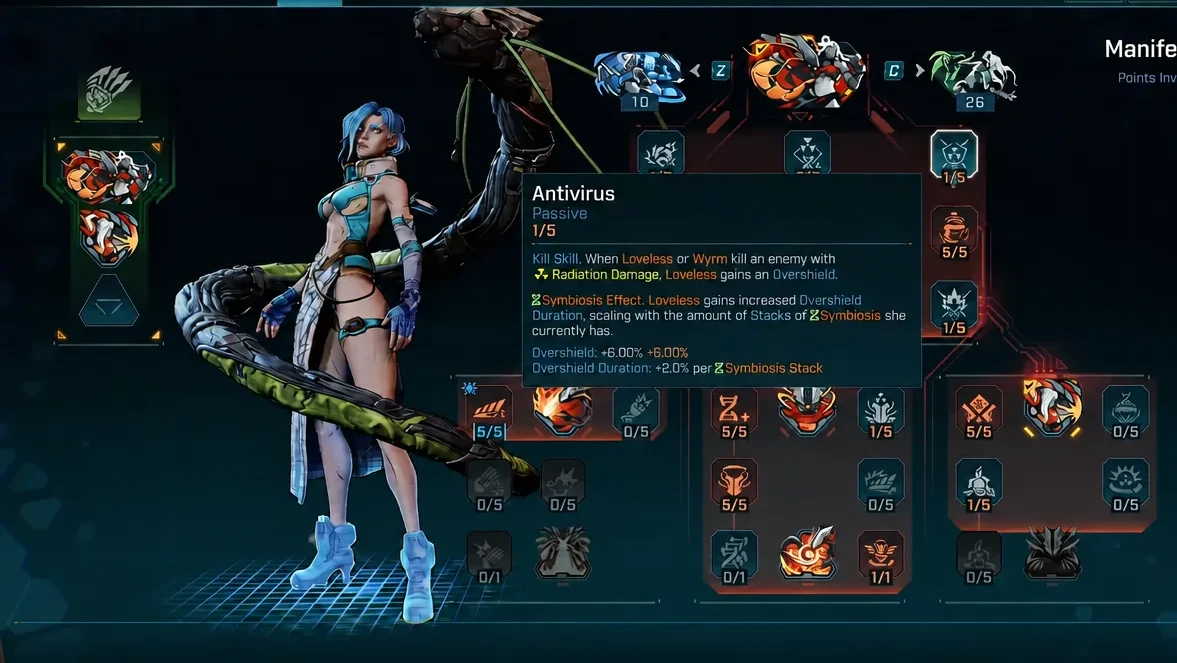
Red and green split allocation
If you want more status uptime and faster Action Skill cooldowns instead of melee burst, keep 39 points in Manifestation and push the remaining 30 into the green Virology tree.
- Manifestation: Drift Compatible 5/5, Corrupted Path 5/5, Critically Acclaimed 5/5, Fusion Friends-y 5/5, In Memoriam 5/5, UUDDLRLRBAS 1/1, Storage Upgrade 5/5, Perfect Execution 4/5, Status Update 4/5
- Virology: Established Gameplay Loop 2/5, Heat Sink 3/3, Nootropic Energy Drink 5/5, Cat 5 5/5, It’s Super Effective 5/5, Depletion Load 5/5, Turbo Button 5/5
The green side adds elemental damage, status chance and crit chance, all of which convert directly into faster RAM generation and a higher uptime on Loveless’ gun damage bonus.
Augments and capstones: Giga Bite, barrag.exe and nuk.exe
Only one Augment and one Capstone can be equipped at a time, and they must come from the same tree as your Action Skill. These are the ones that matter for Wyrm.
- Solid State Destruction — Wyrm stores the damage it deals and Executables release it as radiation damage. Function damage counts as double when stored, so spam the teleport before you commit to a breath attack.
- Giga Bite — heals both Wyrm and Loveless, which is the survivability pick.
- Dark Web — tethers enemies damaged by Functions to Wyrm, so all damage Wyrm deals to a tethered target hits every tethered target.
- Hard Crash — a Function Override missile that refunds the Function cooldown on a kill.
- barrag.exe — Executable Override. Wyrm grows wings, and the breath attack becomes wider, hits harder and fires radiation Shurikens during the channel.
- nuk.exe — Executable Override. Wyrm creates a Singularity that pulls enemies in and detonates for radiation damage in a large area.
Barrag.exe is the safer bossing pick because the widened breath attack connects far more reliably than the base version. Pair Dark Web with nuk.exe instead when you are clearing dense mob groups.
UUDDLRLRBAS is worth its single point at any level. When Wyrm dies to enemy damage, Dead Code spawns where it fell, damages everything around it, and can be shot by Loveless or her teammates to bring the Wyrm straight back.
Class mods, shield and weapons for the level 70 setup
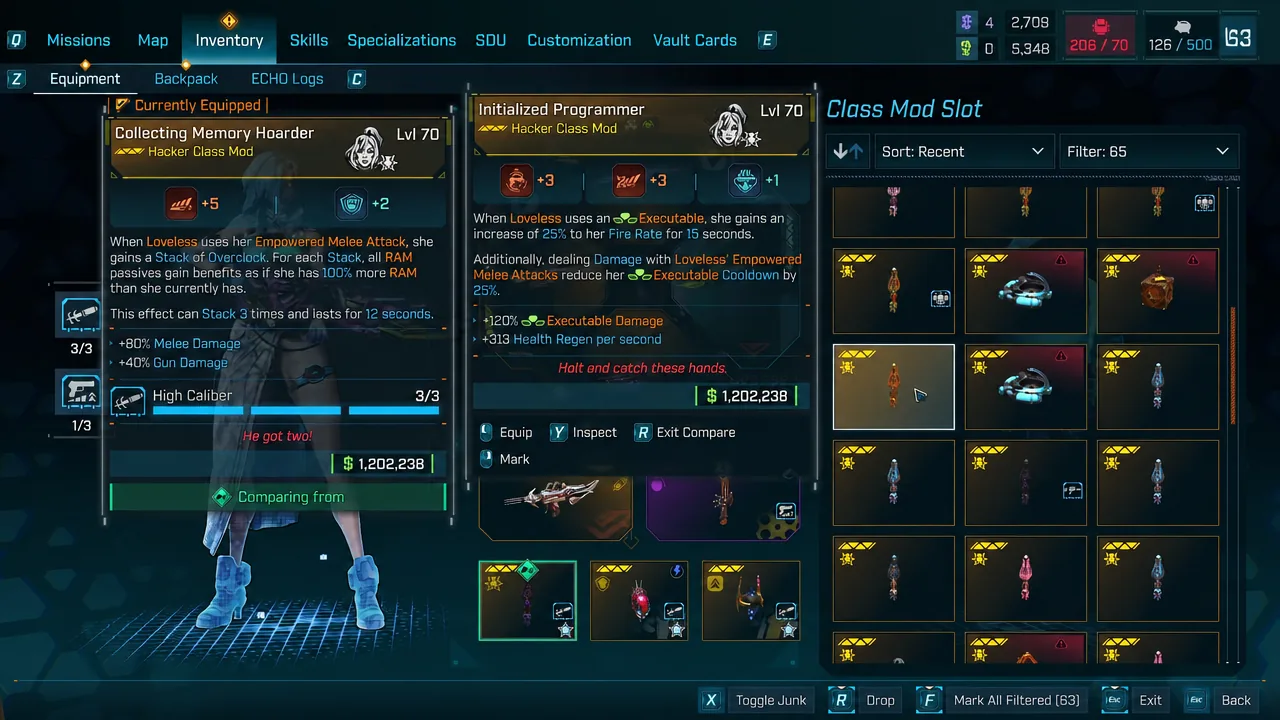
Twelve farmable Legendary Class Mods shipped with Loveless, spread across the existing boss pool. Three of them define how this build plays.
| Gear | Slot | Why it fits |
|---|---|---|
| Collecting Memory Hoarder | Class Mod | Melee and gun damage on Empowered Melee |
| Insatiable Devourer | Class Mod | Chance to devour for a share of enemy health |
| Irradiated Devourer | Class Mod | Devour effect scaling with Symbiosis |
| Watts 4 Dinner | Shield | Overshield plus amp damage |
| Synchrotron Sublunar Mantra | Weapon | Deals melee damage, feeds the melee loop |
The Mantra is the centrepiece weapon, since its damage counts as melee and therefore stacks with every melee passive in the tree. That is also the build’s biggest weakness — it leans heavily on one gun, and losing it drops a large share of your output. Ceramic Pre-Emptive Bod, Accelerated Nadir Clarity, Hungry Eviscerating Stray and Synchrotron Synodic Honeymooner all serve as supporting options.
Specializations, repkit, ordnance and firmware
Outside the skill tree, the supporting loadout leans on melee triggers and status output.
- Specializations: Groundbreaker is the priority, since melee attacks trigger it for a large burst. I Am A Gun, Now With Caffeine, Riddle You This, A Honed Mind, CDC and Bear Arms round it out.
- Repkit: Mega Triple Bypass at endgame. If Mantra healing through Neurokinetics is not keeping up, swap to Vitae.
- Ordnance: Augmented Vivisecting Throwing Knife, Fully Loaded Alignment, Turbulent Quadratus, Atomic Supermassive Waterfall, Atomic L1l Brudder.
- Firmware: High Caliber and Active Fire.
The combat loop for bosses and mobs
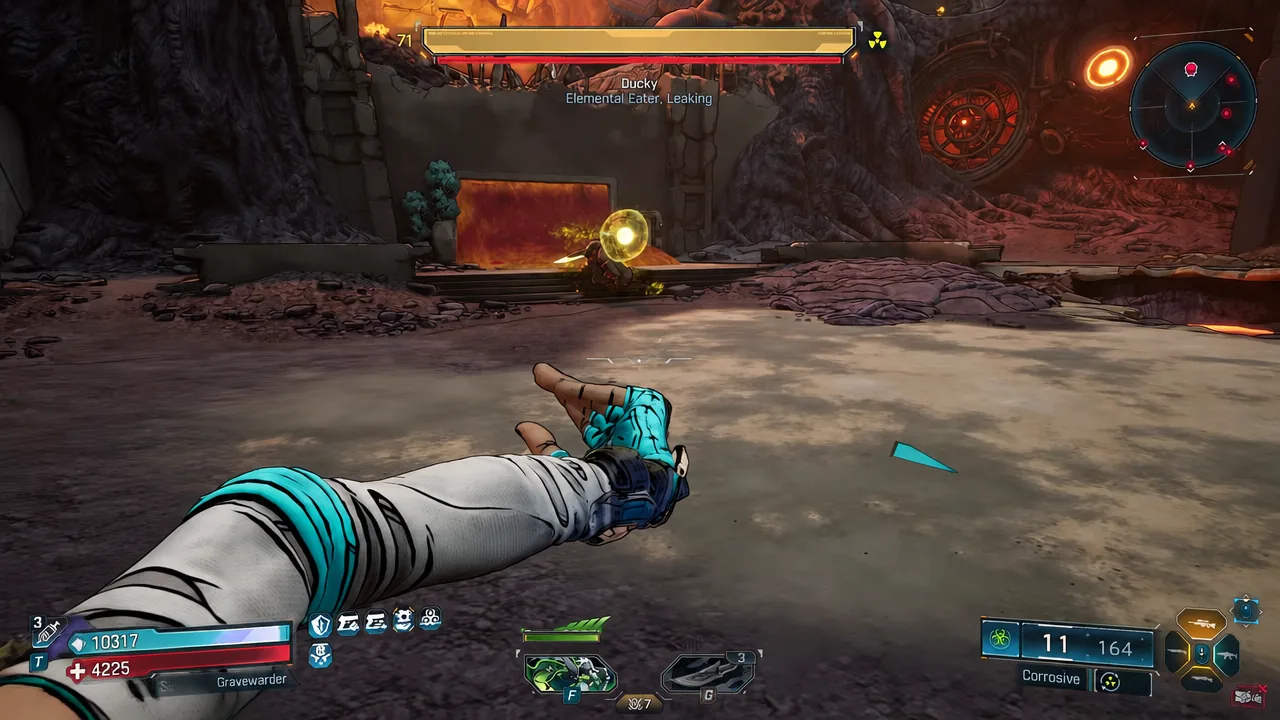
You will know the loop is working when the Symbiosis counter stays topped up between Executables and your RAM gauge refills within a second or two of being spent. In open-world fights the same rotation applies, except crit kills through Critically Acclaimed refund Action Skill duration and keep Wyrm out almost permanently.
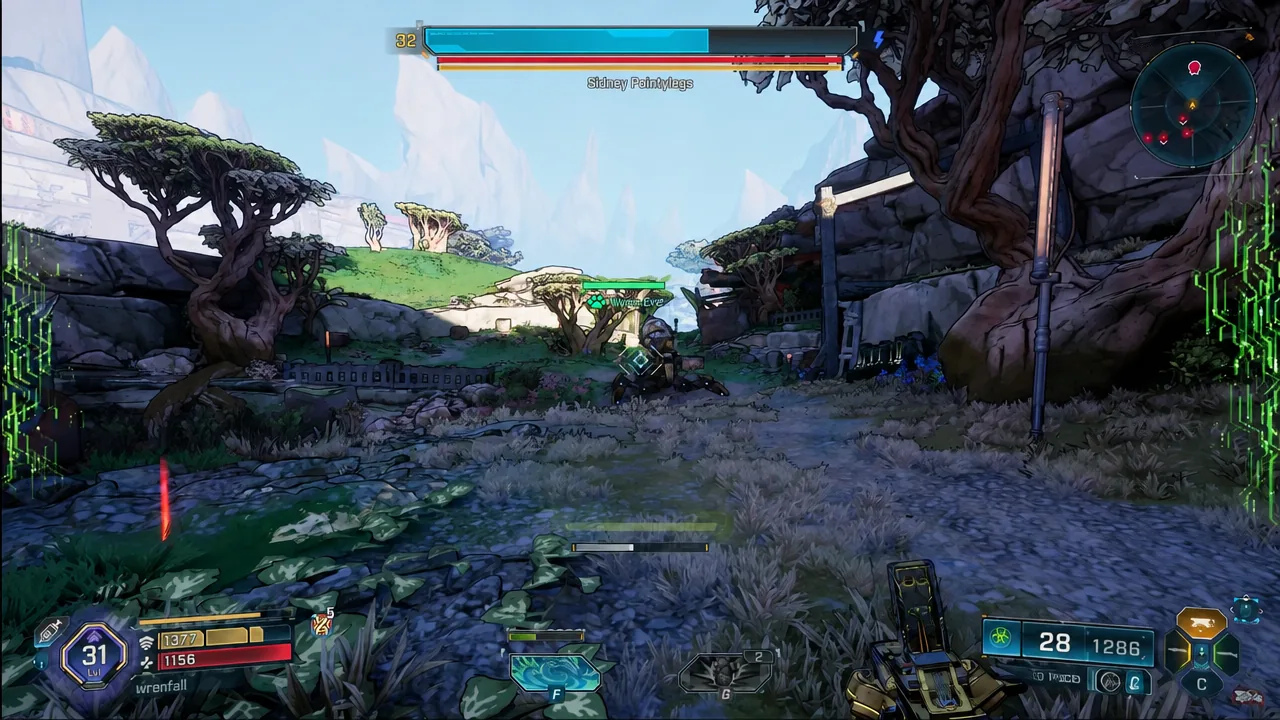
Building toward the Wyrm setup before level 70
The early game version of this build needs almost no specific gear, because Wyrm carries the damage on its own. Work down the red tree in this order through level 30: Drift Compatible 5/5, Corrupted Path 5/5, Critically Acclaimed 5/5, the Giga Bite Augment, Fusion Friends-y 5/5, In Memoriam 5/5, UUDDLRLRBAS, the nuk.exe Capstone, then Storage Upgrade 4/5.
For gear while levelling, a Repkit carrying the Accelerator passive halves the Action Skill cooldown, which matters because Malignant Construct otherwise takes over 30 seconds to come back. Any rarity works. The Fireworks Legendary shield drops from the Splash Zone boss in the Fade Fields area of Coastal Bonescape, and the Exfoliatrix shield suits Loveless well thanks to its status effect chance and shield recovery on status-afflicted enemies.
Two weapons hold up well through the mid-game: the Ricocheting Captured Darkbeast SMG from Voraxis in Coastal Bonescape, and the Panicking Hellwalker shotgun from the Meathead Riders in Cuspid Climb. Rushing Now With Caffeine in the Daredevil specialization tree is worth the detour.
Wyrm limitations to plan around
The companion has real rough edges, and they shape how you play. The base breath attack misses frequently, which is the main argument for taking barrag.exe as soon as it is available. Flying enemies tend to move away from pets, so Wyrm contributes little in those fights. Wyrm also despawns when Loveless goes down, removing your Symbiosis source at the worst possible moment — In Memoriam softens this by preserving a share of your stacks when Wyrm dies to enemy damage.
The trade-off is straightforward. Investing in Wyrm’s survivability and damage means giving up gun damage you could have taken elsewhere, and a dedicated sniper setup in the VPN tree will out-damage this one on single targets. What you get in return is a pet that pulls enemy attention off you, holds radiation status on everything nearby, and keeps RAM and Symbiosis ticking without you having to line up every shot yourself.