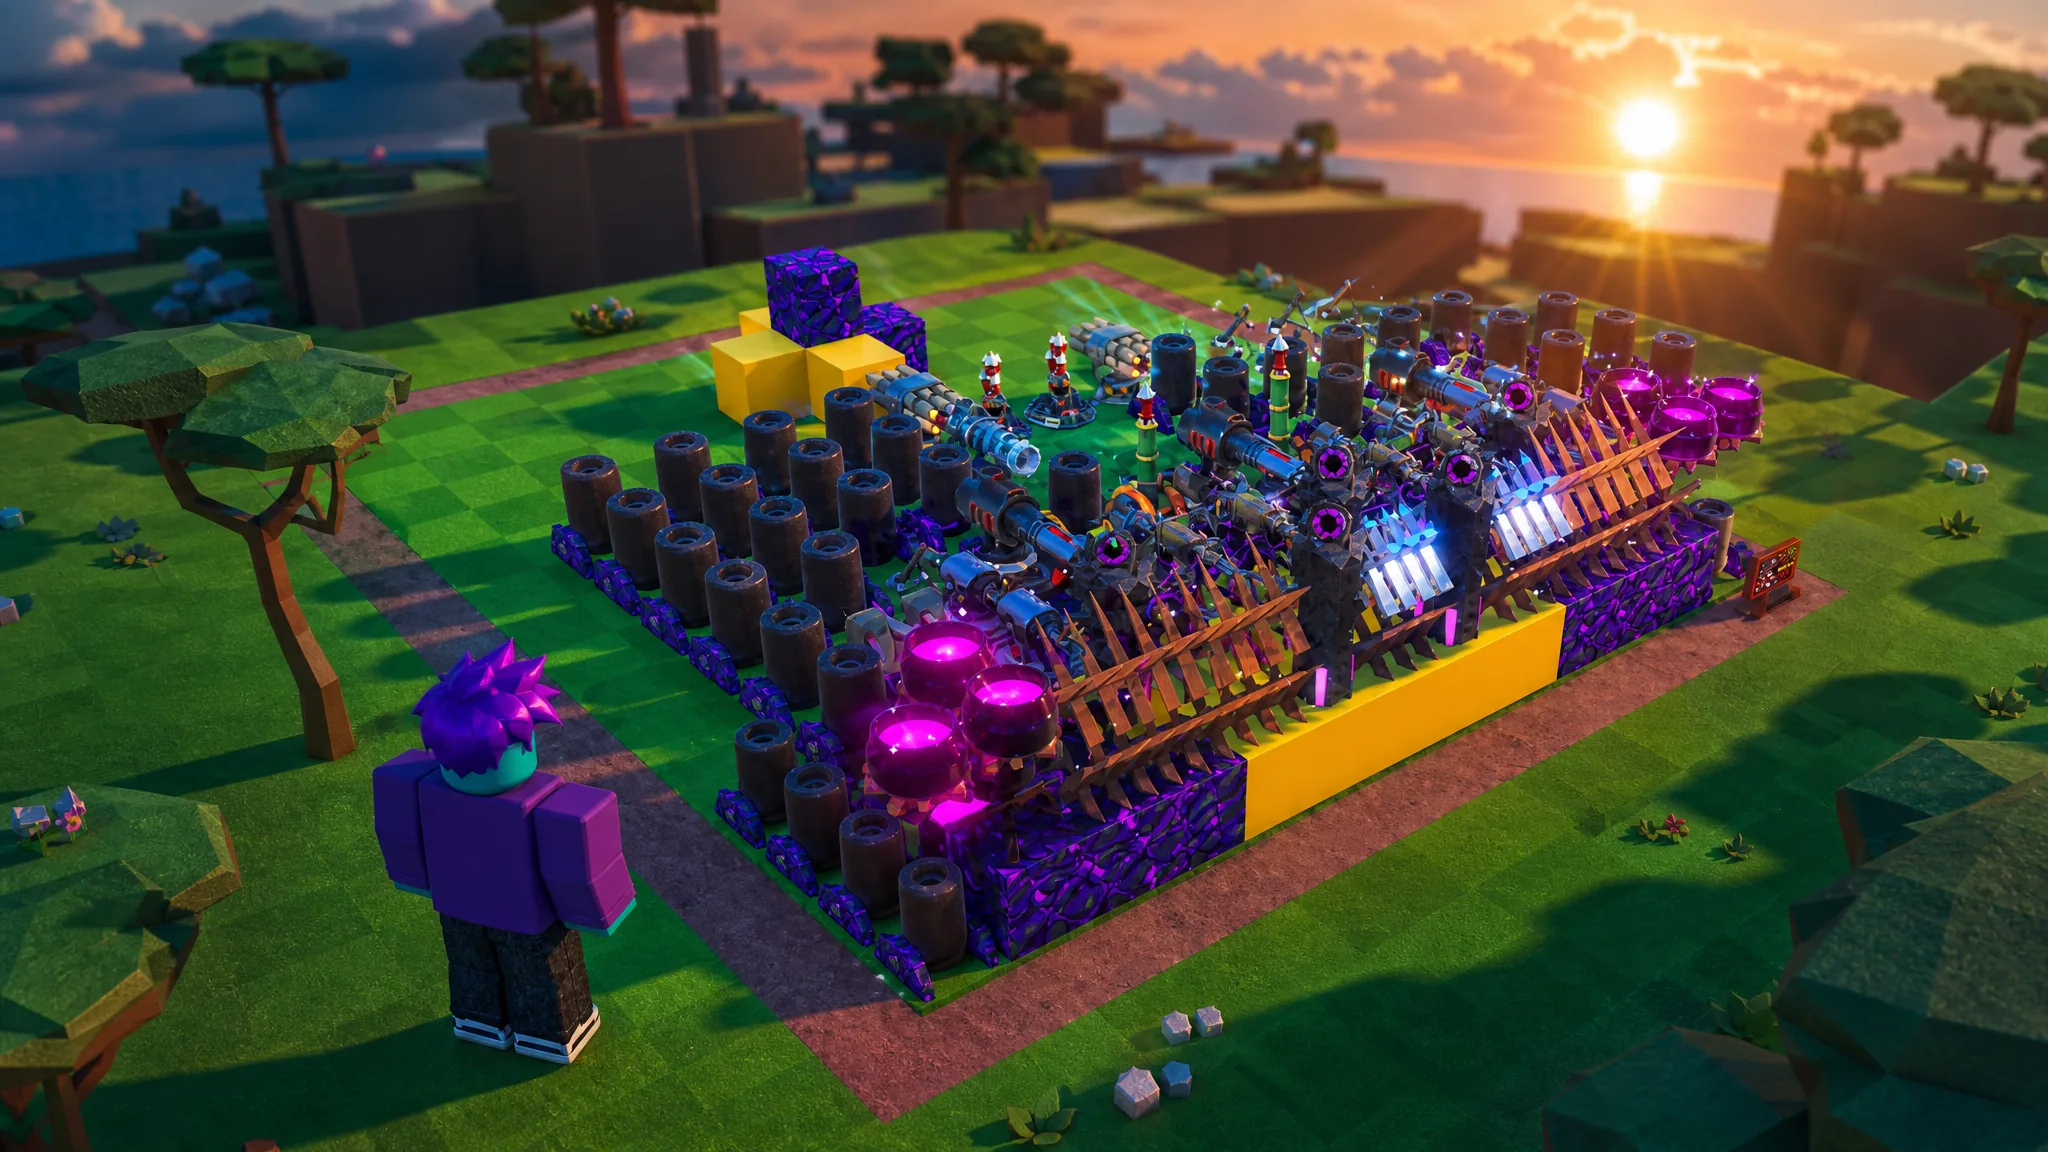
Reaching Wave 1000+ in Build a Base RNG comes down to one thing more than luck: how you spend every placement slot. The strongest current setup is the C layout, a compact wall that funnels enemies into a kill zone while your highest-damage towers fire from safety behind it. It works because it turns a hard placement cap into dense, overlapping coverage instead of a thin single line.
Quick answer: Build a one-block-high C-shaped outline with Space Blocks, stack Gold Blocks on the sides and back for health, line the front row with spikes, scatter a few blockades to pull enemy aggro, then fill the interior and rear with stacked Mortars, Witch Brews, Wizard Teslas, and Hyper Turrets until you hit the 180-placement limit.
Why the C layout survives past Wave 1000
The C layout wins on geometry. The open side of the “C” faces the enemy path, so zombies walk into a pocket surrounded on three sides by walls and towers. That gives your damage more time on target and spreads incoming attacks across many blocks instead of one weak point.
Three roles carry the build. Gold Blocks act as the tank layer because they hold the most health once upgraded. Spikes at the very front chip enemies without blocking your towers’ line of fire. Long-range and high-DPS weapons, Mortars, Wizard Teslas, Witch Brews, and Hyper Turrets, sit in the back and along the sides where they can keep firing while the walls take the hits.
Note: The layout only fills 180 placements at full size, so every slot needs a job. Wooden or low-tier blocks waste space that a Gold Block or a Mortar could use.
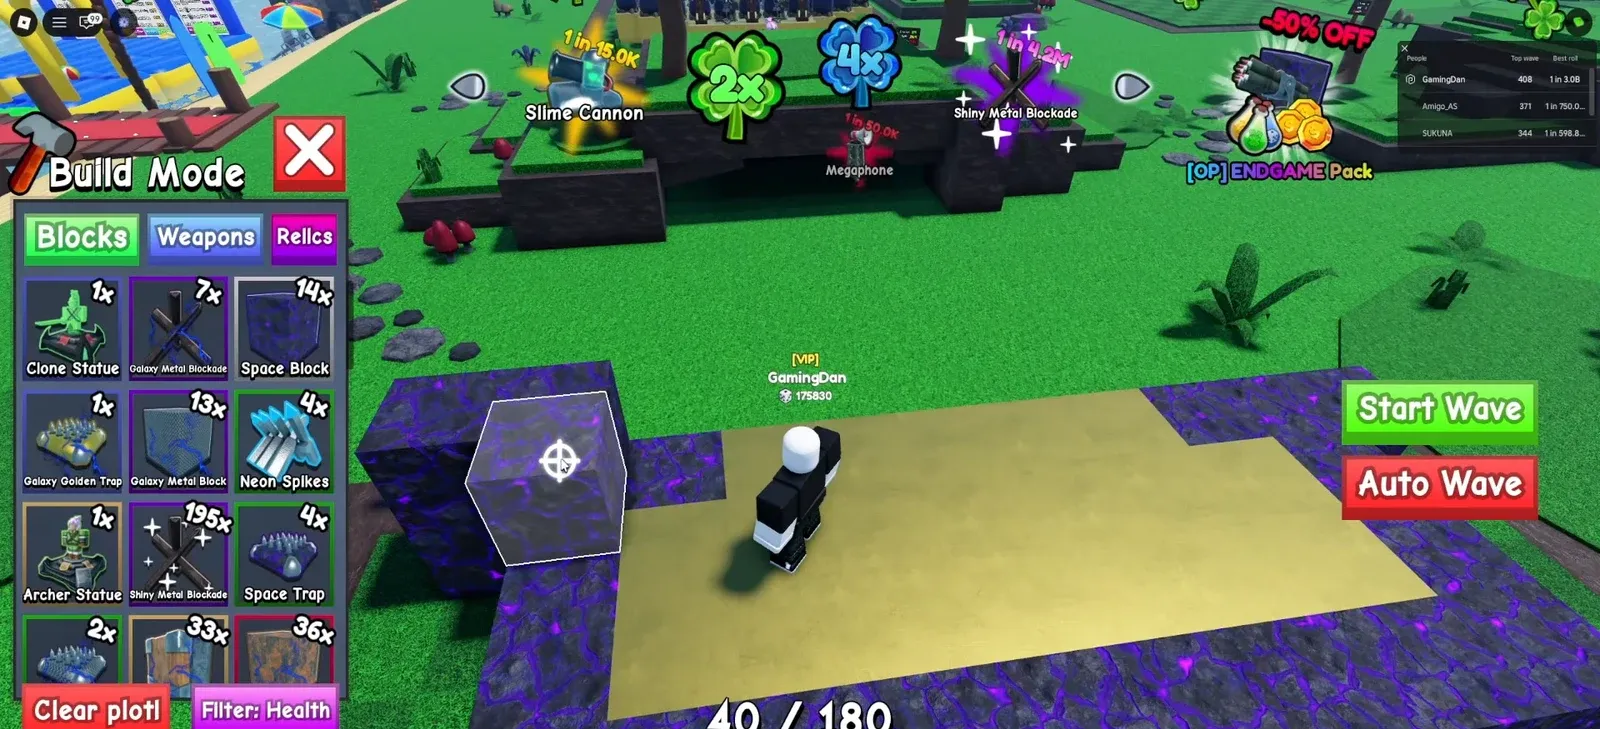
Build the C layout in Build Mode
Weapon placement by wave range
Match your weapon rings to how far you are pushing. Damage-over-time and splash carry the early waves, while stacked long-range artillery does the heavy lifting once enemy health scales into the thousands.
| Wave range | Priority weapons | Role |
|---|---|---|
| 0–300 | Witch Brews, Mortars | Splash and DOT to clear early swarms |
| 300–600 | Wizard Teslas, Witch Brews | Sustained DPS on tougher groups |
| 600–900 | Stacked Mortars, Hyper Turrets | Long-range and high single-target output |
| 900+ | Maxed Mortars, Wizard Teslas, Hyper Turrets | Peak DPS and area coverage to hold the core |
The Wall Base is the main alternative. It runs a straight pathway grid with punks, pistons, and stacked Mortars and Brews positioned in numbered steps along the lane. It reaches similar waves, but the C layout keeps your towers more protected because the walls surround them on three sides rather than one.
Upgrade weapons in the Index and fix missing items
A perfect layout still fails if the pieces are underleveled. Open the Index menu to upgrade your weapons and blocks, which raises their health and damage globally. Gold Blocks and stacked Mortars are the two upgrades that most directly extend a Wave 1000+ run.
If your Index is missing common items you need for the build, lower the Manual Luck slider to 1 in Settings. This drops your luck so you roll common items again instead of skipping straight to rares, letting you fill the gaps in your layout.
How to know the layout is working
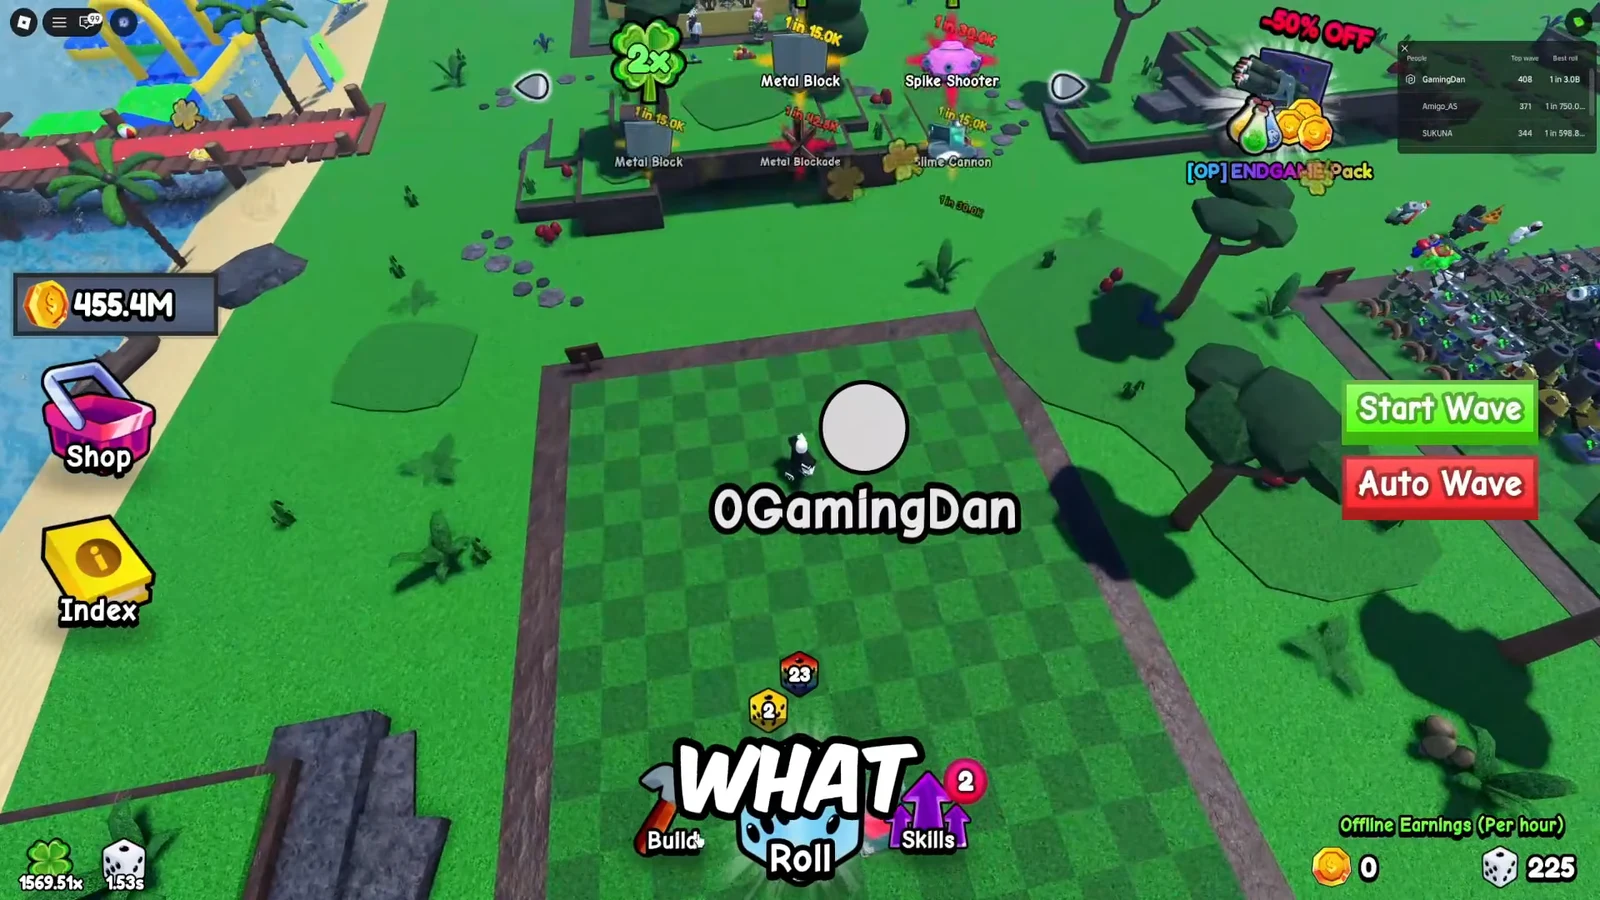
Start Auto Wave and watch where enemies die. If waves collapse inside the pocket well before reaching your core, the funnel is doing its job. Since your base also fights while you are offline, a tested layout keeps earning and defending after you log out.
When a run stalls, the cause is usually one of a few things. Fix the one that matches your failure.
| Problem | Fix |
|---|---|
| Sides break before the front | Add more Gold Block depth on the flanks; enemies target weak side walls |
| Towers stop firing early | Move Mortars and turrets to the back and sides behind the walls |
| Front line melts too fast | Line the whole front row with spikes and add blockade decoys |
| Damage falls off past Wave 900 | Upgrade Mortars and Wizard Teslas in the Index |
| Running out of slots | Remove low-tier blocks; keep only Gold Blocks and weapons |
Once the C layout holds through a full Auto Wave test and clears past Wave 1000 without the core taking hits, lock it in before you log off so it keeps fighting and banking coins while you are away.