Build a Base RNG: Best Base Layout for Waves 300-800
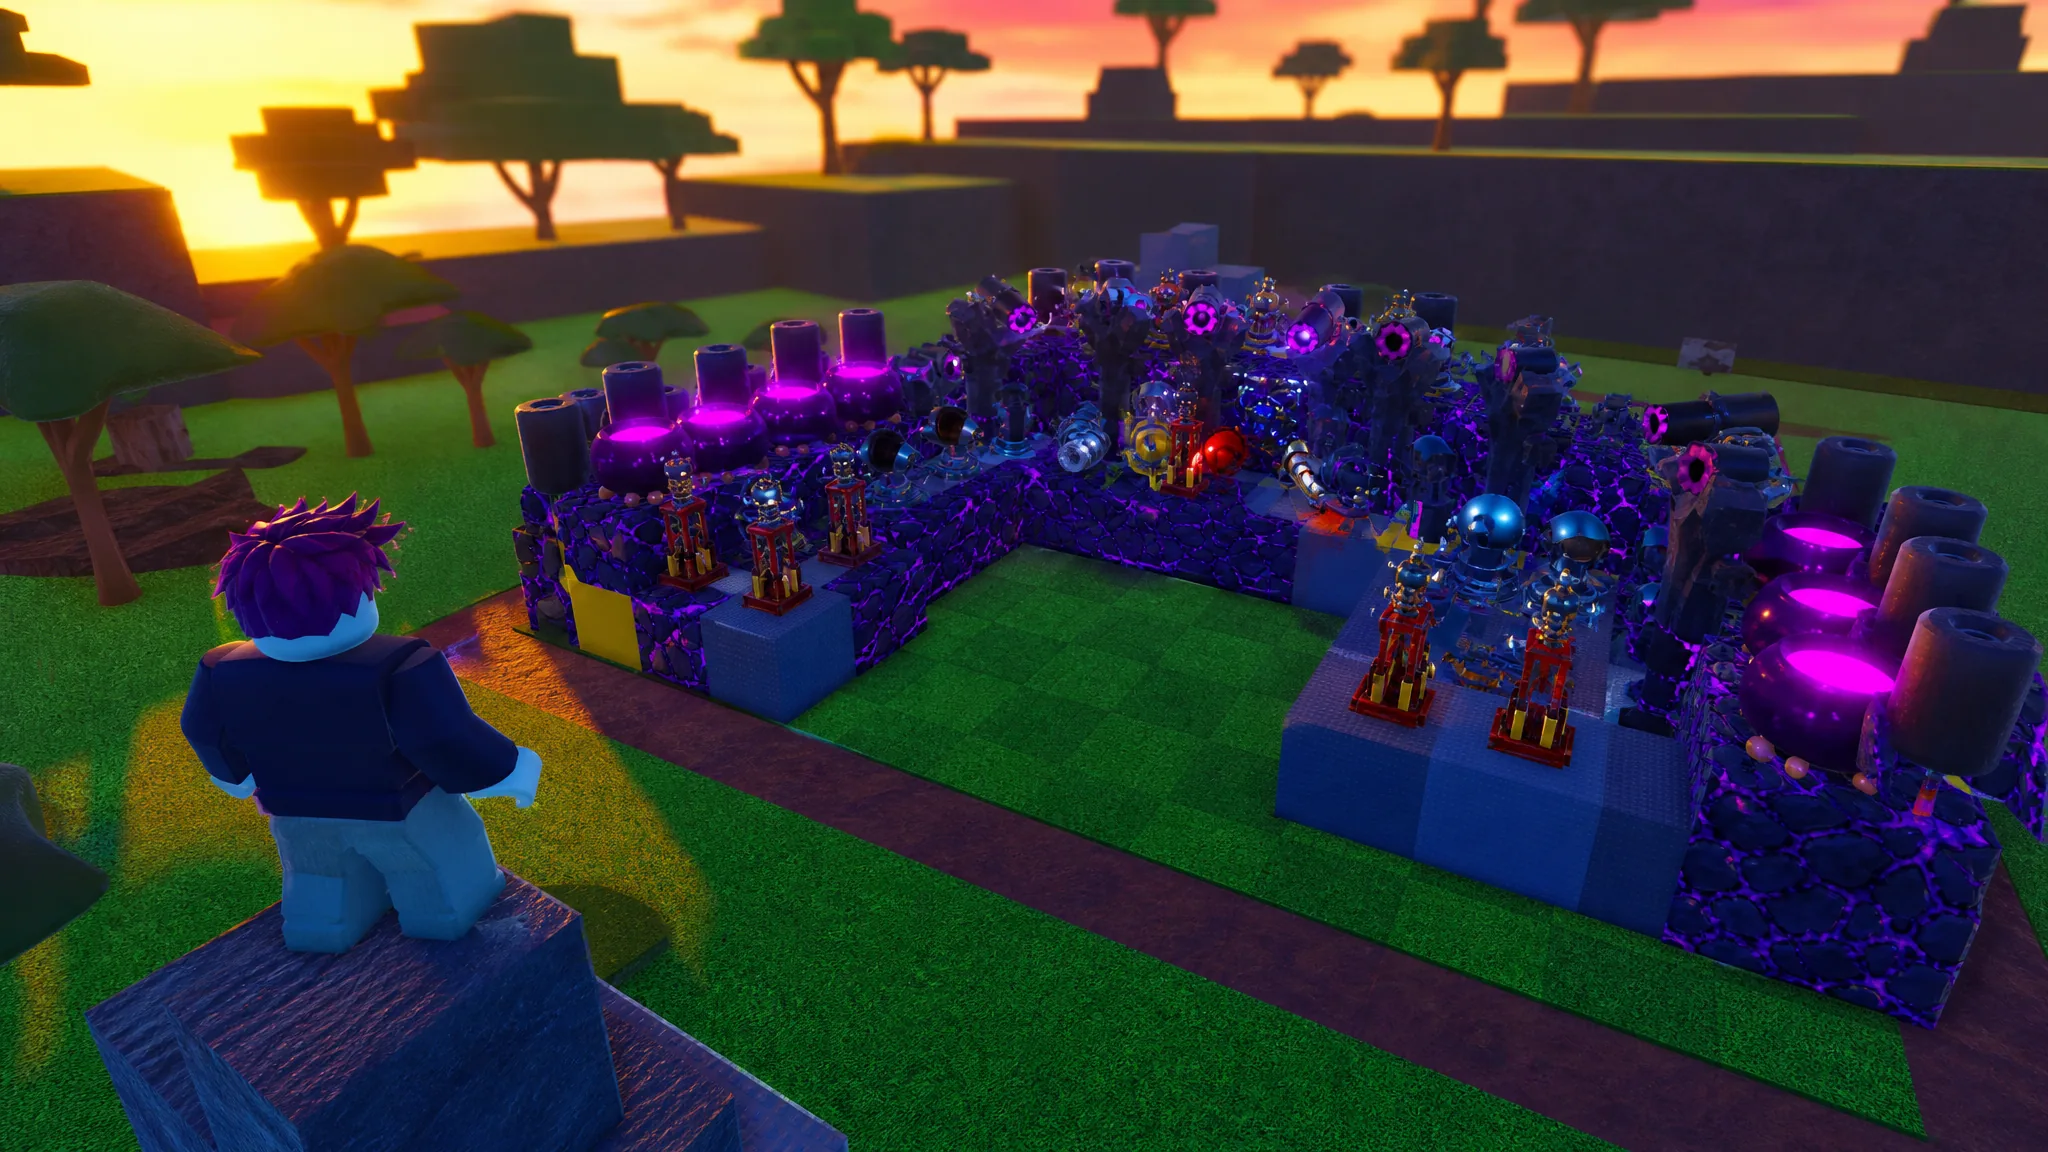
A turret-packed arch build using gold blocks, layered mortars, and a Clone Statue to push past wave 400 in Build a Base RNG.
A turret-packed arch build using gold blocks, layered mortars, and a Clone Statue to push past wave 400 in Build a Base RNG.
by AllThingsHow Staff
Pushing a base from wave 300 into the 800 range in Build a Base RNG comes down to one shape: a dense, semi-circular arch of high-DPS turrets at the front of your plot, backed by stacked mortars and a hero unit. The layout below fills every placement slot up to the 180 limit and is built to hold long past wave 400 while your defenses keep fighting offline.
Quick answer: Build a gold-block arch at the front, alternate Wizard Towers and Teslas along it, plug the gaps with Hyper Turrets and Miniguns, stack two mortar layers at the back, drop a Clone Statue in the rear center, then fill the interior with short-range turrets and the remaining slots with mortars until you hit 180/180.
What you need before building
This is a mid-to-late game layout, so it assumes you have unlocked a large placement cap and leveled your core items in the Index. Without those upgrades the same shape will crumble well before wave 300, because low-level blocks and turrets simply do not have the health or damage to keep up with scaling enemies.
Requirement
Why it matters
180 placement slots
The full build fills every slot up to the 180/180 cap
Upgraded blocks (Gold, Galaxy World, Shiny Metal)
Front arch and inner walls need high HP to tank hits
High-DPS turrets rolled and leveled
Hyper Turrets, Galaxy Turrets, Laser Cannons carry the damage
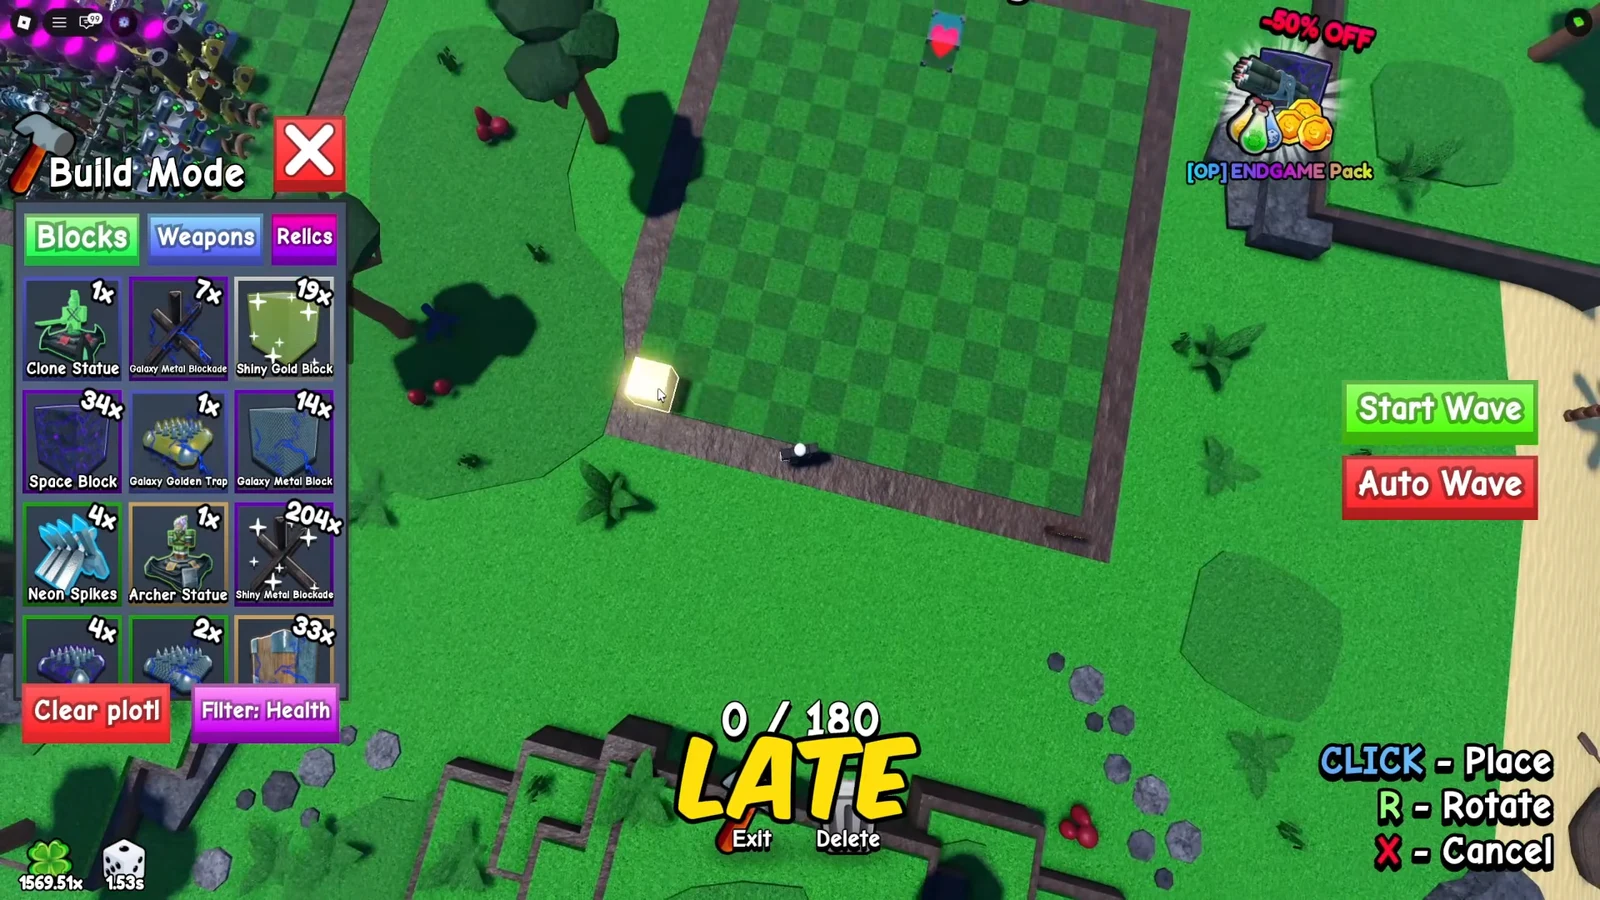
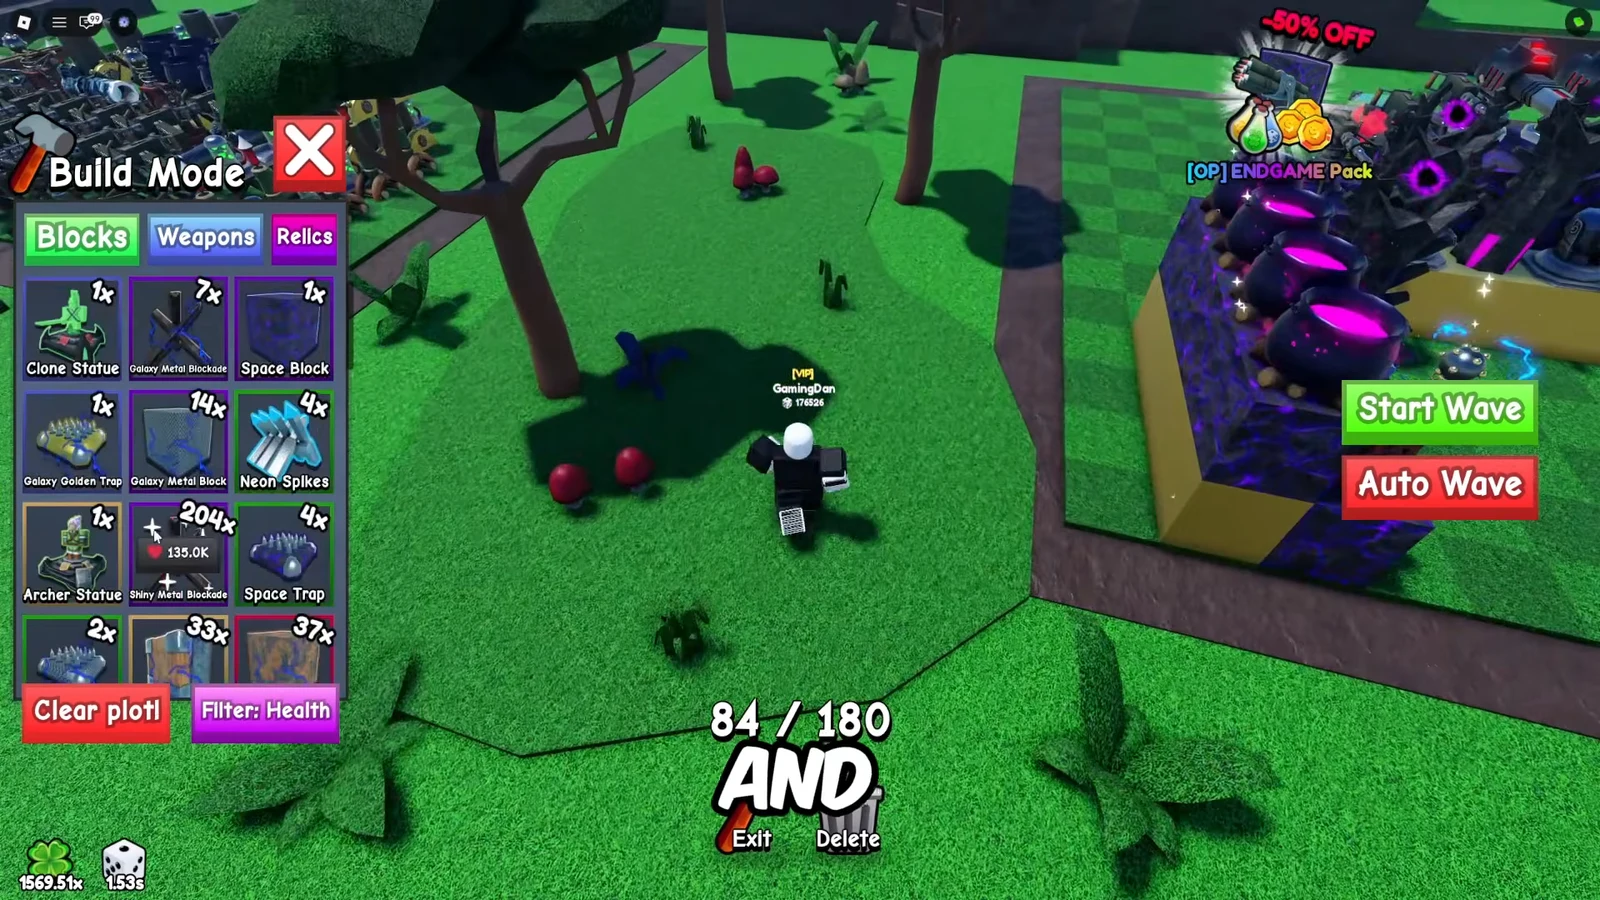
Open Build Mode and switch to the Blocks tab. Lay Gold Blocks in a semi-circle arch across the front of your plot. This curved wall is the surface enemies attack first, so it needs your highest-health blocks.
00:05The Blocks tab with a gold block selected and positioned to start the front arch. Image credit: Slungpy Games / via @Noob_Blox. Shown at 00:05 in NoobBlox’s video.
Extend the two ends of the arch straight back along the sides of the plot using Galaxy World Blocks. This turns the front curve into a walled corridor that funnels enemies into your fire instead of letting them wrap around the edges.
Along the top of the main arch, place Wizard Towers and Teslas in an alternating pattern. Spacing them evenly spreads coverage across the whole curve rather than clustering damage in one spot.
Fill every gap between those towers with Hyper Turrets and Miniguns. These are your steady front-line DPS and should occupy any open slot on the arch itself.
Place Laser Cannons and high-DPS Galaxy Turrets directly behind the front arch. Positioned a row back, they keep firing over the wall while staying protected from the enemies chewing on your blocks.
01:13A Galaxy Turret with its placement preview active, ready to sit behind the front arch. Image credit: Slungpy Games / via @Noob_Blox. Shown at 01:13 in NoobBlox’s video.
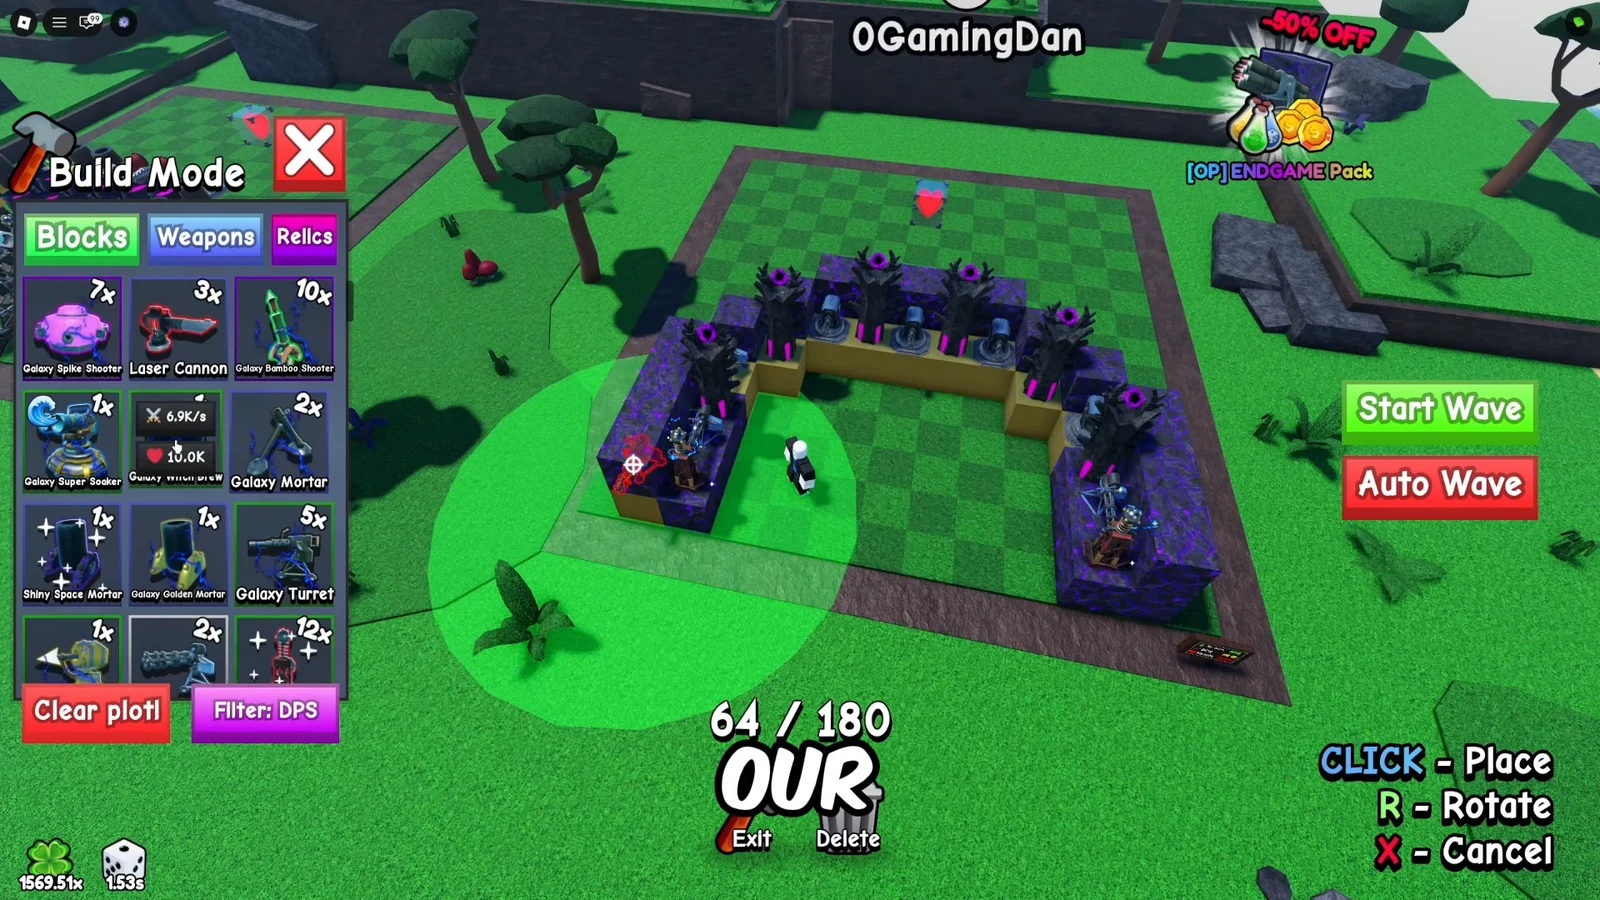
Add four Witch Brews on the outer edge of each side of the arch. Their splash and damage-over-time hit clusters of enemies as they pile against the wall, thinning waves before they can breach.
01:54A tower's green attack range shown while positioning it near the arch edge, where Witch Brews cover both sides. Image credit: Slungpy Games / via @Noob_Blox. Shown at 01:54 in NoobBlox’s video.
Stack two mortar layers at the back
The double mortar trick doubles your area damage in the same footprint by using one layer up high and one at ground level.
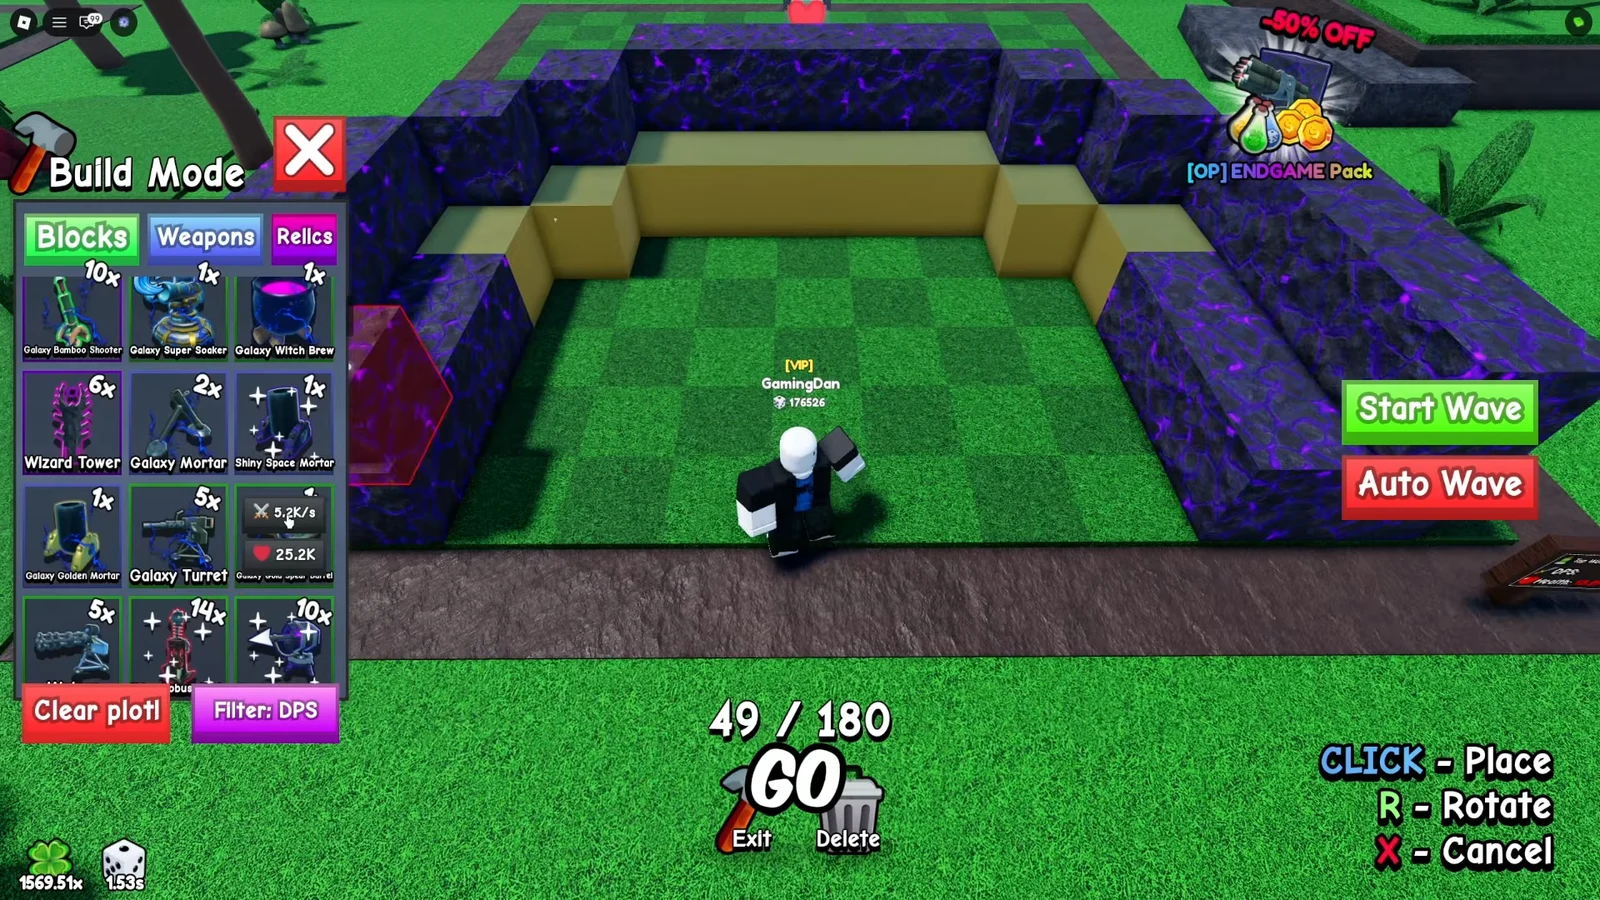
Set down temporary Gold Blocks around the outside of the back area and drop a Clone Statue in the rear center as your hero. Surround the statue with defensive blocks so it survives when enemies break through.
02:45The Shiny Metal Block selected to wall in the rear area around the Clone Statue. Image credit: Slungpy Games / via @Noob_Blox. Shown at 02:45 in NoobBlox’s video.
On top of those temporary blocks, place a raised layer of Galaxy Mortars and Space Mortars. These elevated mortars fire over your whole base and bombard the entrance.
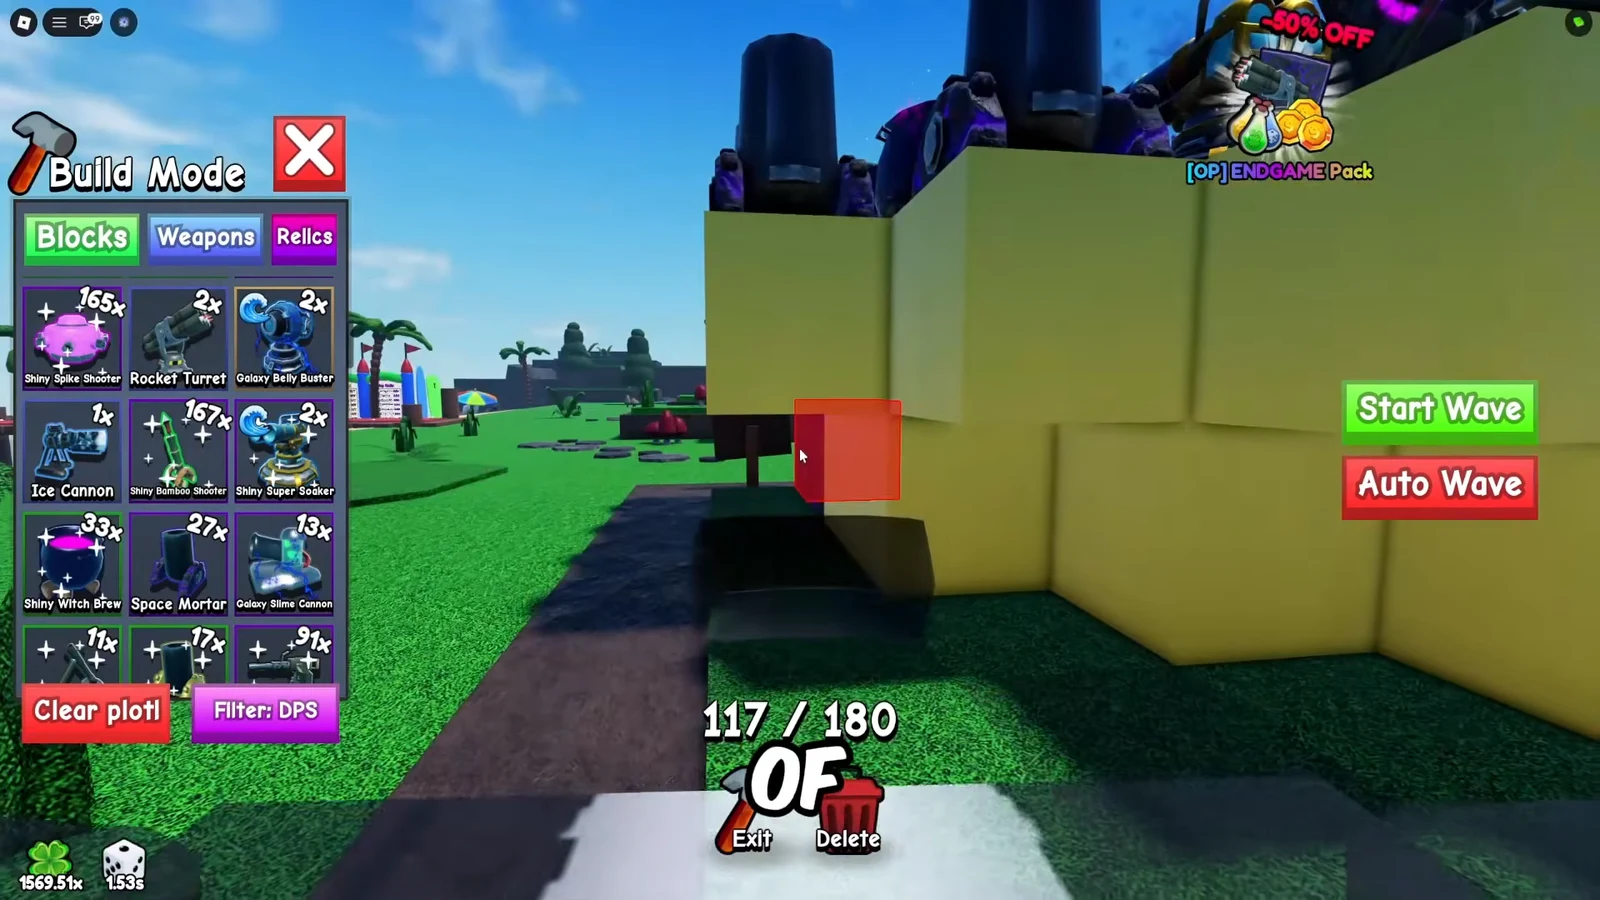
Delete the temporary blocks underneath. The elevated mortars stay in place, and you can now fill the freed-up ground level with a second layer of mortars directly below them.
03:56A red placement preview beside the build while clearing and refilling the mortar area at ground level. Image credit: Slungpy Games / via @Noob_Blox. Shown at 03:56 in NoobBlox’s video.
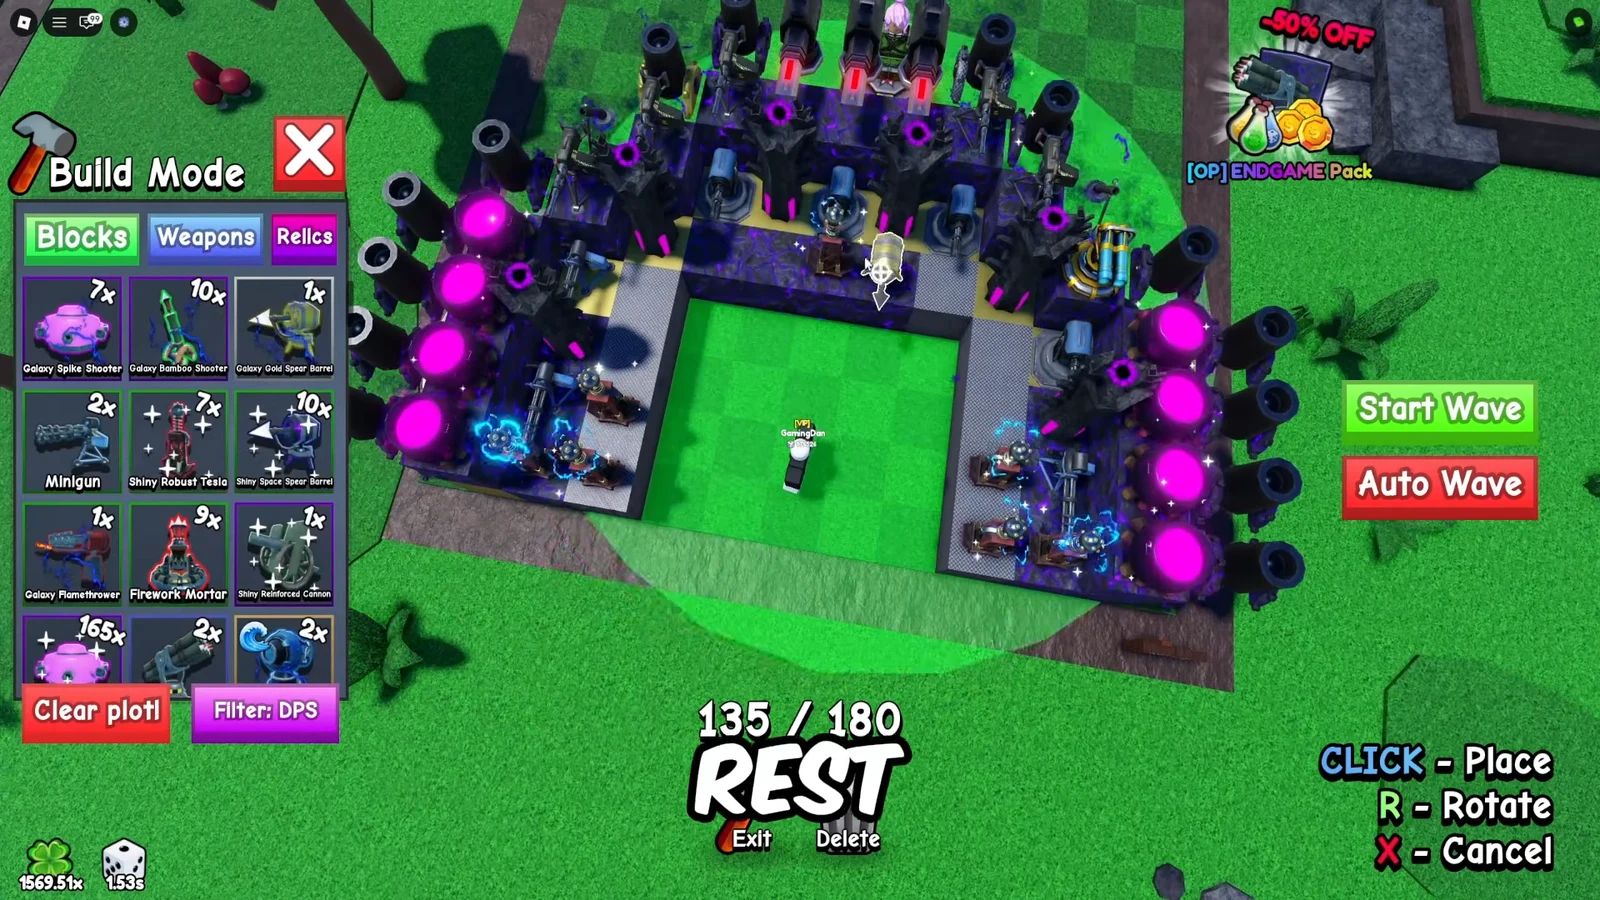
Use the remaining interior slots for short-range, high-DPS turrets. Miniguns, Flamethrowers, Cannons, and Ice Cannons work well here because enemies that reach the inside are already funneled close together.
05:02A placement preview with rotation controls shown while filling the interior with short-range turrets. Image credit: Slungpy Games / via @Noob_Blox. Shown at 05:02 in NoobBlox’s video.
Ring the Clone Statue with more defensive blocks, then add air-defense weapons at the very back. Rocket Turrets, Firework Mortars, and Bamboo Shoots handle flying enemies that ground turrets miss.
Fill every last open slot with Mortars until the counter reads 180/180. Once you hit the cap, no more items can be placed and the build is complete.
Confirm the build is working
Exit Build Mode and turn on Auto Wave to test the layout without manual input. A healthy build clears each wave before enemies reach the inner grid, and your front arch should absorb hits without a block dropping every wave. If enemies consistently die inside the funnel and your Clone Statue never comes under direct attack, the defense is holding as intended and will keep earning while you are offline.
Why the base fails early and how to fix it
Problem
Fix
Front arch blocks break every wave
Level your Gold and Galaxy World Blocks in the Index before running
Enemies slip past the sides
Extend the side walls fully back so the corridor stays sealed
Waves overwhelm before mortars fire
Confirm both mortar layers are placed, top and ground level
Flying enemies reach the core
Add Rocket Turrets and Firework Mortars at the rear for air coverage
Cannot finish the layout
Unlock more placement slots in the skill tree to reach the 180 cap
The layout scales with your upgrades, so the same arch that stalls at wave 300 today can carry into the 800 range once your blocks and turrets are leveled and every slot is filled. Keep reinvesting coins into block health and turret damage, and rebuild the arch each run as your rolls improve.