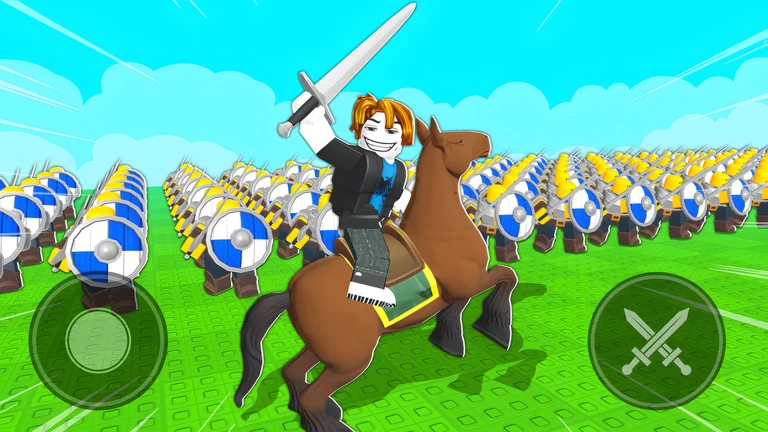
Gems are the currency that runs everything in Command An Army. Summons cost them, changing your commander class costs them, and a new account burns through them long before the first decent unit shows up. The good news is that gem income is predictable once you know which four taps to turn on, and one of them is a repeatable attacking routine that reliably lands high match scores.
Quick answer: Redeem the active codes, claim the 400 free gems from the group, like, and favourite rewards, clear daily and weekly quests, then play objectives as an attacker. A strong match can pay around 300 gems.
Where gems come from in Command An Army
| Source | Payout | How often |
|---|---|---|
| Codes | Large one-off stacks | Once per code |
| Free lobby rewards | 400 gems | Once per account |
| Daily and weekly quests | Gems plus XP | Daily / weekly |
| Match rewards | Scales with score | Every match |
| Deleting units | Small refund | Rarely worth it |
Codes front-load your first summons, but they run out. Quests and match scores are what keep the account moving afterwards, which is why the combat routine further down matters more than any single code.
Redeem codes and claim the 400 free gems first
Codes provide the quickest gems and require no combat after you complete the tutorial. Open Command An Army on Roblox, let the lobby load, and select Codes from the menu on the screen’s right-hand side. Enter each code separately, press redeem, verify that your gem total increased, and then submit the next code.
| Code | Reward |
|---|---|
| CONQUER | Gems |
| COMMANDER | Gems |
| SHIELDBREAKER | Gems |
| SORRY | Gems |
| OPTIMIZE | 700 Gems |
| WAR | 500 Gems |
| RELEASE | 500 Gems |
Codes rotate quickly around updates and bug fixes, so some will already be dead. BUGFIX, LEBALANCE, 10KGoal, D0ggy103, and CONQUEST have all expired. Type each string exactly as written, since a single wrong character makes a live code read as invalid.
The lobby also hands out 400 gems for joining the developer group, liking the game, and favouriting it. It takes about a minute and is pure profit.
What actually raises your match gem payout
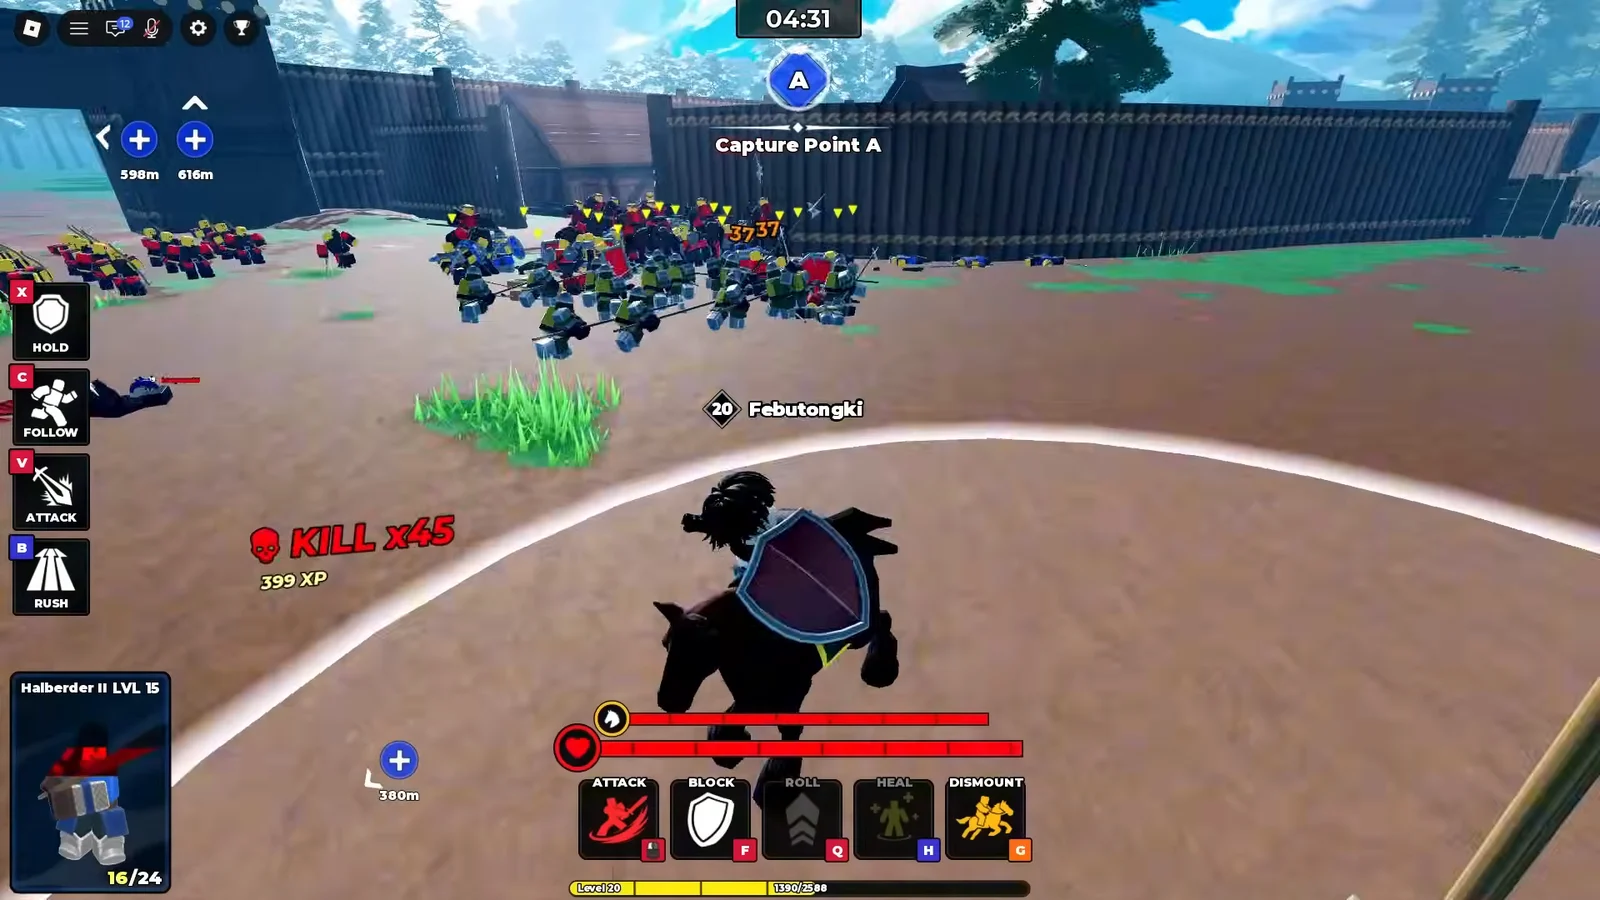
Match rewards scale with your end-of-round score, and the exact number shifts with performance and result. Two things push that score up hard: killing enemy players and capturing objectives. Killing enemy players gives the single biggest score boost available in a match, which is why the attacking routine below deliberately targets them during big clashes.
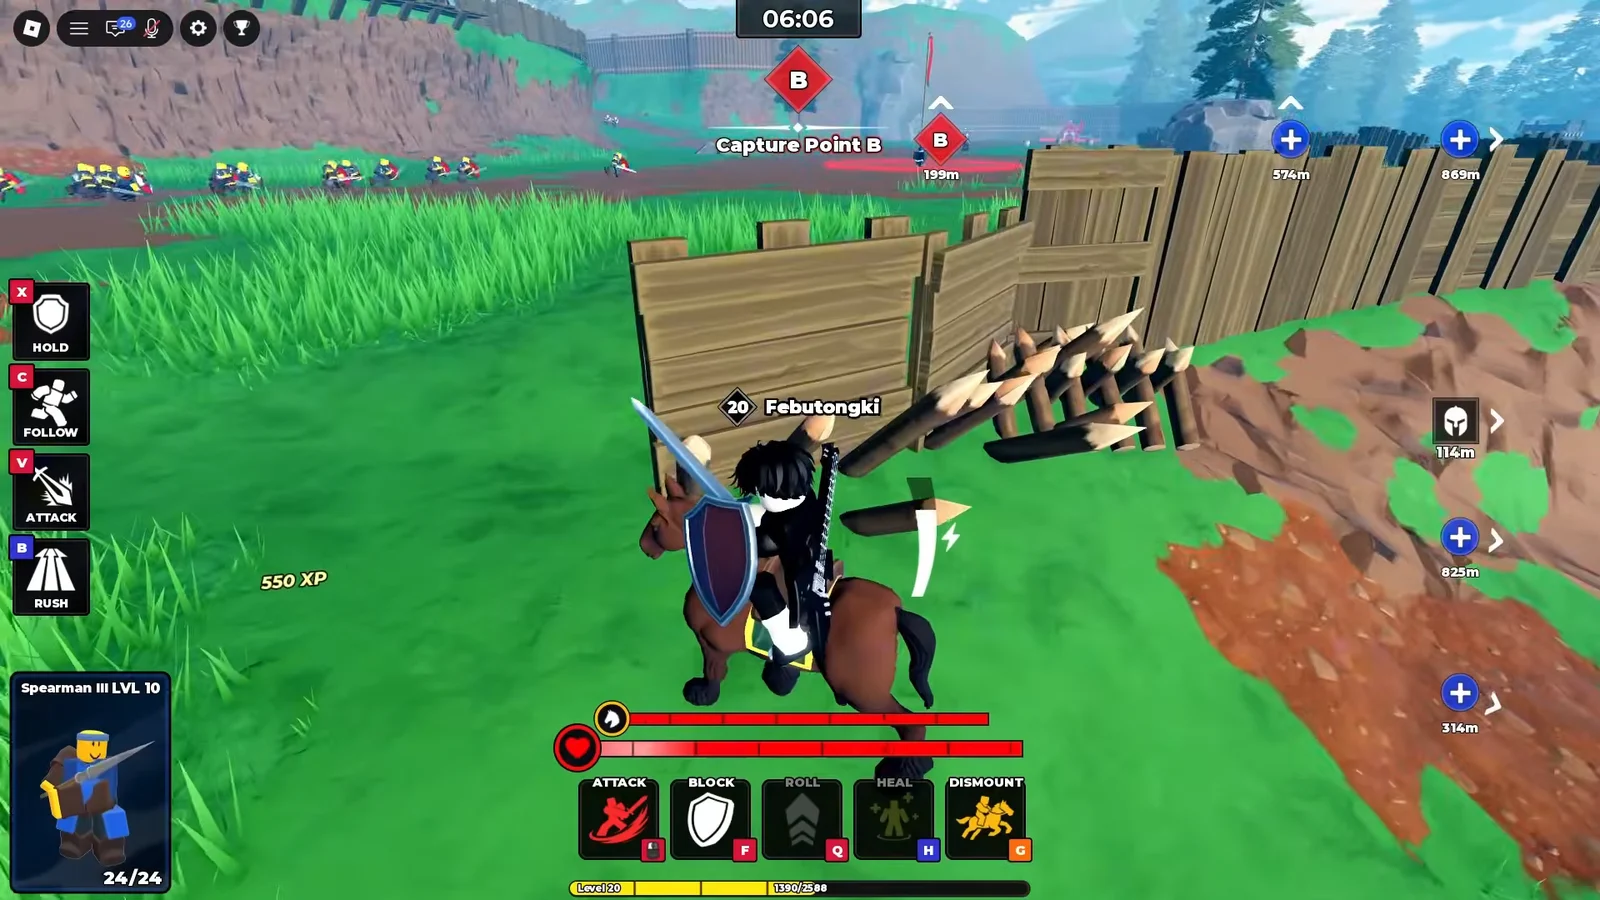
- Push the objective sequence as an attacker: Point A, Point B, then the base.
- Chase kills only where the fighting is already happening, not across the map.
- Check the quest panel before a session so daily tasks complete while you play.
- Stay active for the full round; AFK payouts cap at roughly 10 gems.
- Do not macro. It is bannable, and it is slower than simply playing.
The attacker hold-and-rush routine that earns 300 gems a match
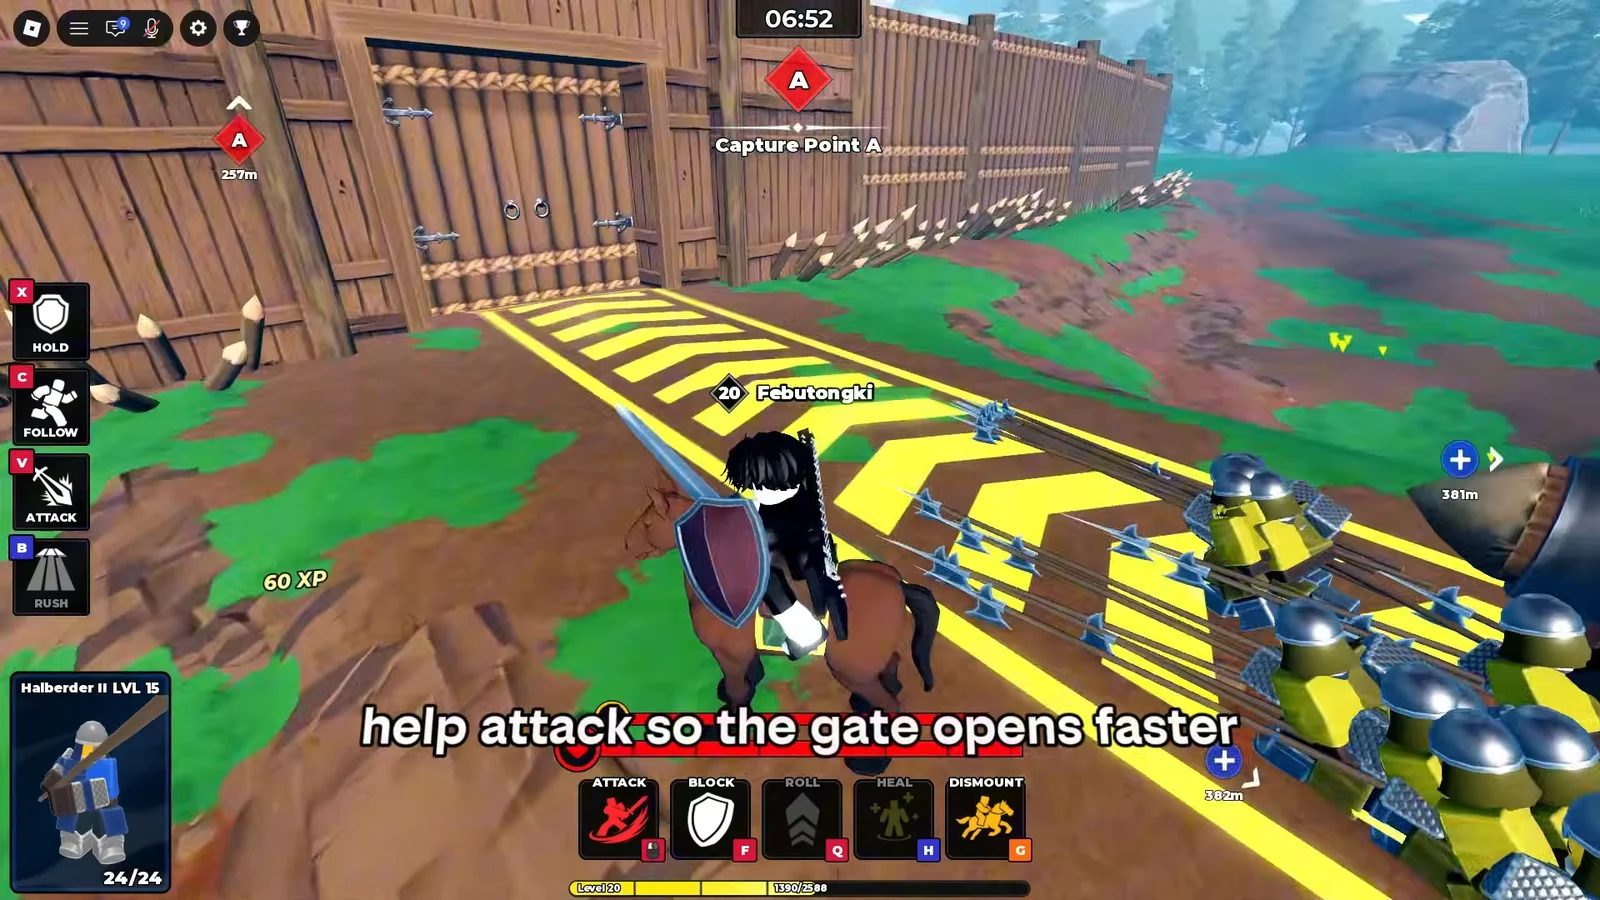
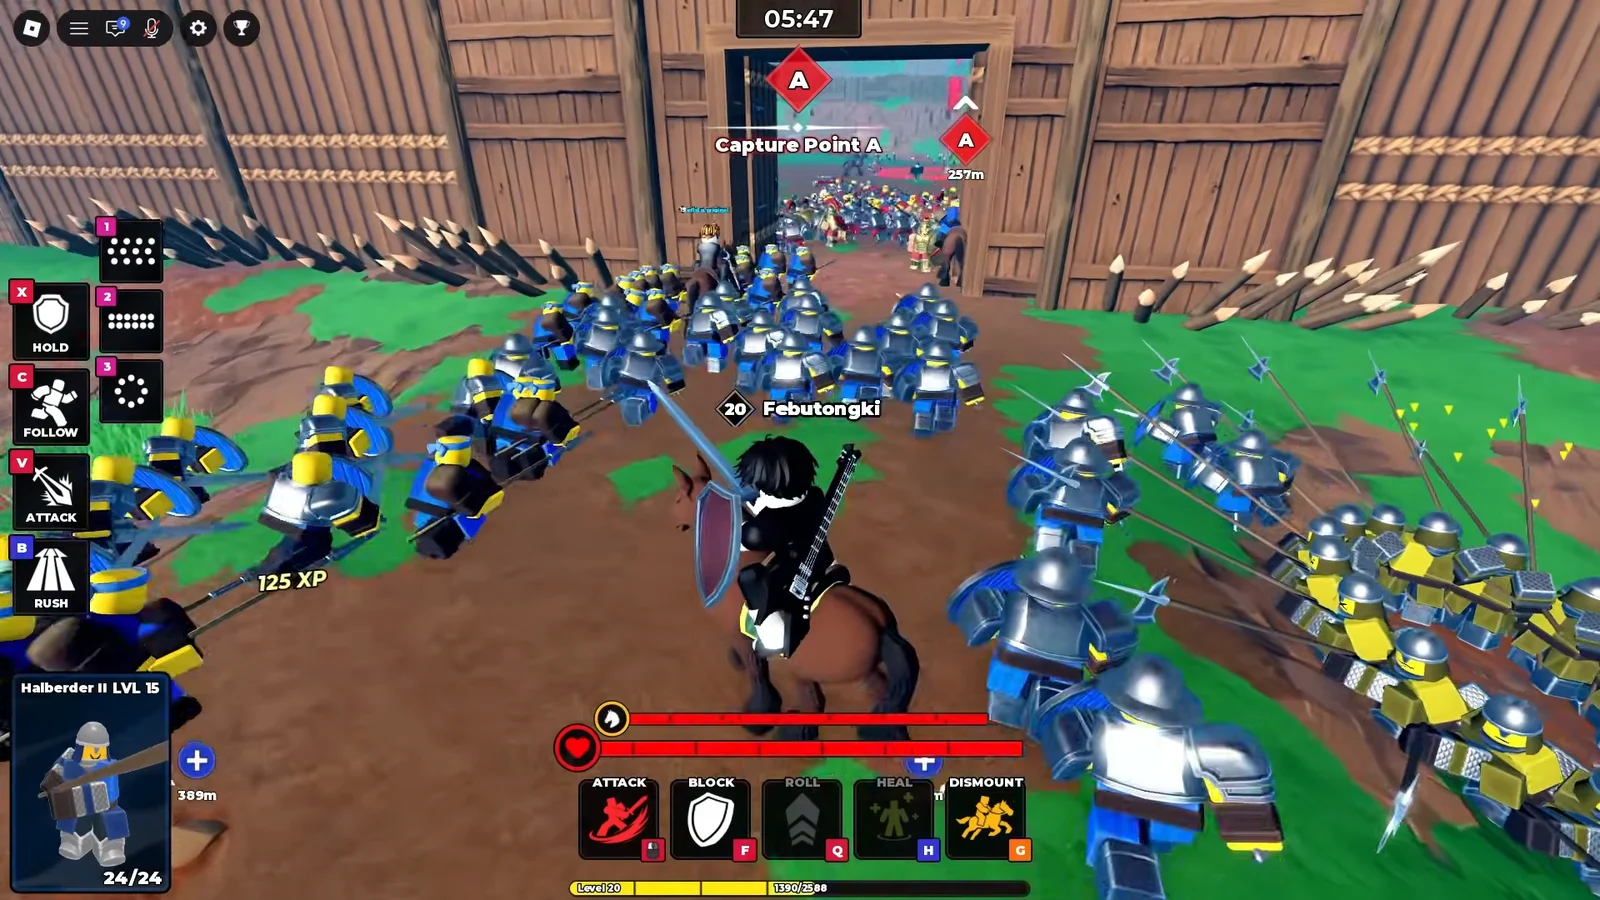
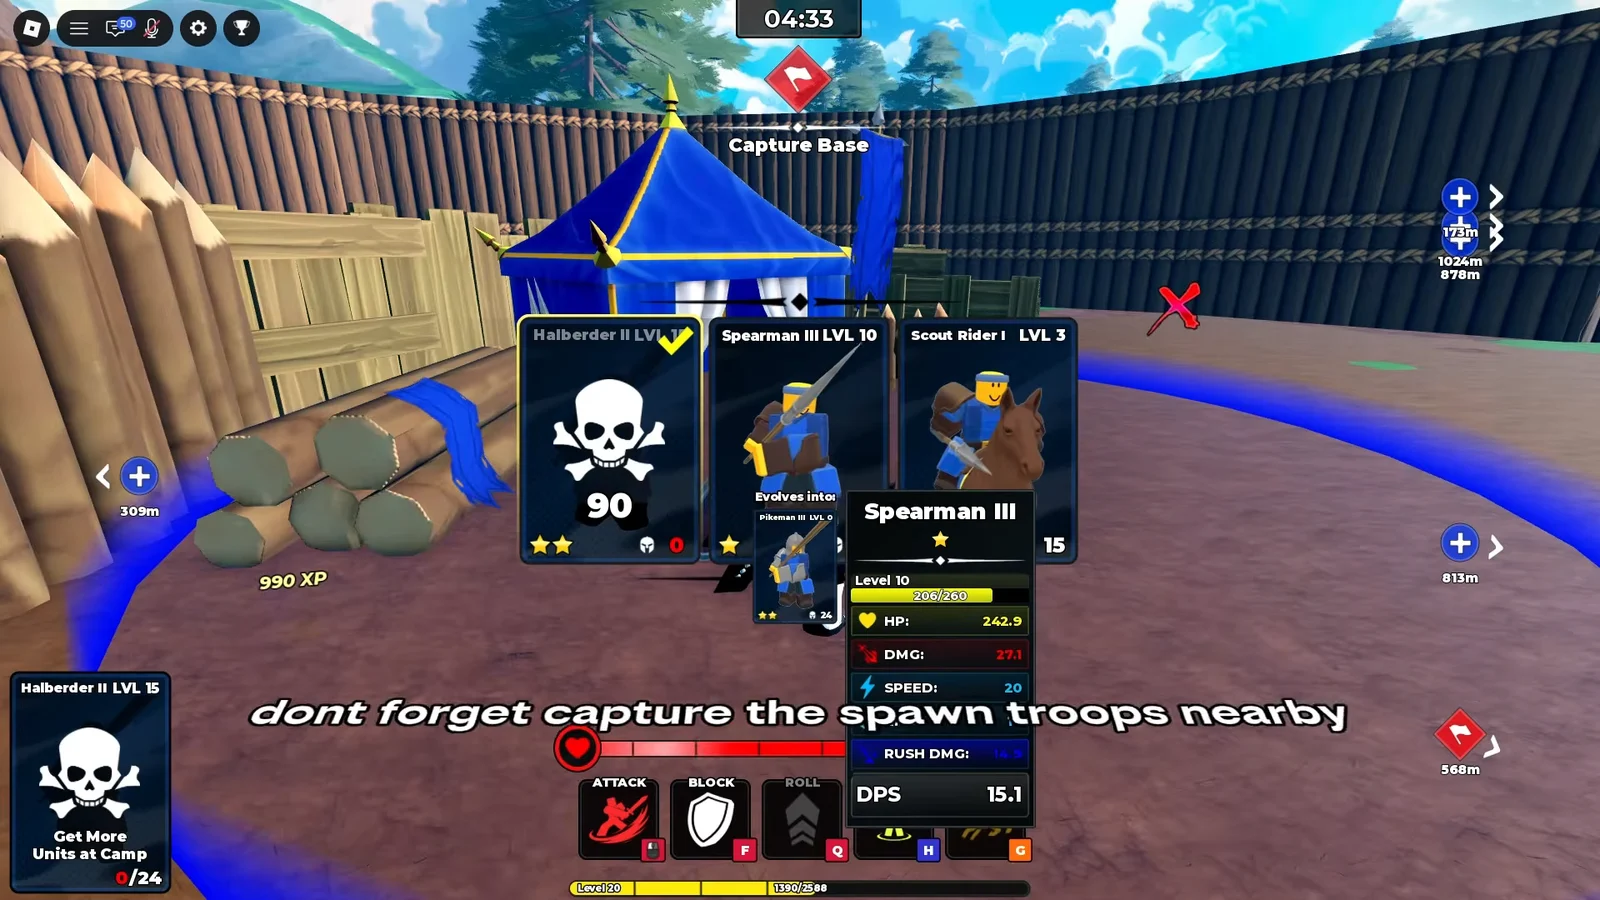
This routine works with starter troops, so you do not need a rare pull to run it. Pick the ATTACKER role and bring a spear unit such as Spearman III. Spears have a long hitbox, which lets you land hits on enemy players from a step further back than most weapons. The four commands you need are Hold on X, Follow on C, Attack on V, and Rush on B.
How to confirm the capture and the payout
Once you are standing inside the base capture zone, the progress bar keeps filling as long as you stay in it, no matter how many enemy NPCs are milling around you. It only stalls if an enemy player is contesting the zone, so clear players first and then simply hold your ground. When the bar completes, the VICTORY screen appears, followed by the scoreboard.
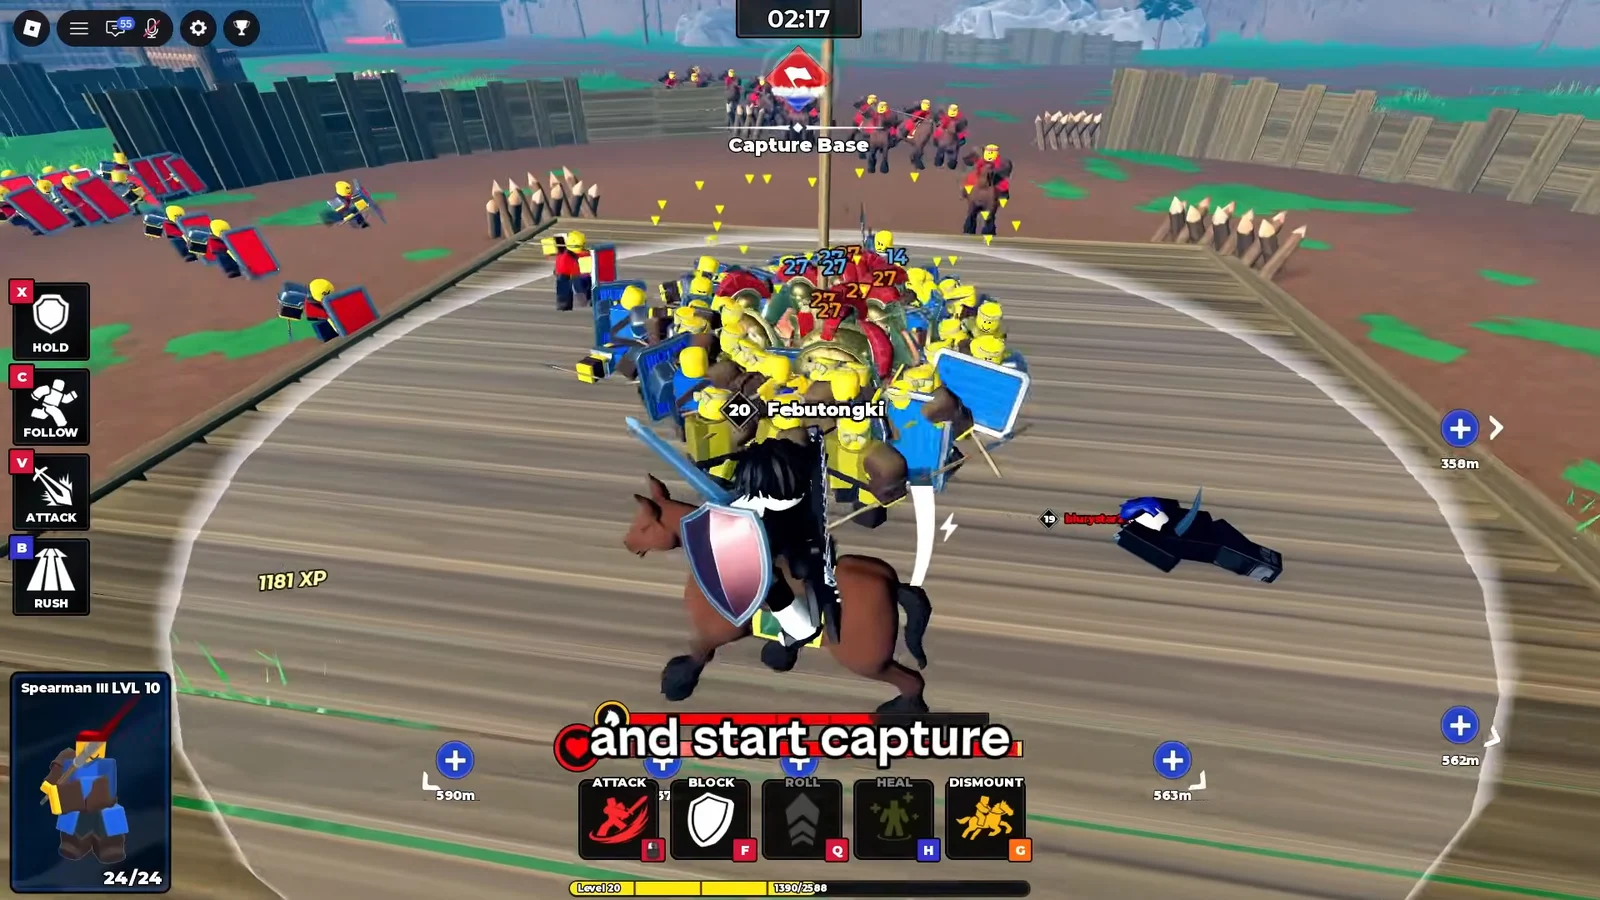
A round played this way can end with MVP and a reward around 300 gems. Treat that as an example of a strong performance rather than a fixed rate, since payouts move with score and result.
Do not waste the gems you just earned
A Standard Banner pull uses 50 gems, while ten summons use 500, so saving for a multi-pull gives no discount. Switching your commander class requires another 50 gems; spend them only when you truly want another playstyle, not just to experiment.
Deleting duplicate units for a small gem refund is usually a loss. Two identical copies combine into an Ascension tier, and units that reach level 20 unlock evolution, which is how an ordinary Archer eventually becomes a Flame Archer.
The routine that keeps gems flowing is boring on purpose. Spend the codes once, tick off the daily and weekly quests before you queue, and then play every match for the objective rather than the kill feed. Keep a small reserve instead of pulling down to zero, and summon to fix a gap in your roster rather than because a banner changed.