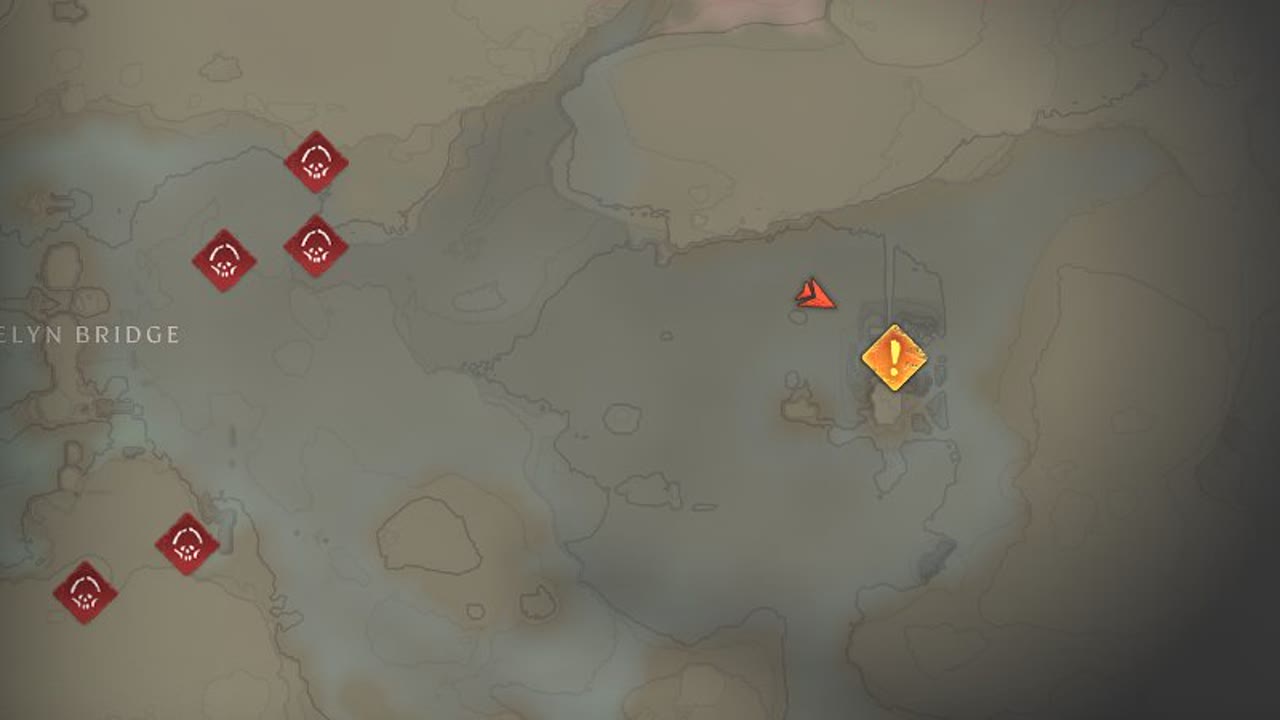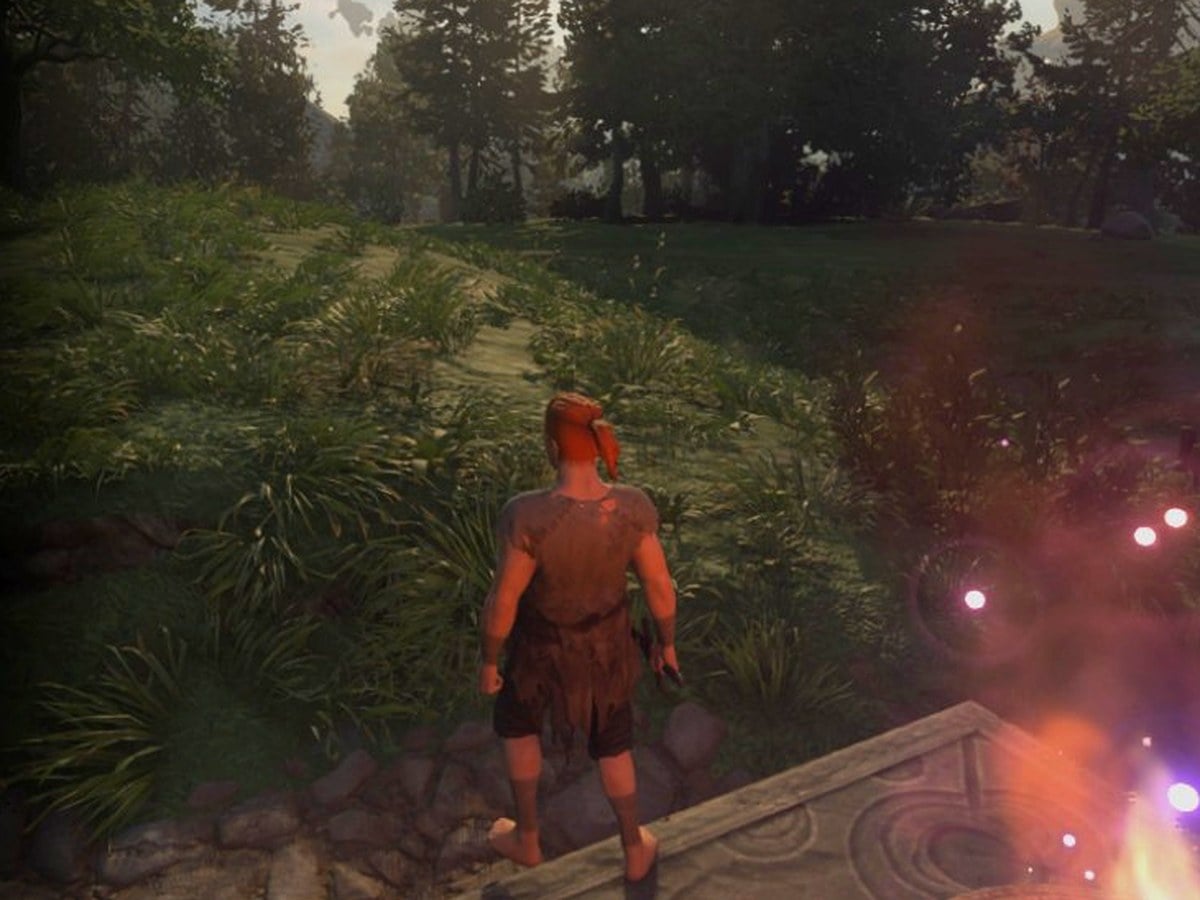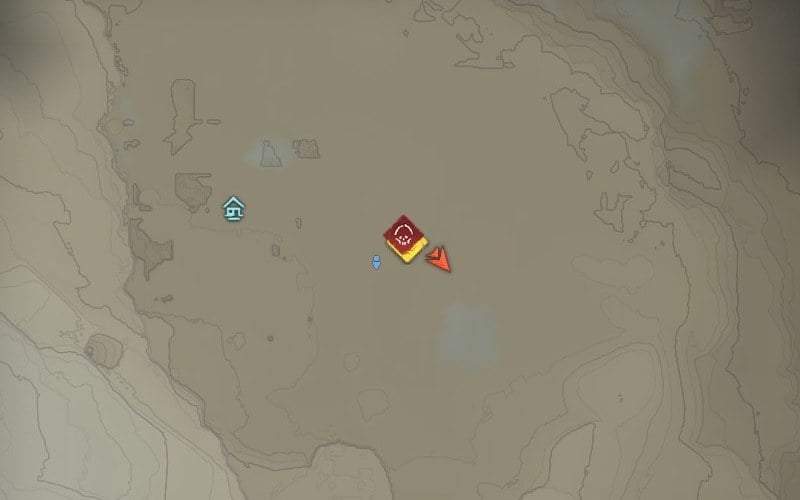
The Central Checkpoint is the only way out of Downtown Manhattan and into the rest of the city, and it is dead because Baker, the FBC maintenance worker assigned to it, walked off the job. During Welcome to Manhattan, Dylan has to hand-carry electricity through the block, waking up five Power Core Stations in a fixed order before the checkpoint gates will open.
Quick answer: Melee the sparking orange Power Core across from Baker’s workbench, then strike each of the five cores in the order shown on the servicing diagram. You get roughly 20 seconds per leg before the charge snaps back.
How the charge carry timer works
Hitting a live Power Core with a melee attack pulls its electricity into the Aberrant, Dylan’s shapeshifting weapon. The countdown starts the instant you take it, and you have about 20 seconds to reach the next core in the chain and hit it.
Leaving the charge inside a core freezes the timer. It remains stored without a time limit, making each core a checkpoint where you can pause to explore, defeat enemies, or collect loot. Should the countdown expire, the charge reappears at the most recently powered core, costing only that section of progress.
Clear the Hiss out of a stretch before you run the charge through it. Getting dragged into a fight mid-run is the most common way a leg fails.
Find the maintenance worker and read the servicing diagram
Begin in Downtown 2 with the Find the Maintenance Worker objective active. From the rooftops, descend and follow the marker southeast to the sealed entrance beyond the Central Checkpoint. Clear the Hiss in the plaza before proceeding, focusing on the larger targets to finish the battle sooner.
After securing the plaza, go to the workbench beside the gate. The Note From Baker says the worker left his post, while the Power Core Servicing Diagram lying beside it shows a hand-drawn block map with all five cores numbered by sequence. That sketch provides the complete solution.
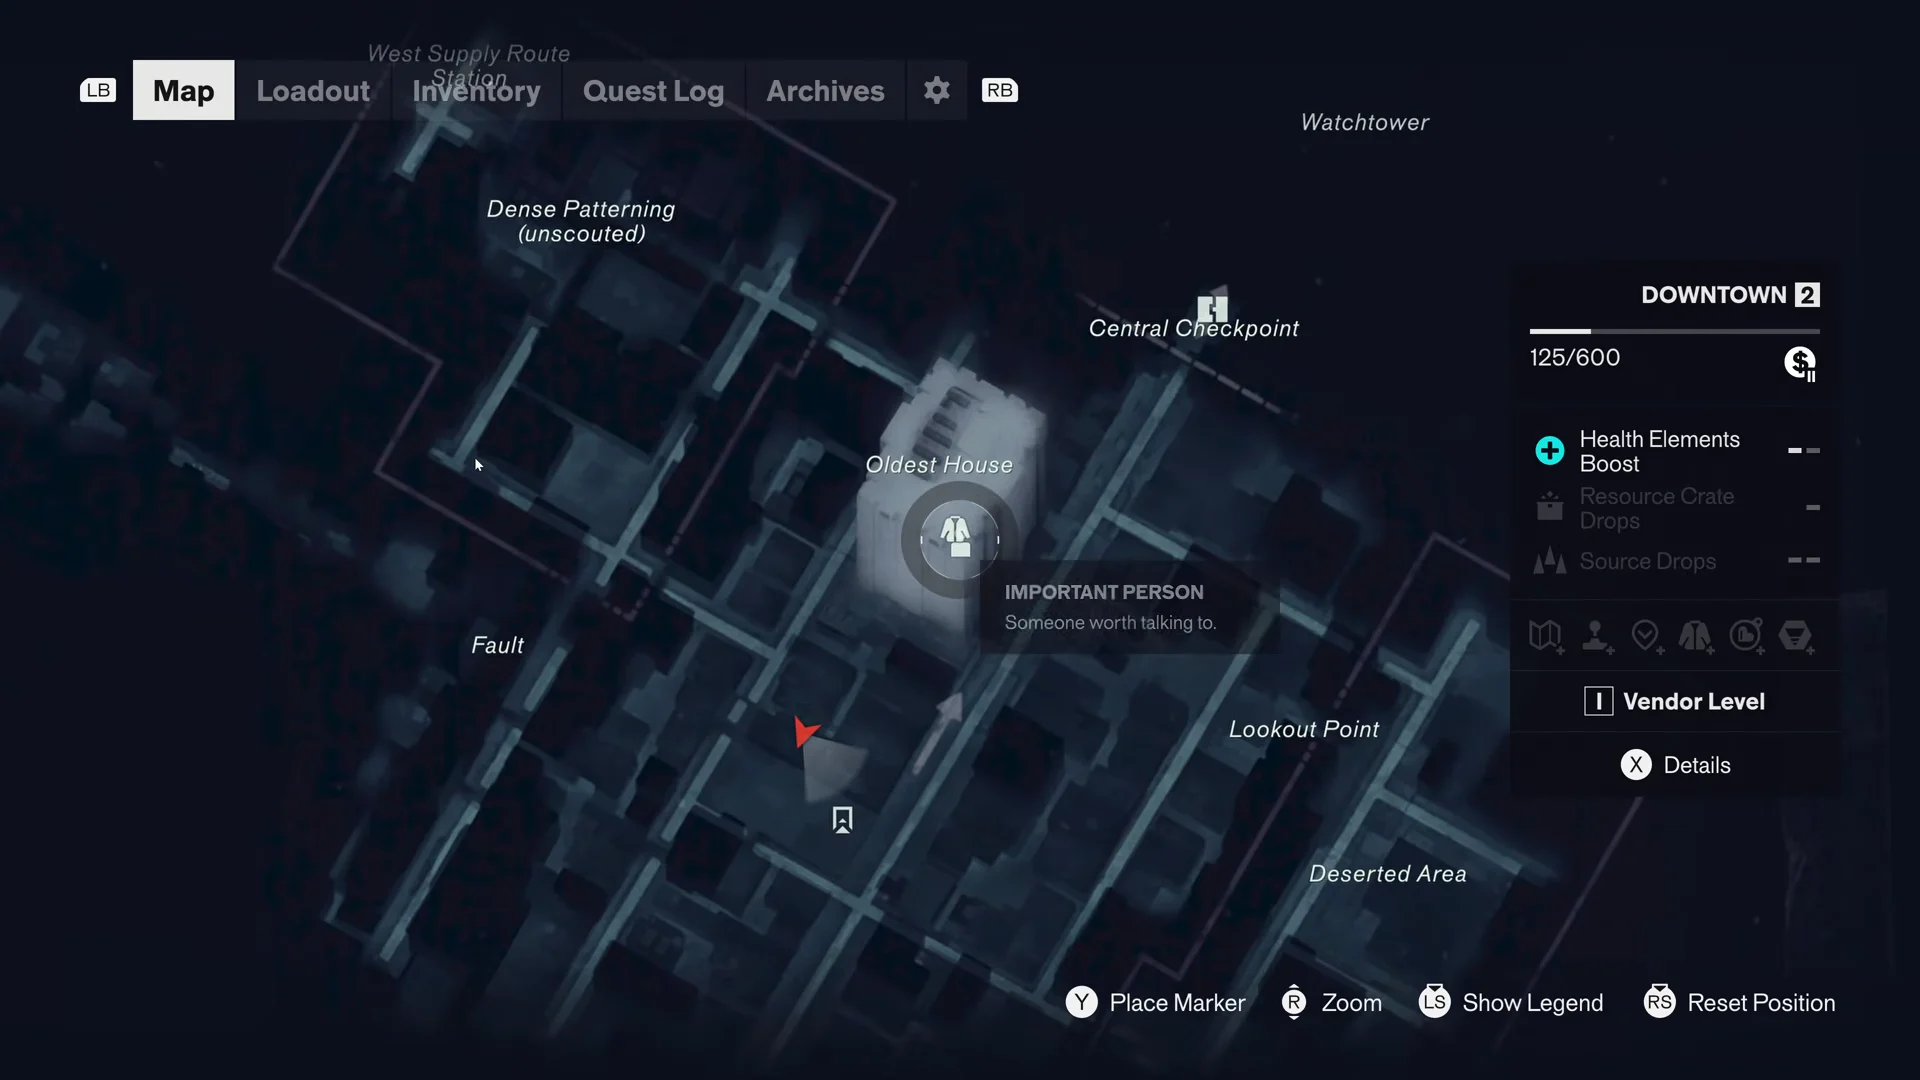
If you activated the Mapping Pylon sensors earlier in the mission, the Downtown layout is already filled in on your map, which makes reading the alleys and rooftop routes on the fly far easier.
All five Power Core Station locations in order
| Stop | Where the core sits | Route note |
|---|---|---|
| 1 | Street outside the checkpoint | Leaning on the central pillar |
| 2 | Loading dock courtyard | Down the ramp off the alley |
| 3 | Rooftop north of the alley | Up the green awnings |
| 4 | FBC outpost compound | Yellow-taped platform by the rangers |
| 5 | Central Checkpoint gates | End of the main road |
Running the charge to the Central Checkpoint
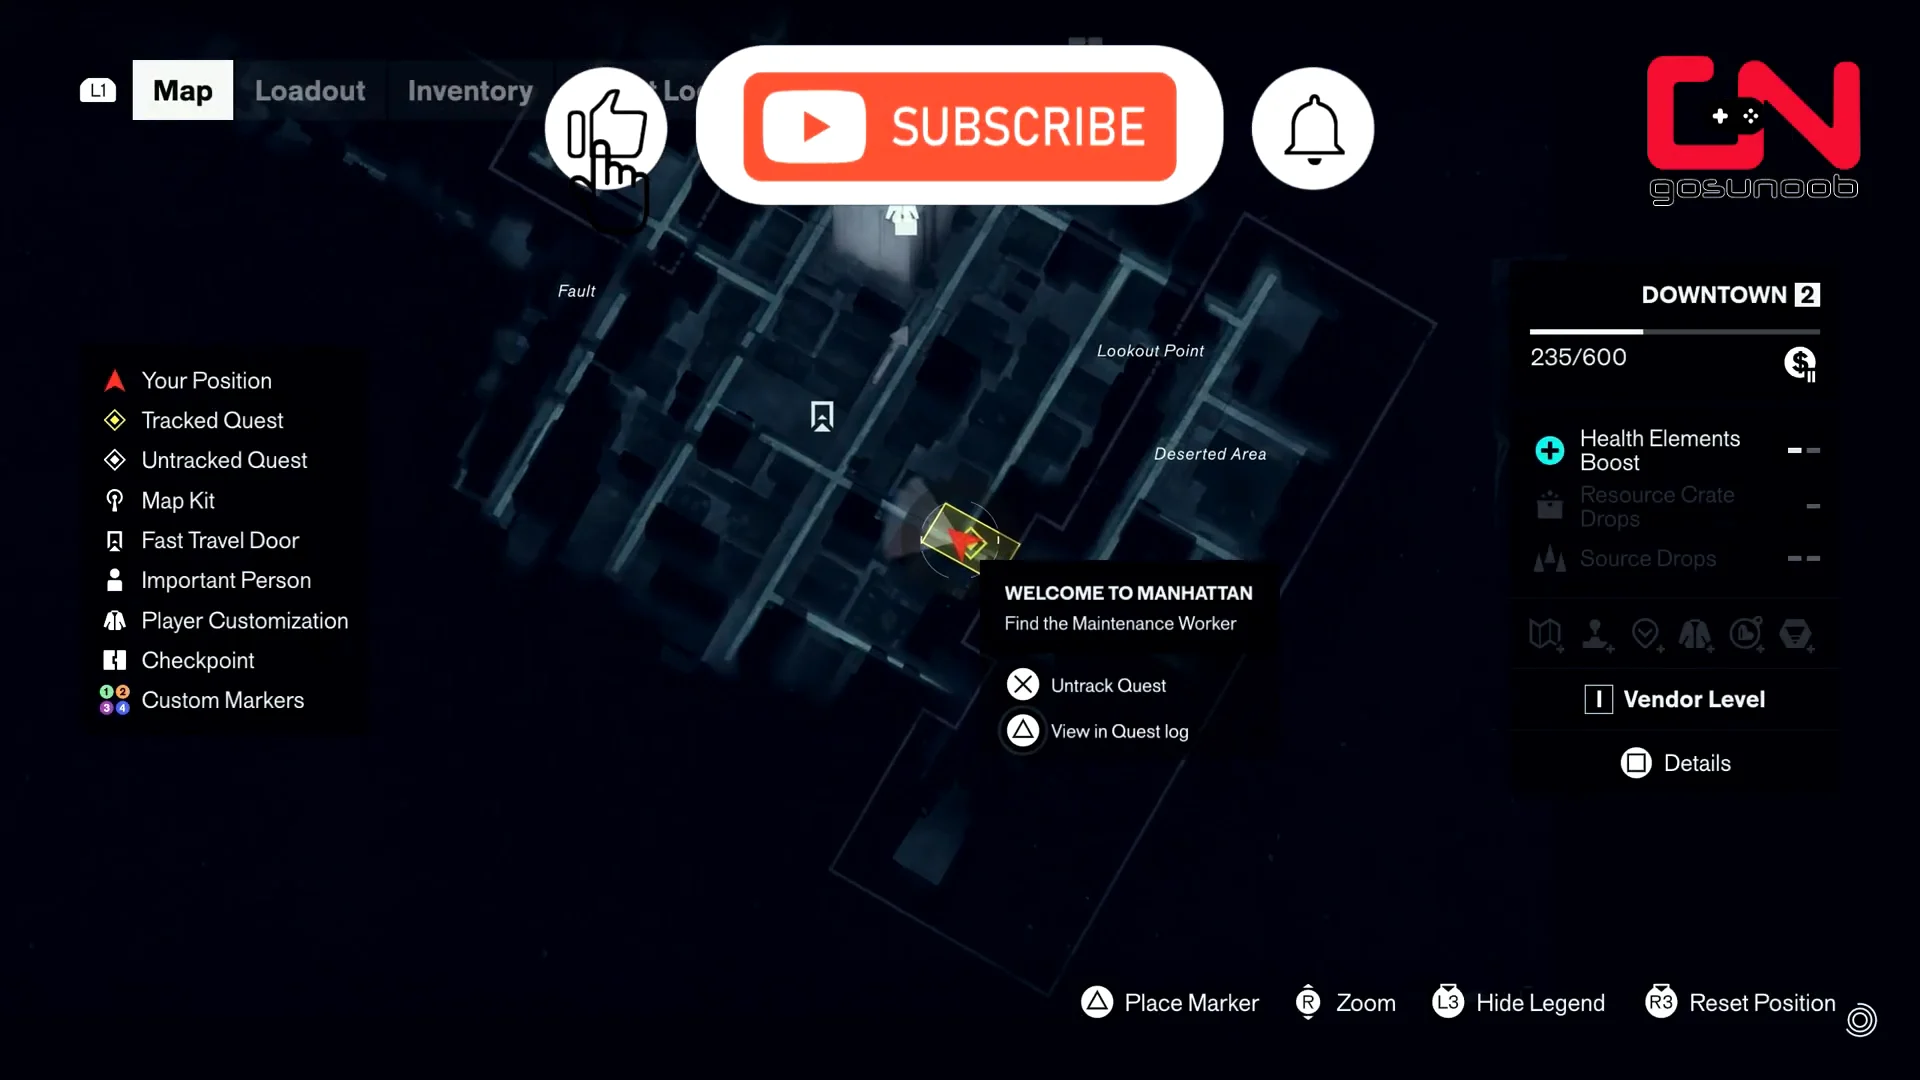
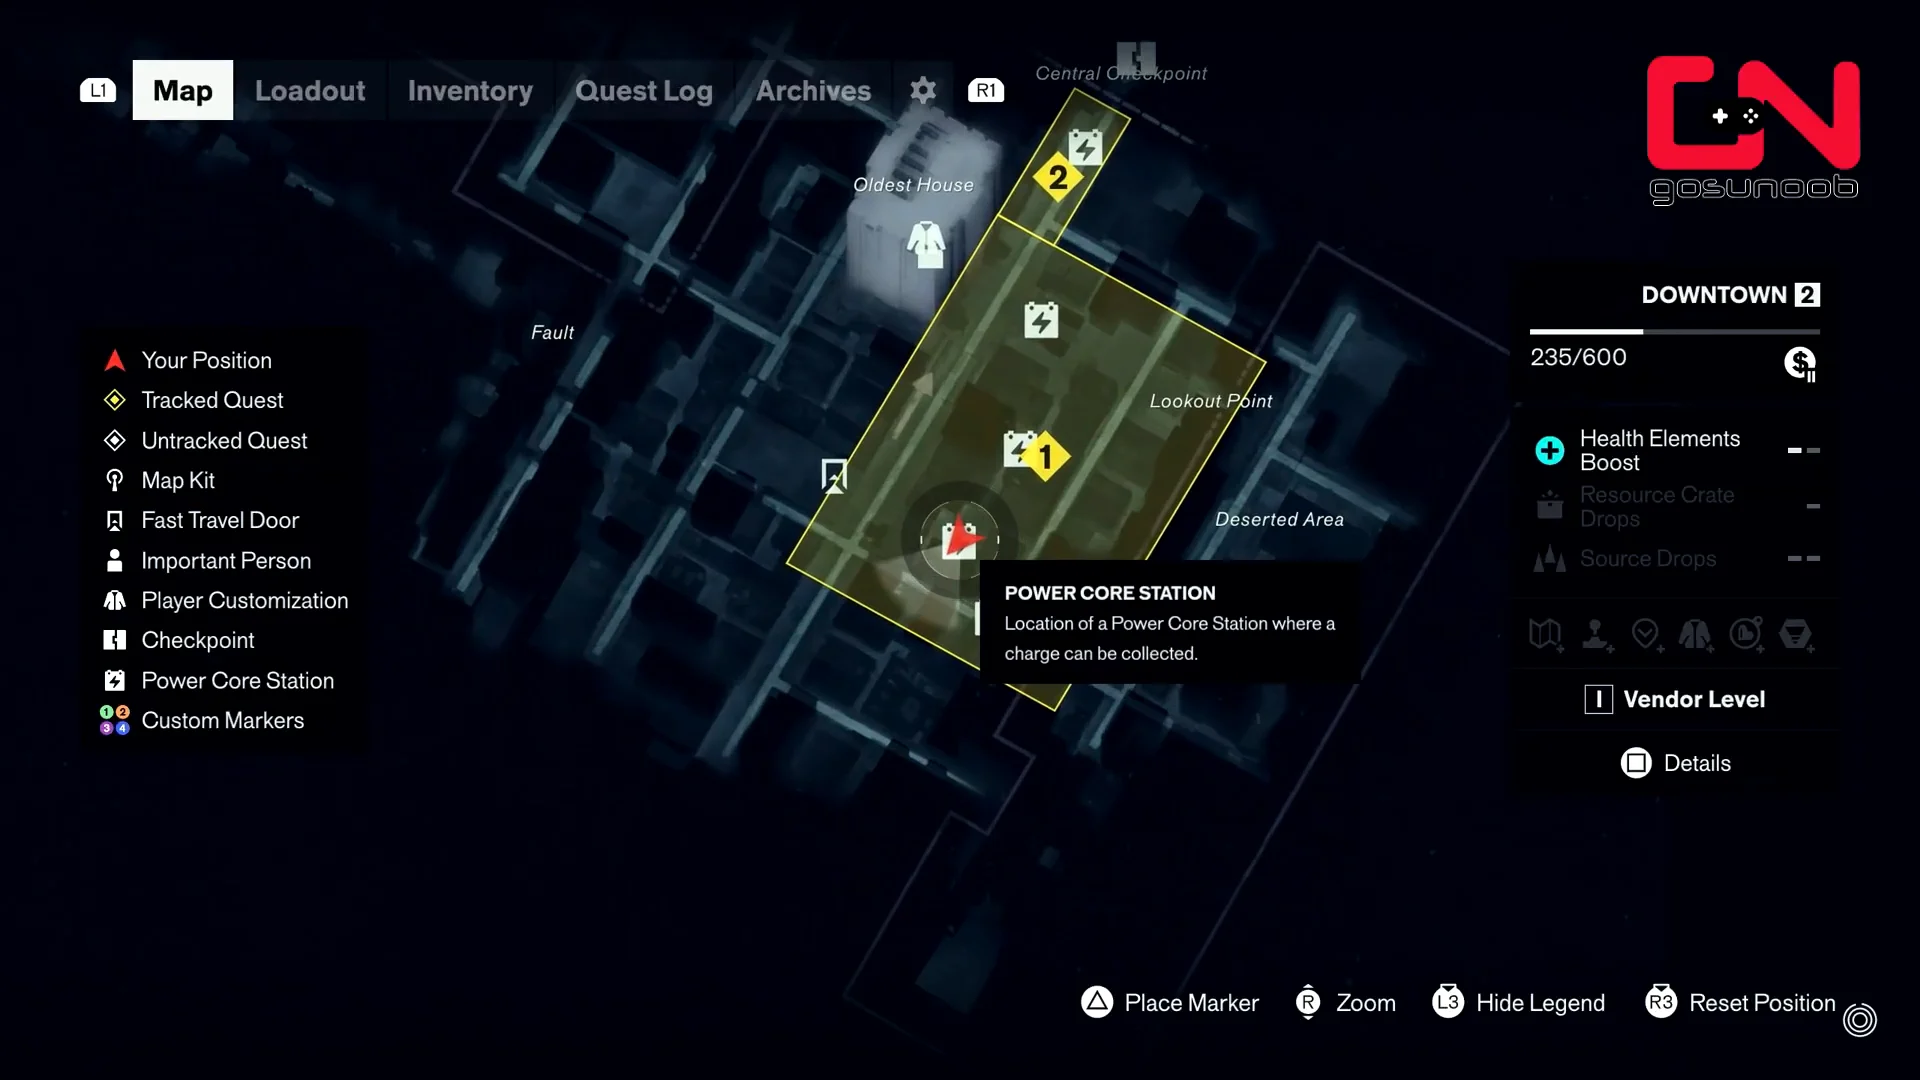
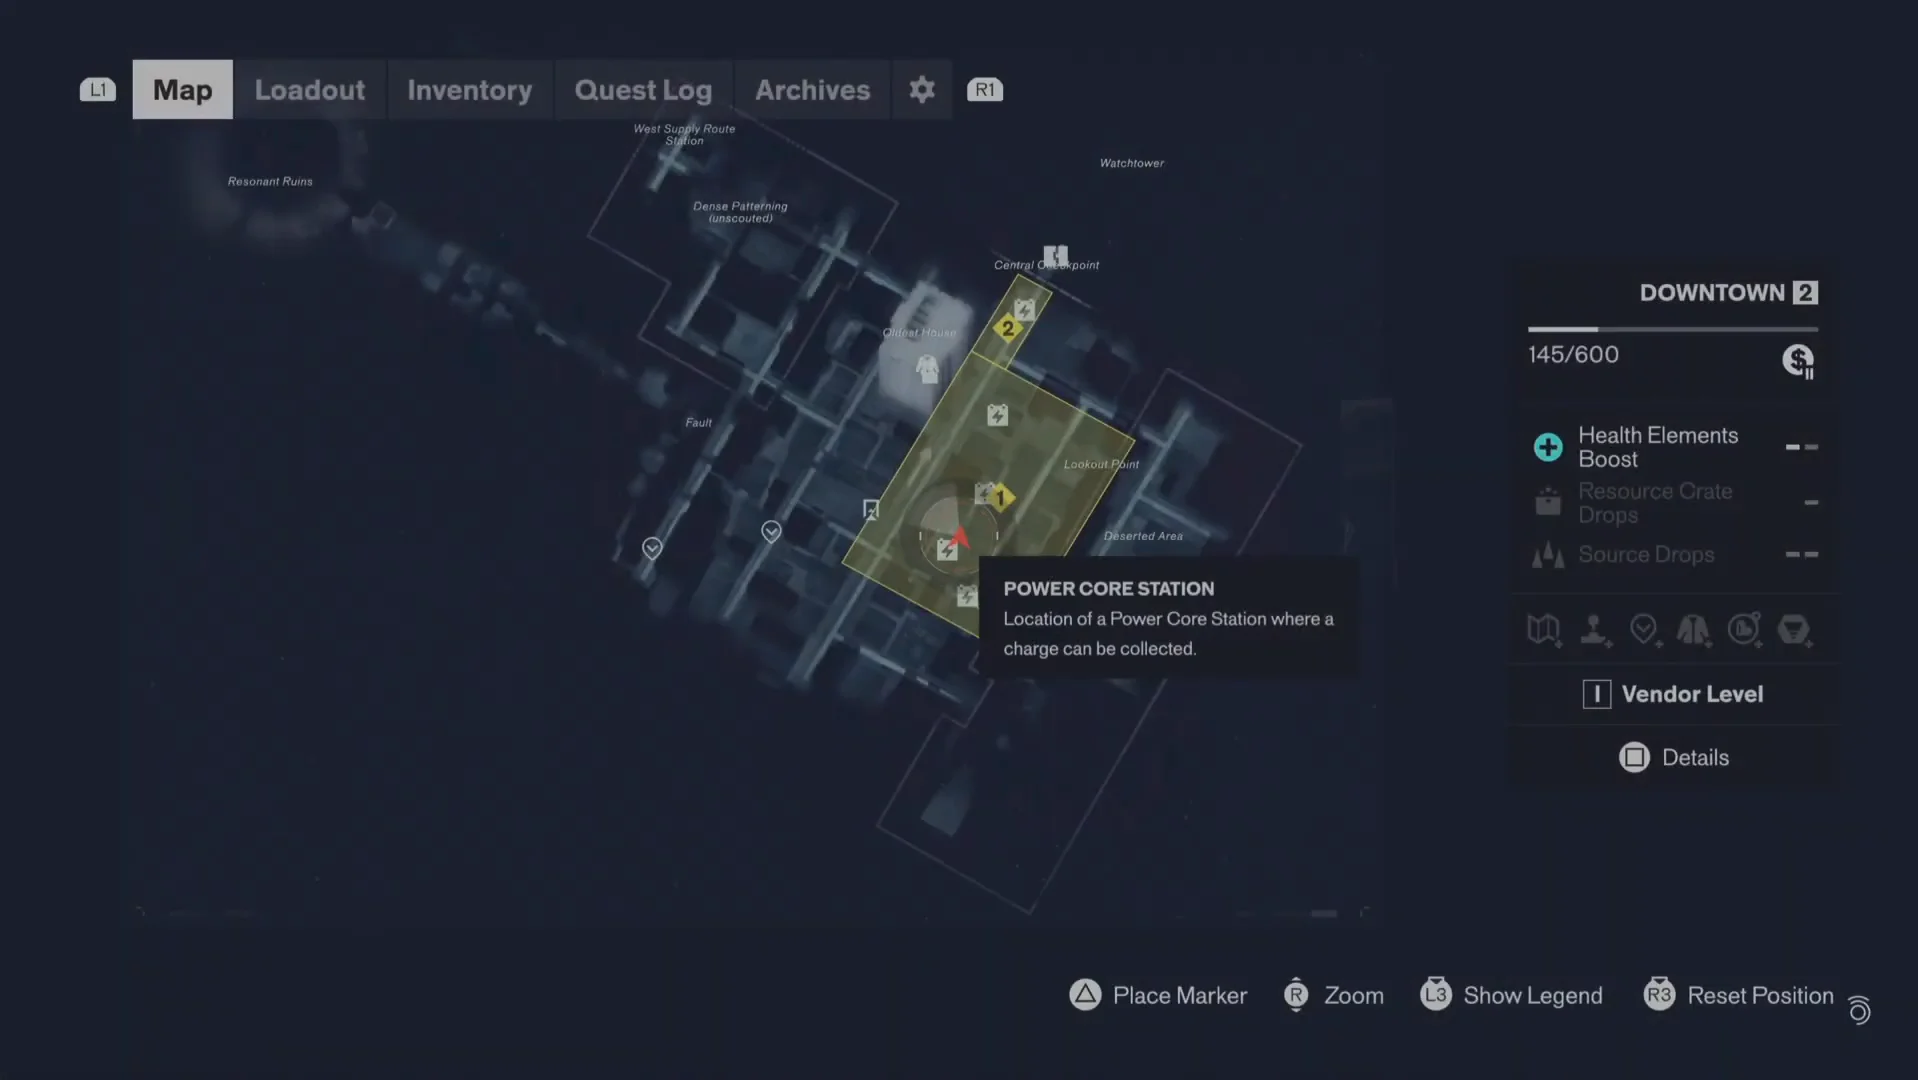
Powering that final core immediately triggers a long Hiss ambush. Top your health up before you start the last run.
One optional detour sits along the rooftop stretch. Standing on the hanging elevator platform gives you a prompt to Report Watchtower, which opens a short radio exchange with Zoe about where she is holed up.
Loot to pick up while the charge is parked
Because a charge sitting in a core never expires, the gaps between legs are free time to sweep the block. Four things are worth the detour here.
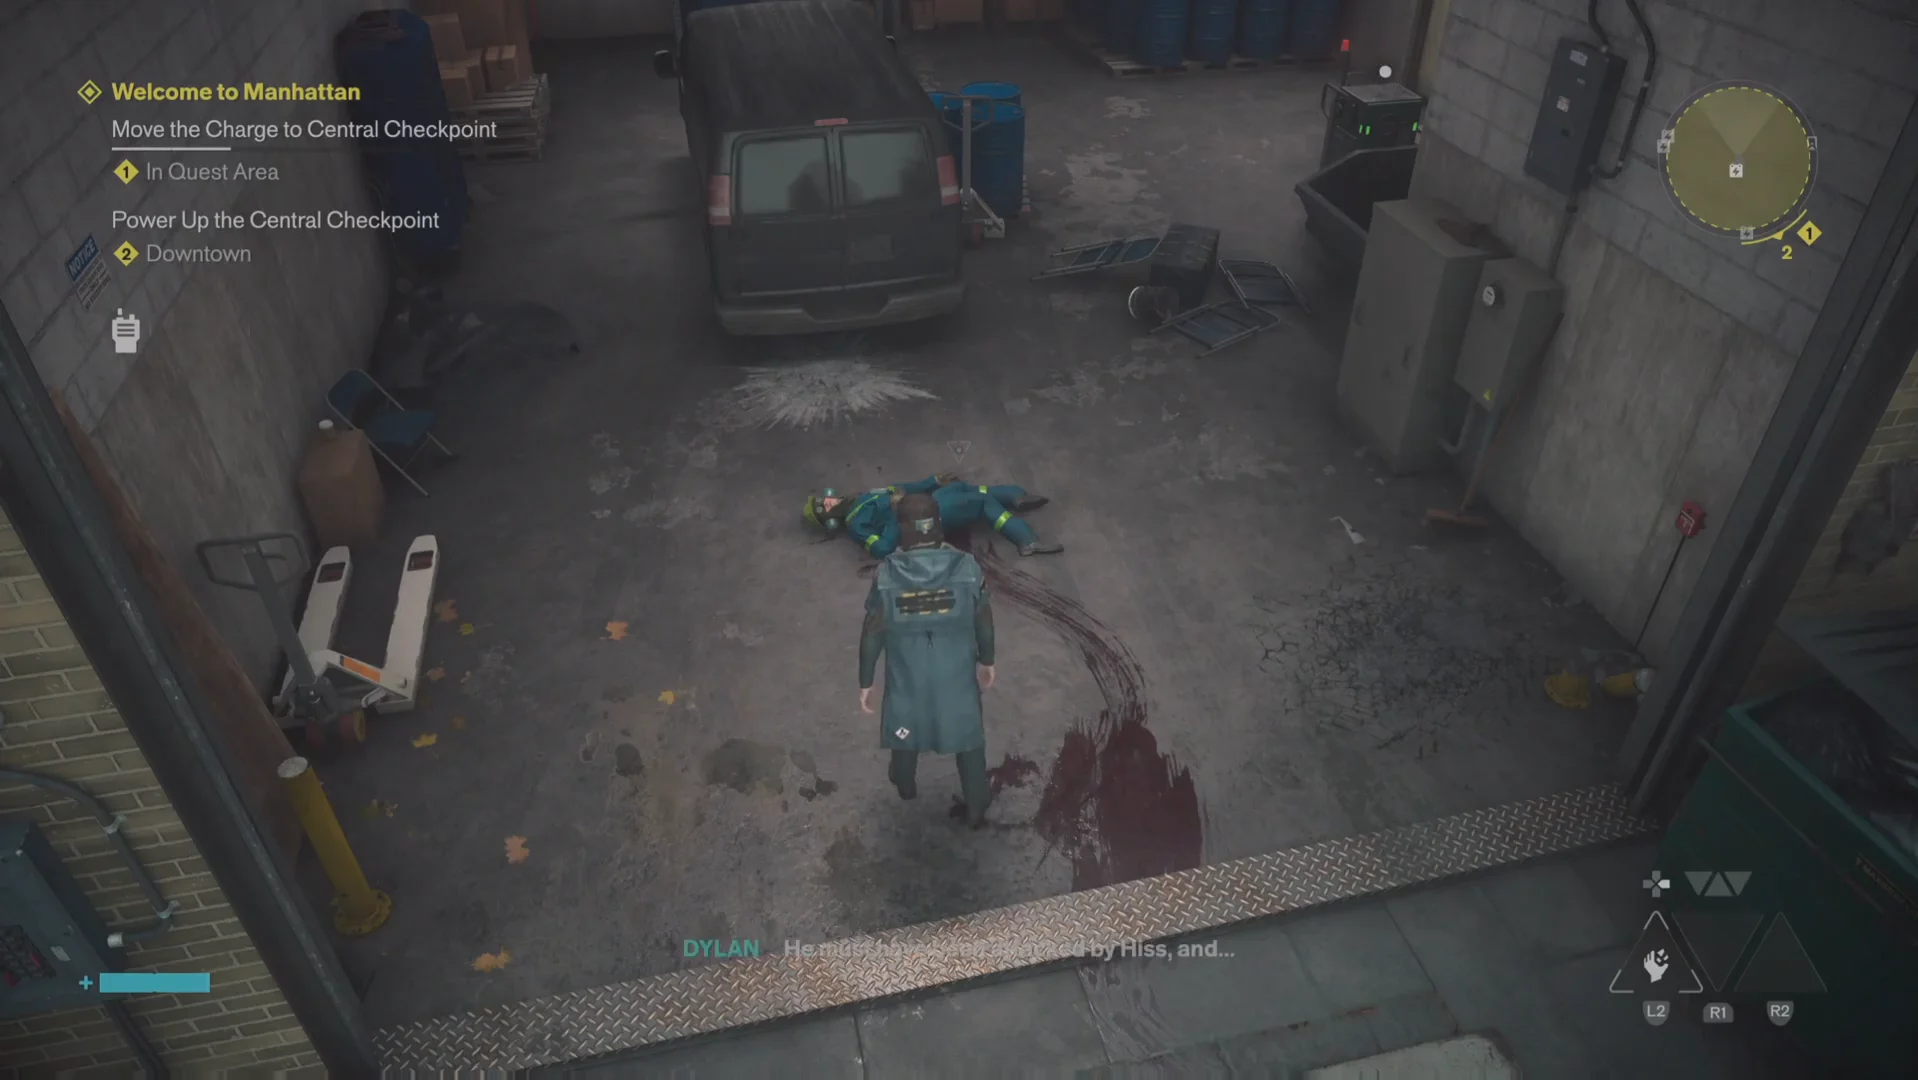
- Baker’s body, inside the garage that opens beside the loading dock core.
- A chest of upgrade materials in that same garage, plus a nearby locker holding an Aberrant item.
- The Power Core Complaint file, on the air conditioner next to the rooftop core.
- A Note From Baker and the Power Core Servicing Diagram at the workbench, if you skipped past them.
Walking up to the corpse triggers a radio exchange in which Dylan tells Zoe he thinks he is looking at Baker, and she tells him it is not his fault. It also closes out the missing worker objective.
Surviving the three Hiss waves at the gates
Three groups spawn outside the gates once power is restored, and it is a punishing fight this early. Target priority matters much more than raw damage here.
| Enemy | Threat | Counter |
|---|---|---|
| Hiss Collider | Slow, heavy melee | Kill first, dodge through swings |
| Hiss Focused | Continuous energy beam | Break line of sight on the slabs |
| Hiss Elevated | Ranged attacks from above | Keep moving, never stand still |
Take out both Hiss Colliders before anything else. The basic grunts respawn endlessly while either heavy is alive. Their attacks telegraph slowly but hit hard, so roll through them instead of trading blows.
The two Hiss Focused arrive after and lock an unbroken beam onto you. Use the wide concrete slabs on both sides of the road to cut their line of sight and split them up so you are never caught between two beams.
Against tougher enemies, use your Secondary Aberrant to build the Falter meter. Once it reaches full, an Execution restores health and provides a brief damage boost. Carrying out Executions consecutively, moving from one enemy to the next, preserves that boost and makes a grinding fight go quickly.
Confirming the Central Checkpoint is powered
The result is confirmed when both control panels at the checkpoint turn green and the quest log changes to Meet Zoe at the Watchtower. On the Downtown map, the Central Checkpoint will also appear as an active location.
With the Hiss cleared, interact with either the left or right panel to bring the hydraulic platform down, then ride it up into Zone Access. Follow the Central Checkpoint Watchtower signs through the offices and corridors, call the elevator, drop through the shaft, and head toward the blaring music to find Zoe. That conversation continues Welcome to Manhattan through the supply route and the Level 1 security keycard.