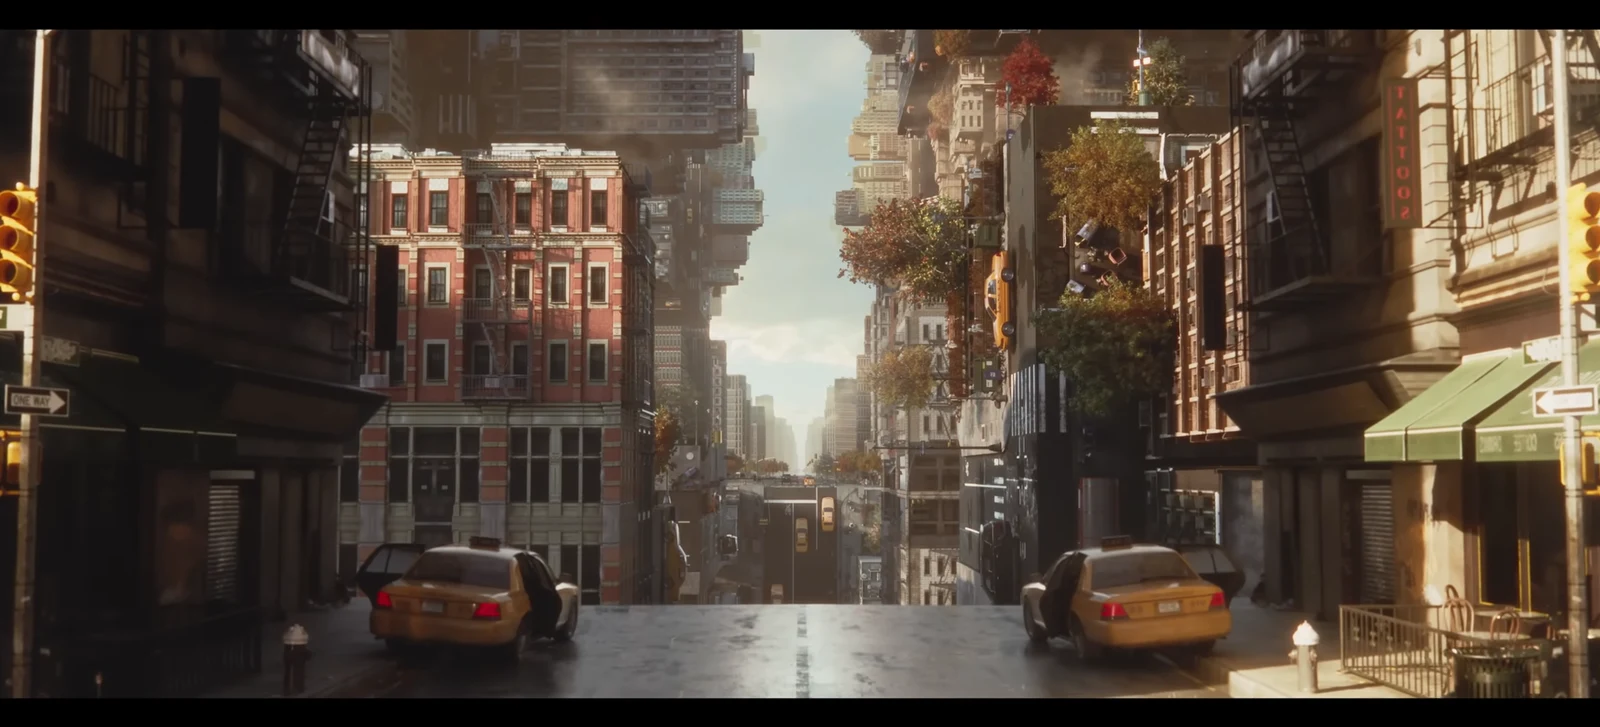
The Last Taxi is a side story in Control Resonant that sends Dylan hunting for supernatural cabs scattered across Manhattan. Each one drops him into a fogged-out pocket dimension called a Threshold, where a trapped civilian named Mila is waiting on the other end of a payphone. To bring her home, you have to find seven taxis and solve the light, sound, or shadow puzzle tied to each.
Quick answer: Find and enter all seven taxis across the map, answer Mila’s phone in each Threshold, then clear three rounds per puzzle by entering the taxi that stands out. Finishing the seventh puzzle ends the quest.
How each taxi Threshold works
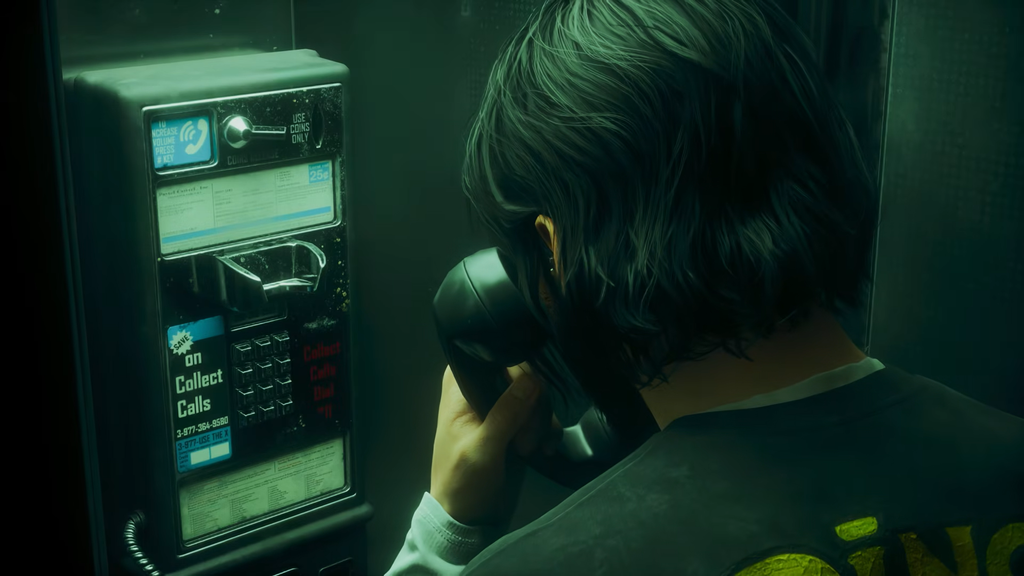
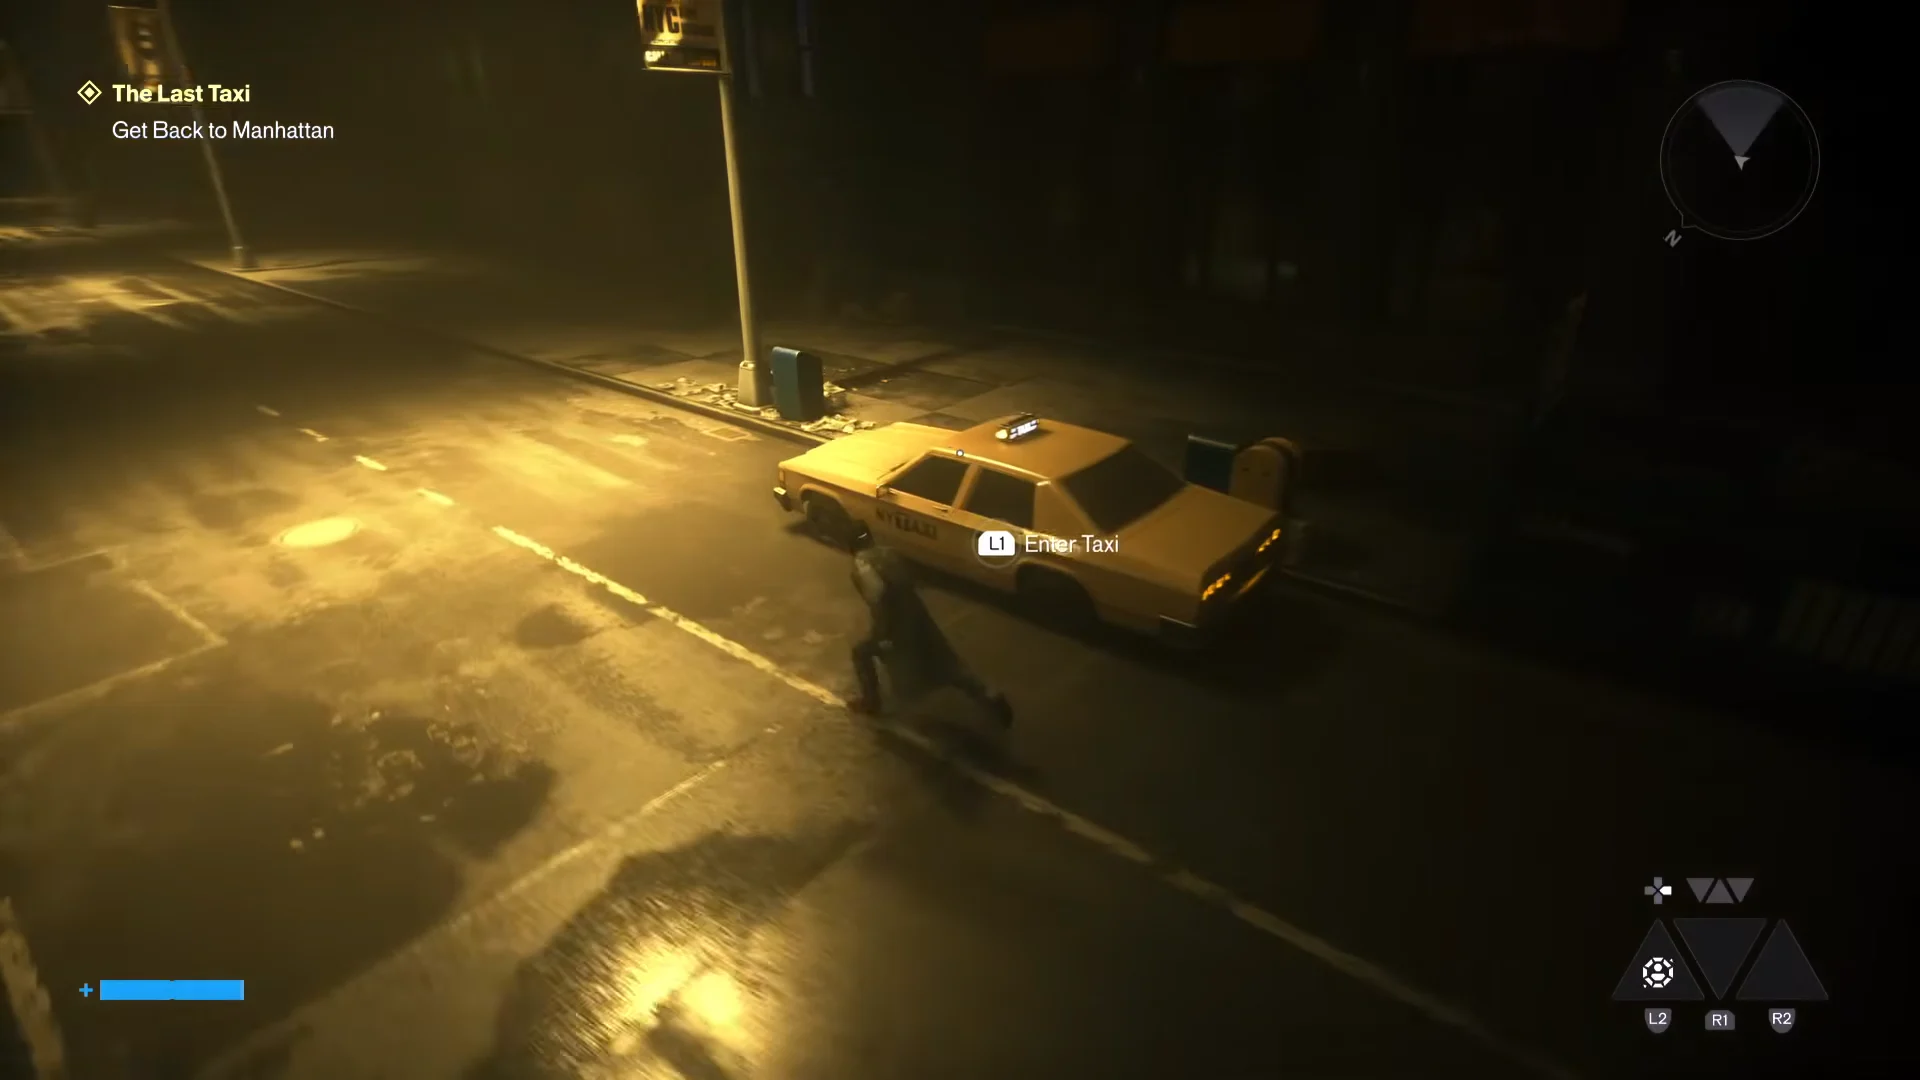
Every taxi in the overworld works the same way. Interact with the open door, choose to get in, and Dylan is pulled into a dark, empty version of the city.
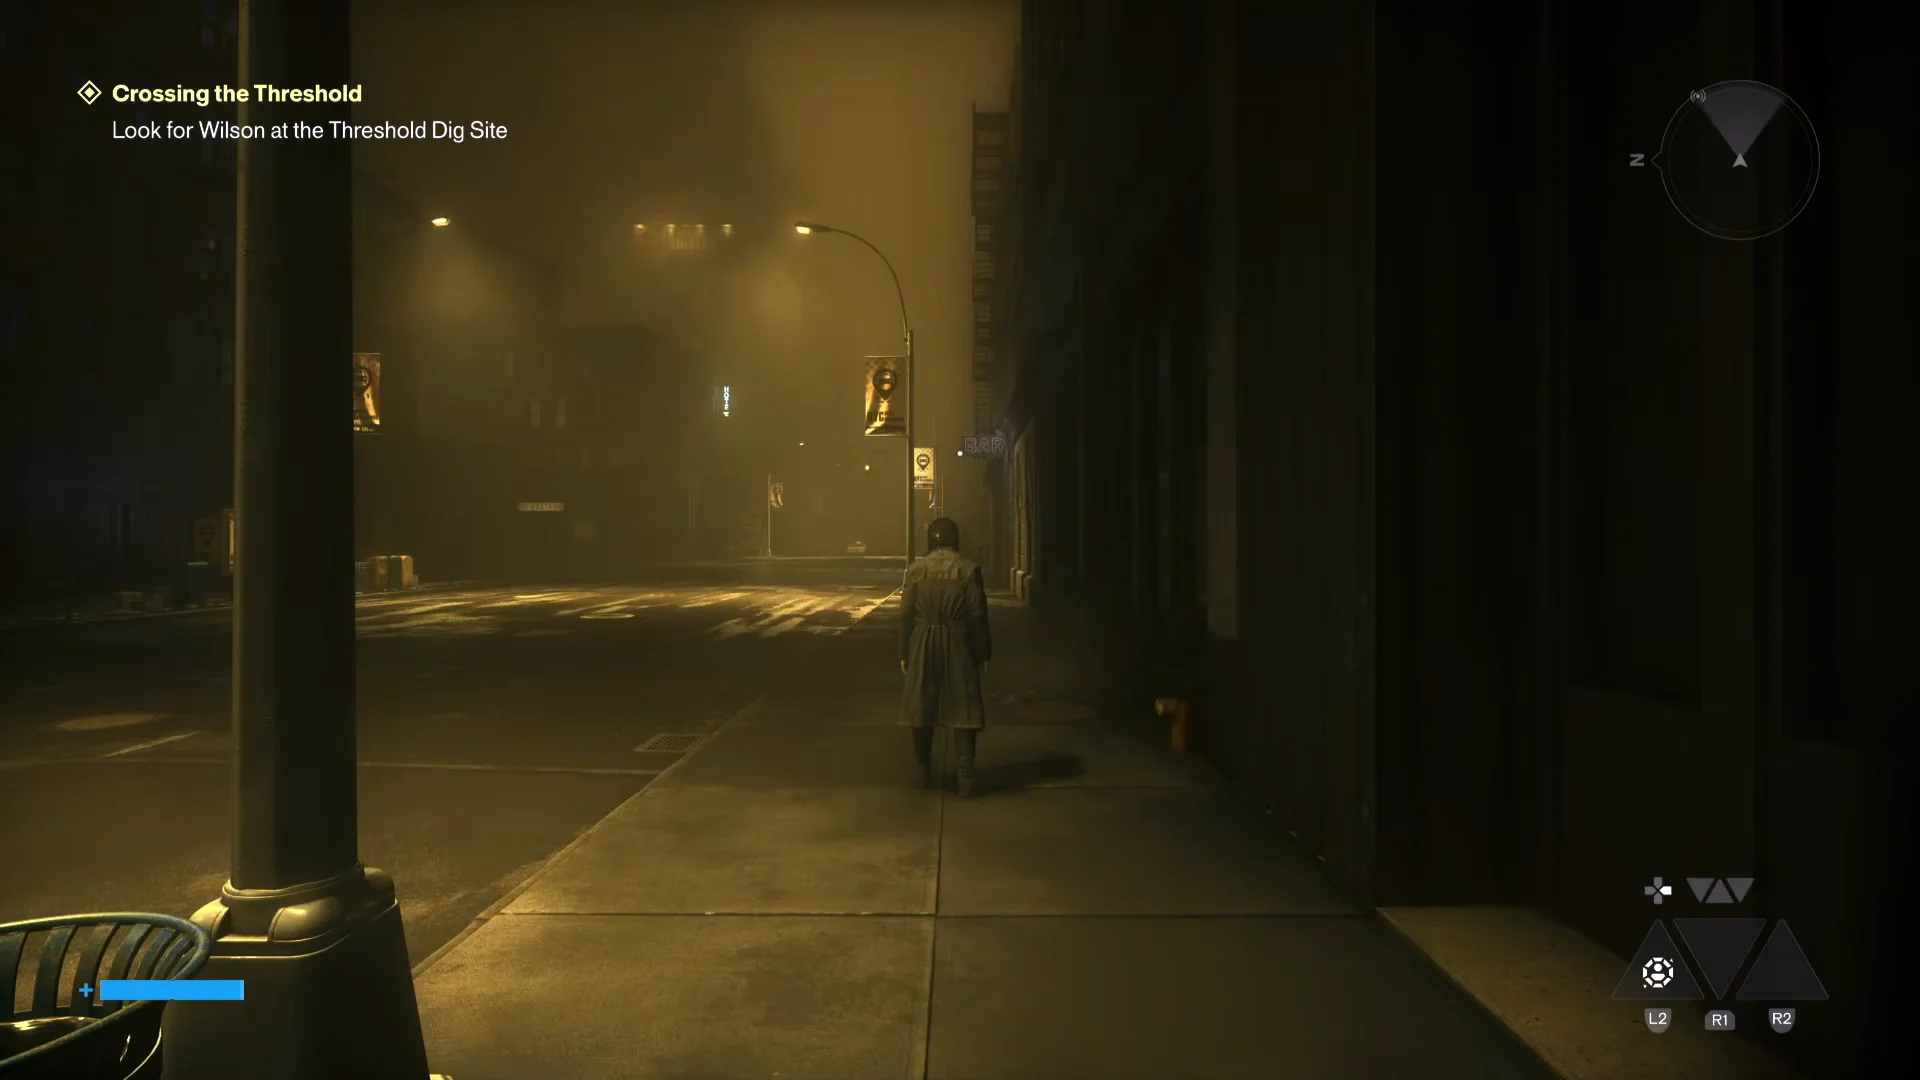
Head into the alley off the main road and follow the ringing sound to a payphone. Answering it starts the conversation with Mila and unlocks the puzzle. You do this every single time you enter a Threshold.
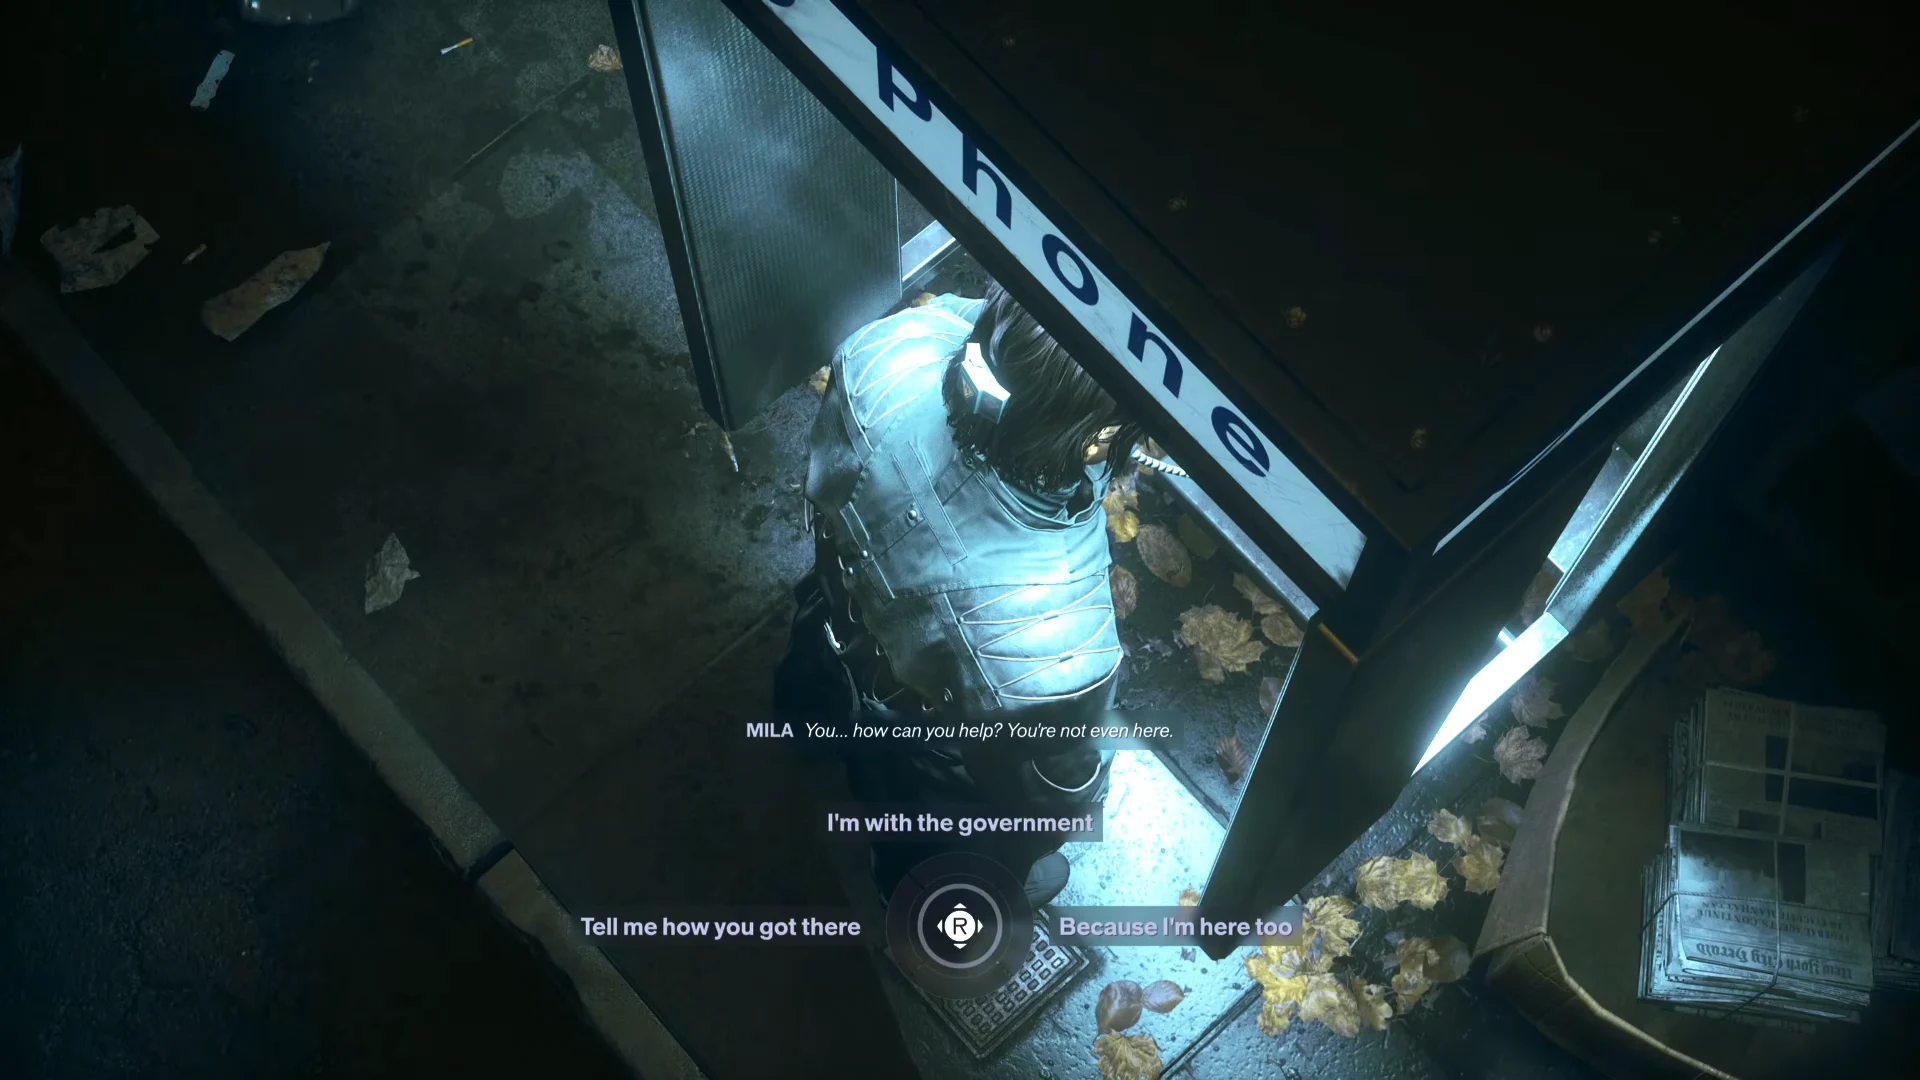
The objective now reads “Get the Caller Back to Manhattan,” and The Last Taxi is listed in your Quest Log under Side Stories. Across the next three rounds, select the right cab from the group.
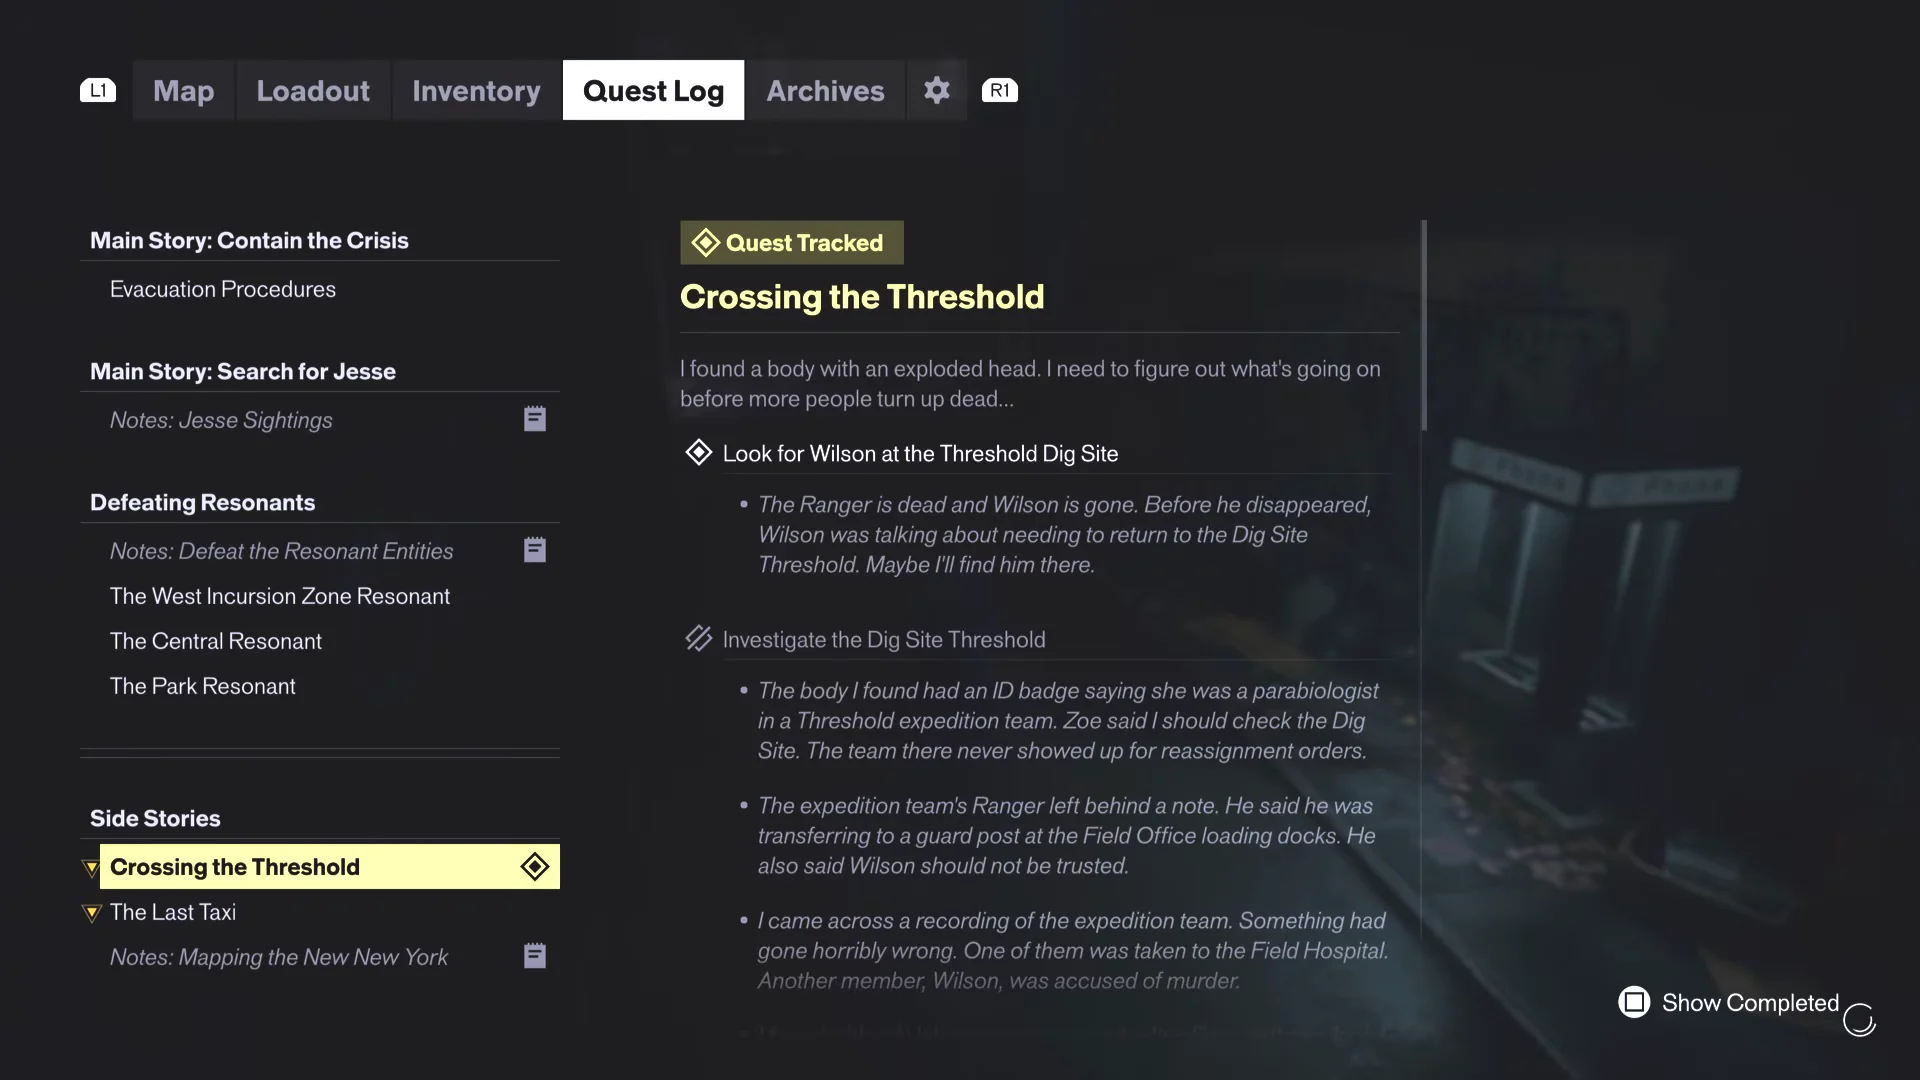
Return to the main street and enter the right taxi for that round. Pick correctly and you get a short cutscene of a traffic light turning green, then Dylan moves a little further down the road for the next set. Enter a wrong cab and you simply stay put, so there is no penalty for guessing.
You can find the seven taxis in any order, and the specific puzzle you get at a taxi can shift between playthroughs. The location of a puzzle may change, but the way you solve each puzzle type stays the same.
All seven taxi locations in Control Resonant
There are seven taxis spread across Manhattan. Cabs honk their horns and flash their lights, so listen out if one is hard to spot. Some sit in areas you can only reach after unlocking traversal abilities or progressing certain missions.
| Zone | Where to find it |
|---|---|
| The Park | Top floor of the central parking garage; climb the mold wall to the roof, then drop through the gap |
| West Incursion Zone | Vertical car park at Empire Avenue Station, near the red “EMPIRE” text; needs Shift/Gravity |
| Evacuation Zone | End of a Hiss Spike alley west of the Evac Building, past the lasers |
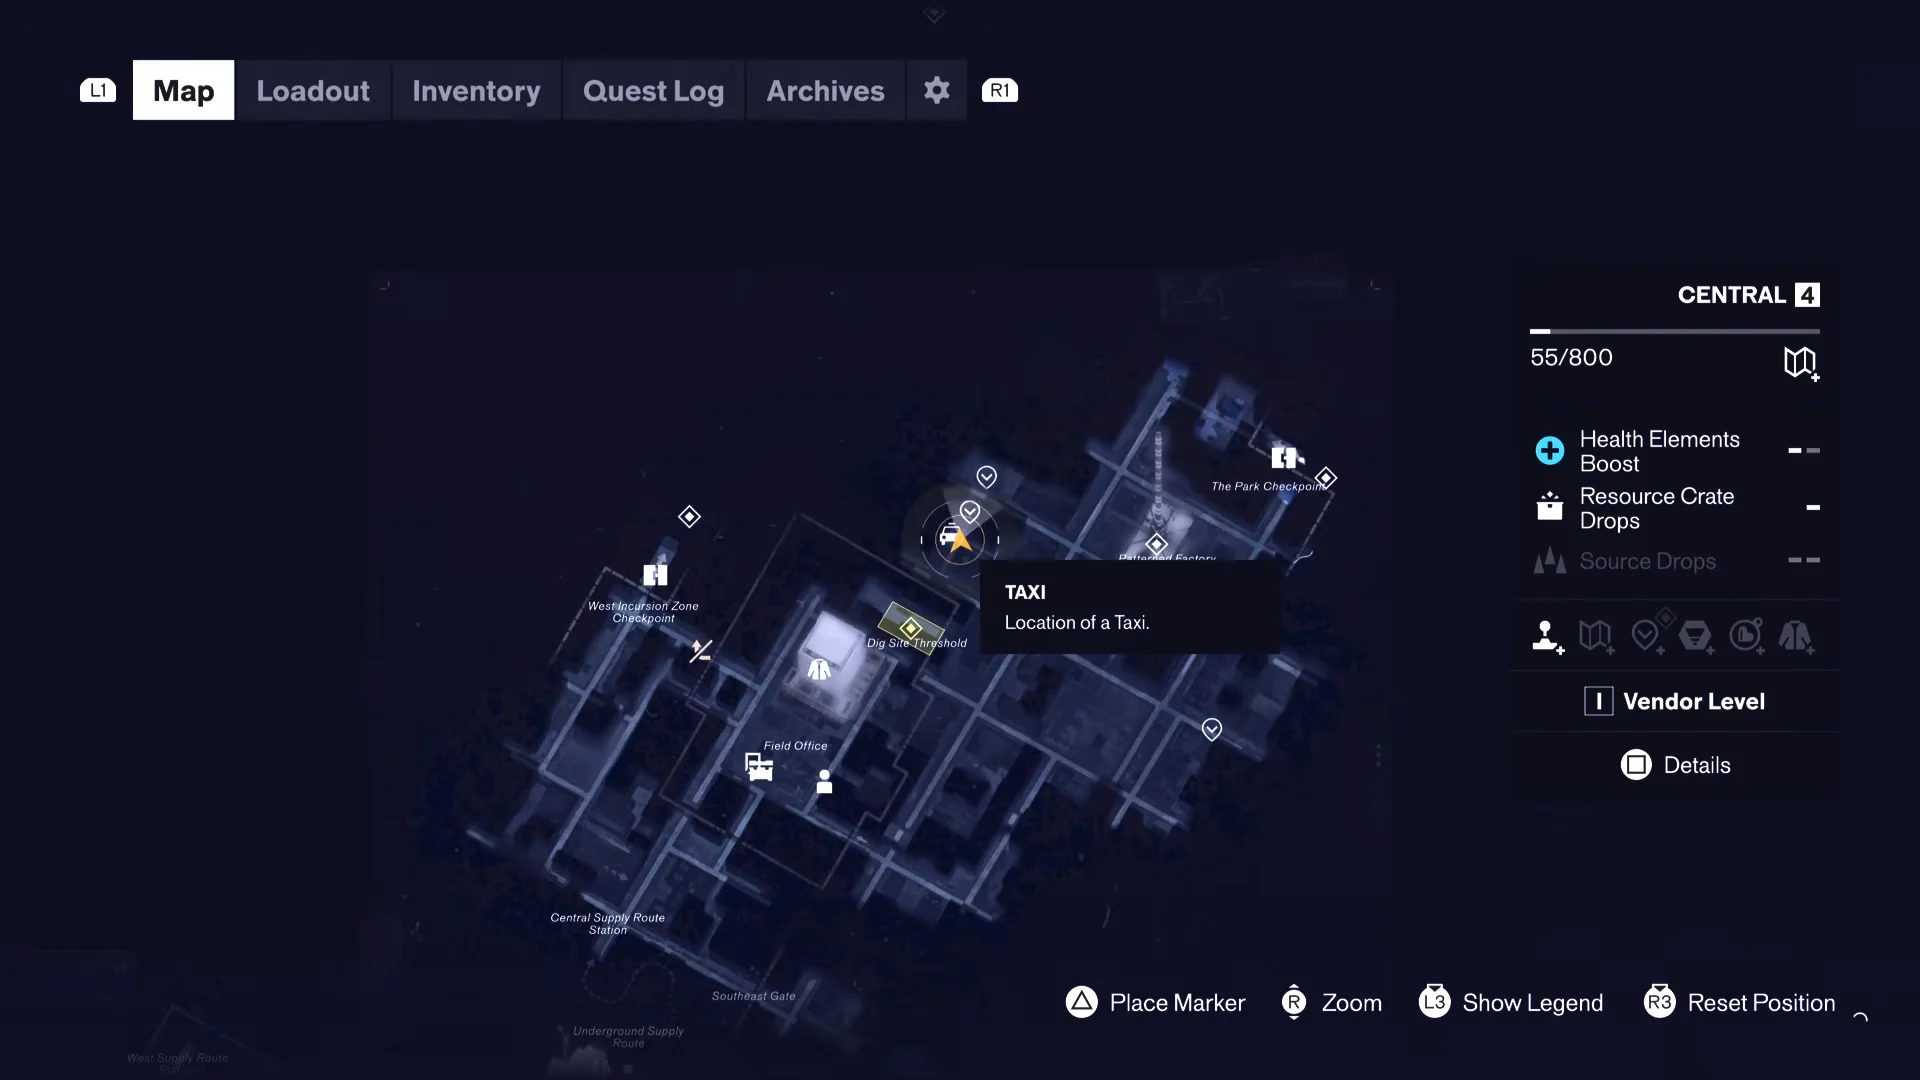
| Central | Alley northeast of the Field Office, close to the Patterned Factory |
| Downtown | In a traffic jam in the northeastern Deserted Area |
| Underpass | On a ledge past the cable car in the Deeper Underpass |
| Unknown | Southern island with the Evac Building; requires Pope’s Research progress |
The Central cab is one of the easiest to reach. It sits in an alley near a chest, past the Patterned Factory, and its marker often logs itself while you work through nearby missions.
For the Underpass cab, you can reach it during the Recursions and Iterations mission right after crossing the chasm by cable car. It is safe to solve then, since it only drops you a short distance away from where you started.
Every Last Taxi puzzle solution
Below are the three rounds for each puzzle type, grouped by the zone where the cab is commonly found. In every case, answer the payphone first, then enter the taxi described for each round.
The Park: Repair the taxis
This is the only assembly puzzle. Instead of picking a cab, you clear mold and reattach the correct parts, then get in. A distinct click confirms all parts are in place.
- Round 1: Break the mold clumps around the cab, attach the hood and the trunk cover, then enter.
- Round 2: Pick up the yellow hood (not the blue one) and two wheels from the road, attach them, then enter.
- Round 3: Destroy the three smaller mold growths first, then the mold covering the cab. Attach the yellow hood, roof sign, yellow front side panel, and rear bumper. Ignore the police lights and the light-yellow hood.
West Incursion Zone: Streetlights
Watch the streetlights above each cab rather than the cabs themselves.
- Round 1: Enter the taxi under the flashing streetlight.
- Round 2: Take the cab beneath the one streetlight that is not flashing.
- Round 3: Use the closer set of four cabs. At the start, the correct one is usually beneath the out-of-sync light on the far left or immediately to your right.
Evacuation Zone: Flashing rhythm
Everything here comes down to how the cab lights blink. Watch a couple of full cycles before choosing.
- Round 1: Enter the taxi flashing out of sync with the others.
- Round 2: Enter the taxi that flashes its lights twice instead of once.
- Round 3: Enter the taxi that stays completely dark and never lights up.
Central: Vehicle lights
Inspect each cab’s three lights: its headlights, rear brake lights, and rooftop taxi sign.
- Round 1: Enter the taxi with all lights on while the rest are off.
- Round 2: Enter the taxi with only its rooftop sign lit.
- Round 3: Enter the taxi with its headlights, taillights, and rooftop sign all lit at once. If any one is off, it is the wrong cab.
Downtown: Roof signs and approach
These puzzles react to sound and to Dylan walking up close, so you may need to approach cabs to reveal the answer.
- Round 1: Enter the taxi making a distinct ticking sound with its roof sign lit.
- Round 2: Walk up to each cab. Enter the one whose roof sign does not turn off as you approach.
- Round 3: Approach the other cabs and watch for the one whose roof sign turns on. It is usually at the back on the left.
Underpass: Synced with the streetlights
The cab lights here are tied to the flickering streetlights, so wait for the streetlights to drop off before deciding.
- Round 1: Once the streetlights go dark, choose the cab whose complete set of lights remains illuminated.
- Round 2: After the streetlights go dark a second time, choose the cab with every light switched off.
- Round 3: Enter the taxi whose lights are off while the streetlights are on. It will flash for a second whenever the streetlights flicker.
Unknown: Shadows
The final arrangement changes the setup: the cabs sit off to one side, with a portable lamp in the roadway. Pick up the lamp and aim it at the cabs to examine their shadows.
- Round 1: Enter the only taxi whose shadow is shaped like a real taxi rather than another vehicle.
- Round 2: Use the lamp again to find the cab with a proper taxi shadow. It is the first one on your right.
- Round 3: Find the cab whose shadow shows a taxi shape with the rooftop sign visible, opposite the subway stairs.
Finishing The Last Taxi
After you clear the seventh and final puzzle, the game moves Dylan to a street where a phone is ringing in the distance. Answer it for one last call from Mila, who says she is going to take her chance and get into a taxi. Her fate is left unresolved, but picking up that final call closes out The Last Taxi. There are no rewards for completing it beyond wrapping up the story.