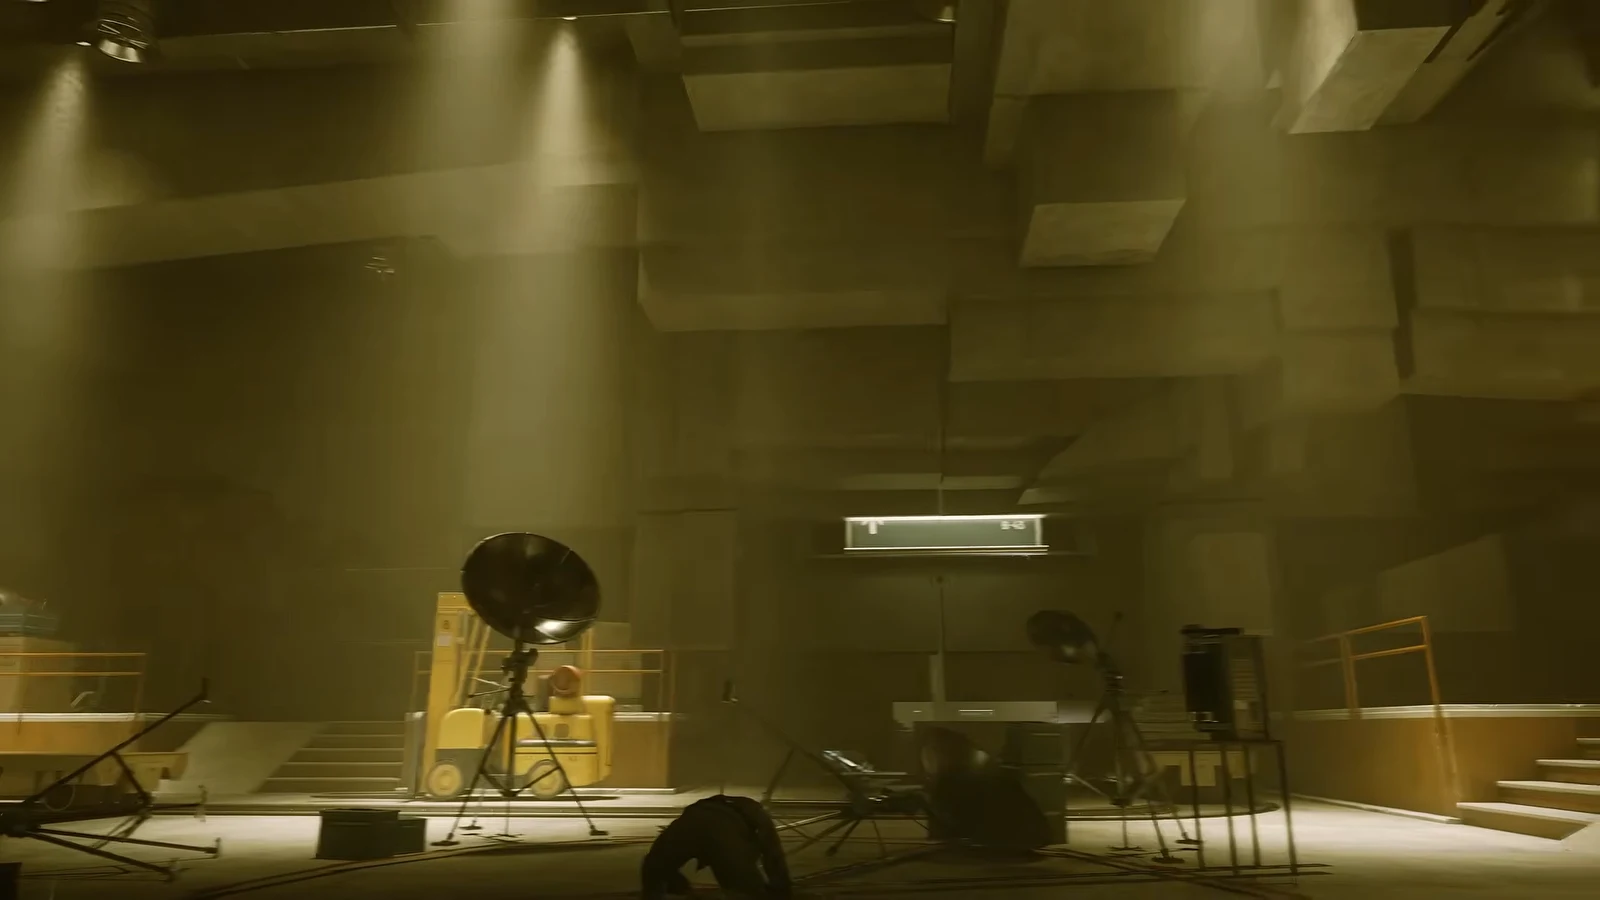
The “Unsupervised Science” experiment inside Testing Facility Broadway asks you to fill four yellow floor squares with Thirsty Station soda dispensers before the control terminal will shut the room down. The catch is that the objects lying around are not dispensers yet, and the entrance sits underground rather than at the map marker.
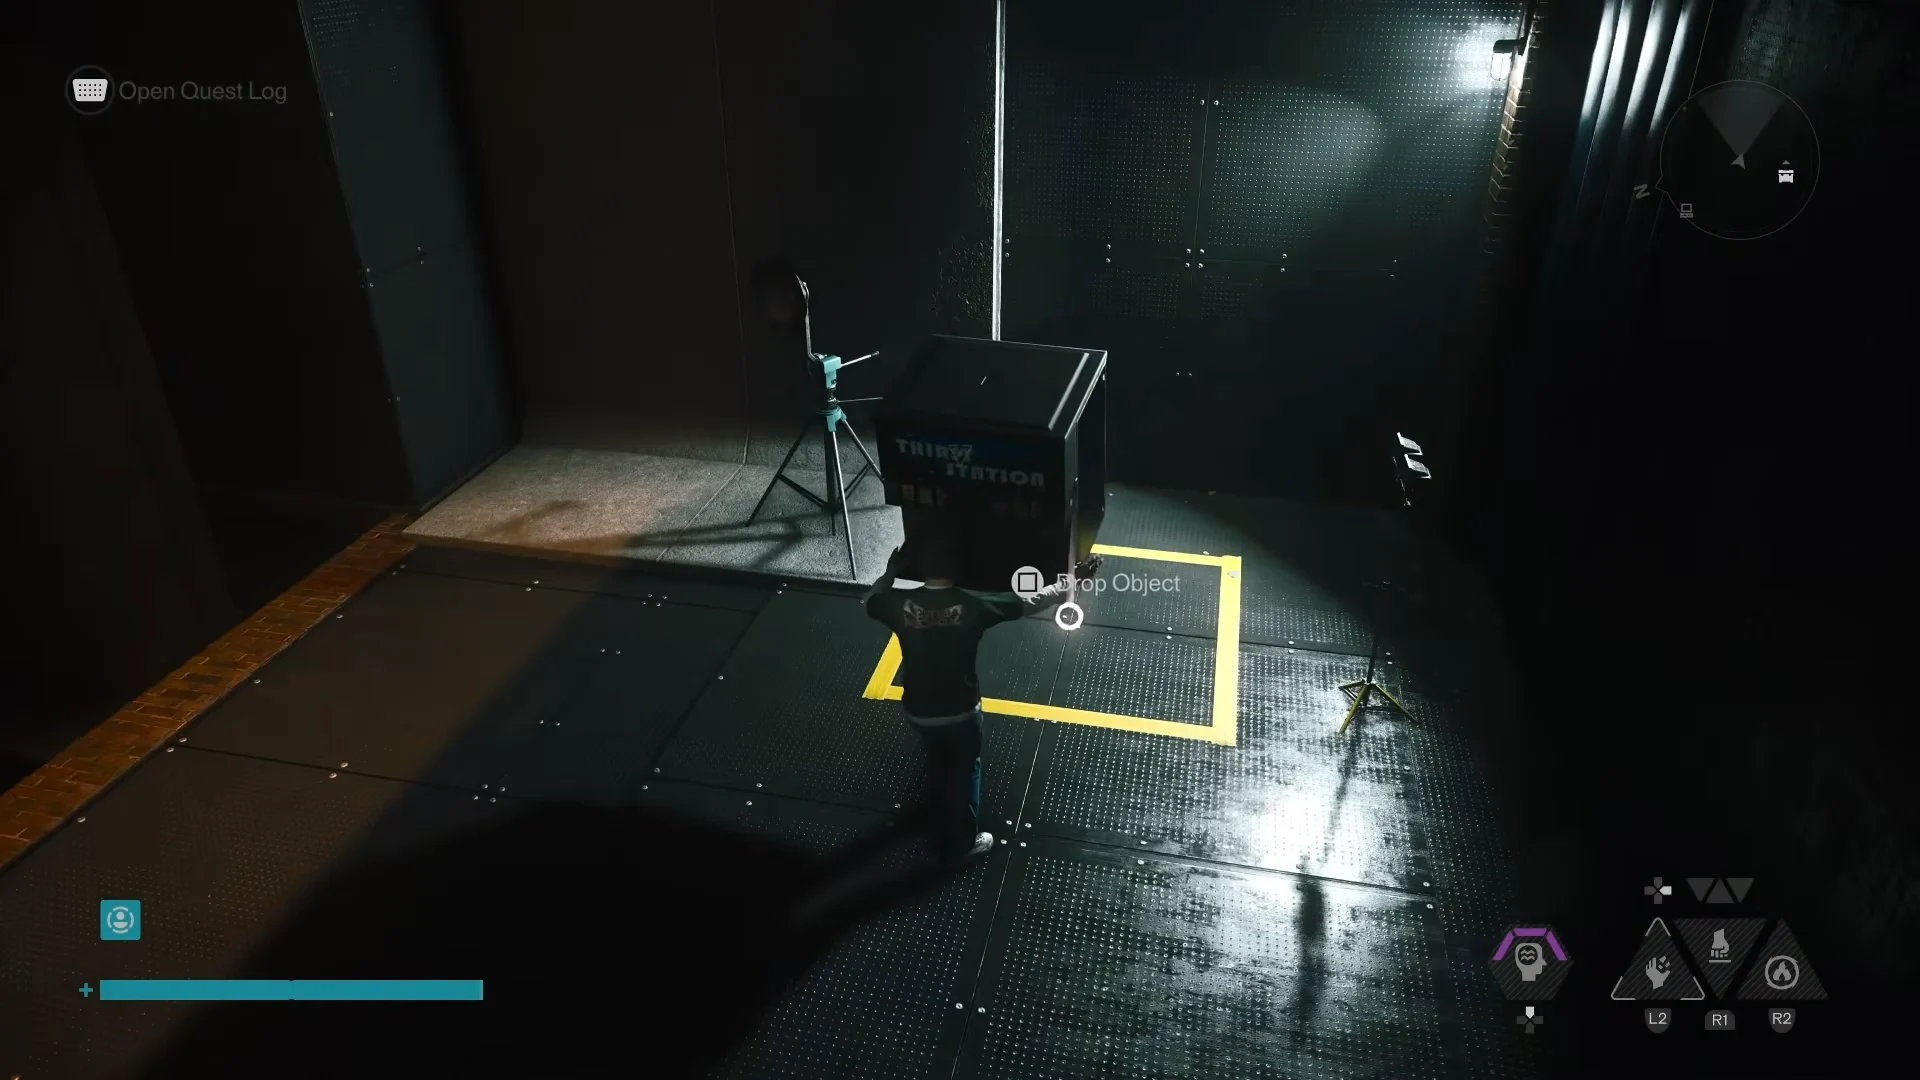
Quick answer: Drop into the storm drain south of the House of Mirrors, carry each loose object across the yellow floor lines until it becomes a Thirsty Station dispenser, set one in every marked square, then use the control terminal.
Where to find the West Incursion Zone testing facility
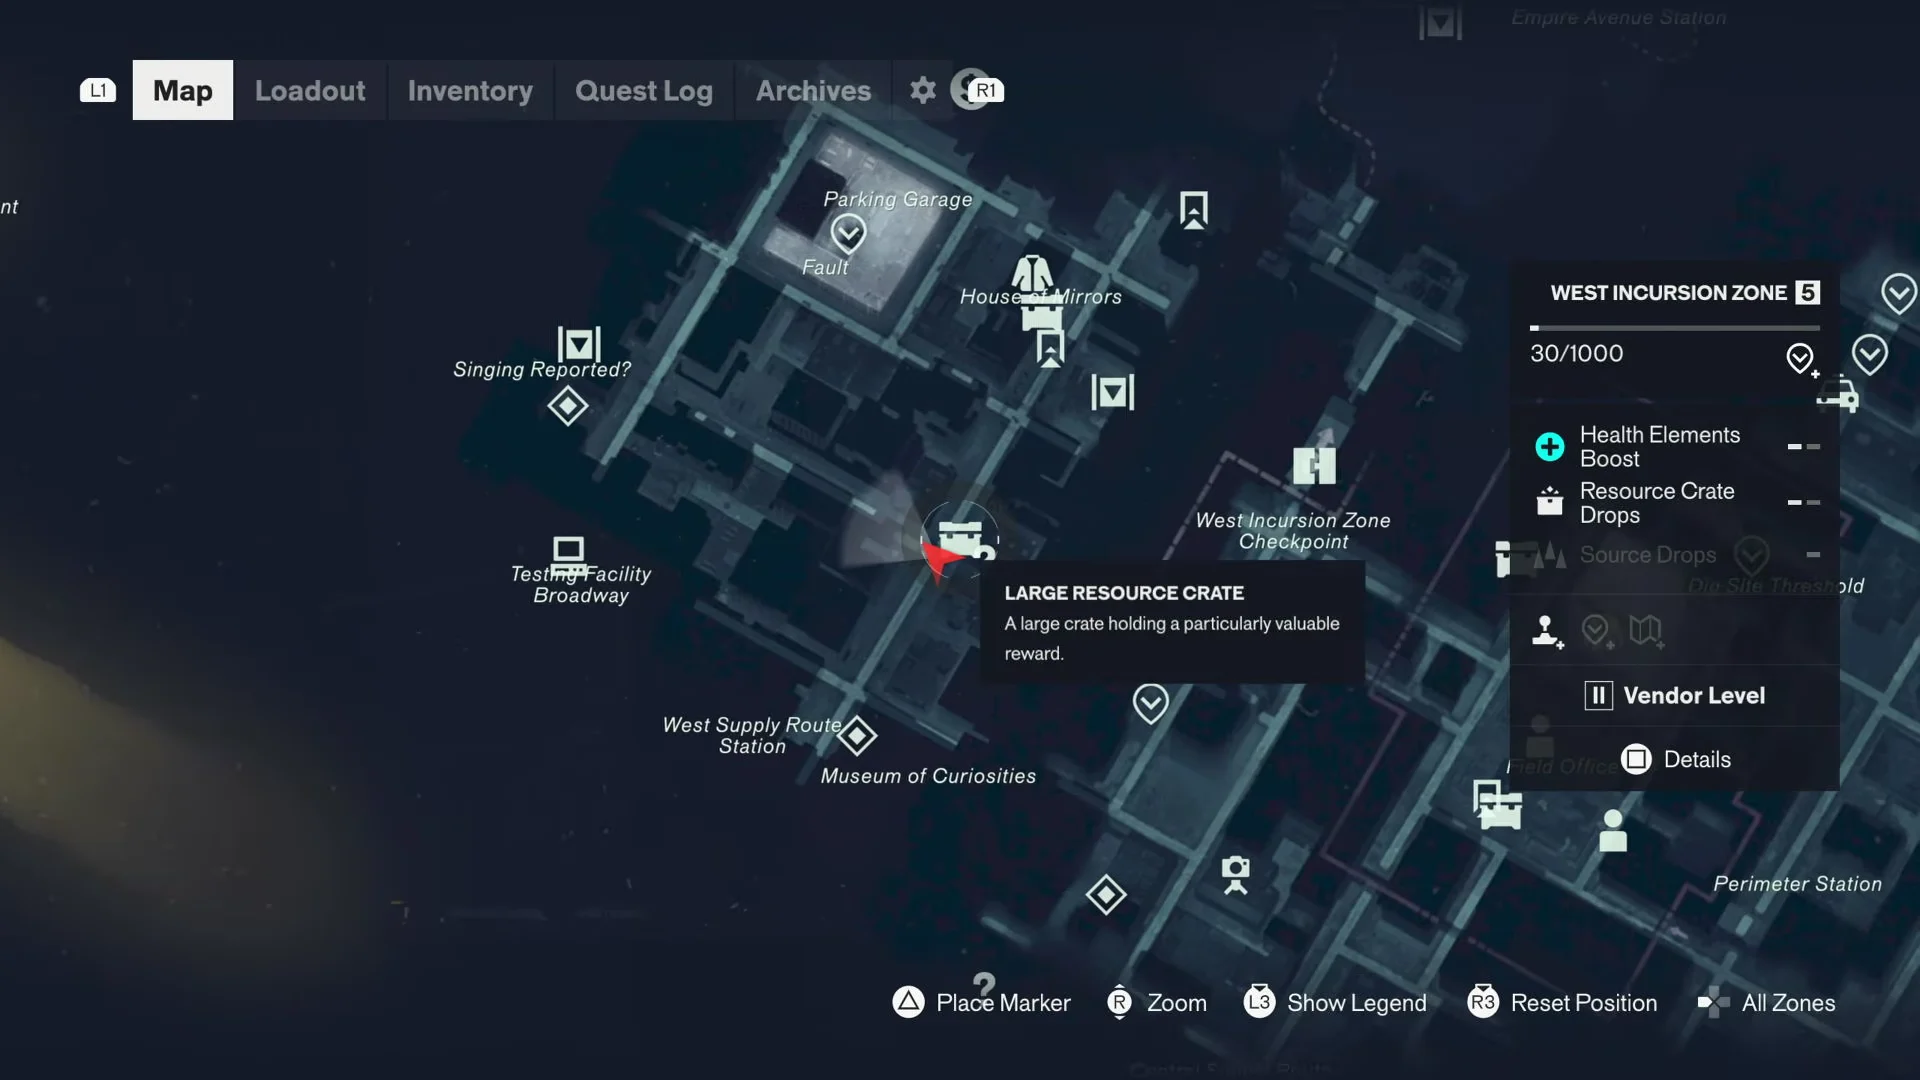
Testing Facility Broadway is in West Incursion Zone 5, south of the House of Mirrors and just north of the West Supply Route Station. The map marker points at the surface building, but the actual facility is beneath the street, so you cannot walk straight in from the objective marker.
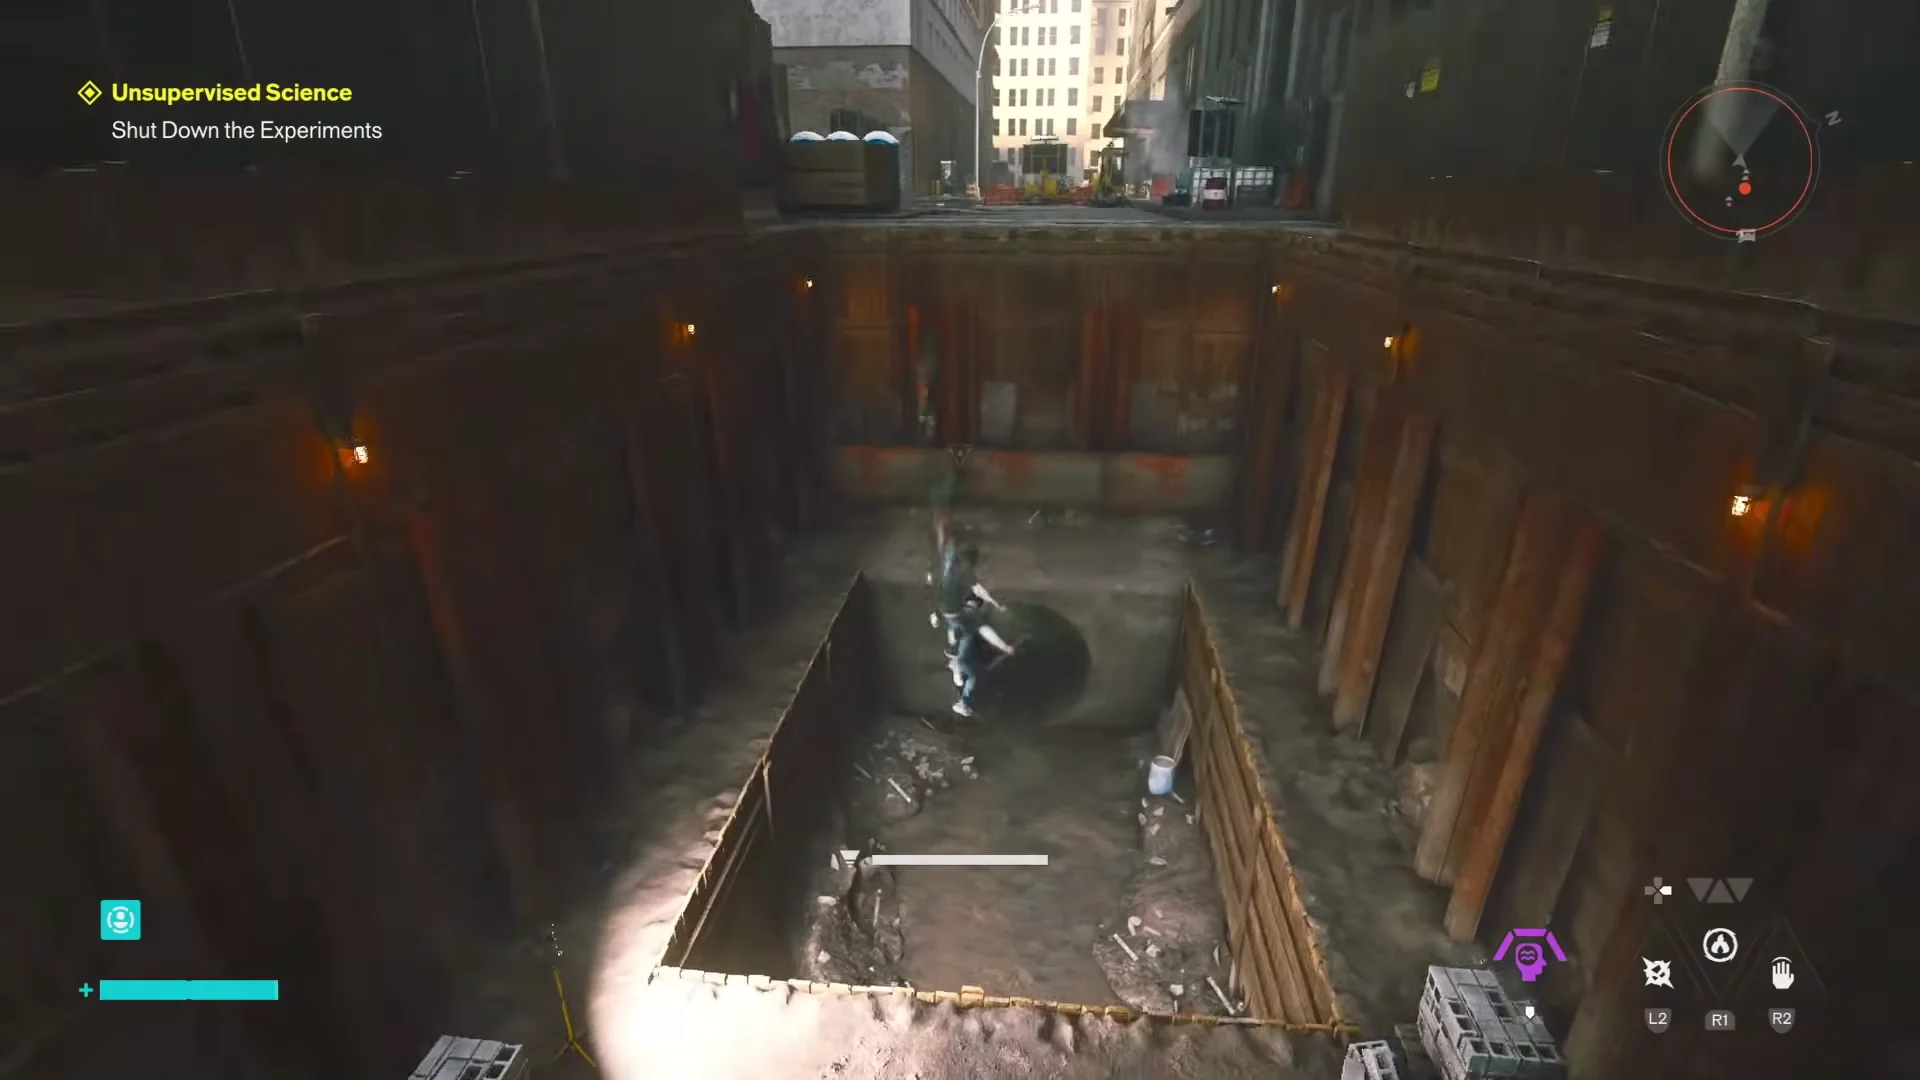
Look for the wooden scaffolding tunnel on the street near the facility. Climb the scaffolding and drop into the large concrete drainage pipe below it. That pipe leads down into the underground testing room where the puzzle begins.
Expect corrupted enemies inside the sewer chamber and control room. Clear them before you start moving objects, since carrying an item locks you out of most actions.
How the soda dispenser transformation works
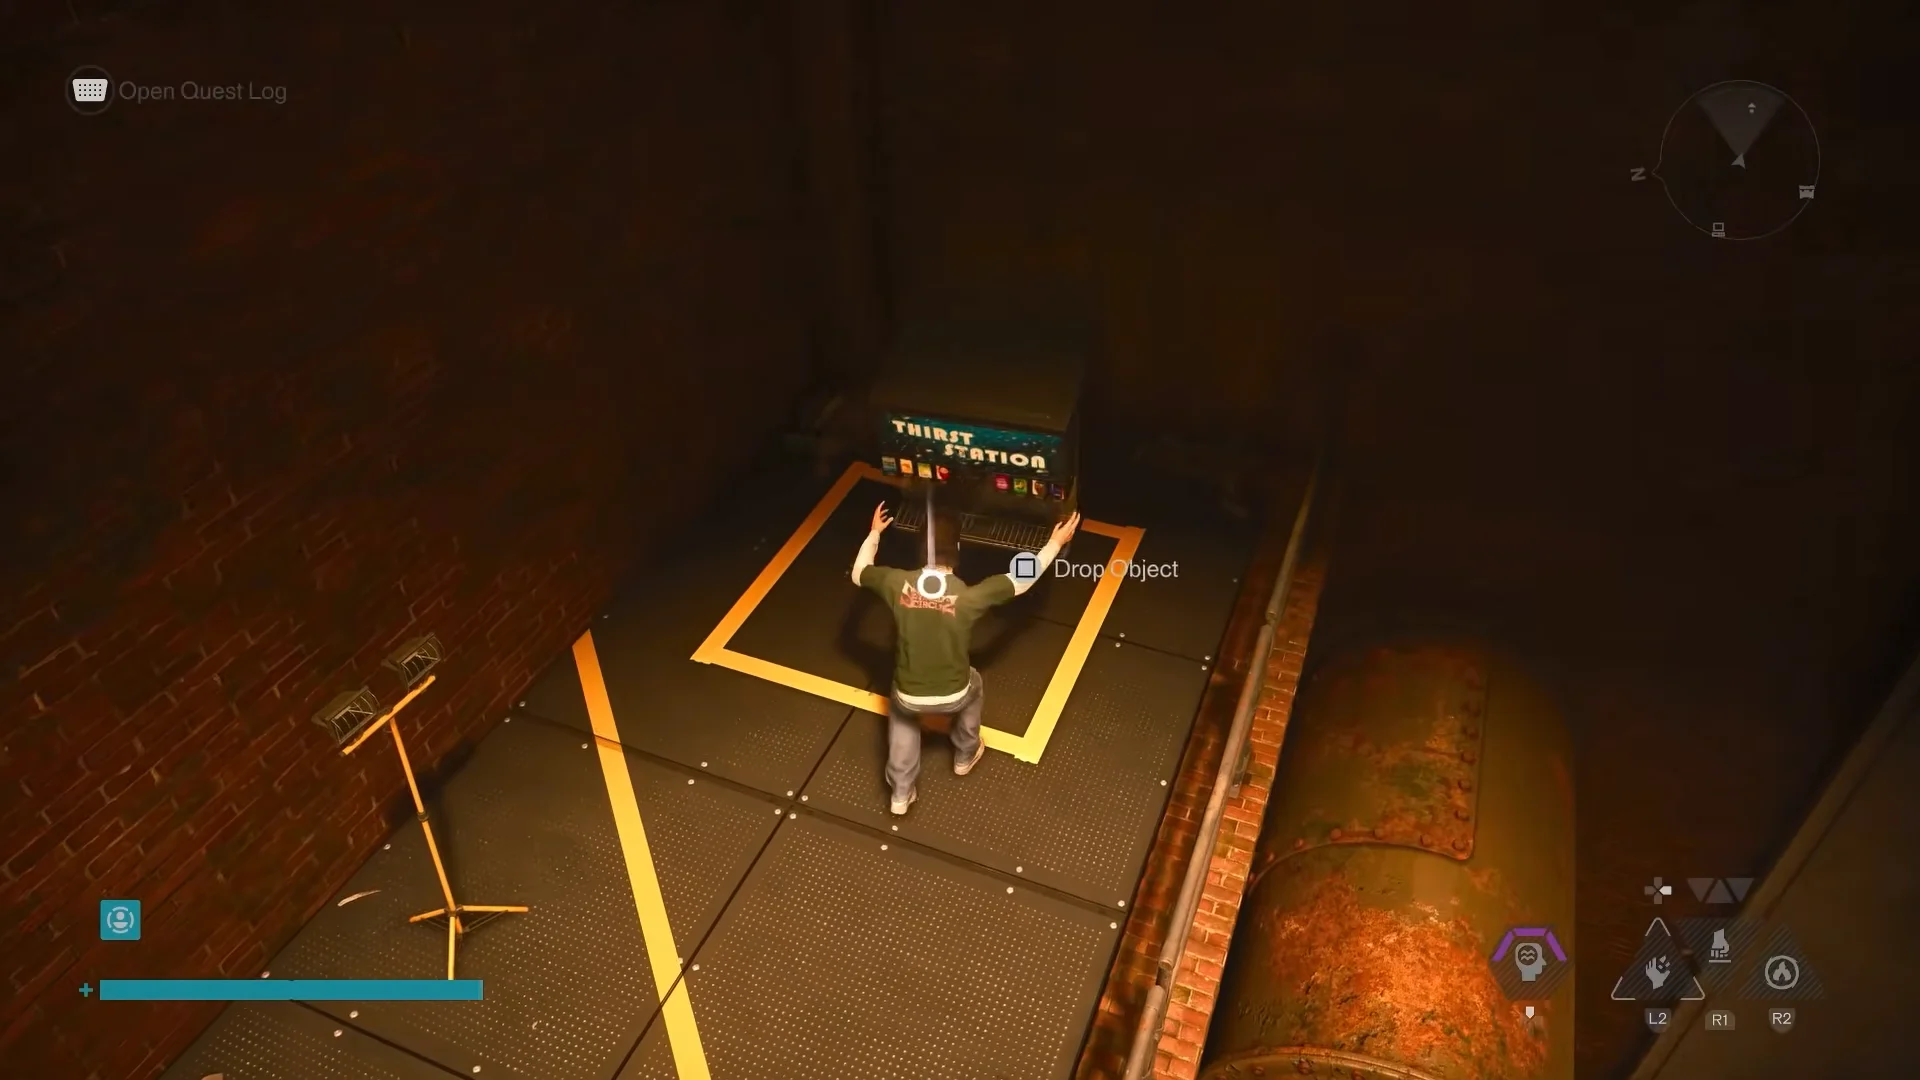
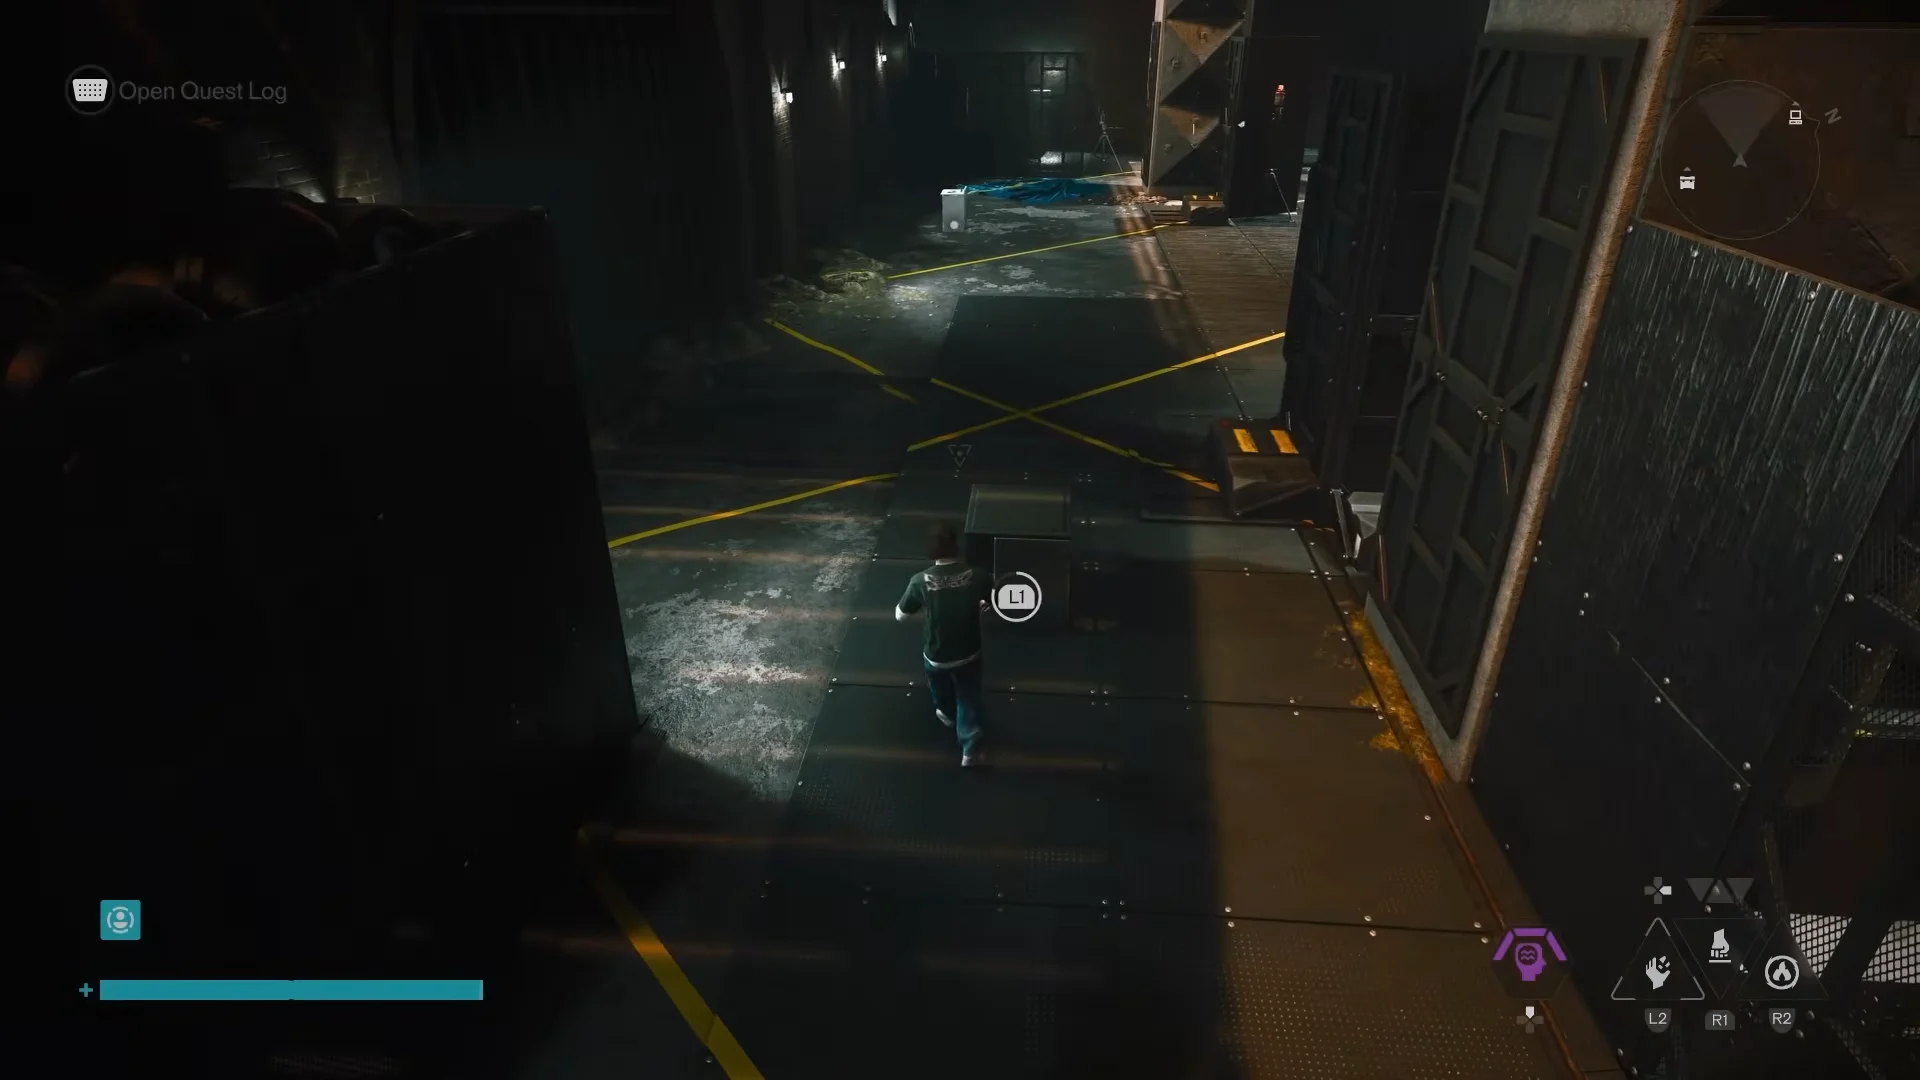
The room only accepts Thirsty Station soda dispensers in its yellow squares, but the objects scattered around start as other shapes, such as printers, bathroom sinks, and kitchen ovens. Each time you carry an object across one of the long yellow lines painted on the floor, its form changes one step along a fixed cycle.
- Printer
- Bathroom sink
- Kitchen oven
- Soda dispenser
Keep crossing the yellow lines until the item changes into a soda dispenser, then bring it to a square. Go past the desired form? Cross a line in the opposite direction to move back one form. The board beside the terminal lists that sequence, letting you check the item’s form.
Place all four Thirsty Station dispensers
There are four yellow squares spread across the facility, and every one needs a finished Thirsty Station dispenser. Work through them in the order below so you are never far from an object to convert.
Shut down the experiment and confirm it worked
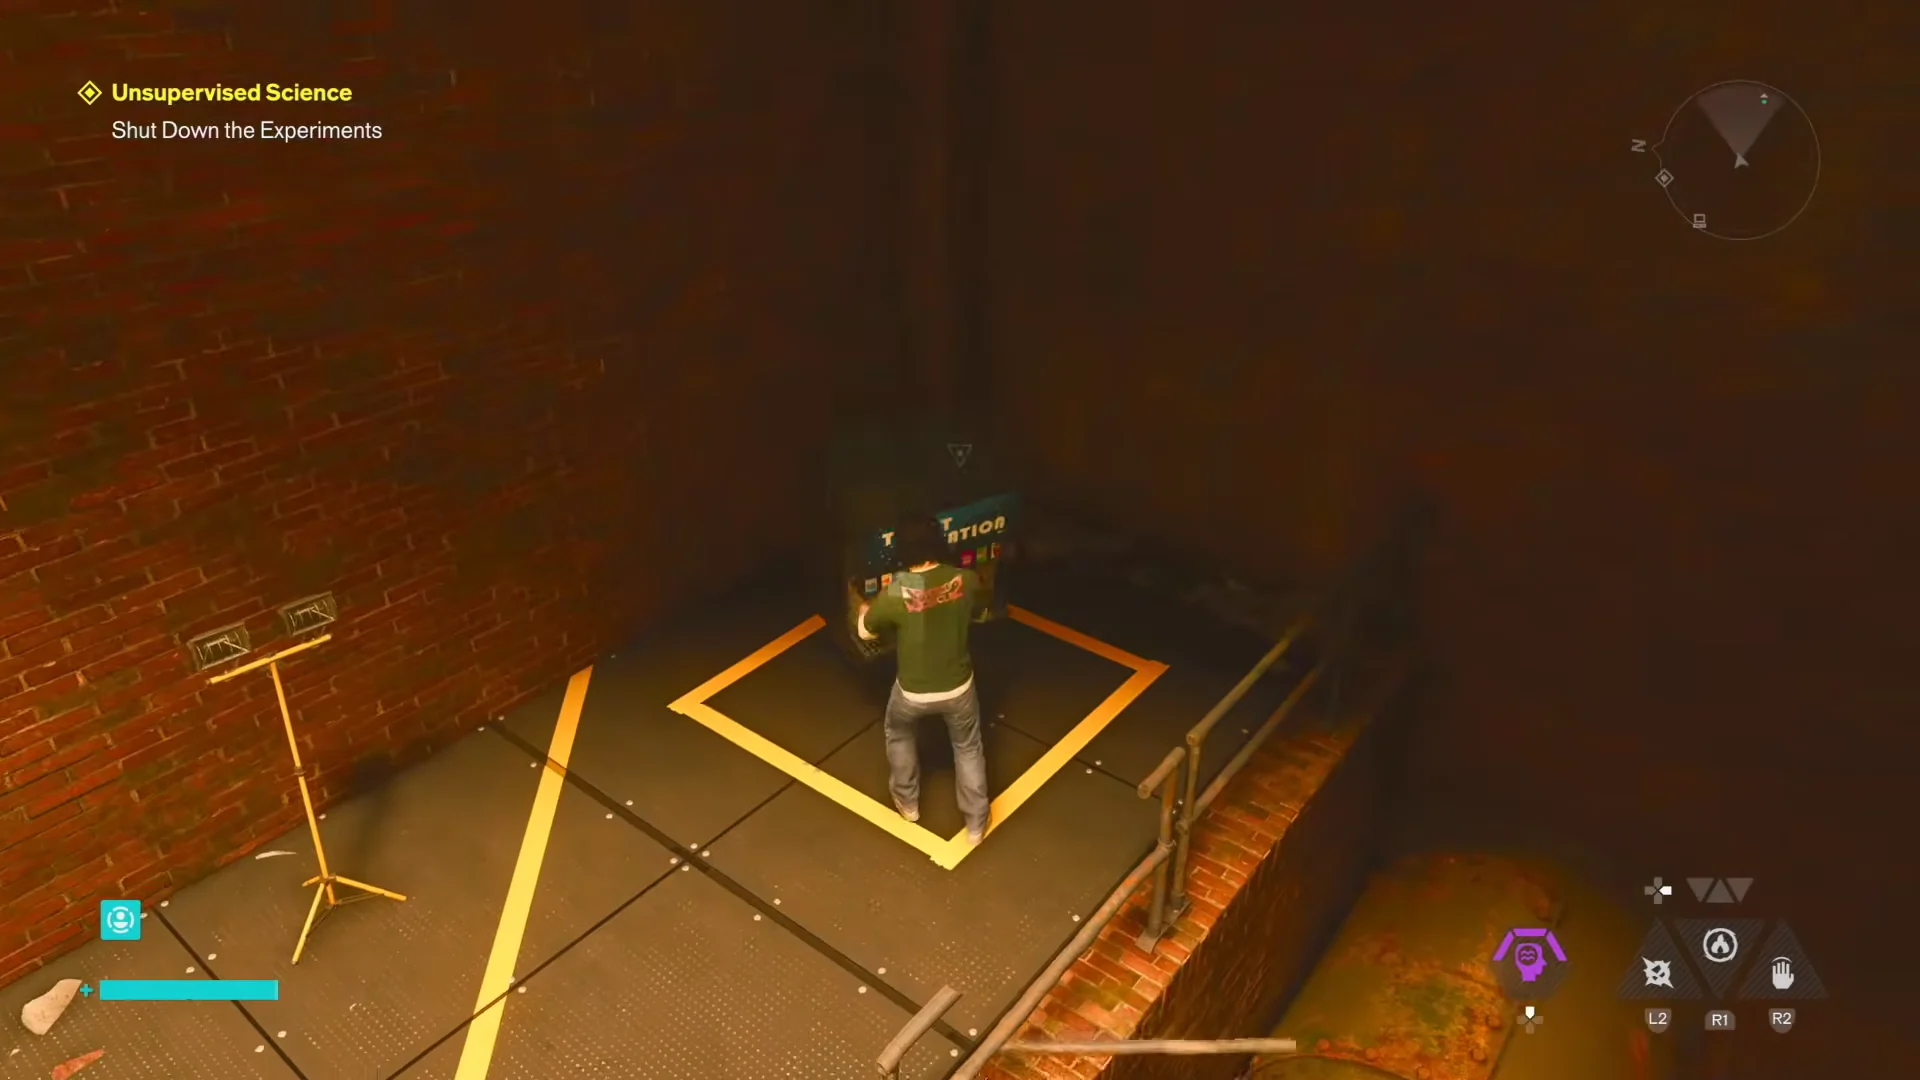
With a dispenser in all four squares, go to the control desk and interact with the terminal console. The shutdown triggers only when every square is filled by a finished soda dispenser, so recheck any square where an object might still be a printer, sink, or oven.
You know it worked when the terminal opens the upper ventilation gate and the quest log updates with +1 Undefined Reading. That vent is your route into the hidden room.
Unsupervised Science rewards in the secret room
Climb the pipes into the opened ventilation duct and crawl through to the secret research room above the facility. Two rewards wait inside.
- Open the green Large Resource Crate for a Power Upgrade Point (1/3).
- Pick up the “Notes From Dr. Janson” research document from the desk.
The Power Upgrade Point counts toward the three you need to improve your Power, and Dr. Janson’s notes tie into the wider Impermanence Threshold research behind these experiments. Once both are collected, this facility is finished, and you can move on to the other Testing Facilities to keep working through Unsupervised Science.