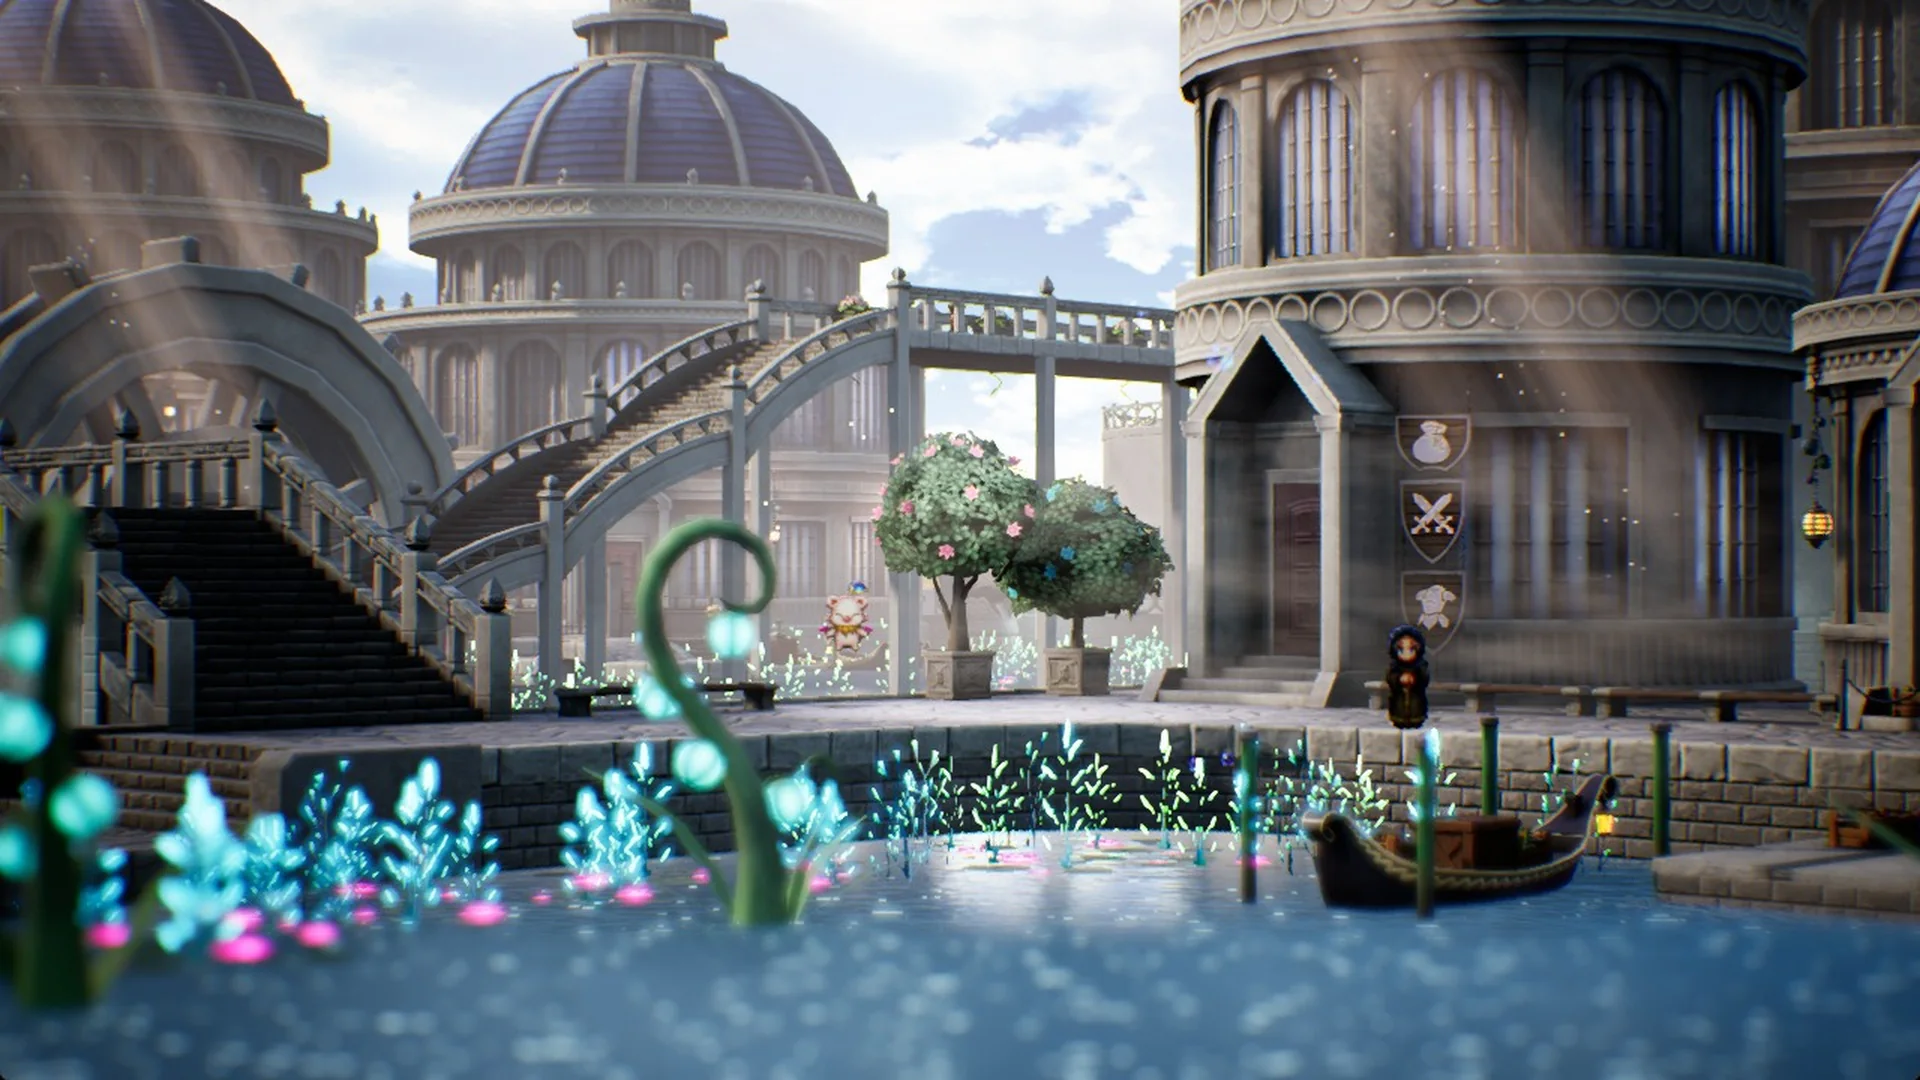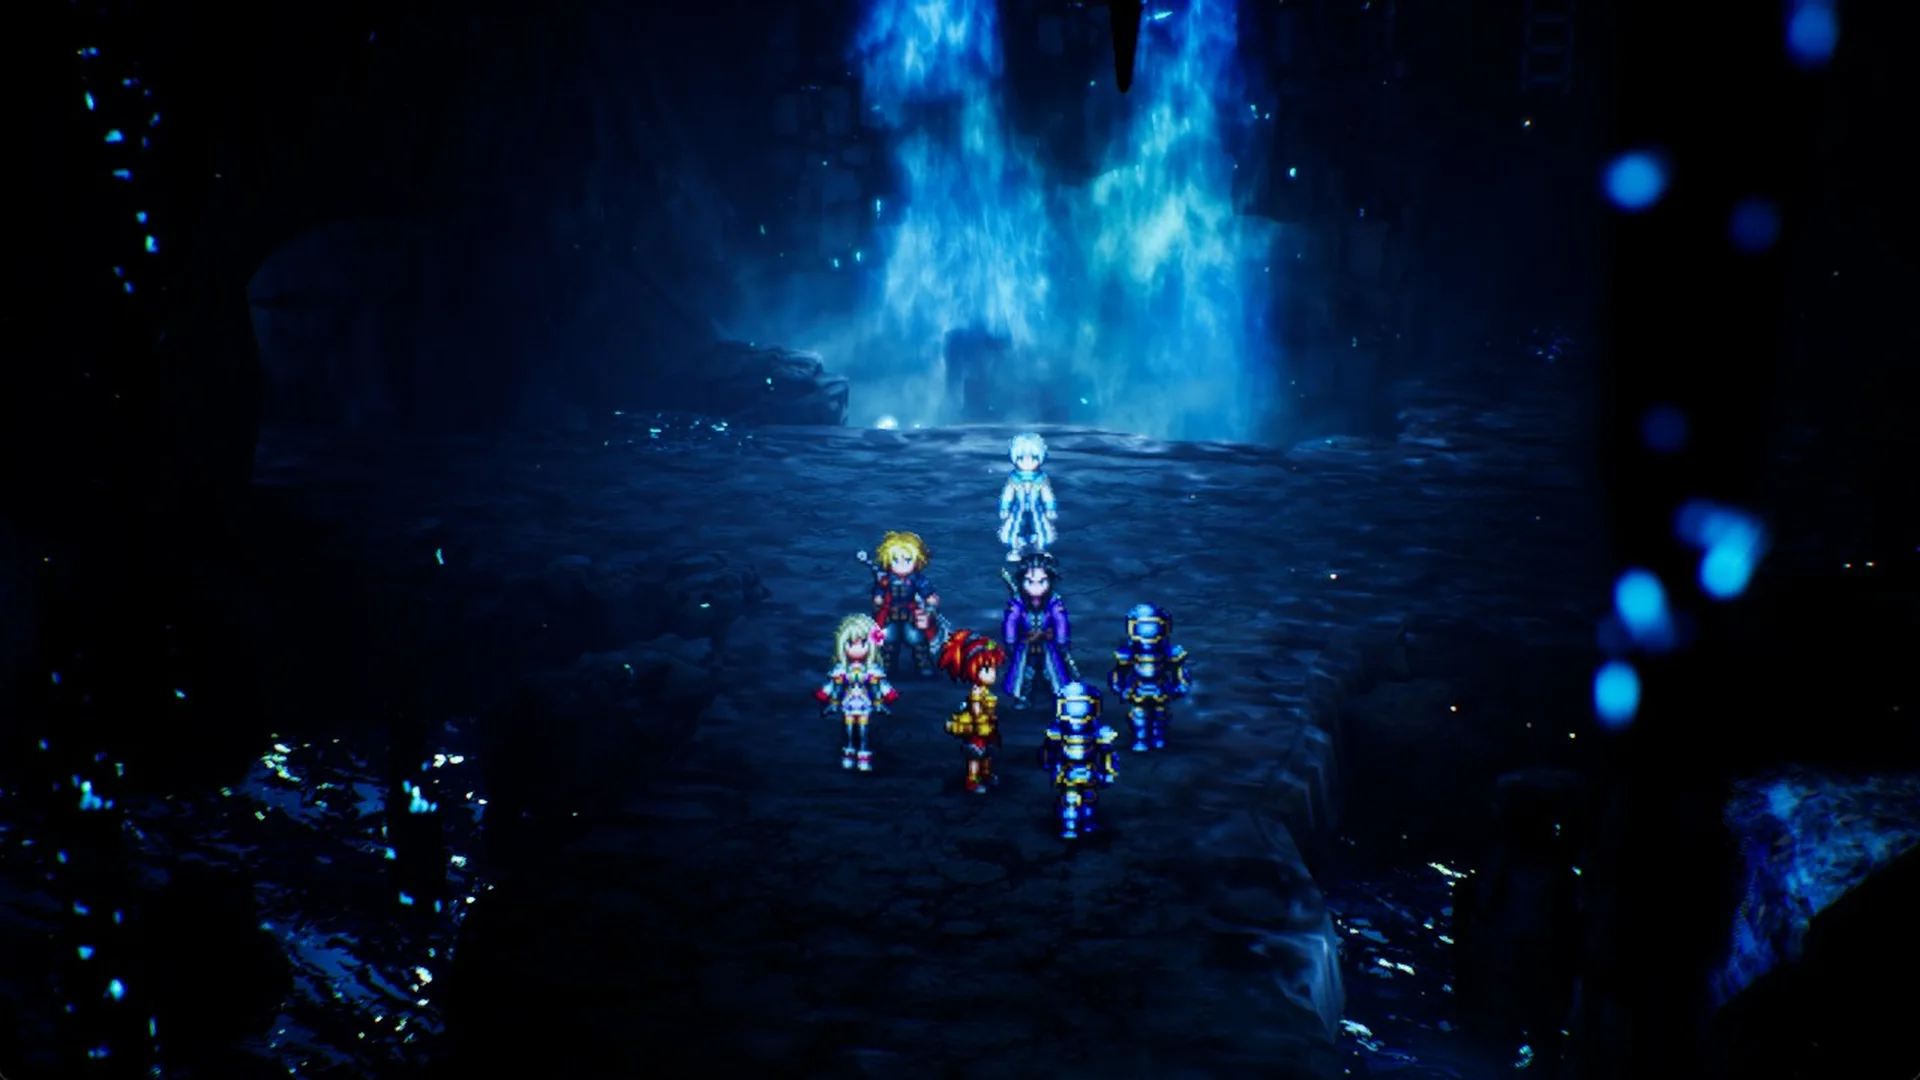
The Cave of Waters is the first dungeon of Chapter 3, “Wardens of the Aquapolis”, in Final Fantasy Resonance. It sits north-east of Olderion, the Aquapolis, in the Olderion Federation, and it opens once Nichol’s scene in the city sets the objective “Go to the Cave of Waters”. After you finish the Olderion walkthrough steps, you head into a waterfall cavern. It has three raft areas between 1F and 2F, and the boss Wave Lopros waits at the end.
Quick answer: Flood each raft area by activating its switch. In the first hall, take the longer route to the north-east dock; in the next, follow the spiral to the north door, then proceed to the exit dock beneath 2F.
| Area | What you do | Pickups |
|---|---|---|
| Road from Olderion | Take the switchback road north-east to the cave mouth | – |
| 1F | Nichol joins; save point | – |
| Area 2 (raft hall) | Flood the hall, raft the long way round to the north-east dock | Magicite Shard (chest), Tablet Shard |
| Area 4 | Flood it, raft through the spiral to the north door at the end of the long lane | Shuriken x3 (chest); Ice Scroll I x2 (chest, behind the other north door) |
| Area 3 | Raft to the exit dock, walk up to 2F | Ninja Gear (chest) |
| 2F | Tablet Shard, boss save point, Wave Lopros | Tablet Shard |
How to get to the Cave of Waters from Olderion
Leave Olderion through the city gate. At the fork outside, take the road east, then follow it north up the hill. The road climbs in a switchback, so stay on the bend as it curves onto the upper road. If you walk straight at the cave instead, you get stuck on a ledge. At the cave mouth, the banner shows “Cave of Waters” with “Recommended Level 20”, and F Proceed takes you inside.
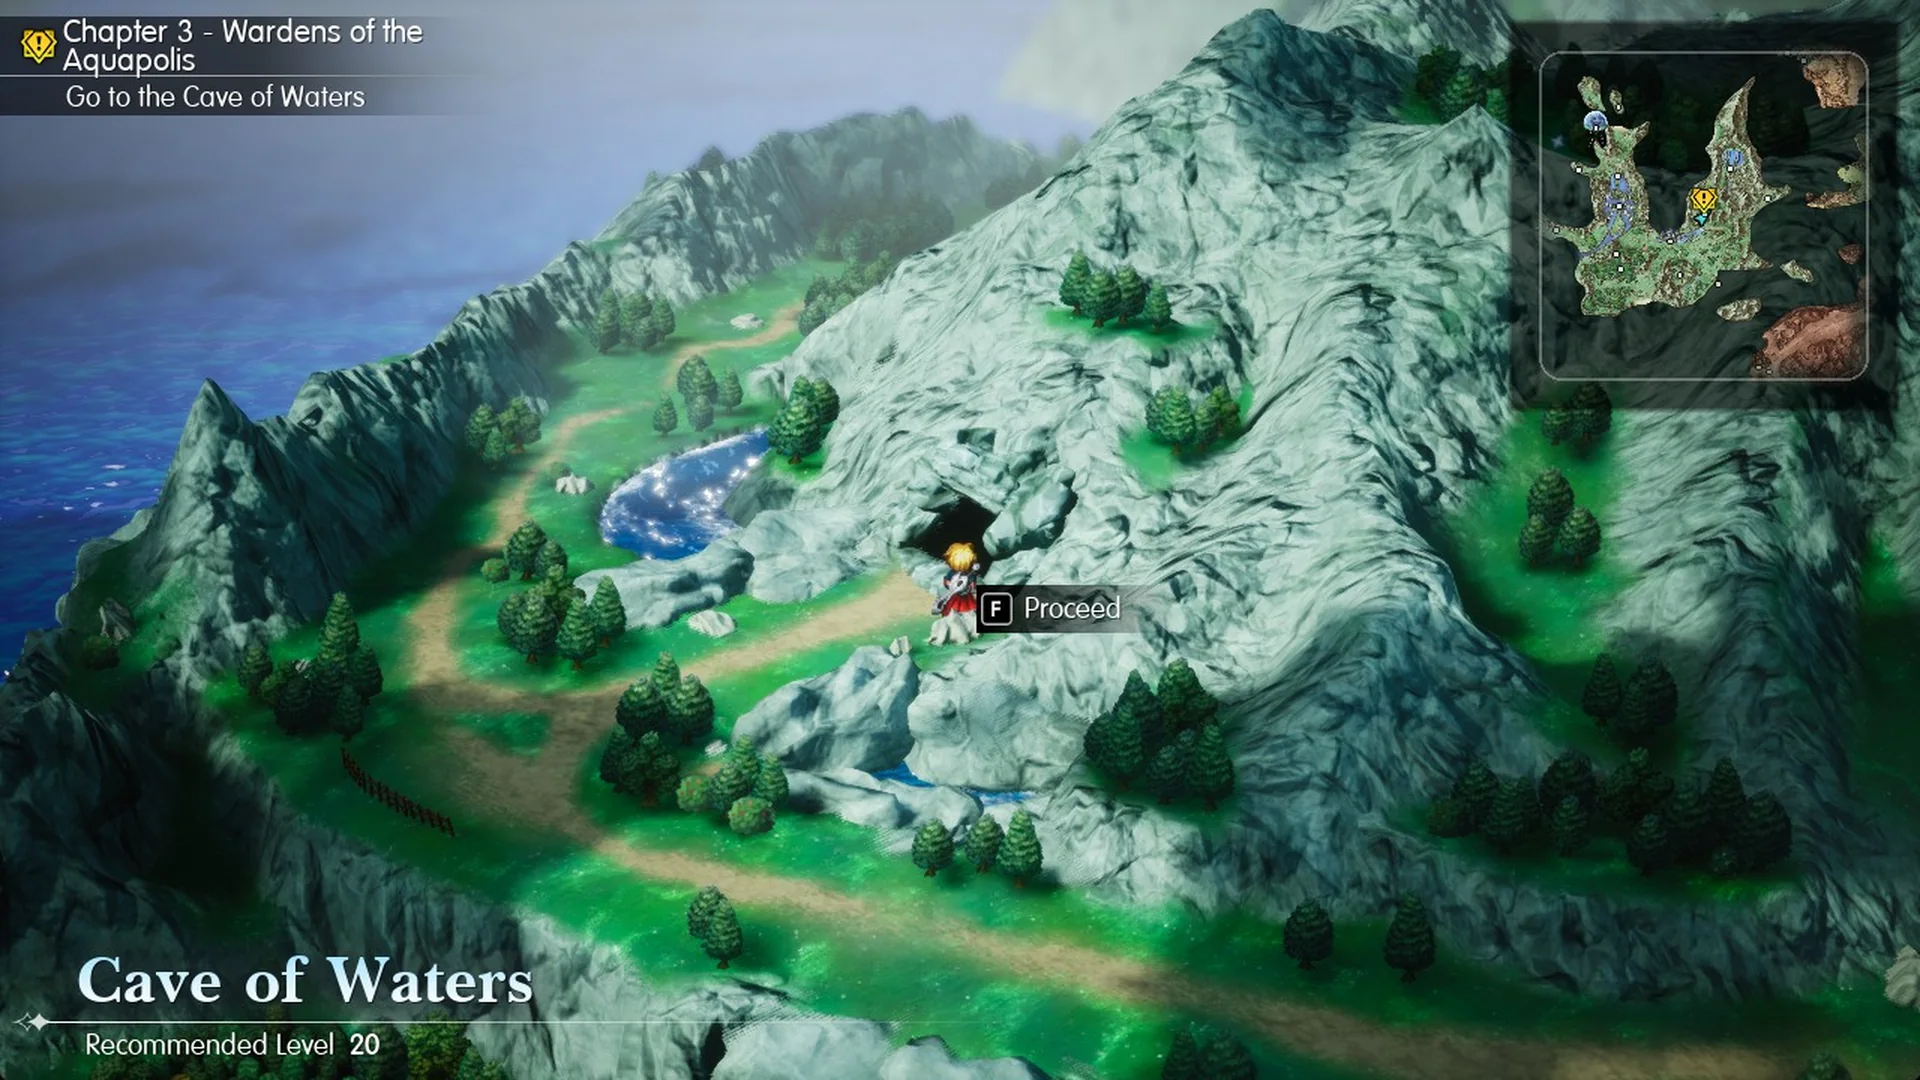
Watch out on this road. A group of three Golden Eagles at Lv 24 can appear here, and it was the toughest random fight we had met by this point. Each one has 2,600 HP, is weak to Wind and resists Earth. The fight can take a party member down to 1 HP, and casting Cura on the whole party keeps you alive. It pays 810 EXP and 720 Gil. Heal up before you enter the cave.
Cave of Waters 1F: Nichol joins the party
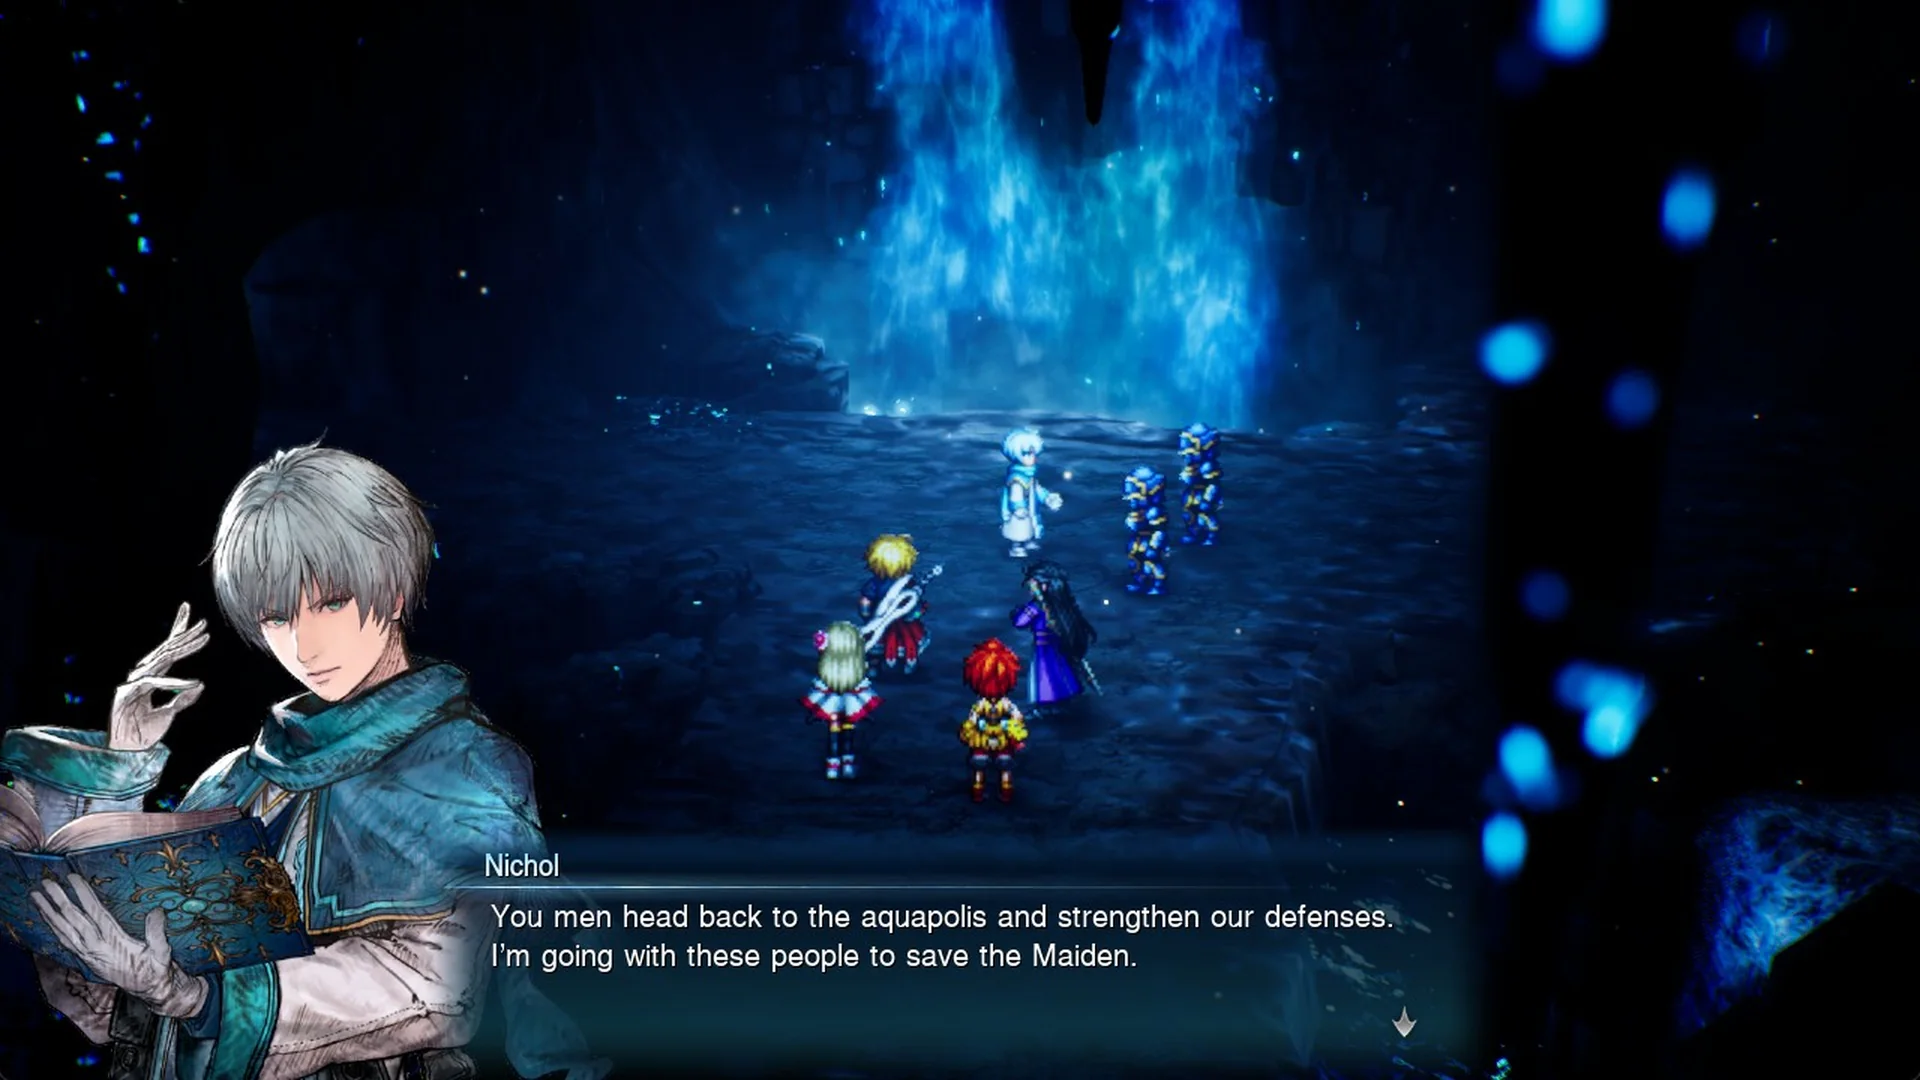
As you enter, Rain says “Huh… Is that a song I hear?” and Nichol answers, “That is the Water Maiden offering up her prayers—her daily duty.” Nichol is already inside with soldiers, and he accepts the party’s help: “We’re stretched thin like a flattened flan. Right now, we need all the help we can get.” He sends his men away with “You men head back to the aquapolis and strengthen our defenses. I’m going with these people to save the Maiden.” He also explains, “The water in Olderion is cleansed by the prayer of the Water Maiden, who resides deep within the cave.”
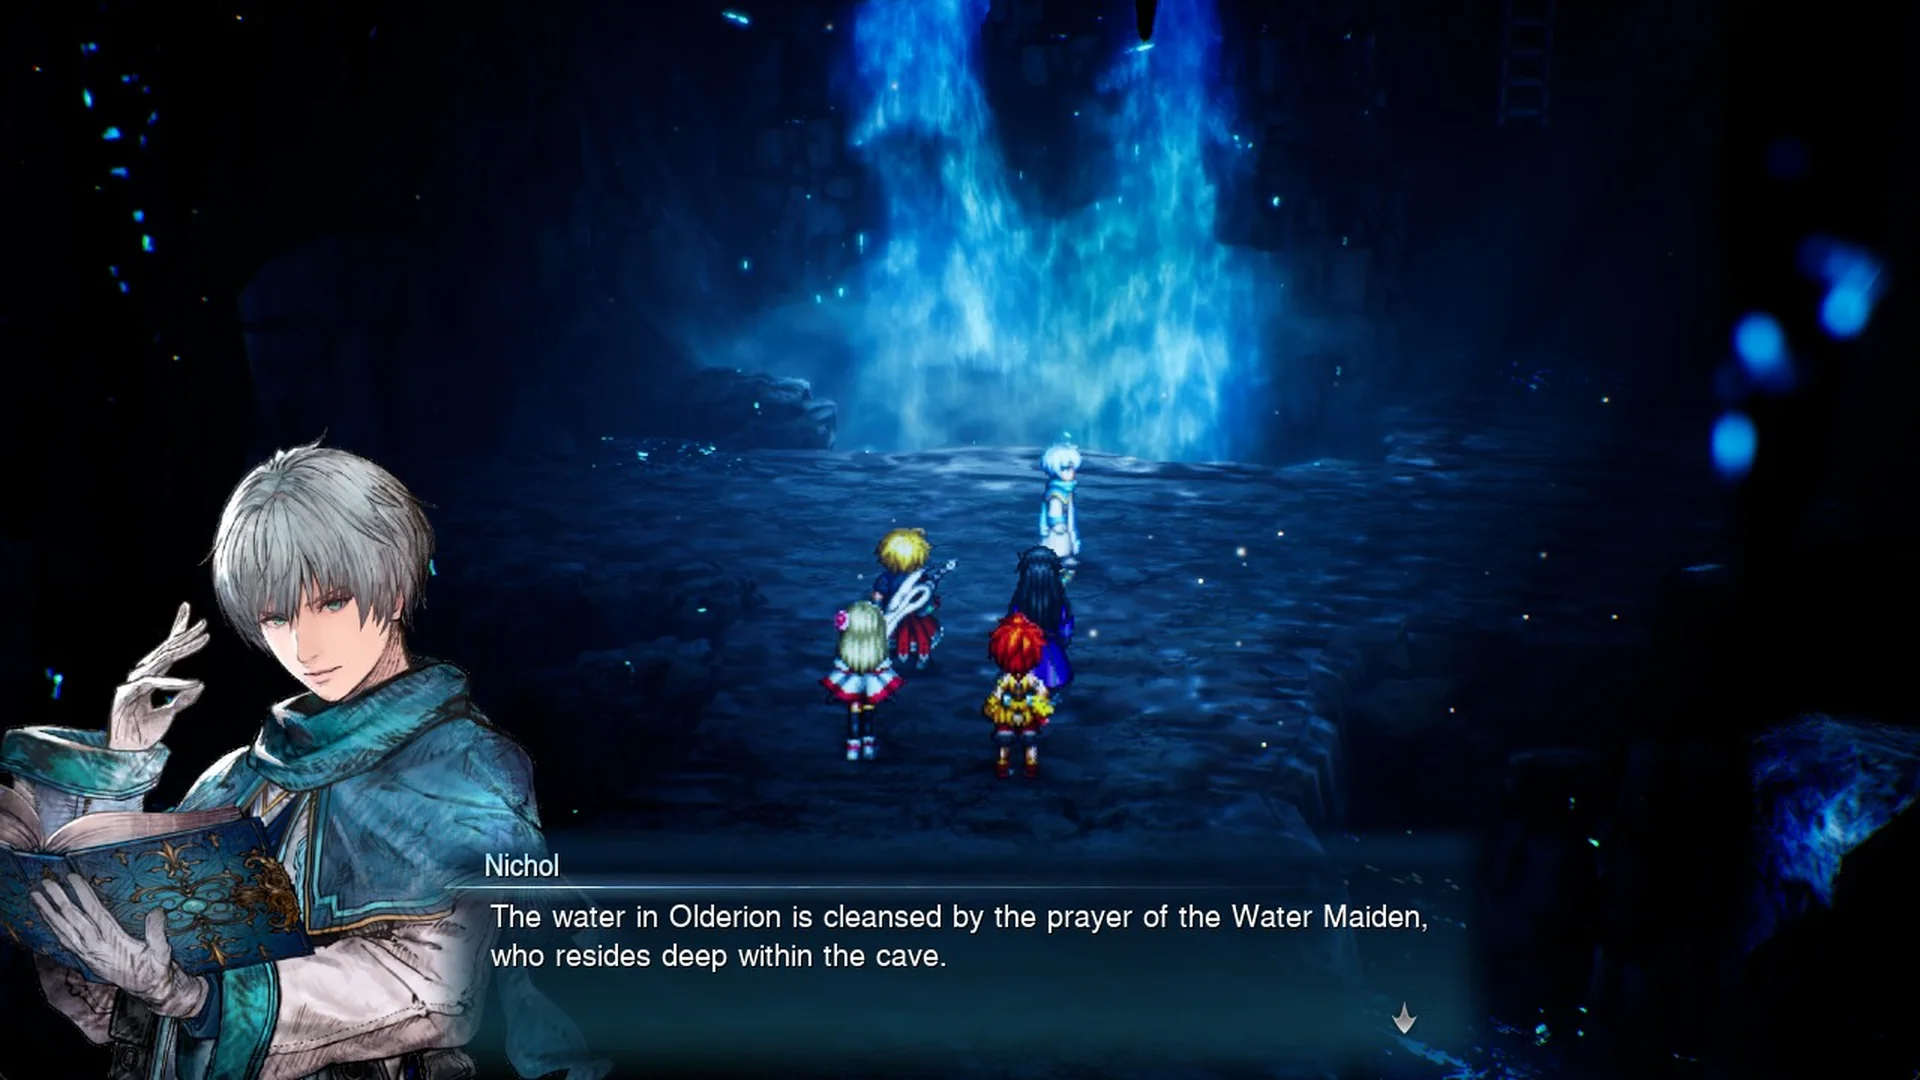
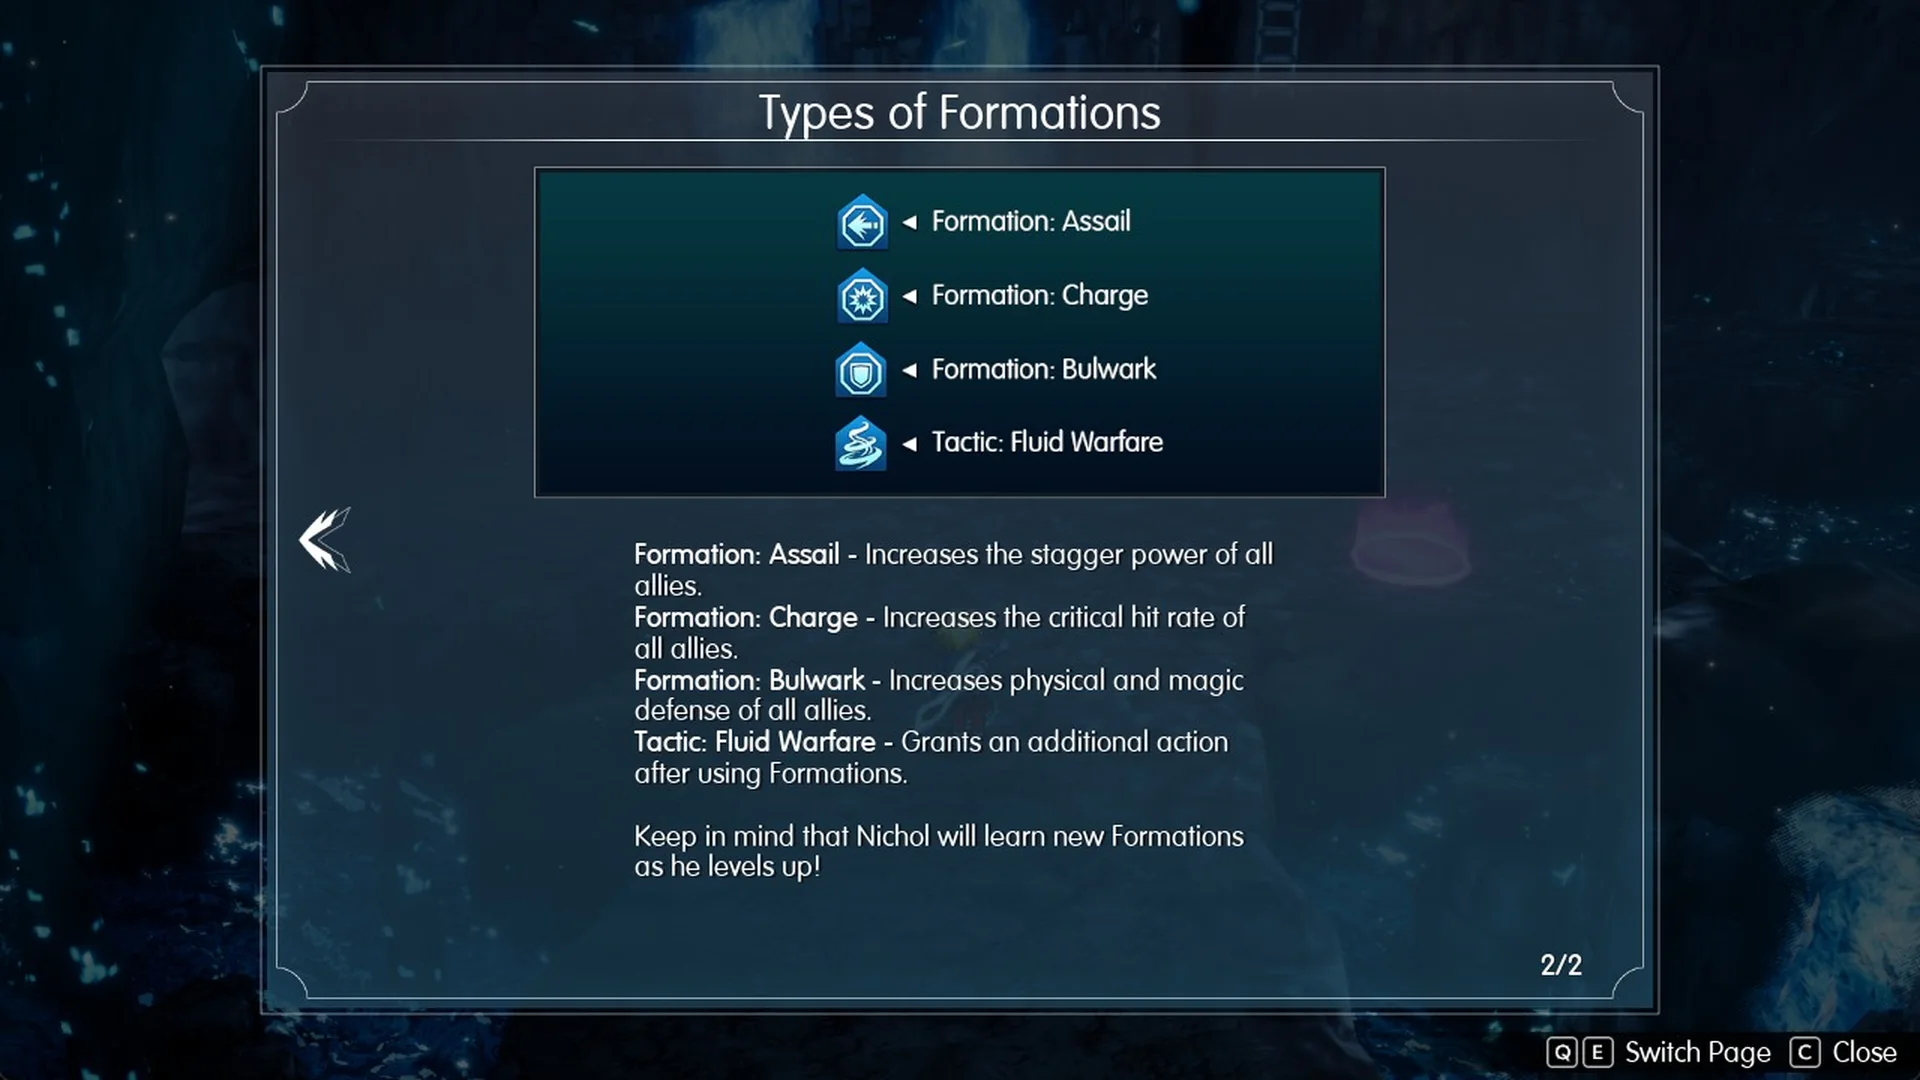
His title card reads “Warden of the Waters Nichol”, and then “Nichol joined the party!” appears. Two tutorials follow. Party Selection explains that you can field up to four members from Select Party in the Main Menu. Fighting with Nichol covers his Formation skills, which buff allies:
- Formation: Assail raises the stagger power of all allies.
- Formation: Charge boosts the rate of critical hits.
- Formation: Bulwark raises physical and magic defense.
- Tactic: Fluid Warfare: “Grants an additional action after using Formations.”
The objective changes to “Save the Water Maiden” and the game autosaves. The 1F save point, a pink circle, is just north-east of where you arrive. Use it, because saving is not possible again until 2F.
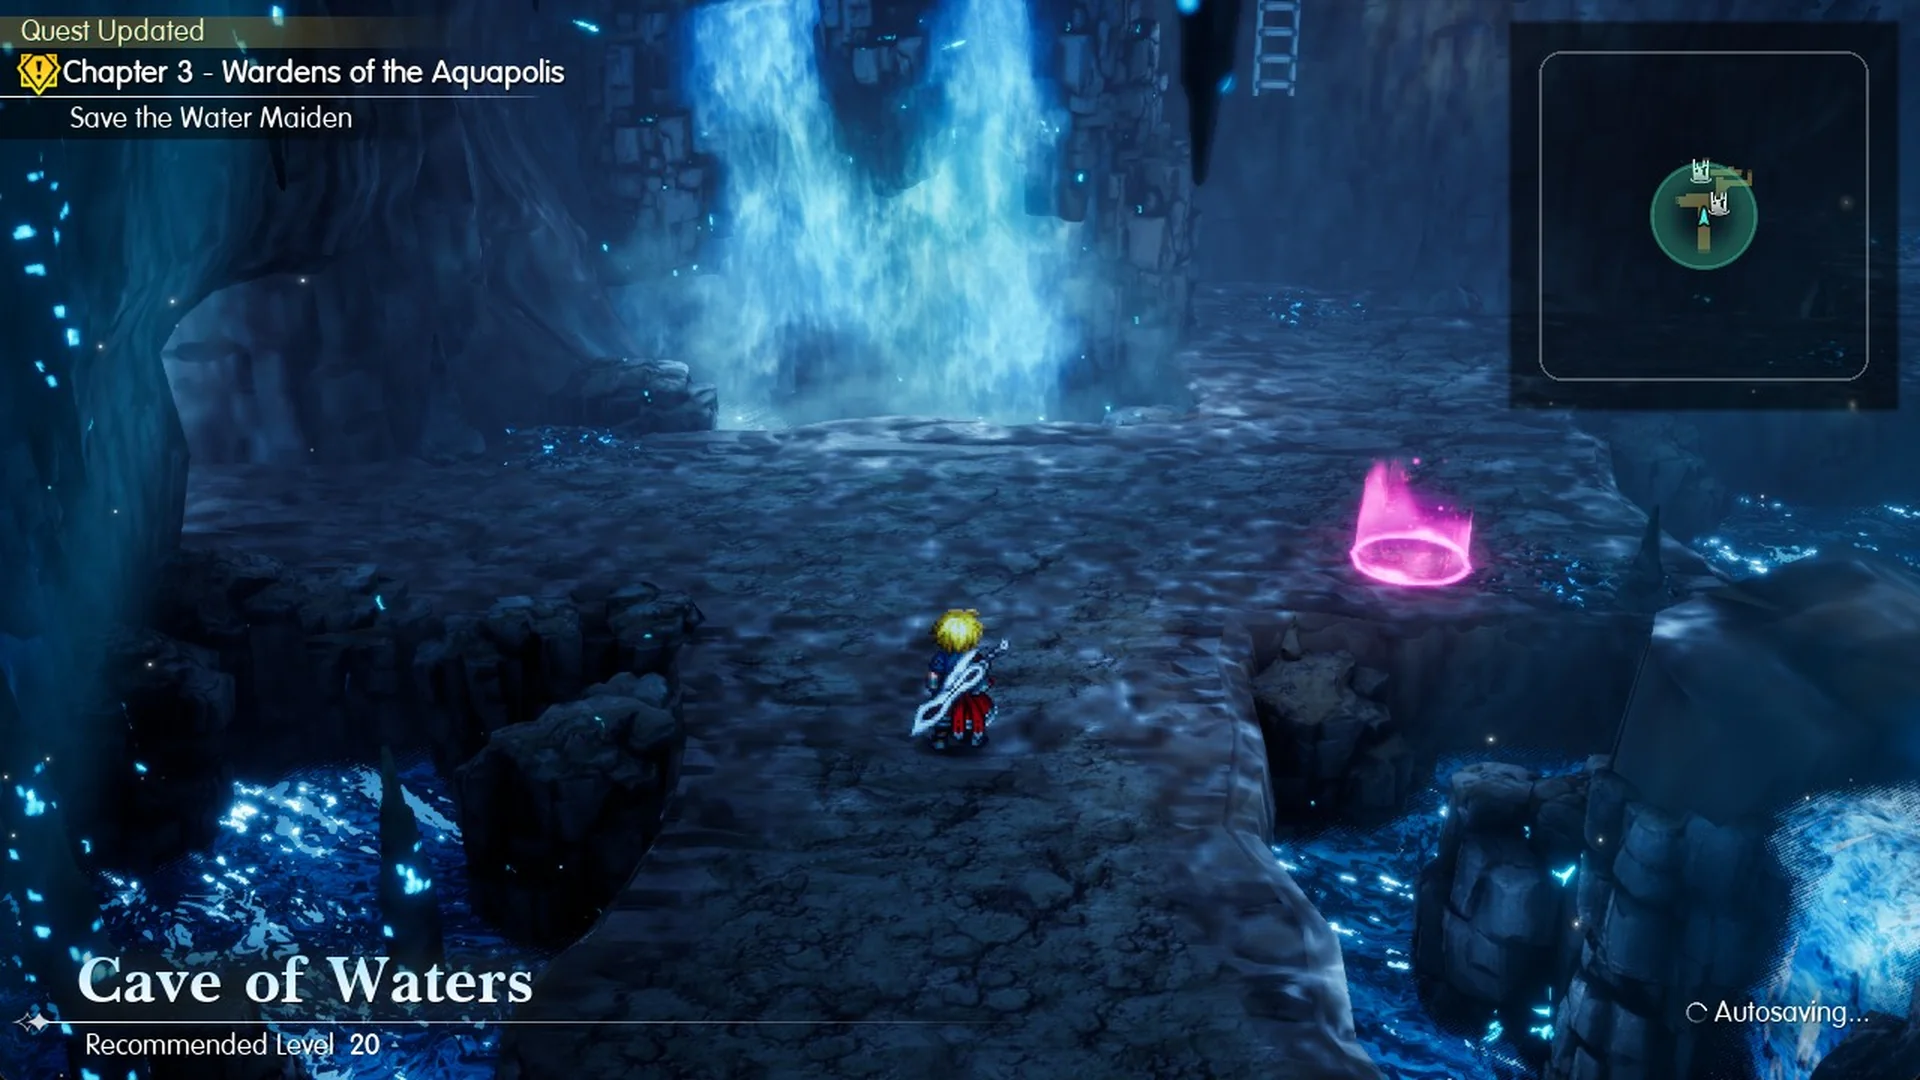
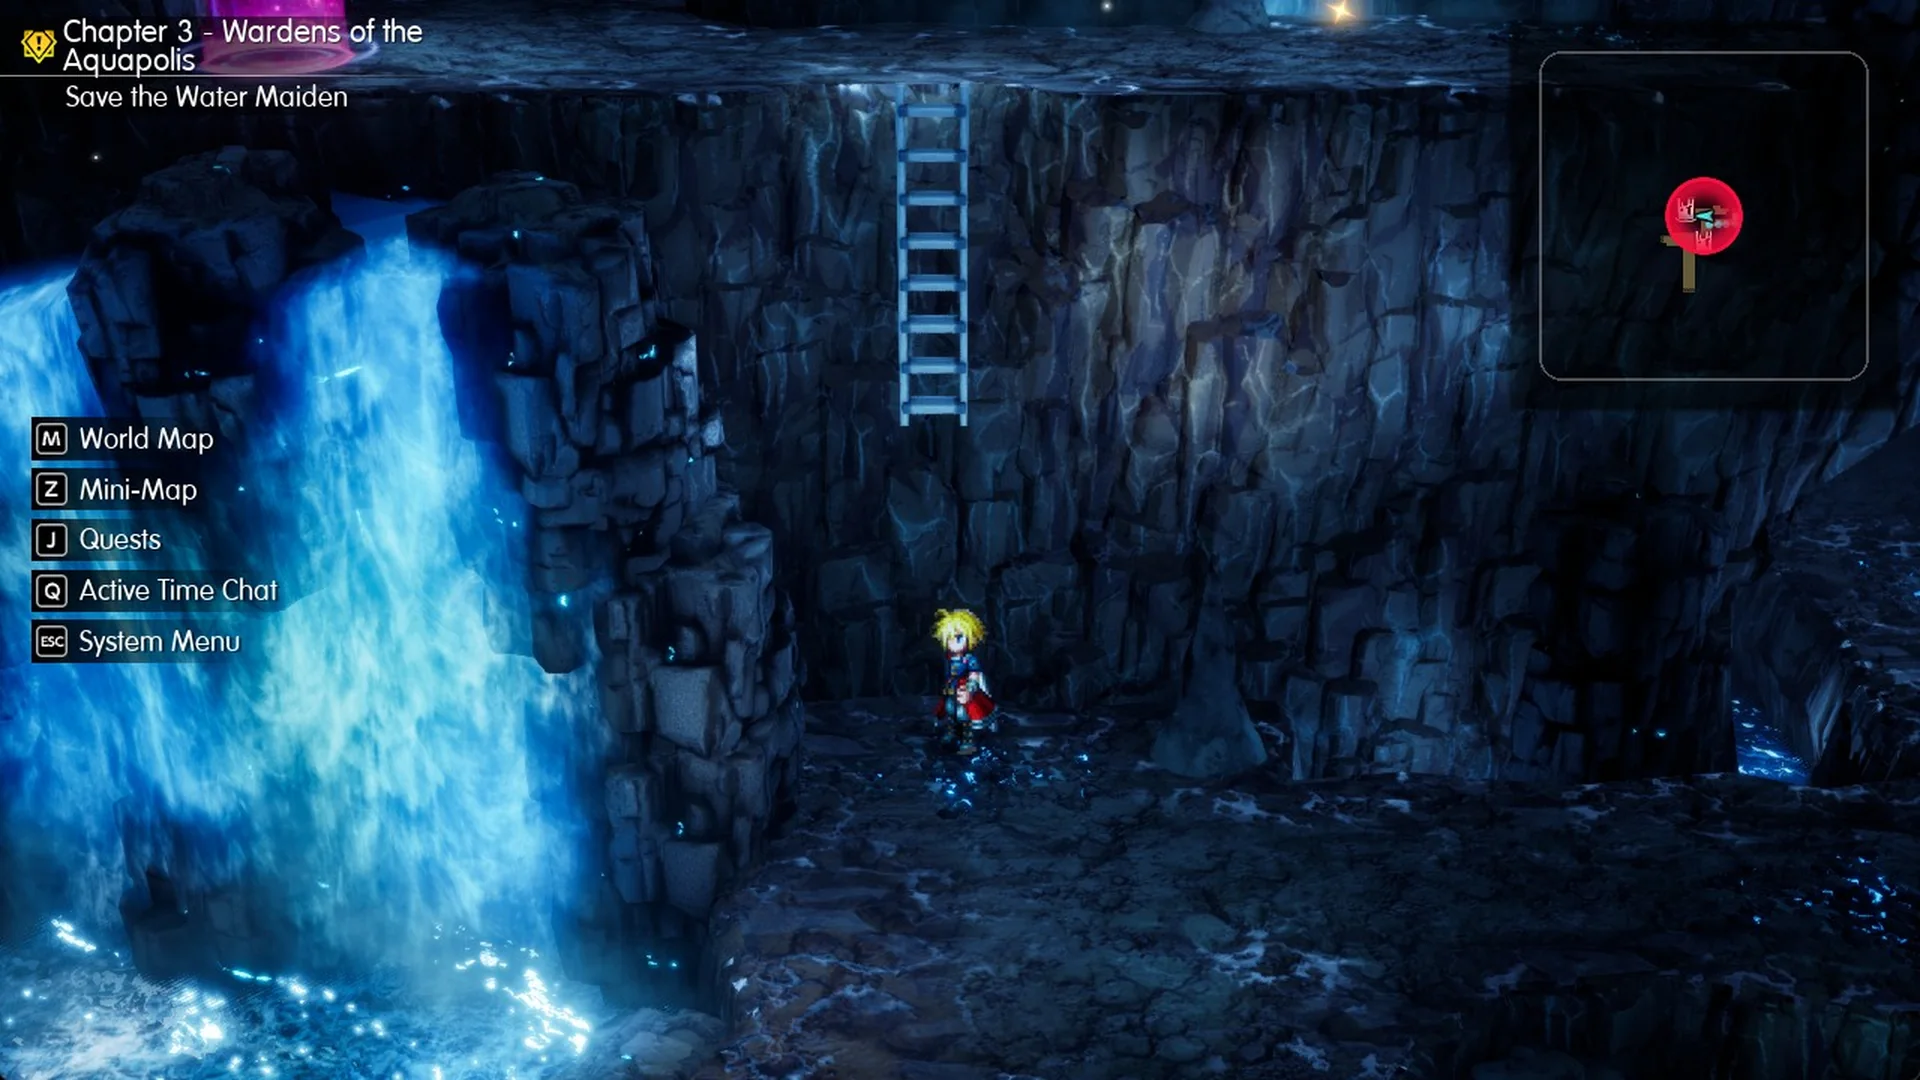
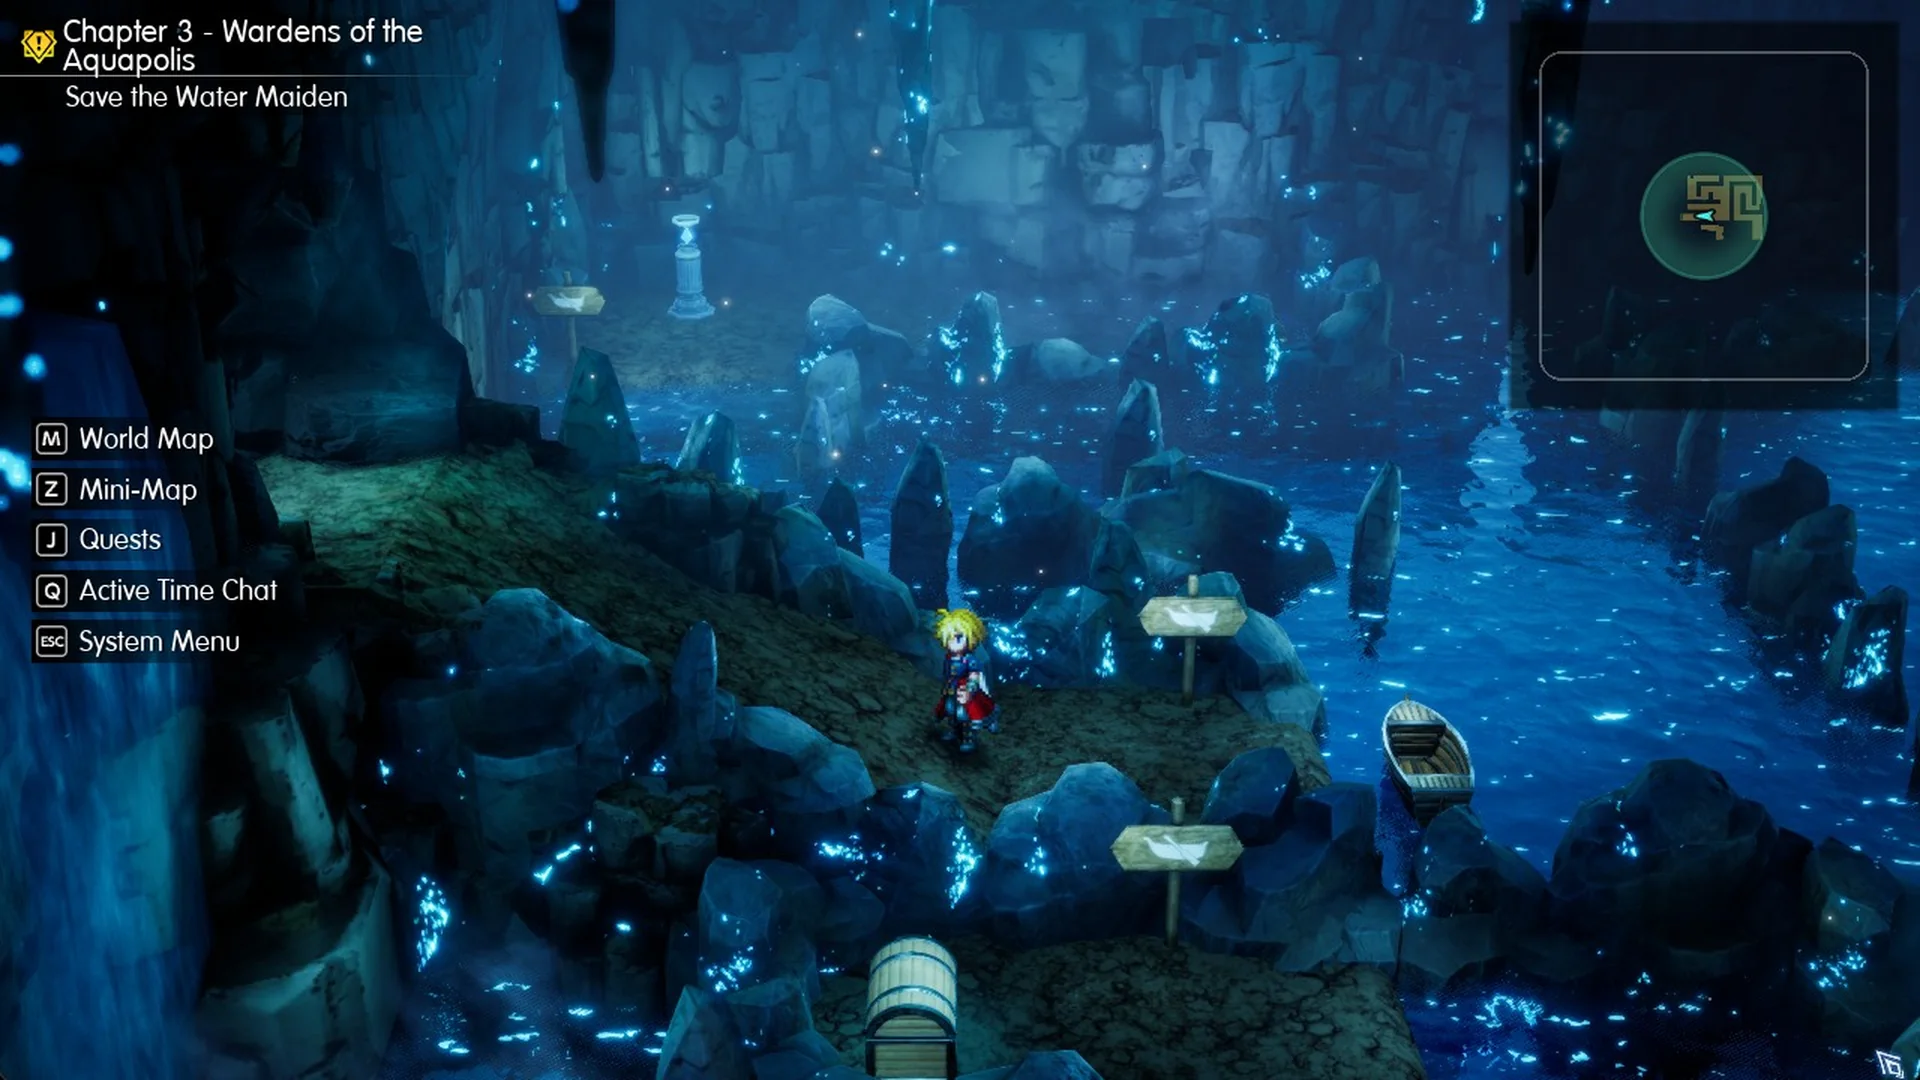
You can also swap Nichol into the party at this point. A coiled rope ladder hangs on the cliff near the save point, but it can only be lowered from 2F, so there’s no way to climb it here. Instead, take the exit at 1F’s north-east corner into the raft hall.
Area 2: The raft hall switch
A blue switch pillar is beside the Area 2 entrance. With the hall drained, the raft rests at the bottom and is unusable.
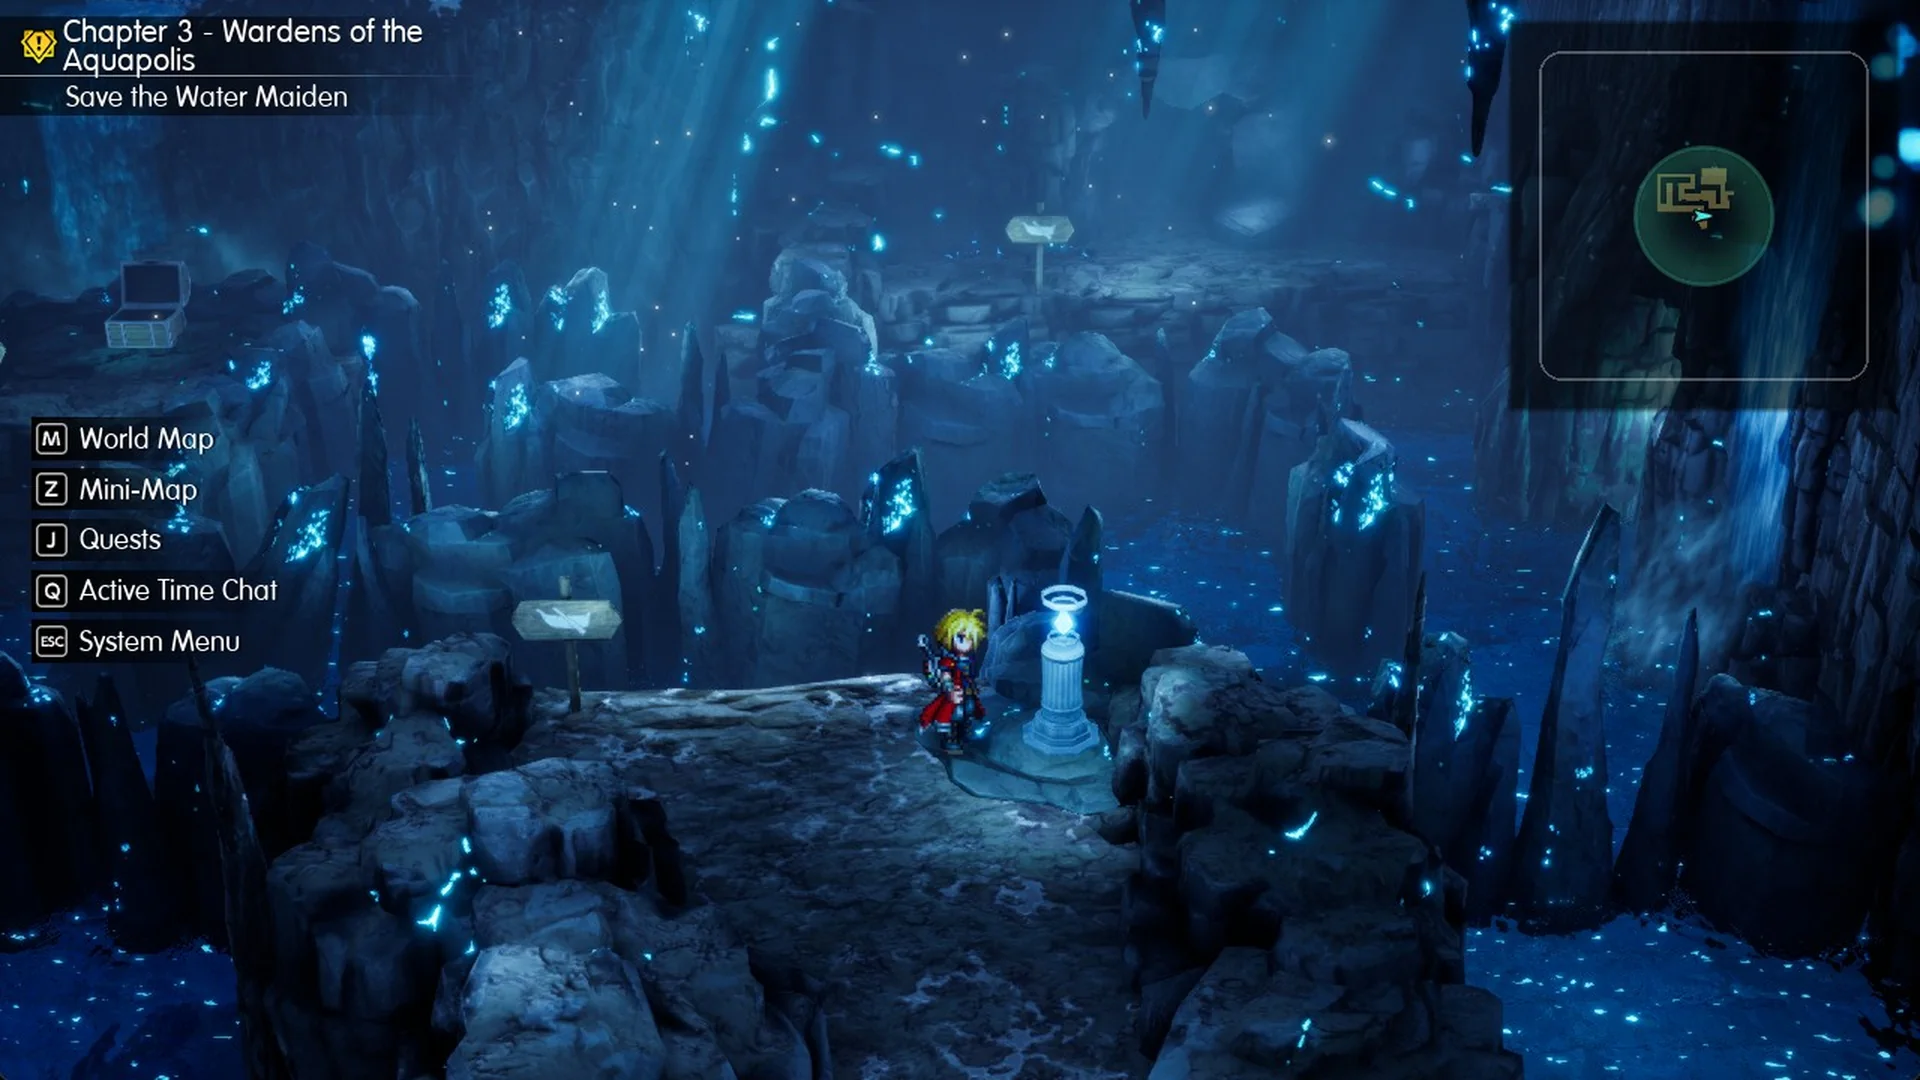
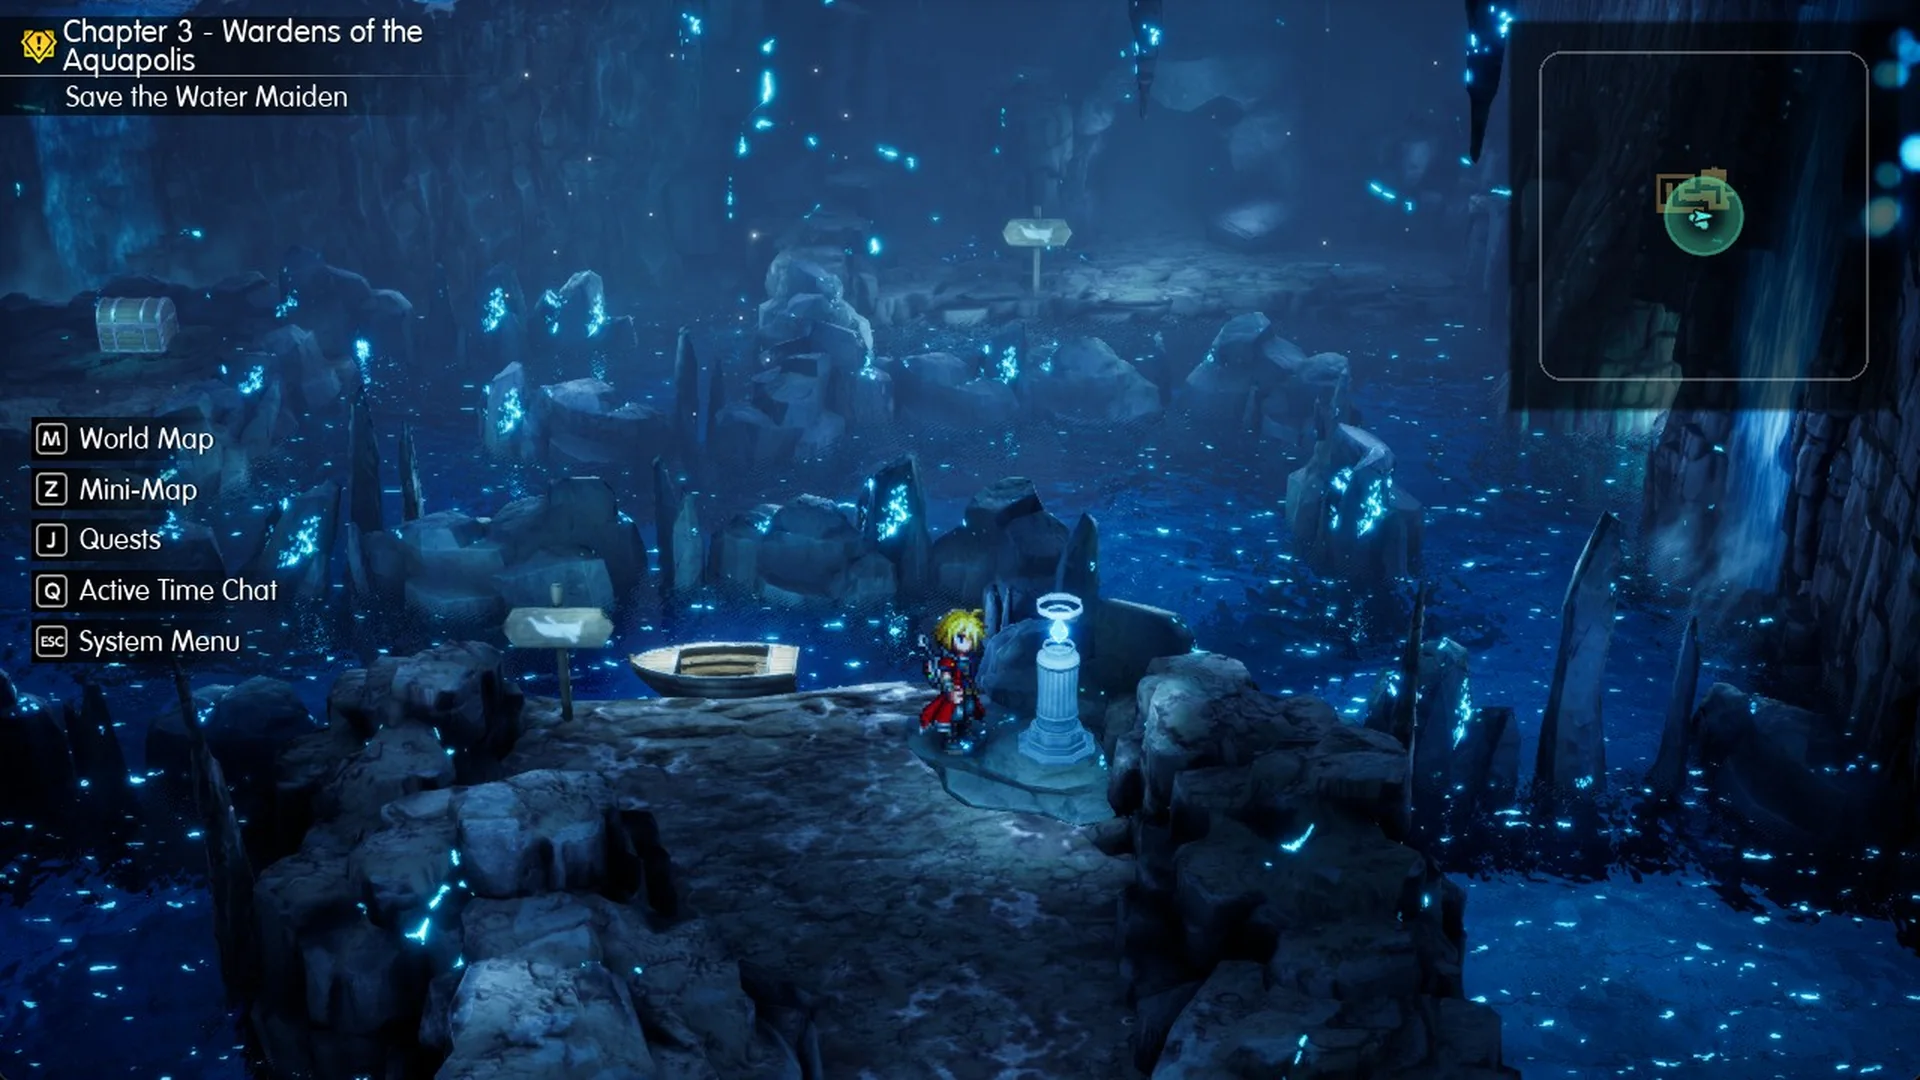
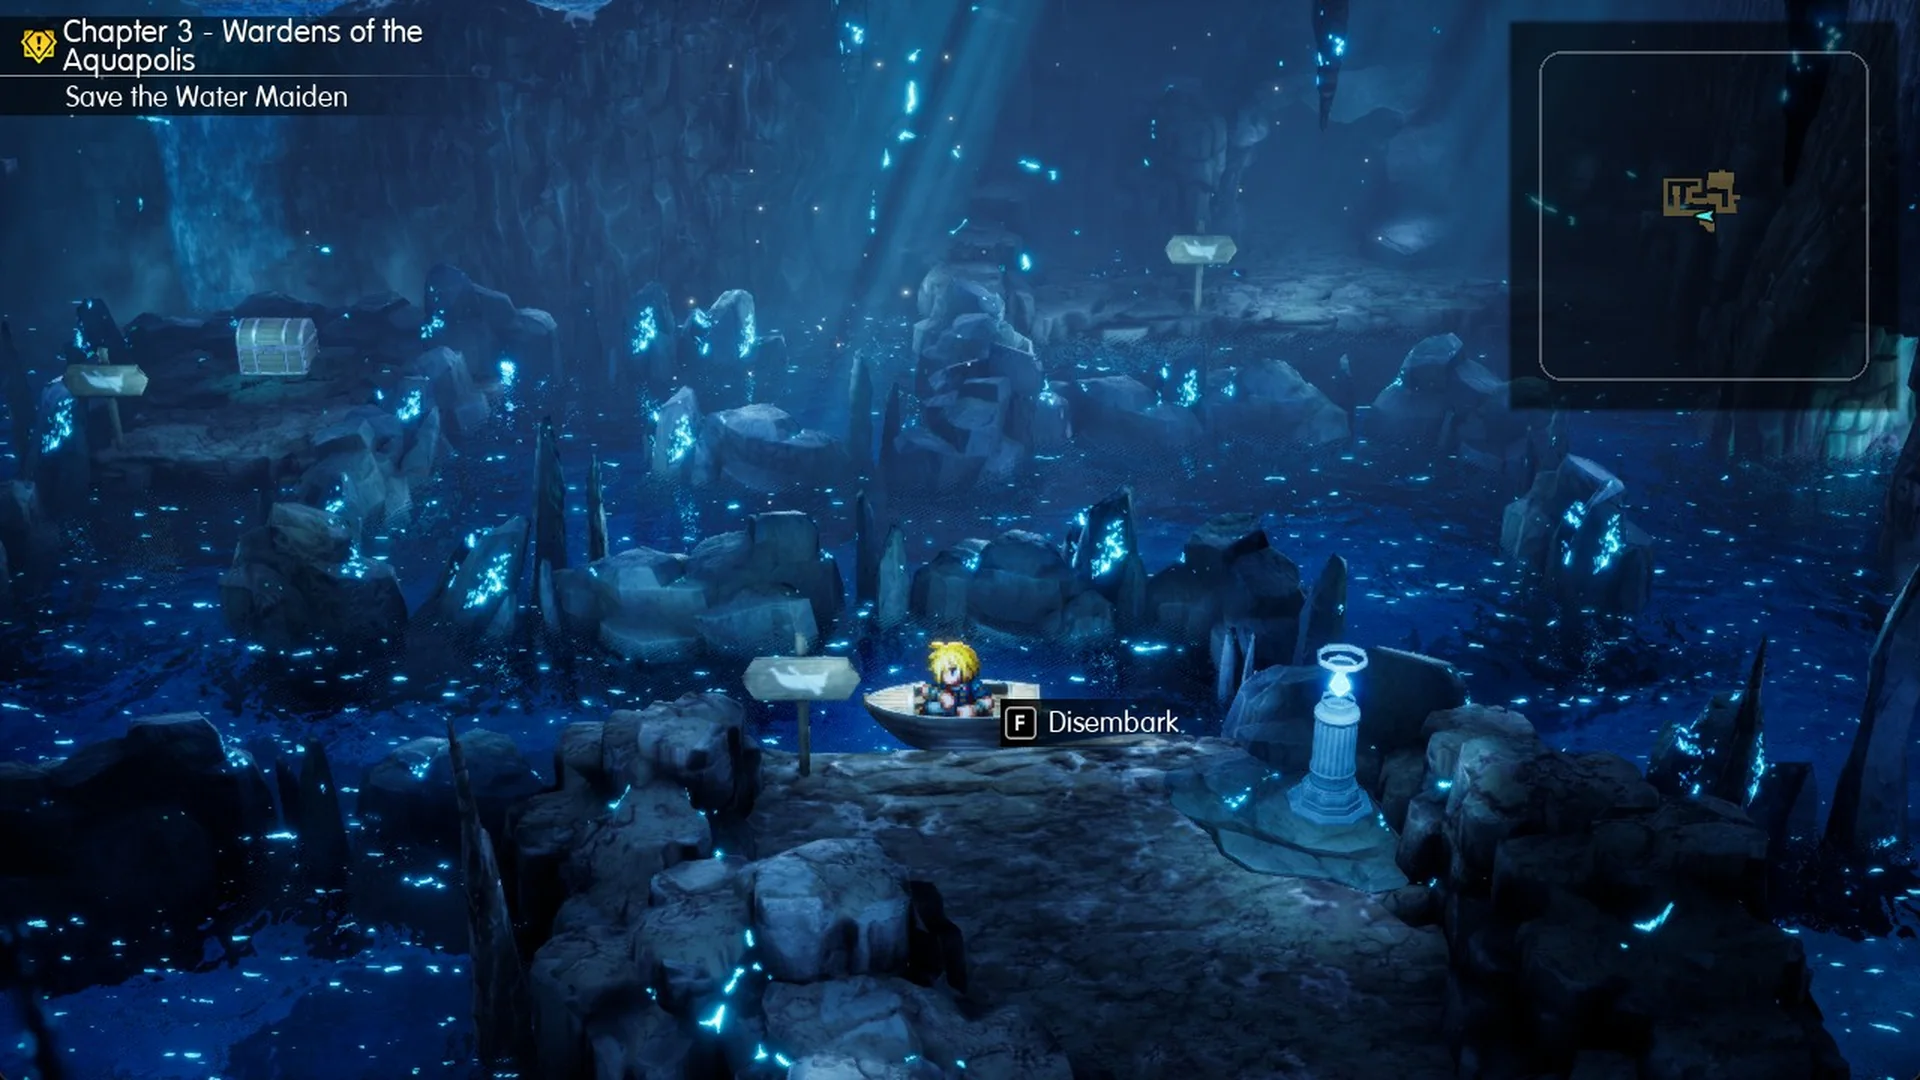
Area 2 raft route: The long way round
The start dock only opens into the south lane, and heading east along it leads to a dead end. To reach the far side, you have to take the long way round, which is about 95 m of rafting. Follow these lanes in order:
- West along the south lane
- North up the west lane
- East along the north lane, then down a short lane
- East through the middle basin, then south into the south-east basin
- North up the east lane into the north-east room, where the dock is on the south side
The passages measure only two or three metres across; steer down their centre. No item needs unlocking here, and there isn’t another switch. Hitting a wall means you’ve gone the wrong way.
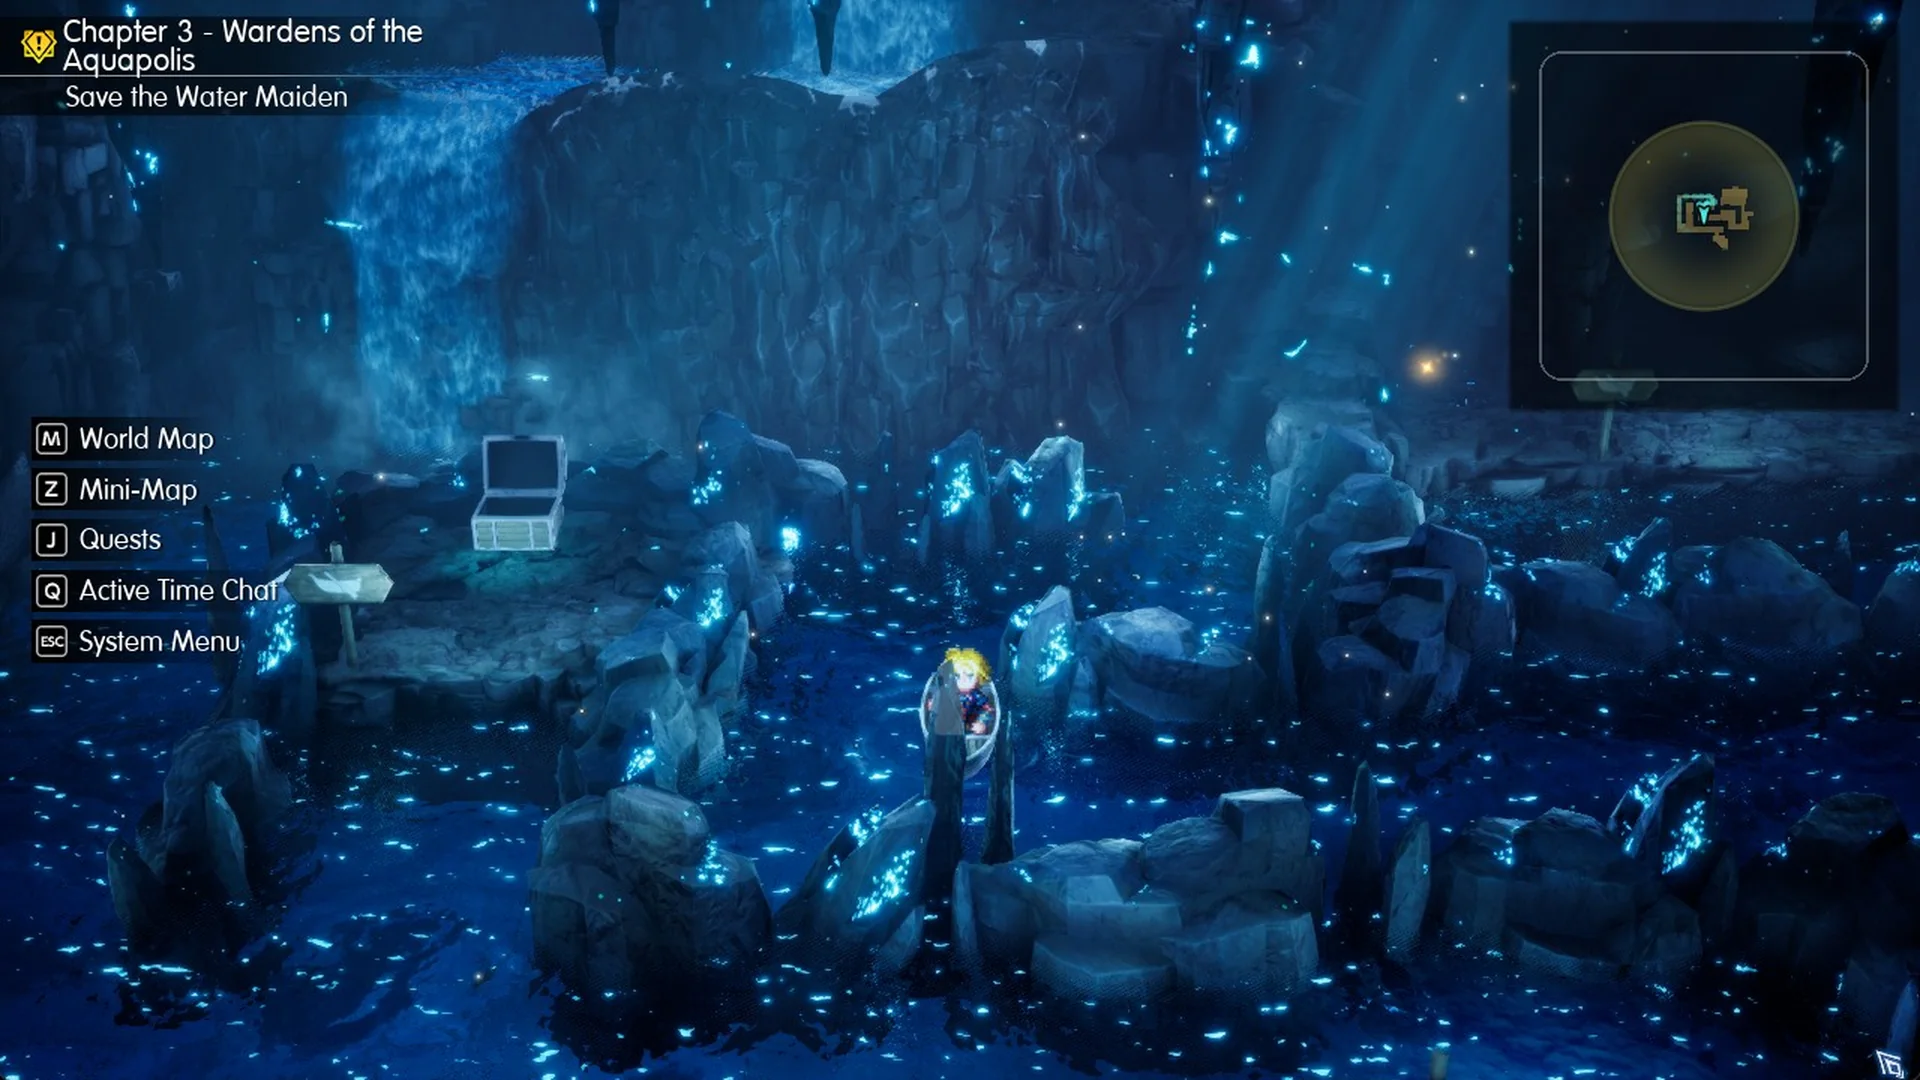
A brief branch also runs north from the south lane. It leads to a small landing and a chest containing a Magicite Shard, used for Magicite. Step off the raft, collect the chest’s contents, then climb aboard again to proceed.
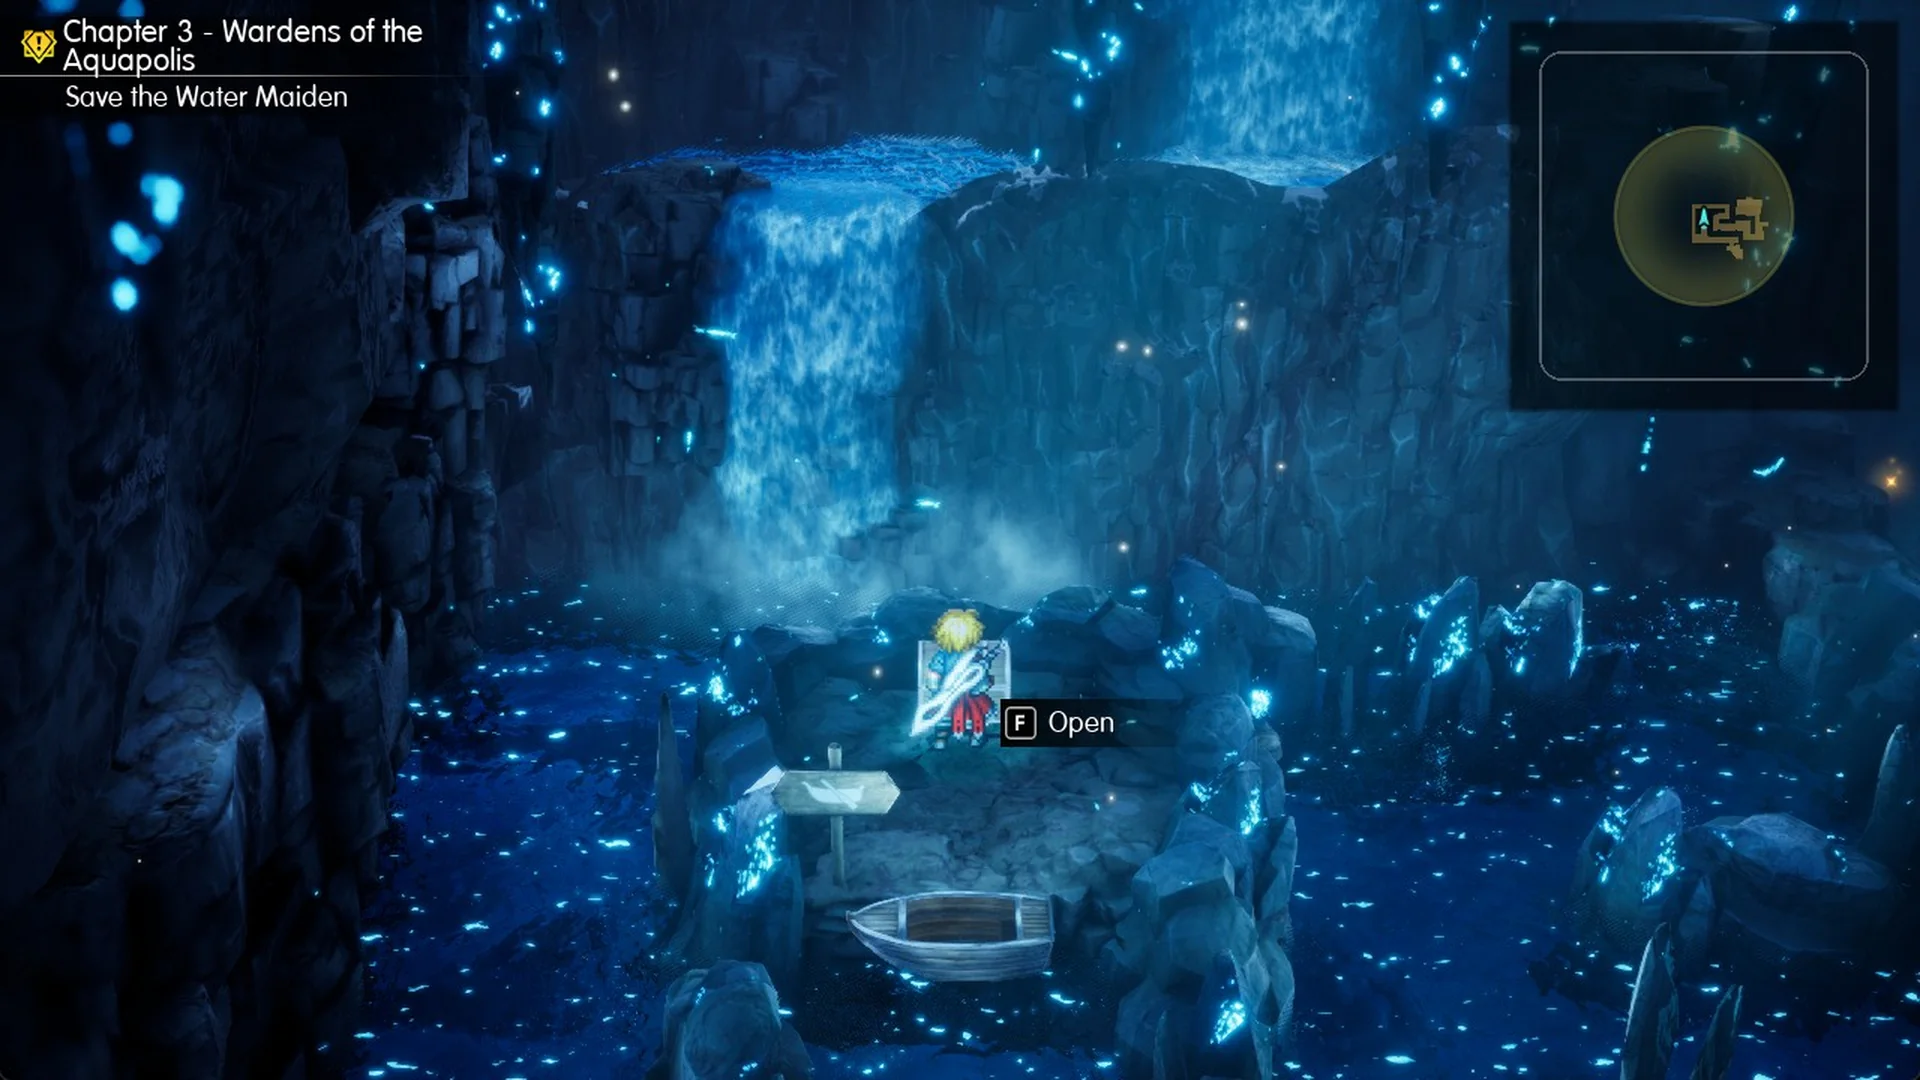
Area 2: Tablet Shard and the way out
Press F Disembark at the dock in the north-east room.
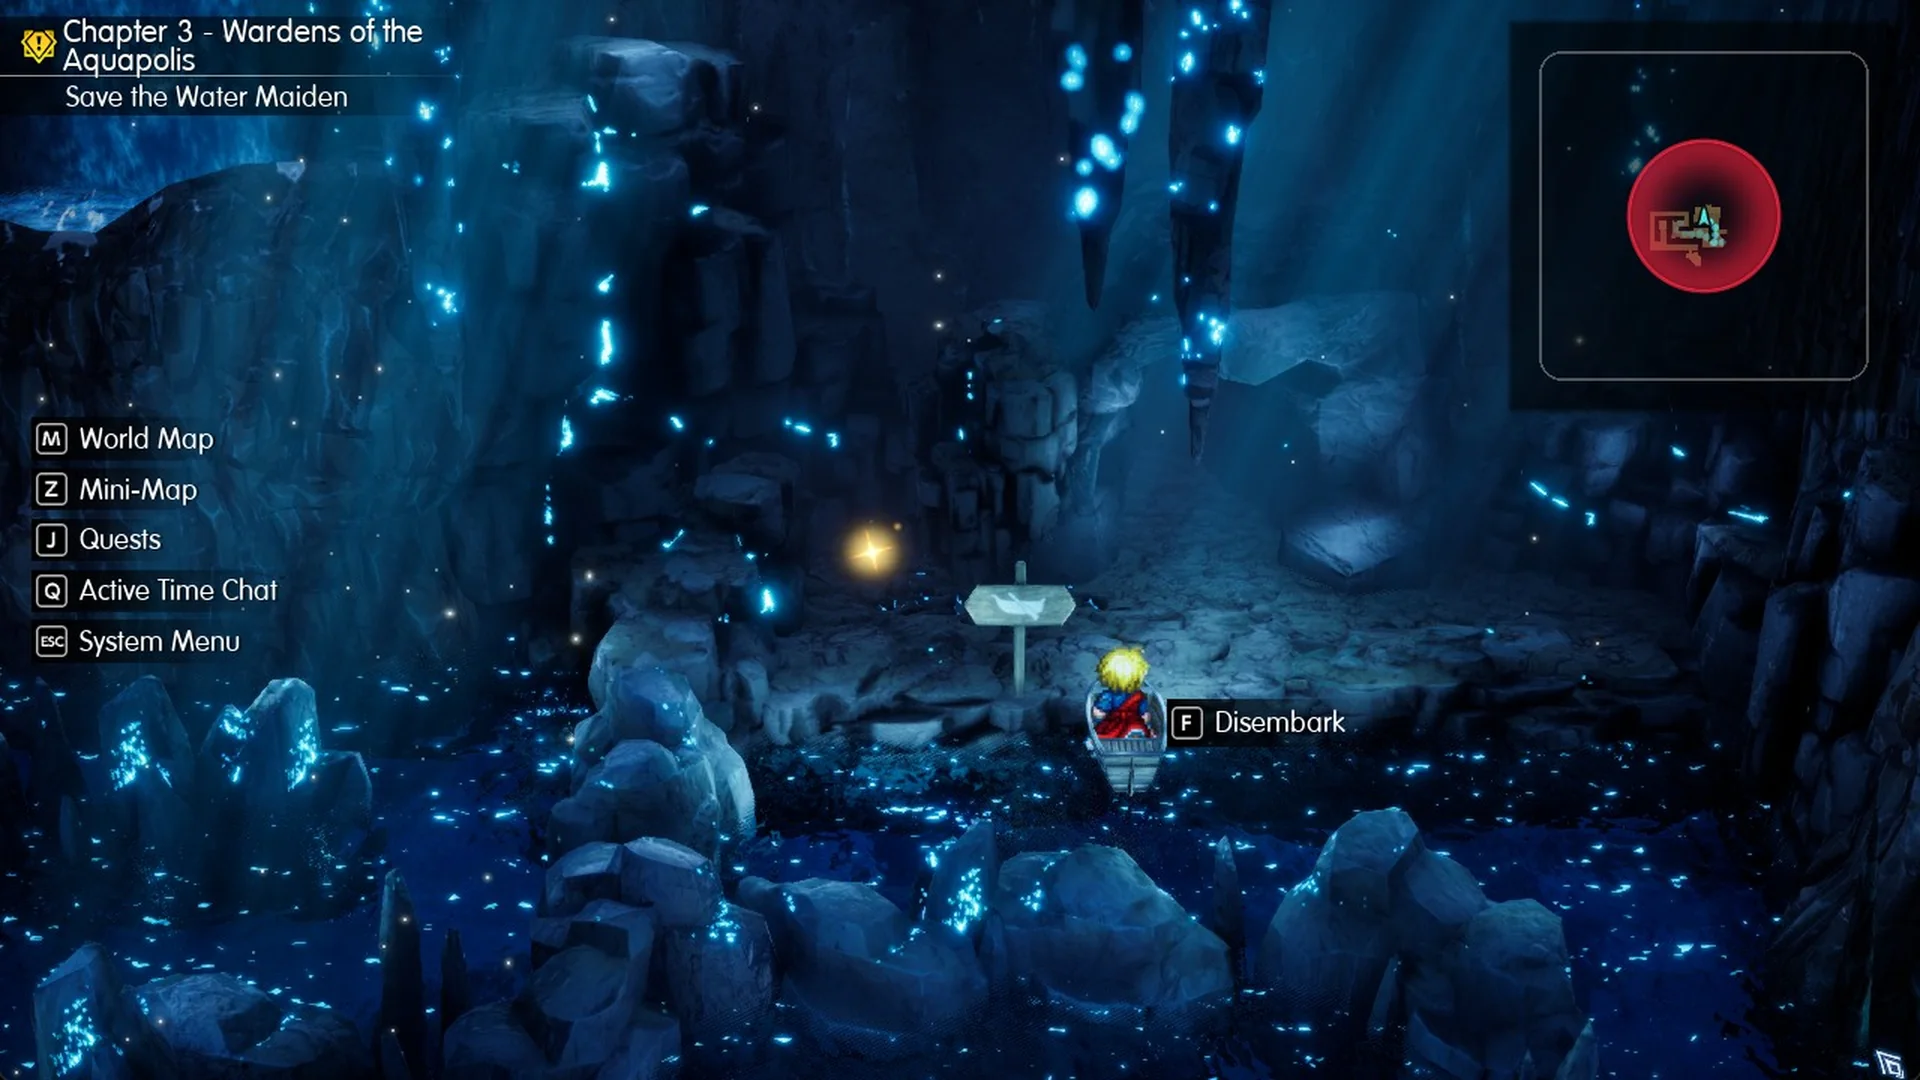
Just north of the dock, a Tablet Shard glimmers on the ground. Press F Examine to collect it; the displayed message is “You obtained the following: Tablet Shard x1”. The Area 4 exit lies north-east of the dock and activates as soon as you enter. To make sure you don’t leave before collecting the shard, head north and a little west to it first, then continue to the exit.
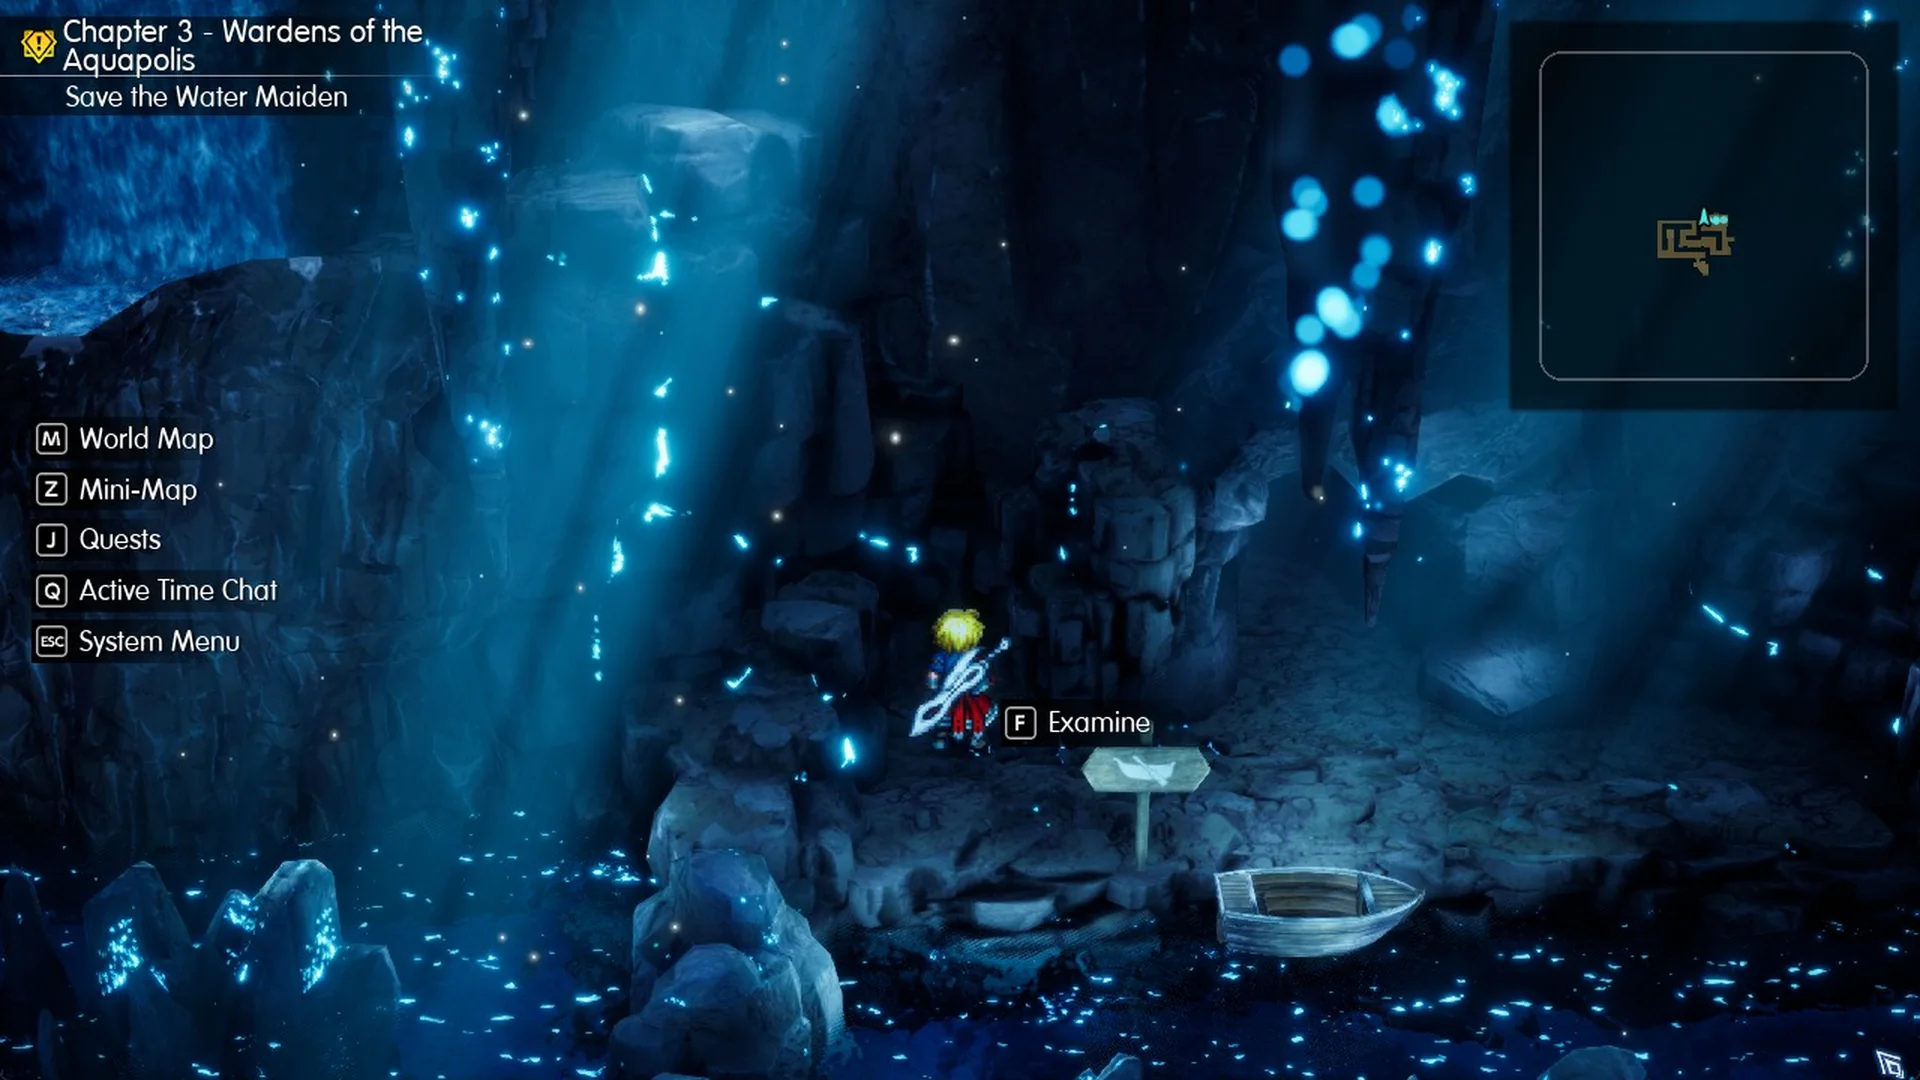
Area 4: The second switch and the Shuriken chest
In Area 4, you’ll find a switch at the far end of the corridor east of your arrival point. Press F to fill the area.
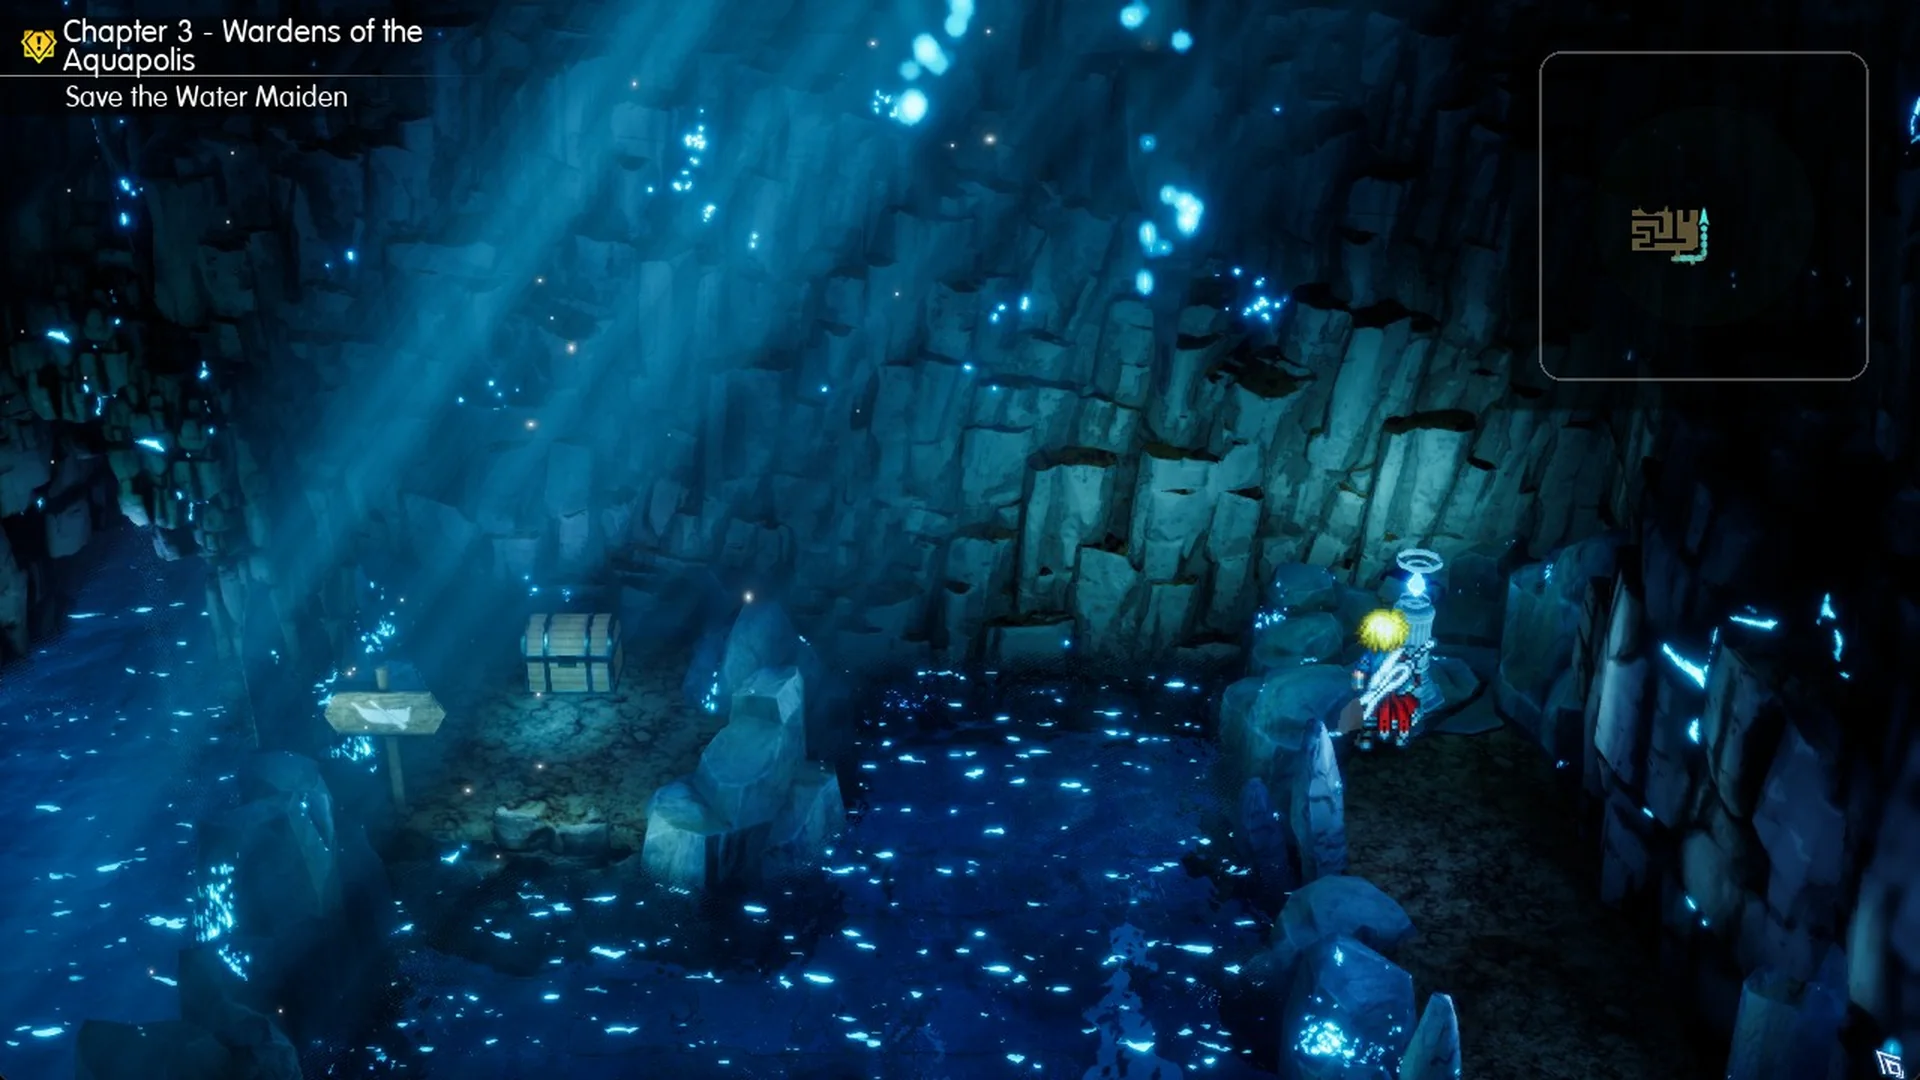
Then return to the raft at the landing where you arrived. Ride north to a small landing and collect the chest’s Shuriken x3. Since there’s no path onward from that landing on foot, return to the raft afterward.
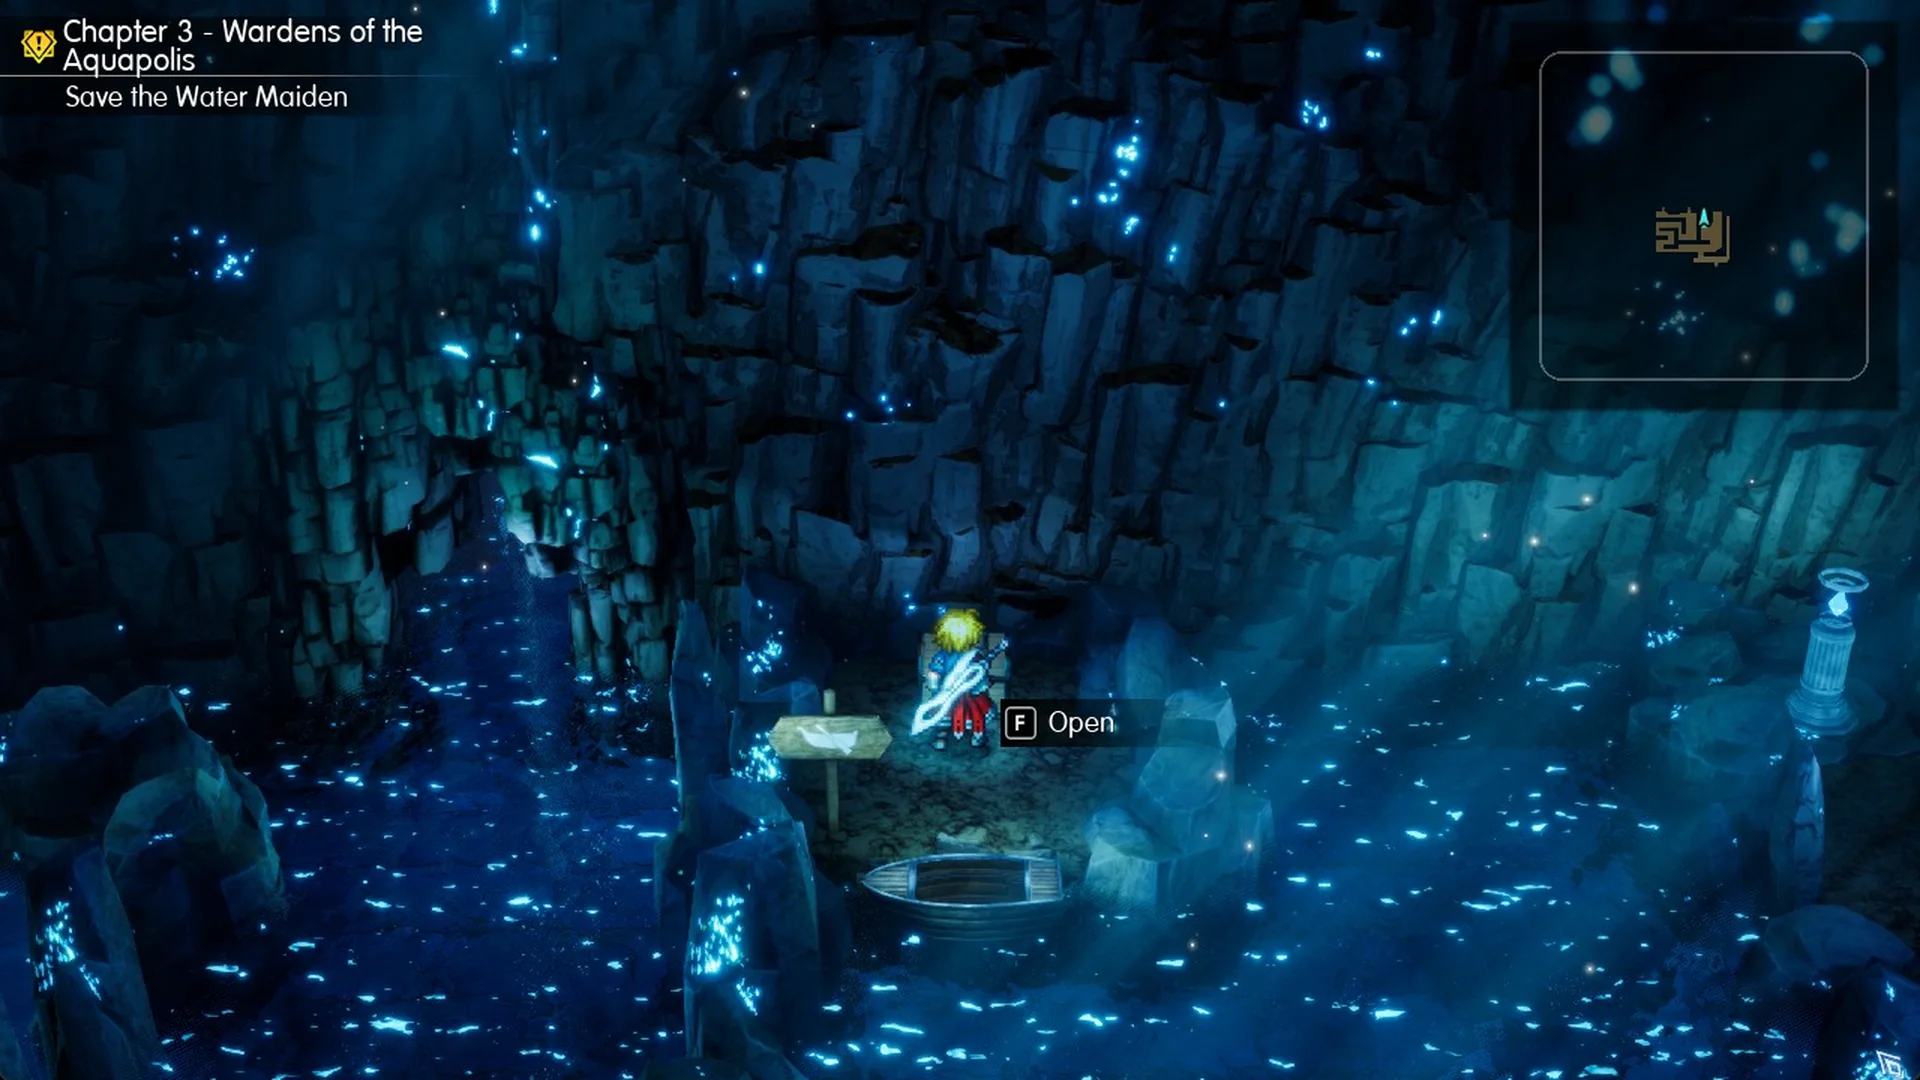
Area 4 raft route: The spiral to the north door
A spiral-shaped water maze fills Area 4’s western half. The wall ahead blocks a direct northbound route, so begin by going west. Move a short distance south, then travel west along the southern lane before heading north up the west side. Go east, north, west, and north once more; then follow the spiral’s upper edge east. Turn south, then east into the long lane running north-south, and ride north along it until you reach the door.
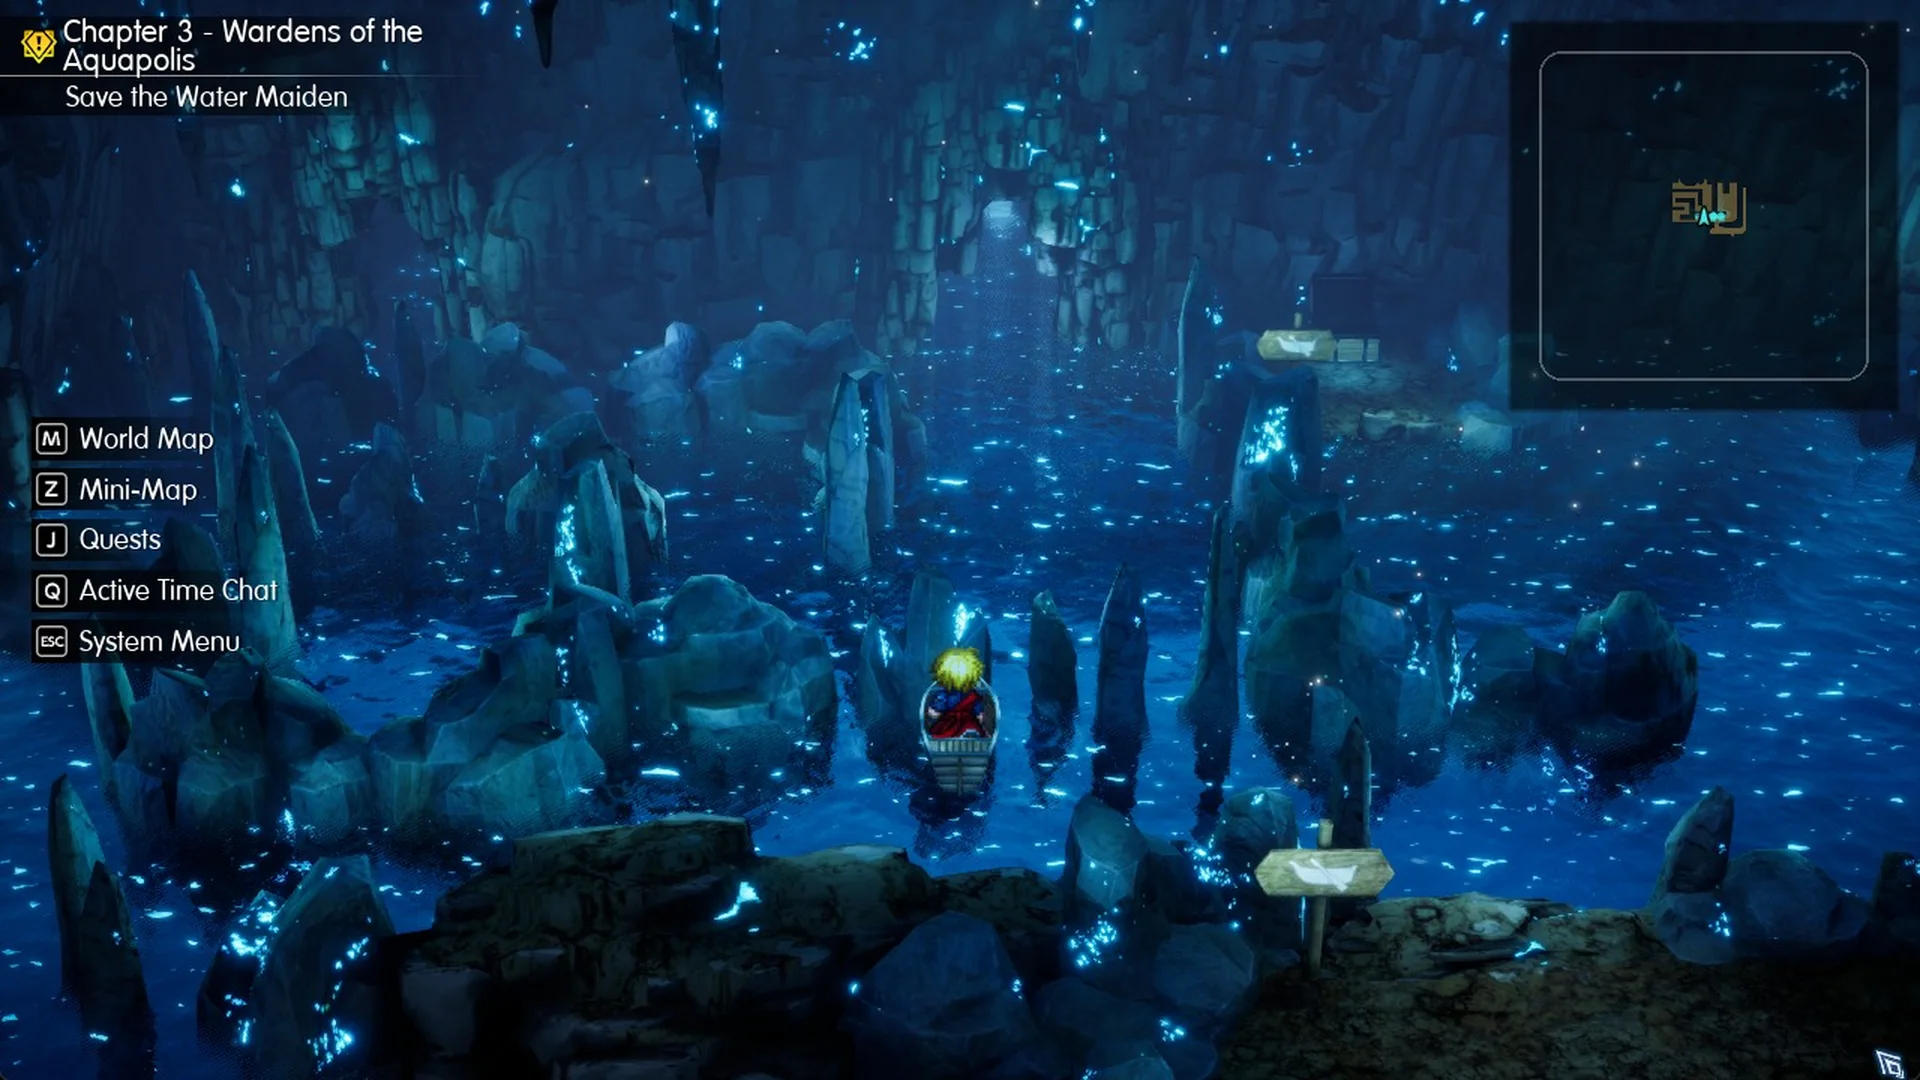
There are two doors on Area 4’s north edge, and you pass through both on the raft. The door at the end of the long lane is the way forward and drops you, still on the raft, into Area 3. The other door sits further west along the same edge and leads to a small sealed pocket of Area 3 with one chest, Ice Scroll I x2, and back again. The detour is worth taking: Ice Scroll I deals Ice damage (“Power increases and targets all enemies when thrown.”), and Wave Lopros is weak to Ice.
Area 3: The exit dock and the climb to 2F
You arrive on the raft in Area 3’s main water.
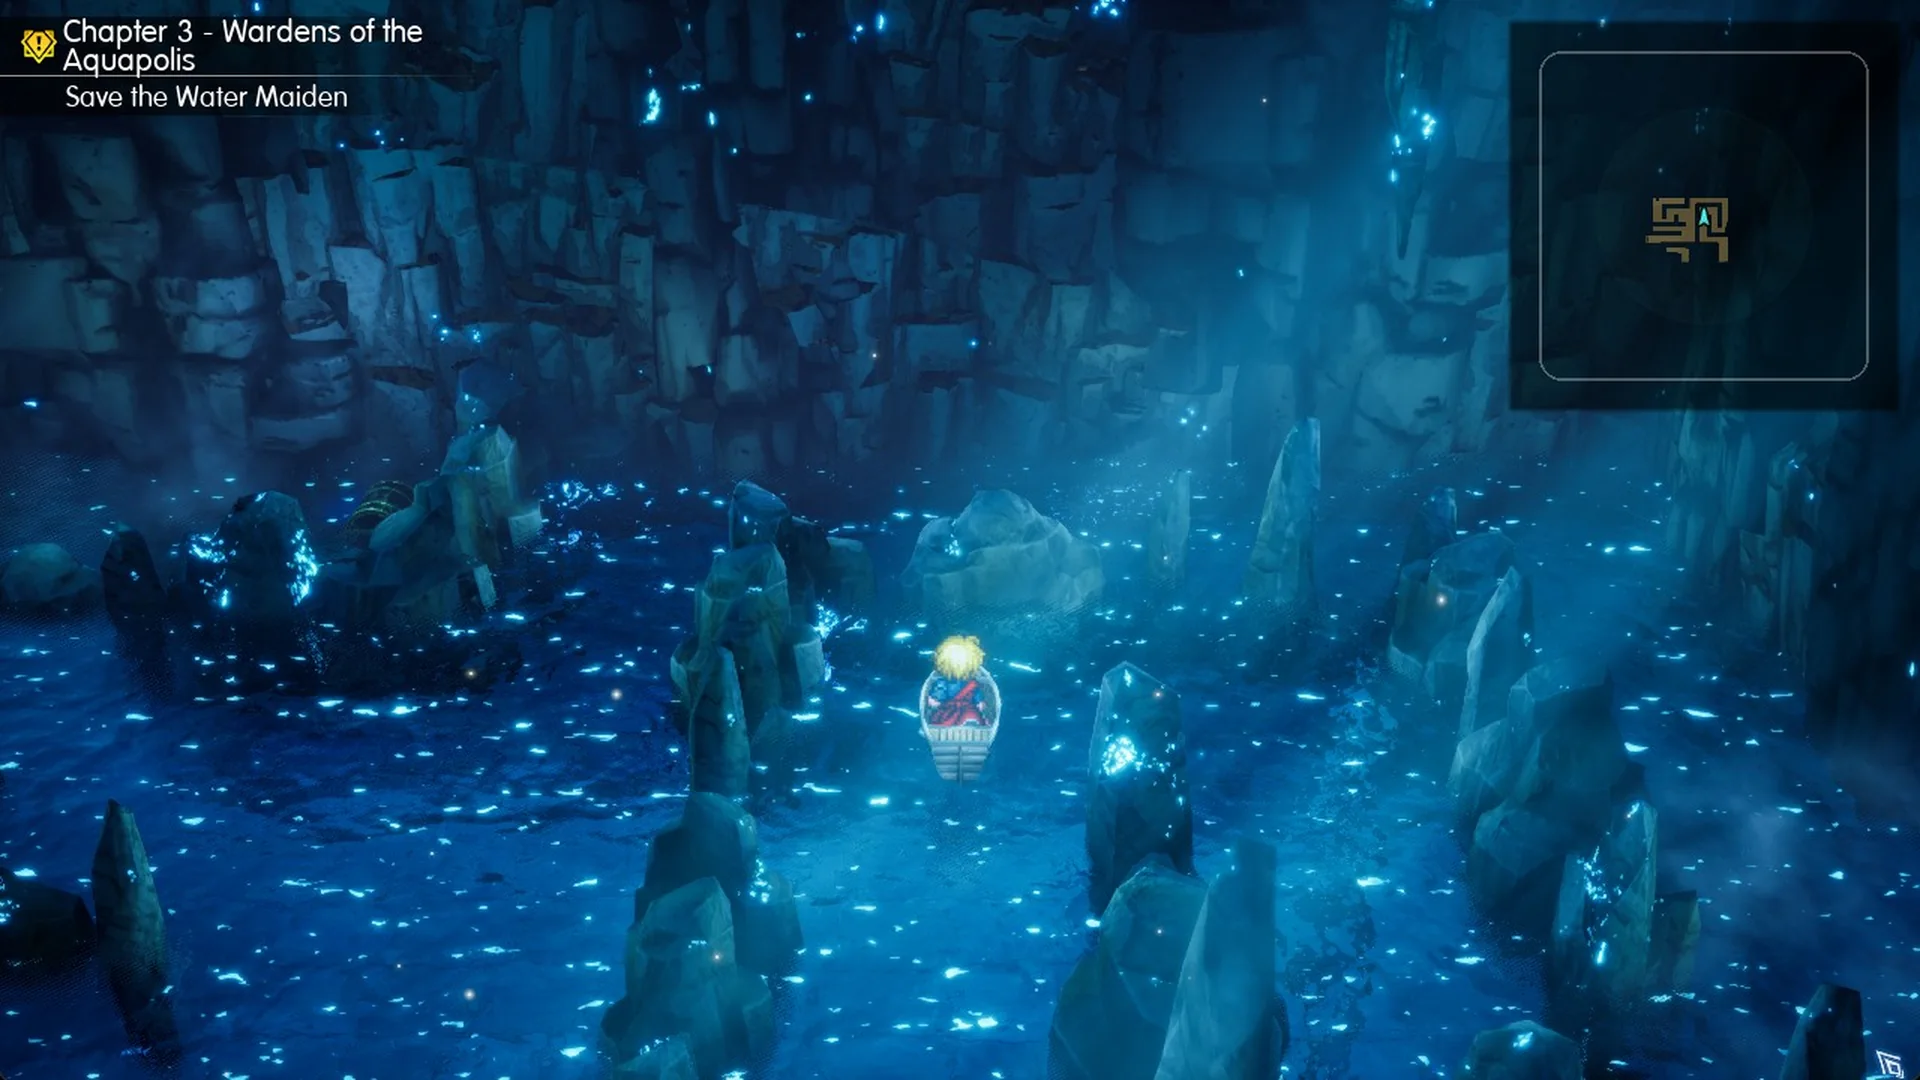
Before you leave, raft to the landing at the area’s north end, next to Area 3’s own switch. The chest there holds Ninja Gear, a light armor with Phys. Def. 78 and Mag. Def. 61 that “Adds a 15% chance of evading physical attacks.” Then raft to the exit dock and press F Disembark.
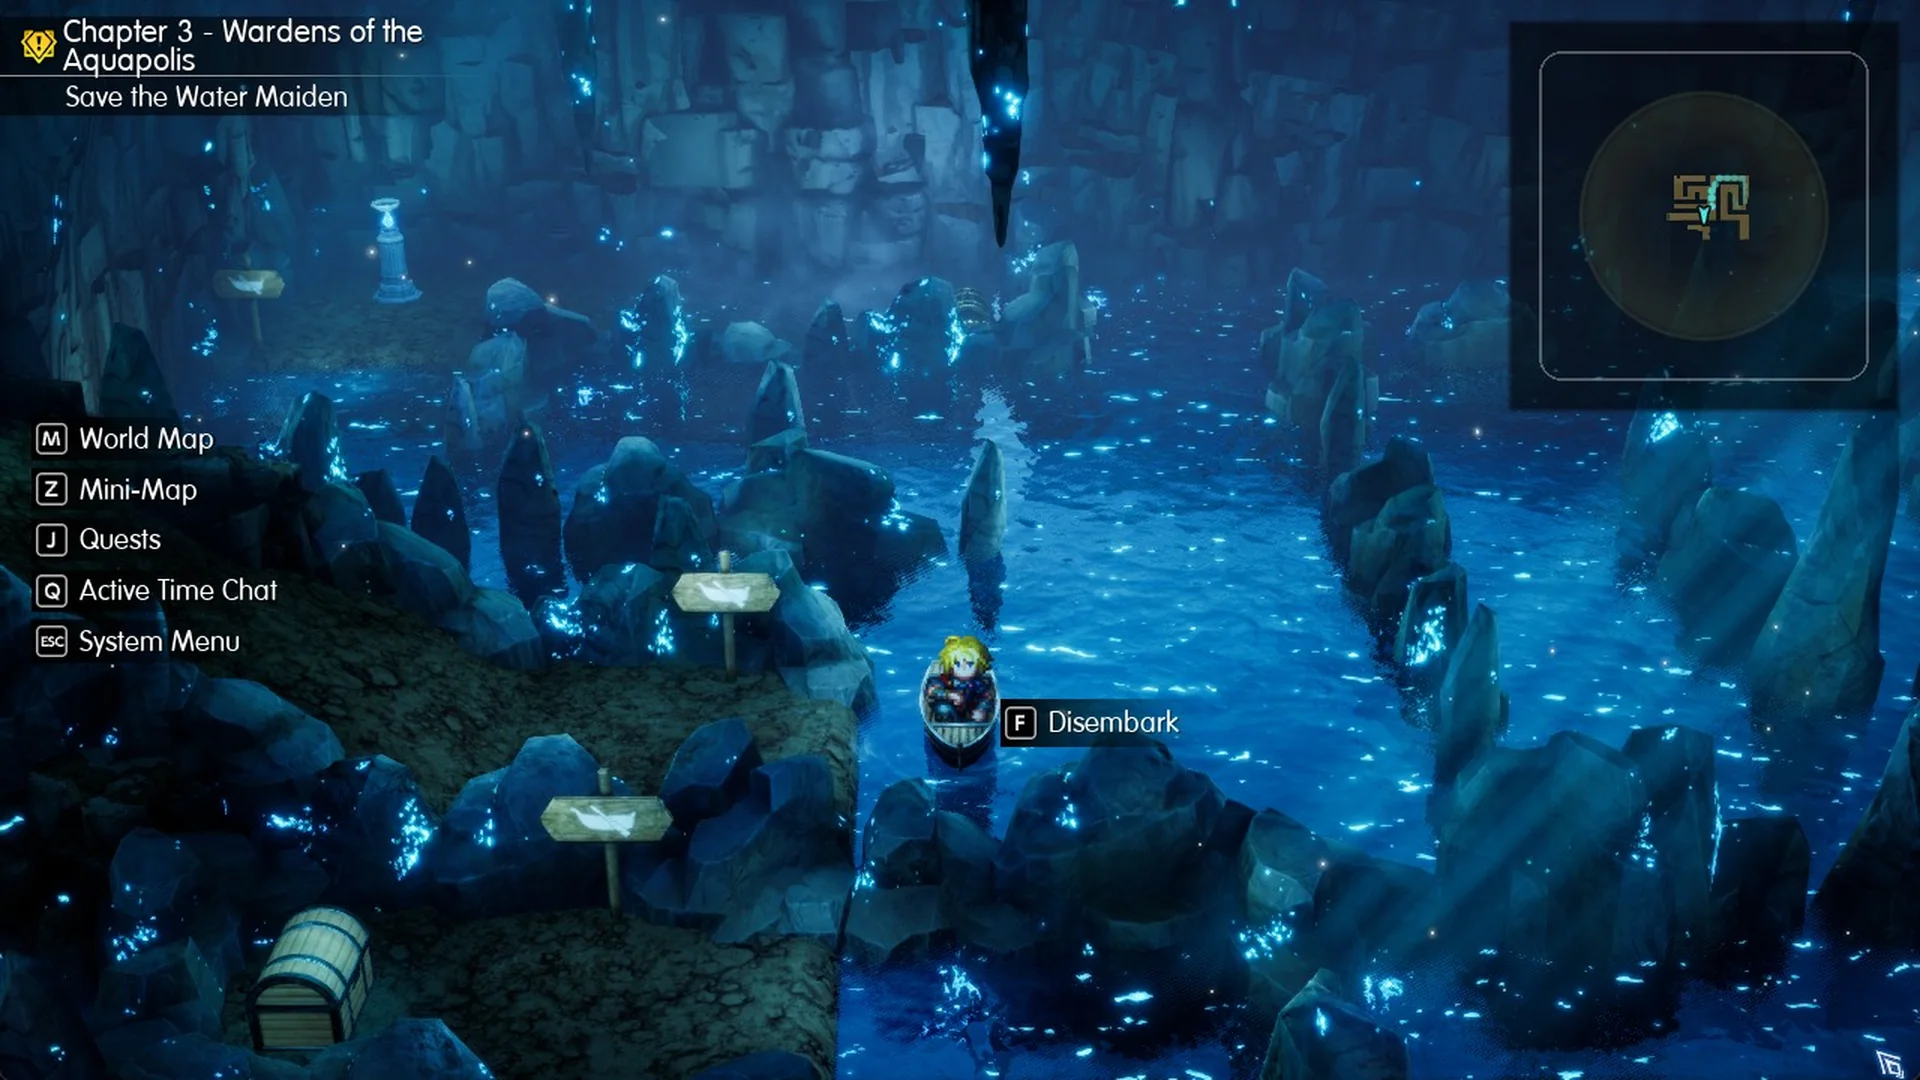
Walk along the strip of land to its end, and the exit takes you up to 2F automatically.
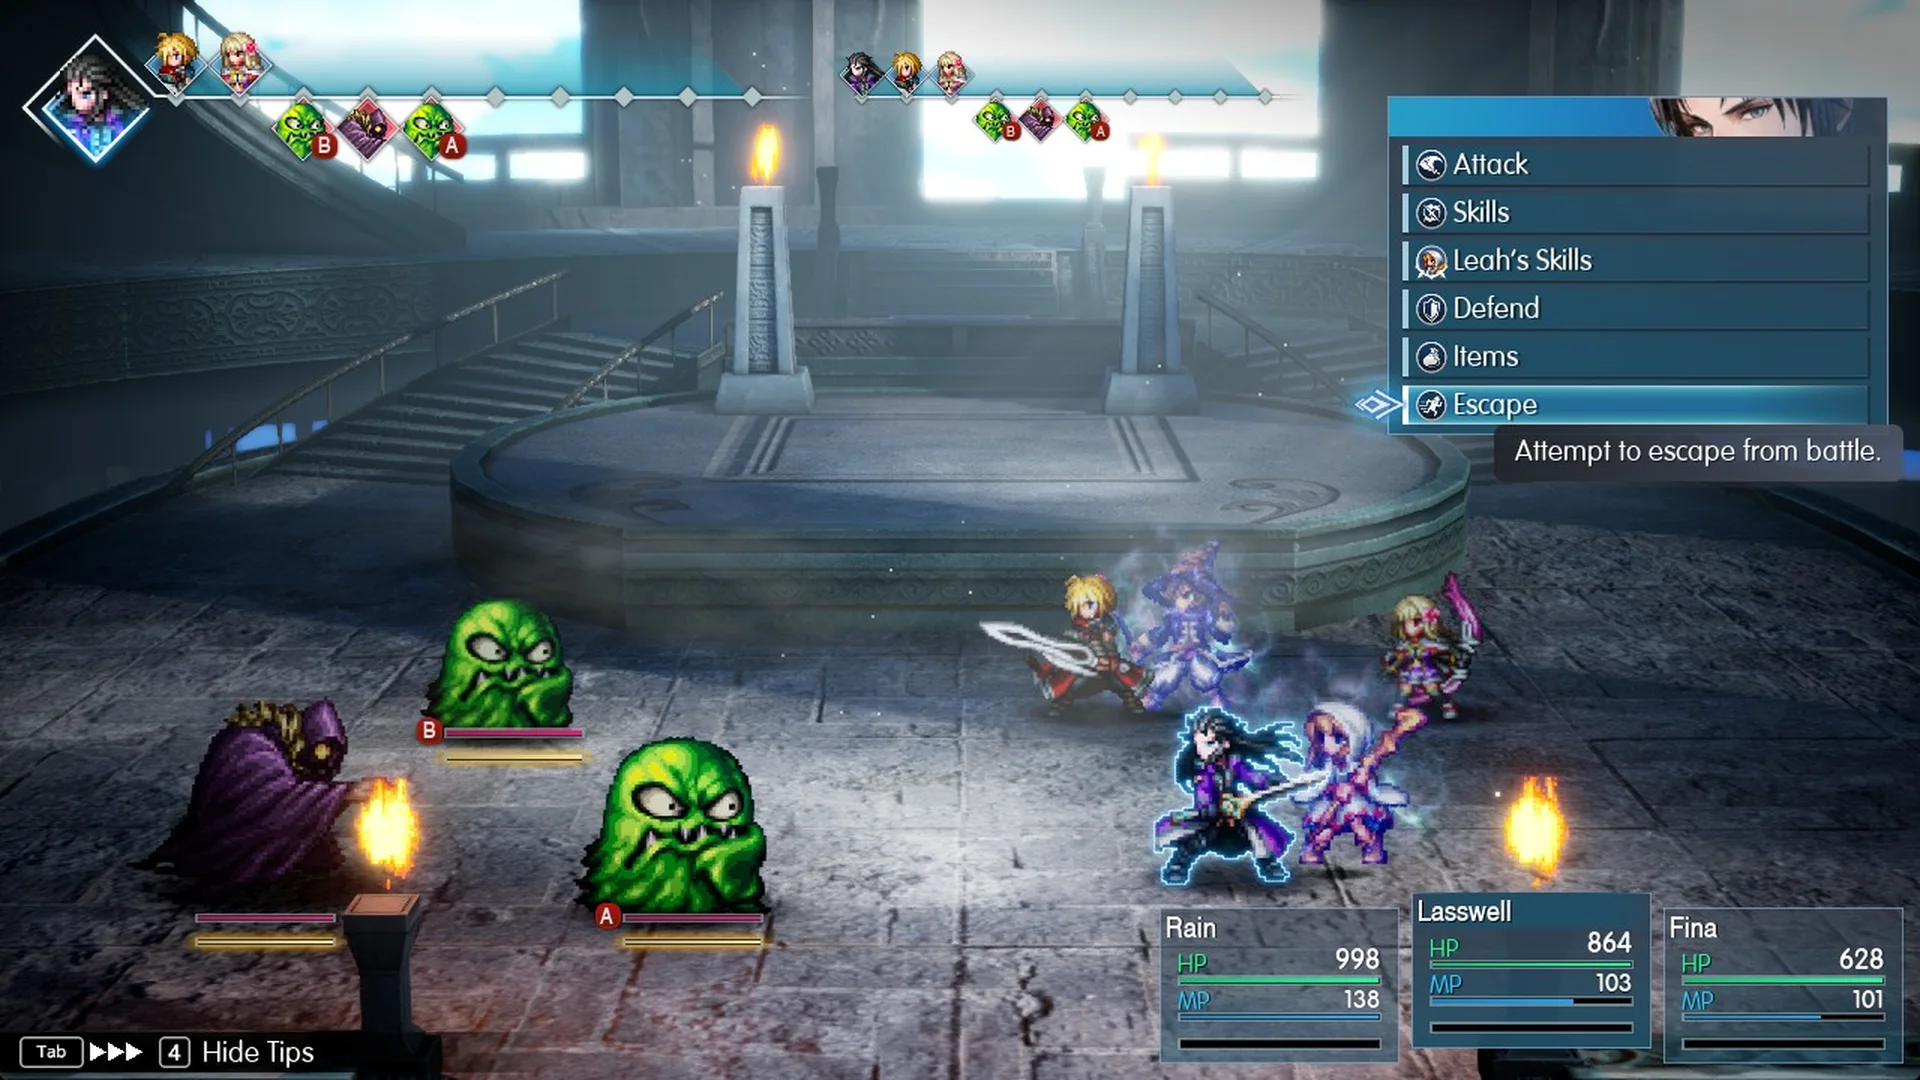
Expect random encounters both inside the cave and while travelling by raft. The hardest is an Adamantoise accompanied by two Anet. You can escape these random fights if things turn against you, and Retry restarts a battle if the party is defeated. See the complete roster on the enemies list.
| Enemy (Lv) | HP | Weak to | Resists |
|---|---|---|---|
| Adamantoise (20) | 5,580 | Ice | None (hard to stagger) |
| Anet (19) | 1,900 | Thunder | Halves Water |
| Green Soul (19) | 530 | Ice | Halves Wind (easily staggered) |
| Stunner Rat (18) | 500 | Ice, Light | Halves Dark (uses Poison) |
Cave of Waters 2F: Tablet Shard and the boss save point
2F is a single flat corridor. The second Tablet Shard is a few steps north-west of where you arrive. Do not walk back the way you came, because that exit drops you into Area 3 again.
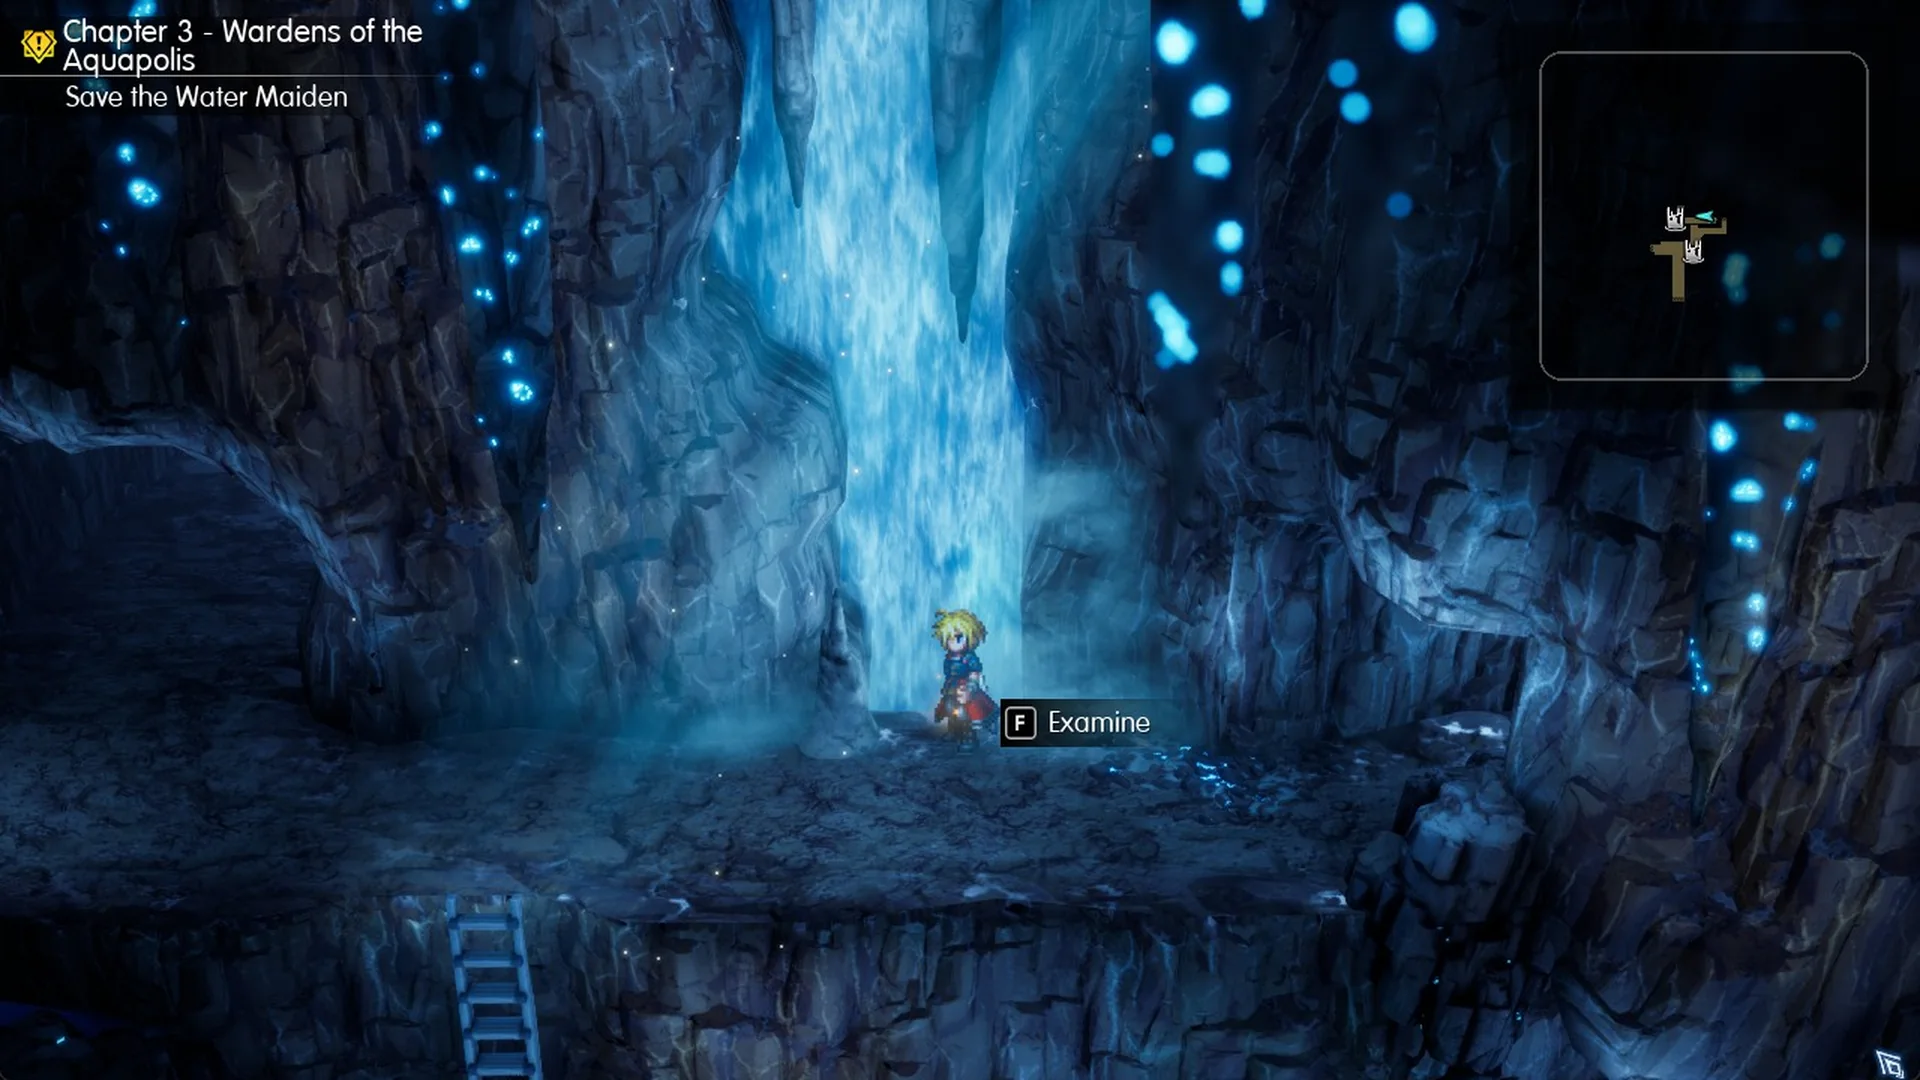
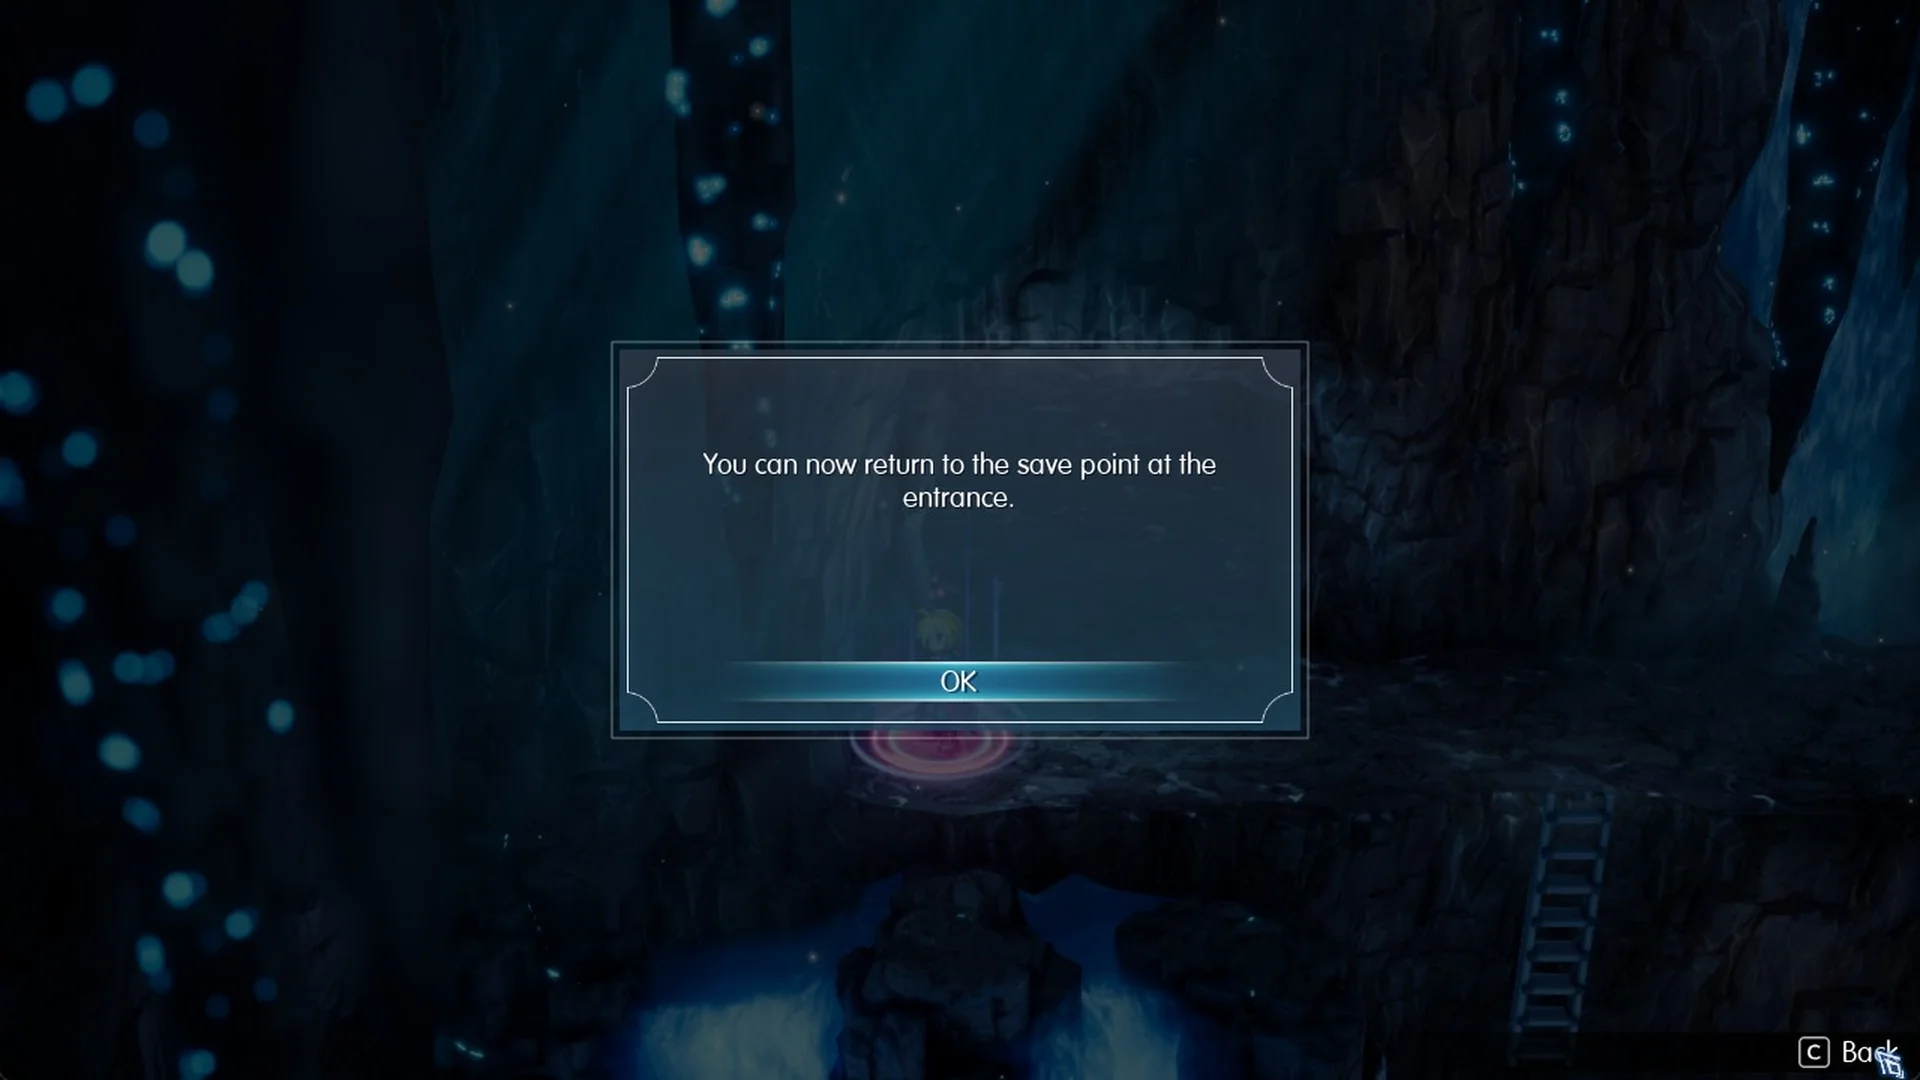
Walk west along the corridor for about 16 m to reach the save point, the first since 1F. When you touch it for the first time, a message says “You can now return to the save point at the entrance.”
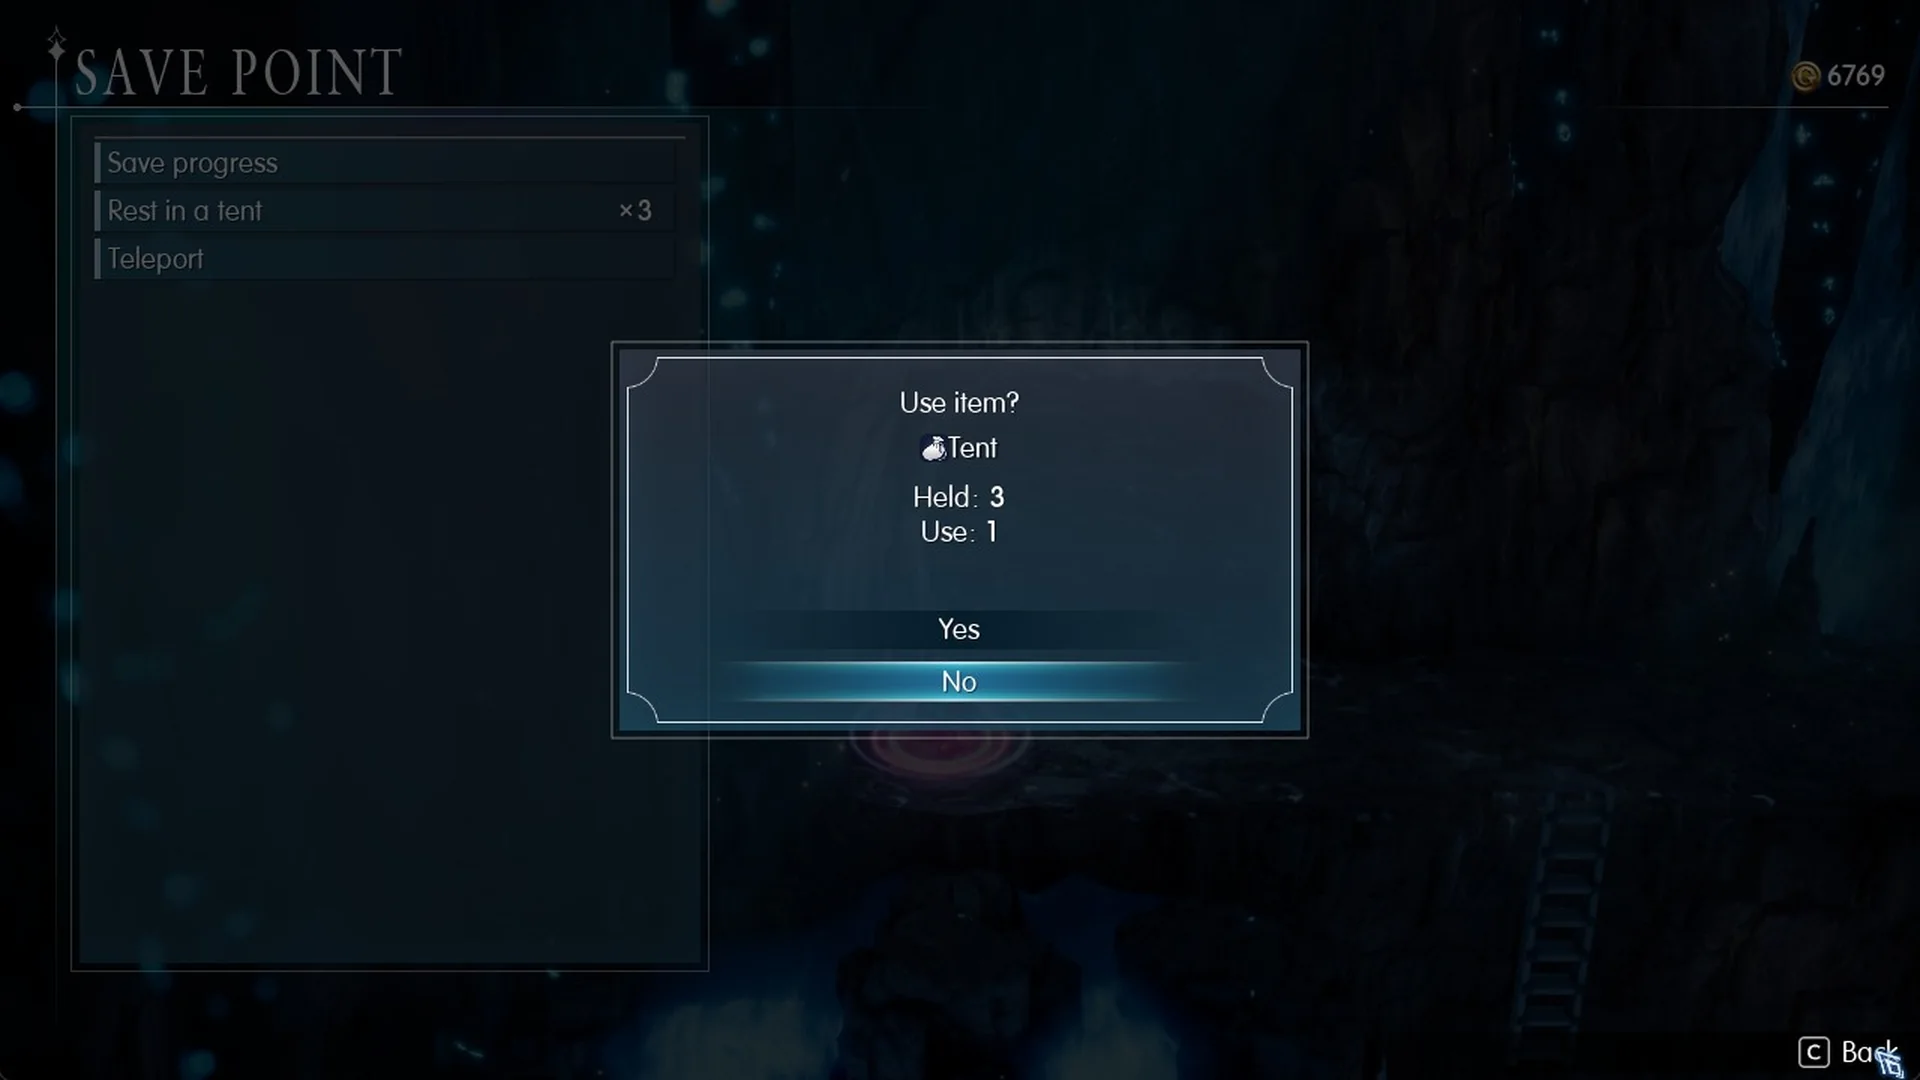
At the save point, you can choose Save progress, Rest in a tent, or Teleport. Rest in a tent consumes one Tent and restores all HP and MP. Save your progress here; the boss room is only a short walk north.
Every chest in the Cave of Waters:
| Chest | Where | What it does |
|---|---|---|
| Magicite Shard | Area 2, small landing north of the raft hall’s south lane | “Has the power to awaken visions.” |
| Shuriken x3 | Area 4, landing north of the arrival raft (after flooding the area) | “Deals physical damage to a single enemy when thrown.” |
| Ice Scroll I x2 | Area 3, sealed pocket behind Area 4’s western north-edge door | “Deals Ice magic damage to a single enemy.” |
| Ninja Gear | Area 3, landing at the north end next to the switch | Light armor, “Adds a 15% chance of evading physical attacks.” |
Wave Lopros
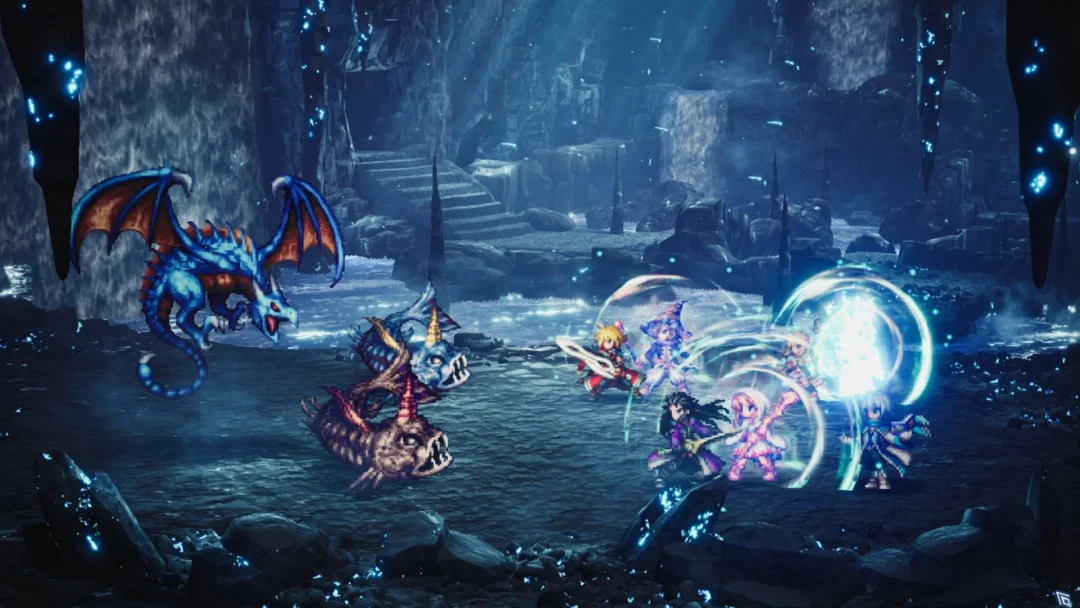
A scene plays when you enter the boss room. Rain says “This looks like trouble.”, and Nichol lays out the plan: “First, take out the two in front. Then concentrate your attacks on the larger monster.”
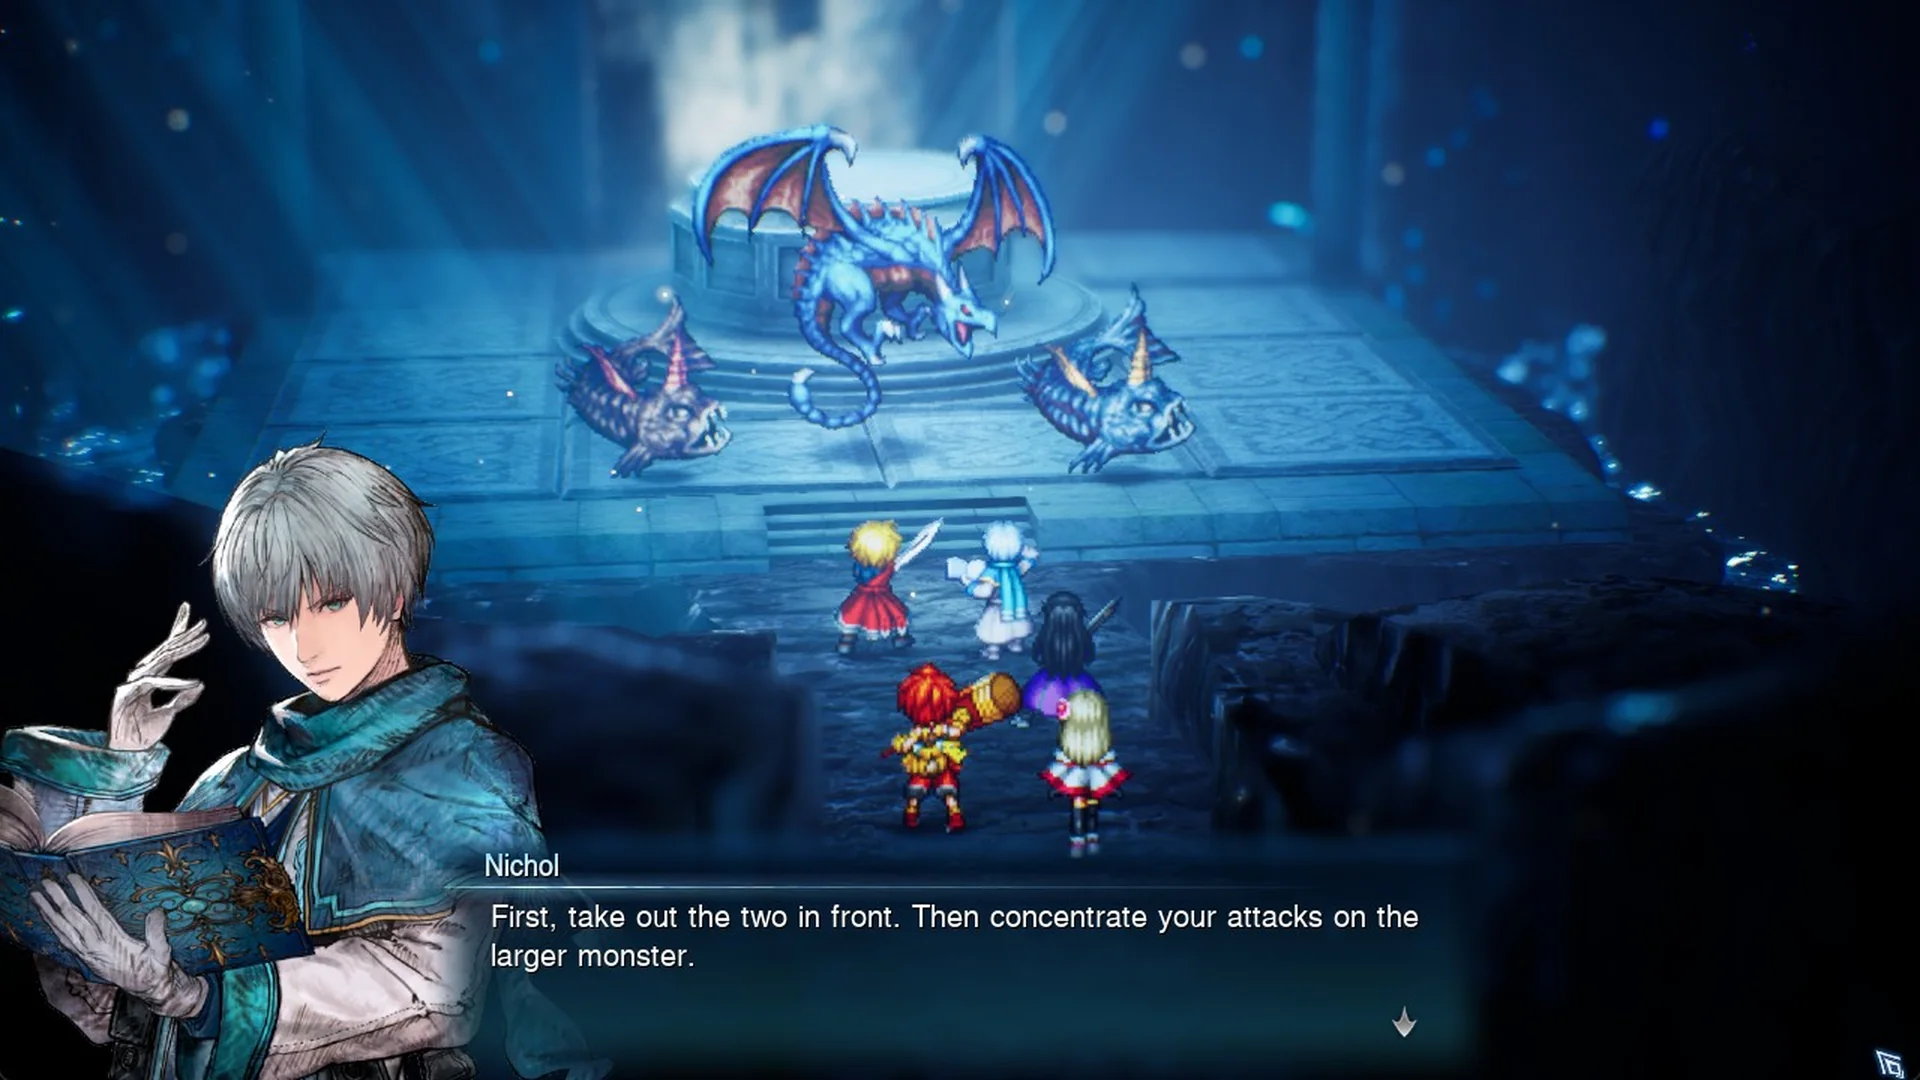
Wave Lopros is a Lv 20 Dragon with 21,000 HP and a weakness to Ice. It fights alongside an Azure Snapper and a Land Snapper, and it eats them to heal itself, so kill both snappers first. You cannot escape this fight. The Wave Lopros boss guide covers the full strategy.
After Wave Lopros
With the boss down, Luka, the Water Maiden, is safe, and Nichol says the group now has to turn its attention to Olderion. The objective changes to “Go to Olderion, the aquapolis” and the game autosaves.
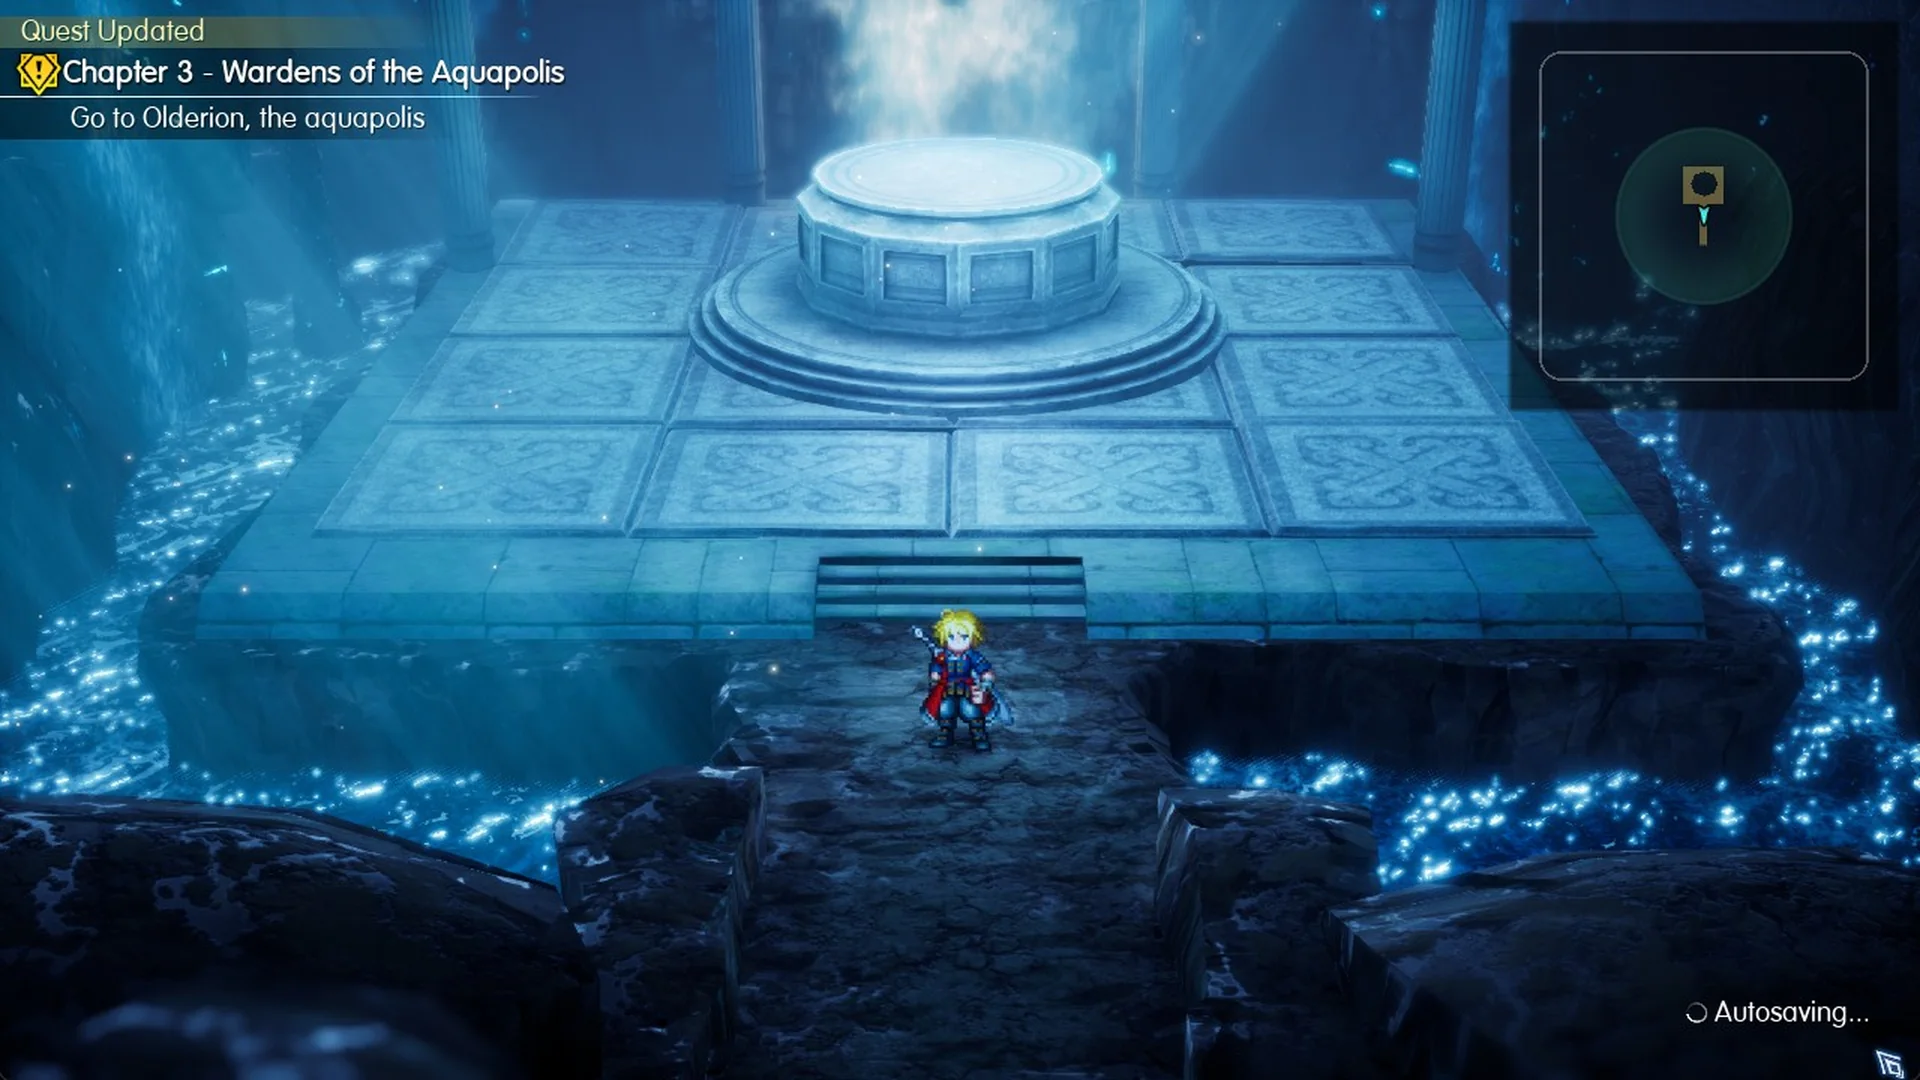
Use Teleport at the 2F save point to return to the entrance. The cave’s third Tablet Shard is near its north exit to the World Map, which you reach later in Chapter 3 and which appears on the Tablet Shards list. The rest of the route continues in the Final Fantasy Resonance walkthrough, and every boss fight is collected in the bosses list.