The dismantled kiln is the step of Kiln Repair at the Kilnden Workshop that stops the most players in Chapter 4. Kliff has to rebuild a broken stone kiln from parts scattered around the yard, and the game never spells out the one input that actually fuses them together. Most people stack the pieces correctly within a minute, then spend the next hour convinced the quest is bugged.
Quick answer: Lift the two rough-edged fragments with Axiom Force (hold L3), stack them on the kiln base until they highlight green, then climb up, jump, and use Force Palm (R3) in midair to fuse each piece. Push the yellow crank at the base to power the kiln on.
Force Palm level 2 is required to complete this objective
This puzzle is built around Aerial Force Palm, and a ground-level Force Palm will not fuse anything. The airborne version is tied to the second rank of Force Palm in the skill menu. If you have not put a point into it, the on-screen tooltip still appears telling you to jump and use Force Palm, but the input simply will not fire while you are in the air. That mismatch is why the kiln reads as broken.
Note: a respec resets Force Palm back to rank 1. If you reallocated points shortly before Chapter 4, open the skill menu and re-invest in Force Palm before you climb the kiln.
Which kiln pieces to pick up (and which to ignore)
Several large stone chunks sit around the dismantled kiln, and only two of them are functional. Both correct pieces have ragged, broken edges and look more damaged than the rest. Anything with a solid, closed top is decoration and will never align, no matter how you rotate it.
| Piece | How to identify it |
|---|---|
| Middle ring section (first) | Open, donut-shaped fragment with jagged edges, lying near the kiln to the side. Goes directly onto the kiln base. |
| Top cap with grate (second) | The chimney-style piece with a grate on top, sitting behind the kiln. Seats on the ring section. |
The colour cue does the rest of the work for you. While a piece is suspended over the kiln, it turns green when its grooves line up and it is safe to drop. If it stays blue, it is either the wrong orientation or the wrong piece entirely. A correctly aligned piece also tends to snap into position on its own, with leaves swirling around the top of the kiln.
How to fix the dismantled kiln
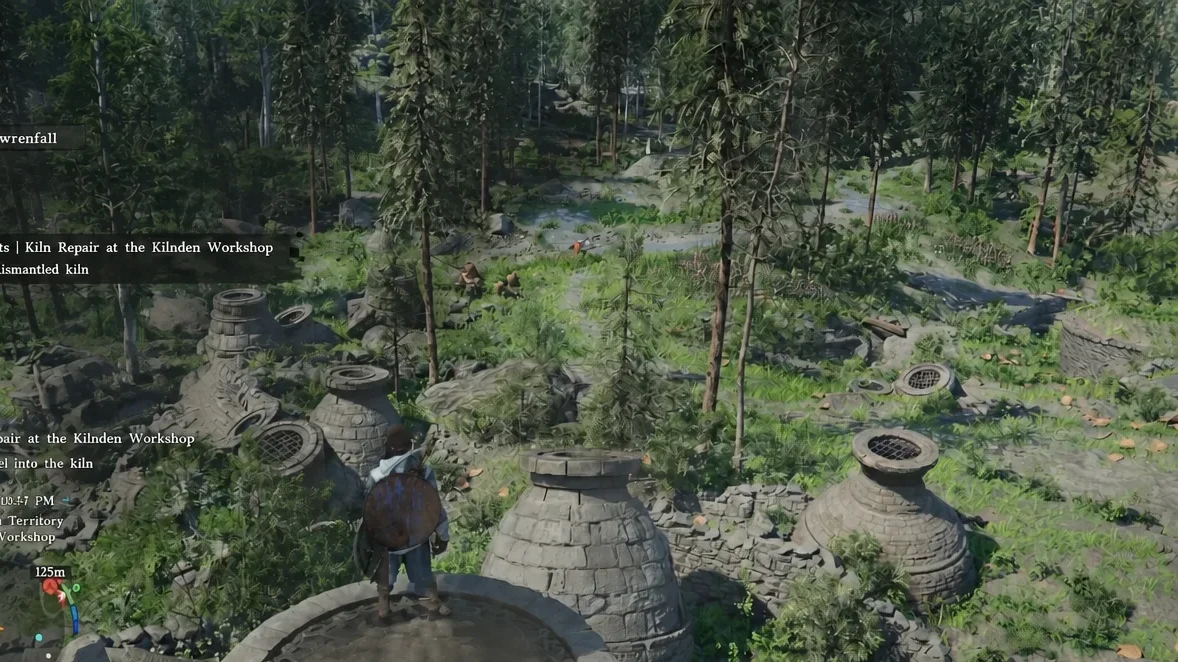
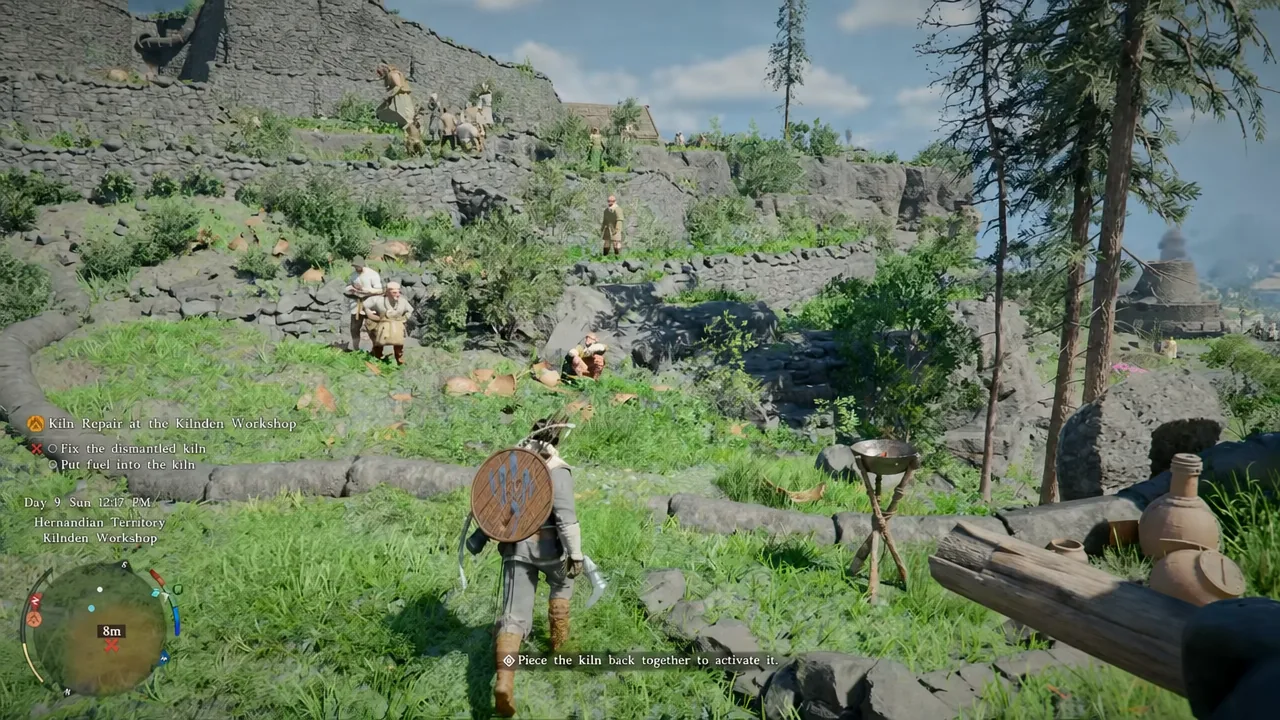
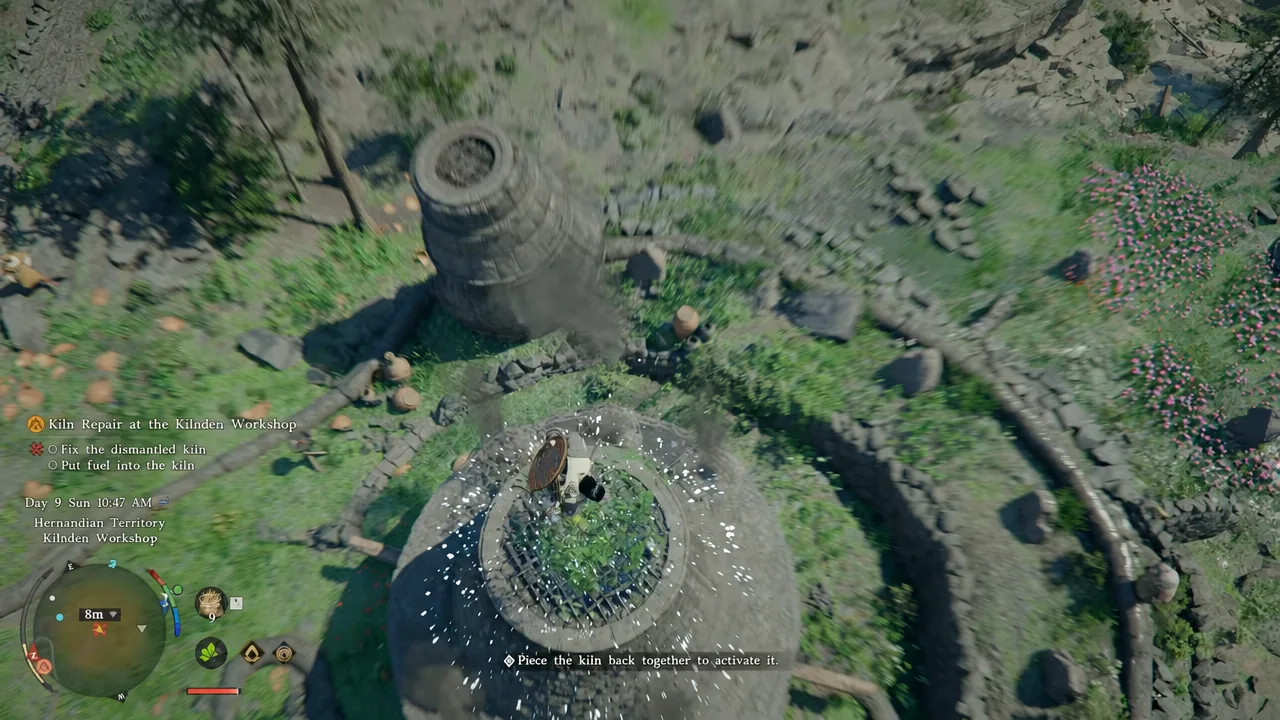
Tip: after Update 1.18.00, the Force Current upgrade can also be used to reattach the broken sections if you have unlocked it.
How to confirm the repair registered
The kiln visually snaps into a single clean structure with the grate on top rather than a loose stack of rubble. Pushing the crank then produces smoke, the objective line “Fix the dismantled kiln” ticks off in the quest tracker, and you receive Irkyn Knowledge. If the crank does nothing, the pieces are resting on the kiln rather than fused to it.
Why the kiln won’t lock
| Symptom | Cause and fix |
|---|---|
| Force Palm does nothing in midair | Force Palm is still rank 1. Spend a skill point to unlock the aerial version. |
| Nothing happens when you slam | You are on the ground or crouching. The strike only counts when performed from on top of the stack while airborne. |
| Pieces fly off down the hill | A crouched or ground-level Force Palm shoves the fragments instead of fusing them. Re-stack and jump first. |
| Piece never turns green | Wrong fragment. Closed-top debris will not align — switch to a rough-edged, broken piece. |
| Kiln pieces missing from the yard | Reload an earlier autosave from the end of the previous quest, or reboot the game. |
With the dismantled kiln smoking, the remaining Kilnden Workshop objectives are straightforward by comparison. The disconnected kiln only needs its loose pipe pushed back into its socket before you throw the crank, and the fuel kiln takes five glowing blue orbs carried over with Axiom Force, including one buried in the eye of a bird statue. Once all three kilns are running, return to Grimnir to close out the quest and pick up your first Kuku Pot.