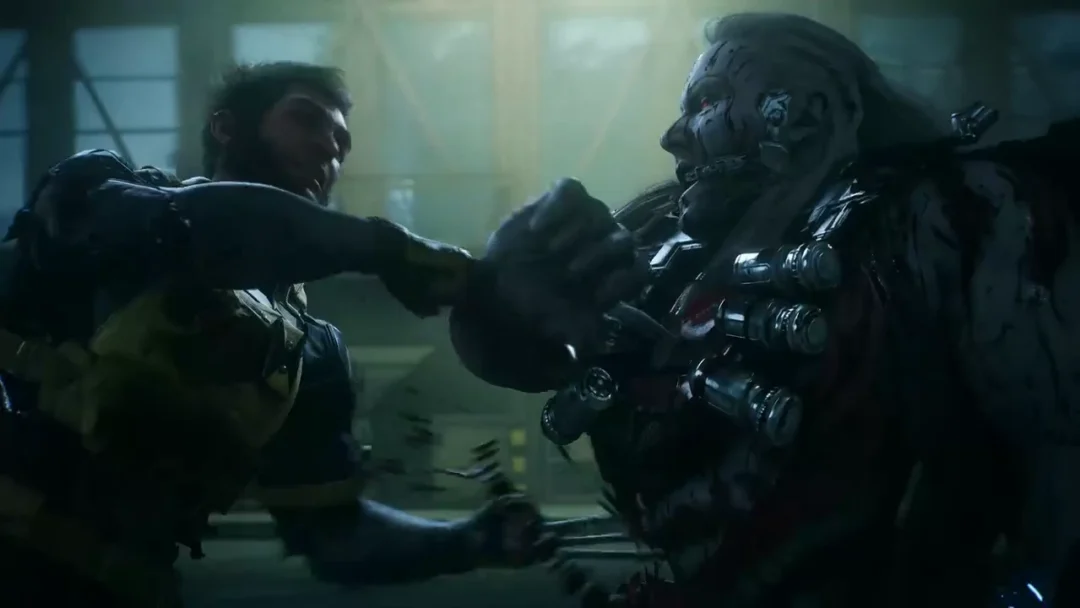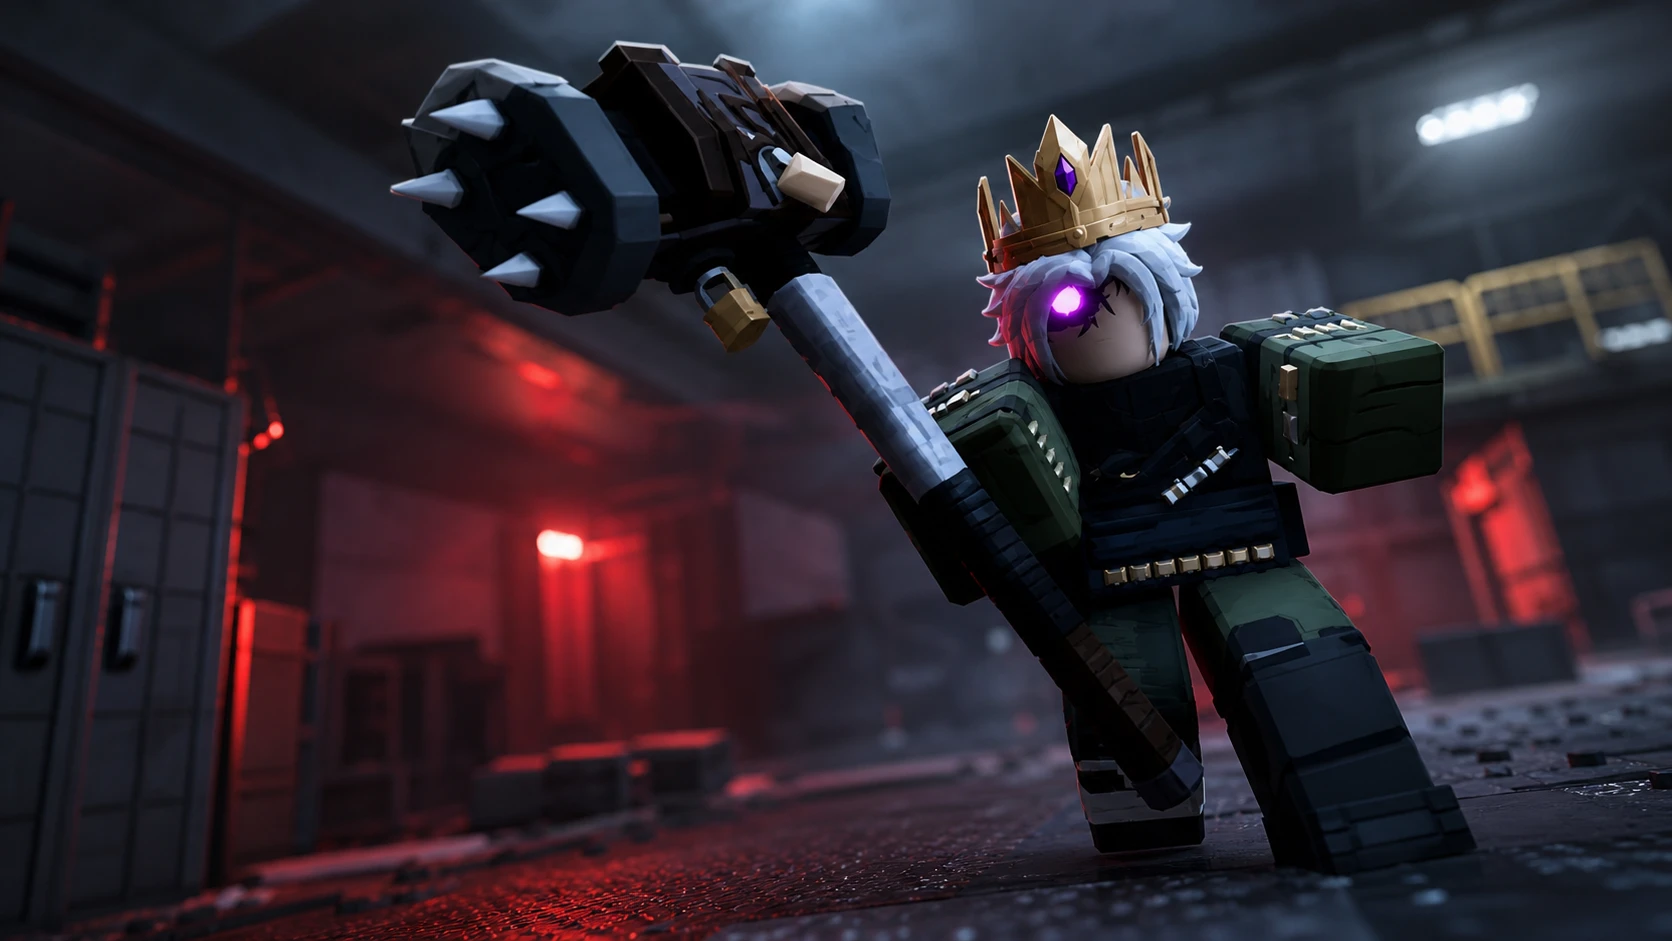
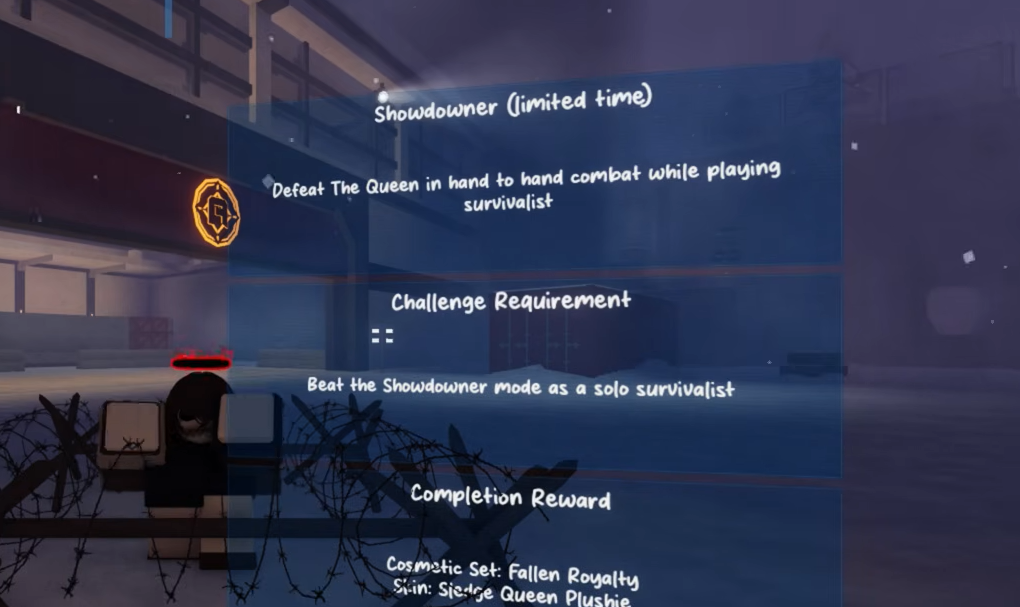
The Showdowner challenge in Decaying Winter closes only when the Sledge Queen, known in chat as SQ, is dead. She sits at 1,200 HP, resists a quarter of your firearm damage, and can punish you at any range with a wrist-mounted shotgun. Winning comes down to reading her attacks, parrying on the right beat, and shutting down her Longshot before it lands.
Quick answer: Lure her to a controlled spot, parry her light, heavy, and grapple attacks to stun her for free hits, and shove or dodge her Knuckleboom shots. Watch for the Longshot after roughly 4 to 5 of her moves, and burn all 1,200 HP without letting her land an execution on you.
Sledge Queen stats and kill rewards
She is based in the Raider Castle and stays dormant through most waves. Killing her is optional for the run, but it is the only way to complete Showdowner, and it stops raiders from spawning while dropping a unique Agent Container plus a large payout.
| Property | Value |
|---|---|
| Health | 1,200 HP |
| Firearm resistance | 25% |
| Scrap drop | 300–400 Scrap |
| Experience | 925 XP, 525 Odens |
| Extra drops | Rations, roughly x10 of all ammo types, unique Agent Container |
Safe Zone turrets will not shoot her because she carries an Agent Container. Do not expect base defenses to chip her down for you.
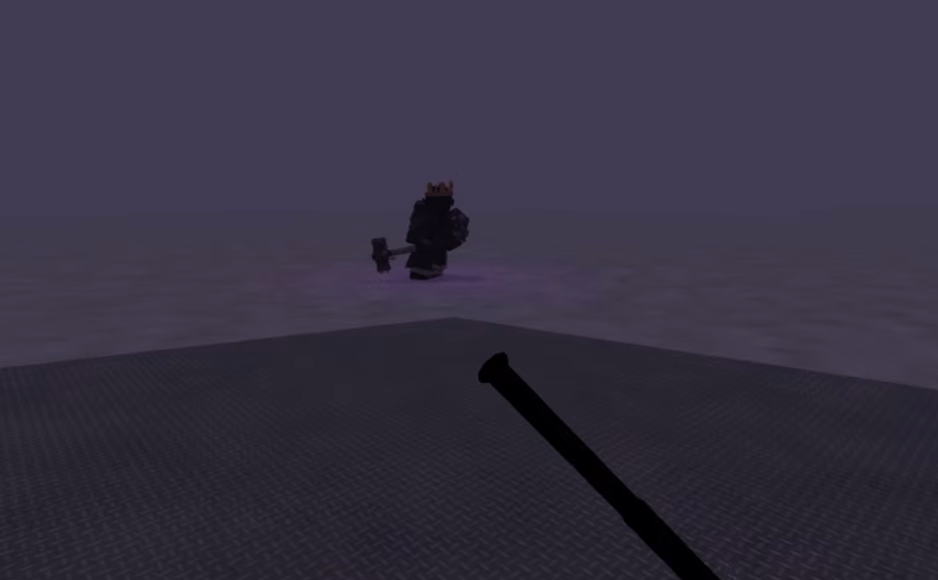
Her moveset and how each attack hits
Every attack she throws falls into a short list. Learn the damage and the counter for each one, because reacting on sight is far more reliable than counting alone.
| Attack | Damage | How to handle it |
|---|---|---|
| Light attack | 15 | Parry to stun her |
| Heavy attack (slam) | 90 | Long windup — parry or dodge on the tell |
| Absolver perfect hit | 45 (executes under 55 HP) | Ignores parries; shove instead |
| Grapple | — | Long windup; parry, or use Berserker to be immune |
| Shell shot (short) | 40 | No sound; move out of the line or shove |
| Long shot | 50 | Shove during the windup; deadly at range |
| Arbiter disengage jump | 50 | Dodge as she descends |
| Grenade | 40 (30 with Fearless) | Only thrown at range; close the gap |
Her arms and Sledgehammer carry bulletproof plating, so when she covers her head to parry, aim for her legs or push in close and shove her out of the parry state. A clean parry stuns her long enough to squeeze in a melee hit, though your own recovery window is tight.
Watch her execution mechanic closely. Any hit that brings you to 15 HP or below counts as a glory kill, which heals her for half of her maximum health and gives her a speed boost. Her 90-damage slam instantly kills a 100 HP player on baseline defense, so never sit low on health in her melee range.
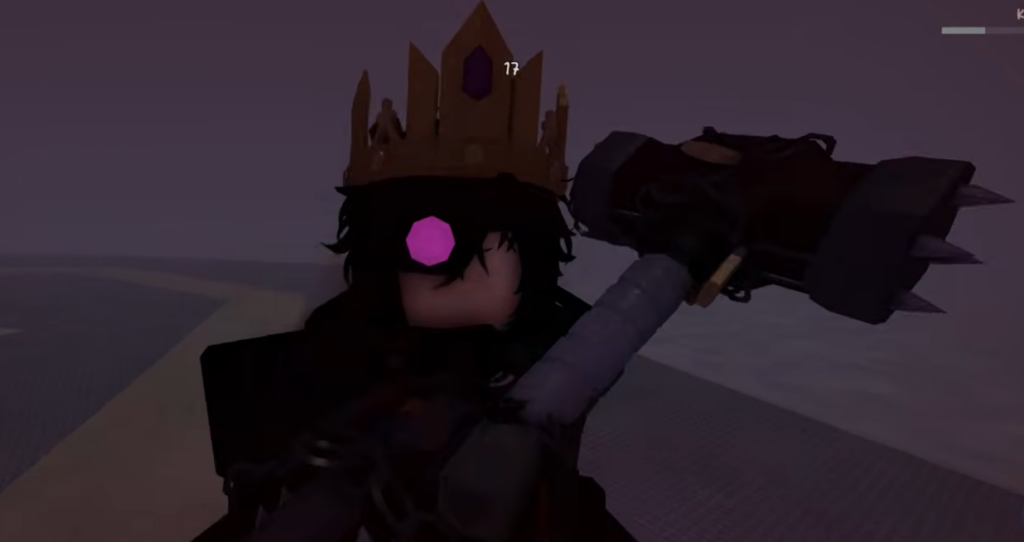
The Knuckleboom and Longshot: her biggest threat
Her wrist-mounted shotgun, the Knuckleboom, is the source of most deaths. It fires with perfect accuracy, punches through resistances, and can be used several times in quick succession. She always fires a Longshot right after landing when first aggravated.
The Longshot runs on a fixed cooldown of about 10 seconds and fires even in close combat. It makes a distinct sound, like a shotgun being racked, and it can shoot through walls once started. The short Shell shot is more dangerous in a way, because it makes no sound and can appear anywhere in her combo.
Shoving is the only reliable counter when she winds up a Knuckleboom shot. A successful shove forces her into a light counterattack or a grapple instead. After shoving a shell or Longshot, do not linger next to her, because she recovers fast and can still catch you if you crowd her.
She also jumps roughly every 20 seconds using the Knuckleboom, launching up and diving at the nearest Agent for 50 damage. She needs line of sight and a small amount of distance to do it. When she jumps, run toward the spot she just left as the second shotgun boom sounds — that dodges the slam.
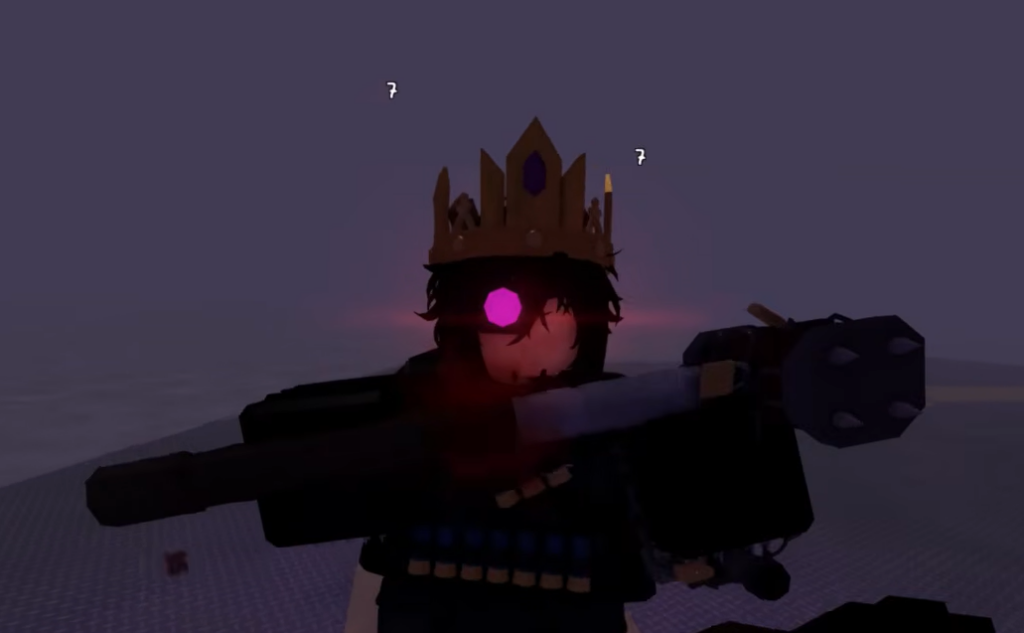
Reading her combo patterns
Counting her moves helps you predict the Longshot, but stay flexible because her combos change. In standard sequences, the Longshot lands after 4 or 5 moves; in longer, mixed strings, she can delay it to the 5th or 6th move. Heavy attacks and grapples telegraph with longer windups, giving you more time to react than her light attacks do.
Common combos she opens with before a Longshot include the following patterns:
- 4 light attacks, then 1 heavy or grapple
- 3 light attacks, then 2 heavy or grapple attacks
- 2 light attacks, then 4 heavy or grapple attacks
- 5 light attacks, then any attack
The moment she jumps, stop counting. Reset by parrying everything until you catch and stun the next Longshot. Rely on both the visual windup and the audio cue rather than the number alone.
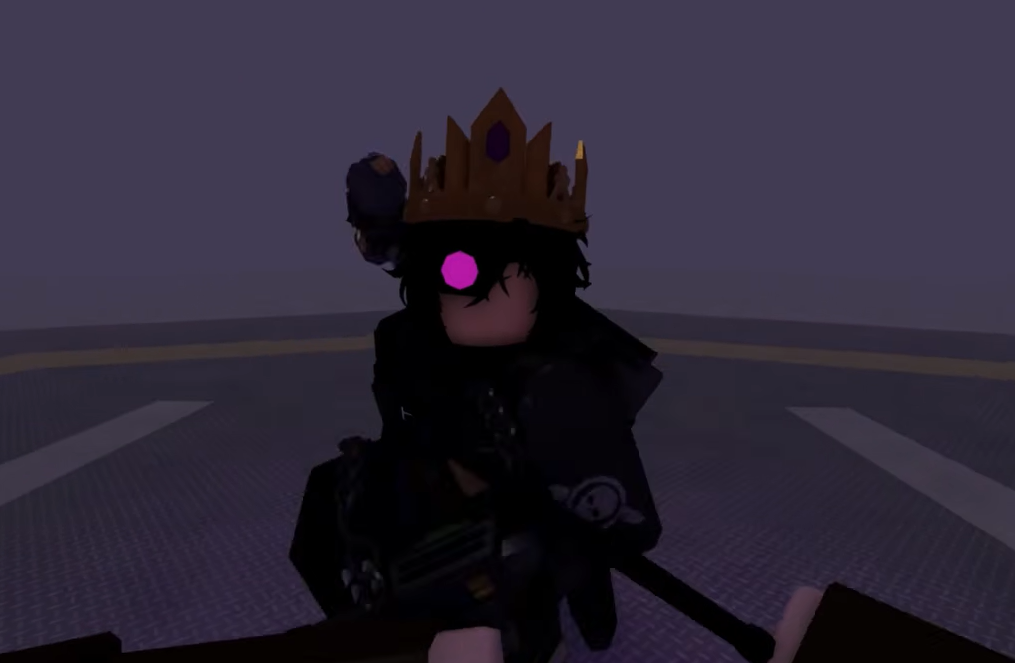
Loadout and setup before you engage
Preparation decides the fight. A scavenging timer of roughly 1:50 to 2:35 gives you enough materials to see it through. Eat, drink, and stim before she turns to face you, and carry green, blue, and purple stims plus armor, splints, and aseptic bandages.
| Choice | Recommended options |
|---|---|
| Melee weapons | Maria, Billhook, or a Tier 4 melee with high heavy damage and decent heavy swing speed |
| Perks | Berserker (highest melee damage boost and grapple immunity), or Arbiter for the ranged stun |
| Traits | Violent Tendencies for full combo damage, plus Aggressive Behavior |
| Equipment | Holo Emitters, unlocked through the Armed and Dangerous challenge |
Holo Emitters create a clone that pulls her attention, including her Longshot. Place one in front of the lamppost at the Safe Zone, not so close that she teleports away when she gets stuck on it and not so far that the Castle Sniper spots it. Violent Tendencies matters because her stun recovery only leaves room for a full light combo when your damage is boosted.
Melee kill method with a Mountain lure
Luring her to the Mountain is the cleanest way to fight her in melee, since it keeps the fight away from her raiders. The main risk is getting her stuck on terrain or getting hit by snipers on the way up.
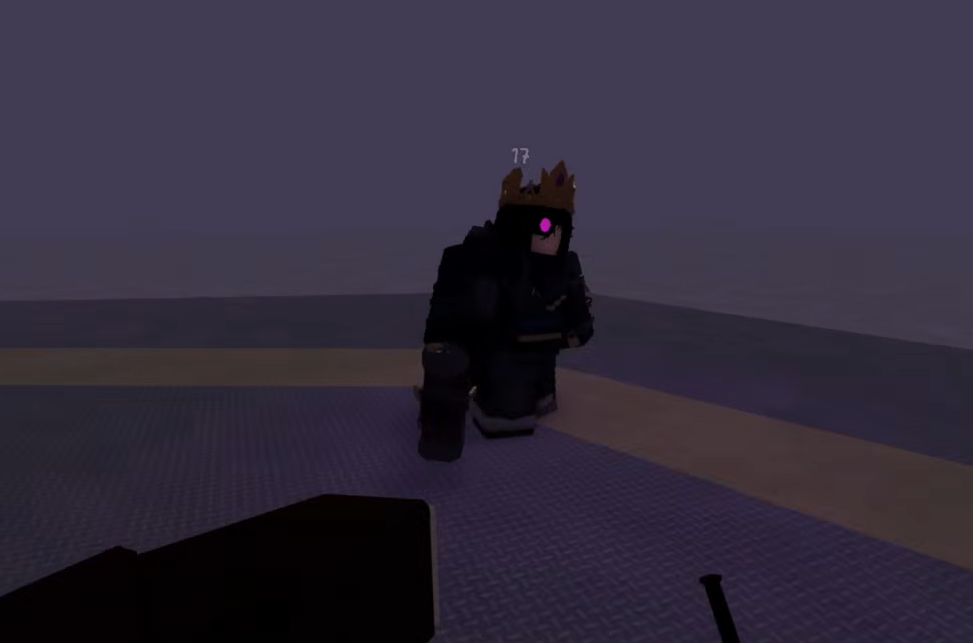
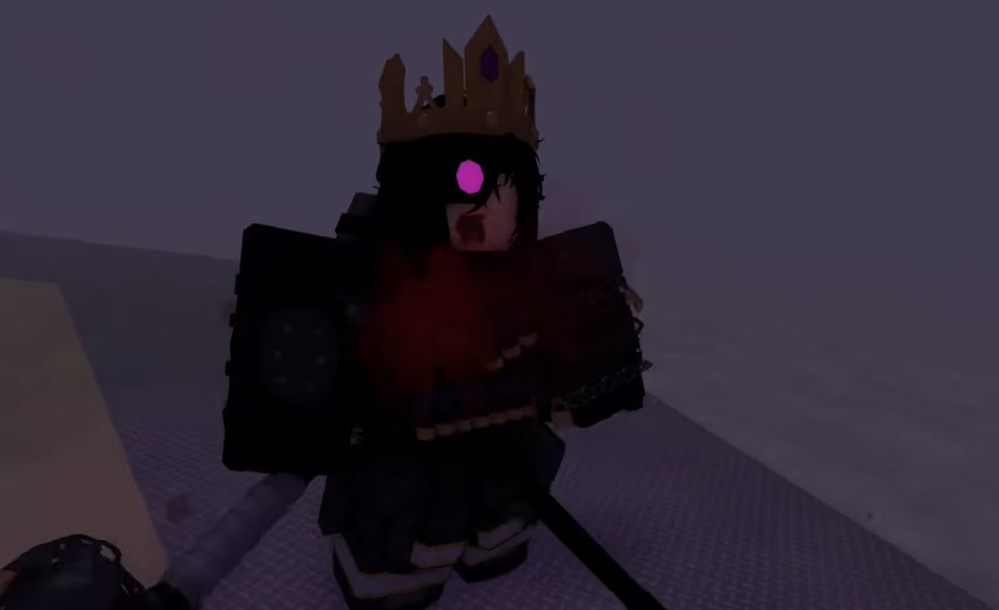
Parry as you close in on her rather than when she reaches you. If you parry late, you may not recover in time to shove a shell shot, and that single mistake often ends the run.
Confirming the kill and clearing Showdowner
You will know she is dead when she drops a unique Agent Container and the raiders stop spawning entirely. That container drop, along with the scrap, ammo, and XP payout, is your on-screen confirmation that Showdowner is complete.
Most failed attempts trace back to a short list of mistakes. Getting caught at range by a Longshot, standing too close after a shove, dropping to 15 HP or under and handing her a healing execution, or losing count when she jumps are the usual culprits. If a teammate triggers her and you are not prepared, run rather than fight — she can delete an Agent almost instantly.
Beyond that, the fight rewards repetition. Keep a stable connection and steady frame rate so your parries register, learn her animations and audio side by side, and treat every death as timing practice. Once the Longshot rhythm becomes second nature, clearing her — and Showdowner with it — turns into a matter of execution rather than luck.