Brontide turns the Sorcerer from a back-line artillery piece into something you can actually play up close. It conjures a whip of lightning you swing by hand, and because other skills still work while it is active, it reshapes how the vocation fights crowds. The build below pairs it with Augural Flare for single-target burst, covers both lightning and non-lightning targets, and leans on a support Mage to keep your explosions charging.
Quick answer: Run Brontide, High Frigor, High Salamander, Augural Flare, Spellhold, and High Levin (swap in Meteoron for pure ranged fights). Back it with a Mage pawn carrying Virtuous/Deific Bolt.
Core six-skill loadout
The Sorcerer carries six weapon skills at once. Five of these slots stay fixed, and the sixth flexes between crowd and large-monster work.
| Skill | Discipline | Rank |
|---|---|---|
| Brontide | 2,500 | Obelisk |
| High Frigor | 1,600 | 6 |
| High Salamander | 1,300 | 5 |
| Augural Flare | 2,500 | 8 |
| High Levin | 1,000 | 4 |
| Spellhold | — | — |
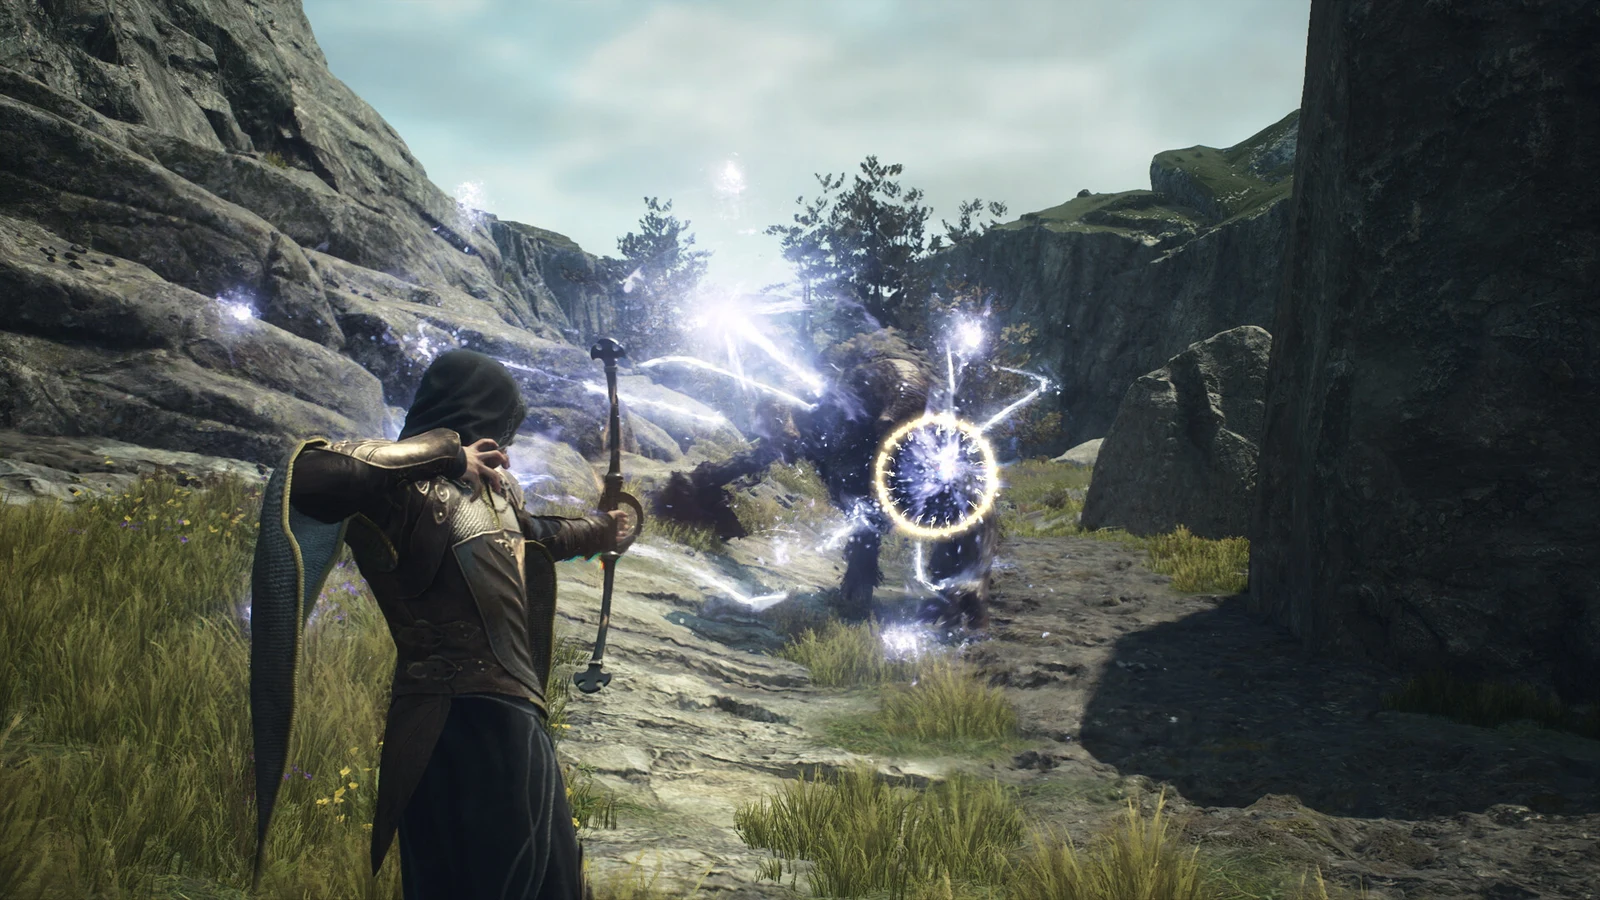
Brontide handles crowds. Its lightning lash remains active for a fixed time, letting you swing again and again before it disappears. Hits can knock foes out or interrupt them with a flinch, making it effective against groups of weaker enemies and useful for restraining tougher targets. It supplies most of your damage when fighting several foes.
Augural Flare excels against one powerful foe. It attaches a magickal orb to an enemy, which bursts when hit; further strikes create additional blasts and make them stronger. Against a bipedal monster, place the orb on its legs instead of its head or chest, then keep attacking to build knockdown quickly.
High Frigor and High Salamander exist for elemental coverage. If a target resists lightning, the ice pillar from High Frigor or the line of flame from High Salamander lets you hit a weakness instead. High Levin earns its slot by letting you detonate Augural Flare orbs stuck in spots your other spells struggle to reach. Spellhold stores a charged spell so you can fire it the instant you need it.
If you would rather stay at range against large enemies, drop High Levin for Meteoron. When several meteors land on one target, they can erase full health bars at once.
How to unlock Brontide and High Brontide
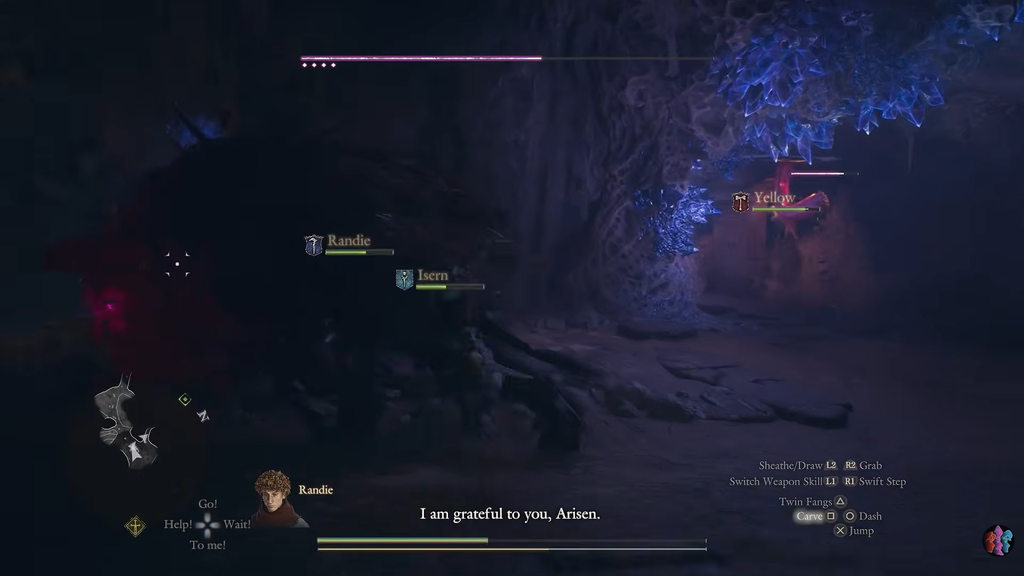
Brontide is exclusive to Dark Arisen and is not learned the usual way. You acquire it as a boon from an Obelisk of Benediction in Norgan.
Grand Brontide, the most advanced version, is not bought. It is an equipment special skill that becomes available when you have High Brontide equipped, and it adds greater damage along with a whip that lashes faster the longer you keep attacking.
How to play the build
Day to day, you spam Brontide into packs and switch to the right elemental spell when a target resists lightning. Let your pawns hold aggro while you position, then focus on damage. Because incanting leaves you exposed, you want enemies looking at someone else when you commit to a longer cast.
The build is strongest with a Mage pawn carrying Virtuous/Deific Bolt, an obelisk skill that buffs both you and the caster and adds holy bolts to your basic Magick Bolt. Have the pawn keep that effect on you, stick an Augural Flare orb on whatever part your character naturally shoots with Magick Bolt, then hold your basic attack until the orb bursts. Repeat until the target dies. An Archer pawn with Drenching Shot also raises the value of Brontide and High Levin.
Fighting large monsters
Pair Deific Bolt with Augural Flare to rip through large foes, as long as you keep hitting the orb after attaching it. Against a two-legged monster, stick the orb near its feet until you bring it down; this helps Magick Bolt land consistently. If you don’t want to keep tending the orb, switch to Meteoron and crush big targets from a safe range.
Archistaff and armor special skills
For your archistaff, choose Riotous Magick. It can greatly amplify your magic damage, and Brontide and Magick Bolt activate it much more often than slower spells because they fire quickly. Until you find a staff with this augment, use one equipped with Fortified Incantation, which provides damage and knockdown resistance during casting. The best setup combines Grand Brontide, Riotous Magick, and Fortified Incantation on one staff.
Caster armor has weak physical defense, and Norgan is full of heavy physical attacks, so your two armor special skills should both be survival tools.
- Survival Instinct reduces how much maximum health you lose when hit.
- Precipitate Survival gives a chance to instantly revive after a downing hit.
Survival Instinct is particularly valuable when facing Ghoul swarms or Beorcans alongside Dire Wolves: they can grapple and overwhelm you, reducing your maximum health even if you survive. Precipitate Survival becomes essential in the final stretch of the Dark Arisen campaign.

Rings
Ring of Vehemence increases the knockdown strength of Brontide and Frigor. Ring of Recitation shortens incantation times, with an even greater reduction when paired with Quickspell, but costs roughly 20% of your maximum health. If you equip it, use Precipitate Survival to avoid dying to one badly timed hit.
Augments
Augment slots should reinforce survivability, since the whole build depends on you living long enough to cast.
| Augment | Effect |
|---|---|
| Subtlety | Enemies target you less |
| Constancy | Raises knockdown resistance |
| Dominance | Raises knockdown power |
| Asperity | Debilitation build-up +20% |
Subtlety does most of the work, because damage you never take is the best defense; handing a frontline pawn the Ring of Disfavor pushes aggro off you even harder. Constancy is a safety net that gives you a chance to avoid being ragdolled if something hits you mid-cast. Dominance stacks knockdown power the same way Ring of Vehemence does. Asperity fits the lightning theme by raising how often your attacks inflict debilitations.
For any remaining slots, Apotropaism and Mettle let you absorb more hits, and Catalysis adds a small damage bonus when you strike an elemental weakness, which pairs cleanly with the High Frigor and High Salamander coverage already in the loadout.