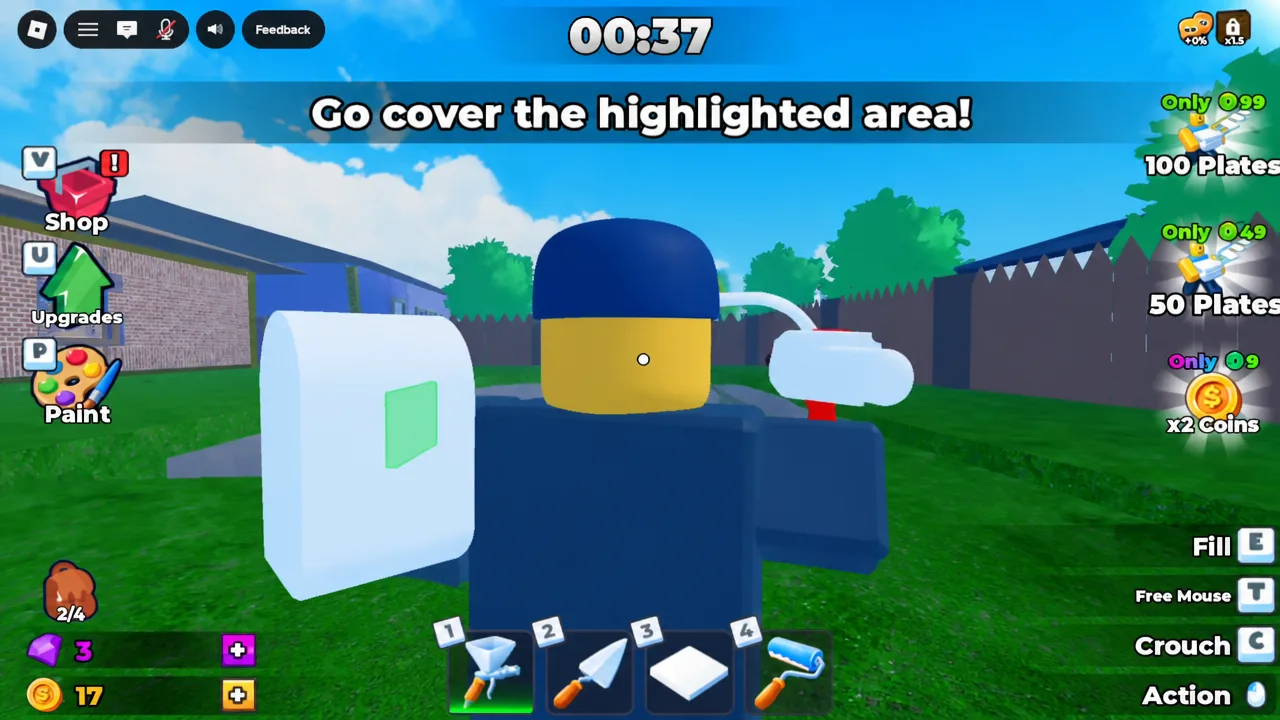
Finish It! is a construction simulator from Moonrise Interactive where an unfinished building has to be plastered, smoothed, plated, and painted surface by surface. Every action pays out Coins, and Coins buy upgrades that make the same actions faster. The whole game is one repeating routine with four tools, so once the routine clicks, the only thing that changes is how quickly you can run it.
Quick answer: Hold E at the mixer to fill your sprayer, spray the highlighted area with the left mouse button, switch to the trowel to smooth it, hold E at the plate supply to grab plates, place them on the smoothed patch, then equip the paint roller and paint them — repeat until the project is done.
Finish It controls and hotbar slots
Tools live on the hotbar in a fixed order, and the number keys are faster than clicking. Every tool is used with the left mouse button, either as a tap or a hold.
| Input | What it does |
|---|---|
| W, A, S, D | Move |
| Spacebar | Jump |
| E (hold) | Fill the sprayer at the mixer, or collect plates from the supply |
| 1 | Equip sprayer |
| 2 | Equip trowel |
| 3 | Equip plates |
| 4 | Equip paint roller |
| Left mouse button | Use the equipped tool |
| P | Open the color wheel to change paint color |
How to finish a surface: the seven-action loop
The tutorial walks you through this once, then leaves you to repeat it on every wall and floor in the stage. The order never changes, and skipping ahead does not work — plates will not sit on plaster that has not been smoothed.
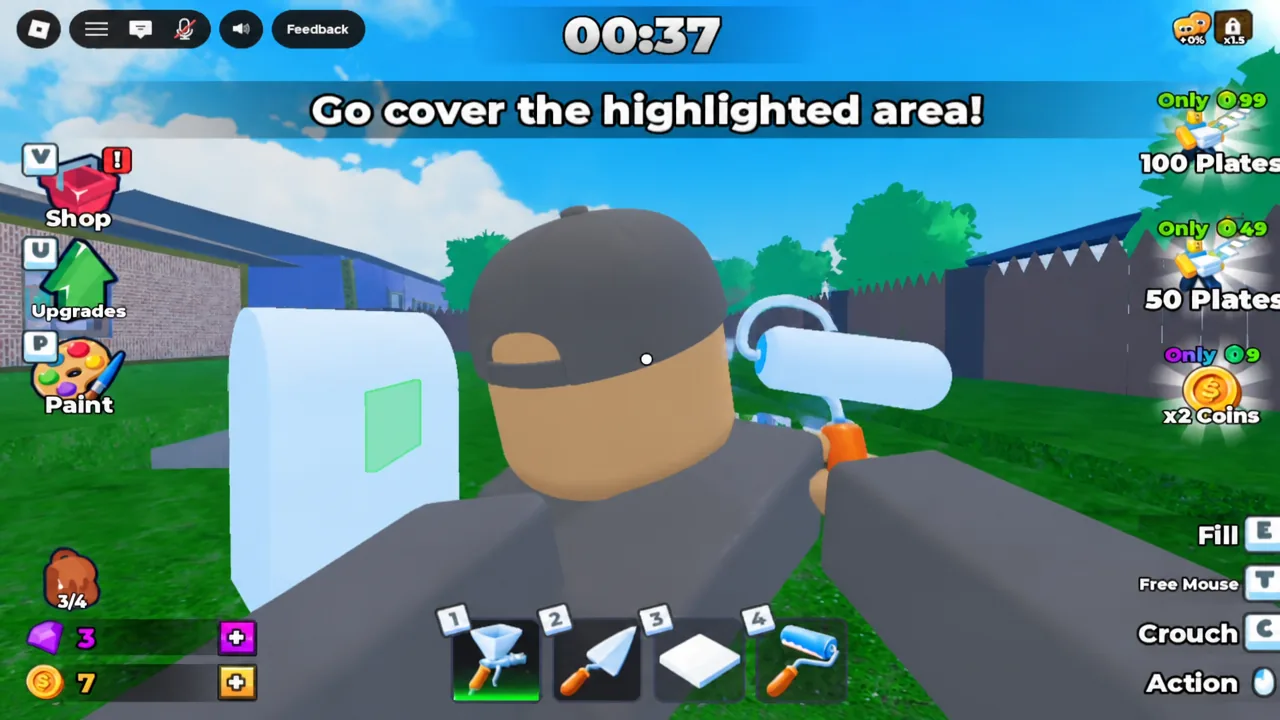
E until the fill meter completes and the “Bucket filled” message appears. Your sprayer is now loaded.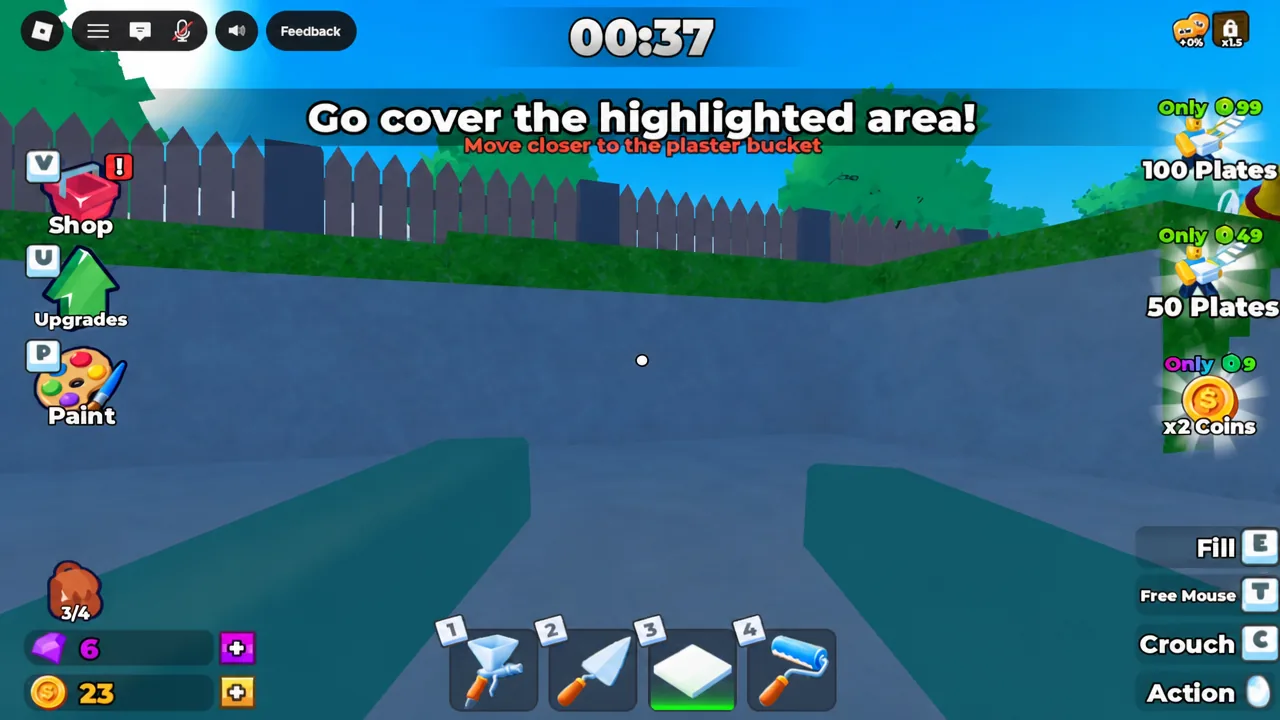
E again. Early on this happens often, because starting capacity is small. Return to the same spot and finish covering the highlight before moving on.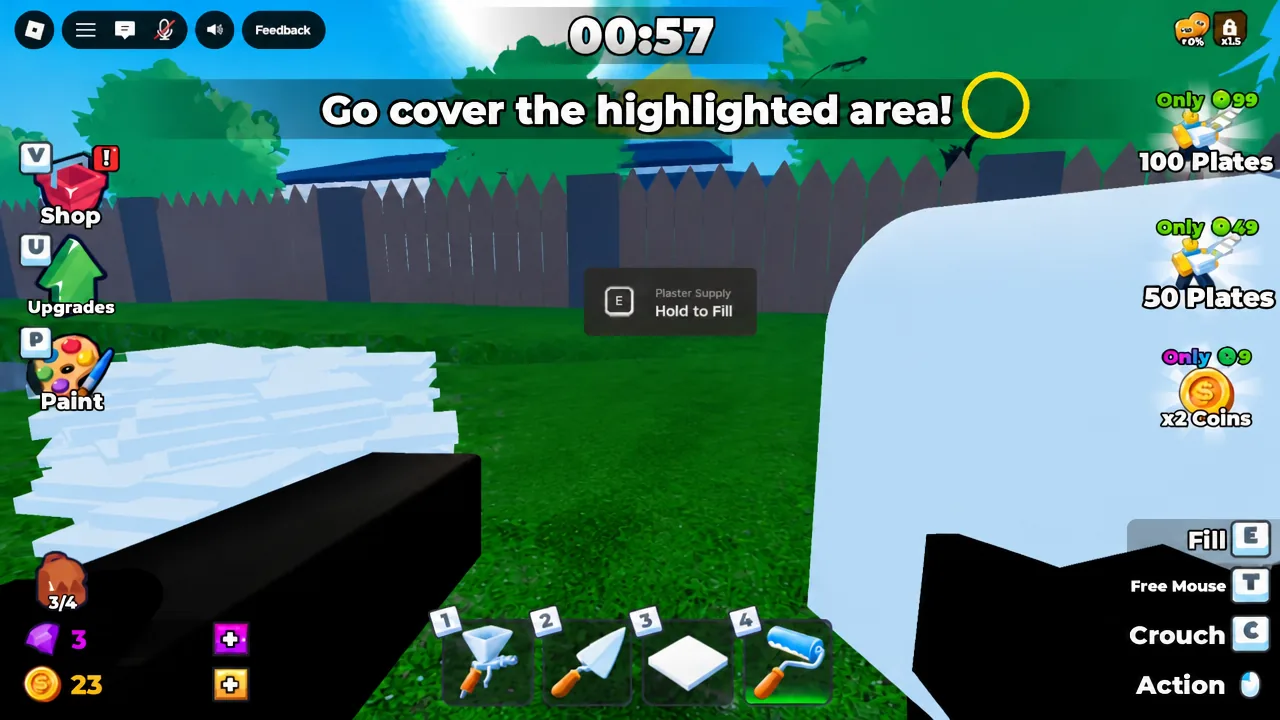
2 for the trowel, stand close to the sprayed patch, and hold the left mouse button. This levels out the lumps and blemishes left by the sprayer until the surface reads as smooth.3 to equip plates, then go to the plate supply and hold E. A counter shows how many you are carrying against your current limit, which starts small and grows with carry capacity upgrades.4 for the paint roller, pick your color, and hold the left mouse button over the plates. Painting is the final action that closes out the surface.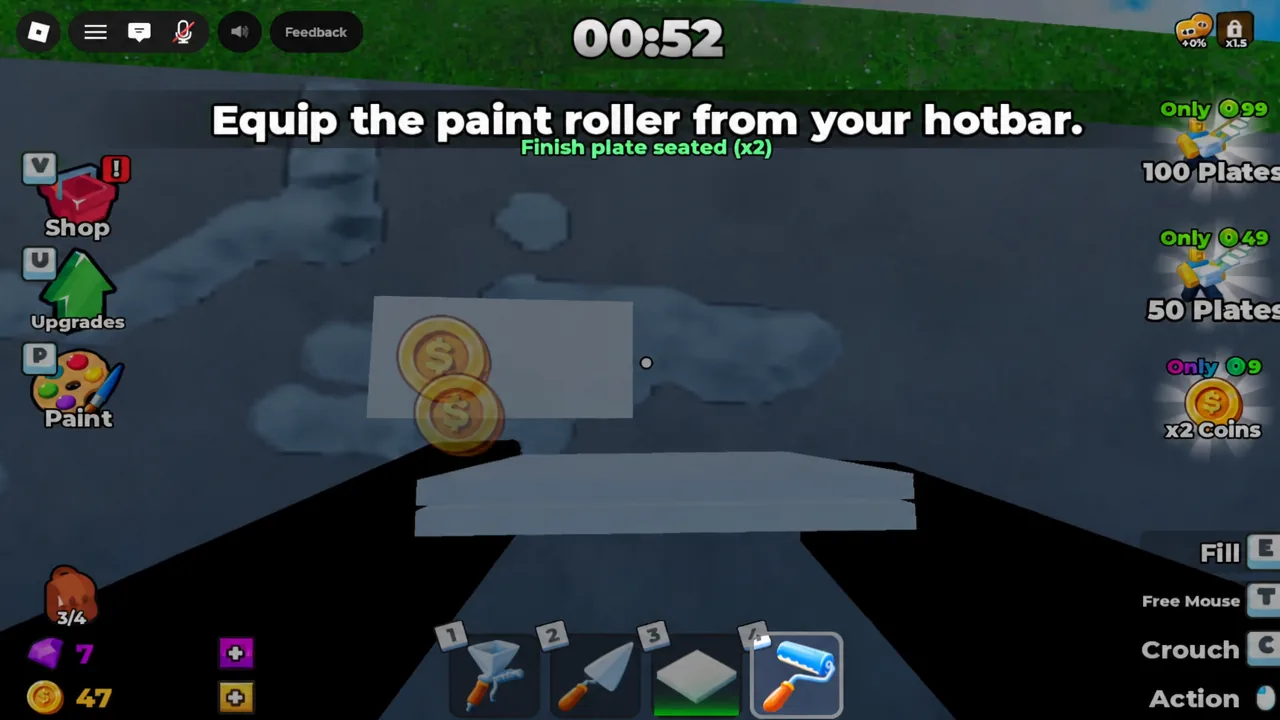
How to tell a surface actually counted
Each stage of the routine reports back on screen. Filling the sprayer shows “Bucket filled.” Seating plates increments a running counter such as “Finish plate seated (x3).” A completed plate returns “Finish plate painted!” and Coins land immediately after each action.
If a step refuses to register, it is almost always one of two things. You are standing too far from the object — the mixer, the plate supply, and the patch all require you to be close — or you have skipped an order step and are trying to place plates on plaster that is still rough. Finishing the entire project ends the run with a Gem payout and a screen showing your clear time.
Coins and upgrades: what to buy first
Coins are per-run currency. Every run starts you at zero, so there is no reason to hoard them — spend as you earn. The Upgrades button sits with Paint, Shop, and Rebirth on the left side of the screen, and the tree starts locked behind a single opening node.
Sprayer Power Lvl 1 is the first unlock and costs nothing, so take it during the tutorial. From there the early branches cover Sprayer Range and Sprayer Capacity, alongside carry capacity and movement speed improvements. Capacity is the one that cuts the most wasted time, since it means fewer trips back to the mixer.
Tip: buy upgrades the moment you can afford them rather than saving up. Every purchase makes the next batch of Coins arrive faster.
Stages, Gems, and Sprayer skins
Three stages cover three difficulty tiers, separated mainly by how much surface area you have to cover. Gems only come from finishing a project, and they are spent in the lobby on Sprayer skins that carry passive bonuses into future runs.
| Stage | Difficulty | Best for |
|---|---|---|
| Pool | Easy | Learning the loop and the upgrade tree |
| Storage Unit | Medium | Steady Gem runs once upgrades come quickly |
| House | Hard | Clear-time attempts and larger Gem payouts |
Because skin bonuses persist and Coins do not, Gems are the real progression. That makes co-op worth using — surfaces can be split between players working the same project, which shortens the House run considerably and gets you back to the Gem screen sooner.
Paint color is entirely up to you. Pressing P opens the color wheel at any point, so a project can be a single flat shade or a different color per surface without affecting rewards. Start on the Pool, spend Coins as fast as they arrive, and move to the larger stages once you can cover a highlighted patch on one tank.