

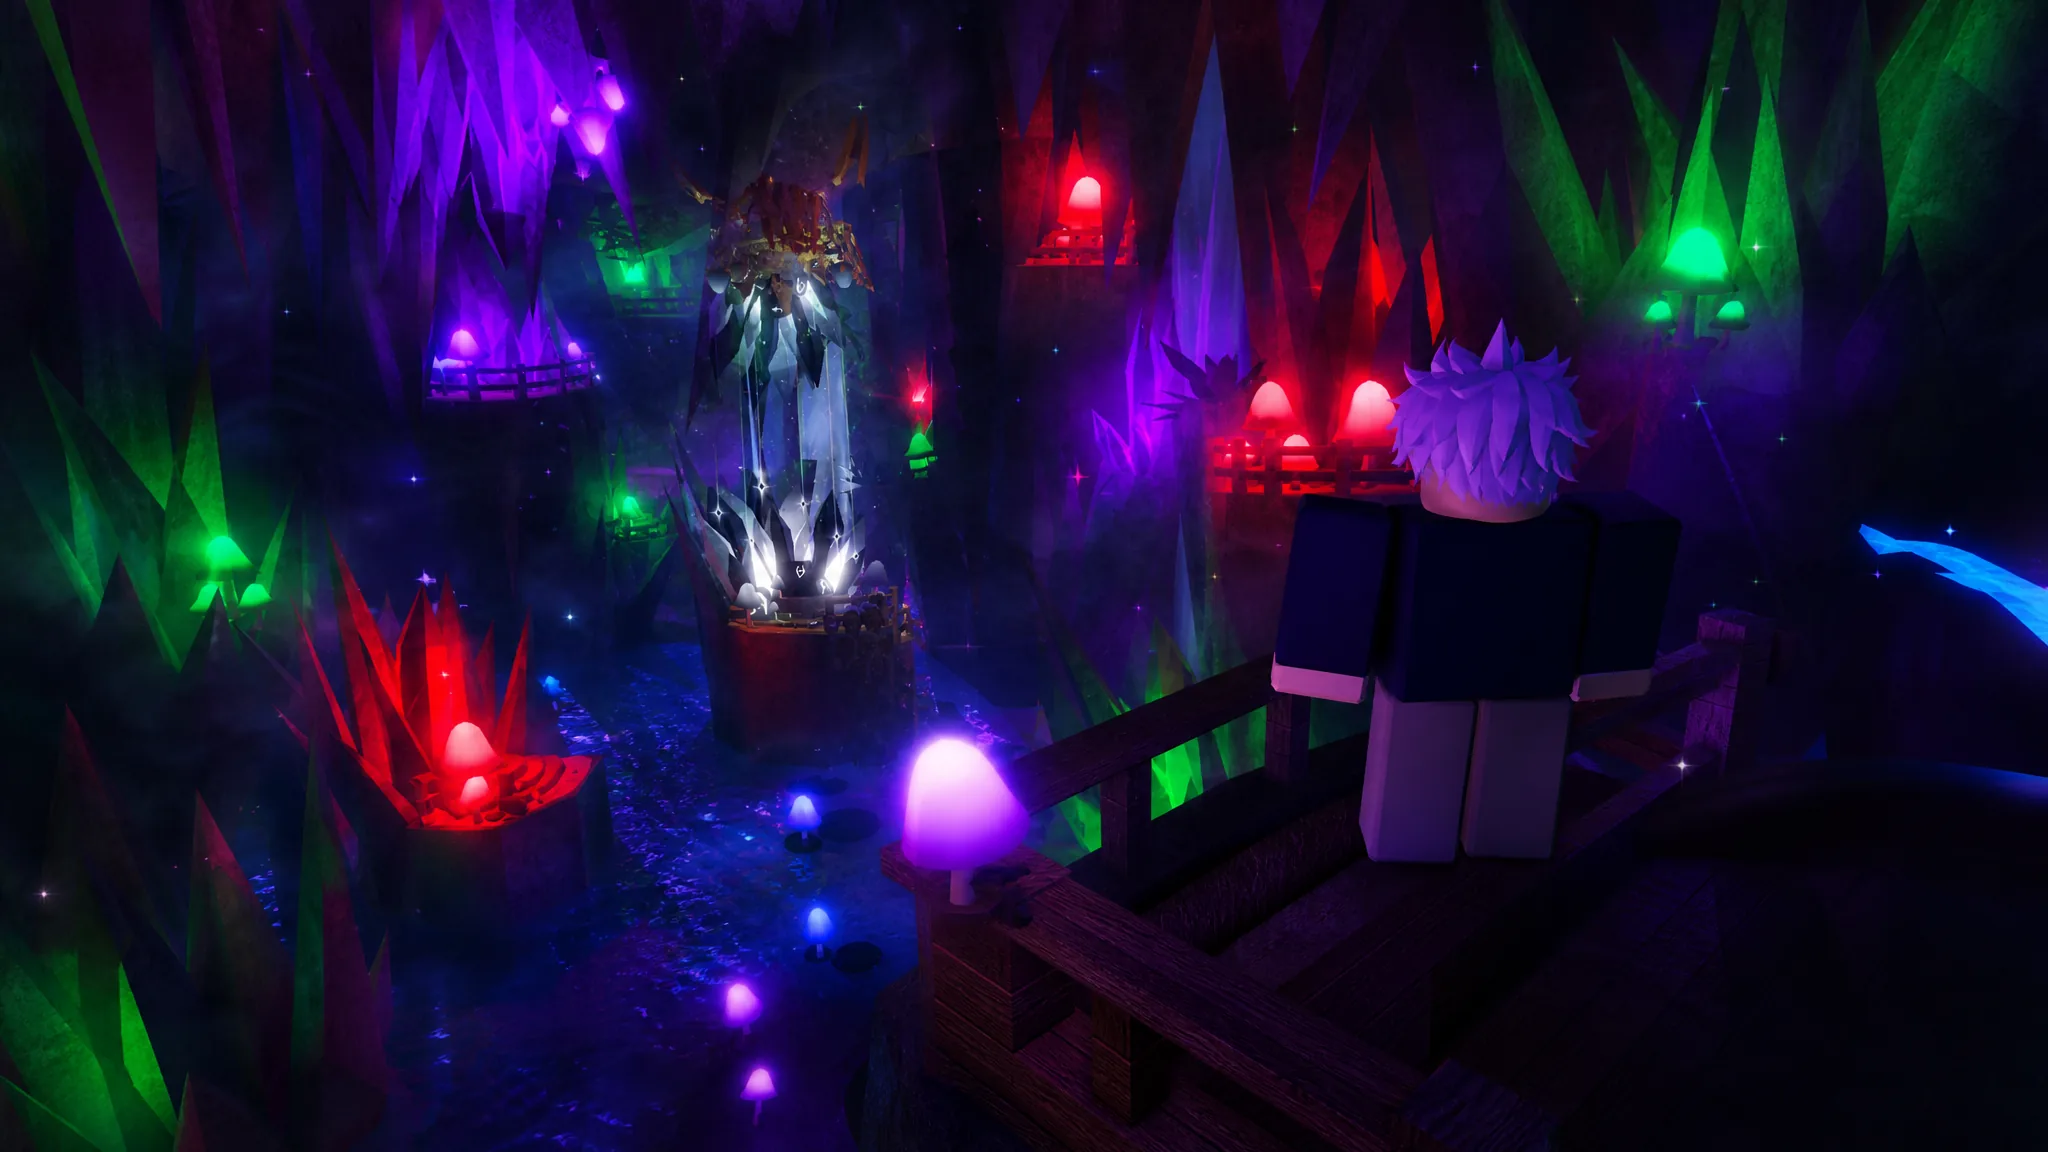
The Chapel is a hidden location tucked inside Crystal Cove in Fisch, and it exists for one purpose: five rod skin questlines, each handled by its own NPC. You cannot simply walk in. Entry depends on which rod you have equipped and which Enchant Relic you are holding, and that combination decides which quest becomes available to you.
Quick answer: Travel to Crystal Cove, find the Illusory Veil near the wooden bridge, then enter while holding the correct Enchant Relic and its matching rod to speak with the assigned NPC. The five skins are Cathedra Requiei, Caeruleus Reliquiarium, Capella Vitrea, Ruptor Derelictus, and Sanctuarium Lucis Seraphim.
How to reach the Chapel in Crystal Cove
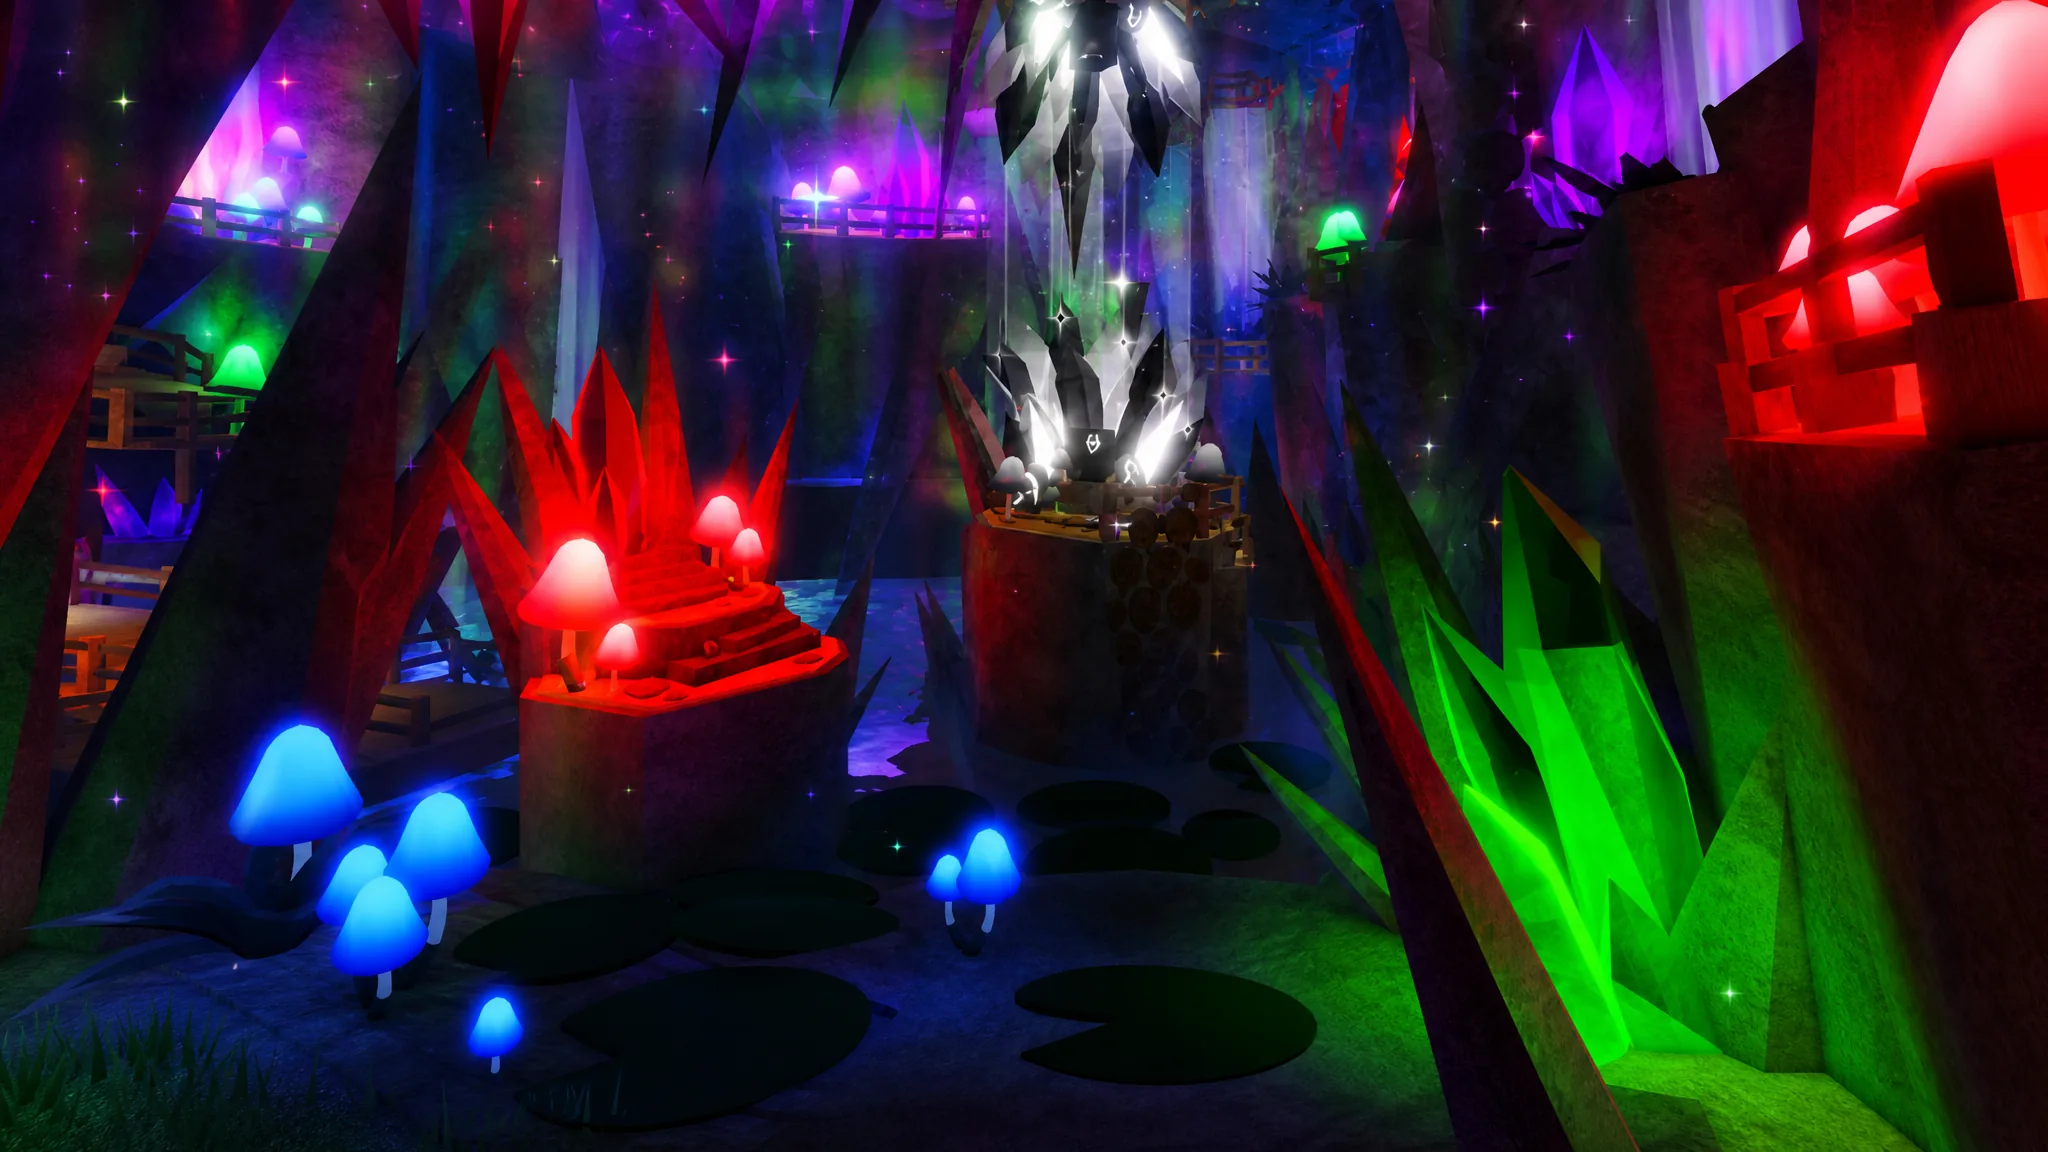
Once you pass through the Veil, only the NPC tied to your equipped relic and rod will talk to you. If nothing starts, you are almost certainly holding the wrong relic or rod pairing.
Entry requirements for each rod skin quest
Each of the five quests demands a specific rod in hand and a specific Enchant Relic to open its NPC dialogue. Match the pairing before you enter.
| Skin | Rod equipped | Entry relic | NPC |
|---|---|---|---|
| Cathedra Requiei | Requiem Rod | Husk Enchant Relic | Nyx |
| Caeruleus Reliquiarium | Poseidon Rod | King’s Blessing Enchant Relic | Tempest |
| Capella Vitrea | Fabulous Rod | Fabulous Enchant Relic | Alexandria |
| Ruptor Derelictus | Ruinous Oath | Mastered Enchant Relic | Scourge |
| Sanctuarium Lucis Seraphim | Masterline Rod | Ascended Enchant Relic | Polyhistor |
Cathedra Requiei Skin (Requiem Rod)
Enter with the Husk Enchant Relic and the Requiem Rod to reach Nyx. The Requiem Rod has a 20% chance to apply both the Husk and Requies mutations. For the Sparkling attribute, visit an Appraiser to roll it.
| Objective | Location | Bait | Conditions |
|---|---|---|---|
| Catch 1 Husk Plesiosaur | Tidefall Castle | Shark Head | Night, Foggy, Winter |
| Catch 1 Husk Reef Titan | Coral Bastion | — | Any |
| Catch 1 Husk Omnithal | Sunken Reliquary | Luminous Larva | Night, Foggy, Winter |
| Catch 1 Husk Pliosaur | Collapsed Ruins | Shark Head | Night, Foggy, Winter |
| Catch 1 Husk Goldwraith | Crowned Ruins | Sapphire Krill | Night |
Return to Nyx, then complete the second phase at Sunken Reliquary using Luminous Larva at Night, Foggy, Winter. You must Perfect Catch 1 Sparkling Husk Omnithal or 1 Awakened Omnithal, then catch and return 1 Requies Omnithal or 1 Awakened Omnithal. The Awakened Omnithal Hunt has a 10% chance to replace the standard Omnithal Hunt.
Caeruleus Reliquiarium Skin (Poseidon Rod)
Hold the King’s Blessing Enchant Relic and the Poseidon Rod to speak with Tempest. The Poseidon Rod carries a 10% chance for the King’s Blessing mutation, and any other attributes can be rolled at an Appraiser.
The first task is a riddle that reads “Re-ignite the Ocean’s Fury.” Head to the Poseidon Temple in Atlantis and use a Poseidon Wrath Totem to resolve it. For the second task, catch 1 King’s Blessing Tidecrasher Archon at Poseidon’s Storm of Floods during Night, Stormy weather, in Winter.
Capella Vitrea Skin (Fabulous Rod)
Enter with the Fabulous Enchant Relic and the Fabulous Rod to reach Alexandria. The Fabulous Rod has a 49% chance to apply the Fabulous mutation. For the Sparkling attribute, visit the Appraiser at the Moosewood Docks.
| Objective | Location | Bait | Conditions |
|---|---|---|---|
| Sparkling Fabulous Magma Leviathan | Mariana’s Veil (Volcanic Vents) | Truffle Worm | Day, Foggy, Summer |
| Sparkling Fabulous Frozen Leviathan | Mariana’s Veil (Challenger’s Deep) | Truffle Worm | Night, Clear, Winter |
| Sparkling Fabulous Crowned Anglerfish | Mariana’s Veil (Abyssal Zenith) | Truffle Worm | Night, Foggy, Autumn |
After returning to Alexandria, the final step asks you to Perfect Catch 1 Shiny Sparkling Fabulous Crystallize Seadragon in Mariana’s Veil (Calm Zone) using Shark Head at Night, Windy weather, in Spring.
Ruptor Derelictus Skin (Ruinous Oath)
Bring the Mastered Enchant Relic and the Ruinous Oath to reach Scourge. For the first part, you can pair the Evil Pitchfork and Scarlet Spincaster Rod with the Ruinous Oath. You only need to catch one dragon from the list below, and the Colossal Ancient Dragon is the easiest target.
| Eligible catch | Location | Bait | Conditions |
|---|---|---|---|
| Colossal Ancient Dragon | Crimson Cavern | Shark Head | Clear, Spring/Summer |
| Colossal Blue Dragon | Luminescent Cavern | Shark Head | Clear, Spring/Summer |
| Colossal Ethereal Dragon | Crimson or Luminescent Cavern | Truffle Worm | Any |
| Frostwyrm | Boreal Pines (Crystal Fissure) | Sapphire Krill | Night, Rain, Winter |
| Leviathan | Cultist Lair | Luminous Larva | Night, Foggy, Winter |
| Profane Leviathan | Cultist Lair | Luminous Larva | Night, Foggy, Winter |
For the second phase, Perfect Catch 3 Sparkling Mastered Colossal Ancient Dragon at Crimson Cavern using Shark Head in Clear weather during Spring or Summer. This is the slowest part, so avoid rushing the reeling minigame.
Sanctuarium Lucis Seraphim Skin (Masterline Rod)
This is the longest questline. Enter with the Ascended Enchant Relic and the Masterline Rod to reach Polyhistor. The Masterline Rod has a 30% chance for Ascended, 25% for Blessed, 8% for Shiny, and 8% for Sparkling.
The first phase requires completing the Shiny and Sparkling Bestiary for eight areas: Moosewood Island, Snowcap Island, Terrapin Island, Sunstone Island, Roslit Bay, Roslit Volcano, Mushgrove Swamp, and Vertigo.
The second phase asks you to catch each of the following as a Shiny Sparkling variant using the Destiny Rod.
| Catch (Shiny Sparkling) | Location | Bait | Conditions |
|---|---|---|---|
| Treble Bass | Moosewood | Magnet | Any |
| Manatee | Terrapin Island | Seaweed | Day, Clear, Spring/Winter |
| Molten Banshee | Roslit Volcano | Truffle Worm | Clear, Summer |
| Rubber Ducky | Above the Vertigo Whirlpool | None | Rain |
| Baby Pond Emperor | Snowcap Pond | Squid | Clear, Winter |
| Voltfish | Sunstone Island | Super Flakes | Night, Rain |
| Handfish | Roslit Bay | Seaweed | Day, Clear, Autumn |
| Manta Ray | Roslit Bay | Shrimp | Night, Summer |
How to confirm a quest is active and complete
Each NPC only speaks to you when you hold their exact relic and rod, so a silent or missing dialogue means the pairing is wrong. Re-check the entry table, swap in the correct relic and rod, and re-enter the Chapel.
Every questline is split into two phases. After finishing the first set of catches, return to the same NPC to unlock the second phase before continuing. Completing both phases awards the matching rod skin, which is purely cosmetic and applies only to the rod tied to that quest.
Because so many objectives depend on rare mutations, time of day, weather, and season, gather the required relics and bait ahead of time and work through one questline at a time. That keeps you from bouncing across the map and losing the correct weather or seasonal window mid-hunt.





