Dire is the sixth and hidden difficulty of Stygian Onslaught, and it is the only tier where you get no help at all. No co-op, no Exalted Ones buffs, no repeated characters across the three battlefields. That last rule is what forces most players into three genuinely separate rosters, and it is why a Dendro-heavy account can field Kinich, Alhaitham, and Tighnari as three different carries in a single run.
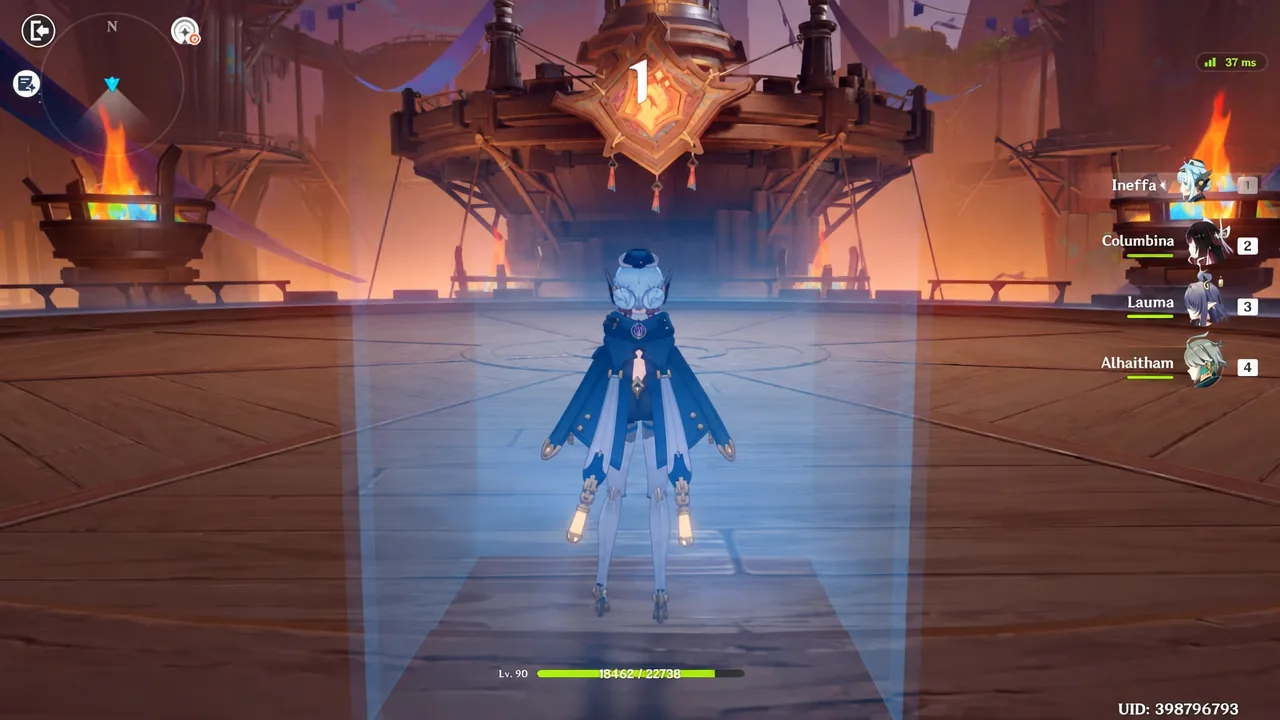
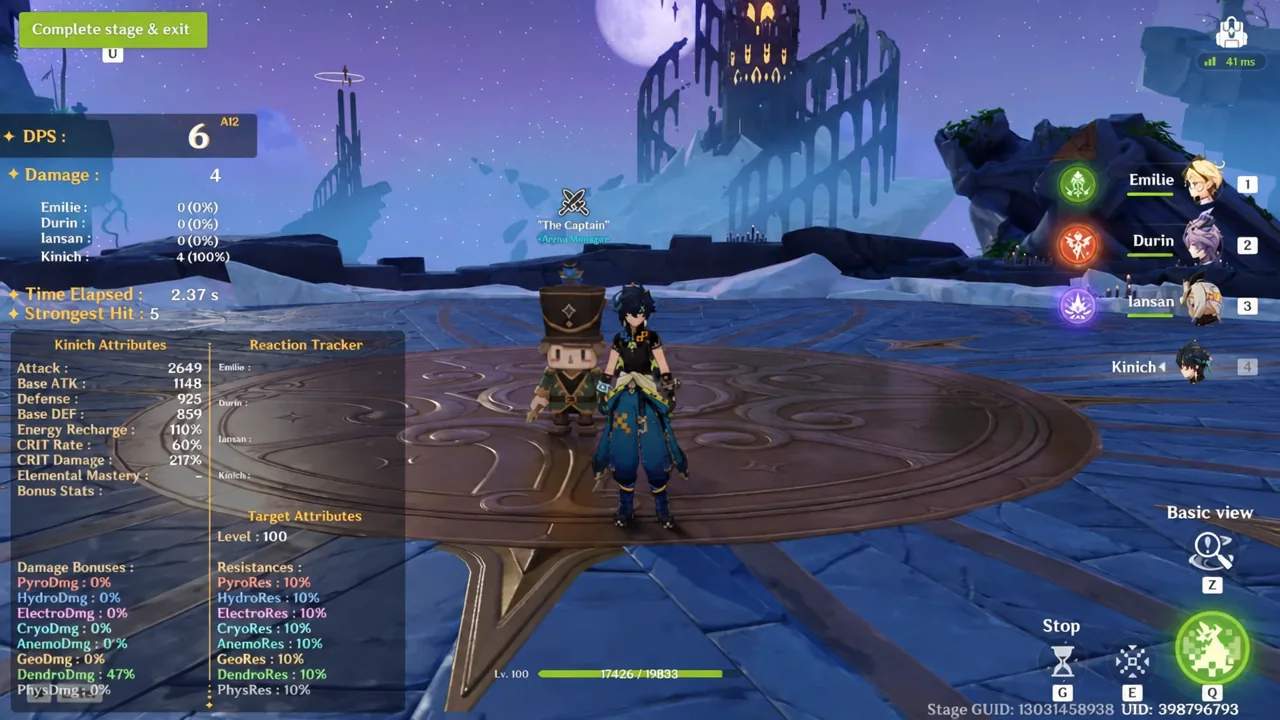
Quick answer: Run Kinich with Emilie, Durin, and Iansan against Knuckle Duckle, Alhaitham with Lauma, Columbina, and Ineffa against the Veteran Wind Operative, and Tighnari with Nahida, Nicole, and Fischl against the Chimeric Winged Lion. No character may appear in more than one of the three battlefields.
Dire difficulty rules: Solo only, no repeat characters
You unlock Dire by clearing Fearless in single player. Once you are in, rewards can only be claimed solo, and the Exalted Ones ATK, DEF, and HP boons that carry lower tiers are switched off entirely. Enemies have far more health and hit considerably harder than their Fearless versions.
The no-duplicate-characters restriction applies from Menacing upward, so twelve built units are the real entry fee for Dire. That includes supports. If Nahida is holding your Deepwood Memories set on one battlefield, another team needs a different Dendro RES shredder.
Boss health pools and break conditions in 7.0
Every boss in the 7.0 lineup hides behind a ward or shield, and none of them are worth brute-forcing. Raw damage matters less than how fast you strip the protection, because each boss takes backlash damage based on what it absorbed while shielded.
| Boss | Dire HP | How the ward comes down |
|---|---|---|
| Knuckle Duckle | 25.9M | Destroy the Stamping Devices. Electro-Charged and Lunar-Charged damage disrupt them fastest, and each disrupted device crashes into the boss. Breaking the Ward drops its Electro RES. |
| Veteran Wind Operative | 17.5M | Break the white damage shield she raises during Hunt Down. She can put it up roughly three times per fight, and it ignores Vaporize and Melt multipliers. |
| Chimeric Winged Lion | 23.35M | Chip the 40-gauge Electro Ward with elemental reactions. Stellar reactions remove 16 units instantly. After the break, its Cryo and Anemo RES drop sharply. |
Note: while the Operative’s shield is up she applies a Bond of Life to the whole party that cannot be healed off, and her Hunt Down attack leaves a heavy damage-over-time debuff on anyone hit without a shield of their own. Dodging it or blocking it is not optional on Dire.
Kinich vs Knuckle Duckle: Burning and Burgeon in 62 seconds
Knuckle Duckle is the boss most people expect to need a Lunar-Charged team for, since the Stamping Devices take extra damage from Electro-Charged and Lunar-Charged instances. A Burning and Burgeon core gets there a different way, by simply killing the devices outright with enough area damage.
Emilie and Durin supply the Dendro and Pyro application, Iansan buffs the damage, and Kinich cleans up. It was the fastest of the three fights at 62 seconds, which matters because the Duckle re-shields itself after a delay if you let the window close.
Alhaitham vs the Veteran Wind Operative: Spread and Hyperbloom in 103 seconds
The Operative is the reworked Fatui Operative with an Anemo coat instead of Cryo, which is quietly a gift. Without a Cryo aura sticking to your party, teams that do not run Bennett no longer get slowed down between rotations. She does have raised Anemo RES to compensate.
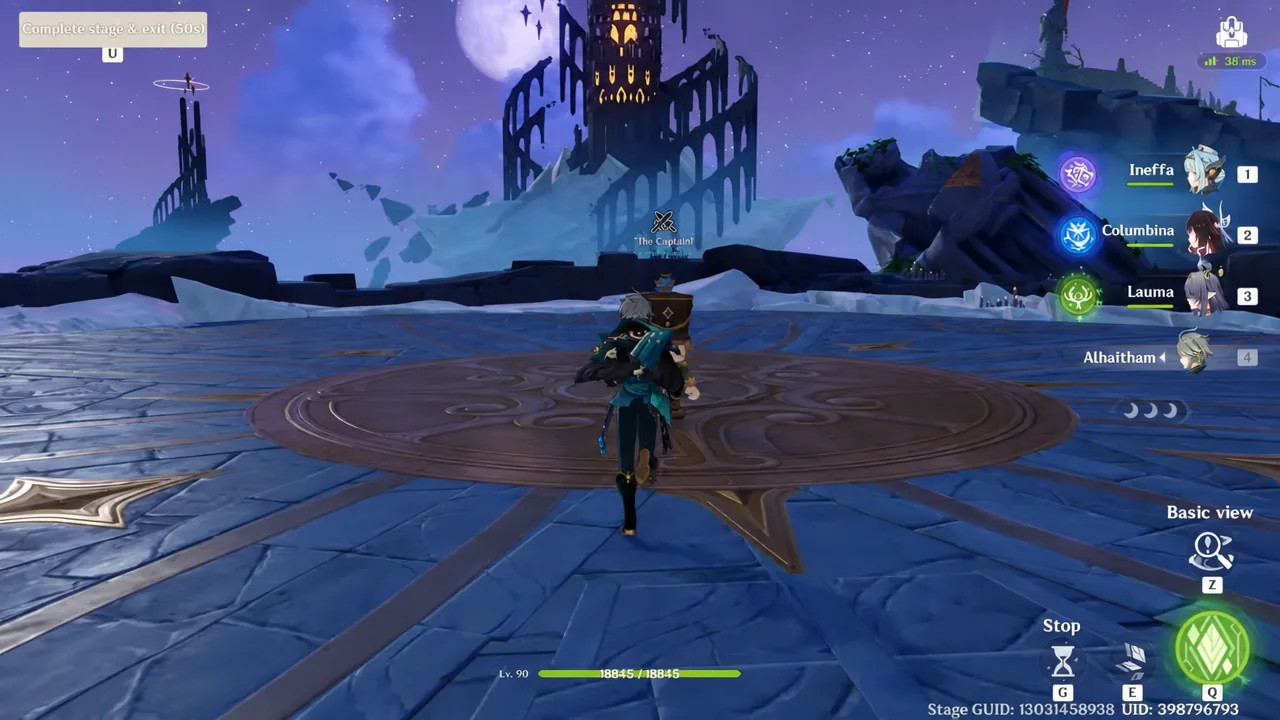
Alhaitham handles the shield phases with Spread and Hyperbloom, with Lauma providing Dendro RES shred and reaction bonuses, Columbina covering Hydro application, and Ineffa filling out the Electro side. The clear took 103 seconds. Because the shield reappears up to three times, the priority is always breaking it quickly rather than dumping damage into her health bar while it holds.
Tighnari vs the Chimeric Winged Lion: Quicken and Spread in 105 seconds
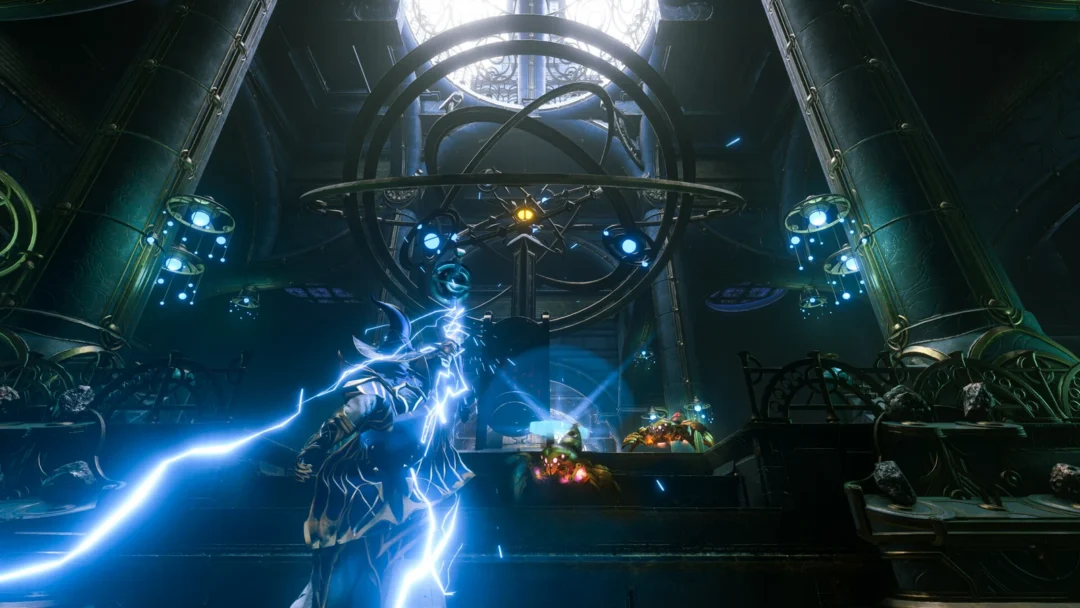
The Chimeric Winged Lion is built to reward Stellar teams. Its Electro Ward loses 16 gauge units to a single Stellar reaction, and Stellar Glimmer also interrupts its greatsword shockwave and stops it absorbing Anemo Orbs during the vortex phase. A Quicken and Spread team has none of that, so it has to grind the 40-unit ward down through ordinary reactions instead.
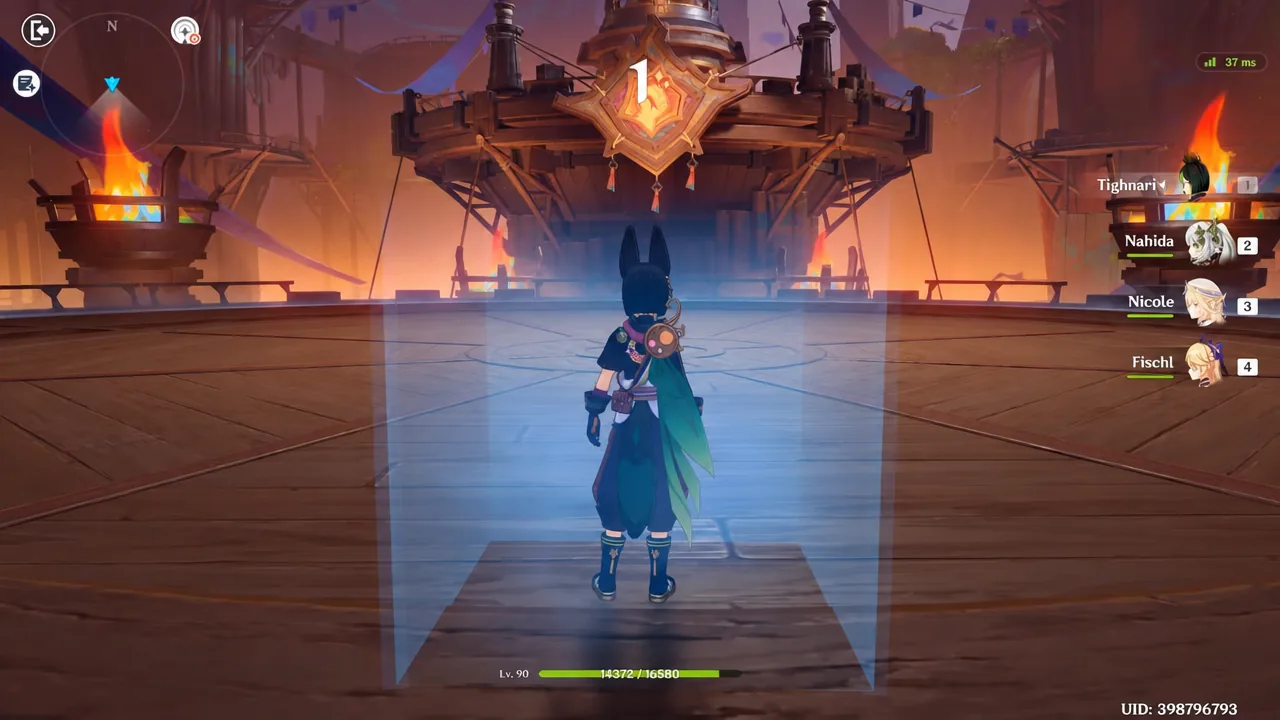
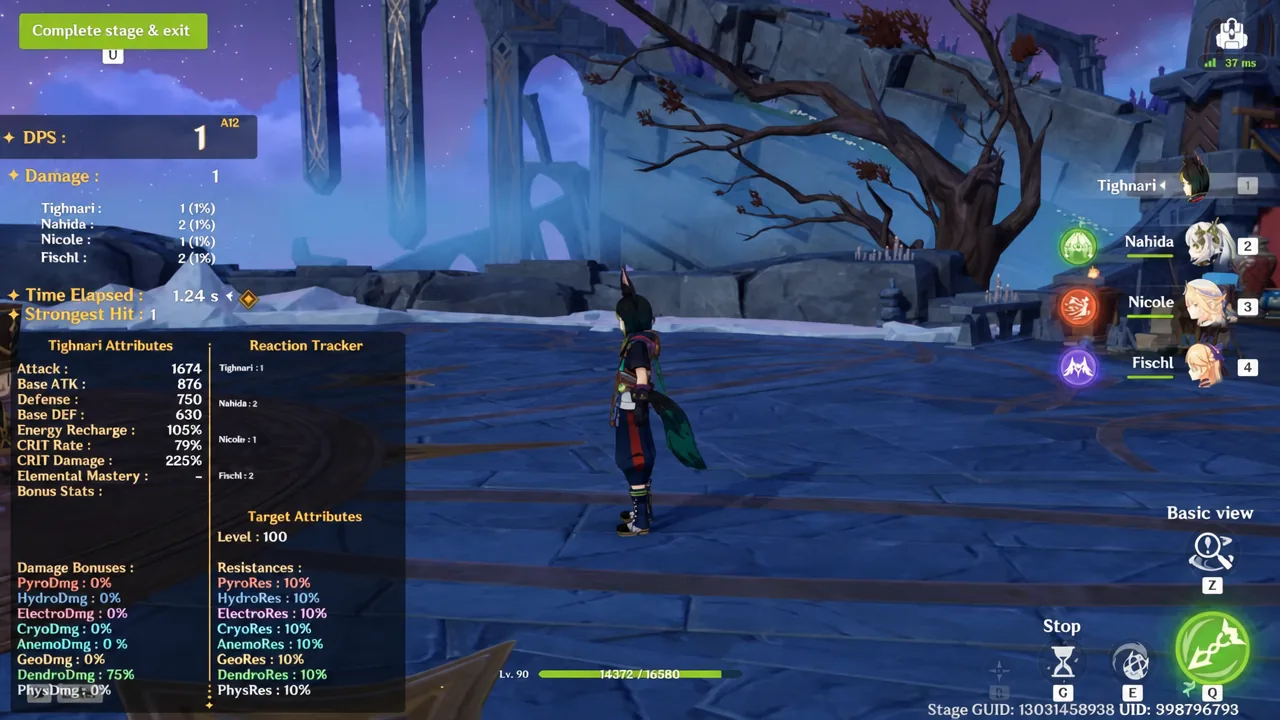
Tighnari’s charged attacks with Nahida, Nicole, and Fischl behind them managed it in 105 seconds, the slowest of the three battlefields. Two things carry that fight. The Anemo Orbs during the orb phase pop to Pyro, Hydro, Electro, or Cryo, and once the ward breaks the boss eats backlash damage scaled to everything it blocked, plus a window of reduced Cryo and Anemo RES.
Builds used across the three Dire teams
All twelve units are at level 90 or 100 with four-piece artifact sets. The refinement values matter mostly on the Favonius weapons, which are running R5 for energy generation on the support slots.
| Character | Lv. | Weapon | Artifacts (4pc) |
|---|---|---|---|
| Kinich | 100 | Fang of the Mountain King (R1) | Obsidian Codex |
| Emilie | 90 | Lumidouce Elegy (R1) | Deepwood Memories |
| Durin | 100 | Athame Artis (R1) | Noblesse Oblige |
| Iansan | 90 | Favonius Lance (R5) | Scroll of the Hero of Cinder City |
| Alhaitham | 100 | Light of Foliar Incision (R1) | Night of the Sky’s Unveiling |
| Lauma | 90 | A Thousand Floating Dreams (R1) | Deepwood Memories |
| Columbina | 100 | Favonius Codex (R5) | Silken Moon’s Serenade |
| Ineffa | 90 | Favonius Lance (R5) | Tenacity of the Millelith |
| Tighnari | 90 | Astral Vulture’s Crimson Plumage (R1) | Wanderer’s Troupe |
| Nahida | 90 | A Thousand Floating Dreams (R1) | Deepwood Memories |
| Nicole | 100 | Angelos’ Heptades (R5) | Celestial Gift |
| Fischl | 90 | Elegy for the End (R1) | Tenacity of the Millelith |
Two Deepwood Memories holders across two different teams is the practical answer to the no-duplicates rule. Emilie carries it on the Kinich side while Nahida carries it for Tighnari, so both Dendro carries still get their 30 percent Dendro RES shred without sharing a unit.
Clear times and the 180-second weapon skin objective
Finishing Dire and finishing Dire fast are two separate goals. The Sublimation weapon skins require completing all three battlefields inside a combined 180 seconds, which works out to an average of 60 seconds per fight.
| Battlefield | Team | Time |
|---|---|---|
| Knuckle Duckle: Armored Arsenal | Emilie, Durin, Iansan, Kinich | 62s |
| Veteran Wind Operative: Treacherous Blade | Ineffa, Columbina, Lauma, Alhaitham | 103s |
| Chimeric Winged Lion: Power Overwhelming | Tighnari, Nahida, Nicole, Fischl | 105s |
That totals 270 seconds. It is a full Dire clear and it pays out the Dire rewards, but it sits well outside the skin threshold. If the skins are what you want, the two shield-heavy fights are where the seconds are, not the Duckle.
Confirming the Dire clear registered
A battlefield counts once the boss is down and the complete-and-exit prompt appears on screen. The challenge is only marked finished when all three battlefields are cleared at that difficulty, and rewards for Level 6 are handed out solo. Clearing any of it in co-op does not grant the Dire rewards.
Two things commonly block a Dire attempt outright rather than a damage check. Fearless has to be cleared in single player first, and the game rejects any team that reuses a character already assigned to another battlefield.
The 7.0 cycle runs from August 19 to September 22, 2026, with the following cycle scheduled to open on September 30, 2026. The Disturbance Outbreak window that granted extra artifact rewards on Difficulty 3 and above closed earlier on August 29, so the remaining draw here is the Dire completion itself and the weapon skins riding on that 180-second timer.