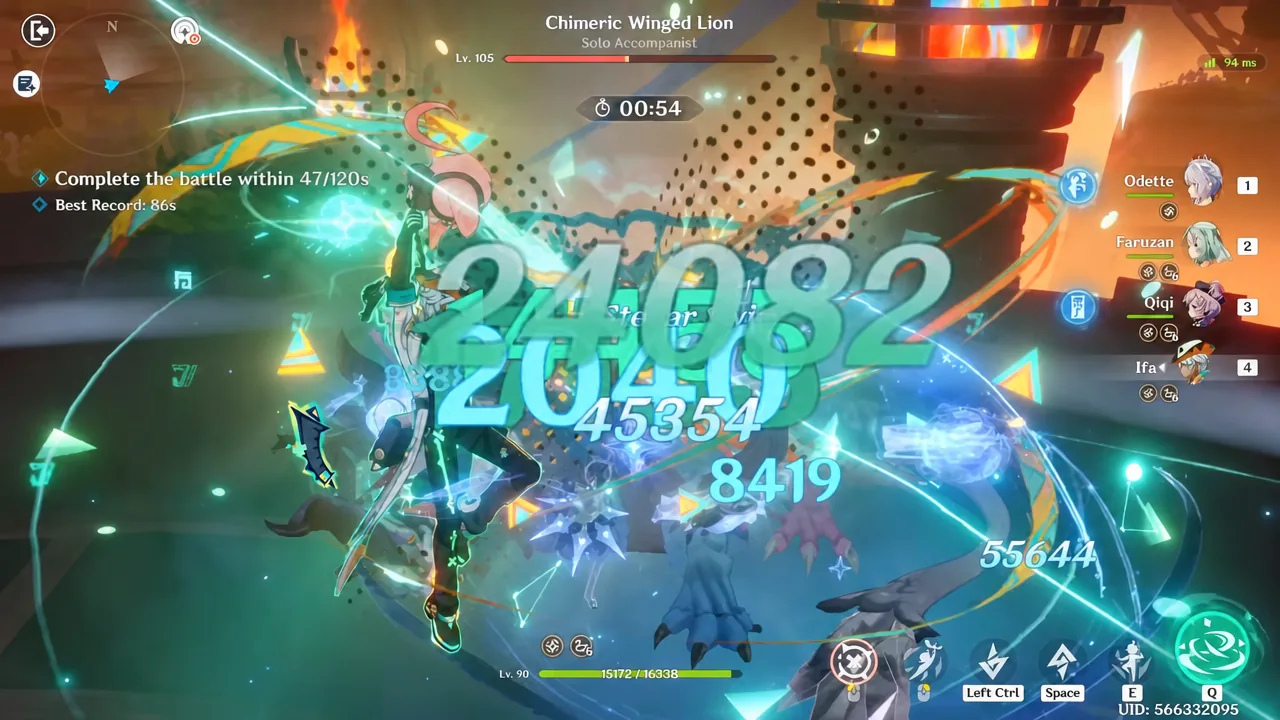
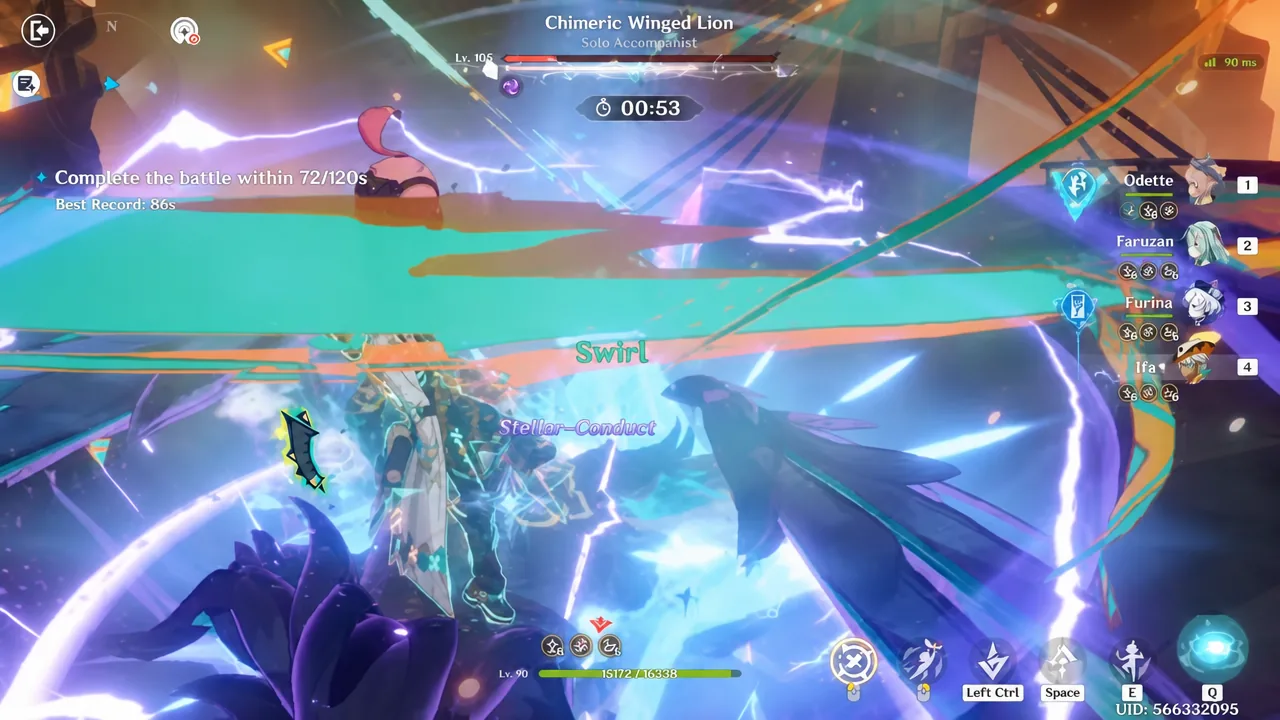
The Chimeric Winged Lion is the headline enemy of the 7.0 Stygian Onslaught rotation, and it is built to punish teams that cannot produce Stellar reactions on demand. An Anemo-led Stellar Swirl core with Ifa driving reactions clears Battlefield 1 on Fearless in 84 seconds, well under the 93-second mark it replaced.
Quick answer: Break the Chimeric Winged Lion’s Electro Ward with Stellar Swirl reactions first. The boss is interrupted and left vulnerable once the ward falls, and that stun window is where a C6 Ifa team dumps its damage.
Why Stellar Swirl works on the Chimeric Winged Lion
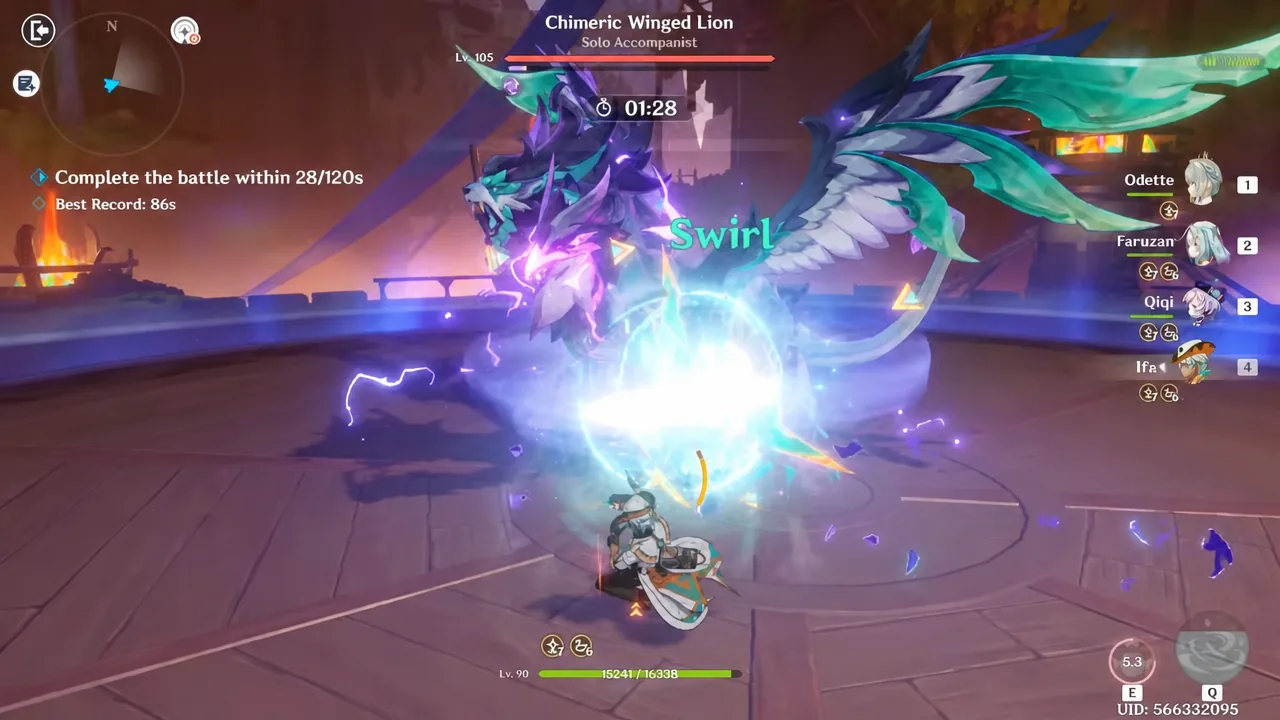
At the start of the fight, a Ley Line disturbance gives the boss a resilient Electro Ward. That ward is the gate on the whole encounter. Until it comes down, damage output barely matters, so the opening rotation exists purely to feed reactions into it.
The boss also channels Anemo power into its Electro greatsword during the fight. Applying Radiance: Stellar Glimmer while it channels interrupts the attack and chips the ward at the same time. Both Stellar-Conduct and Stellar Swirl teams produce that Stellar Glimmer damage, which is why an Anemo-heavy lineup is viable here instead of the more common Electro setup.
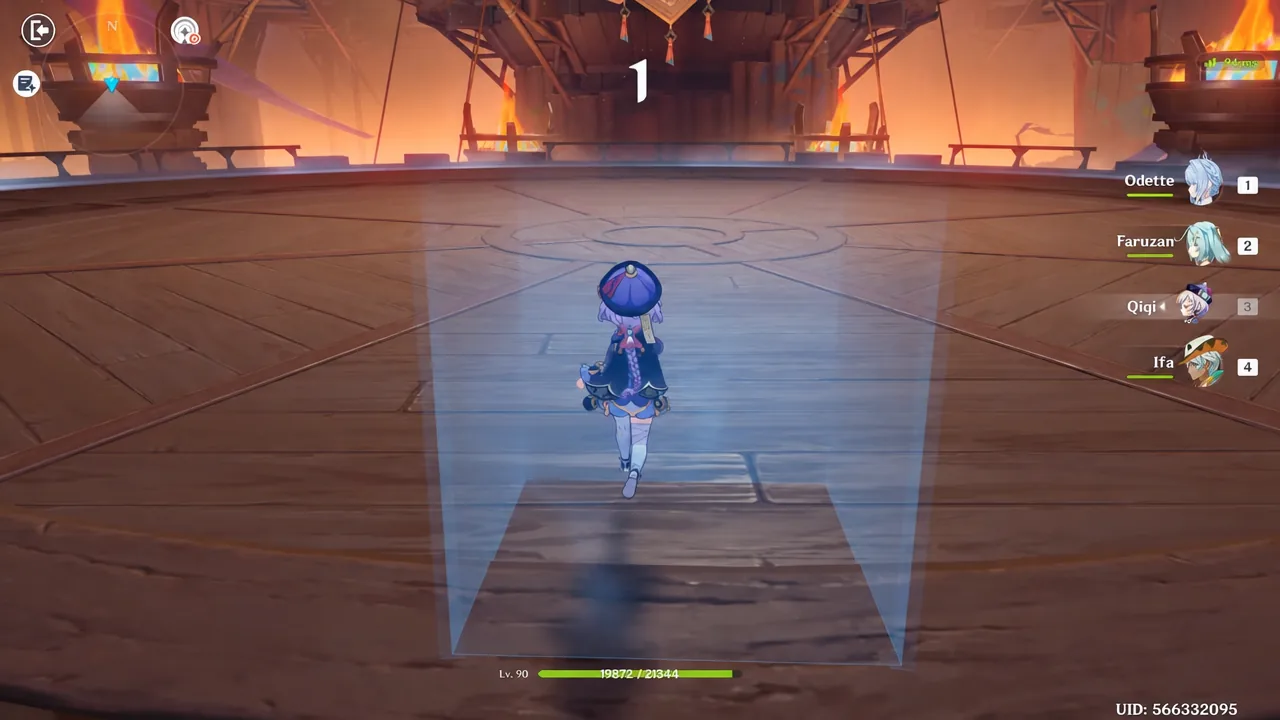
Once the ward breaks, the Chimeric Winged Lion takes heavy damage and is temporarily paralyzed. Everything after that is a normal damage rotation against a stationary target.
The 84-second Fearless clear: team and record
The run pairs two Anemo units with two Cryo units, giving Ifa a constant Cryo aura to swirl. All four characters are at Level 90 with their sixth constellation unlocked, and the enemies on Fearless difficulty sit at Level 105.
| Character | Weapon | Artifact set |
|---|---|---|
| Ifa (Anemo) | Sunny Morning Sleep-In (R1) | Scarlet Proof |
| Odette (Cryo) | Whitelake Frostfeather (R1) | Disenchantment to Deep Shadows |
| Faruzan (Anemo) | Elegy for the End (R5) | Viridescent Venerer |
| Qiqi (Cryo) | Favonius Sword (R5) | Heart of the Furnace |
Odette carries the bulk of the raw damage, sitting at 78.0% CRIT Rate and 218.2% CRIT DMG. Faruzan handles Anemo buffing and grouping, Qiqi covers healing and energy through Favonius procs, and Ifa keeps Swirl running underneath all of it.
Ifa’s role as the Swirl driver
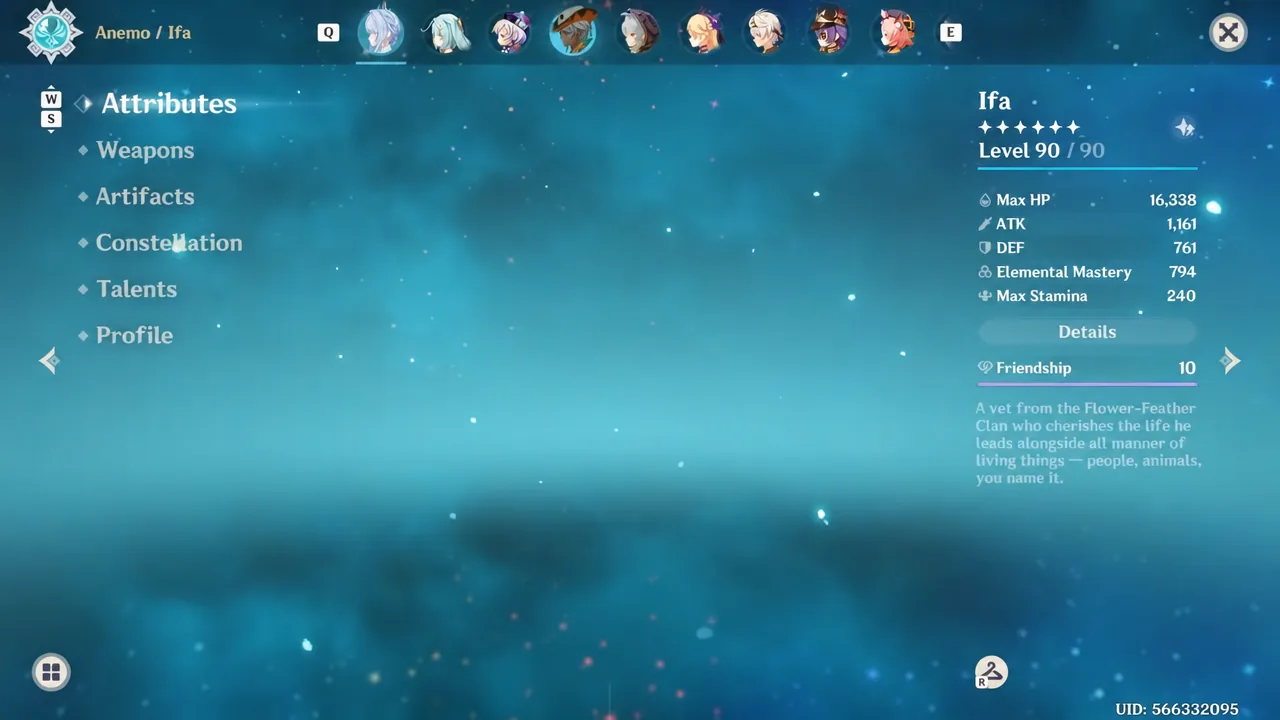
Ifa is a 4-star Anemo catalyst whose value comes almost entirely from reactions rather than personal multipliers. His own damage numbers are low, so his Elemental Mastery is what carries the team, since both his Swirl damage and his healing scale from it.
The important quirk is that he can use Normal Attacks while in his Nightsoul’s Blessing state. That keeps Swirl applications flowing without locking him out of other on-field effects, and his flight during that state helps him dodge melee swings. His tonicshot healing also reaches off-field characters, which is why a run like this can survive with only one dedicated healer.
His weaknesses matter here too. He has no interruption resistance and can be knocked out of the air by ranged attacks, and his Elemental Burst is a short crowd-control pull rather than a damage tool. Against a heavy target like the Chimeric Winged Lion, treat the Burst as repositioning, not as part of your damage budget.
Weapon and artifact notes for the Ifa Stellar Swirl core
Sunny Morning Sleep-In is Ifa’s best catalyst, and it stays best even at Refinement Rank 1. Realistic replacements are A Thousand Floating Dreams, Wandering Evenstar, Sacrificial Fragments, and Mappa Mare, in roughly that order.
For artifacts, four-piece Viridescent Venerer remains the standard choice for Ifa outside of specialised setups. It adds 15% Anemo DMG at two pieces, then boosts Swirl damage by 60% and cuts the swirled element’s resistance by 40% for 10 seconds at four. Scroll of the Hero of Cinder City is the supportive alternative, while Gilded Dreams and Wanderer’s Troupe work as two-piece Elemental Mastery filler. Instructor is the 4-star fallback.
Main stats are simple. Run Elemental Mastery on the Sands, Goblet, and Circlet, then prioritise Elemental Mastery and Energy Recharge substats. Talent priority goes Elemental Skill first, Elemental Burst second, Normal Attack last.
Faruzan and Qiqi are doing energy work as much as buffing. Elegy for the End and a R5 Favonius Sword both feed particles and Energy Recharge back into the team, which is what keeps the rotation tight enough to land two full burst windows inside the timer.

How to confirm the ward break landed
You will know the ward phase is over when the boss stops resisting damage and drops into a brief paralysis. Numbers jump sharply, and the enemy stops cycling its attack pattern. If your Stellar reactions are landing but the boss keeps swinging, the ward is still up and you have not applied Radiance: Stellar Glimmer during its greatsword channel.
A successful stage ends on the Battle Complete screen, which lists your clear time for that battlefield. The 84-second result registered as a new record against a previous 93 seconds, so any improvement is reflected there immediately.
Character swaps for the Ifa Stellar Swirl team
The team is built around one Anemo driver, one Anemo buffer, and a Cryo pair, so slots are more flexible than they look. Yumemizuki Mizuki fills the same Swirl driver role and has been used with Odette, Faruzan, and a Cryo Traveler variant, though Ifa outperforms her at C0. On the Cryo side, Odette can be supported by Qiqi, Diona, Escoffier, or Cryo Traveler depending on whether you need healing or shielding.
If you own Stellar-Conduct units instead, the Electro aura from the boss’s own shield makes that reaction easier to trigger, which is why lineups built around Sandrone, Yae Miko, and Odette are the usual recommendation for this stage. Stellar Swirl is the alternative route to the same ward break, not a downgrade in mechanic terms.
Where this team fits in the 7.0 rotation
The Ifa Stellar Swirl core solves one battlefield, not all three. The current rotation runs as follows.
| Battlefield | Enemy and modifier | Reaction focus |
|---|---|---|
| 1 | Chimeric Winged Lion: Power Overwhelming | Stellar Glimmer (Swirl or Conduct) |
| 2 | Veteran Wind Operative: Treacherous Blade | Bond of Life damage dealers |
| 3 | Knuckle Duckle: Armored Arsenal | Electro-Charged or Lunar-Charged |
Battlefield 2 rewards characters who benefit from the Bond of Life the boss applies, and Battlefield 3 asks you to destroy the Knuckle Duckle’s summoned devices before its shield drops. Neither is a natural fit for this Anemo core, so plan two more teams around them.
Fearless is also not the top difficulty tier, so an 84-second result there does not translate directly to Dire, where boss health pools scale up sharply. The mechanic stays the same either way. Break the ward with Stellar reactions, then spend the paralysis window efficiently.