

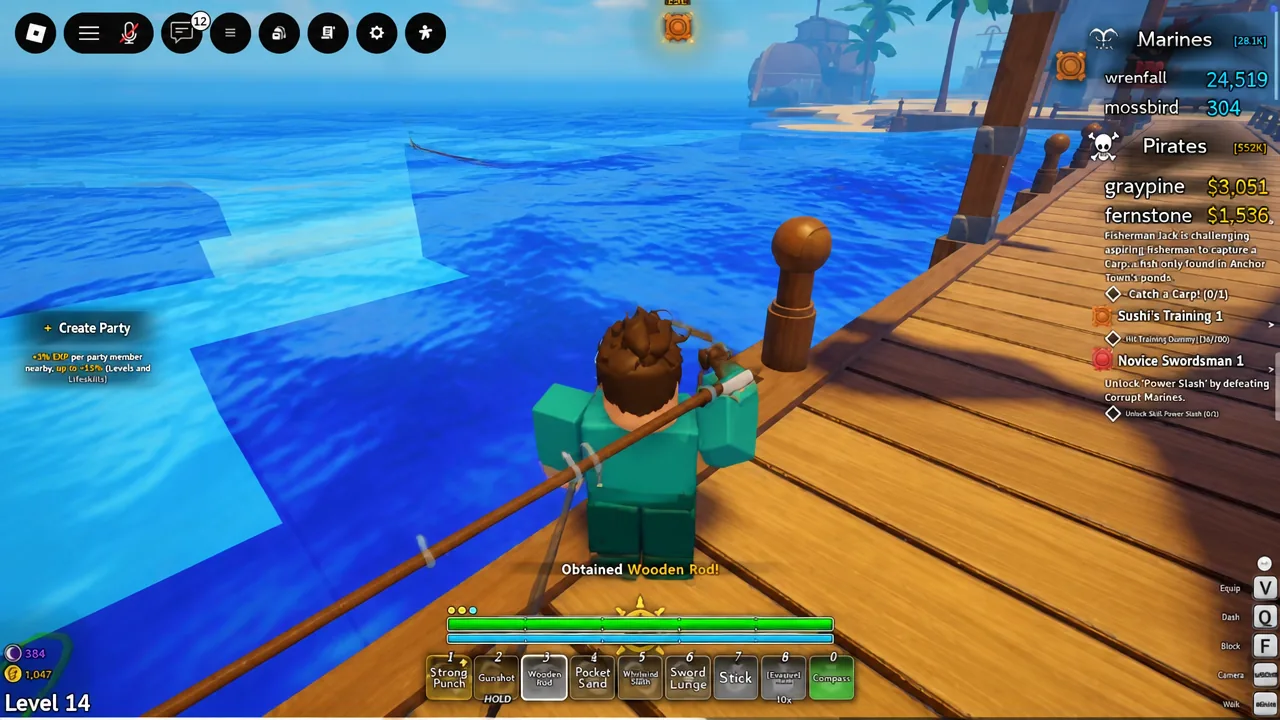
Fishing in Grand Blue runs on four rods, a handful of baits, and a six-branch skill tree that decides how forgiving the reeling minigame feels. The rods do not all come from one shop — one is sold, one is a quest reward, one sits on another island, and the last is crafted.
Quick answer: Buy the Wooden Rod and Worm Bait from Ricky at the Anchor Town docks, finish Fisherman Jack’s Challenge to bank the Carbon Rod for Fishing Level 15, and dump your first skill points into Steady Bar, then Sure Grip.
All fishing rods in Grand Blue and how to get them
Four rods exist in the current Early Access build, and the progression order is fixed. Only one of them has a level gate attached.
| Rod | How to get it | Cost / requirement |
|---|---|---|
| Wooden Rod | Bought from Ricky at the Anchor Town docks | 68 Gold (listed at 75G on the rack) |
| Carbon Rod | Reward for Fisherman Jack’s Challenge in Anchor Town | Catch a Carp; Fishing Level 15 to equip |
| Fiberglass Rod | Marine Dealership in Maple Village | Around 2,200–2,500 Gold |
| Silverline Rod | Crafted at a furnace from a recipe | Gathered materials |

Bait and lures: where to buy them and what they cost
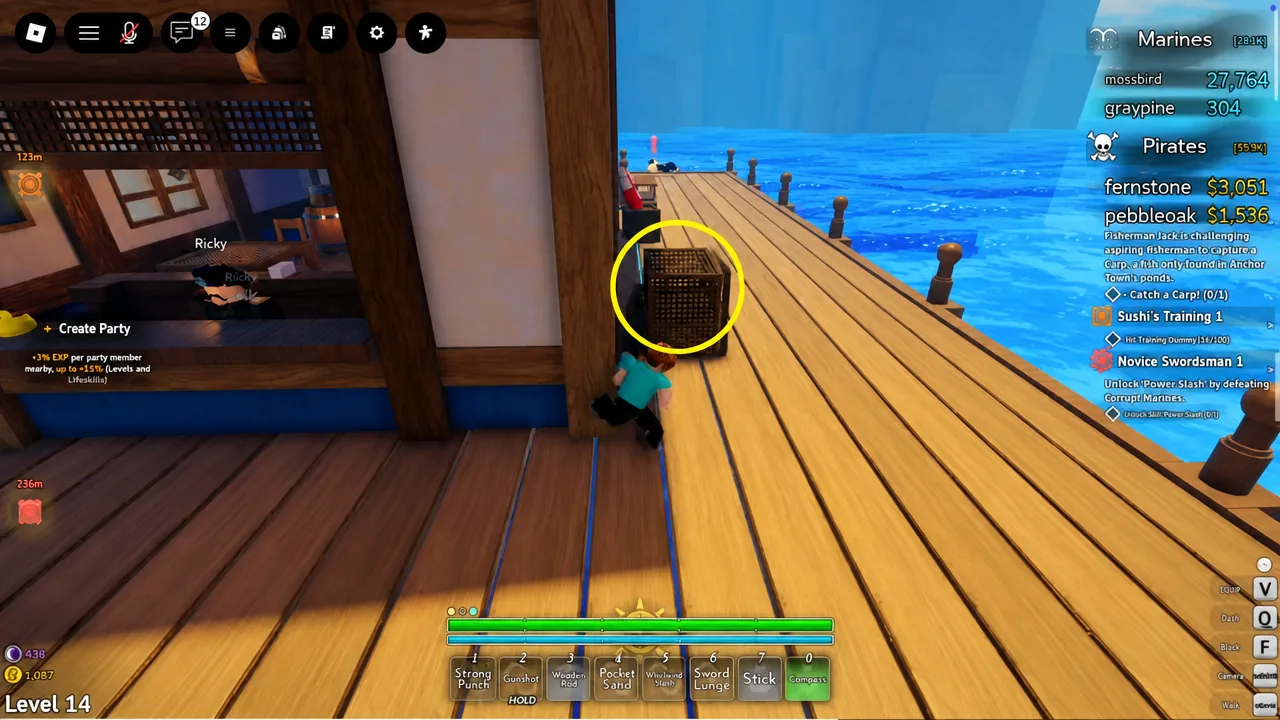
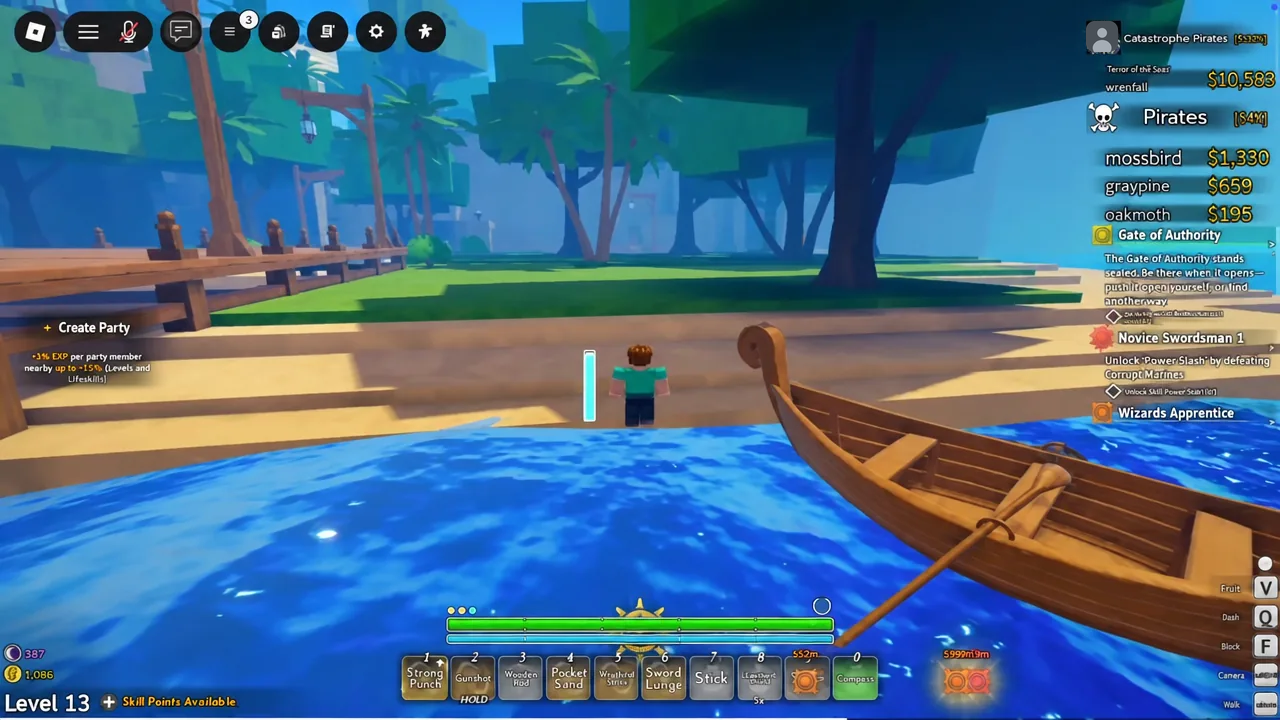
Worm Bait is the workhorse. It comes from Ricky at the same counter as the Wooden Rod, it is cheap, and it carries you through the entire early grind. The two premium lures live at the Marine Dealership in Maple Village.
| Bait | Vendor | Price |
|---|---|---|
| Worm Bait | Ricky, Anchor Town docks | Cheap starter bait |
| Shimmer Roe | Marine Dealership, Maple Village | 75 Gold |
| Silkline Lure | Marine Dealership, Maple Village | 75 Gold |
Note: when you make the trip to Maple Village, put your Gold into the Fiberglass Rod first. The rod moves your progression far more than the lures do, and Worm Bait remains perfectly serviceable for general levelling.
Terry’s quest line also feeds into bait economy. Terry’s Ring carries the Worm Connoisseur passive, which gives a 50% chance not to consume Worm Bait on a cast. Terry’s Hat comes from the same line but has no fishing effect attached.
How the fishing minigame works
Every catch runs through three phases. Casting comes first — equip the rod, hold left click, and release. The closer your meter lands to the top, the better the grade, running from erm up through okay, great, amazing, and perfect. A stronger cast may nudge your luck slightly.
Luring is next. Circles pop up on screen with a Shake prompt, and you click them to draw the bite. You cannot fail this phase outright; ignoring the circles still moves you to the reel, though it may cost a little luck.
Reeling is where catches are won or lost. Hold M1 to push the bar right, release to let it drift left, and keep the catch mark inside the zone so the progress meter fills. Difficulty scales with rarity, shown by the exclamation marks above the water — white for common, green uncommon, blue rare, purple epic, yellow legendary, and red for celestial.
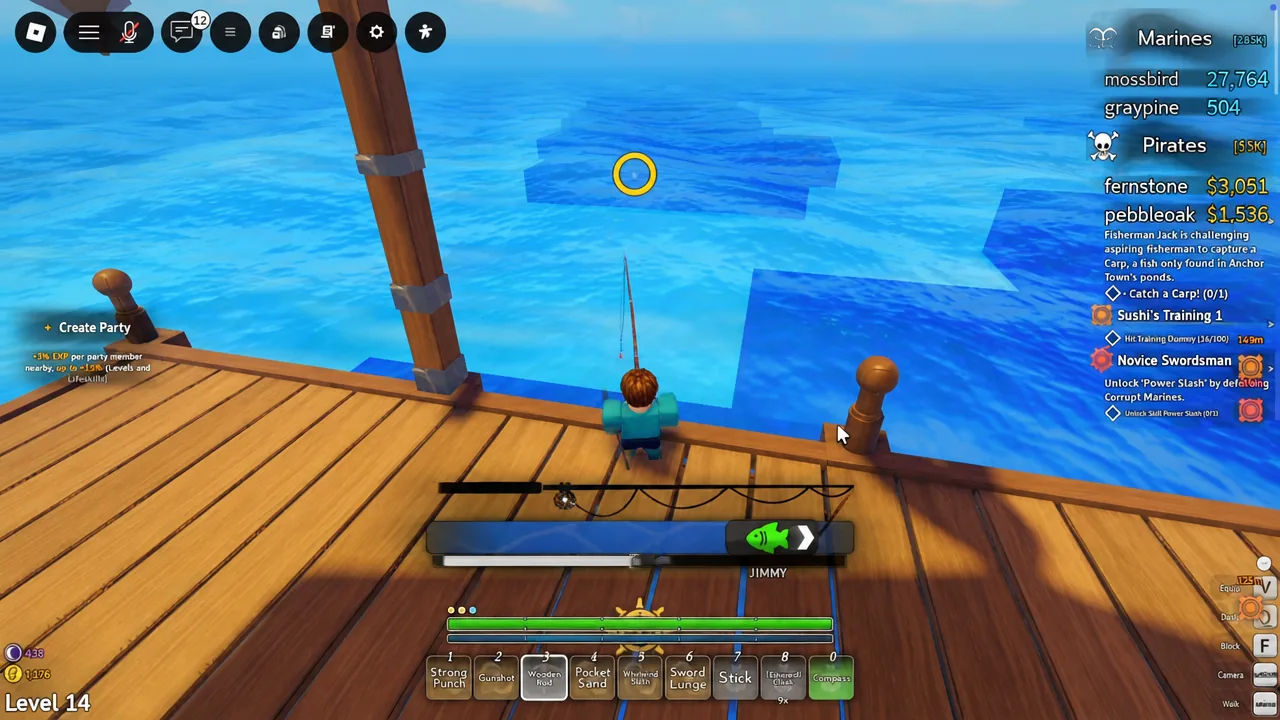
You know the catch landed when the progress bar completes and the item drops into your inventory. Failure happens one way only: the mark slips out of the zone long enough for the meter to drain to zero.
Best fishing skills to unlock first
Levelling Life Skills earns skill points, and the Fishing node splits into six branches: Lucky Cast, Quick Bait, Deft Hands, Steady Bar, Composure, and Sure Grip. Points are limited, so spreading them thin leaves you with nothing meaningful.
Steady Bar is the first priority. Each rank adds 10% to the reel bar size, which directly reduces how often rare catches escape. Its mid-branch node, Keen Eye, slows the catch mark by 20% per rank, and the capstone Unshakeable makes the mark behave as though every fish were one rarity tier lower.
Sure Grip is second. It adds 10% reel speed per rank, cutting the time each fish takes once you can already hold the line. Momentum stacks speed the longer you stay on target, up to 50%, and Final Heave adds another 50% once a catch passes the halfway mark.
| Branch | Core effect per rank | Priority |
|---|---|---|
| Steady Bar | +10% reel bar size | First |
| Sure Grip | +10% reel speed | Second |
| Composure | 10% slower reel drain | Later |
| Lucky Cast | +10 Luck | Later |
| Deft Hands | +10% hook circle size | Later |
| Quick Bait | +10% bite speed | Last |
The remaining branches are not useless, just lower value while you are still fighting the reel bar. Composure’s Last Breath gives extra chances to pull the meter back above zero, Deft Hands’ Perfect Hook starts the reel bar at 50% instead of the usual 30%, and Lucky Cast’s Beautiful Haul can duplicate a catch. Save those for after Steady Bar and Sure Grip are built out.
Fish by location and sell values
Some fish are locked to specific bodies of water, which is why the Carp only appears in the Anchor Town pond and never in the open sea. Clown Town Cave holds its own pool as well.
| Catch | Where | Rarity | Sells for |
|---|---|---|---|
| Rock | Ocean | Common (Trash) | 1 |
| Shoe | Ocean | Common (Trash) | 2 |
| Worm | Ocean | Common (Bait) | 5 |
| Sardine | Ocean | Uncommon | 15 |
| Skipjack Tuna | Ocean | Uncommon | 25 |
| Tuna | Ocean | Rare | 15 |
| Salmon | Ocean | Rare | 50 |
| Green Seahorse | Ocean | Rare | 90 |
| Red Seahorse | Ocean | Rare | 90 |
| Clownfish | Ocean | Epic | 150 |
| Blue Tang | Ocean | Epic | 200 |
| Carp | Anchor Town pond | Rare | 75 |
| Bluebanded Goby | Clown Town Cave | Common | 10 |
| Greenbanded Goby | Clown Town Cave | Common | 10 |
| Golden Dottyback | Clown Town Cave | Uncommon | 35 |
| Lobster | Clown Town Cave | Rare | 120 |
Catches can also roll one of ten mutations — Abyssal, Albino, Ancient, Charged, Golden, Moonlit, Plump, Prismatic, Rotten, and Twin-Tailed — each acting as a value amplifier. Some appear more often in certain weather.
Fishing milestones and rewards
Levelling the profession pays out at five fixed checkpoints, culminating in a title at level 100.
| Milestone | Fishing level | Reward |
|---|---|---|
| Novice Angler | 10 | 500 Gold, 100 Celestial Coins |
| Adept Angler | 25 | 1,500 Gold, 250 Celestial Coins |
| Expert Angler | 50 | 4,000 Gold, 500 Celestial Coins |
| Master Angler | 75 | 8,000 Gold, 1,000 Celestial Coins |
| Grandmaster Angler | 100 | 15,000 Gold, 2,500 Celestial Coins, “Master Angler” title |
Rebirth Tokens open a separate set of fishing perks. Bait Saver gives a 25% chance per rank that a cast does not eat your bait, Heavy Line makes hooked fish move 20% less per rank, and Fish Stunner rolls a 20% chance every 2.5 seconds to freeze a fish for three seconds while reeling. Surf Caster lets you cast onto sand, stone, or rooftops, pulling from the local zone’s pool or open water where none exists.
The practical route is short. Kit out at Ricky’s stall, bank the Carbon Rod from Jack early so it is waiting at Level 15, put every early point into Steady Bar, and only make the Maple Village trip once you have the Gold for the Fiberglass Rod outright. Fishing is a long grind either way, but a wider reel bar makes each cast far less likely to end in nothing.





