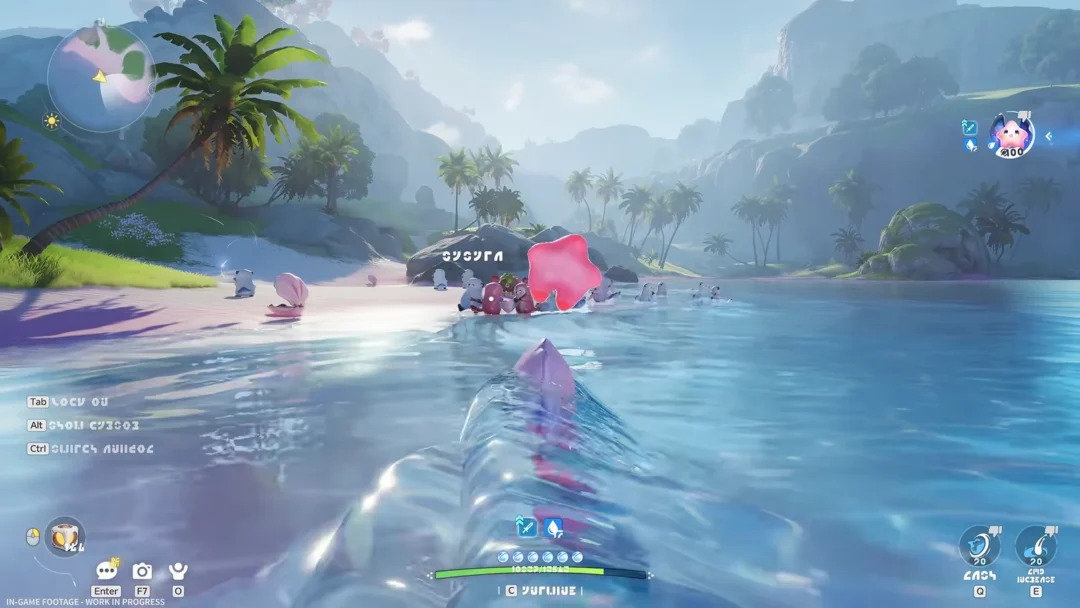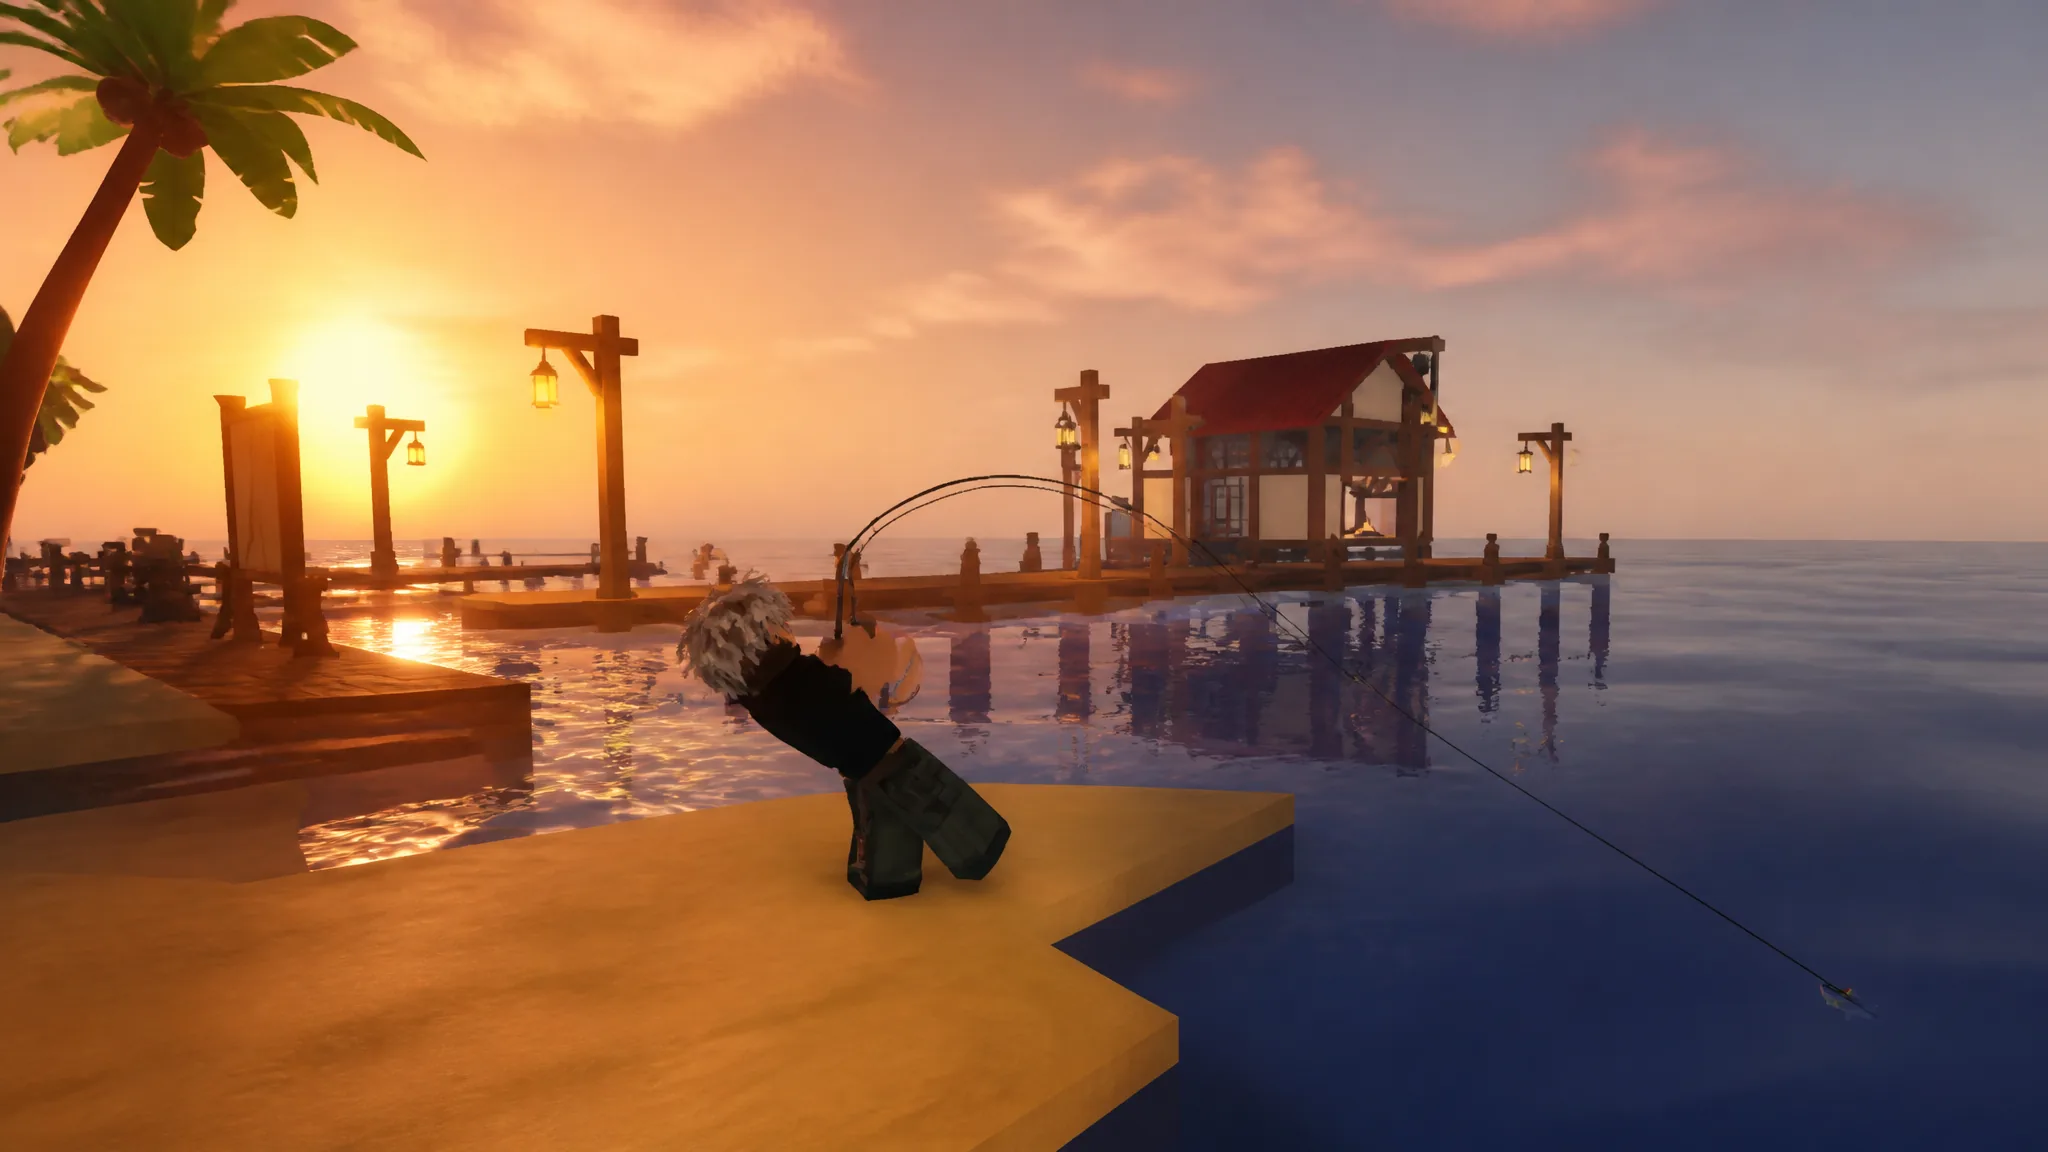
Fishing is one of the Life Skills in Grand Blue, and it does two useful jobs at once. Every catch you sell earns Gold and Fishing XP, and the fish you keep become ingredients for cooking. It is optional, but it is also one of the steadiest ways to fund the rest of your progression while you learn the water.
Quick answer: Buy a Wooden Rod and Worms from Ricky at Anchor Town, cast into the sea or a town pond, then sell your catches to the Merchant for Gold and Fishing XP to unlock better rods.
How to start fishing in Grand Blue
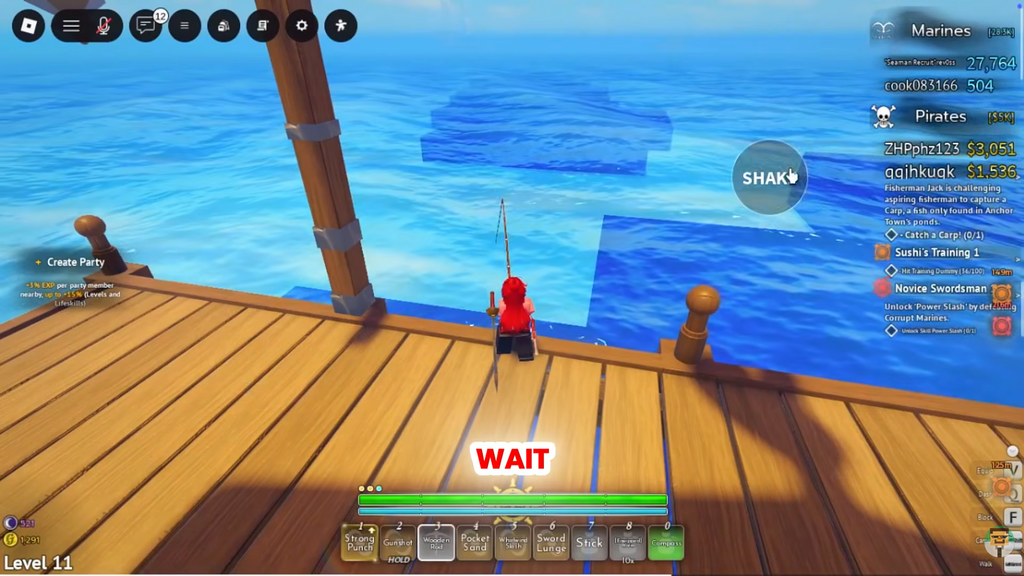
Everything starts at the Anchor Town docks, where Ricky runs the fishing shop. You need a rod and bait equipped before the game lets you cast, so pick both up on your first visit.
How the fishing mini-game works
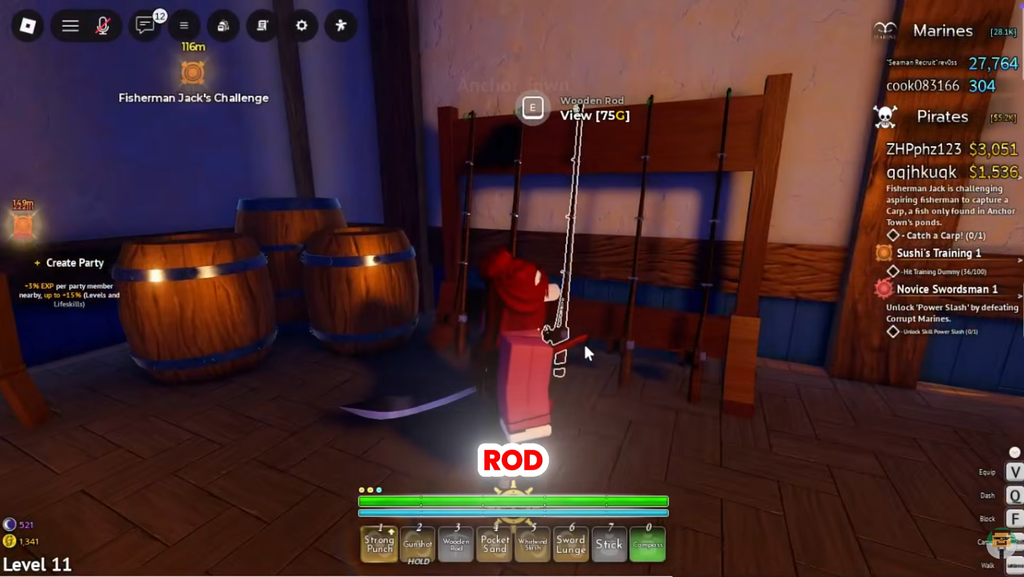
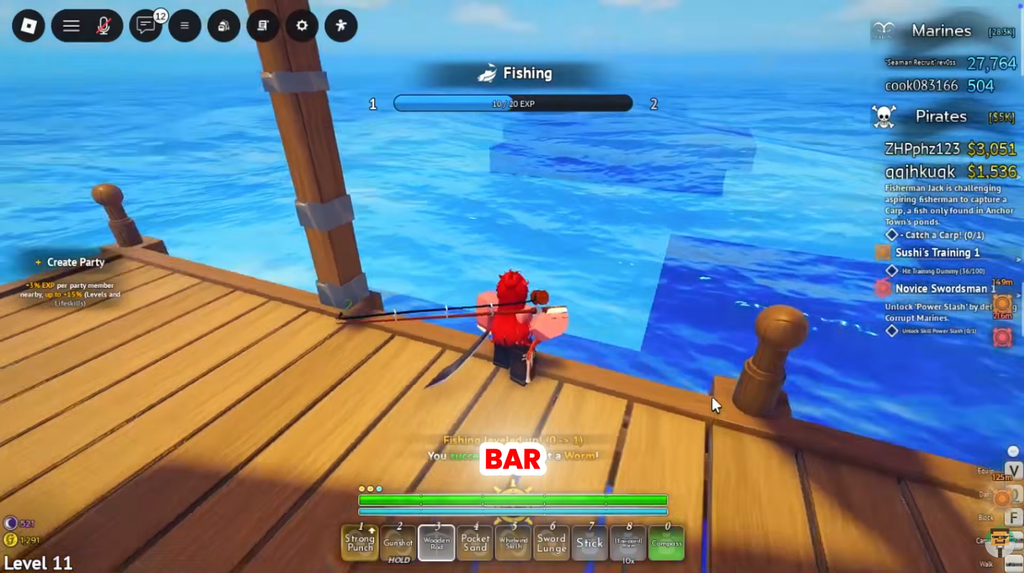
Landing a fish runs through three stages. Casting sets your timing grade, luring gets the fish to bite, and reeling decides whether you actually keep it.
- Cast: Hold and release left click (M1). Getting the bar closer to the top of the meter grades your cast from Erm up to Perfect, which can influence Luck.
- Lure: Click the Shake circles as they appear. You cannot fail here by ignoring them, but clicking helps your chances.
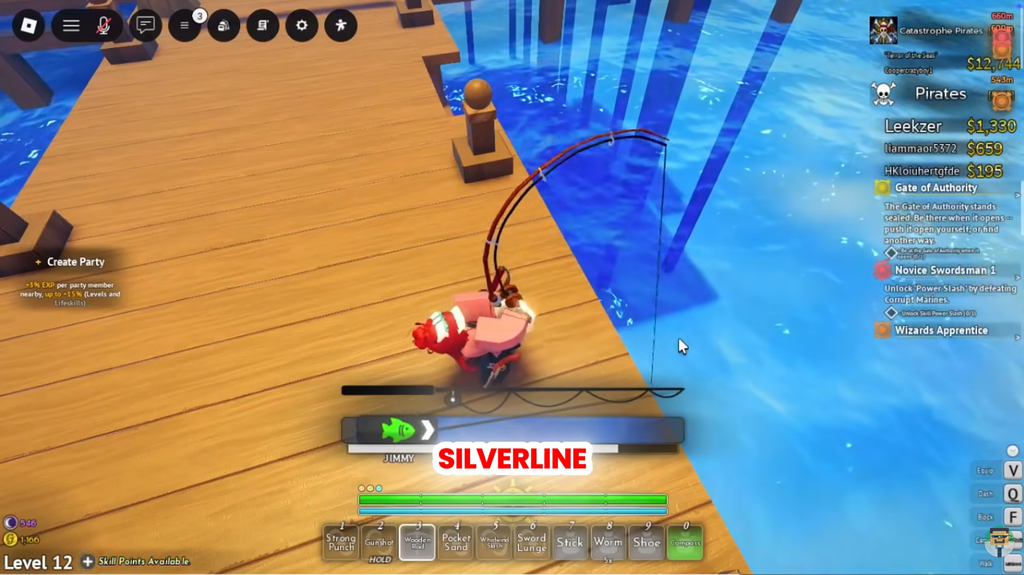
- Reel: Hold M1 to push the bar right, release to let it drift left, and keep the fish marker inside the zone until the meter fills.
Reeling is about small corrections, not holding the button down. Rarer fish move more aggressively, and you can read a catch’s rarity from the exclamation marks before you commit. White is Common, green is Uncommon, blue is Rare, purple is Epic, yellow is Legendary, and red is Celestial.
You know a catch worked when the fish drops into your inventory and the reel screen closes. A missed attempt drains the meter and sends you back to casting.
All fishing rods and how to get them
There are four rods in the current Early Access build. Each step up trades cost or effort for stronger stats, and the intended path runs Wooden to Carbon to Fiberglass to Silverline.
| Rod | Key stats | How to get |
|---|---|---|
| Wooden Rod | Control 15% | Buy from Ricky at Anchor Town Beach |
| Carbon Rod | Luck 10%, Control 25%, Handling -10% | Complete Fisherman Jack’s questline at Anchor Town Beach |
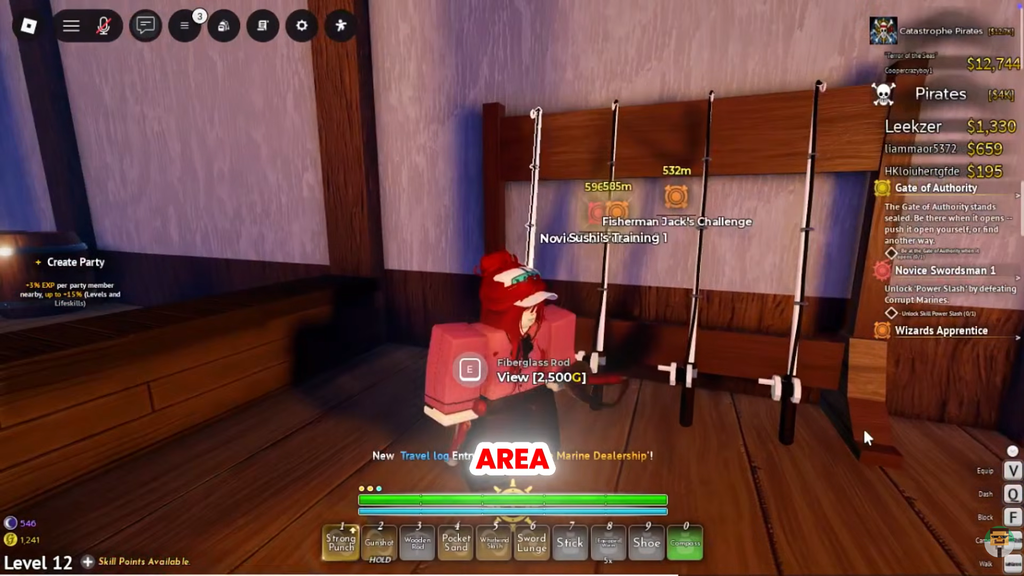
| Fiberglass Rod | Lure Speed 10%, Luck 10%, Control 22%, Technique 10% | Buy from Merry’s shop at Maple Village docks for 2,500 Gold |
| Silverline Rod | Lure Speed 16%, Luck 15%, Control 30%, Technique 15% | Craft at the Crafting Station with 10x Silver Bar and 1x Fiberglass Rod |
The Silverline Rod is the best rod available right now. It has the highest Lure Speed, Luck, and Control in the game, so fish bite faster, reel in quicker, and the mini-game becomes much more forgiving. To craft it you need to already own a Fiberglass Rod, which means the store-bought rod is a required stepping stone rather than an optional one.
Fisherman Jack’s questline rewards the Carbon Rod for catching a single Carp in the Anchor Town pond and turning it in, so you can secure that reward early even while you keep leveling with the Wooden Rod.
Bait and lures
There are three bait options, but only one is worth using at the moment.
| Bait | Bonus | How to get |
|---|---|---|
| Worm | +10 Luck, +10% Lure Speed | Shop behind Ricky at Anchor Town docks, 5 Gold |
| Shimmer Roe | +20 Luck, +5% Mutation Chance | Merry’s shop at Maple Village docks, 75 Gold |
| Silverline Lure | +30% Luck, never catches Trash | Merry’s shop at Maple Village docks, 75 Gold |
The Worm is the best bait in the current build. Shimmer Roe and the Silverline Lure are bugged, and their listed stat bonuses do not carry over into gameplay, so spending 75 Gold on either one is wasted for now.
Every fish and its sale value
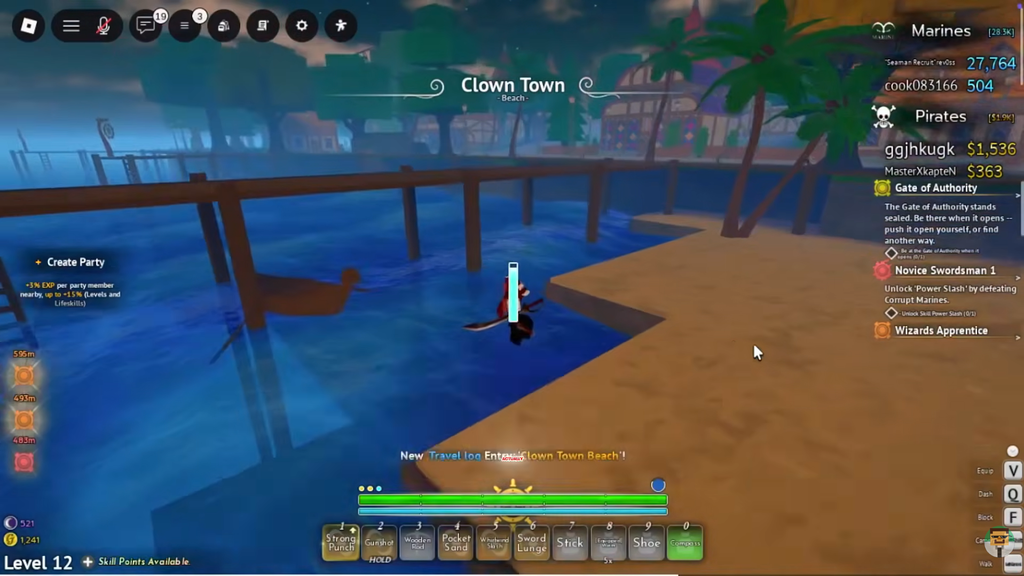
You can catch more than 40 fish across three areas: the open Sea, the Anchor Town pond, and the Clown Town cave. Species pools differ by location, so you have to travel if you want a complete collection. Values marked TBC are not yet confirmed.
Sea (Ocean)
| Fish | Rarity | Sells for |
|---|---|---|
| Rock | Common (Trash) | 1 Gold |
| Shoe | Common (Trash) | 2 Gold |
| Worm | Common (Bait) | 5 Gold |
| Sardine | Uncommon | 15 Gold |
| Skipjack Tuna | Uncommon | 25 Gold |
| Salmon | Rare | 50 Gold |
| Tuna | Rare | 15 Gold |
| Green Seahorse | Rare | 90 Gold |
| Red Seahorse | Rare | 90 Gold |
| Clownfish | Epic | 150 Gold |
| Blue Tang | Epic | 200 Gold |
| Flame Angelfish | Epic | 125 Gold |
| Tomato Clownfish | Epic | TBC |
| Pink Skunk Clownfish | Epic | TBC |
| Darwin Clownfish | Epic | TBC |
| Powder Blue Tang | Epic | TBC |
| Goldfish | Epic | TBC |
| Turtle | Mythic | TBC |
| Pink Dolphin | Mythic | TBC |
| Manta Ray | Mythic | TBC |
| Yin Koi | Legendary | TBC |
| Yang Koi | Legendary | TBC |
| Wyoming White Clownfish | Legendary | TBC |
| Spotted Eagle Ray | Legendary | TBC |
| Queen Angelfish | Legendary | TBC |
| Moorish Idol | Legendary | TBC |
| Fruit Chest | Legendary (Item) | TBC |
The Fruit Chest is not a fish. Opening it gives a random Cursed Fruit, so keep it rather than reflexively selling it.
Anchor Town pond
| Fish | Rarity | Sells for |
|---|---|---|
| Carp | Rare | 75 Gold |
| Tuna | Rare | 15 Gold |
The Carp only appears in this pond, and it is the fish Fisherman Jack asks for. Keep it separate from anything you plan to sell so you do not hand it to the Merchant by mistake.
Clown Town cave
| Fish | Rarity | Sells for |
|---|---|---|
| Bluebanded Goby | Common | 10 Gold |
| Greenbanded Goby | Common | 10 Gold |
| Golden Dottyback | Uncommon | 35 Gold |
| Kaudern’s Cardinalfish | Uncommon | TBC |
| Lobster | Rare | 120 Gold |
| Black Seahorse | Rare | 90 Gold |
| Fire Goby | Rare | TBC |
| Blue Lobster | Epic | TBC |
| Blackcap Basslet | Epic | TBC |
| Candy Basslet | Legendary | TBC |
| Juggalo Clownfish | TBC | TBC |
Where to sell fish and turn them into ingredients
Sell your catches to the Merchant NPC to bank the Gold and XP. There are two convenient locations. At Anchor Town the Merchant stands in the Harbor area, and at Clown Town the Merchant is near the Beast Tamer mini-boss.
Not every fish should be sold. To make Oil, cook 2x Sardines at the Cooking Station in the Mansion Kitchen at Maple Village. Sardines are an Uncommon Sea catch and easy to farm, so it is worth stockpiling a few before you commit them all to the Merchant.
Fishing skill tree and milestones
Leveling Fishing earns Skill Points, and the main node branches into six paths. Each one targets a different part of the loop, so you can build toward whatever keeps causing you to miss.
- Lucky Cast: stacks Luck and can reel in a second copy of a catch.
- Quick Bait: speeds up how fast fish bite, up to twice as fast.
- Deft Hands: enlarges the hook circle and improves the reel bar’s starting point.
- Steady Bar: grows the reel bar and slows the catch marker for easier control.
- Composure: slows reel drain and gives extra recovery chances.
- Sure Grip: increases reel speed so successful catches finish sooner.
Steady Bar is the most reliable first pick because a bigger reel bar buys you room during the hardest part of the mini-game. Reaching Fishing Level 100 also unlocks a Rebirth system that spends Rebirth Tokens on separate upgrades. Hitting set levels pays out milestone rewards on top of your normal earnings.
| Milestone | Level | Rewards |
|---|---|---|
| Novice Angler | 10 | 500 Gold, 100 Celestial Coins |
| Adept Angler | 25 | 1,500 Gold, 250 Celestial Coins |
| Expert Angler | 50 | 4,000 Gold, 500 Celestial Coins |
| Master Angler | 75 | 8,000 Gold, 1,000 Celestial Coins |
| Grandmaster Angler | 100 | 15,000 Gold, 2,500 Celestial Coins, Master Angler title |
The best fishing accessory: Terry’s Ring
Terry’s Ring is the strongest accessory for fishing right now. You earn it by completing Two-Worm Terry’s questline at Anchor Town. Once equipped, there is a 50% chance that your Worm bait is not consumed on a cast, which cuts your bait costs roughly in half over a long session.
Grand Blue is in Early Access, so prices, recipes, and fish values can shift between builds. When a shop or crafting prompt shows a different number than expected, trust the in-game display, and keep the Worm equipped until Shimmer Roe and the Silverline Lure are fixed.